Articles
Why Does My Blender Smell
Modified: August 28, 2024
Discover why your blender may have an unpleasant odor with our informative articles. Get tips and solutions to eliminate the smell and keep your blender fresh.
(Many of the links in this article redirect to a specific reviewed product. Your purchase of these products through affiliate links helps to generate commission for Storables.com, at no extra cost. Learn more)
Introduction
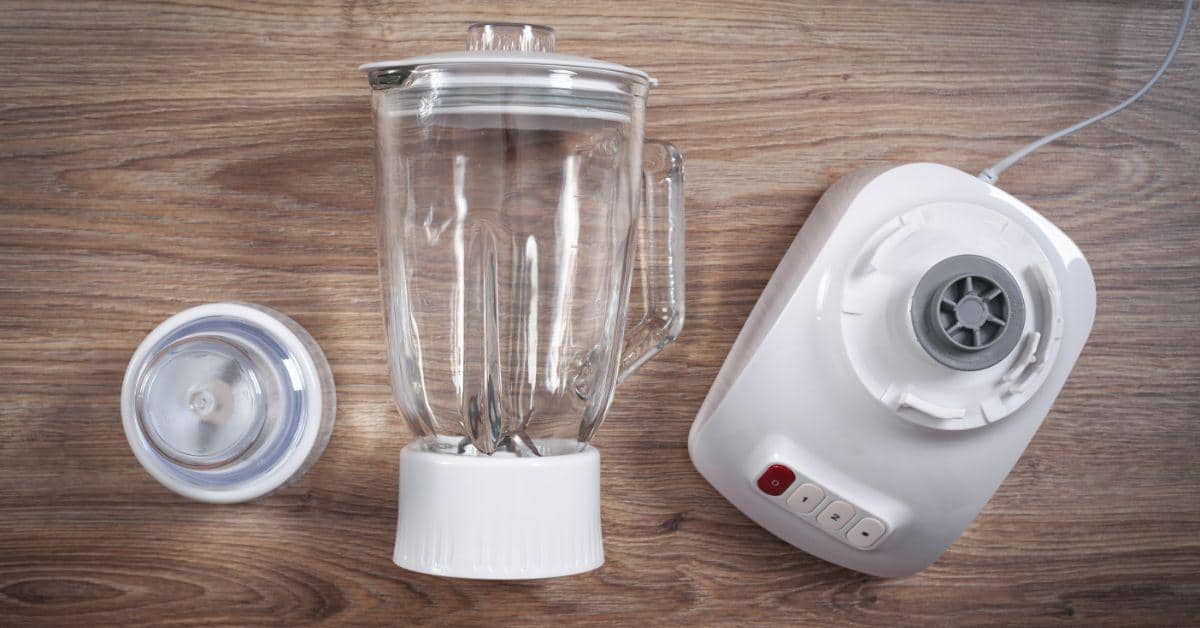
Have you ever encountered a foul smell coming from your blender? It can be a disconcerting experience and can make you hesitant to use your blender for fear of tainting your food. However, understanding why your blender smells and how to address the issue can help you enjoy your blending experience without any unpleasant odors.
Blenders are versatile kitchen appliances that can quickly puree, blend, or grind various ingredients to create delicious smoothies, sauces, soups, and more. However, over time, the accumulation of food residues, bacteria, and other factors can contribute to an unpleasant odor emanating from the blender.
In this article, we will delve into the common causes of blender odor and provide effective solutions to eliminate the smell.
Key Takeaways:
- Regularly cleaning and thoroughly drying your blender after use can prevent mold, mildew, and bacteria buildup, ultimately eliminating unpleasant odors and ensuring a fresh blending experience.
- Proper maintenance, care, and troubleshooting techniques can help address odor issues, ensuring the longevity and optimal performance of your blender while promoting a healthy and hygienic kitchen environment.
Read more: Why Does My Duvet Smell
Common Causes of Blender Odor
There are several factors that can lead to a foul smell emanating from your blender. Understanding these causes can help you identify and address the issue effectively.
Mold and Mildew Buildup: One of the most common causes of blender odor is the growth of mold and mildew. When the blender is not thoroughly cleaned and dried after each use, moisture can accumulate in hard-to-reach areas, providing an ideal breeding ground for mold and mildew. The presence of these microorganisms can result in a musty smell.
Food Residue and Bacteria: Leftover food particles and bacteria can easily get trapped in the blender’s blades, seals, and other nooks and crannies. When these residues are not cleaned properly, they can decompose over time, leading to a foul odor. This is especially true if you blend odor-causing ingredients like garlic, onions, or fish.
Overheating Motor: If you notice a burning smell coming from your blender, it could be an indication of an overheating motor. When the motor operates for an extended period or is under excessive strain, it can generate heat that may produce a distinct odor. This can occur if you blend thick or frozen ingredients for too long without pause.
Burnt Wiring or Components: In some cases, a strange smell could stem from burnt wiring or components within the blender. This can occur due to a malfunctioning part or an electrical issue. If you suspect this to be the cause, it’s crucial to stop using the blender immediately and seek professional assistance to ensure safety.
Mold and Mildew Buildup
One of the most common causes of a foul-smelling blender is the buildup of mold and mildew. When moisture is not properly removed from the blender after each use, it creates a perfect environment for these microorganisms to thrive.
Mold and mildew are fungi that can easily grow in damp and warm conditions. The blender’s blades, gaskets, and seals can be difficult to clean thoroughly, allowing moisture to become trapped. This trapped moisture, combined with food residue, provides a breeding ground for mold and mildew to grow and multiply.
The presence of mold and mildew can result in a musty or stale odor coming from the blender. Not only does this smell unpleasant, but it can also impact the taste and quality of your blended creations.
To address mold and mildew buildup in your blender, it is essential to regularly clean and dry all the components. Start by disassembling the blender, removing the blades, gaskets, and seals. Rinse them thoroughly with warm soapy water, using a brush or sponge to remove any residue.
After cleaning, ensure that all the components are completely dry before reassembling your blender. Pay special attention to the seals and crevices, as moisture tends to accumulate there. A damp cloth or paper towel can be used to wipe down these areas and ensure no water is left behind.
Additionally, consider using natural disinfectants to help prevent mold and mildew growth. Vinegar, for example, is a natural antimicrobial and can effectively kill mold spores. Dilute vinegar with water and use it to wipe down the blender’s components before drying them thoroughly.
By regularly cleaning and thoroughly drying your blender after use, you can prevent the buildup of mold and mildew, ultimately eliminating any unpleasant odors.
Food Residue and Bacteria
Another common cause of a smelly blender is the presence of food residue and bacteria. When you use your blender to process various ingredients, small particles can get trapped in the blades, seals, and crevices of the blender’s components.
If these food residues are not properly cleaned, they can decompose over time, resulting in an unpleasant odor. This is especially true when blending ingredients such as garlic, onions, or fish, which have strong and lingering smells.
Bacteria can also thrive in the warm and moist environment of the blender, especially when food residues are present. This can further contribute to the development of unpleasant smells and potential health risks.
To eliminate food residue and bacteria in your blender, it is crucial to clean it thoroughly after each use. Start by disassembling the blender and removing the blades, gaskets, and seals. Rinse the components under warm water to remove any visible food particles.
Next, use a mild dishwashing liquid or a blender cleaning solution to clean all the components. Pay close attention to the blades and the areas where they attach to the blender base, as these are common places for food residue to accumulate.
Avoid using abrasive scrubbers or harsh chemicals that could damage the blender’s components. Instead, opt for a soft brush or sponge to gently scrub away any residue. Rinse the components thoroughly to ensure all soap or cleaning solution is removed.
After cleaning, dry all the components completely before reassembling the blender. This helps prevent the growth of bacteria due to lingering moisture. Be sure to dry the seals and crevices with a clean, dry cloth or paper towel to remove any excess water.
Additionally, consider sanitizing your blender periodically. You can do this by using a mixture of water and white vinegar or a food-safe disinfectant solution. Allow the solution to sit in the blender for a few minutes before rinsing and drying as usual.
By maintaining good hygiene practices and regular cleaning, you can prevent the buildup of food residue and bacteria in your blender, ensuring a fresh and odor-free blending experience.
Overheating Motor
If you notice a burning smell coming from your blender, it could be a sign of an overheating motor. Blenders are equipped with powerful motors that can handle a wide range of ingredients. However, using the blender for an extended period or blending thick and frozen ingredients without pause can put excessive strain on the motor, leading to overheating.
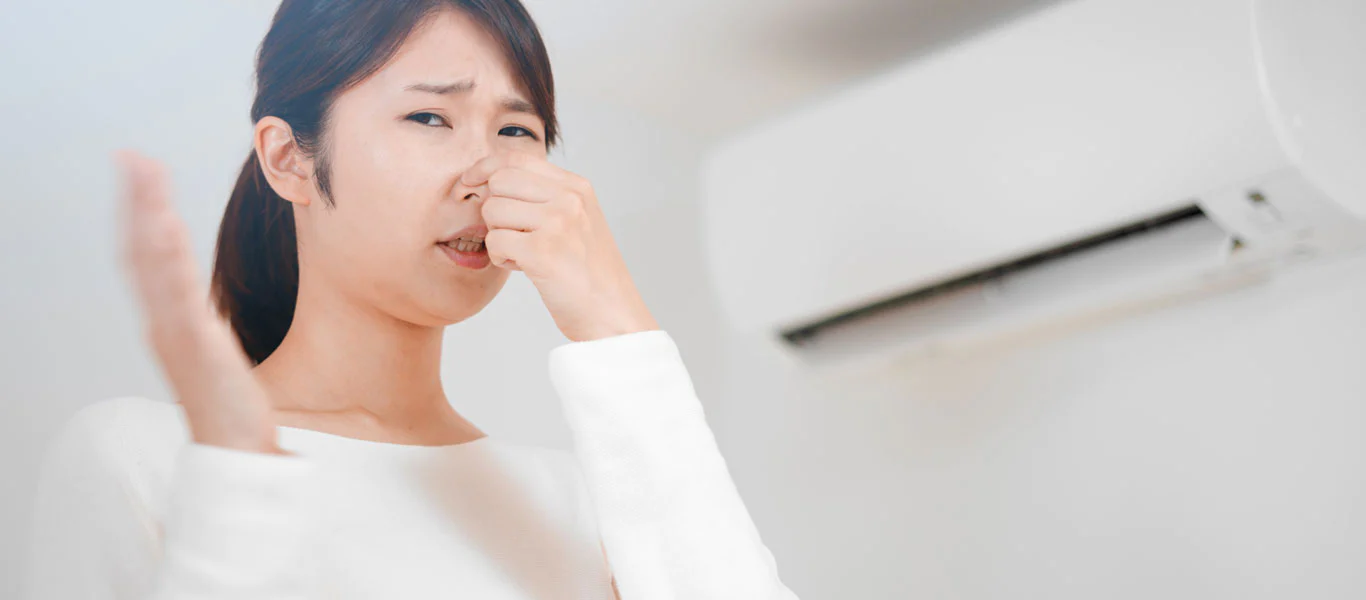
When the motor becomes overheated, it generates excess heat, which can result in a distinct burning odor. This smell can be worrisome and should be addressed promptly to avoid any potential damage to the blender.
To prevent the motor from overheating, it is important to follow some usage guidelines. Avoid running the blender continuously for extended periods, especially if you’re blending thick mixtures. Instead, use short bursts of blending and give the motor a few seconds to rest in between to allow it to cool down.
If you’re blending frozen ingredients or tough ingredients like ice or nuts, ensure there is enough liquid in the blender to facilitate smooth blending. This will help prevent excessive strain on the motor and reduce the risk of overheating.
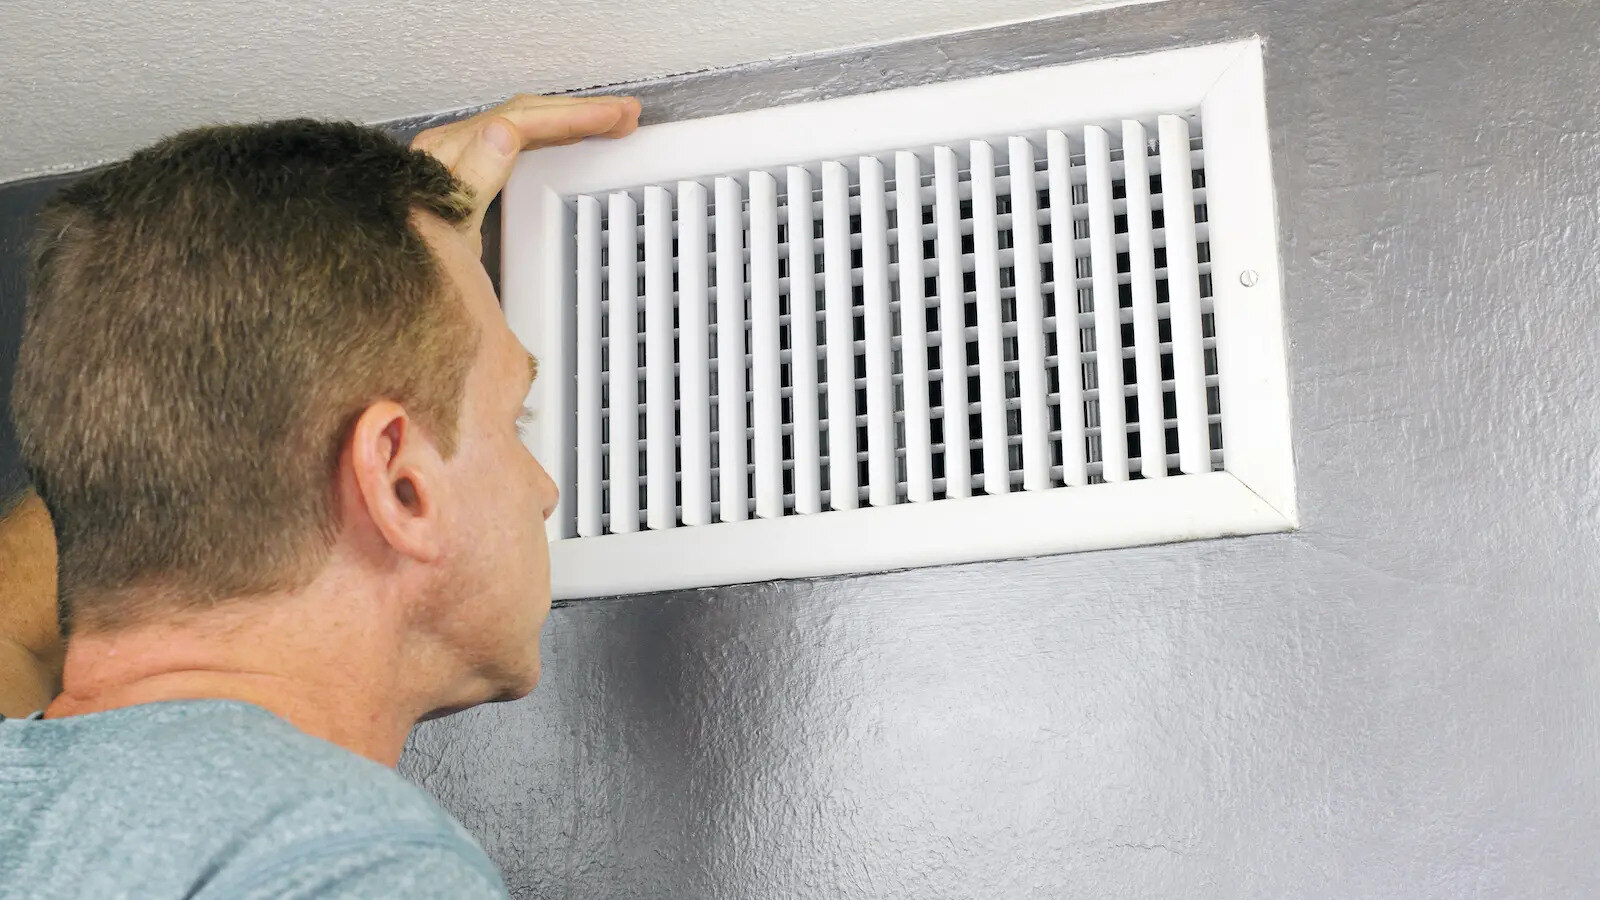
It is also crucial to check and clean the ventilation openings on the blender’s base. These openings allow air to circulate and cool down the motor during operation. If they are blocked or clogged with dust or debris, it can hinder the cooling process and increase the likelihood of overheating. Regularly inspect the ventilation openings and clean them with a soft brush or cloth as needed.
If you notice a burning smell coming from your blender, immediately turn it off and unplug it from the power source. Allow the motor to cool down completely before attempting to use it again. If the smell persists or if you suspect any other issues with the motor, it is advisable to contact the manufacturer or a professional blender repair service for further assistance.
By following proper usage guidelines and taking precautions to prevent motor overheating, you can enjoy a smooth and odor-free blending experience.
Read more: Why Does My Blanket Smell?
Burnt Wiring or Components
In some cases, a strange smell coming from your blender could indicate a more serious issue, such as burnt wiring or components. This can be a result of a malfunctioning part or an electrical problem within the blender.
If you notice a distinct burnt smell, it is crucial to stop using the blender immediately to prevent any potential hazards. Continuing to use a blender with burnt wiring or components can pose a fire risk and can potentially damage the appliance beyond repair.
To address this issue, it is important to unplug the blender from the power source and inspect it carefully. Look for any signs of melted or charred wiring, blackened or discolored components, or any other visible damage. If you observe any of these signs, it is recommended to refrain from using the blender any further.
At this point, it is advisable to seek professional assistance. Contact the manufacturer of the blender or a certified repair technician to assess the problem and determine the necessary repairs or replacements.
Attempting to fix electrical issues yourself can be dangerous and can further damage the appliance. It is best to leave it to the professionals who have the expertise and knowledge to handle electrical repairs safely.
Remember, safety should always be a top priority. When it comes to burnt wiring or components, it is crucial to take immediate action to prevent any potential harm or accidents.
If your blender is still under warranty, contact the manufacturer for information on warranty coverage and repair options. They may be able to guide you through the process or provide you with a replacement blender if necessary.
By addressing any electrical issues promptly and ensuring the proper repair or replacement of the affected parts, you can continue using your blender safely and with peace of mind.
To prevent your blender from smelling, make sure to clean it thoroughly after each use. Remove any food residue and wash the blades and container with warm, soapy water. You can also blend a mixture of water and baking soda to help remove any lingering odors.
Solutions to Eliminate Blender Odor
Dealing with a smelly blender can be unpleasant, but fortunately, there are several effective solutions to eliminate the odor and restore freshness to your appliance. By following these solutions, you can enjoy a clean and odor-free blending experience.
1. Cleaning and Disinfecting the Blender: Regular cleaning of your blender is crucial to prevent the buildup of odor-causing substances. Disassemble the blender and clean all components, including blades, gaskets, and seals, with warm soapy water. Use a brush or sponge to remove any food residue. Rinse thoroughly and allow all parts to dry completely before reassembling.
In addition to regular cleaning, periodic disinfection can help eliminate bacteria and prevent odors. Use a mixture of water and white vinegar or a food-safe disinfectant solution and let it sit in the blender for a few minutes. Rinse thoroughly and dry.
2. Proper Maintenance and Care: Pay attention to proper maintenance and care to prevent odor buildup. After each use, rinse the blender immediately to remove any remnants of processed ingredients. Dry all components thoroughly to prevent mold and mildew growth. Clean the ventilation openings regularly to ensure proper airflow and prevent overheating.
3. Troubleshooting and Repairing the Blender: If you notice persistent odors or any other issues with your blender, troubleshoot the problem. Check for damaged or worn-out parts and replace them as necessary. If you are unsure or unable to fix the problem yourself, contact the manufacturer or a professional blender repair service for assistance.
4. Freshening Agents: There are various natural ingredients that can help freshen up your blender. Lemon juice, baking soda, and even coffee grounds can be used as natural deodorizers. Simply blend a mixture of water and your chosen freshening agent in the blender, then rinse thoroughly.
5. Storing the Blender Properly: When not in use, ensure that your blender is stored in a clean and dry environment. Avoid storing the blender with moist components or in a place where humidity is high, as this can promote the growth of mold and mildew.
By following these solutions, you can effectively eliminate blender odor and maintain a clean and fresh appliance. Regular cleaning, proper maintenance, troubleshooting, and the use of freshening agents will help ensure a pleasant blending experience every time.
Cleaning and Disinfecting the Blender
Cleaning and disinfecting your blender regularly is essential to maintain a hygienic and odor-free appliance. By following the proper cleaning methods and utilizing disinfecting techniques, you can ensure that your blender remains clean and safe for use.
Here are the steps to effectively clean and disinfect your blender:
1. Disassemble the Blender: Start by unplugging the blender and disassembling all removable parts. This typically includes the pitcher or jar, blade assembly, gaskets, and seals. Refer to your blender’s manual for specific instructions on disassembly.
2. Rinse and Pre-Wash: Rinse the disassembled components under warm running water to remove any loose debris or food residue. This initial pre-wash helps to make the subsequent cleaning more effective.
3. Clean with Warm Soapy Water: Fill a sink or basin with warm water and add a few drops of mild dishwashing liquid. Immerse the blender components in the soapy water and use a sponge or brush to gently scrub them. Pay close attention to areas where food residue tends to accumulate, such as the blade assembly and seal. Avoid using abrasive scrubbers, as they can cause damage to the blender’s surfaces.
4. Remove Stains and Odors: If there are stubborn stains or lingering odors, you can use natural cleaning agents. Baking soda, for example, is a great odor absorber and can help remove stains. Create a paste by mixing baking soda with some water, and then apply it to the affected areas. Let it sit for a few minutes before scrubbing and rinsing.
5. Disinfect with Vinegar Solution: To disinfect your blender, create a solution of equal parts water and white vinegar. Submerge the blender components in this solution and let them soak for a few minutes. Vinegar is a natural antimicrobial agent that can help kill bacteria and other germs. After soaking, thoroughly rinse the components with water to remove any vinegar residue.
6. Dry Completely: After cleaning and disinfecting, ensure that all blender components are completely dry before reassembly. Use a clean, dry cloth or paper towel to wipe them down and remove any remaining moisture. Pay special attention to seals and crevices, as any dampness left behind can promote the growth of mold or mildew.
7. Reassemble and Store Properly: Once all the components are dry, reassemble the blender following the manufacturer’s guidelines. Store the blender in a clean and dry location to prevent any moisture buildup.
Regular cleaning and disinfecting of your blender will not only help eliminate odors but also ensure a safe and hygienic blending experience. By following these steps, you can maintain your blender’s performance, extend its lifespan, and enjoy fresh and delicious blends every time.
Proper Maintenance and Care
Proper maintenance and care are essential to keep your blender in optimal condition, prevent odors, and ensure its longevity. By following some simple maintenance routines and adopting good care practices, you can enjoy a reliable and odor-free blending experience for years to come.
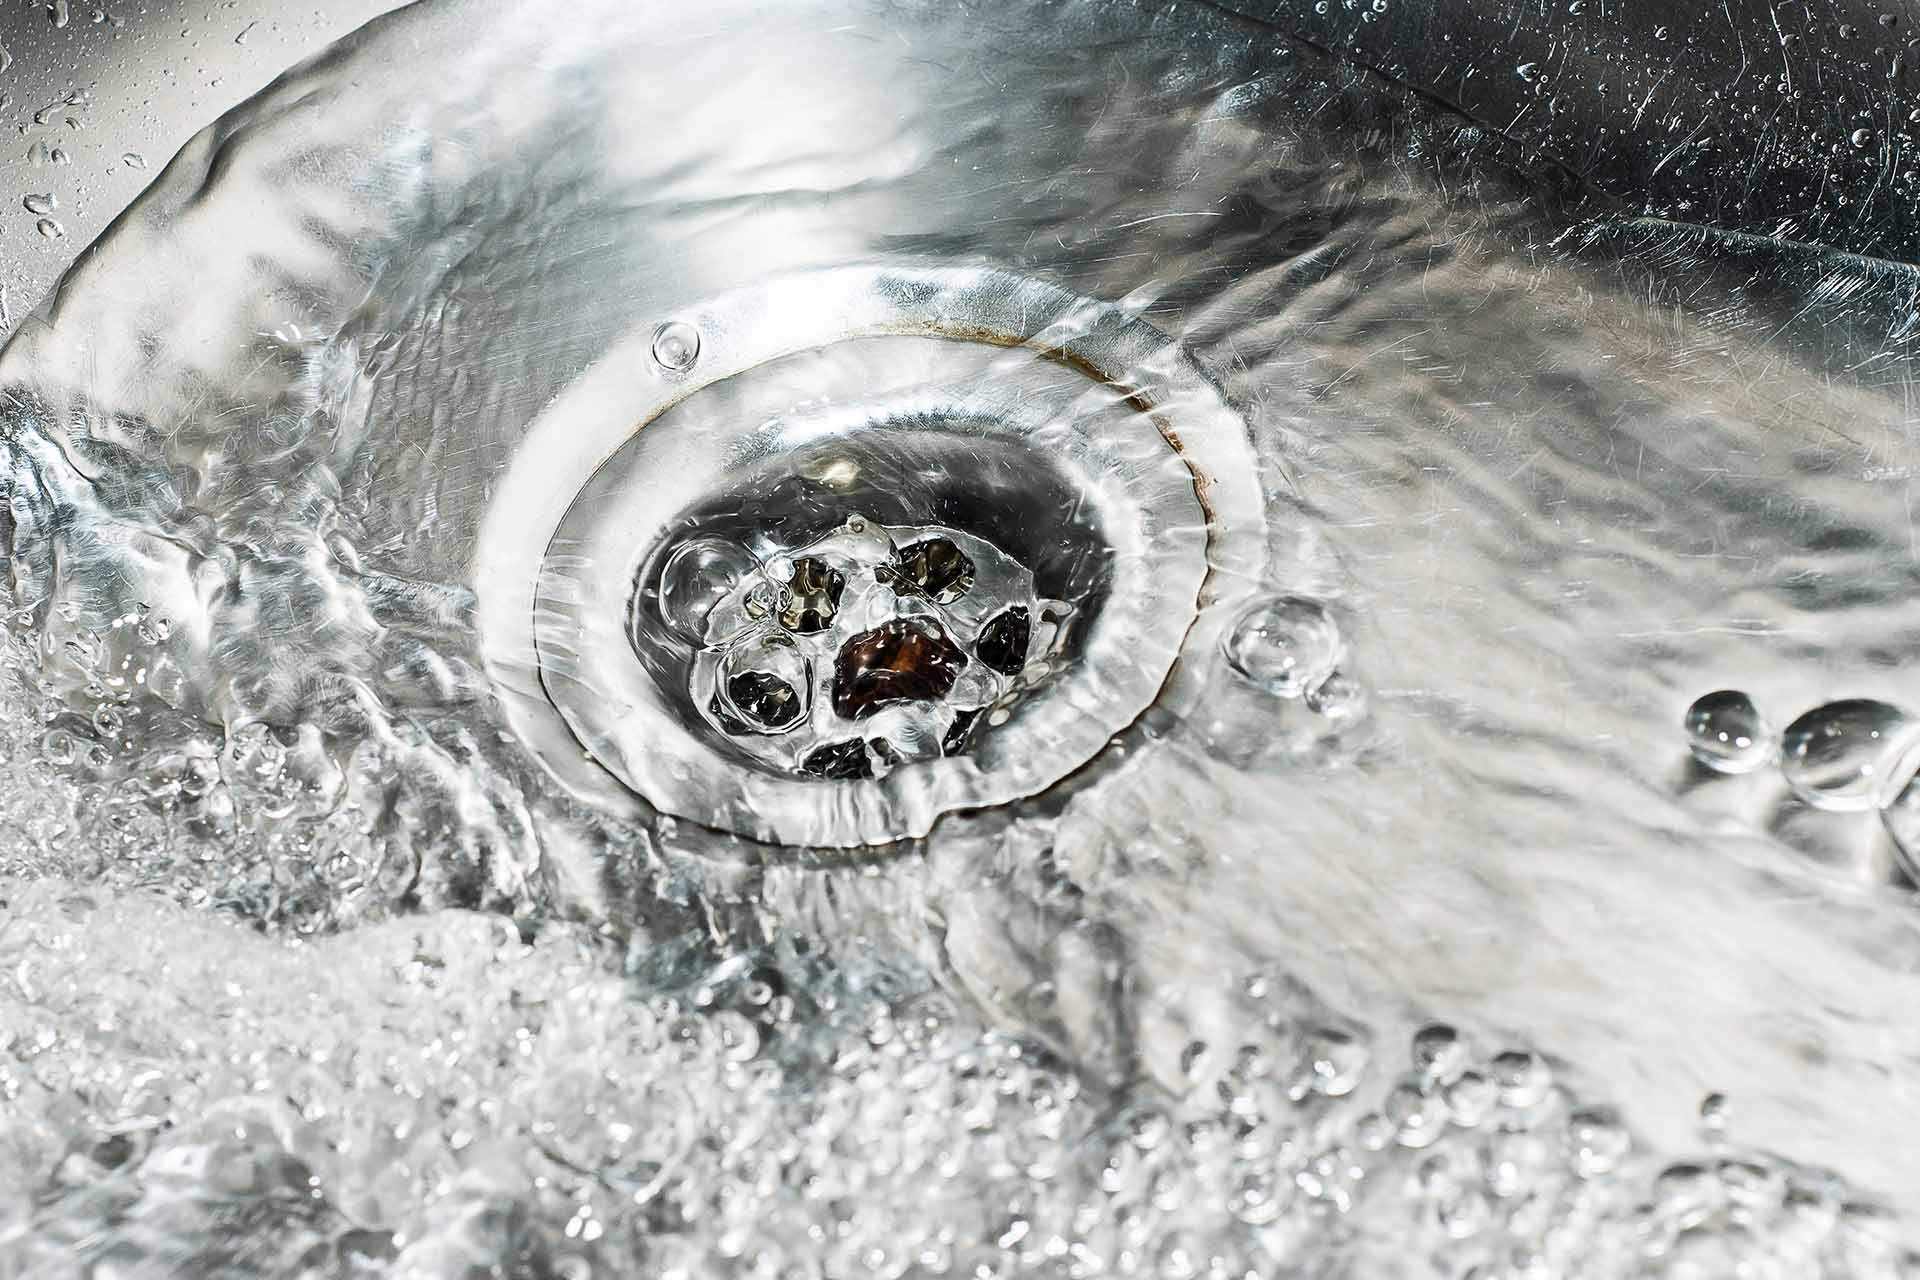
1. Rinse After Each Use: After using your blender, rinse the blender jar, blade assembly, and any other removable components with warm water. This helps to remove any residual food particles and prevents them from hardening or causing odors during storage.
2. Clean Removable Components: Regularly clean the blender jar, blade assembly, and any other removable components. Use warm soapy water and a soft brush to gently scrub away any food residue. Pay extra attention to seals and hard-to-reach areas. Avoid using abrasive cleaners or harsh chemicals that may damage the blender’s surfaces.
3. Clean the Blender Base: The blender base is prone to collecting dust, spills, and food particles. Wipe it down regularly using a damp cloth or sponge to keep it clean and free from debris. Be careful not to let any liquid enter the base during cleaning.
4. Clear Ventilation Openings: Check the ventilation openings on the blender’s base regularly and ensure they are not clogged with dust or debris. These openings allow for proper airflow and prevent the motor from overheating. Use a soft brush or compressed air to clean the openings as needed.
5. Handle with Care: Handle the blender and its components with care to avoid damage. Avoid harsh impacts or dropping the blender, as this can cause parts to break or become misaligned. Take care when inserting and removing the blender jar from the base, ensuring a secure and proper fit.
6. Store Properly: When not in use, store the blender in a clean and dry location. Make sure all components are completely dry before storing to prevent the growth of mold or mildew. Avoid storing the blender with the lid tightly sealed, as this can trap moisture inside and contribute to odor development.
7. Follow Manufacturer’s Guidelines: Always refer to the manufacturer’s instructions and guidelines for specific maintenance tips and cleaning recommendations. Different blender models may require slightly different care practices, so it’s important to familiarize yourself with the manufacturer’s guidelines.
By practicing proper maintenance and care, you can ensure the longevity and performance of your blender, as well as prevent unpleasant odors. Regular cleaning, careful handling, and proper storage will help keep your blender in excellent condition and ready to create delicious blends whenever you need it.
Read more: Why Does My Dresser Smell
Troubleshooting and Repairing the Blender
Sometimes, despite our best efforts, blenders may develop issues that require troubleshooting and repairs. Being able to identify and address these problems promptly can save you from the frustration of a malfunctioning or smelly blender. Here are some troubleshooting tips and steps for repairing your blender:
1. Identify the Problem: If you notice persistent odors or your blender is not working as it should, try to identify the problem. Is the odor coming from the motor, the blades, or another component? Is the blender not turning on, not blending properly, or making strange sounds? Understanding the specific issue will help you determine the appropriate course of action.
2. Check the Power Source: If your blender is not turning on, check the power source. Ensure it is securely plugged into a working outlet and try using a different outlet to rule out power supply issues. Also, check if there is a power switch or button that needs to be turned on.
3. Examine the Blades and Seals: If there is an odor or the blender is not blending properly, inspect the blades and seals. Remove the blade assembly and check for any damage or dullness. Examine the seals for signs of wear or leaks. If necessary, clean or replace the blades and seals to ensure optimal performance and prevent odors.
4. Consult the Manual: Refer to the blender’s manual for troubleshooting tips specific to your model. The manual may include a troubleshooting guide that can help you identify common problems and their solutions.
5. Contact the Manufacturer: If the issue persists or if you’re unsure about performing any repairs yourself, contact the manufacturer’s customer support. They can provide specific guidance or recommend authorized service centers for repairs. If your blender is still under warranty, inquire about warranty coverage for repairs.
6. Seek Professional Assistance: For complex issues or repairs that require technical expertise, it is advisable to seek professional assistance. Certified blender repair services can diagnose and fix problems more effectively and ensure the optimal functioning of your blender.
7. Follow Safety Precautions: When attempting any repairs yourself, always prioritize your safety. Unplug the blender before performing any maintenance or repairs. Use proper tools and follow instructions carefully. If you’re unsure or uncomfortable with any repairs, it’s best to leave it to the professionals.
By troubleshooting and addressing problems promptly, you can prevent further damage to your blender and potentially save the cost of purchasing a new one. Whether it’s a simple fix or requires professional assistance, taking the necessary steps to repair your blender will ensure its longevity and reliable performance.
Conclusion
Blenders are versatile kitchen appliances that make it easy to create delicious and healthy smoothies, sauces, soups, and more. However, unpleasant odors can sometimes arise from your blender, making you hesitant to use it and negatively impacting your overall blending experience.
In this article, we’ve explored the common causes of blender odor, including mold and mildew buildup, food residue and bacteria, motor overheating, and burnt wiring or components. We’ve also provided effective solutions to eliminate these odors, such as cleaning and disinfecting the blender, proper maintenance and care practices, and troubleshooting and repairing techniques.
Regularly cleaning and disinfecting your blender, addressing mold and mildew buildup, and preventing food residue and bacteria can help eliminate unpleasant odors. Remember to clean all removable components with warm soapy water, paying attention to seals and crevices. Disinfection with a vinegar solution can also be effective in killing bacteria and preventing odors.
Proper maintenance and care are key to preventing odors and ensuring the longevity of your blender. Rinse the blender after each use, clean the blender base and ventilation openings regularly, and handle the blender and its components with care. Storing the blender in a clean and dry location helps prevent moisture buildup and the growth of mold or mildew.
When troubleshooting and repairing your blender, identify the problem, consult the manual, and contact the manufacturer or seek professional assistance if needed. Prompt action can help prevent further damage and ensure the optimal performance of your blender.
By implementing these solutions and practices, you can enjoy an odor-free blending experience and continue to create delicious and nutritious blends with ease. Take care of your blender, and it will continue to serve you well for years to come.
Remember, maintaining a clean and odor-free blender not only ensures the quality of your blended creations but also promotes a healthy and hygienic kitchen environment. So, eliminate those unwanted odors and embrace the full potential of your blender!
Now that you've tackled pesky blender odors, why stop there? Keeping your kitchen appliances spotless extends their lifespan and enhances their efficiency. Next up, dive into our easy-to-follow guide on maintaining a sparkling clean refrigerator. From hidden nooks to visible surfaces, we cover all bases to ensure nothing is missed. Ready to transform your kitchen upkeep routine? Check out our exclusive cleaning tips for a comprehensive approach to a fresher, cleaner refrigerator.
Frequently Asked Questions about Why Does My Blender Smell
Was this page helpful?
At Storables.com, we guarantee accurate and reliable information. Our content, validated by Expert Board Contributors, is crafted following stringent Editorial Policies. We're committed to providing you with well-researched, expert-backed insights for all your informational needs.


0 thoughts on “Why Does My Blender Smell”