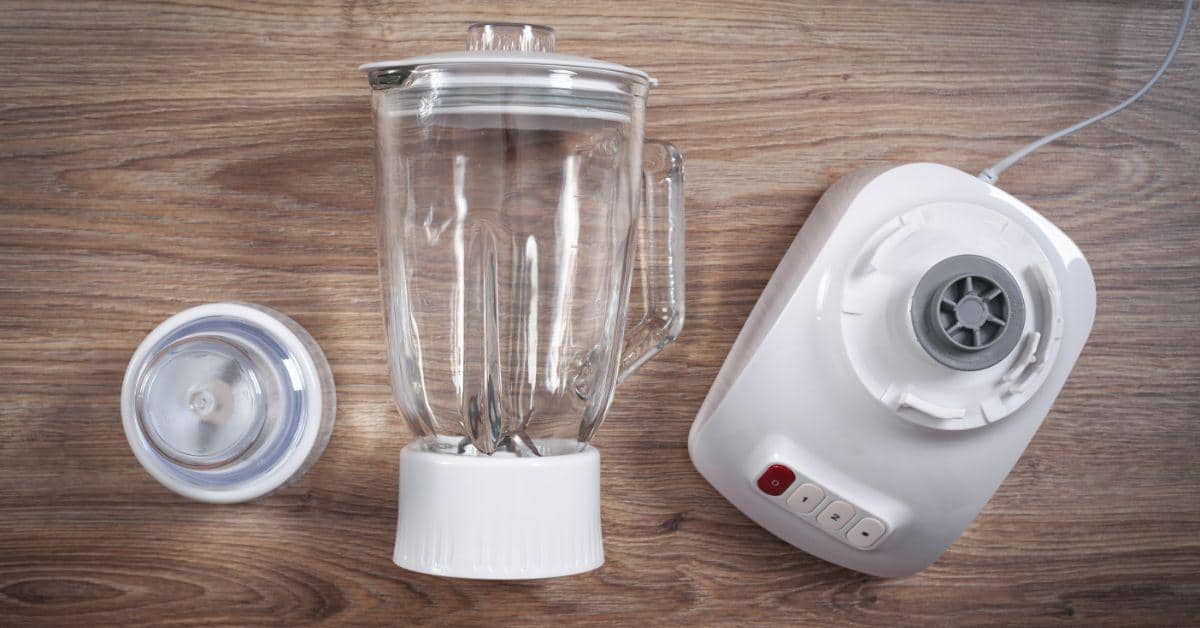
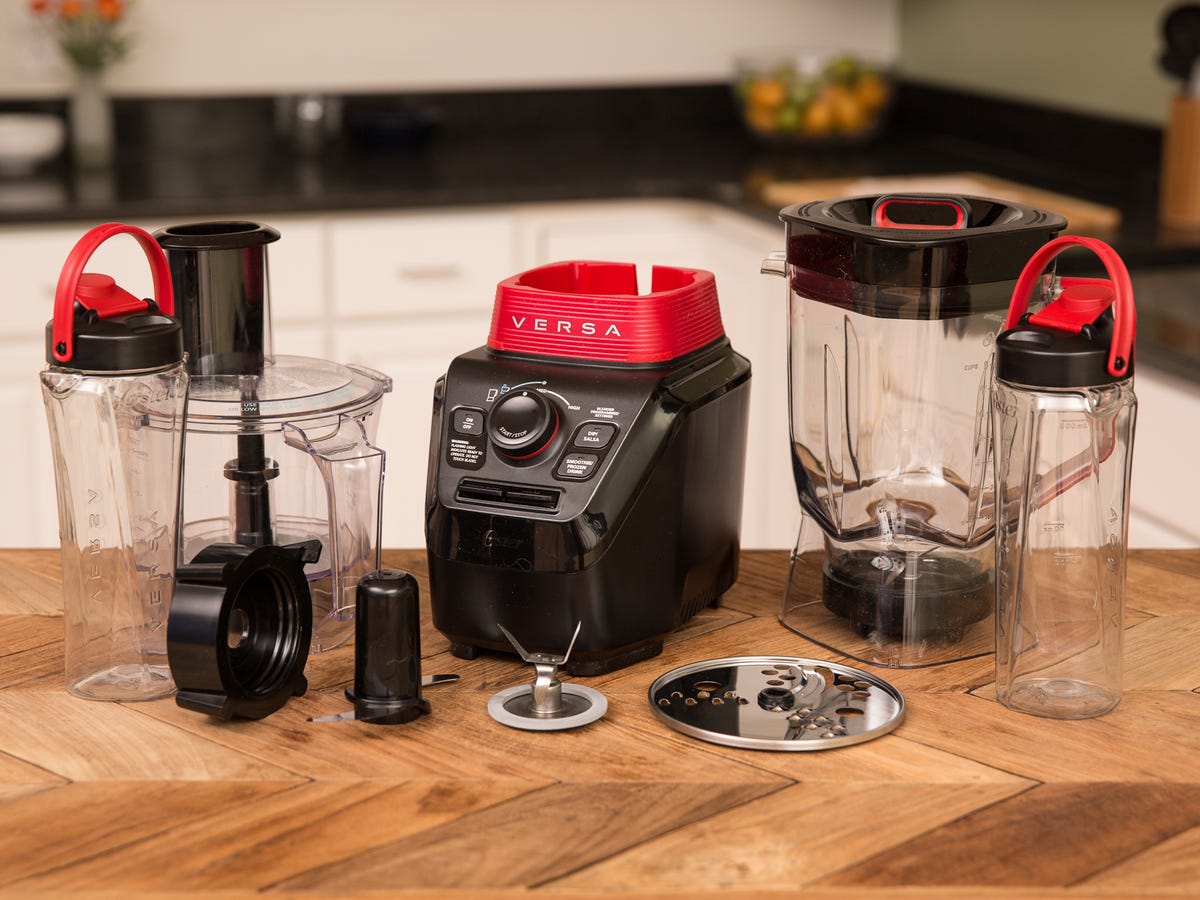
Home> Blender Maintenance

Master Blender Maintenance: Essential Tips to Extend Its Life

November 9, 2023

Experience seamless blending every time. Discover expert-approved blender maintenance tips that will prolong your blender’s efficiency and lifespan.

Why Does My Blender Smell

Why Does My Blender Smell

By: Isabella Mitchell • Articles

Read More
How To Use Oster Blender

How To Use Oster Blender

By: Noah Bennett • Articles

Read More
How To Use A Hamilton Beach Blender

How To Use A Hamilton Beach Blender

By: Alexander Johnson • Articles

Read More
How To Put A Blender Together

How To Put A Blender Together

By: Benjamin Parker • Articles

Read More
How To Use Ninja Professional Blender

How To Use Ninja Professional Blender

By: Lily Evans • Articles

Read More
How Do You Use The Ninja Blender

How Do You Use The Ninja Blender

By: Benjamin Parker • Articles

Read More

Introduction to Blender Maintenance

Maintenance is a crucial aspect of any gadget’s lifespan, including your blender. From handling the device to cleaning its components, understanding blender maintenance is vital for keeping the equipment in top shape and extending its use. Various components together make a blender function smoothly – the motor base, blade assembly, jug or container, and control interface. Each of these parts requires special attention and care during maintenance. Furthermore, it’s not just about physical cleaning; proper electrical maintenance is also critical in preserving your blender’s longevity.

Proper maintenance of your blender also involves understanding how to put it together. Assembling your blender correctly is a crucial aspect of preserving its functionality, as incorrect assembly can lead to premature wear and tear or even damage [source]. With the correct knowledge and regular practice of blender maintenance, one can significantly enhance the durability and performance of their blender.

Key Takeaways:

  • Regularly cleaning and thoroughly drying your blender after use can prevent mold, mildew, and bacteria buildup, ultimately eliminating unpleasant odors and ensuring a fresh blending experience.
  • Proper maintenance, care, and troubleshooting techniques can help address odor issues, ensuring the longevity and optimal performance of your blender while promoting a healthy and hygienic kitchen environment.

Why Proper Blender Maintenance Matters

Regular and proper maintenance of your blender does more than just keeping it clean – it also enhances its efficiency. Over time, remnants of food stuck between blades or on the container wall can hamper the blender’s effectiveness. This can result in longer blending time or even cause the motor to overheat.

Additionally, a blender with good maintenance practices can extend its lifespan significantly. Parts such as the blade and gasket can deteriorate over time due to wear and tear. Regular inspections can help identify such issues early and address them before they cause further harm. Moreover, safety cannot be overlooked. A well-maintained blender is safer to use as it reduces the possibility of electrical faults or blade-related accidents.

Preparation before Cleaning the Blender

Before you begin the cleaning process, there are few vital steps to follow. Firstly, ensure the blender is unplugged before you start cleaning it. This is crucial to prevent any electrical accidents. Moreover, be careful when handling the blade of the blender. The blades are sharp, and mishandling can lead to injury.

Also, separating components for cleaning is an important step. One must never submerge the entire blender in water as it can damage the motor and electrical circuits. The jug/container, blade assembly, and lid usually can be detached from the blender base for separate cleaning. Consult the user manual if you are unsure about the correct disassembly process. The cleaning process may vary depending on the type of blender you are using, whether it is an Oster, Ninja, or Hamilton Beach blender [source].

Being aware of common issues, such as unpleasant smells emitting from your blender, could be an indication of maintenance needs [source].

Cleaning the Blender: Outer Components

The first step is to clean the outer components of the blender – the base and the control interface. It’s vital to remember that these parts should not be immersed in water. Use a damp cloth for cleaning spills, smudges, or dust off the exterior of the blender. Ensure that you reach all the nooks and crevices, as grime can accumulate and cause difficulties in operating the blender.

For the control board, gently using a soft, dry toothbrush can help remove particles lodged in the control buttons. This is especially necessary if you find that the buttons have become hard to press, as accumulated debris could be the cause. Wipe the control panel with a cloth lightly dampened with soapy water. Ensure that no water seeps into the control board.

For stubborn stains, a solution of vinegar and water can be used. Apply the solution using a cloth, let it sit for a few minutes, then wipe clean. Always follow up this process with a dry cloth to remove any lingering moisture.

Cleaning the Blender: Blade Assembly

Next comes the blade assembly, which is often the trickiest to clean, given its sharp edges. But it is also the part most likely to hold onto remnants of food materials. After removing the blade assembly from the jug or container, wash it with warm soapy water, using a brush if necessary to reach into the crevices.

Sharp kitchen tools like blades must be handled with care, so make sure you’re not placing your fingers near the edges while cleaning. After washing, rinse off the soap thoroughly under running water. The blade assembly must be completely dry before reassembling to avoid any potential for rust. Use a dry towel or let it air dry.

Cleaning the Blender: Jug or Container

The jug or container is usually the easiest to clean, as most designs are dishwasher safe. However, this information should be verified from your product manual. If your container is not dishwasher-safe, it can be hand washed with warm soapy water. Use a sponge or a brush to remove all traces of food residue. Always be sure to clean around and beneath the blade area thoroughly, and remember to clean the lid as well.

The cleaning procedures you use will vary depending on the material of your blender’s jug or container – plastic, glass, or stainless steel. A quick tip – to clean the inside of the jug, you can add warm water and a mild detergent to the container, run the blender for a few seconds, rinse well, and dry. Drying is a crucial step to prevent bacteria growth and rusting in metallic parts.

Additionally, irrespective of the blender brand, be it Ninja or Hamilton Beach, following the user manual’s instructions can help prolong the jug or container’s life [source].

Blender Disinfection

Despite regular cleaning, your blender can serve as a breeding ground for germs and bacteria if not adequately disinfected regularly. Blender disinfection is a step you should not neglect, especially if you use your blender to prepare baby food or smoothies for people with weakened immune systems.

For blender disinfection, you can prepare a bleach solution by mixing one tablespoon of bleach for every gallon of warm water, following the manufacturer’s instructions for application and waiting times. Rinse thoroughly after to ensure the bleach is wholly removed. If you’re hesitant about using bleach, vinegar can work as a natural disinfectant.

The frequency of disinfection depends on usage. If you use your blender daily, you might want to disinfect it weekly. If you use it less frequently, monthly disinfection should suffice.

Blender Lubrication: Why and How

Blender lubrication is required to ensure that the parts, particularly at the motor base, move smoothly without friction, which can lead to wear and tear. Lubrication can help reduce the noise level of your blender, increase its efficiency, and prolong its life.

If you hear a grinding noise from your blender, it could indicate that the blades lack sufficient lubrication. To lubricate your blender, first disassemble it following manufacturer instructions. Then apply a food-grade lubricant to the bearings and blades. Ensure excess lubricant does not spill over onto the other parts. Finally, assemble your blender, taking care not to over-tighten the parts.

Lubrication should be done sparingly and only when necessary. Over-lubrication can attract dust and grime which can potentially damage the motor and cause problems in functioning. Always use a lubricant suitable for kitchen appliances.

Maintenance of Motor Base

The motor base is the heart of your blender, and its maintenance is crucial for the blender’s overall performance. Cleaning the motor base might seem complicated due to its electrical components, but the task can be made simple with a clean, soft, dry cloth. Additionally, a can of compressed air can help remove dust from areas hard to reach.

If you notice your blender overheating, it could signal an issue with the ventilation. Ensure that your blender’s vents are not blocked and that there is enough space around the blender to release heat properly for cooling.

Regular inspection of the motor base for wear and tear can help prevent sudden breakdowns. If you notice any frayed wires or damaged components, contact a professional for repairs.

Electrical Maintenance of Blender

Electrical maintenance is an essential part of blender upkeep. Always unplug the blender before cleaning or doing any maintenance to avoid electric shock. Routinely check the power cord for any signs of damage such as fraying, cracking, or exposed wires.

Cleaning the plugs also contributes to electrical maintenance. Make sure the plugs are free of dust and grime. You can use a dry toothbrush to clean the plugs. It’s also crucial to keep the blender away from water sources to prevent electrical faults.

If you encounter any electrical issues such as a non-responsive power button or frequent power cuts while using the blender, it’s best to consult a professional for safe and proper resolution.

To prevent your blender from smelling, make sure to clean it thoroughly after each use. Remove any food residue and wash the blades and container with warm, soapy water. You can also blend a mixture of water and baking soda to help remove any lingering odors.

Blender Blades: Sharpening and Replacing

The condition of your blender blades can directly impact blending efficiency. With time, blender blades may dull due to regular use, reducing the blender’s effectiveness.

To sharpen your blender’s blades, you can use a sharpening stone or file. However, remember to exercise extreme caution throughout the process considering the sharpness and potential hazards of the blades. If you’re not confident in doing this yourself, you can always seek help from professionals.

At times, sharpening may not suffice, especially if the blades are chipped or damaged. In such cases, replacing them is the best option. While replacing blades, ensure you choose blades that are compatible with your blender model.

Gasket and Seal Ring Maintenance

Ensuring the efficiency of your blender’s gasket and seal rings is vital as they prevent leaks from the base of the blender when in use. Leaks can result in mess and even potential blender damage.

Regularly inspect the gaskets and seal rings for wear and tear. If you find them chipped, cracked or frayed, they might need replacement. Make sure to replace them with parts that match your blender’s specifications.

Aside from replacing worn-out parts, regular cleaning of these components is also necessary. As they come in contact with food, they can harbor bacteria or mold growth if not properly cleaned and maintained.

Blender Usage Tips for Longer Lifespan

With regular use, wear and tear are certain in any kitchen appliance, including your blender. However, adopting certain usage habits can help improve its efficacy and longevity.

One crucial usage tip is never to overload your blender. Overfilling can strain the motor, potentially causing damage. Plus, it can create an uneven consistency due to insufficient room for the ingredients to move around. Understanding your blender’s capacity is key to avoiding this. Cutting ingredients into smaller pieces before placing them in the blender can also be beneficial as it reduces the strain on the blades and motor.

Another advantageous tip is to use the correct speed settings. Begin at lower speeds, then gradually increase the speed as per your requirement. This allows the motor to warm up and prevent initial jarring. Additionally, avoid running your blender continuously for an extended period to prevent overheating.

Common Blender Issues and Troubleshooting

Even with the utmost care, blenders are prone to the occasional hiccup or breakdown. It’s useful to be aware of common problems and potential solutions.

One frequent issue is leakage, which could be due to loose connections or worn-out gasket or seal rings. Depending on the problem, you may need to tighten the connections or replace the gasket or seal rings. Sometimes, a blender might make abnormal noises because of a damaged drive socket or motor. In such cases, it’s generally recommended to consult a professional. Also, if your blender fails to power up, regular checks of the power cord and outlet might throw light upon the issue.

Always remember that troubleshooting should never compromise your safety. In a case where you’re unsure, always prefer professional help.

DIY or Professional Blender Maintenance

While most of the cleaning and basic maintenance can be done at home, tricky repairs or replacements require professional knowledge and tools.

DIY maintenance includes cleaning after every use, regular visual inspections for damages, sharpening blades, and replacing the gasket or seal rings. However, when dealing with issues like motor malfunctions, abnormal noises, or power-related problems, it’s imperative to engage a professional as these might entail advanced repairs or internal adjustments.

When choosing professional services, always consider their reputation, expertise, and cost-effectiveness. Only rely on qualified and experienced technicians to ensure your blender is in the best hands. Maintenance of your blender is a mix of both DIY and professional efforts and can save you from unexpected malfunction and extend your blender’s lifespan.

Top Blender Maintenance Products

Effective maintenance of your blender not only involves the right procedures but also the use of the right products. Here are some top picks that have been proven beneficial.

Firstly, cleaning products make keeping your blender in pristine condition an easy task. Look for cleaning liquids or powders that are formulated specifically for blenders, capable of removing residue without damaging the blender components. Soap and water may work well for daily cleaning, but a specialized cleaning agent can tackle stubborn stains and residual smells.

Lubricants play a key role in smoother functioning. Select lubricants which are food-grade and specially designed for kitchen appliances. Regular lubrication makes the moving parts of the blender operate smoothly, reducing wear and tear.

Lastly, a good quality blade sharpener is essential for maintaining the efficiency of your blender. Keeping the blades sharp ensures that your blender performs at its optimum.

Long-Term Storage Tips for Blenders

If you do not plan on using your blender frequently or need to store it for an extended period, it is crucial to follow the right storage procedures.

Cleaning the blender before storage is the first and most critical step. Ensuring all components are entirely free of food particles and moisture prevents mold, rust, or unpleasant odors.

Properly disassembling your blender before storing can prevent damage to individual parts. Keep the blade, gasket, and jar separate, ideally wrapped or placed in individual bags.

When it comes to the storage location, keep the blender in a cool, dry place to avoid humidity that could cause rusting. Also, avoid placing heavy objects on it to prevent any damage.

Simplifying Blender Maintenance: A Routine

Maintaining a regular routine can make blender maintenance painless and efficient. Prioritizing consistency in your cleaning and maintenance practice will result in a reliable, long-lasting appliance.

For instance, on a weekly basis, you could run some warm soapy water through the blender post-use, instead of just rinsing it. You can also conduct a visual inspection for any irregularities or defects.

On a monthly basis, give your blender a deep clean and make time for blade sharpening and motor base cleaning. Lubricate the rubber gaskets and seal-ring to ensure smooth operation.

Reflection on the blender’s performance during use can help detect issues earlier. This could include paying attention to unusual noises, slower than usual blending, or irregular functioning.

Finally, investing in an annual checkup, especially servicing by professionals, can offer a more detailed cleaning, lubricating, and potential part replacements such as blades or gaskets. This routine can ensure you have a perfectly functional blender over an extended period.

Resource Library for Blender Maintenance

As a blender owner, being knowledgeable on your appliance’s care significantly extends its lifespan and improves its performance. This is why it is important to have a list of resources at your disposal for proper blender maintenance.

Books on appliance maintenance can provide in-depth knowledge on taking care of your kitchen tools, including blenders. These books often include step-by-step guides and tips from industry professionals. Doing an online search for “appliance maintenance books” yields a wealth of information.

Online resources are easily accessible and typically free. Websites like Storables offer a broad range of articles on topics from assembling your blender to diagnosing and fixing common blender issues. There are also numerous YouTube videos that provide visual guides on blender maintenance.

For those who prefer hands-on learning, look into local classes or workshops on appliance maintenance. Some community colleges or adult education programs may offer relevant courses.

Conclusion

Having a well-functioning blender can be a real asset in any kitchen, whether used professionally or just for daily meals at home. Regular and proper maintenance not only keeps your favorite smoothies whirling but also saves you money in the long term by avoiding costly replacements.

The key to effective blender maintenance lies in regular cleaning, attention to all components, including blades and seals, and being aware of signs of wear and tear. Investing in the right maintenance products and keeping up to date with the industry’s best practices can help immensely.

At the end of the day, a well-maintained blender is a testament to care and good housekeeping. Mastery of blender maintenance ensures the superb health and longevity of your kitchen’s unsung hero, the blender.

Remember, whether it’s an Ninja professional blender, an Oster, a Hamilton Beach Blender or any other brand, these maintenance tips are universally applicable.

So, here’s to a future of delicious blends, smoothies, soups, and more!