Home>Dining>Tableware>How To Place Your Thanksgiving Table Settings

Tableware
How To Place Your Thanksgiving Table Settings
Modified: October 18, 2024
Discover expert tips and tricks for creating stunning Thanksgiving table settings. Learn how to set up your table with beautiful tableware and make your holiday gathering unforgettable.
(Many of the links in this article redirect to a specific reviewed product. Your purchase of these products through affiliate links helps to generate commission for Storables.com, at no extra cost. Learn more)
Introduction
Welcome to the world of tableware, where every gathering becomes an occasion and every meal becomes a memorable experience. When it comes to hosting a special event or holiday dinner, setting up the perfect table is essential to creating an inviting and festive atmosphere. Whether you’re planning a Thanksgiving feast or any other celebratory occasion, the right table settings can elevate the entire dining experience.
In this article, we will guide you through the process of how to set your table in a stylish and functional way, ensuring that every detail is considered and executed to perfection. From choosing a theme to selecting the right linens, dinnerware, and cutlery, we will cover all the essential elements to create a stunning table setting that will impress your guests.
So, let’s dive into the world of tableware and discover how to set up the perfect Thanksgiving table.
Key Takeaways:
- Elevate your Thanksgiving table with themed settings, stylish linens, captivating centerpieces, and quality dinnerware. Infuse creativity and personal touches to create a warm and inviting atmosphere for a memorable dining experience.
- Pay attention to the details – from napkin folding to glassware placement – to elevate your Thanksgiving table setting. Create a visually appealing and well-curated setup that reflects your personal style and enhances the dining experience.
Read more: How To Make Thanksgiving Table Centerpieces
Choosing a Theme
As you set your table for Thanksgiving dinner, consider how creating a theme can add a touch of elegance and cohesiveness to your gathering. By thoughtfully arranging your table, you create a visual story and set the tone for the evening. Consider the overall ambiance you want to create and choose a theme that reflects that mood.
One popular theme for Thanksgiving is a rustic harvest theme. You can incorporate elements such as autumn foliage, pumpkins, and gourds, along with warm earthy colors like brown, orange, and gold. This theme evokes a cozy, down-to-earth atmosphere that is perfect for a traditional Thanksgiving feast.
If you prefer a more modern and sleek look, you can opt for a minimalist theme. Focus on clean lines, neutral colors, and simple yet elegant décor. This theme creates a sophisticated and contemporary setting that allows the food to take center stage.
For those who love a touch of glamour, a formal theme might be the way to go. Think luxurious fabrics, extravagant centerpieces, and sparkling tableware. This theme is perfect for a fancy Thanksgiving soirée where you want to impress your guests with an opulent dining experience.
Once you have chosen a theme, set your table with it in mind as you move forward with selecting the rest of your table settings. This approach will help you make consistent choices that contribute to the overall aesthetic and ambiance of your Thanksgiving table.
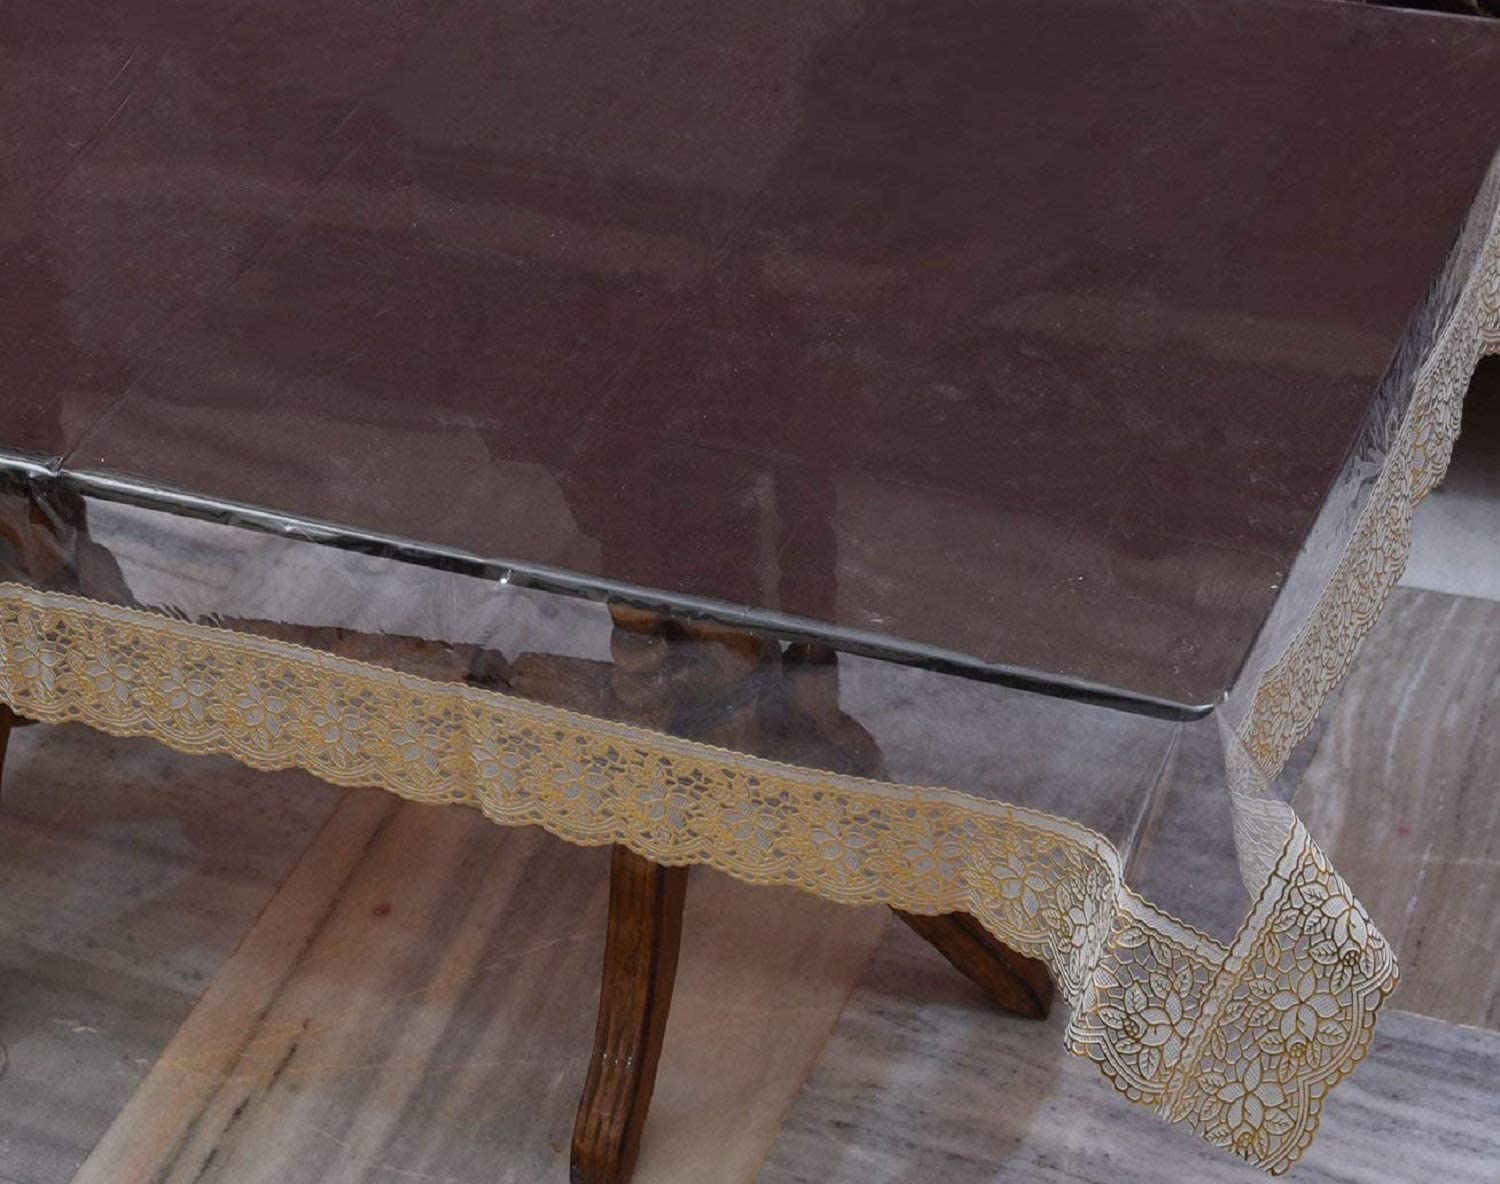
Selecting Table Linens
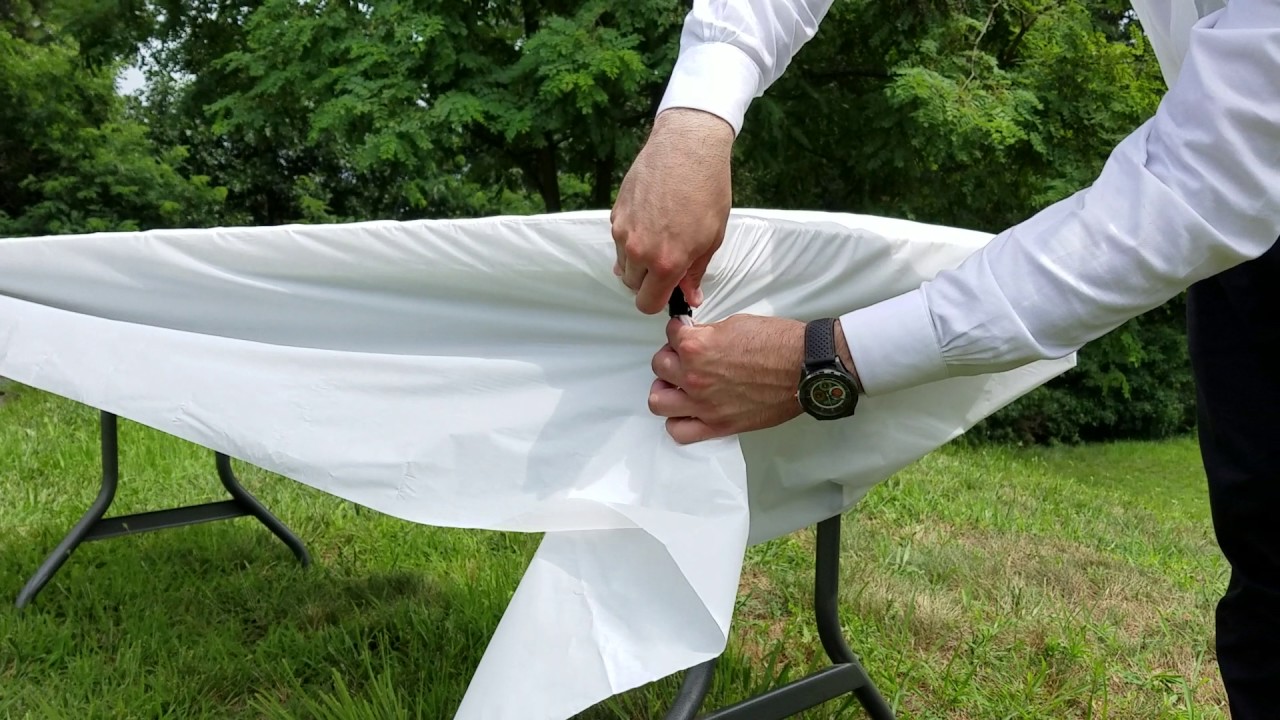
Table linens play a significant role in setting the tone and style of your Thanksgiving table. They not only protect your table from spills and stains but also add a layer of sophistication and elegance to the overall look. Here are some tips to help you choose the right table linens for your Thanksgiving gathering:
- Consider the Color Palette: Look for table linens that complement the theme and color scheme you have chosen. For a rustic harvest theme, opt for warm, earthy tones like deep reds, oranges, or browns. For a more modern or minimalist look, choose neutral colors like white, beige, or gray. If you’re going for a formal theme, consider rich jewel tones or metallic hues.
- Select the Right Fabric: The fabric you choose for your table linens can make a big difference in terms of both aesthetics and functionality. For a formal occasion, consider luxurious options like satin, silk, or velvet. For a more casual gathering, cotton or linen tablecloths and napkins can offer a relaxed and comfortable feel. Make sure to choose fabrics that are easy to clean and maintain.
- Experiment with Patterns and Textures: If you want to add visual interest to your table, consider using linens with patterns or textures. For a rustic theme, look for plaid or gingham patterns. For a modern look, consider geometric designs. Textured linens like lace or embroidered fabrics can add a touch of elegance and sophistication.
- Don’t Forget the Napkins: Napkins are an important part of your table settings. Consider folding them in creative ways or using napkin rings to add a decorative element. Coordinate the color and fabric of the napkins with the rest of your table linens.
Remember, table linens are more than just functional items – they are an opportunity to add style and personality to your Thanksgiving table. Choose linens that reflect your desired theme and create an inviting and visually appealing atmosphere for your guests to enjoy.
Creating a Centerpiece
A well-designed centerpiece can serve as the focal point of your Thanksgiving table, adding beauty and charm to the overall setup. It creates a visual impact and sets the tone for the entire dining experience. Here are some ideas for creating a stunning centerpiece:
- Natural Elements: Embrace the beauty of the season by incorporating natural elements into your centerpiece. Arrange a bouquet of fall flowers, such as sunflowers, mums, or dahlias, in a vase as the centerpiece. Alternatively, create a centerpiece using autumn foliage, pinecones, or branches adorned with colorful leaves.
- Harvest Cornucopia: The cornucopia is a traditional symbol of abundance and plenty. Fill a wicker cornucopia basket with an assortment of seasonal fruits, vegetables, and gourds. Think pumpkins, apples, pears, squash, and colorful autumnal produce. This creates a visually appealing and bountiful centerpiece that captures the essence of Thanksgiving.
- Candlelit Elegance: Candles add a touch of warmth and intimacy to any table setting. Arrange a cluster of pillar candles or taper candles of varying heights in the center of your table. Choose colors that complement your theme and consider using candle holders or candelabras for added elegance.
- Unique and Personalized: Get creative with your centerpiece by incorporating unique and personal touches. Consider creating a centerpiece using antique or vintage items, such as heirloom vases or silverware. Alternatively, showcase a collection of sentimental objects or family photos in a decorative display.
Remember to keep the centerpiece at an appropriate height so that it doesn’t obstruct your guests’ view or impede conversation. It should enhance the table setting without overpowering it. Experiment with different ideas and arrangements until you find the perfect centerpiece that adds interest, beauty, and personality to your Thanksgiving table.
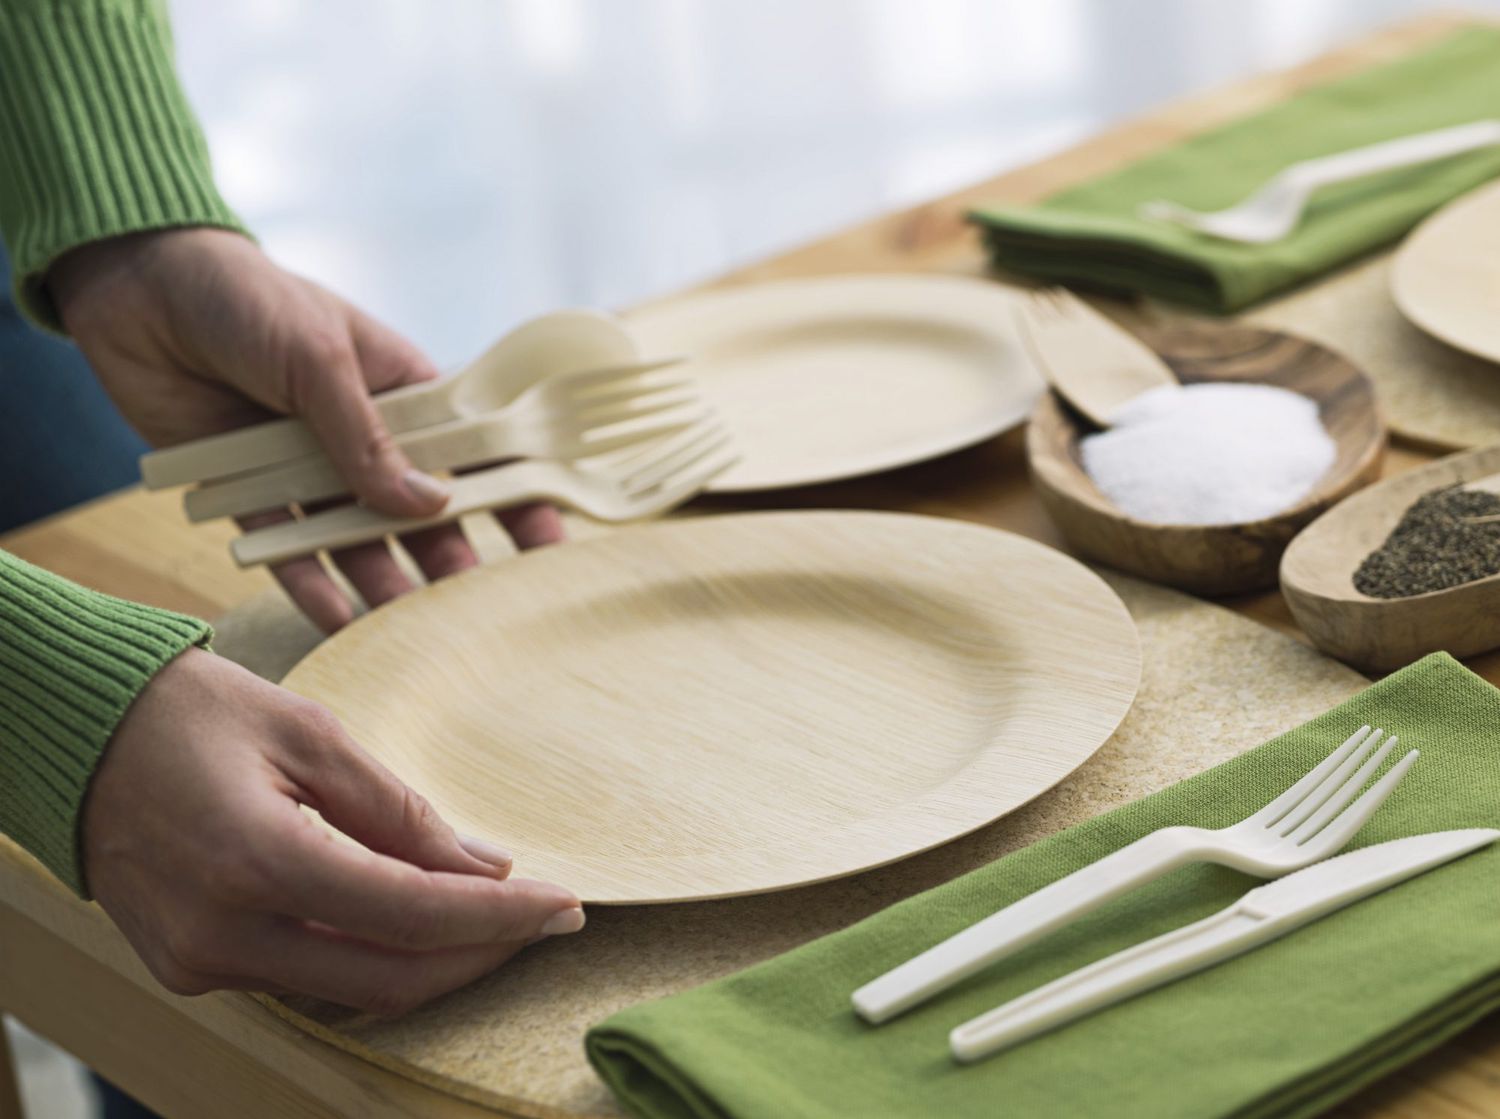
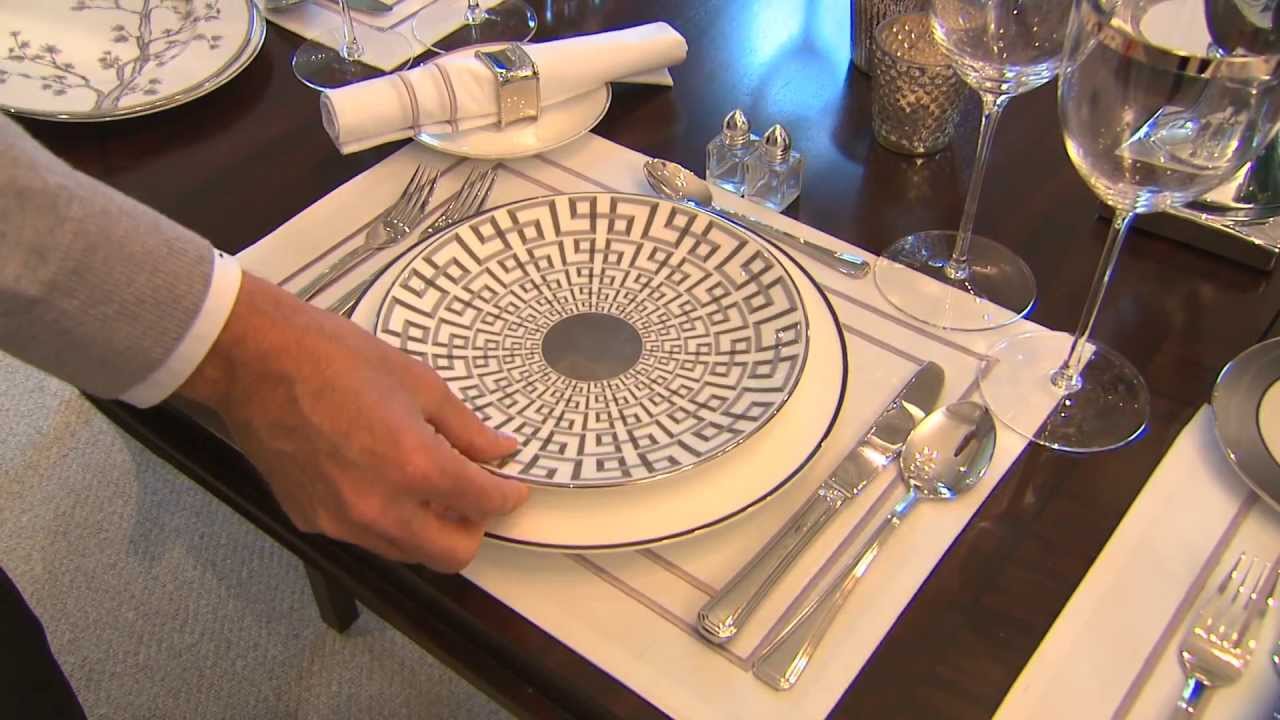
Choosing Dinnerware and Cutlery
The right dinnerware and cutlery can elevate the overall look and feel of your Thanksgiving table, enhancing the dining experience for your guests. Here are some tips to help you choose the perfect dinnerware and cutlery:
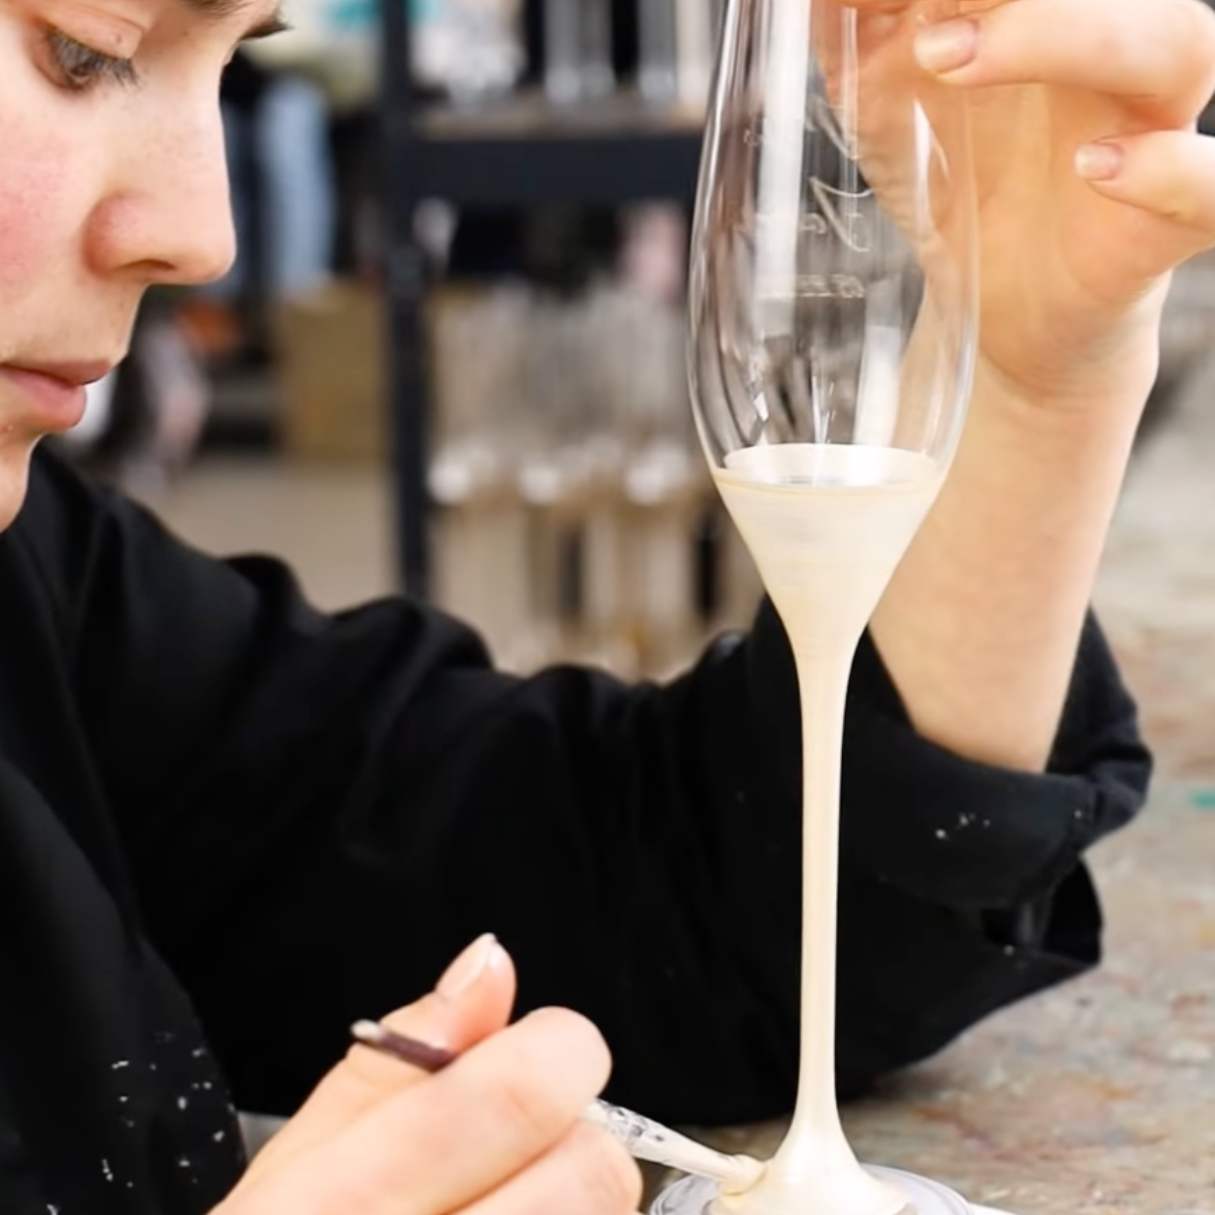
- Consider the Style: For your chosen theme and aesthetic, select dinnerware and cutlery that complement the style. If you’re aiming for a rustic or traditional look, earthenware or stoneware with earthy tones and textured finishes are ideal. For those who prefer a modern or minimalist style, sleek and simple porcelain or bone china in neutral colors would be perfect. And to add a personal touch to a formal occasion, consider fine china or make beaded wine glasses with elegant patterns or metallic accents.
- Coordinate Colors and Patterns: Ensure that your dinnerware and cutlery complement the overall color scheme of your table setting. Choose colors that harmonize with your linens, centerpiece, and decorations. If you have patterned linens or a vibrant centerpiece, it’s best to choose dinnerware and cutlery with simpler designs to avoid visual overload.
- Choose the Right Size and Shape: Consider the size and shape of your plates, bowls, and serving dishes. Ensure they are practical and functional for serving your Thanksgiving meal. It’s important to have appropriately sized plates to accommodate all the various dishes that will be served. Additionally, consider the ergonomics and comfort of the cutlery in your hand.
- Quality Matters: Invest in quality dinnerware and cutlery that will last for years to come. Look for pieces that are durable, dishwasher-safe, and chip-resistant. Quality dinnerware and cutlery can enhance the overall dining experience and withstand regular use for future gatherings.
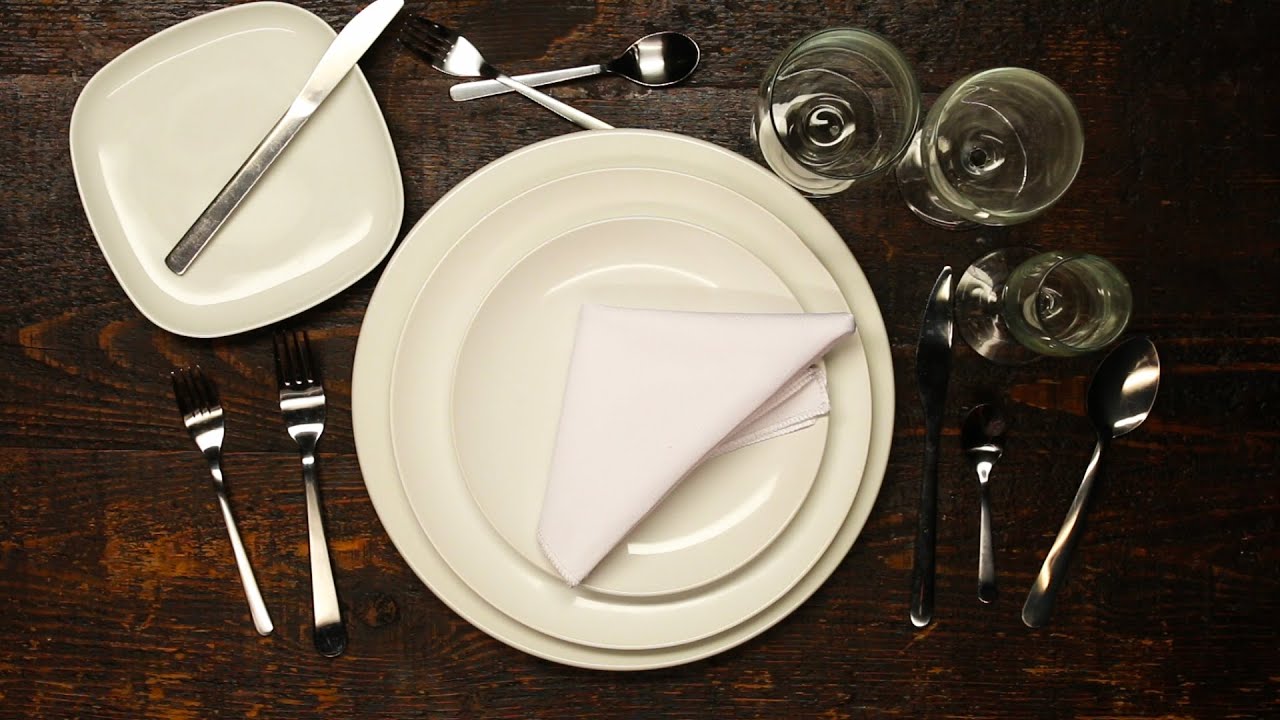
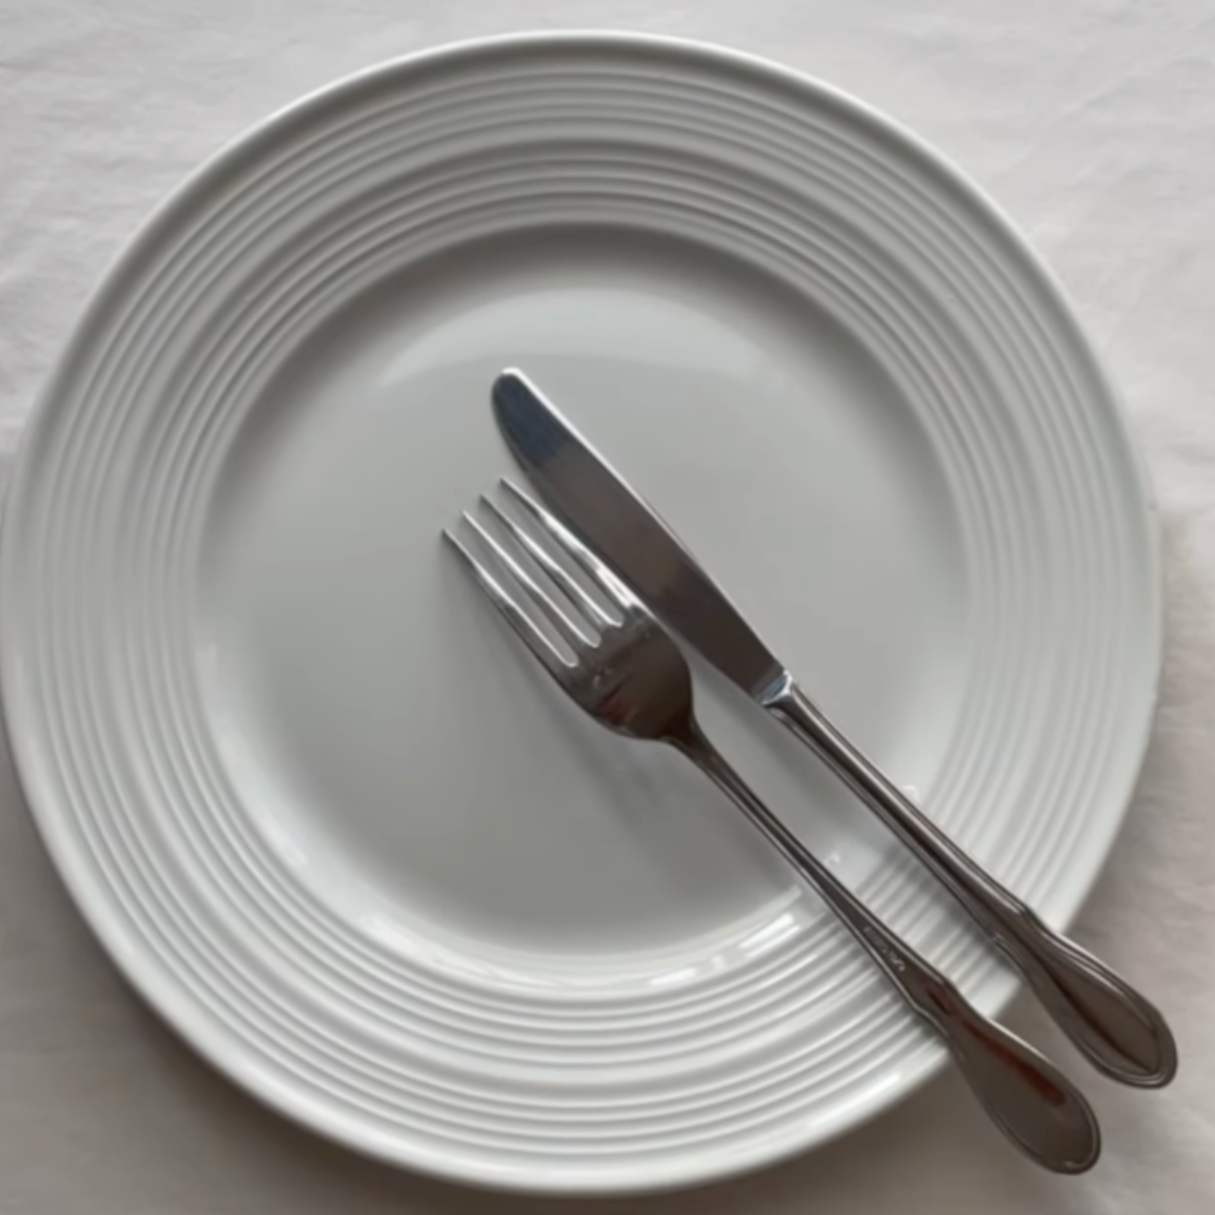
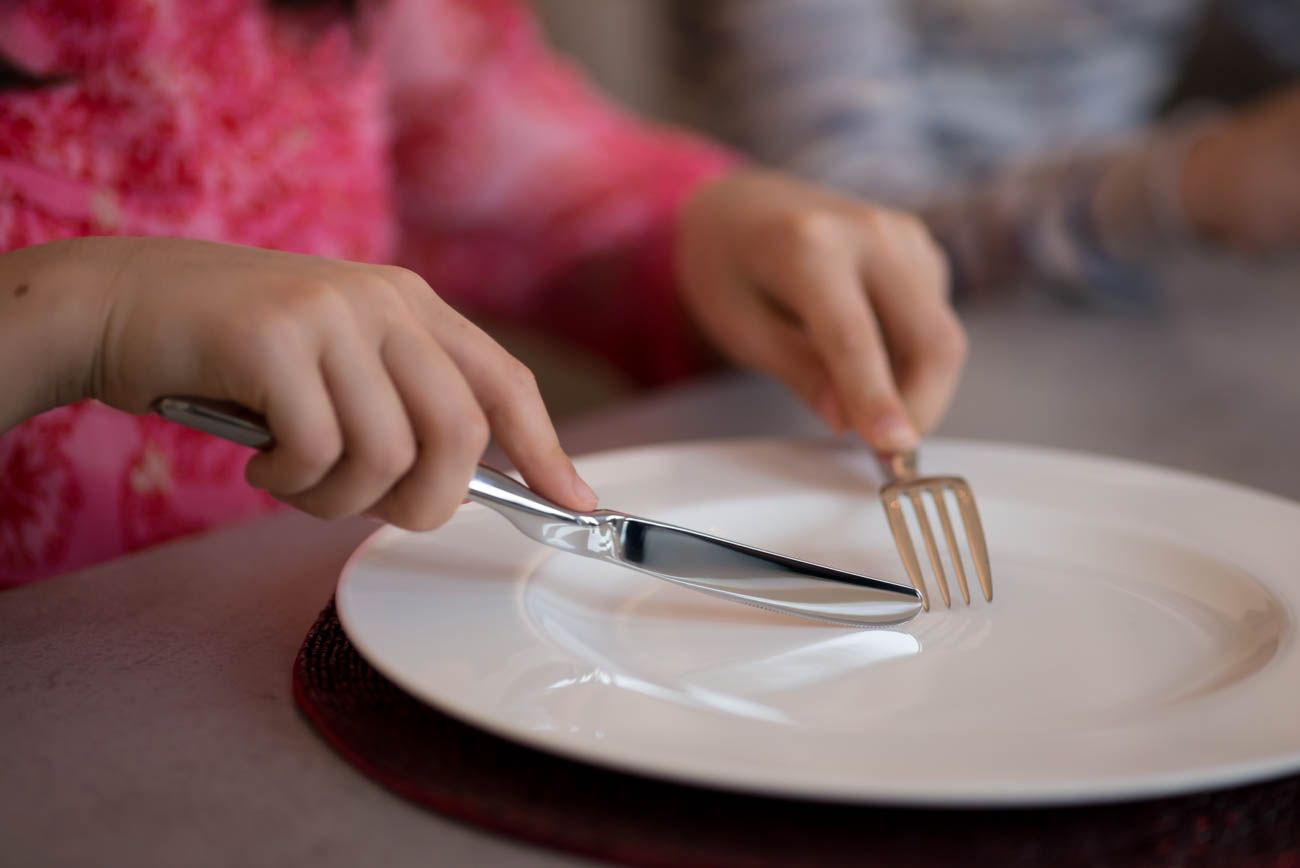
Don’t forget to set the table with the proper placement of the cutlery – forks on the left, knives on the right (blade facing inward), and spoons to the right of the knife. Add any additional utensils as needed based on the dishes you will be serving.
Remember, the dinnerware and cutlery you choose not only serve a functional purpose but also contribute to the overall aesthetic of your Thanksgiving table. Take the time to select pieces that reflect your personal style and enhance the ambiance of the gathering.
Consider using natural elements such as fall leaves, pinecones, and seasonal flowers to create a beautiful and festive Thanksgiving table setting. These elements can be easily found in your backyard or local market and add a touch of warmth to your table.
Read more: How To Fold A Napkin For Thanksgiving
Setting the Napkins and Place Cards
Setting the napkins and place cards adds a touch of elegance and organization to your Thanksgiving table. It ensures that each guest has a designated seat and adds a personal touch to the dining experience. Here are some tips for setting the napkins and place cards:
- Napkin Styles: The napkin folding style you choose can enhance the visual appeal of your table. You can fold napkins into classic shapes, such as the pocket or pyramid fold, or get creative with more intricate designs, such as the fan or rose fold. Experiment with different styles to find the one that best complements your table setting.
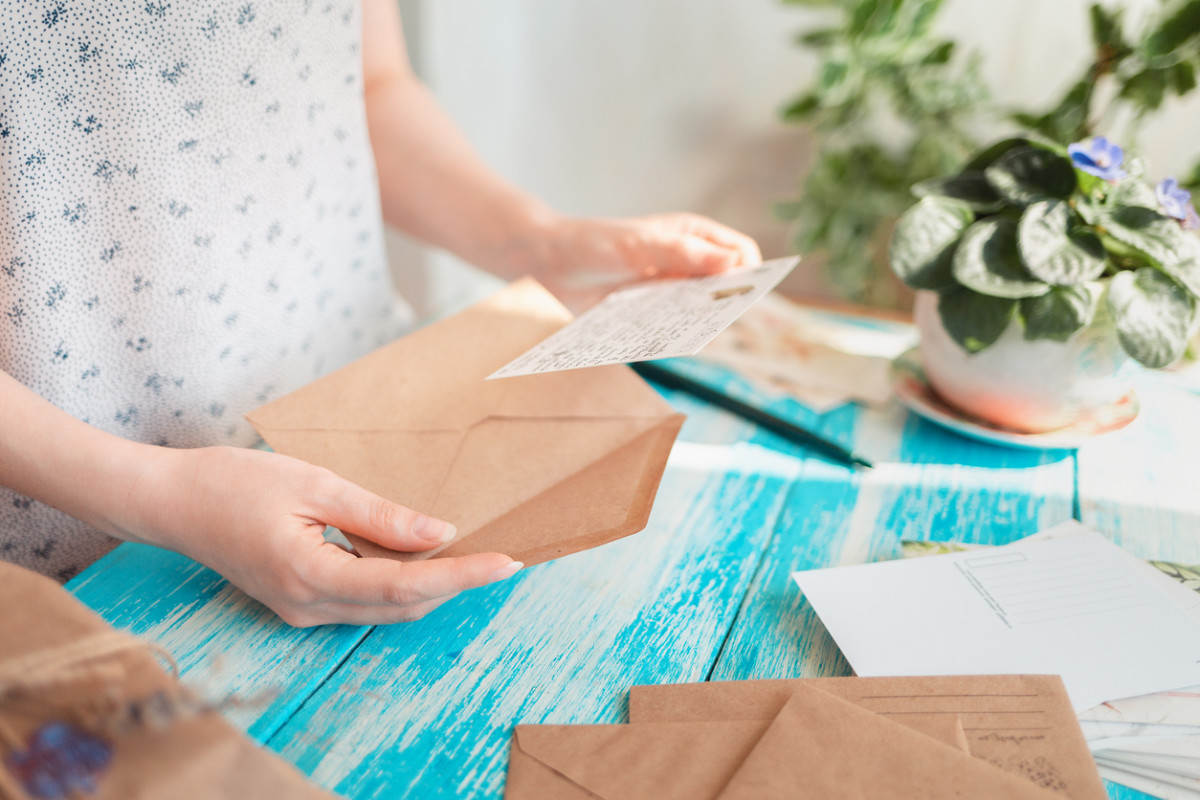
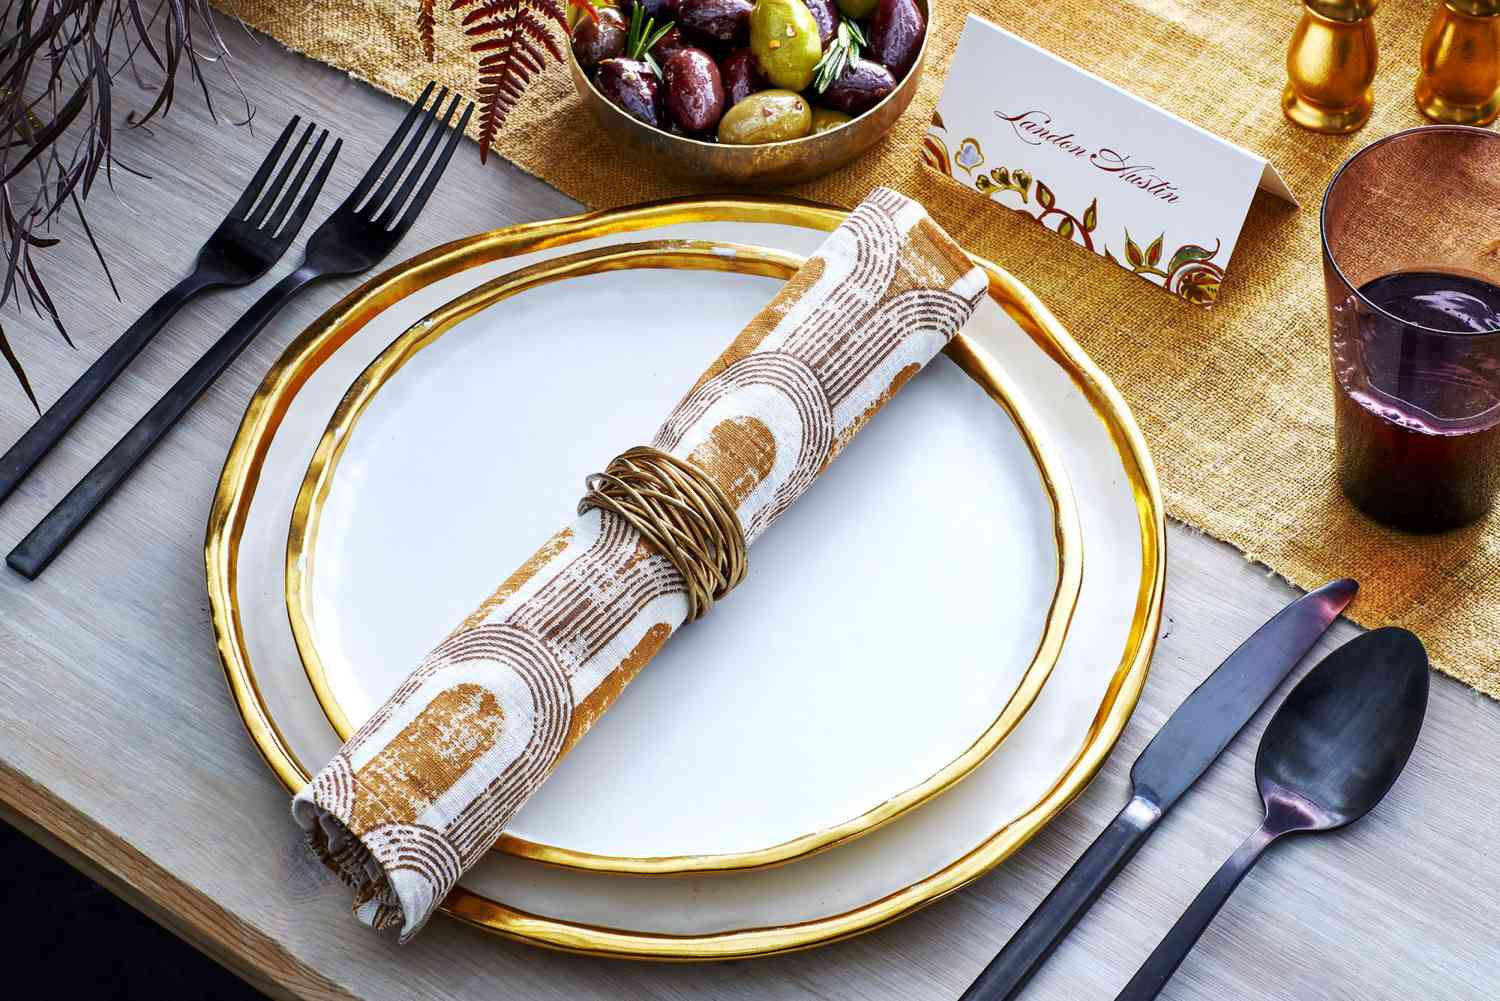
- Place Cards: Place cards are an excellent way to assign seating and add a personal touch to each guest’s place. Use elegant cardstock or decorative paper to create the place cards. Handwrite or print the names of your guests and place them strategically at each setting. Consider adding small details like dried flowers, twine, or ribbon for an extra special touch.
- Placement: Set the napkin to the left of the cutlery, with the fold facing inward. You can place the folded napkin on top of the plate or to the left of it. Position the place card in front or on top of the napkin, depending on the desired aesthetic. Ensure that the place cards are clearly visible and easily accessible to guests.
Setting the napkins and place cards not only adds a decorative element to your table but also allows you to create a seating arrangement that encourages conversation and connection among your guests. It shows that you have thoughtfully prepared a designated spot for each person, making them feel special and welcomed.
Remember to consider the overall theme and style of your table when selecting napkin colors, styles, and place card designs. Have fun with the presentation and make it an opportunity to express your creativity and attention to detail.
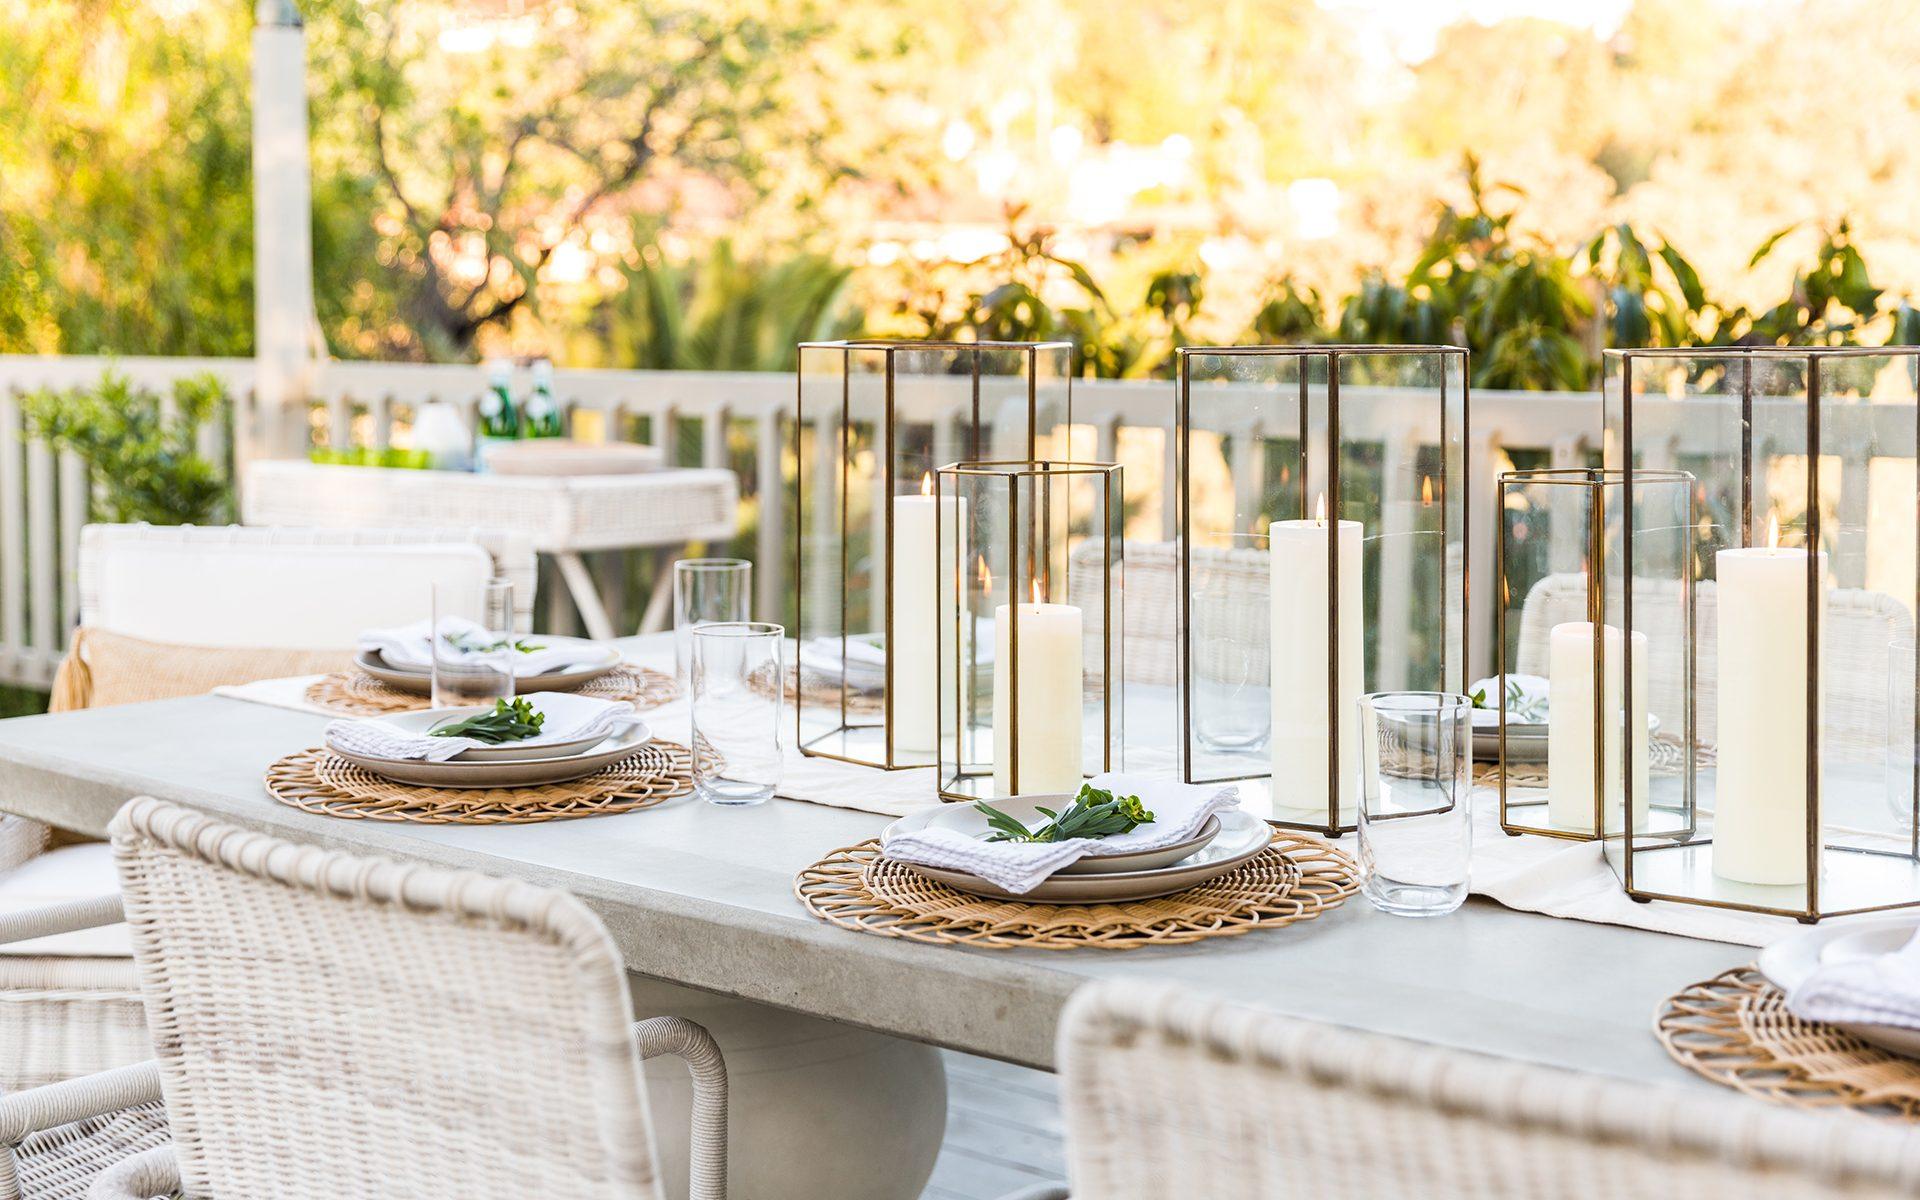
Lighting and Decorations
Setting the right lighting and incorporating festive decorations can transform your Thanksgiving table into a warm and inviting space. Here are some ideas to create a delightful ambiance:
- Ambient Lighting: Choose soft and warm lighting to create a cozy atmosphere. Avoid harsh overhead lights and opt for table lamps, string lights, or candles. Use dimmers if available to adjust the light intensity based on the desired mood. Candles not only provide a warm glow but also add a touch of elegance to the table setting. Place them strategically to create a balanced and visually appealing arrangement.
- Seasonal Decor: Embrace the spirit of the season by incorporating seasonal decorations into your Thanksgiving table. Use autumnal elements such as pumpkins, gourds, leaves, or cornstalks. Arrange them as a centerpiece, scatter them along the table runner, or use as individual place card holders. Alternatively, consider incorporating natural elements like pinecones or branches adorned with colorful foliage.
- Table Runner or Cloth: A table runner or cloth can add a decorative touch to your table. Choose one that complements your overall theme and color scheme. You can use a solid-colored runner or one with seasonal patterns or designs. Ensure that the length of the runner is appropriate, allowing it to hang evenly on both sides of the table.
- Centerpiece Accents: Enhance your centerpiece with additional accents such as decorative mercury glass votives, mini pumpkins, or fall-inspired floral arrangements. These small touches can add depth and visual interest to the centerpiece, making it more captivating and inviting.
Remember to strike a balance between decorations and functionality. Ensure that decorations do not obstruct guests’ views or hinder interaction during the meal. The key is to create a visually pleasing and cozy atmosphere without overwhelming the table or compromising the dining experience.
With the right lighting and thoughtfully placed decorations, you can create a warm and inviting ambiance that sets the perfect backdrop for your Thanksgiving feast.
Final Touches and Details
As you approach the completion of your Thanksgiving table setting, it’s time to add the final touches and attend to the finer details. These small but significant elements can take your table from ordinary to extraordinary. Here are some final touches and details to consider:
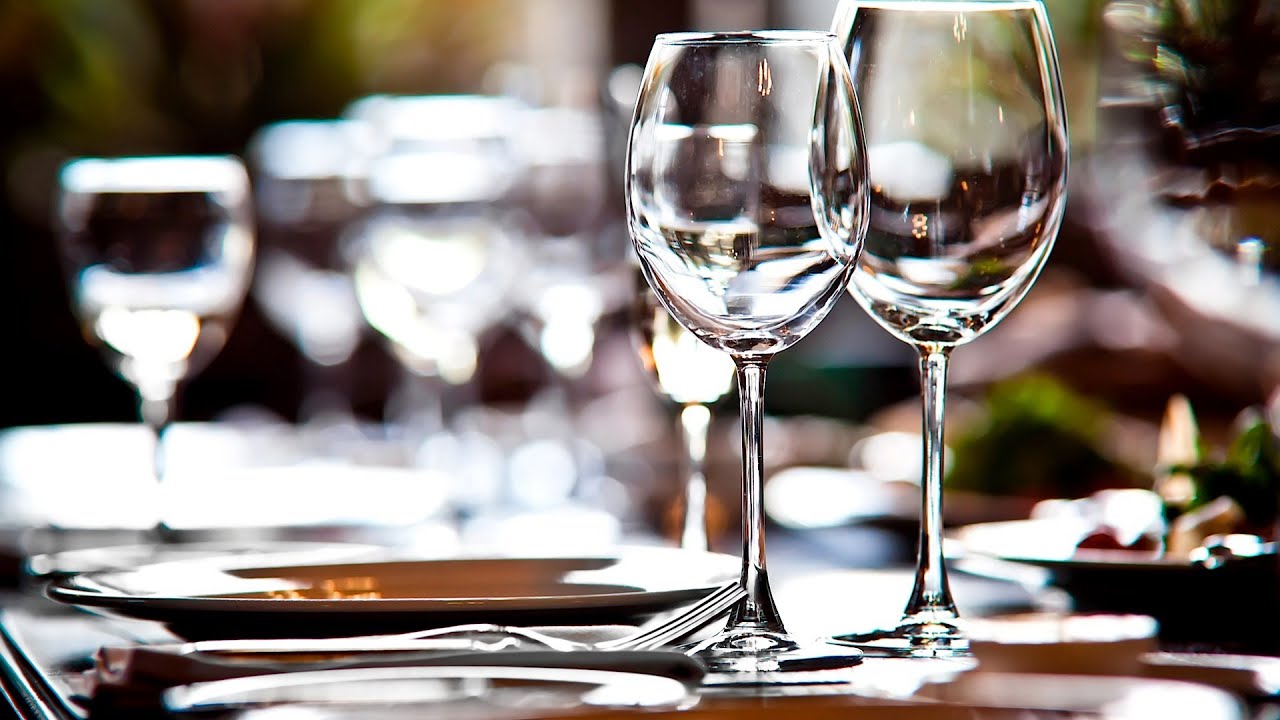
- Glassware: When selecting glassware, consider how it fits with your overall table setting, paying particular attention to water and wine glass placement. Ensure that each guest has both a water glass and a wine glass, when appropriate. Additionally, you might want to include specialty glasses for various drinks. It’s important to check that all glasses are spotless and smudge-free.
- Utensil Placement: Pay attention to the placement of utensils. Forks should be on the left side of the plate, with the salad fork on the outermost side and the dinner fork closest to the plate. Knives and spoons go on the right side, with the knife blade facing the plate. Ensure that the utensils are evenly spaced and aligned.
- Table Accessories: Add some final accessories to enhance the overall look of your table. Consider incorporating seasonal elements like fall leaves, acorns, or small decorative pumpkins. Place them strategically around the centerpiece or as scattered accents along the table.
- Table Seating: Double-check your seating arrangement and ensure that each guest has an assigned seat. Using place cards not only adds a personalized touch but also sets a sense of order and helps facilitate conversations among guests.
- Music and Scent: Enhance the dining experience by playing soft background music that complements the mood of your gathering. Consider creating a playlist with relaxing instrumental tunes or seasonal favorites. Additionally, a subtle scent can heighten the ambiance. Consider using scented candles or diffusers with fragrances like cinnamon, apple, or spices.
Take a step back and examine your Thanksgiving table. Make any necessary adjustments to create a balanced and visually appealing setup. Pay attention to the small details, ensuring that everything is clean, polished, and well-arranged.
By focusing on these final touches and details, you can elevate your Thanksgiving table setting and create a memorable dining experience for you and your guests.
Conclusion
Setting up the perfect table for your Thanksgiving dinner is more than just placing dishes and utensils. It is an opportunity to create a warm and inviting atmosphere, where your guests can come together to enjoy a memorable meal and make cherished memories. By paying attention to every detail, from choosing a theme to selecting table linens, creating a centerpiece, and incorporating the right dinnerware and cutlery, you can curate a stunning table setting that reflects your personal style and enhances the dining experience.
Remember to infuse creativity and personal touches throughout the process. Explore different ideas, experiment with colors and textures, and let your imagination run wild. Incorporate elements of the season, like autumn foliage and harvest-inspired decorations, to capture the spirit of Thanksgiving.
Setting the napkins and place cards adds a touch of organization and elegance to each guest’s designated seat, while the lighting and decorations create a warm and inviting ambiance. Don’t forget the final touches and details, such as perfectly placed glassware and utensils, table accessories, and the subtle background music and scent that enhance the entire experience.
As you sit down to enjoy your Thanksgiving feast surrounded by your loved ones, take a moment to appreciate the beauty and thoughtfulness that went into setting the table. A well-curated table setting not only pleases the eye but also sets the stage for a wonderful dining experience that celebrates gratitude, togetherness, and delicious food.
So, dive into the world of tableware and let your creativity shine. Create a Thanksgiving table that delights your guests and leaves a lasting impression. Happy Thanksgiving!
Frequently Asked Questions about How To Place Your Thanksgiving Table Settings
Was this page helpful?
At Storables.com, we guarantee accurate and reliable information. Our content, validated by Expert Board Contributors, is crafted following stringent Editorial Policies. We're committed to providing you with well-researched, expert-backed insights for all your informational needs.

0 thoughts on “How To Place Your Thanksgiving Table Settings”