Home>Dining>Tableware>How To Set A Place Setting On The Table

Tableware
How To Set A Place Setting On The Table
Modified: November 2, 2024
Learn how to set a beautiful table with proper tableware placement. Follow our step-by-step guide to create an elegant dining experience.
(Many of the links in this article redirect to a specific reviewed product. Your purchase of these products through affiliate links helps to generate commission for Storables.com, at no extra cost. Learn more)
Introduction
Setting a beautiful and well-organized table can elevate any dining experience, whether it’s a casual gathering or a formal dinner party. The art of table setting, also known as tableware arrangement, involves a careful placement of various utensils, plates, glassware, and other elements to create an inviting and visually appealing setup. Not only does a well-set table create a pleasant ambiance, but it also helps guests feel more comfortable and at ease.
In this article, we will guide you through the process of setting a place setting on the table like a pro. We will cover everything from choosing the right tablecloth to arranging the silverware, glasses, and other essential elements. By following these steps, you will be able to create a table setting that impresses your guests and enhances the overall dining experience.
So, whether you are hosting a special occasion or simply want to make your everyday meals more elegant, let’s dive into the world of tableware and learn how to set a beautiful table that will leave a lasting impression.
Key Takeaways:
- Elevate any dining experience by following these steps to create a stunning table arrangement that impresses guests and enhances the overall ambiance.
- Attention to detail, proper alignment, and personalized touches can create a memorable dining experience, showcasing thoughtfulness and care as a host.
Read more: How To Keep A Tablecloth In Place
Understanding the Basics
Before we jump into the step-by-step process of setting a place setting on the table, let’s familiarize ourselves with the key elements and concepts involved.
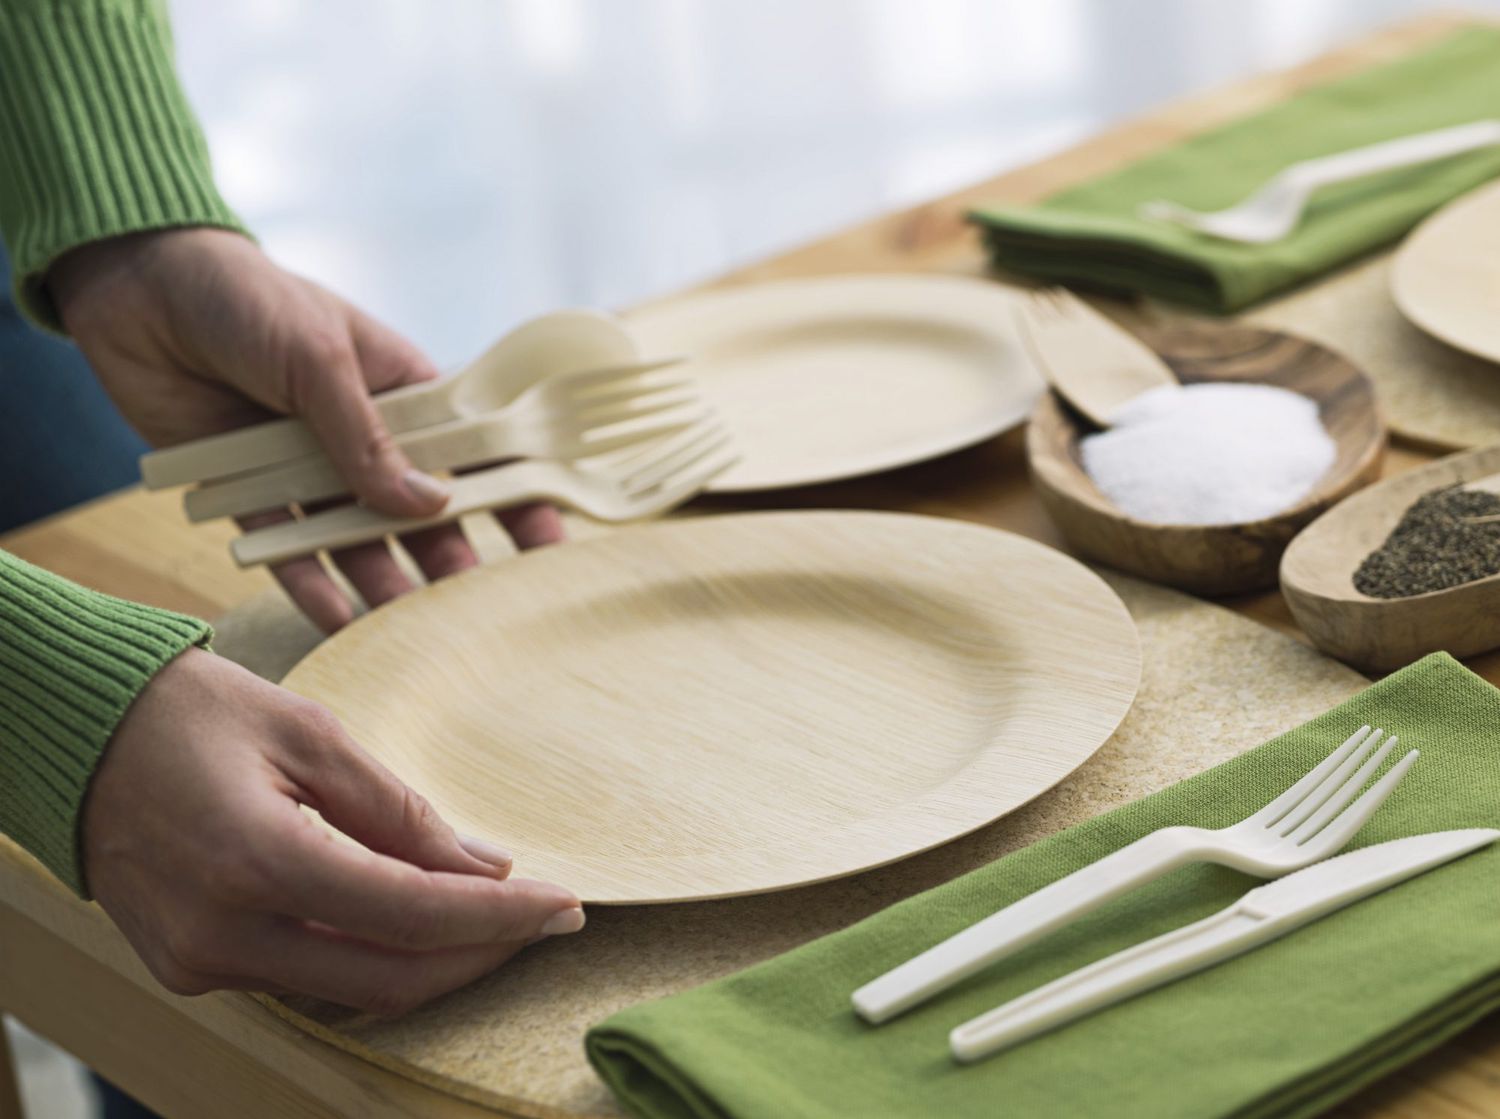
First and foremost, a place setting typically includes a variety of essential items, such as a dinner plate, a napkin, utensils (forks, knives, spoons), glassware, and sometimes additional plates for salads or appetizers. Each item has its own designated place and contributes to the overall arrangement of the table.
Another important consideration is the size and shape of the table. Whether you have a round, rectangular, or oval table, it’s essential to ensure that the table setting is proportionate and balanced. Additionally, the type of occasion or meal you are hosting will also influence the table setting. For formal events, you may incorporate more utensils and glassware, while for casual gatherings, a simpler arrangement will suffice.
It’s also worth noting that there are different types of tableware available, including china, porcelain, ceramic, and stoneware. Each has its own unique aesthetic and durability, so you can choose the material that best suits your style and practicality.
Now that we have a basic understanding of how to set your table, let’s move on to the step-by-step process of creating a stunning place setting on your table.
Step 1: Choosing the Right Tablecloth
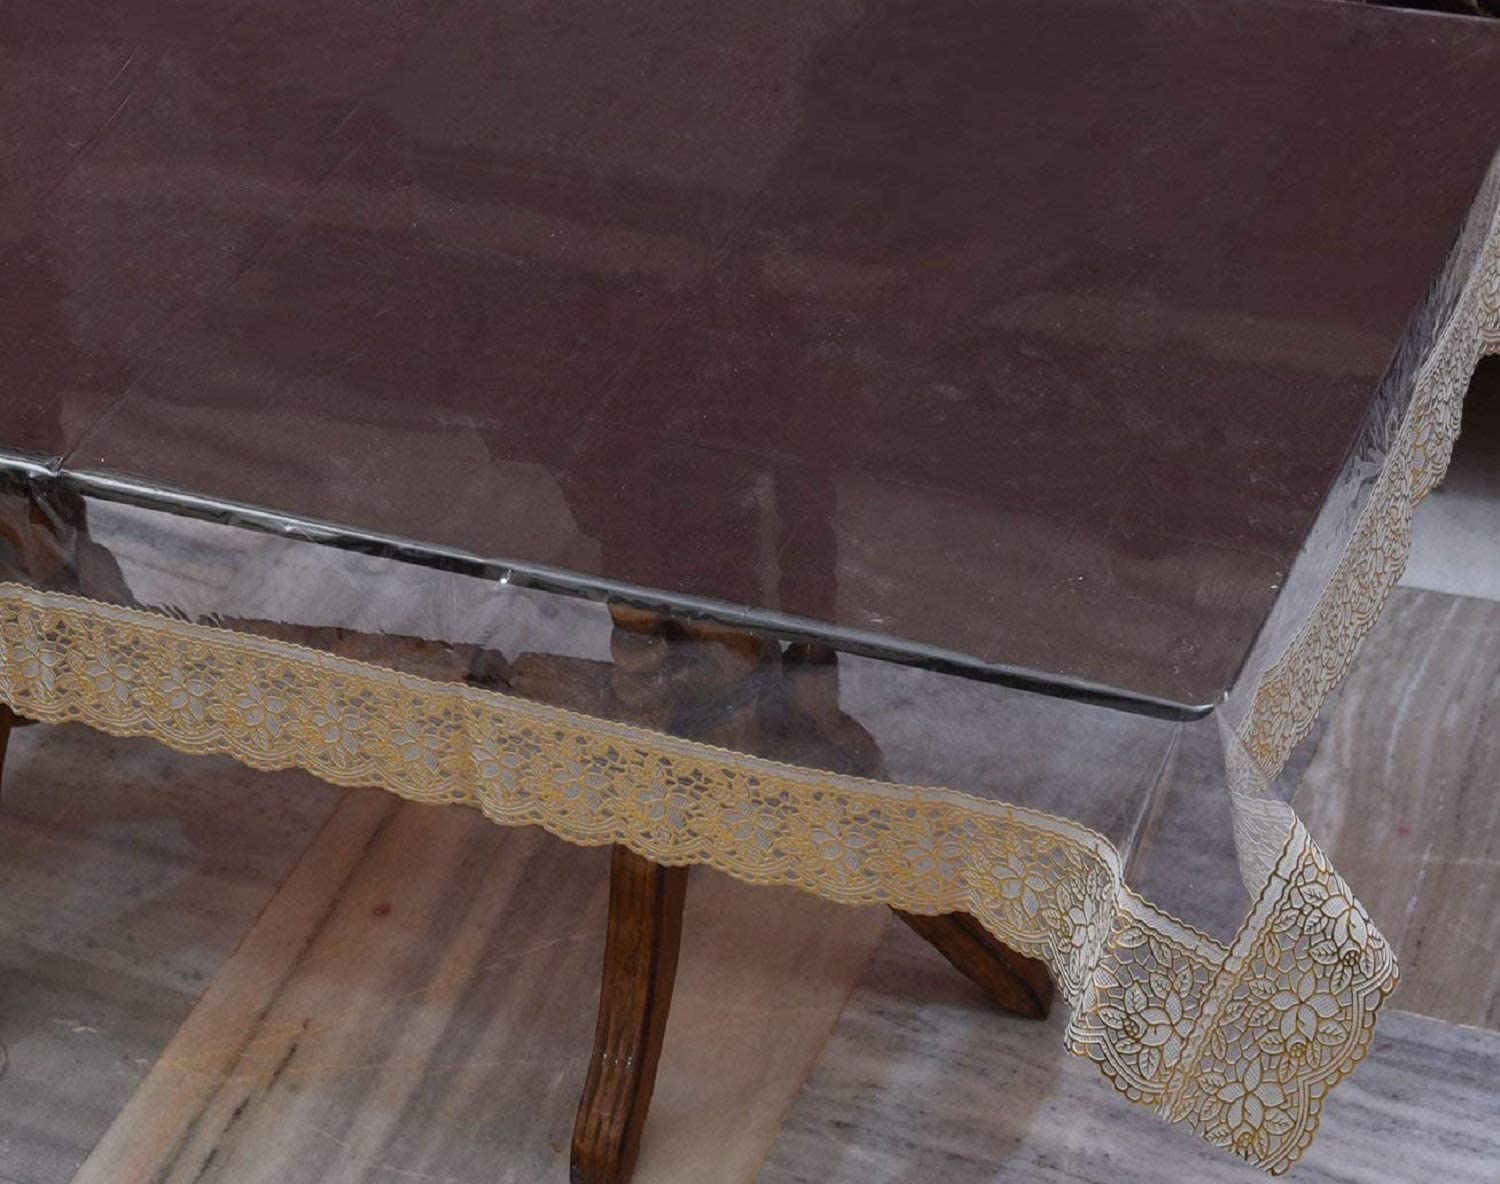
The tablecloth sets the foundation for your table setting, so it’s important to choose one that complements your overall theme or style. Consider the occasion, the color scheme, and the existing decor when selecting a tablecloth.
For formal events, a crisp, white tablecloth is often favored as it exudes elegance and sophistication. However, for more casual gatherings, you can experiment with different colors and patterns to add a pop of personality to your table.
In terms of fabric, consider the level of formality you wish to achieve. Linen and cotton tablecloths are great choices for a more formal setting, whereas synthetic materials like polyester or blend fabrics can work well for casual occasions.
Make sure to choose a tablecloth size that drapes evenly on the table. The edges should hang down about 6 to 12 inches from the edge of the table. This allows for a polished and neat appearance.
Once you have selected the perfect tablecloth, iron or steam it to remove any wrinkles before laying it on the table. Smooth out any creases and ensure that it is centered and straight.
The tablecloth sets the tone for your table setting, so choose wisely and ensure that it complements the overall aesthetic and enhances the dining experience.
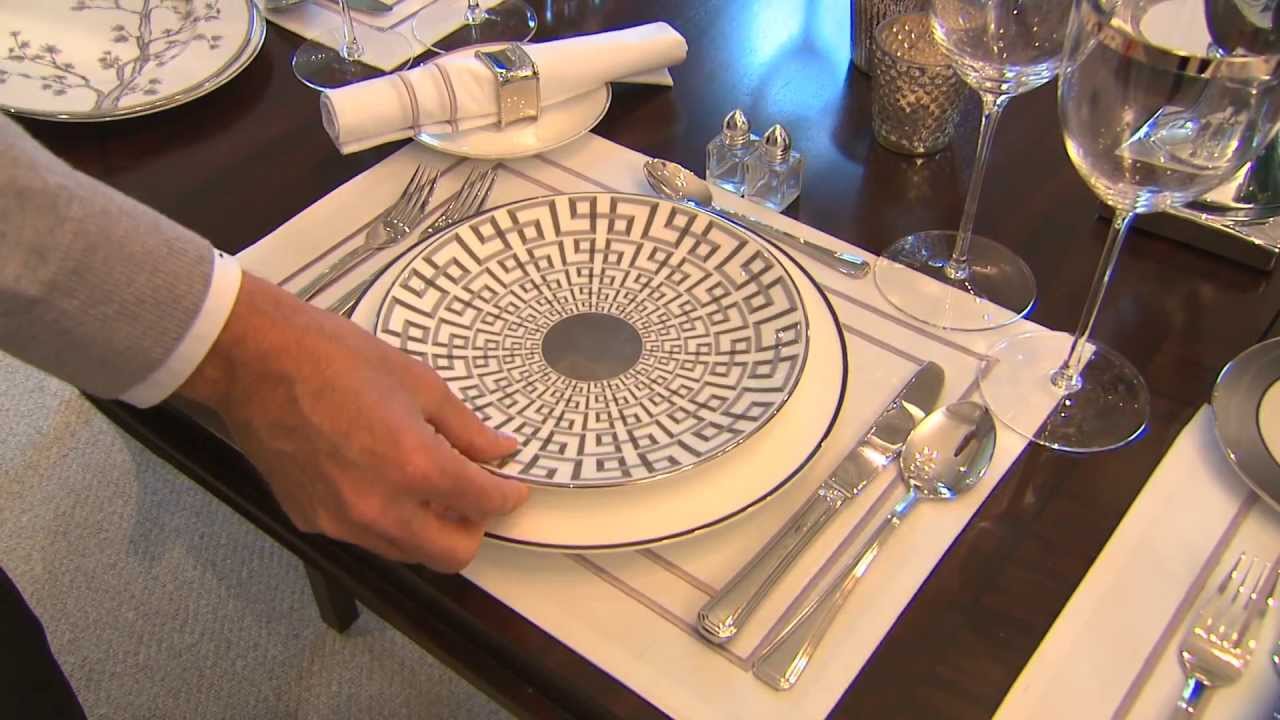
Step 2: Placing the Dinner Plate
Now that you’ve chosen the perfect tablecloth, it’s time to start building the actual place setting. The first item to consider is the dinner plate, which serves as the focal point of the table.
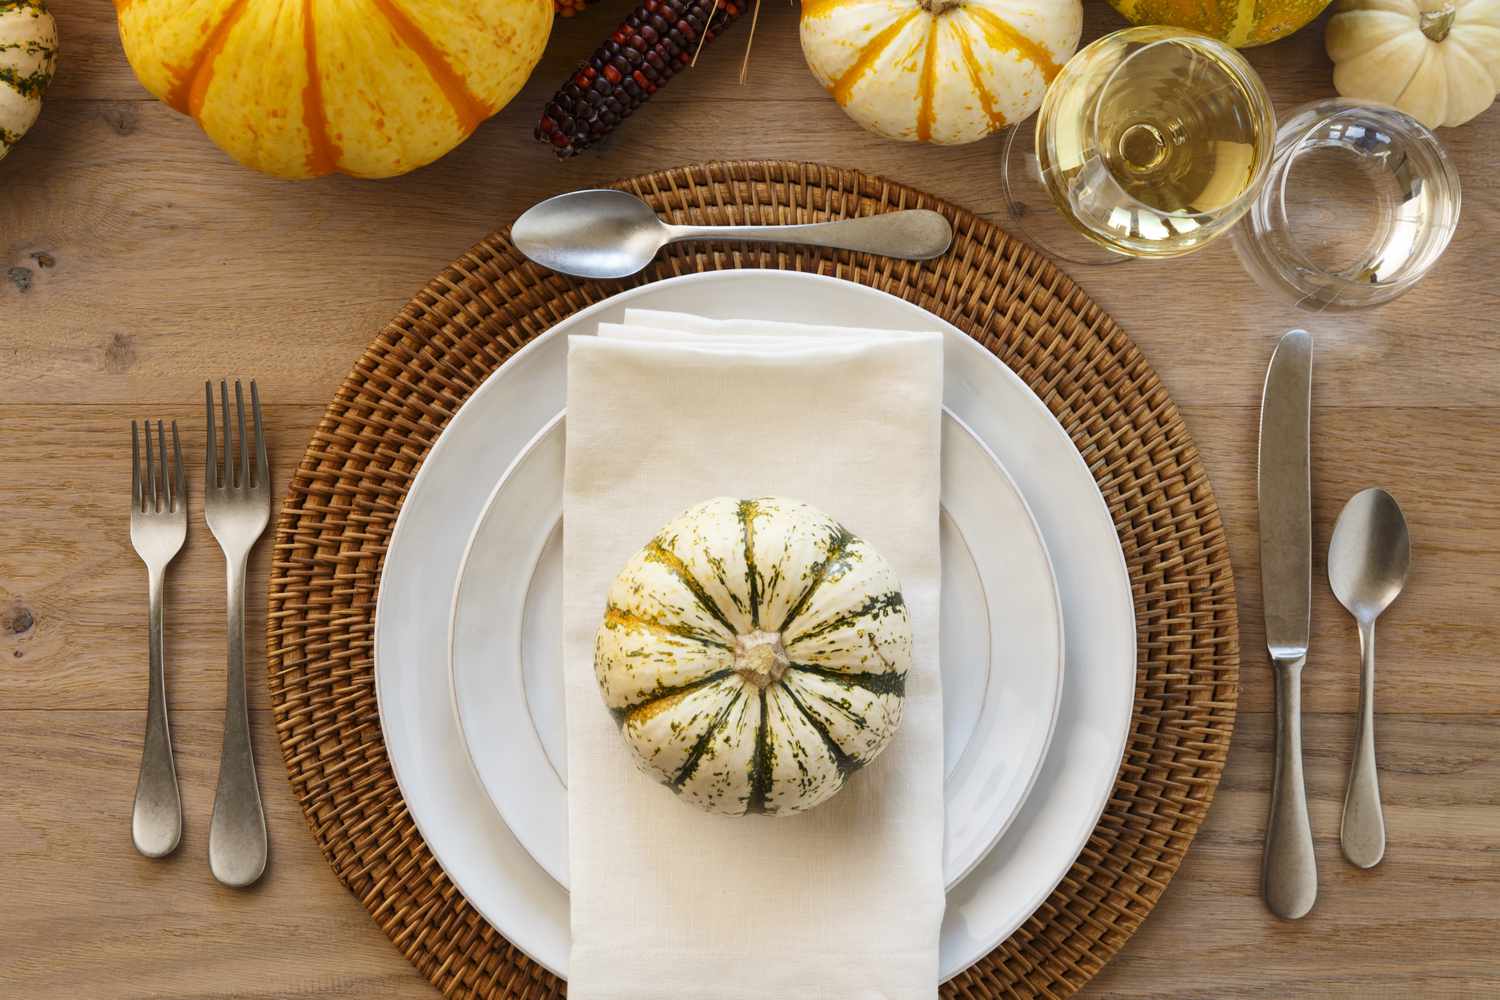
Place the dinner plate in the center of the individual setting, about an inch from the table’s edge. Make sure it is parallel to the table’s edge and centered with the chair.
If you have chargers or decorative plates, you can place them underneath the dinner plate to add visual interest and create layers. Chargers are larger decorative plates that serve as a base for the dinner plate, and they are commonly used in more formal settings.
Once the dinner plate is in place, ensure that it is clean and free from any smudges or fingerprints. Presentation is key, so take the time to wipe the plate if necessary.
If you’re serving a salad or appetizer, consider placing a smaller plate on top or to the left of the dinner plate. This allows for easy access and keeps the table organized.
Remember, the dinner plate is the foundation of the place setting, so take care in its placement and ensure that it is visually appealing and ready to be enjoyed.
Step 3: Adding the Napkin
Now that the dinner plate is in place, it’s time to add the napkin. The napkin serves both a practical and decorative purpose on the table.
There are various ways to fold a napkin, each offering a different aesthetic. A simple option is to fold the napkin into a rectangle or square and place it directly on top of the dinner plate. Ensure that the open edges of the napkin are facing towards the guest.
If you want to add a touch of elegance, you can fold the napkin into a decorative shape or use a napkin ring. This adds an extra visual element and elevates the overall table setting.
Alternatively, you can lay the napkin on the left side of the dinner plate, with the open edges facing towards the guest. This is a more informal placement but still allows easy access for the guests.
When selecting napkins, consider the material and color that best complements your table setting. White or neutral-colored napkins are versatile and can work well in both formal and casual settings. Additionally, fabric napkins tend to add a more elevated and luxurious feel compared to paper napkins.
Remember to ensure that the napkin is clean and neatly folded. It’s a small detail that can make a big difference in the overall impression of your table setting.
Adding the napkin is an essential step in creating an inviting and practical place setting. Choose a folding style that suits your aesthetic and consider the material and color of the napkin to enhance the overall look and feel of your table.
Read more: How To Arrange Silverware In A Place Setting
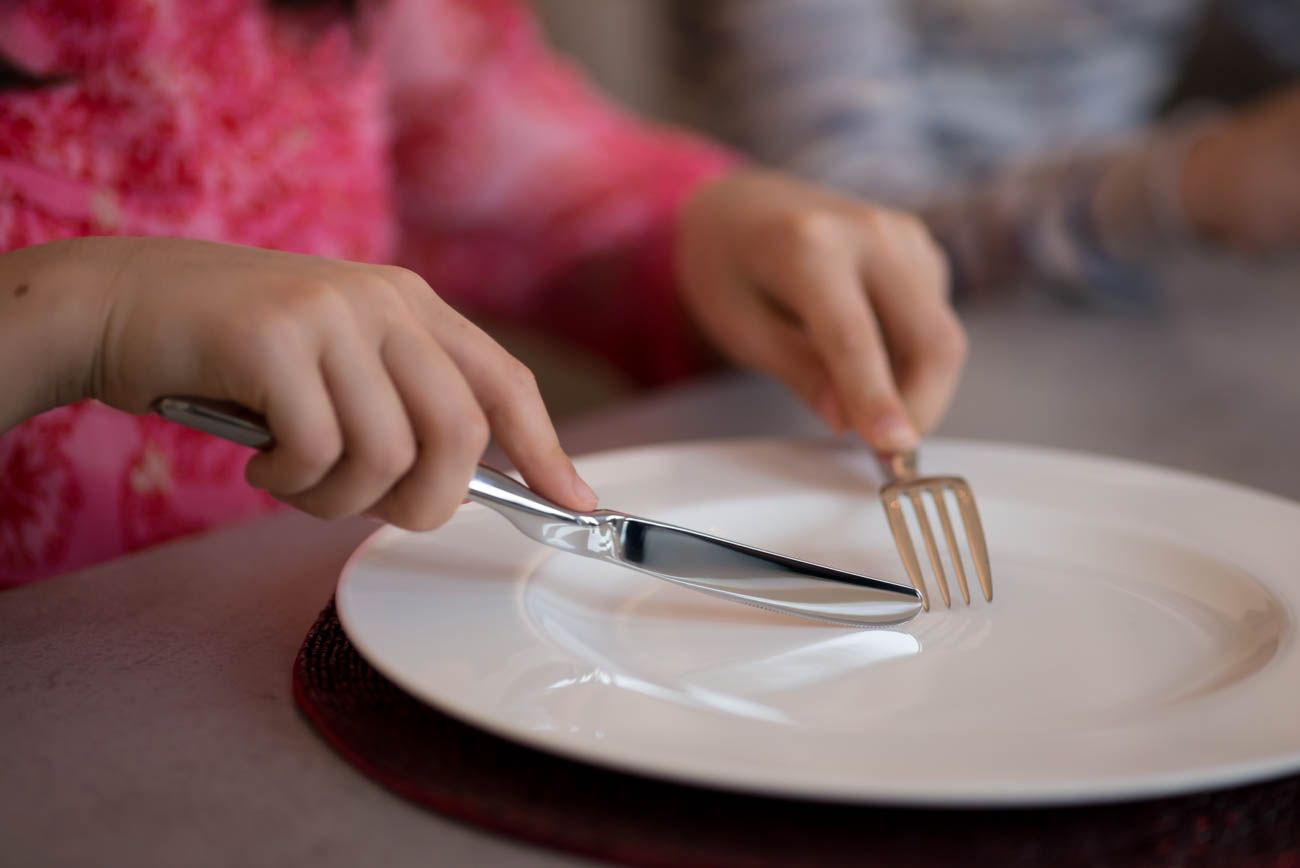
Step 4: Arranging the Fork, Knife, and Spoon
After placing the napkin, it’s time to arrange the utensils – the fork, knife, and spoon – which are crucial components of any place setting.
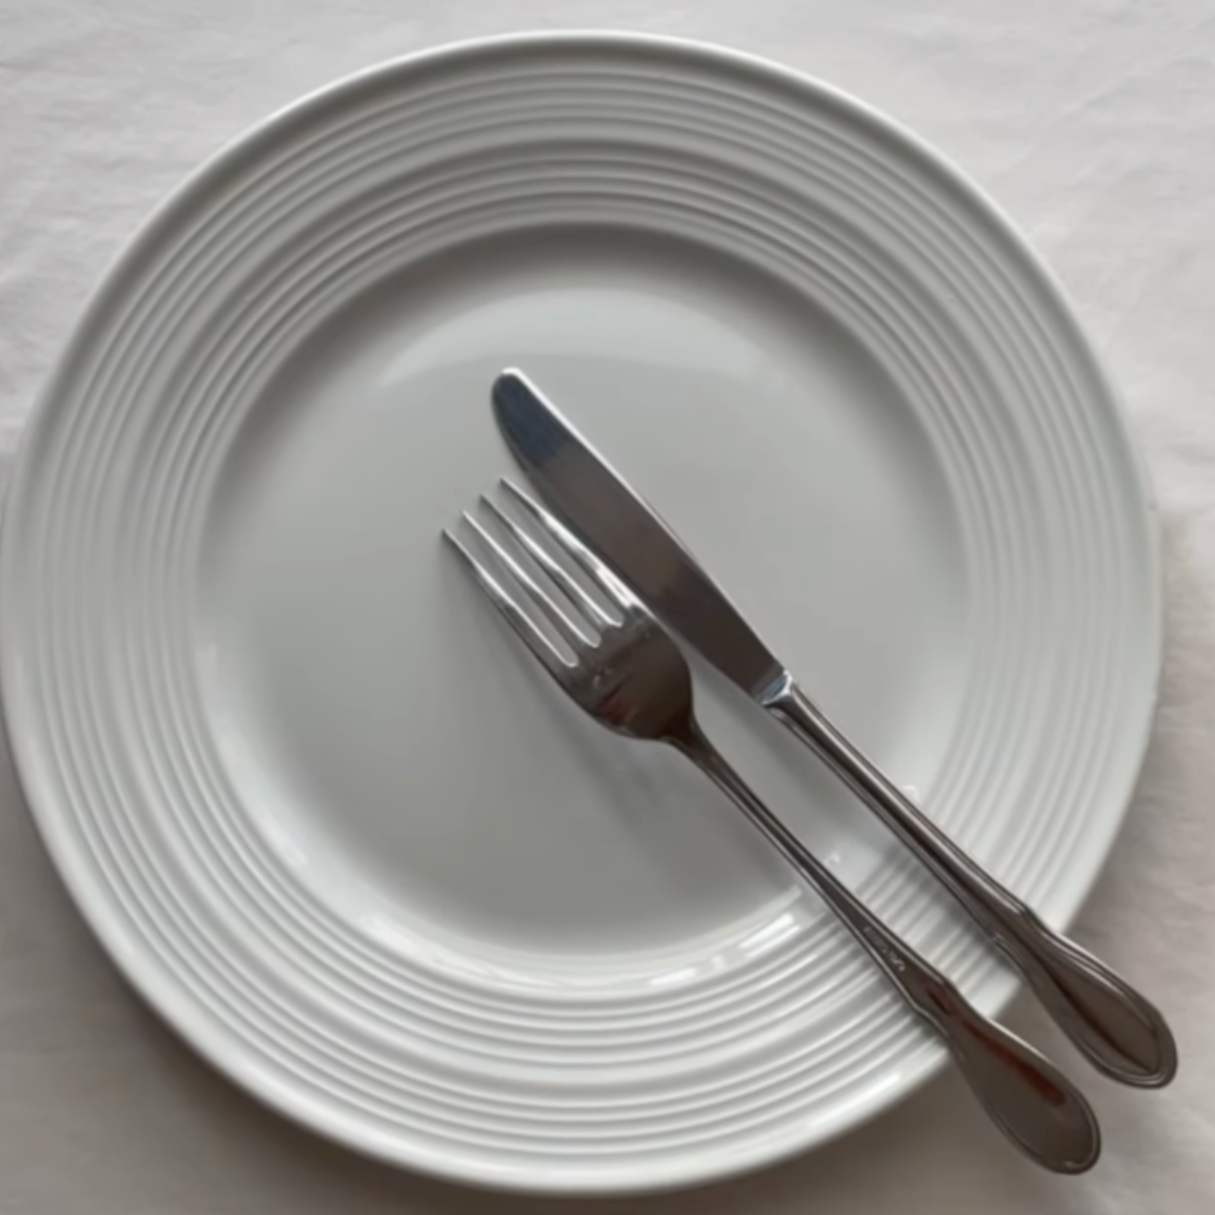
Start by positioning the fork on the left side of the dinner plate. The tines of the fork should face upward, and it should be placed about an inch away from the edge of the table.
Next, place the knife on the right side of the dinner plate. The blade of the knife should face the plate, and the cutting edge should be pointing towards the center of the plate.
Finally, position the spoon to the right of the knife. It should be placed beside the knife, parallel to it.
When arranging the utensils, it’s essential to maintain an equal distance between them to ensure a balanced and symmetrical look. The handles of the utensils should align with the bottom edge of the dinner plate.
If you’re serving a soup course, consider adding a soup spoon to the right of the teaspoon. This additional utensil allows for a seamless transition between courses and enhances the dining experience.
As a general rule, if you have additional utensils, such as a fish fork or dessert spoon, they are placed in the order they will be used from the outside inwards. This follows the traditional etiquette of formal dining.
Remember to polish the utensils and ensure that they are free from any smudges or stains. The appearance of the utensils plays a significant role in creating an elegant and cohesive table setting.
By arranging the fork, knife, and spoon correctly, you create a sense of order and sophistication at the dining table. Take care in their placement and align them precisely for an aesthetically pleasing look.
When setting a place setting on the table, start with the dinner plate in the center, then place the napkin to the left, and the fork to the left of the plate. The knife and spoon go to the right of the plate, with the blade of the knife facing the plate.
Step 5: Including Salad and Appetizer Plates
In addition to the dinner plate, it’s common to include separate plates for salads and appetizers in a formal table setting. These additional plates help keep the table organized and allow for a smooth and enjoyable dining experience.
If you have planned a salad course, place a smaller salad plate on top of the dinner plate. The salad plate should be centered and slightly tilted towards the guest. This placement ensures easy access and prevents the salad from mixing with the main course.
For appetizers or small bites, you can also add a small appetizer plate to the left of the dinner plate. This separate plate serves as a designated space for guests to enjoy their starters without overcrowding the dinner plate.
When arranging these additional plates, ensure that they are aligned with the center of the dinner plate and the edge of the table. The salad plate should be centered on top of the dinner plate, while the appetizer plate should be parallel to the dinner plate’s left side.
Choosing plates that complement the overall theme or style of the table is important. Consider matching the color and design of the salad and appetizer plates to the rest of your tableware to create a harmonious look.
Remember to keep the plates clean and free from any food residue or smudges. Presentation is key, and having clean plates adds to the visual appeal of the table setting.
By including separate salad and appetizer plates, you add structure to your table setting and create a more organized dining experience. Take the time to arrange these plates with precision, and your guests will appreciate the thoughtful attention to detail.
Step 6: Placing the Glassware
Glassware is an essential element of any table setting, as it not only serves a practical purpose but also adds a touch of elegance and sophistication to the overall ambiance. Properly arranging the glassware is crucial to create a visually appealing and functional table setting.
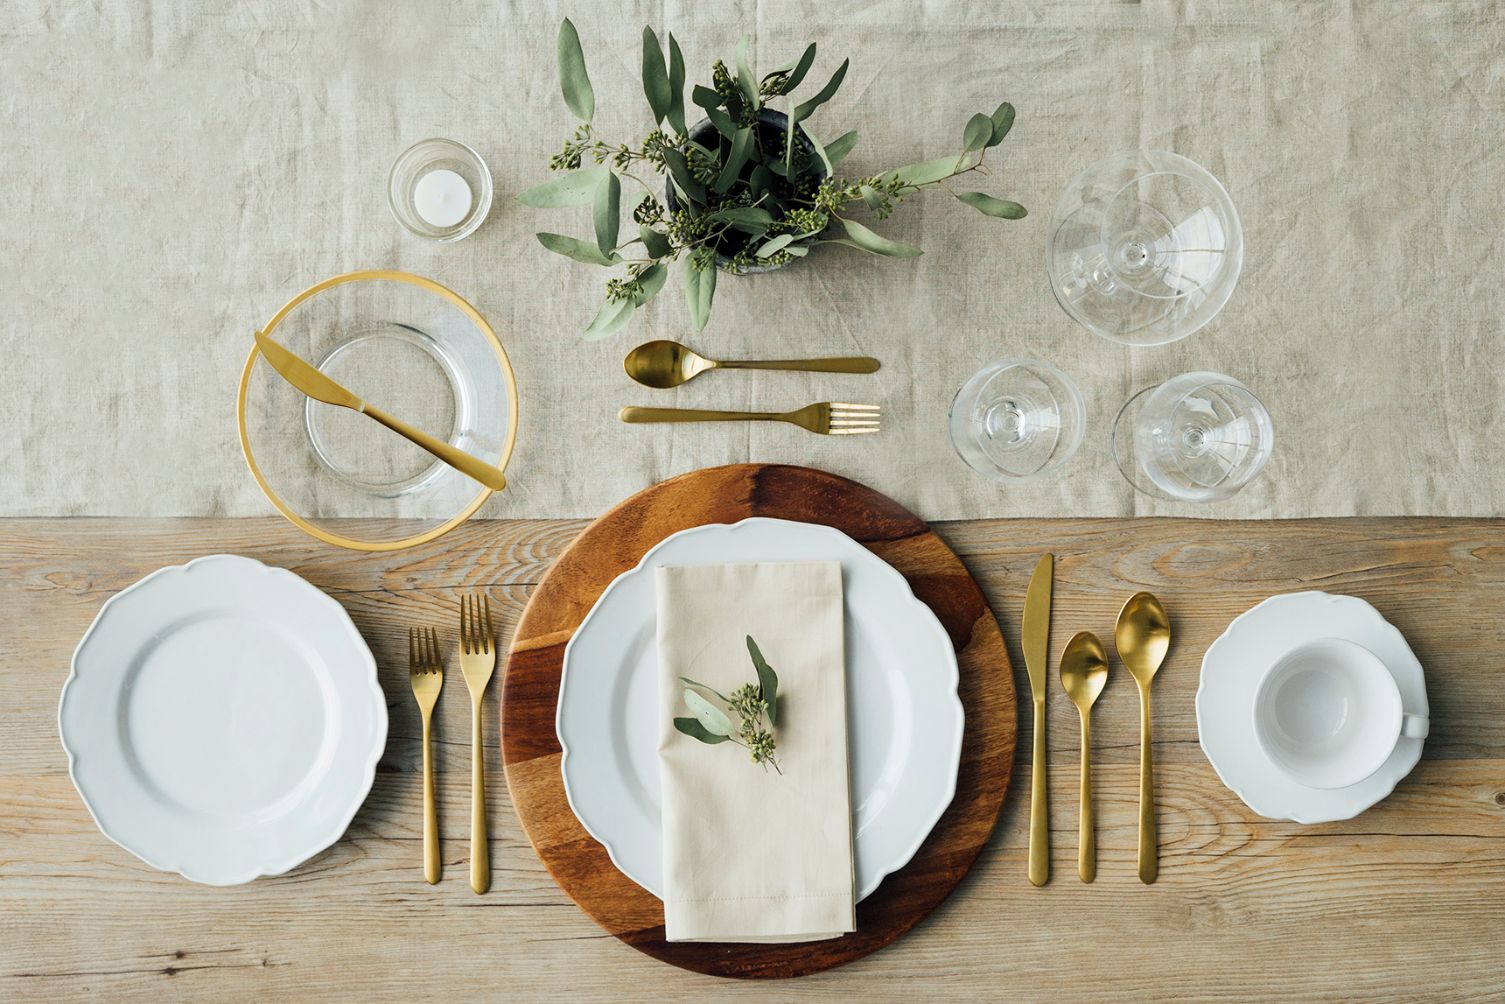
Start by placing the water glass directly above the dinner knife, towards the right side of the dinner plate. The water glass should be slightly larger and taller than the other glasses to distinguish it.
Next, arrange the other glasses to the right of the water glass. Generally, the wine glass is placed to the right of the water glass, followed by any additional glasses that may be required for different beverages. For example, if you’re serving both red and white wine, place the red wine glass closest to the water glass, followed by the white wine glass.
When arranging the glasses, ensure that they are evenly spaced and aligned with the bottom edge of the dinner plate. This creates a balanced and symmetrical look on the table.
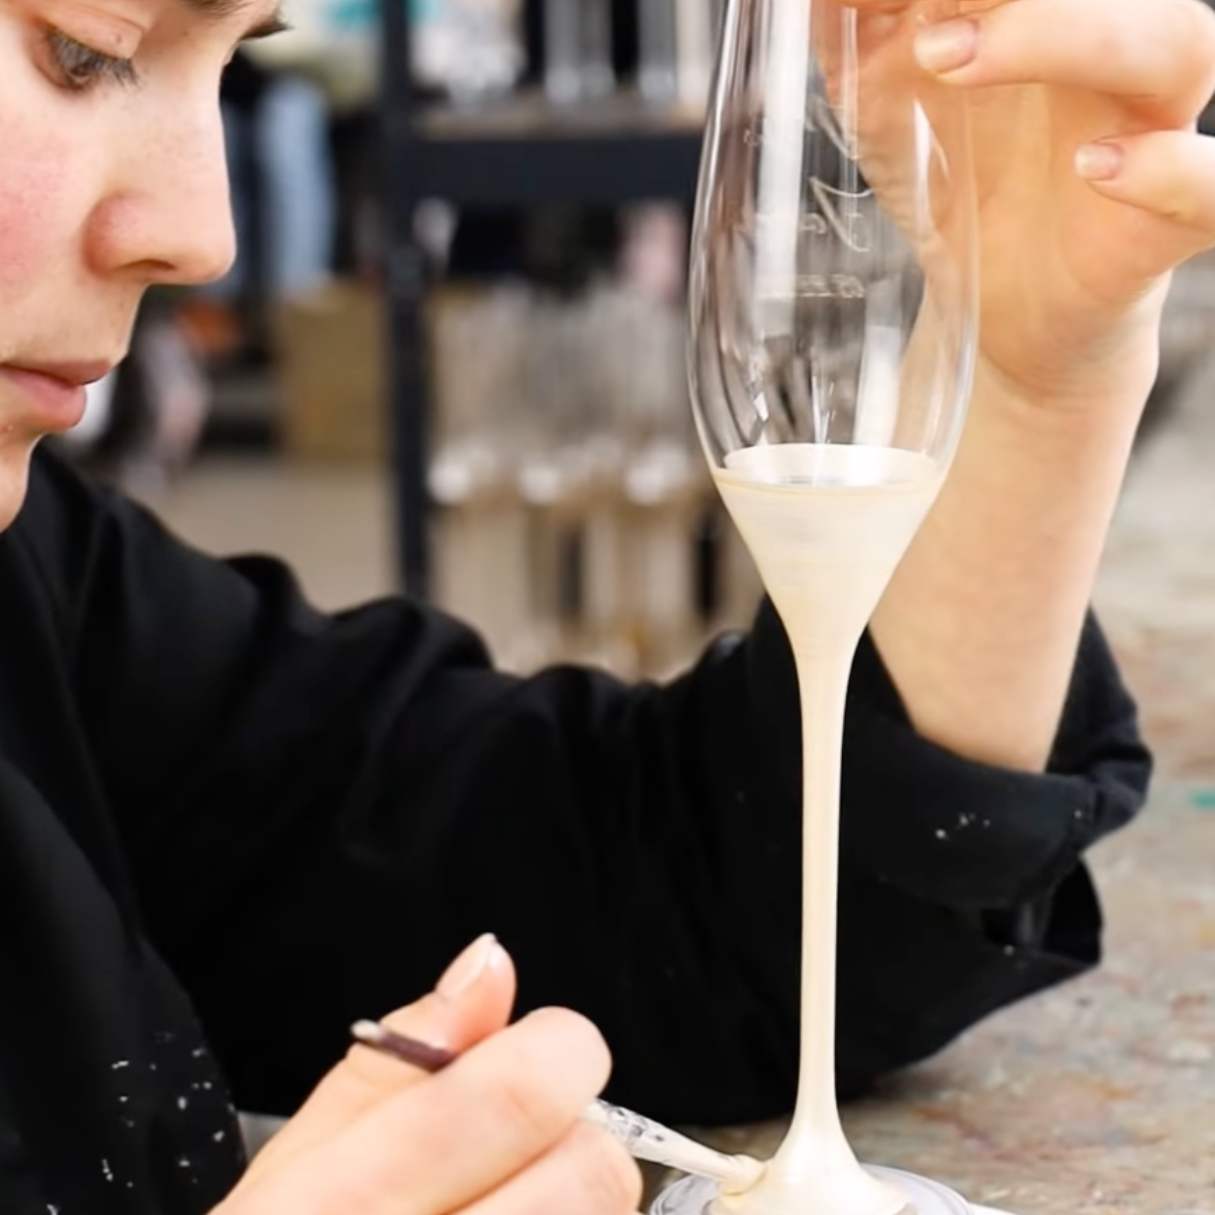
If you plan to serve champagne or sparkling wine, you can place a champagne flute to the right of the wine glasses. The flute should be positioned above the other glasses and slightly tilted towards the center of the table.
When selecting glassware, consider the occasion and the beverages you plan to serve. Clear glassware is versatile and can suit most table settings, but you can also choose colored or crystal glassware to add a touch of luxury and personalized style.
Clean and sparkling glassware is essential for an impressive table setting. Prior to arranging the glasses, ensure that they are clean and free from any water spots or smudges. A quick rinse and gentle polish will help achieve a flawless presentation.
By placing the glassware strategically, you not only create an aesthetically pleasing table setting but also ensure that your guests have the appropriate glass for each beverage. Pay attention to detail and align the glasses precisely for an elegant and visually appealing dining experience.
Step 7: Adding the Bread and Butter Plate
One of the final touches to consider when setting a place setting on the table is the bread and butter plate. This small plate serves as a designated space for bread, rolls, or butter, allowing guests to enjoy these accompaniments without mixing them with their main course.
Place the bread and butter plate on the left side of the dinner plate, slightly above the forks. The plate should be parallel to the dinner plate and aligned with the edge of the table.
If you are serving bread or rolls, you can place them directly on the bread and butter plate or provide a separate bread basket. If using a bread basket, position it to the left of the bread and butter plate.
It’s important to note that the bread and butter plate is optional and more commonly used in formal table settings. For more casual occasions, you may choose to omit it.
As with the other elements of the table setting, ensure that the bread and butter plate is clean and free from any crumbs or stains. A clean presentation adds to the overall elegance and attention to detail.
By including a bread and butter plate in your table setting, you provide your guests with a designated spot for bread and butter, enhancing the dining experience and ensuring a neat and organized table.
Read more: How To Arrange Place Settings For Silverware
Step 8: Including the Dessert Spoon and Fork
Now that the main components of the table setting are in place, it’s time to consider the utensils for the dessert course. Including a dessert spoon and fork ensures that your guests have the necessary tools to indulge in a sweet treat at the end of the meal.
Place the dessert spoon above the dinner plate, horizontally across the top. The handle should be pointing towards the right side of the table. The dessert fork is placed below the dessert spoon, parallel to it, with the handle protruding towards the left side of the table.
When arranging the dessert utensils, make sure they are evenly spaced and aligned with the bottom edge of the dinner plate.
Alternatively, if you plan to serve cake or other individual desserts, you can place the dessert fork and spoon directly on the dessert or cake plate. In this case, position the dessert plate above the dinner plate, slightly off-centered towards the left.
Ensure that the dessert utensils are clean and polished, ready to be used when the time for dessert arrives. Paying attention to the smaller details, such as the placement and cleanliness of the dessert utensils, enhances the overall presentation of your table setting.
Incorporating the dessert spoon and fork into your table arrangement is essential for providing guests the complete experience for the meal’s sweet conclusion. Precise and elegant dessert plate placement enhances the sophistication of your dining ambiance, ensuring a delightful and refined setting.
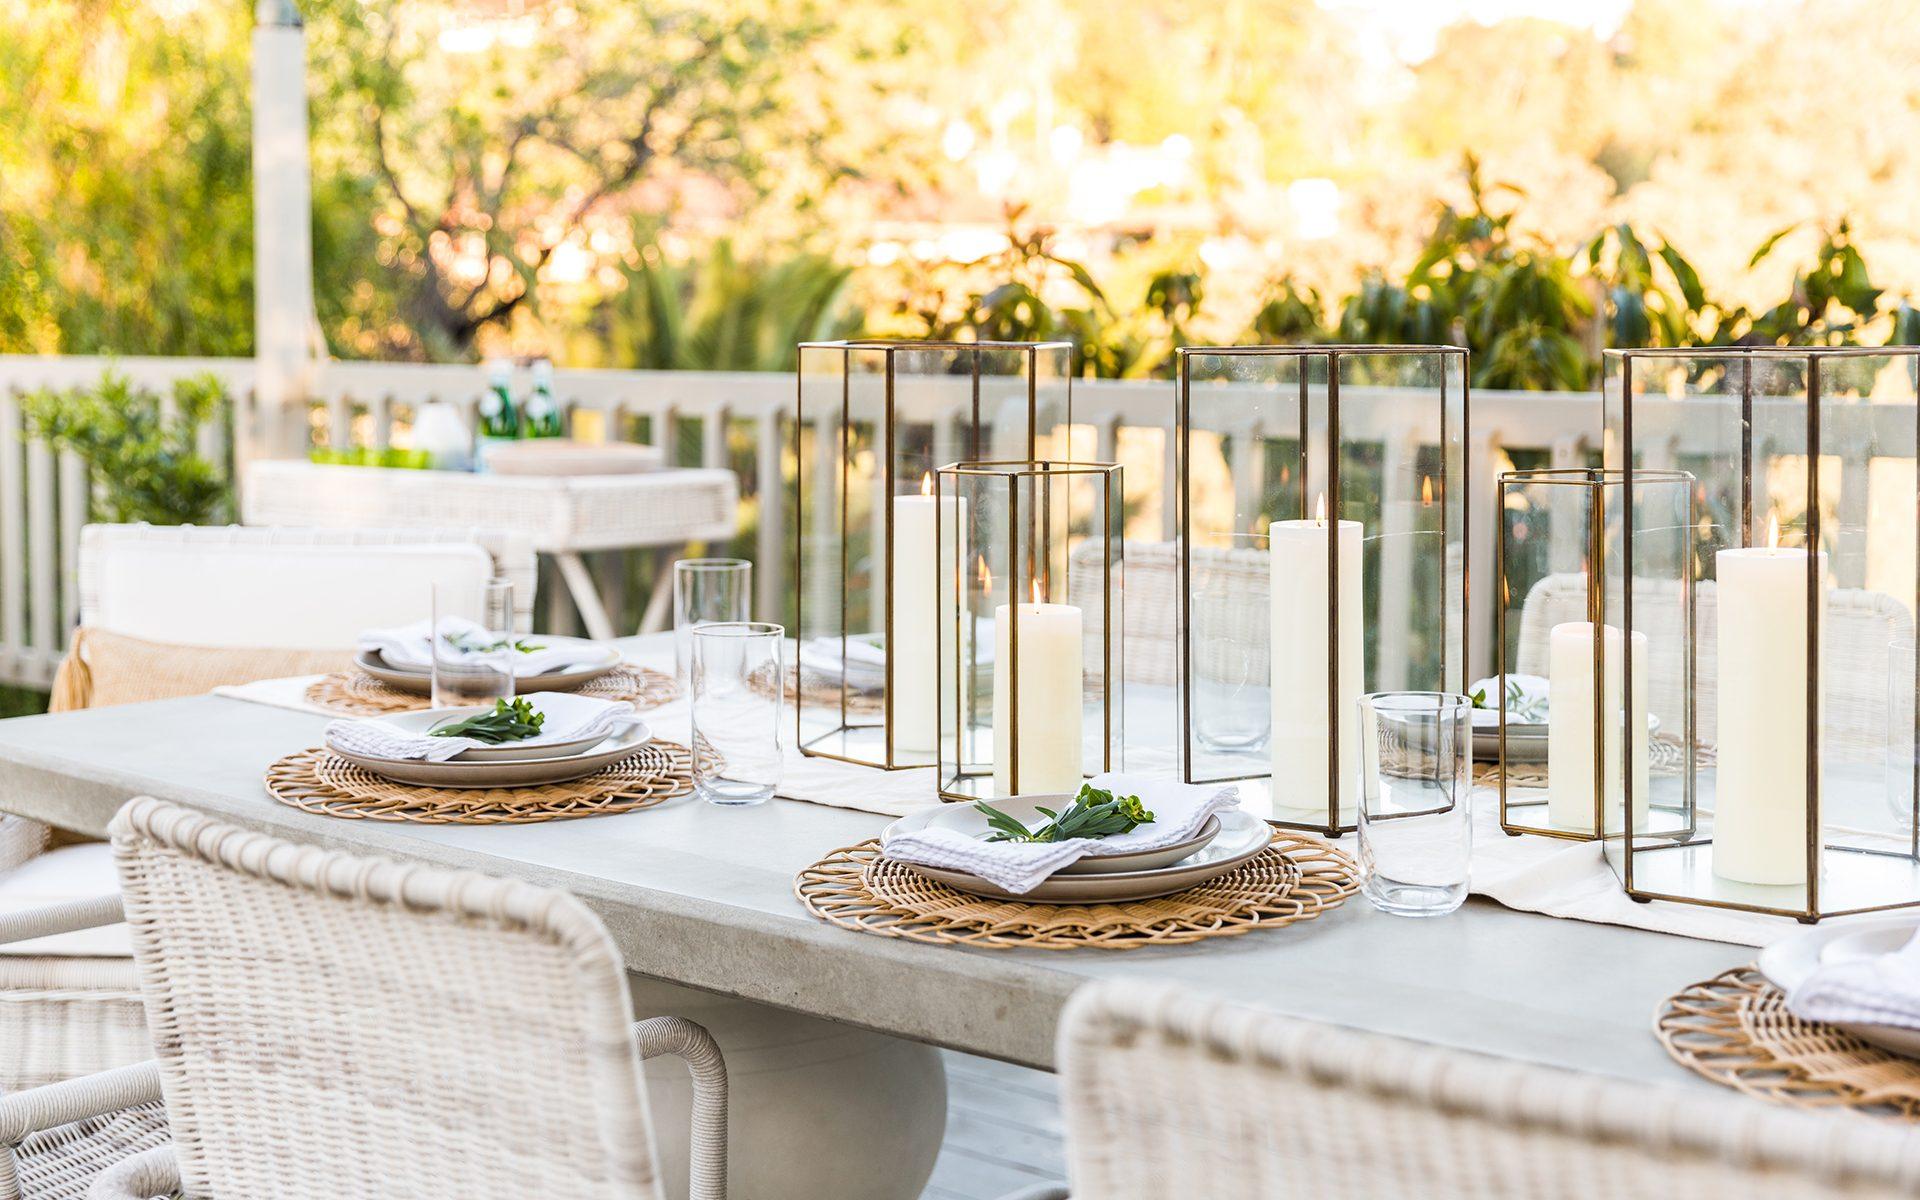
Step 9: Final Touches and Adjustments
As we near the completion of setting the place setting on the table, it’s time to focus on the final touches and make any necessary adjustments to ensure a flawless presentation. This step involves assessing the overall table arrangement and making small tweaks to achieve a balanced and visually appealing look.
Start by stepping back and taking a look at the table from different angles. Look for any inconsistencies or imbalances in the placement of items.
Make sure the spacing between each element of the place setting is uniform and visually appealing. Adjust any utensils, plates, or glassware that may appear misaligned or too cluttered.
Check that all the elements are at the correct distances from the edge of the table, ensuring a uniform look across the entire table setting.
You can also consider adding decorative elements such as fresh flowers, candles, or place cards to enhance the overall aesthetics of the table. These small additions can create a welcoming and visually appealing atmosphere.
Lastly, check for any smudges, stains, or fingerprints on the tableware. Take a few moments to polish the plates, glasses, and utensils to ensure they are spotless.
Remember that table setting is an art that requires attention to detail. Taking the time to make these final adjustments will result in a beautiful, well-arranged table that will impress your guests.
By giving importance to the final touches and making necessary adjustments, you can achieve a polished and visually appealing table setting that sets the stage for a memorable dining experience.
Conclusion
Setting a place setting on the table is an art that combines practicality and aesthetics. By following the step-by-step process outlined in this article, you can create a stunning table arrangement that will impress your guests and enhance the overall dining experience.
From choosing the right tablecloth to arranging the utensils, plates, glassware, and other elements, each step contributes to the cohesive and visually appealing look of the table setting. Attention to detail, such as ensuring proper alignment, cleanliness, and balance, is crucial in creating a harmonious and inviting ambiance.
Remember that table setting can be personalized to suit the occasion and your personal style. Whether it’s a formal dinner party or a casual gathering, you can adapt the elements and arrangements accordingly.
Through the careful selection of tableware, proper placement of items, and attention to the finer details, you can create a memorable dining experience for your guests. A beautifully set table not only enhances the enjoyment of the meal but also shows thoughtfulness and care as a host.
So, the next time you find yourself setting the table, take the time to follow these steps and create a table setting that leaves a lasting impression. Your guests will appreciate the effort and attention to detail, making the dining experience truly exceptional.
Frequently Asked Questions about How To Set A Place Setting On The Table
Was this page helpful?
At Storables.com, we guarantee accurate and reliable information. Our content, validated by Expert Board Contributors, is crafted following stringent Editorial Policies. We're committed to providing you with well-researched, expert-backed insights for all your informational needs.


0 thoughts on “How To Set A Place Setting On The Table”