Home>Furniture & Design>Interior Design Trends>How To Make A Magnifying Glass
Interior Design Trends
How To Make A Magnifying Glass
Published: February 2, 2024
Learn how to make a magnifying glass and stay updated on the latest interior design trends. Discover creative ideas and inspiration for your home.
(Many of the links in this article redirect to a specific reviewed product. Your purchase of these products through affiliate links helps to generate commission for Storables.com, at no extra cost. Learn more)
Introduction
Creating a magnifying glass from scratch can be an immensely rewarding and educational experience. This simple yet powerful tool has been used for centuries to explore the intricate details of the world around us. By crafting your own magnifying glass, you can gain a deeper understanding of optics and the principles behind magnification.
In this comprehensive guide, we will walk through the step-by-step process of making a magnifying glass using readily available materials. Whether you are a curious hobbyist, a DIY enthusiast, or an educator looking for an engaging science project, this endeavor is sure to captivate your interest and spark your creativity.
By embarking on this journey, you will not only acquire practical skills in crafting but also gain insight into the fascinating science of magnification. As you delve into the art of making a magnifying glass, you will uncover the secrets of light refraction and the precise construction required to produce a clear and powerful magnifying effect.
Throughout this guide, we will explore the essential materials needed for this project, the meticulous steps involved in shaping the handle and attaching the lens, and the exhilarating moment of testing the magnifying glass for the first time. With each stage, you will witness the transformation of raw materials into a functional and elegant tool that can unveil the hidden beauty of the world.
Whether you are crafting a magnifying glass for practical use, educational purposes, or simply for the joy of creating, this endeavor is a testament to the ingenuity and resourcefulness of human craftsmanship. So, let's embark on this enlightening journey and unlock the wonders of magnification through the art of making a magnifying glass.
Key Takeaways:
- Crafting a magnifying glass is a fun and educational journey that combines creativity and science. You can make your own unique magnifying glass using simple materials and discover the hidden wonders of the world.
- By shaping the handle and attaching the lens, you can create a personalized magnifying glass that reveals intricate details and sparks curiosity. It’s a hands-on way to explore the fascinating world of magnification.
Materials Needed
To embark on the journey of creating your own magnifying glass, you will need a selection of materials that are easily obtainable and can be transformed into a functional and aesthetically pleasing tool. Here's a comprehensive list of the essential items required for this project:
-
Handle Material: Select a sturdy and visually appealing material for the handle of the magnifying glass. This could be wood, metal, or any other material that fits your design preferences and provides a comfortable grip.
-
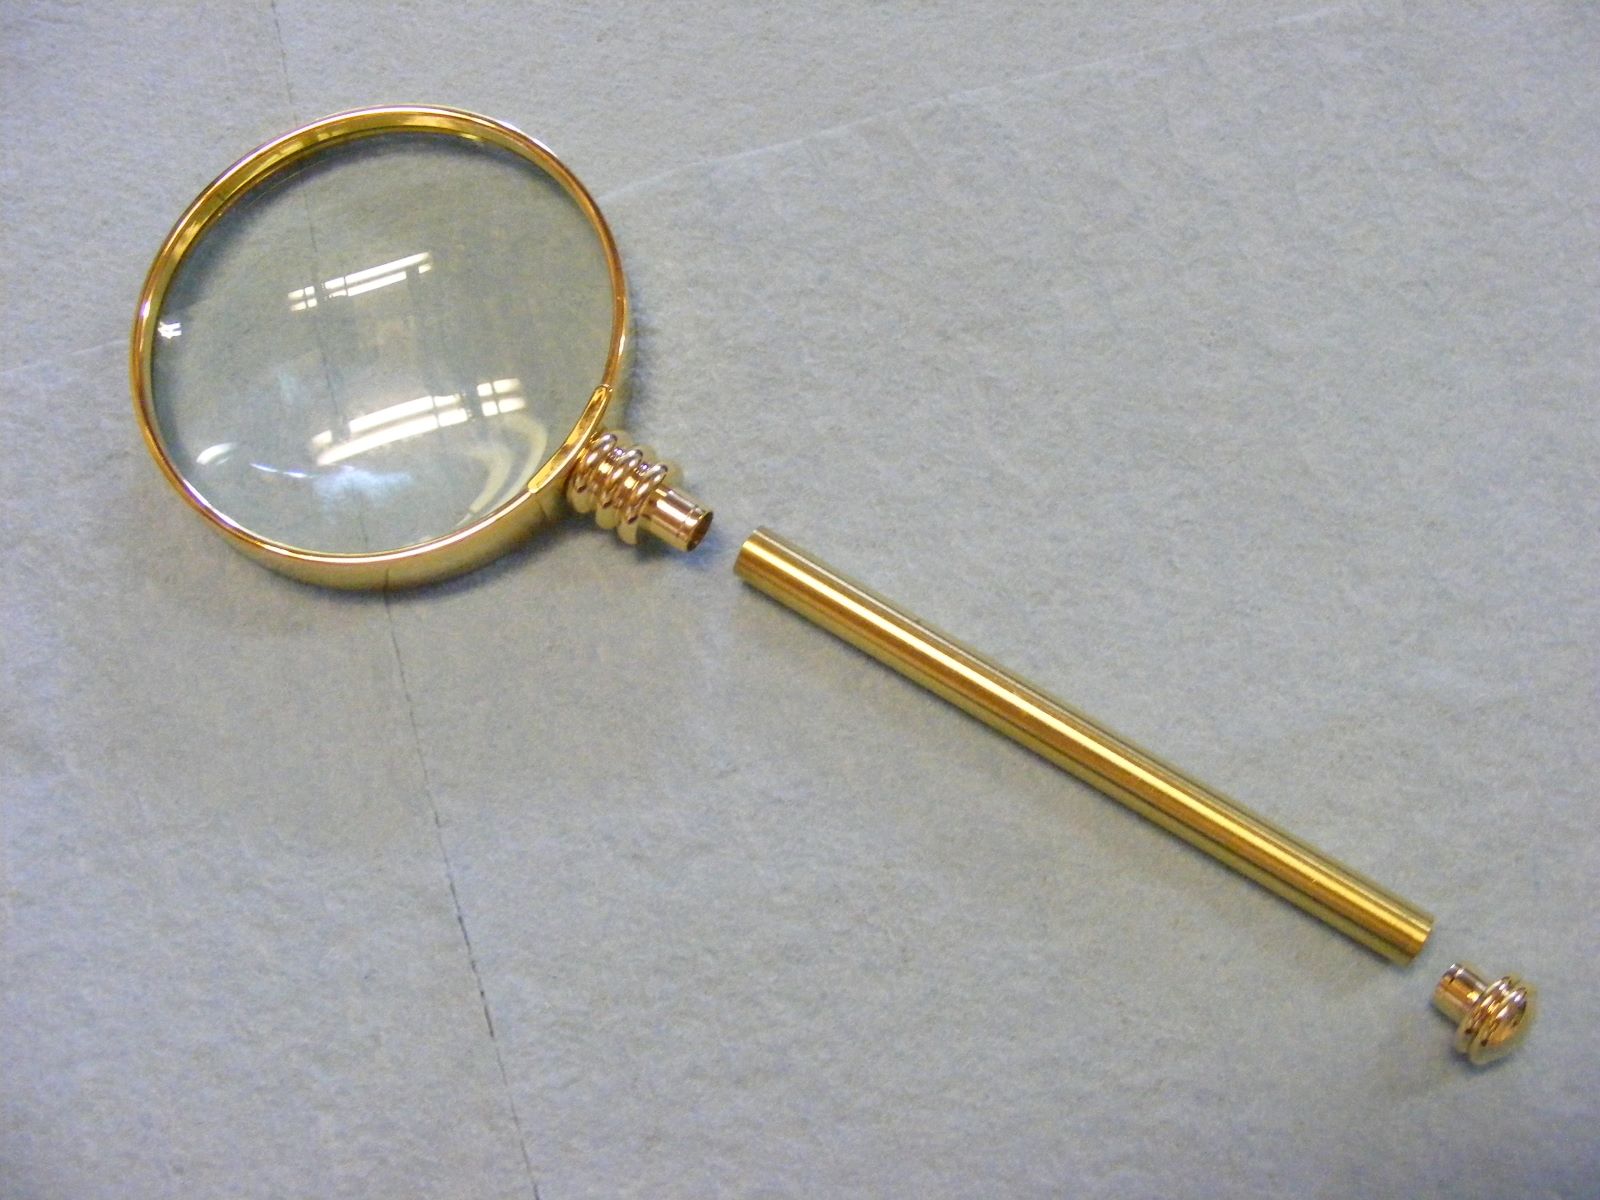
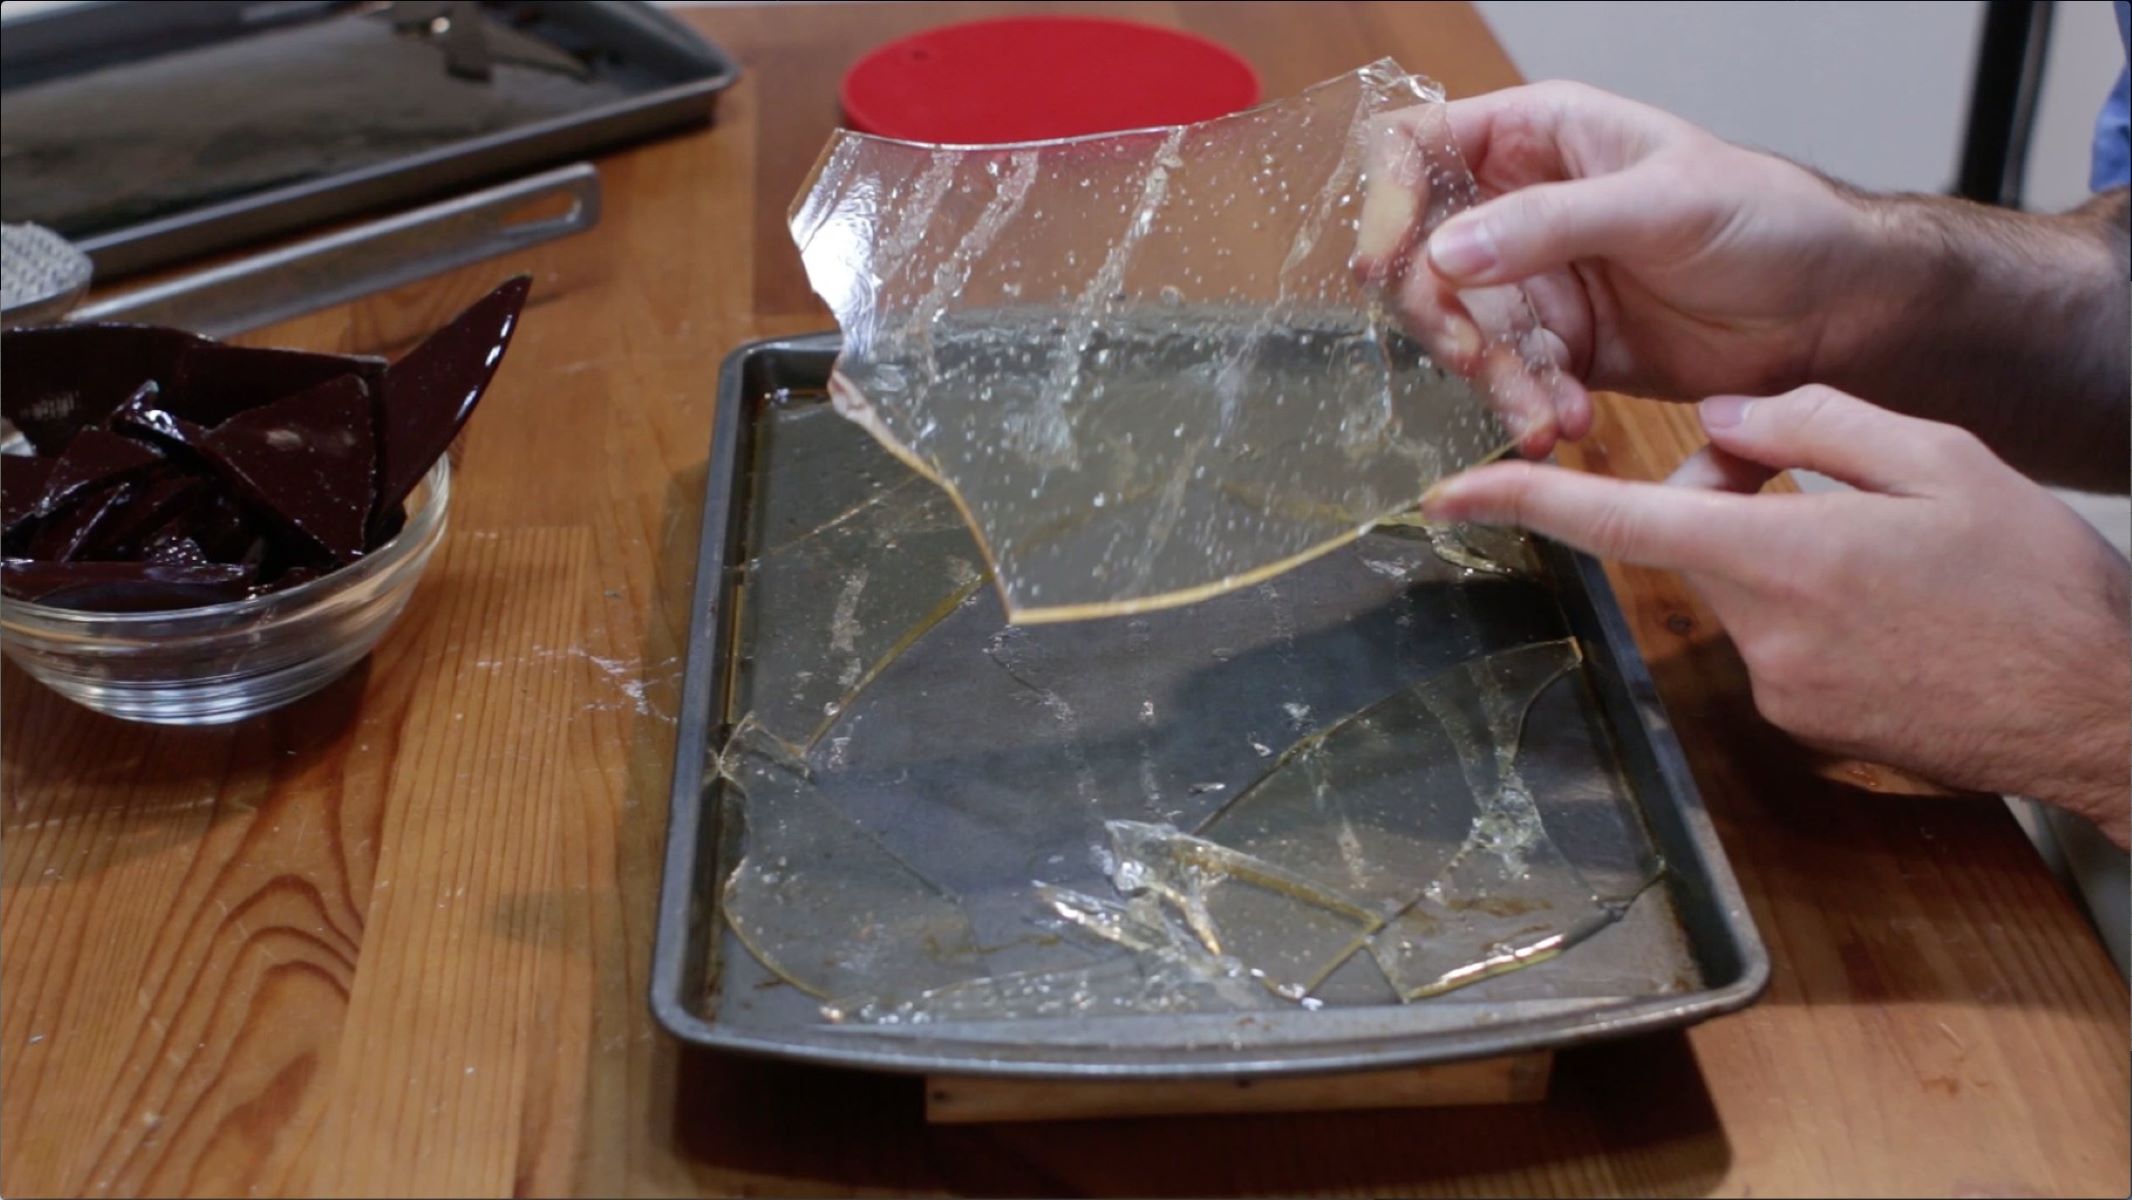
Lens: The most crucial component of the magnifying glass is the lens. You can opt for a glass lens, which is readily available in various shapes and sizes. Alternatively, acrylic lenses can also be used, offering durability and lightweight properties.
-
Adhesive: A strong adhesive is essential for securely attaching the lens to the handle. Epoxy resin or a specialized glass adhesive is recommended to ensure a firm and long-lasting bond between the lens and the handle.
-
Decorative Elements (Optional): If you wish to add a personal touch to your magnifying glass, consider incorporating decorative elements such as beads, decorative metal accents, or custom engravings to enhance its visual appeal.
-
Protective Gear: When working with materials such as glass or adhesives, it's important to prioritize safety. Ensure you have protective gear such as gloves and safety goggles to safeguard against any potential hazards during the crafting process.
-
Polishing Materials: To achieve a professional finish, you may require sandpaper, polishing compounds, or a buffing wheel to refine the handle material and ensure a smooth, polished surface.
-
Measuring Tools: Accurate measurements are crucial for achieving the desired dimensions and ensuring a precise fit between the handle and the lens. A ruler, calipers, or measuring tape will be indispensable for this purpose.
By gathering these materials, you will be well-equipped to commence the process of crafting your own magnifying glass. Each item plays a crucial role in the creation of this timeless tool, and their careful selection will contribute to the functionality and aesthetic appeal of the final product. With these materials at hand, you are ready to embark on the next steps of shaping the handle and attaching the lens, bringing your vision of a personalized magnifying glass to life.
Step 1: Gather the Materials
Before diving into the intricate process of crafting a magnifying glass, it is essential to gather the materials required for this engaging endeavor. Each component plays a pivotal role in the construction of a functional and visually appealing magnifying glass. By meticulously selecting and preparing the materials, you can set the stage for a seamless and rewarding crafting experience.
The first item on the list is the handle material. The handle serves as the foundation of the magnifying glass, providing a comfortable grip and a platform for attaching the lens. Wood is a popular choice for its natural warmth and versatility, allowing for intricate shaping and customization. Alternatively, metal handles offer durability and a sleek, modern aesthetic. The selection of the handle material is a crucial step, as it sets the tone for the overall design and functionality of the magnifying glass.
Next, the lens takes center stage as the defining element of the magnifying glass. Glass lenses are renowned for their optical clarity and precise magnification properties, making them a classic choice for traditional magnifying glasses. Alternatively, acrylic lenses offer lightweight and shatter-resistant characteristics, ideal for crafting portable and resilient magnifying tools. The selection of the lens material will influence the magnifying power and overall performance of the finished product.
To ensure a secure and enduring bond between the handle and the lens, a reliable adhesive is indispensable. Epoxy resin, known for its exceptional bonding strength and resistance to environmental factors, is a popular choice for attaching the lens to the handle. Specialized glass adhesives are also tailored for this purpose, providing a seamless and durable connection between the two components. The careful selection of the adhesive is crucial for the structural integrity and longevity of the magnifying glass.
In addition to the essential components, optional decorative elements can be considered to add a personal touch to the magnifying glass. Beads, decorative metal accents, or custom engravings can elevate the visual appeal of the finished product, reflecting individual style and creativity. These decorative elements offer an opportunity to infuse personality and artistry into the magnifying glass, transforming it into a unique and personalized tool.
By gathering these materials with care and consideration, you are laying the foundation for a captivating and fulfilling crafting experience. The meticulous selection of the handle material, lens, adhesive, and optional decorative elements sets the stage for the subsequent steps of shaping the handle and attaching the lens. With these materials at hand, you are poised to embark on the exciting journey of creating your own magnifying glass, a testament to craftsmanship and ingenuity.
Step 2: Shape the Handle
Shaping the handle of a magnifying glass is a pivotal step that demands precision, creativity, and attention to detail. The handle serves as the foundation of the magnifying glass, providing both functional support and aesthetic appeal. Whether crafting a handle from wood, metal, or another material, the shaping process is an opportunity to infuse the magnifying glass with individuality and character.
Selecting the Handle Material
Before delving into the shaping process, it's essential to consider the properties and characteristics of the chosen handle material. Wood, renowned for its natural warmth and versatility, offers a canvas for intricate shaping and customization. Alternatively, metal handles provide durability and a sleek, modern aesthetic. The selection of the handle material sets the stage for the subsequent shaping and refinement, influencing the overall feel and visual impact of the magnifying glass.
Read more: How To Start A Fire With A Magnifying Glass
Shaping Techniques
The shaping process begins with roughing out the basic form of the handle. For wood handles, this may involve carving, sanding, or turning on a lathe to achieve the desired shape and dimensions. Metal handles may require cutting, filing, and shaping using specialized tools to create a smooth and ergonomic design. Throughout this process, attention to ergonomics and comfort is crucial, ensuring that the handle fits comfortably in the hand and provides a stable grip for extended use.
Customization and Personalization
As the handle takes shape, there is an opportunity for customization and personalization. Intricate details, such as decorative carvings, inlays, or unique contours, can elevate the handle from a functional component to a work of art. These personalized touches not only enhance the visual appeal of the magnifying glass but also reflect the artisan's creativity and attention to craftsmanship.
Finishing Touches
Once the handle has been shaped to perfection, the finishing touches come into play. Sanding the surface to a smooth finish, applying protective coatings or finishes, and buffing to a lustrous sheen are essential steps in refining the handle. These final touches not only enhance the tactile experience of using the magnifying glass but also protect the handle from wear and tear, ensuring its longevity and enduring beauty.
The Art of Shaping
Shaping the handle of a magnifying glass is a harmonious blend of artistry and functionality. It is a process that demands patience, skill, and a keen eye for detail. As the handle takes form, it becomes a testament to the artisan's vision and craftsmanship, embodying both practical utility and aesthetic allure. With the handle expertly shaped and personalized, the magnifying glass begins to emerge as a unique and captivating tool, ready to unveil the wonders of magnification to the world.
Read more: How Does A Magnifying Glass Work
Step 3: Attach the Lens
The process of attaching the lens to the handle is a critical stage in the creation of a magnifying glass, as it directly influences the optical performance and overall functionality of the tool. With precision and care, the lens is seamlessly integrated into the handle, culminating in the transformation of raw materials into a powerful instrument of magnification.
The first step in attaching the lens involves ensuring a precise fit between the lens and the handle. If the lens is designed to fit into a recessed area of the handle, meticulous measurements and shaping are essential to create a snug and secure housing for the lens. For lenses that are affixed to the surface of the handle, the alignment and positioning must be carefully planned to optimize the magnification properties and visual clarity.
Once the fitting is confirmed, the next crucial element is the selection of an appropriate adhesive. Epoxy resin, renowned for its exceptional bonding strength and resistance to environmental factors, is a popular choice for securely attaching the lens to the handle. Specialized glass adhesives are also tailored for this purpose, offering a seamless and durable connection between the two components. The careful application of the chosen adhesive ensures a firm and enduring bond, essential for the reliable performance of the magnifying glass.
With the adhesive in place, the lens is delicately positioned and secured onto the handle, aligning it precisely to achieve optimal magnification properties. The setting and curing process of the adhesive is a critical phase, requiring patience and meticulous attention to detail. Once the adhesive has fully cured, the lens becomes an integral part of the handle, forming a unified and functional unit ready to unveil the hidden details of the world.
The final step in attaching the lens involves inspecting the assembly for any imperfections and ensuring that the bond is secure and flawless. Any excess adhesive is carefully removed, and the surface is polished to a pristine finish, enhancing the visual appeal and clarity of the magnifying glass. With the lens securely attached and the assembly refined to perfection, the magnifying glass emerges as a testament to precision craftsmanship and the art of optical magnification.
As the lens becomes an integral part of the handle, the magnifying glass embodies the seamless fusion of art and science, ready to embark on its journey of revealing the intricate details and hidden marvels of the world.
Step 4: Test the Magnifying Glass
The culmination of the meticulous crafting process is the exhilarating moment of testing the magnifying glass for the first time. This pivotal step marks the transition from raw materials to a functional and powerful tool of magnification, offering a glimpse into the intricate details and hidden marvels of the world.
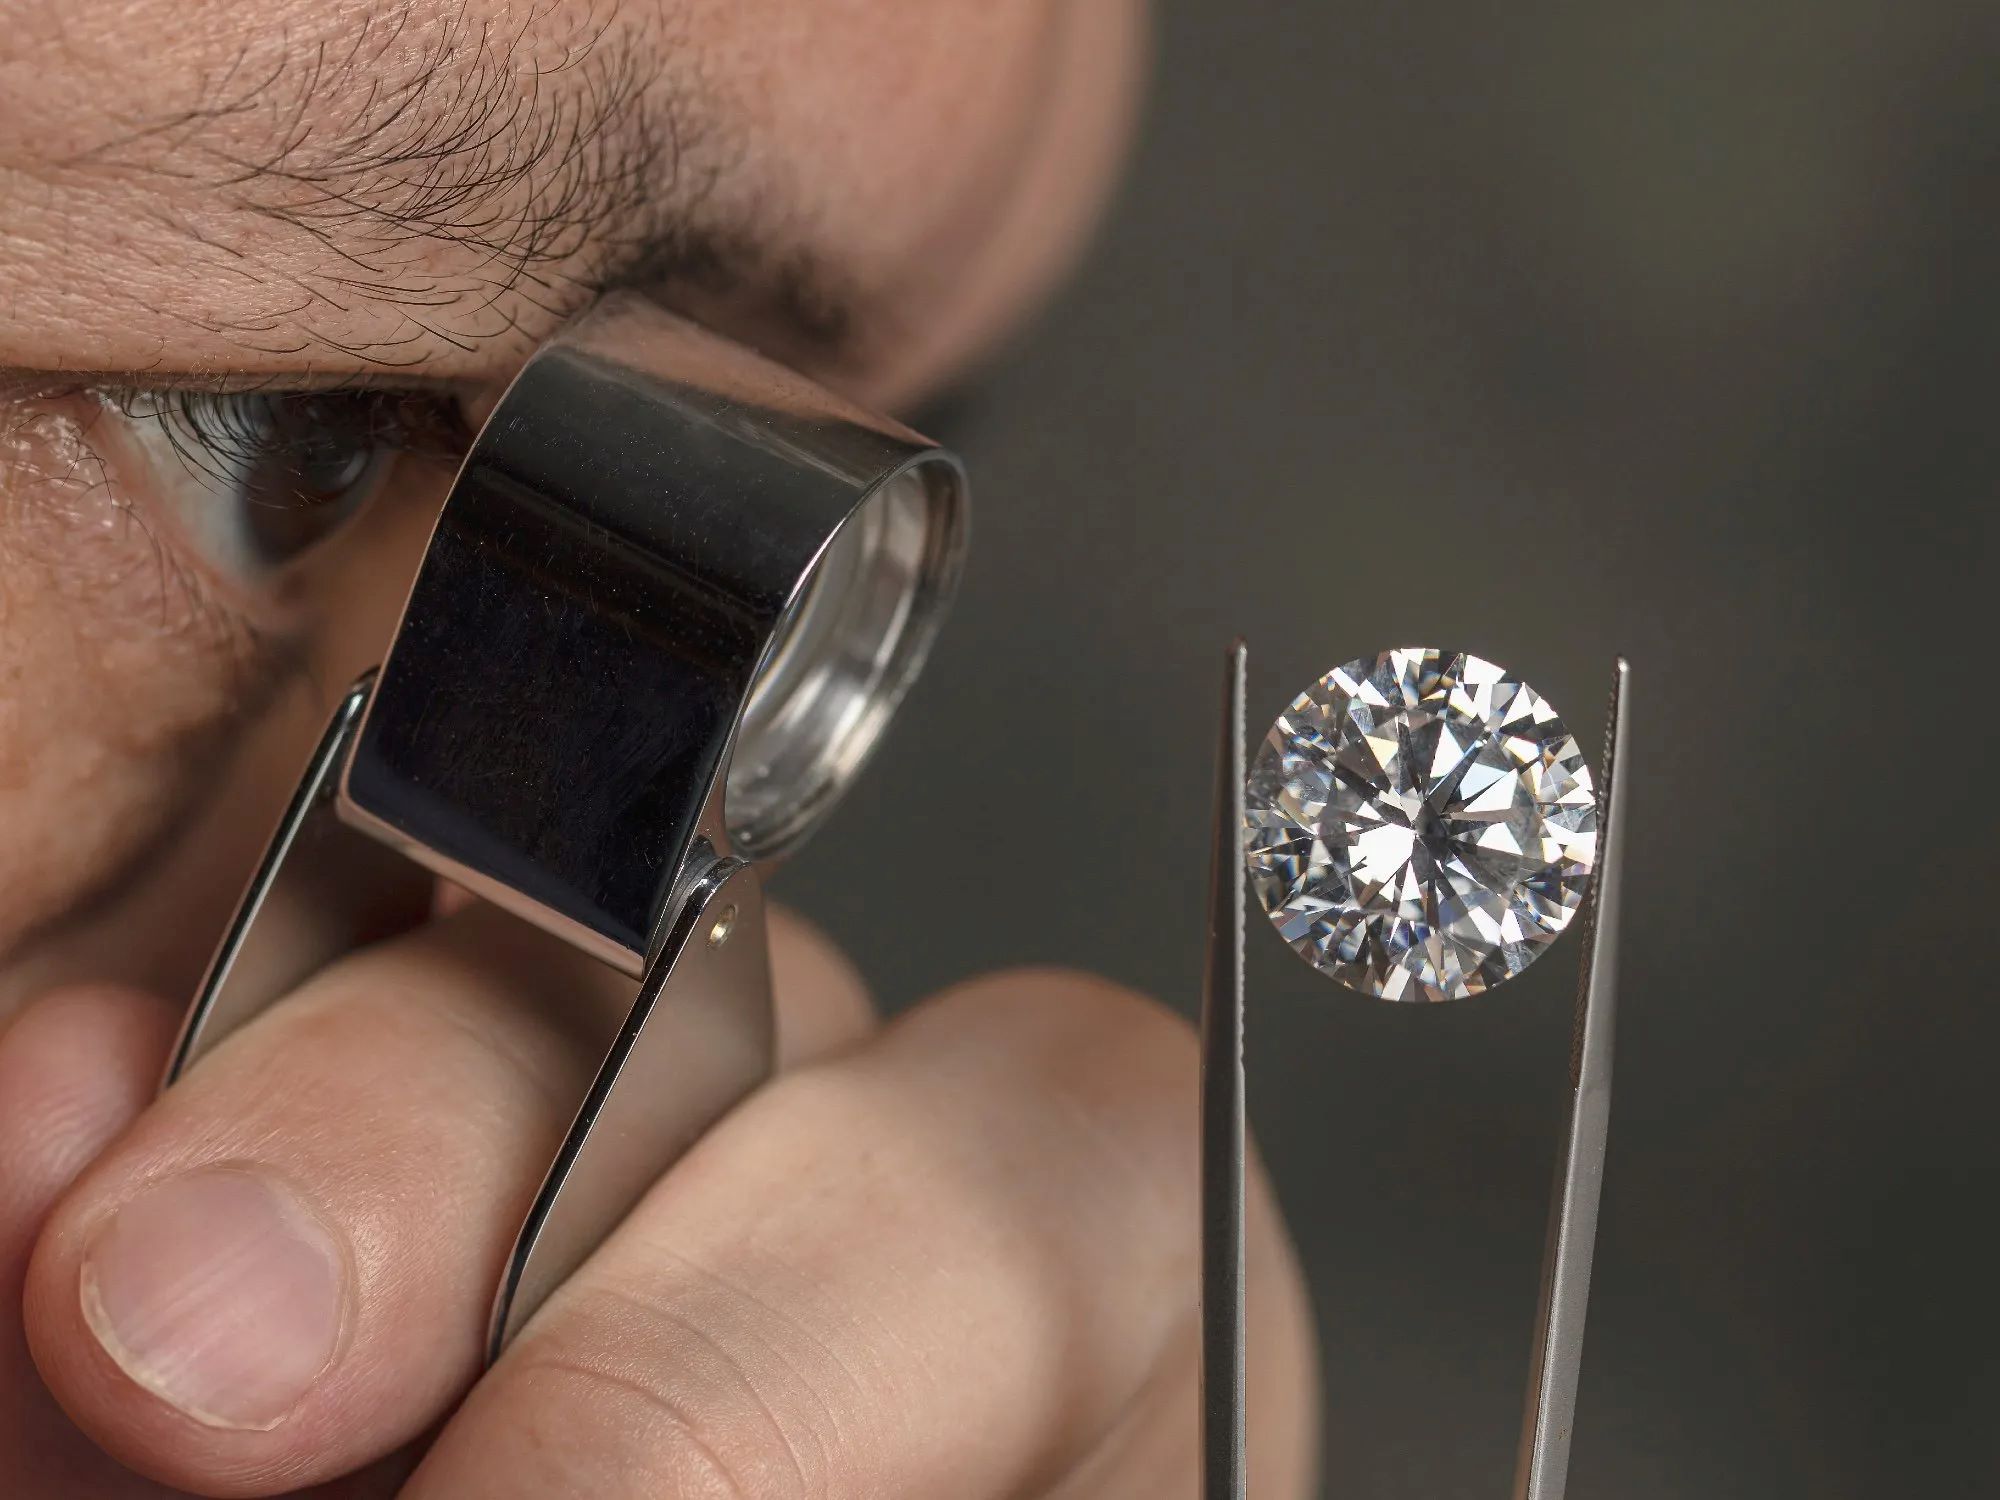
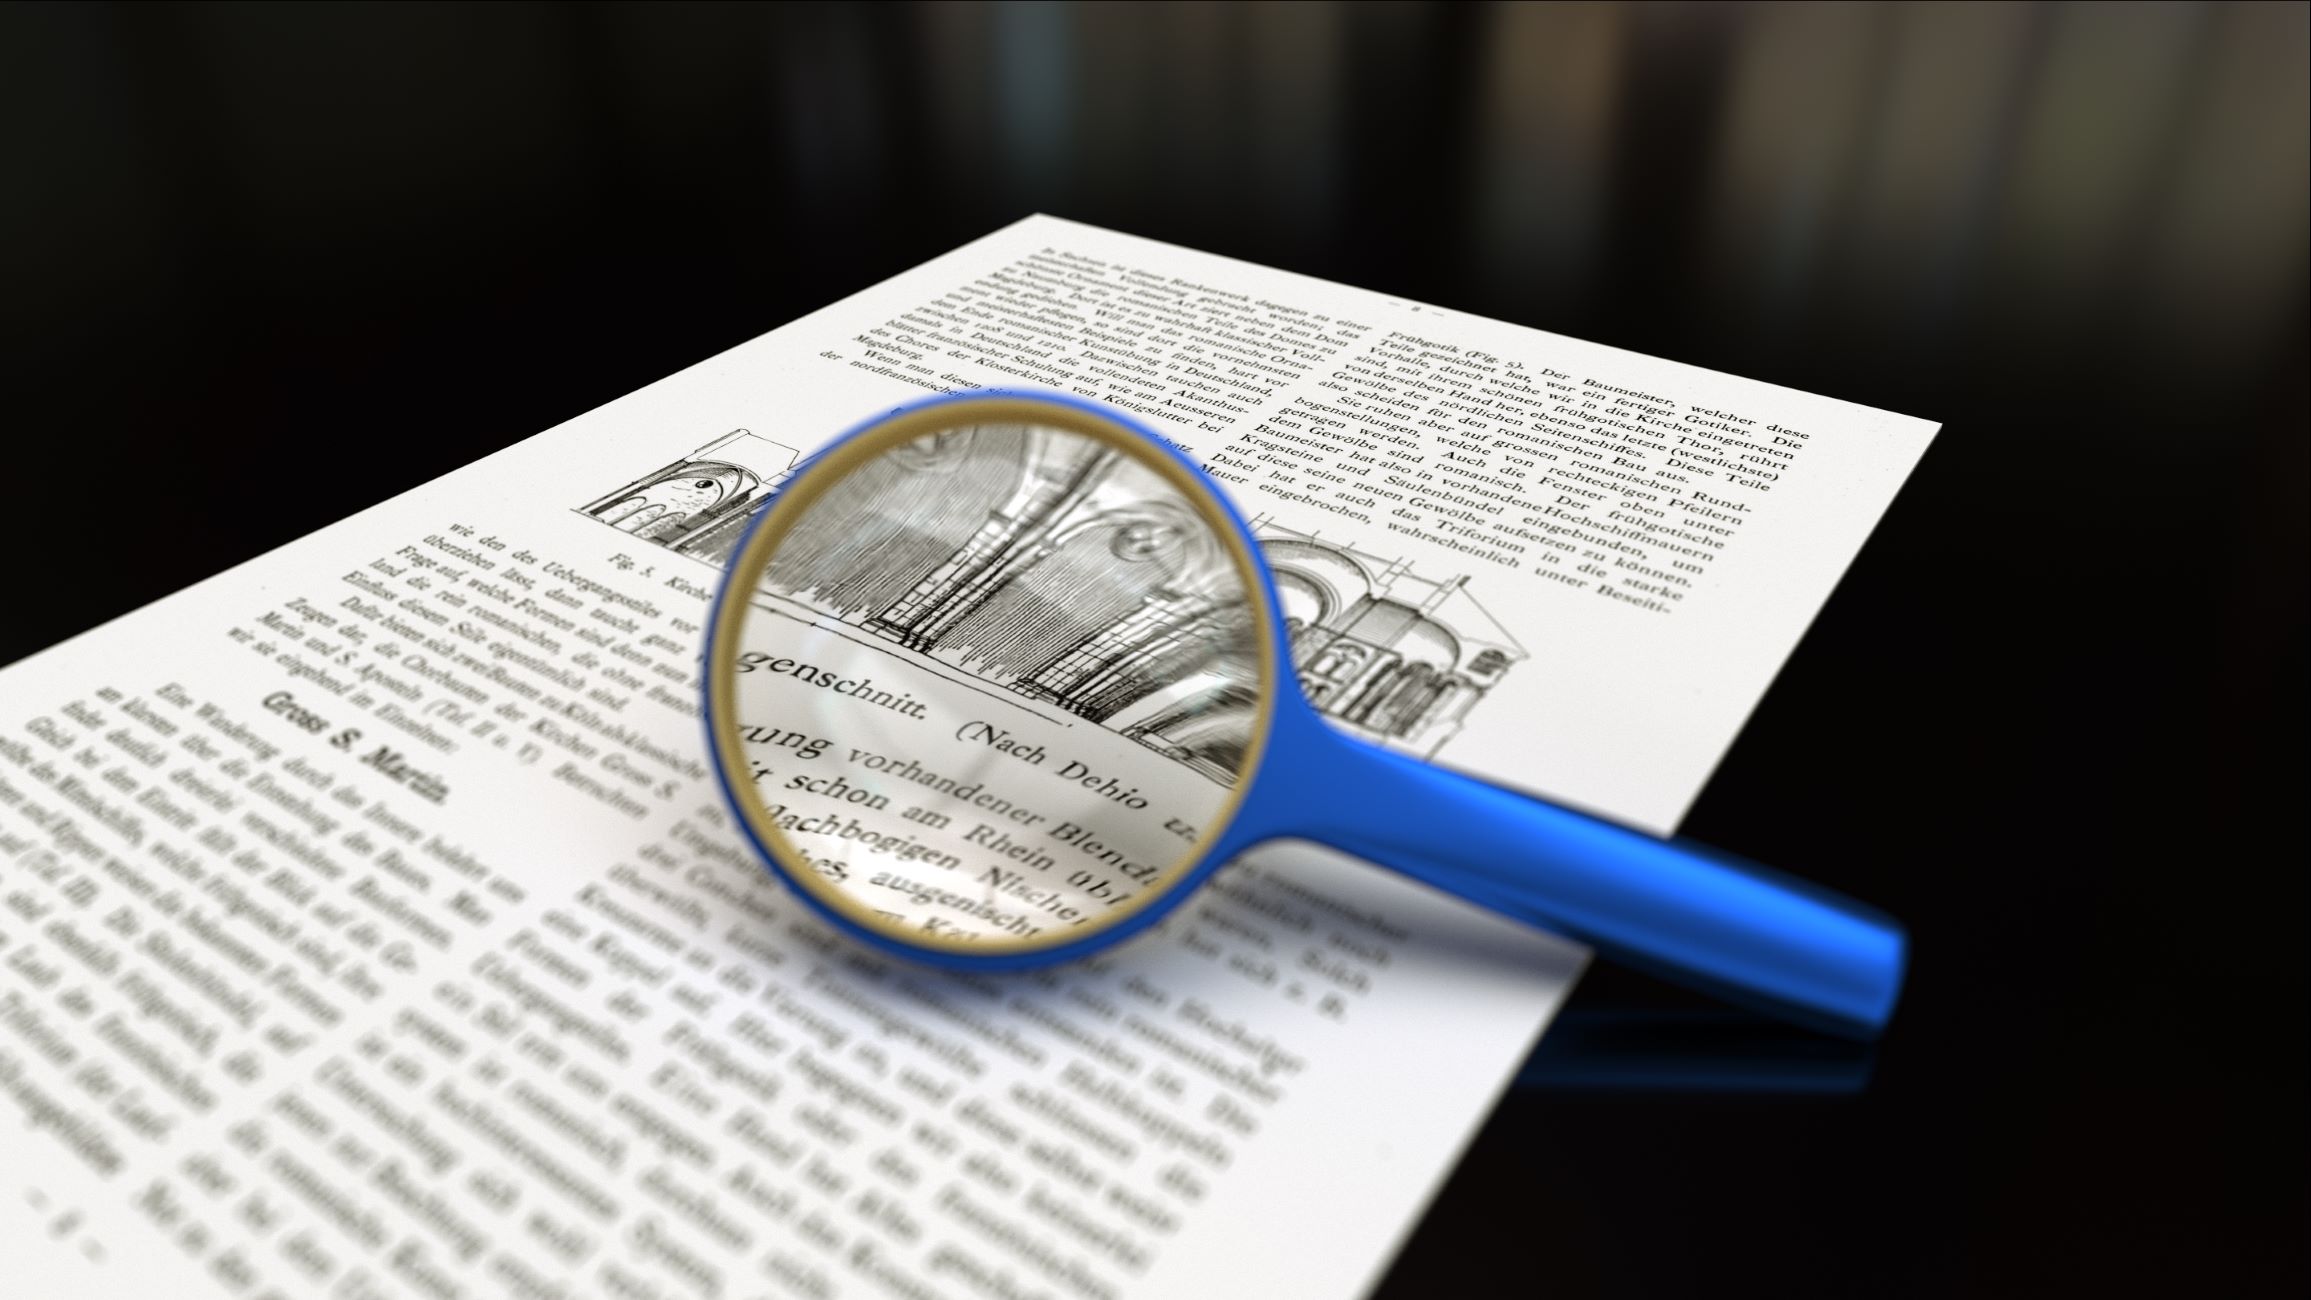
To initiate the testing phase, it is essential to select a diverse range of objects and surfaces to examine through the magnifying glass. This selection may include printed text, intricate patterns, natural specimens, or miniature objects, each offering a unique opportunity to explore the magnifying capabilities of the glass. By examining a variety of subjects, the magnifying glass's performance can be thoroughly evaluated, showcasing its ability to reveal fine details and enhance visual clarity.
As the magnifying glass is brought into position, the first observation is the magnification power and the clarity of the enlarged image. The precision of the lens and the quality of the construction are immediately apparent as the selected subjects come into focus, unveiling intricate details that may have been imperceptible to the naked eye. The magnifying glass serves as a gateway to a world of hidden intricacies, transforming ordinary objects into captivating marvels.
The testing process also involves assessing the ergonomics and usability of the magnifying glass. The comfort of the handle, the stability of the grip, and the overall user experience are carefully evaluated, ensuring that the magnifying glass not only delivers exceptional optical performance but also offers a comfortable and intuitive interface for exploration.
Furthermore, the testing phase provides an opportunity to gauge the durability and resilience of the magnifying glass. By subjecting it to varying conditions and handling, the robustness of the construction and the integrity of the adhesive bond are put to the test, affirming the reliability and longevity of the crafted tool.
As the testing phase unfolds, the magnifying glass transcends its role as a mere instrument and becomes a gateway to discovery and fascination. It unveils the hidden intricacies of the world, igniting a sense of wonder and curiosity that transcends the boundaries of ordinary perception.
In this transformative moment, the magnifying glass emerges as a testament to craftsmanship, precision, and the timeless allure of magnification. It stands as a tangible embodiment of human ingenuity, offering a glimpse into the captivating world of optical exploration and the boundless wonders that await discovery.
To make a simple magnifying glass, you can use a clear plastic or glass sphere and a small piece of paper with a hole in the middle. Place the paper over the object you want to magnify and hold the sphere above it to see it larger.
Conclusion
In conclusion, the art of crafting a magnifying glass is a captivating journey that intertwines creativity, precision, and the timeless allure of optical exploration. From the meticulous selection of materials to the shaping of the handle and the seamless integration of the lens, every step in the crafting process reflects the fusion of artistry and functionality. As the magnifying glass emerges from raw materials into a refined and powerful tool, it embodies the ingenuity and resourcefulness of human craftsmanship.
The process of crafting a magnifying glass transcends the mere act of assembling components; it is a testament to the enduring fascination with magnification and the pursuit of uncovering hidden details. Each stage of the crafting journey, from shaping the handle to attaching the lens, offers an opportunity for personal expression and artistic innovation. The handle becomes a canvas for individuality, adorned with unique contours and personalized details that elevate it from a functional component to a work of art.
The attachment of the lens marks the convergence of precision and optical science, as the lens seamlessly integrates into the handle, forming a unified and powerful instrument of magnification. The testing phase, a moment of anticipation and discovery, unveils the magnifying glass's ability to reveal intricate details and hidden marvels, igniting a sense of wonder and curiosity.
As the crafting journey culminates in the creation of a functional and elegant magnifying glass, it serves as a tangible symbol of human ingenuity and the timeless allure of exploration. Whether crafted for practical use, educational purposes, or simply for the joy of creating, the magnifying glass stands as a testament to the enduring fascination with magnification and the boundless wonders that await discovery.
In the art of making a magnifying glass, we find a harmonious blend of tradition and innovation, craftsmanship and scientific inquiry. It is a journey that celebrates the timeless allure of magnification and the enduring human quest to uncover the hidden intricacies of the world. As we embark on this enlightening journey, we not only craft a magnifying glass but also unlock the wonders of magnification, revealing a world of hidden marvels waiting to be explored.
Frequently Asked Questions about How To Make A Magnifying Glass
Was this page helpful?
At Storables.com, we guarantee accurate and reliable information. Our content, validated by Expert Board Contributors, is crafted following stringent Editorial Policies. We're committed to providing you with well-researched, expert-backed insights for all your informational needs.


0 thoughts on “How To Make A Magnifying Glass”