Home>Furniture & Design>Interior Design Trends>How To Make Glass Ornament
Interior Design Trends
How To Make Glass Ornament
Modified: March 1, 2024
Discover the latest interior design trends with our guide on how to make glass ornaments. Elevate your decor with these stunning DIY ornaments.
(Many of the links in this article redirect to a specific reviewed product. Your purchase of these products through affiliate links helps to generate commission for Storables.com, at no extra cost. Learn more)
Introduction
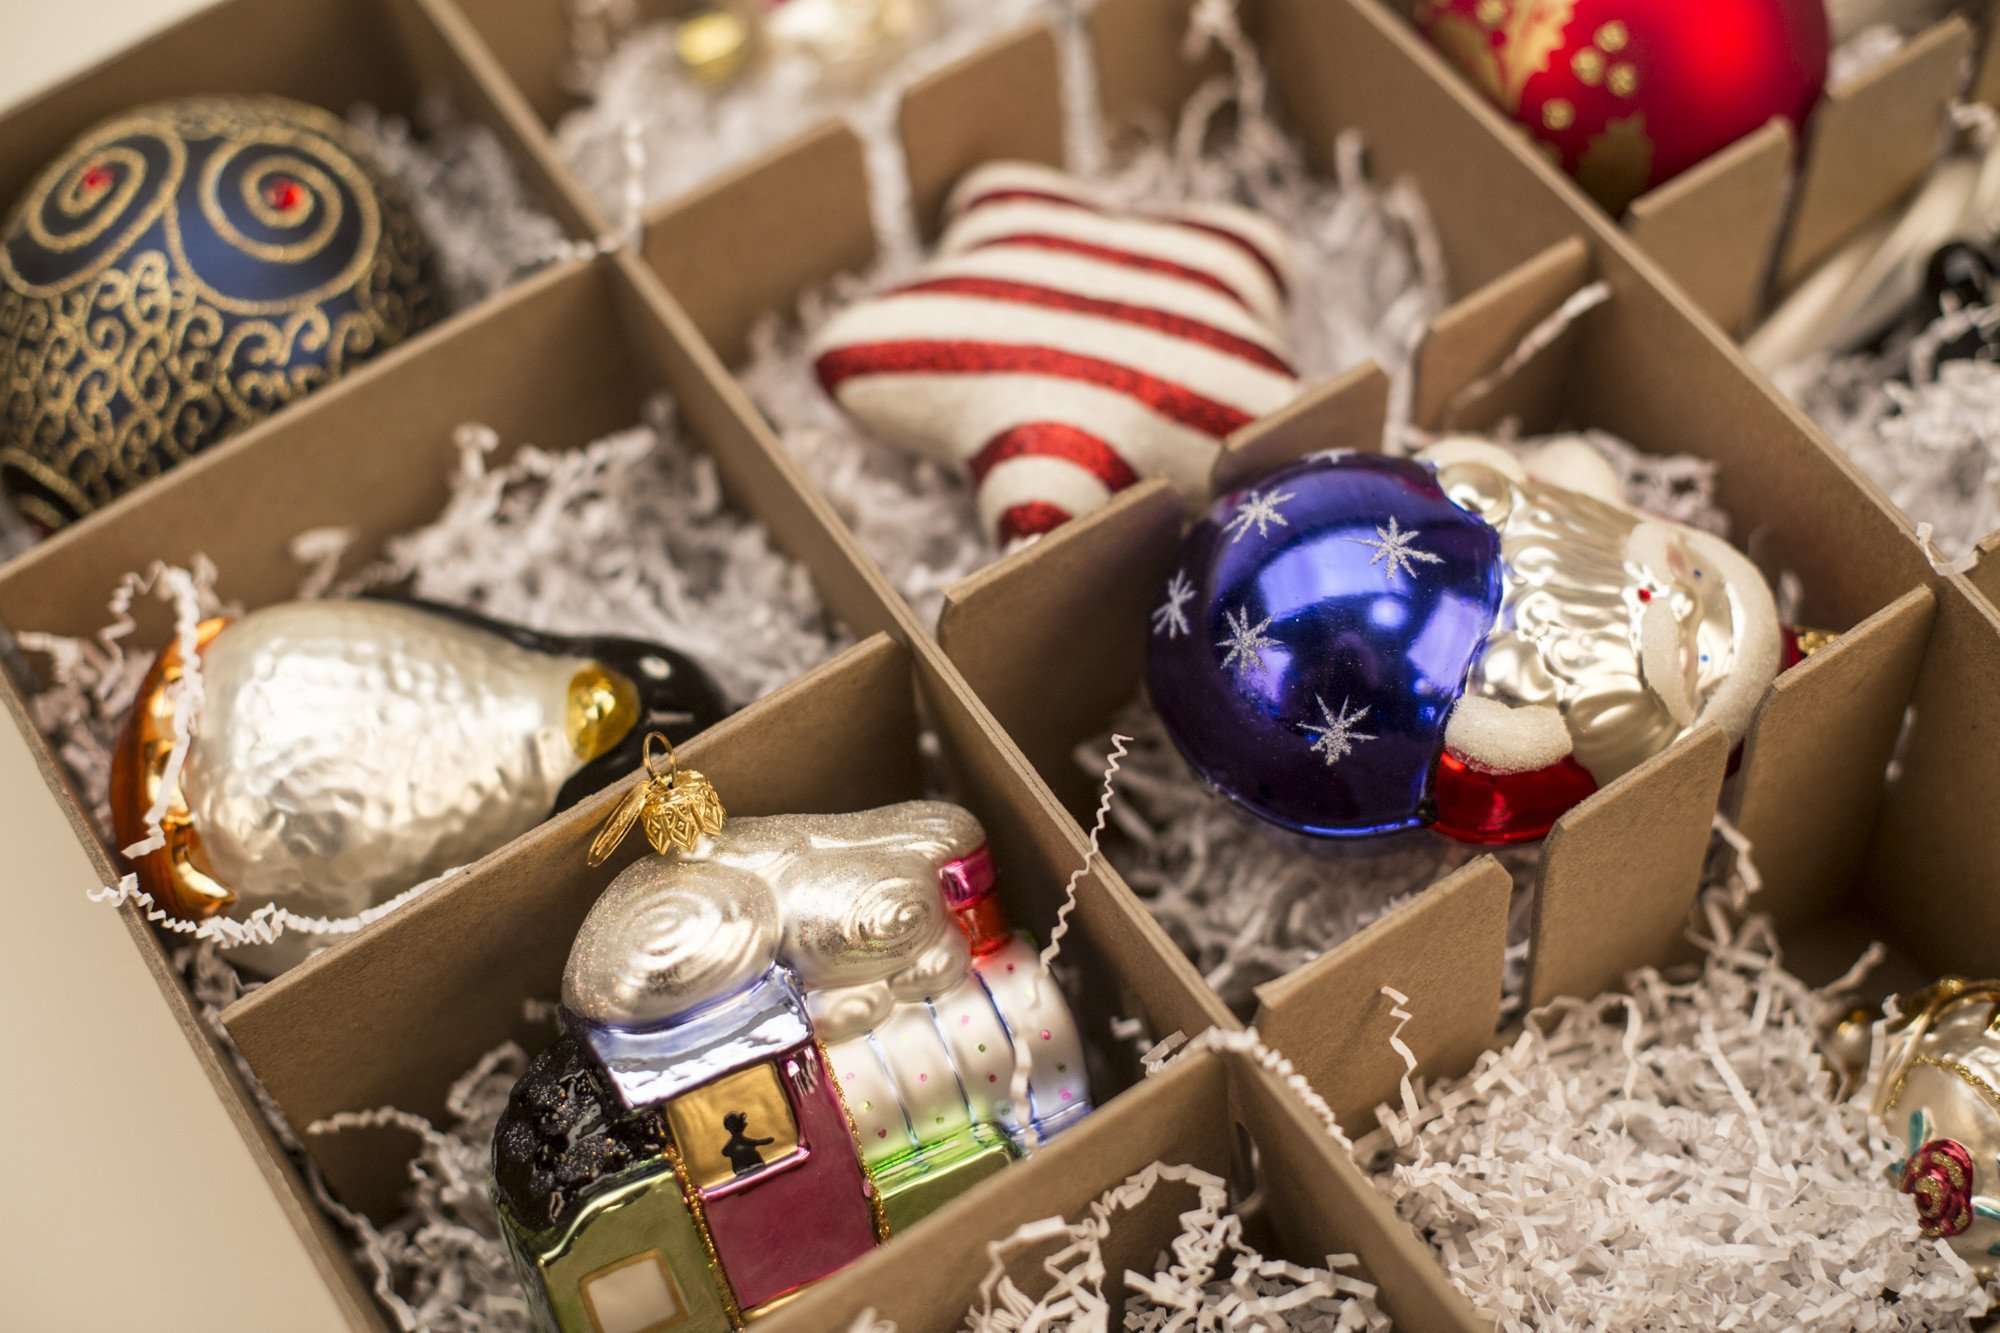
Creating your own glass ornaments is a delightful way to infuse your personal touch into your holiday decor. Whether you're looking to add a festive flair to your Christmas tree or seeking a unique gift idea, crafting glass ornaments allows you to unleash your creativity and bring a touch of handmade charm to your home. With a few simple materials and a dash of imagination, you can transform plain glass ornaments into stunning works of art that reflect your individual style.
Designing and decorating glass ornaments is a wonderful activity for individuals of all ages. It offers a perfect opportunity for families to come together and engage in a fun and rewarding craft project. Children can explore their artistic abilities and contribute their own designs, while adults can enjoy the therapeutic and meditative process of creating beautiful ornaments.
The beauty of making glass ornaments lies in the endless possibilities for customization. From traditional holiday motifs to modern and eclectic designs, the options are limitless. You can experiment with various decorating techniques, such as painting, glittering, or filling the ornaments with decorative elements. Each ornament becomes a unique masterpiece, showcasing your artistic flair and adding a personal touch to your holiday decorations.
Crafting glass ornaments also provides a sustainable and eco-friendly alternative to store-bought decorations. By repurposing and embellishing plain glass ornaments, you can reduce waste and minimize your environmental impact while adding a touch of elegance to your festive decor.
In this comprehensive guide, we will walk you through the step-by-step process of creating stunning glass ornaments. From setting up your workspace to selecting the perfect decorating supplies, you'll learn everything you need to know to embark on this enchanting crafting journey. So, gather your materials, unleash your creativity, and get ready to adorn your home with beautifully handcrafted glass ornaments!
Key Takeaways:
- Crafting glass ornaments is a fun and eco-friendly way to add a personal touch to holiday decor. It’s a great activity for families to enjoy together, allowing everyone to unleash their creativity and create unique, handmade decorations.
- By carefully selecting glass ornaments and gathering decorating supplies, you can transform plain ornaments into stunning works of art. The process involves painting, adding glitter and sequins, and incorporating ribbons and trims to infuse the ornaments with festive charm and individuality.
Read more: How To Make Glass Ornaments
Materials Needed
To embark on the enchanting journey of creating your own glass ornaments, you will need a few essential materials to bring your artistic vision to life. Before diving into the creative process, it's important to gather the following items to ensure a smooth and enjoyable crafting experience:
-
Glass Ornaments: The foundation of your project, glass ornaments serve as the canvas for your creativity. Opt for clear glass ornaments in various shapes and sizes, allowing you to experiment with different designs and techniques. These can be readily found at craft stores or online retailers.
-
Decorating Supplies: Prepare an assortment of decorating supplies to embellish your glass ornaments. This may include acrylic paints, paintbrushes, glitter, sequins, ribbons, decorative trims, adhesive gems, and any other decorative elements that inspire your imagination.
-
Protective Gear: As you delve into the decorating process, it's advisable to have protective gear on hand, such as disposable gloves and aprons, to safeguard your clothing and skin from any potential mess or spills.
-
Workspace Covering: To protect your work surface from paint and glitter, consider using a disposable tablecloth, old newspapers, or a plastic sheet to create a designated crafting area.
-
Drying Rack or Stand: A drying rack or stand will come in handy for allowing the ornaments to dry thoroughly without smudging or sticking to surfaces.
-
Crafting Tools: Keep basic crafting tools within reach, including scissors, glue, and a hot glue gun for securing decorative elements onto the ornaments.
-
Optional Embellishments: Depending on your design preferences, you may want to incorporate additional embellishments such as miniature figurines, artificial snow, or tiny bells to add a whimsical touch to your ornaments.
By gathering these materials, you'll be well-equipped to embark on your glass ornament crafting adventure. With these supplies at your disposal, you can unleash your creativity and transform plain glass ornaments into captivating works of art that will adorn your home with festive charm.
Step 1: Prepare the Workspace
Preparing the workspace is the foundational step in embarking on your glass ornament crafting journey. By establishing a well-organized and protected area, you can ensure a smooth and enjoyable creative process while safeguarding your surroundings from potential messes. Here's a detailed guide to setting up your workspace for crafting exquisite glass ornaments:
-
Select a Suitable Work Surface: Choose a flat and spacious work surface, such as a table or countertop, that provides ample room for arranging your materials and maneuvering the glass ornaments. It's advisable to work in a well-lit area to facilitate precision and attention to detail.
-
Cover the Workspace: To protect your work surface from paint, glue, and glitter, lay down a protective covering such as a disposable tablecloth, old newspapers, or a plastic sheet. This not only safeguards your furniture but also simplifies the cleanup process once your ornaments are complete.
-
Organize Your Materials: Arrange your decorating supplies and crafting tools within easy reach, ensuring that everything you need is readily accessible. This includes paints, brushes, glitter, ribbons, and any other embellishments you plan to use. Having your materials organized and within arm's reach streamlines the creative process and minimizes interruptions.
-
Set Up a Drying Area: Designate a specific area for drying the decorated ornaments. Consider using a drying rack or stand to allow the ornaments to dry thoroughly without coming into contact with other surfaces, preventing smudges and preserving the integrity of your designs.
-
Protective Gear: Prior to commencing the decorating process, don protective gear such as disposable gloves and aprons to shield your clothing and skin from potential spills and stains. This simple precaution ensures that you can fully immerse yourself in the creative process without worrying about accidental messes.
By meticulously preparing your workspace, you lay the groundwork for a seamless and enjoyable glass ornament crafting experience. With a well-organized and protected environment, you can unleash your creativity and focus on bringing your artistic vision to life, resulting in beautifully adorned glass ornaments that will infuse your home with festive charm.
Step 2: Choose the Glass Ornaments
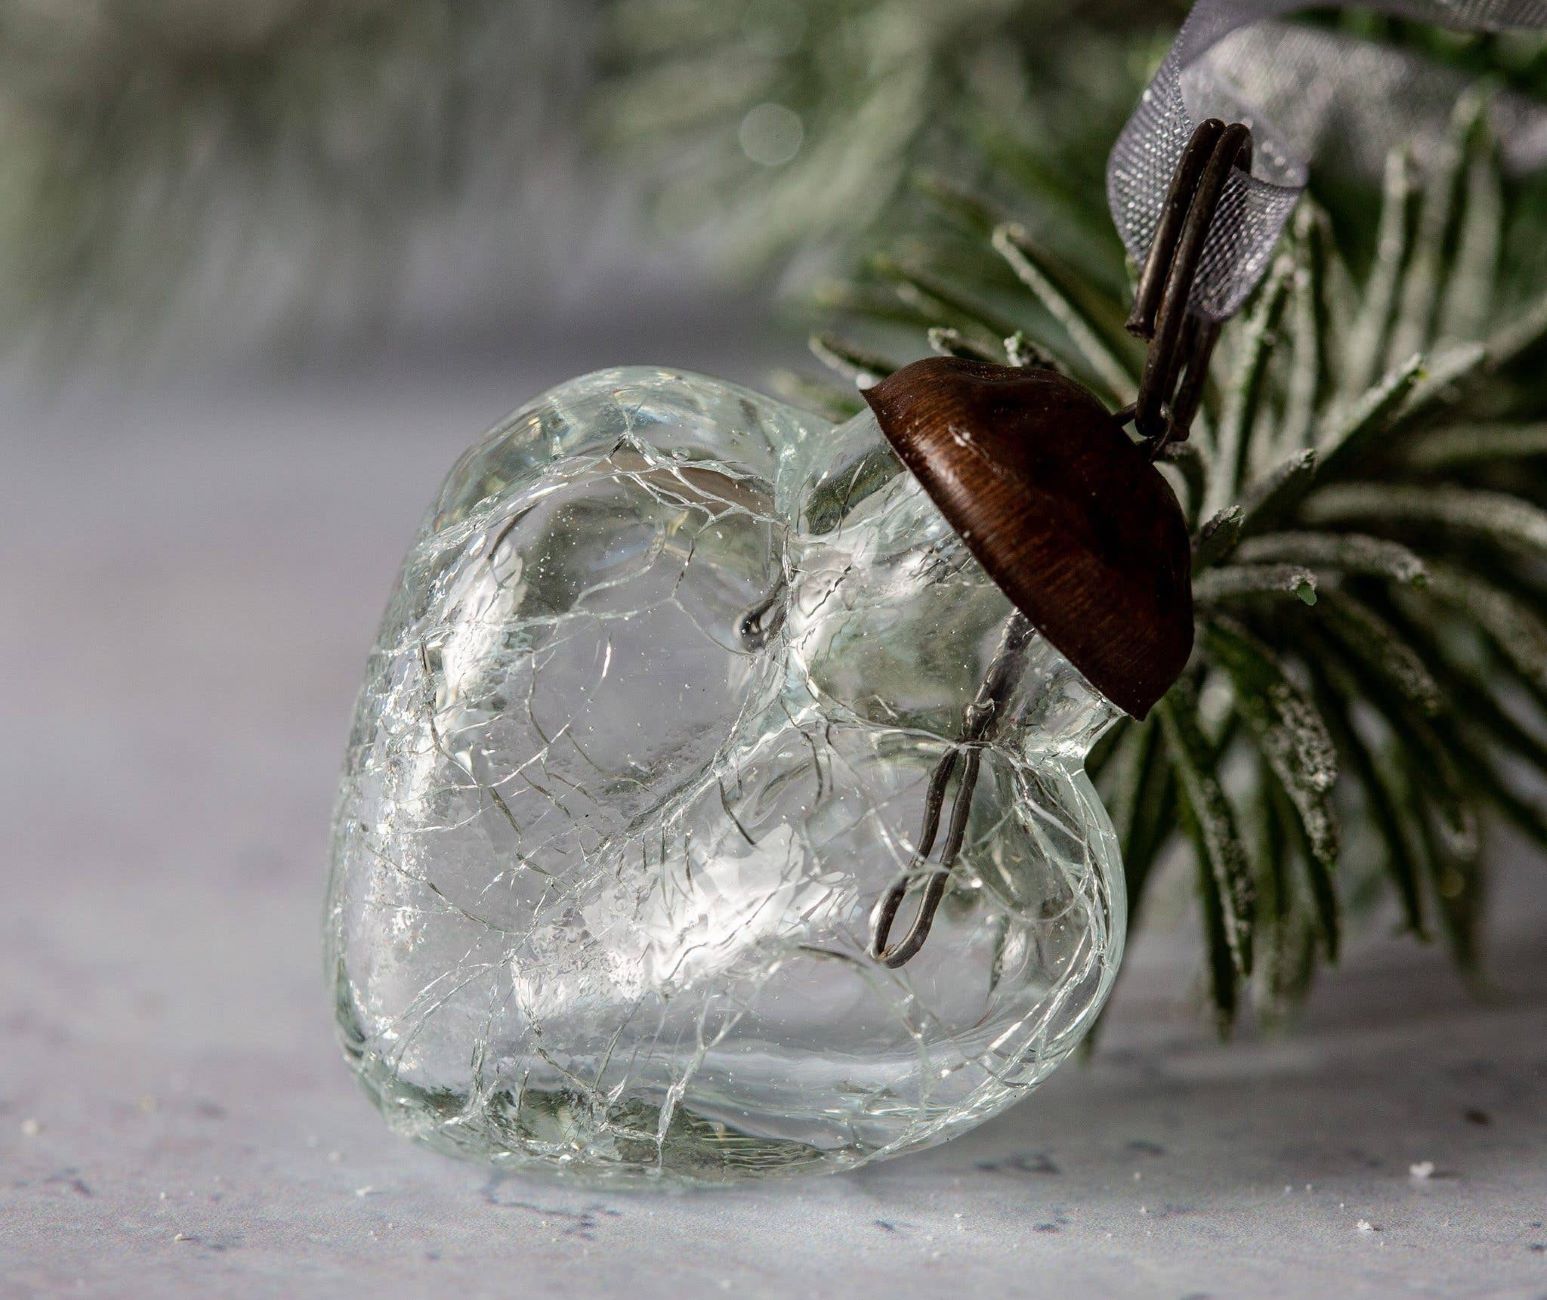
Selecting the perfect glass ornaments sets the stage for your creative journey. When choosing glass ornaments for decorating, consider various factors such as size, shape, and transparency to align with your design vision. Clear glass ornaments serve as an ideal blank canvas, allowing your creativity to flourish. They come in a range of shapes, including classic spheres, teardrops, and intricate designs, providing ample opportunities to explore diverse decorating techniques.
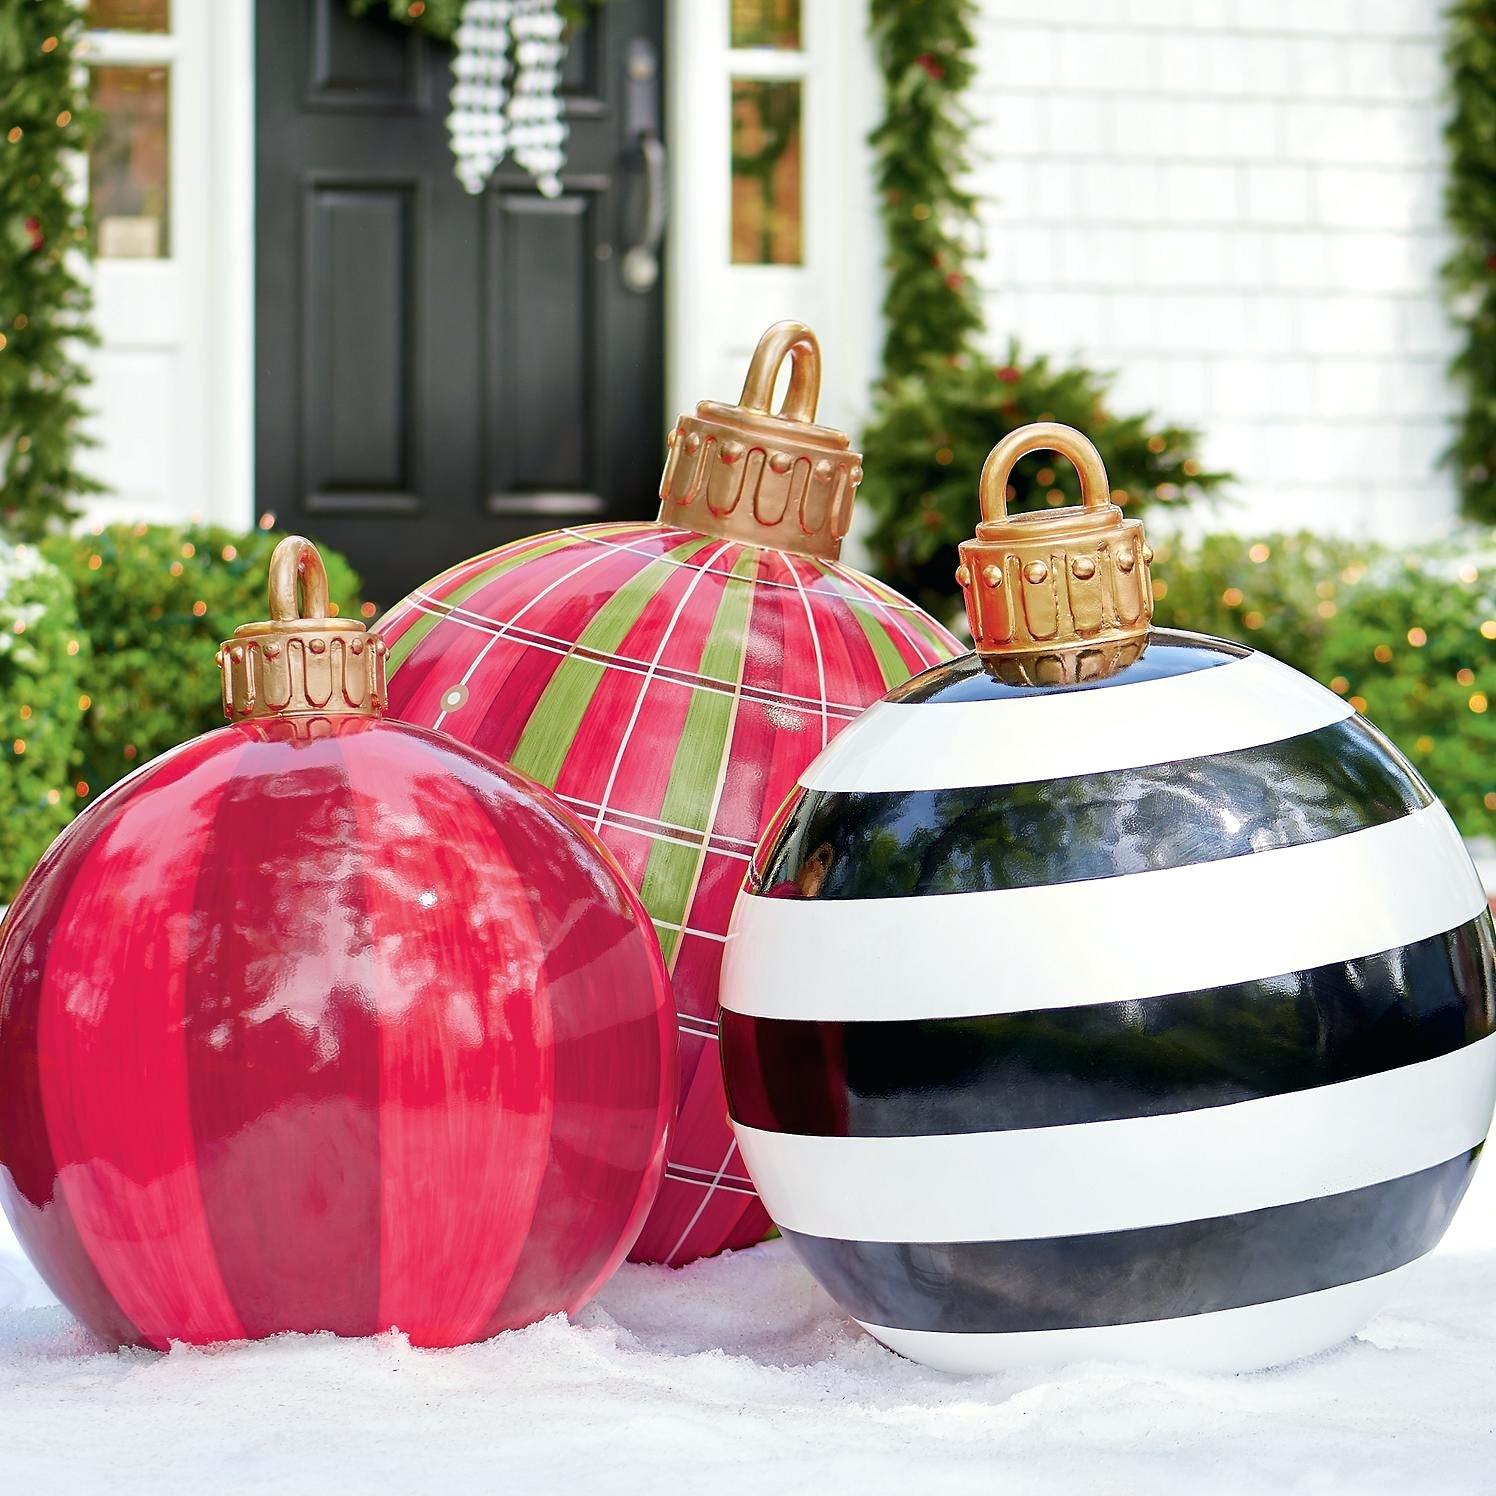
The size of the ornaments plays a crucial role in determining the level of detail and intricacy achievable in your designs. Smaller ornaments are well-suited for delicate and intricate decorations, while larger ones offer a broader surface area for bold and expressive designs. Consider mixing different sizes to create visual interest and diversity in your ornament display.
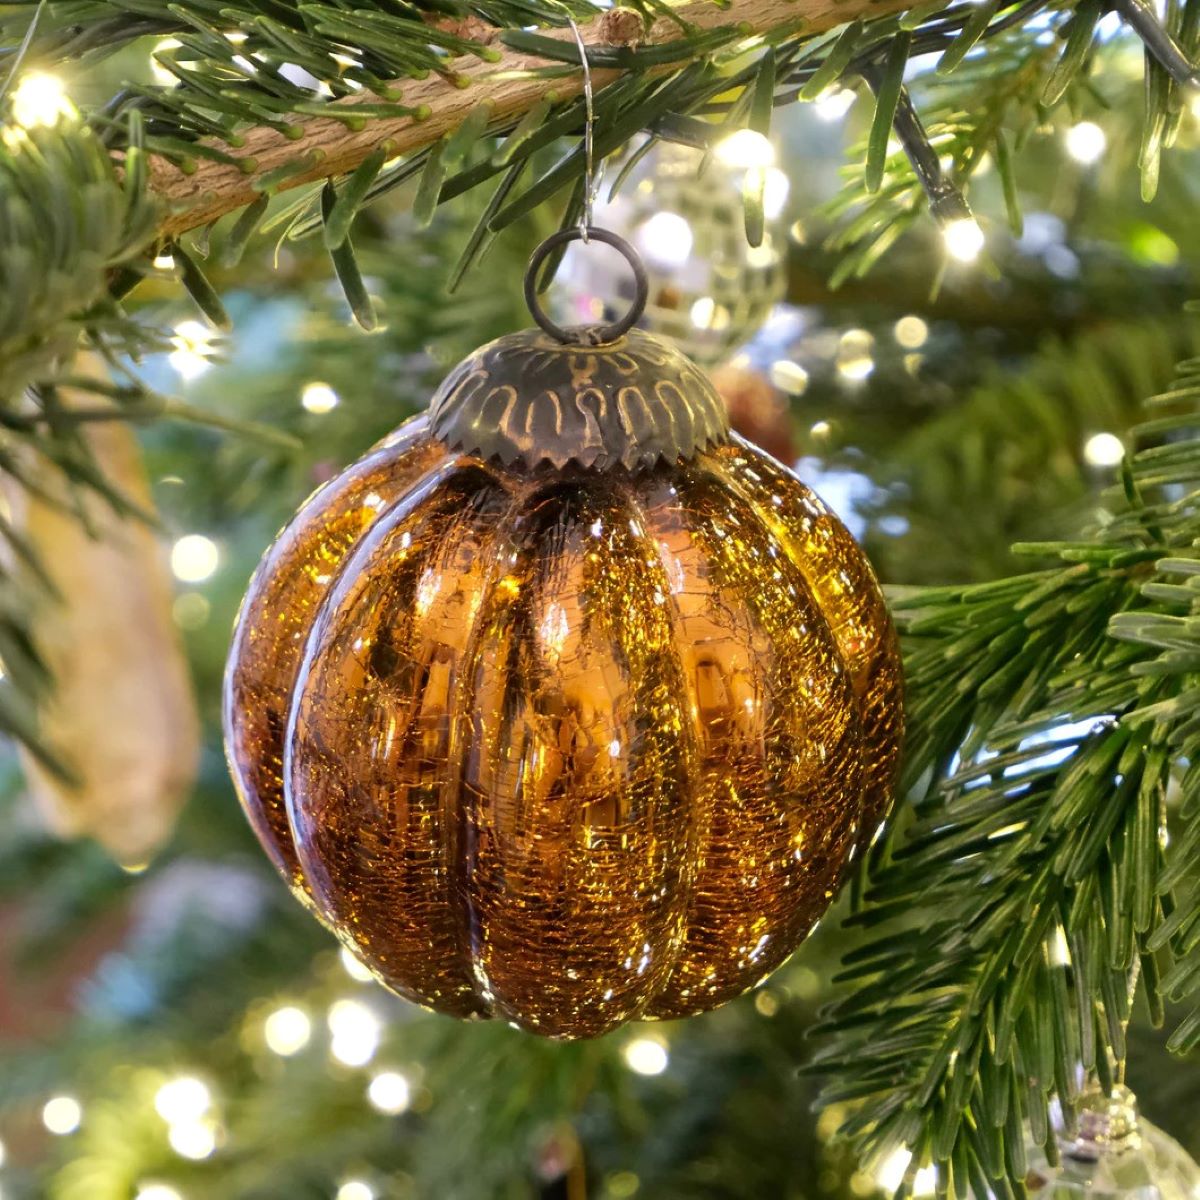
Furthermore, the shape of the ornaments contributes to the overall aesthetic and theme of your decorations. Classic spherical ornaments exude timeless elegance and are versatile for various design styles. Teardrop-shaped ornaments lend themselves to creating unique and eye-catching designs, while intricately designed glass ornaments offer a captivating canvas for more elaborate and ornate decorations.
Transparency is another key consideration when selecting glass ornaments. Fully transparent ornaments allow for designs that incorporate the play of light and color, creating a mesmerizing effect when displayed. Alternatively, semi-transparent or frosted glass ornaments can impart a subtle and ethereal quality to your designs, adding a touch of sophistication to your ornament collection.
When choosing glass ornaments, it's beneficial to envision the overall theme and color scheme of your holiday decor. Consider how the ornaments will complement your existing decorations and contribute to the cohesive visual narrative of your space. Whether you opt for a traditional, rustic, or contemporary aesthetic, the selection of glass ornaments serves as a pivotal step in realizing your design aspirations.
By thoughtfully considering the size, shape, and transparency of the glass ornaments, you can curate a collection that aligns with your creative vision and enhances the festive ambiance of your home. With the perfect ornaments in hand, you're poised to embark on the enchanting process of adorning them with personalized and captivating designs, infusing your holiday decor with a touch of handmade charm and individuality.
Step 3: Gather Decorating Supplies
Gathering an assortment of decorating supplies is a pivotal step in preparing for the creative process of adorning glass ornaments. The selection of decorating supplies lays the foundation for bringing your artistic vision to life, allowing you to infuse the ornaments with personalized flair and festive charm. Here's a comprehensive guide to the essential decorating supplies that will empower you to unleash your creativity and transform plain glass ornaments into captivating works of art.
Read more: How To Decorate Glass Ornaments
Acrylic Paints:
Acrylic paints serve as a versatile and vibrant medium for adding color and intricate designs to the glass ornaments. Opt for a range of colors that align with your desired aesthetic, encompassing classic holiday hues, modern palettes, or thematic shades that resonate with your decorative vision. The richness and opacity of acrylic paints enable you to achieve bold and expressive designs, from intricate patterns to whimsical motifs, infusing the ornaments with captivating visual appeal.
Paintbrushes:
Select a variety of fine-tipped paintbrushes to facilitate precision and detail in your ornament designs. Different brush sizes and shapes empower you to execute intricate patterns, delicate strokes, and precise detailing, allowing you to bring your creative concepts to fruition with finesse and artistry. Fine-tipped brushes are particularly valuable for creating intricate designs and adding intricate accents to the ornaments, elevating them to stunning decorative pieces.
Glitter and Sequins:
Embellish your glass ornaments with a touch of sparkle and glamour by incorporating glitter and sequins into your decorating arsenal. These dazzling elements add a whimsical and enchanting dimension to your designs, capturing and reflecting light to create a mesmerizing effect. Whether you opt for subtle shimmer or bold glittering accents, these decorative elements infuse the ornaments with a festive and magical allure, elevating them to captivating focal points in your holiday decor.
Ribbons and Decorative Trims:
Enhance the visual appeal of your glass ornaments by incorporating an array of ribbons and decorative trims. Choose ribbons in various textures, widths, and colors to complement your design aesthetic and add a touch of elegance to the ornaments. Additionally, decorative trims such as lace, braided cords, or metallic accents offer opportunities to embellish the ornaments with sophisticated and ornate details, elevating them to exquisite decorative pieces that exude charm and refinement.
Read more: How To Make Bird Seed Ornaments
Adhesive Gems and Embellishments:
Elevate the allure of your glass ornaments by incorporating adhesive gems and other embellishments to add dimension and texture to your designs. These decorative elements provide a delightful opportunity to infuse the ornaments with a touch of opulence and luxury, creating captivating focal points that exude elegance and sophistication. Whether you opt for faux gemstones, miniature pearls, or intricate appliqués, these embellishments enrich the ornaments with a lavish and enchanting aesthetic, elevating them to exquisite decorative accents.
By assembling these essential decorating supplies, you equip yourself with the tools and materials needed to embark on the enchanting process of adorning glass ornaments with personalized and captivating designs. With a diverse array of paints, embellishments, and decorative elements at your disposal, you can unleash your creativity and infuse the ornaments with festive charm and individuality, creating stunning works of art that will adorn your home with elegance and allure.
Step 4: Decorate the Glass Ornaments
With your workspace prepared and the glass ornaments carefully selected, it's time to embark on the enchanting process of decorating the ornaments. This step is where your creativity takes center stage, allowing you to infuse the glass ornaments with personalized designs and captivating embellishments. Whether you envision classic holiday motifs, modern abstract patterns, or whimsical thematic designs, the decorating process offers boundless opportunities to transform plain glass ornaments into stunning works of art.
Begin by selecting your desired decorating technique, whether it involves painting, embellishing with glitter and sequins, or adorning the ornaments with ribbons and trims. If you opt for painting, delicately apply acrylic paints using fine-tipped brushes to create intricate patterns, festive scenes, or abstract designs on the glass surface. Experiment with layering colors, blending shades, and incorporating delicate details to bring your artistic vision to life.
For those inclined towards adding a touch of sparkle and glamour, consider embellishing the ornaments with glitter and sequins. Apply a thin layer of adhesive to specific areas of the ornament, then gently sprinkle glitter or carefully place sequins to achieve dazzling accents and captivating visual effects. The play of light on the glittering surfaces will imbue the ornaments with a magical allure, creating captivating focal points in your holiday decor.
Alternatively, adorn the glass ornaments with ribbons and decorative trims to infuse them with elegance and charm. Experiment with various ribbon textures, colors, and widths to create intricate bows, cascading ribbons, or ornate embellishments that enhance the visual appeal of the ornaments. Incorporate decorative trims such as lace, braided cords, or metallic accents to add a touch of sophistication and refinement to your designs, elevating the ornaments to exquisite decorative pieces.
As you immerse yourself in the decorating process, allow your creativity to flow freely, embracing the joy of bringing your artistic concepts to fruition. Whether you opt for traditional, contemporary, or whimsical designs, infuse each ornament with a touch of your unique style and personality, creating captivating pieces that reflect your individuality and creative flair.
By dedicating attention to detail and infusing each ornament with your artistic vision, you'll transform plain glass ornaments into captivating works of art that will adorn your home with elegance and allure. The decorating process offers a delightful opportunity to unleash your creativity, infuse the ornaments with personalized charm, and create stunning decorative accents that will captivate the hearts of all who behold them.
Step 5: Let the Ornaments Dry
After adorning the glass ornaments with your creative designs and captivating embellishments, it's essential to allow them to dry thoroughly to preserve the integrity of your artistic efforts. The drying process is a crucial step in ensuring that the paints, adhesives, and decorative elements adhere securely to the glass surface, resulting in beautifully finished ornaments that exude charm and allure.
To facilitate the drying process, it's advisable to place the decorated ornaments on a designated drying rack or stand. This allows the ornaments to air dry evenly and prevents them from coming into contact with other surfaces, minimizing the risk of smudging or damage to the designs. Position the drying rack in a well-ventilated area, away from direct sunlight and excessive heat, to promote optimal drying conditions.
Depending on the type of paints, adhesives, and embellishments used in the decorating process, the drying time may vary. Acrylic paints typically dry relatively quickly, but allowing the ornaments to air dry for at least 24 hours ensures that the designs set and adhere firmly to the glass surface. For ornaments embellished with glitter, sequins, or adhesive gems, a slightly longer drying period may be necessary to ensure that the decorative elements are securely affixed.
During the drying period, exercise patience and refrain from handling the ornaments to avoid smudging or disrupting the designs. This allows the paints and adhesives to cure properly, resulting in durable and long-lasting decorations that will retain their visual appeal throughout the holiday season and beyond.
Once the ornaments have dried completely, carefully inspect each one to ensure that the designs are secure and the decorative elements are firmly in place. Any loose or protruding embellishments can be reattached using a small amount of adhesive to reinforce their adherence to the glass surface.
By allowing the ornaments to dry thoroughly, you ensure that your creative efforts culminate in beautifully finished decorations that will adorn your home with elegance and charm. The drying process is a vital step in preserving the integrity of your designs and ensuring that the ornaments are ready to be displayed and enjoyed as captivating focal points in your holiday decor.
When making glass ornaments, always wear protective gloves and goggles to prevent injury from hot glass or sharp edges.
Step 6: Display and Enjoy Your Glass Ornaments
Once your meticulously crafted glass ornaments have completed the drying process, it's time to showcase their enchanting beauty and integrate them into your holiday decor. Displaying and enjoying your handcrafted ornaments is a gratifying culmination of your creative journey, infusing your home with personalized charm and festive allure.
Select a prominent location within your home to showcase the glass ornaments, such as a beautifully adorned Christmas tree, an elegant mantelpiece, or a festive centerpiece arrangement. Consider the overall aesthetic and theme of your decor to determine the most fitting display setting for your ornaments. Whether you opt for a traditional, rustic, or contemporary ambiance, the ornaments will serve as captivating focal points that elevate the visual appeal of your space.
When arranging the ornaments, strive for a harmonious balance of colors, shapes, and designs to create a visually captivating display. Mix and match different ornament sizes and styles to add depth and dimension to your decor, infusing the space with a sense of enchantment and elegance. Incorporate complementary decorative elements such as twinkling lights, lush greenery, or decorative accents to enhance the overall ambiance and create a cohesive holiday tableau.
As you admire the exquisite beauty of your handcrafted glass ornaments, take a moment to revel in the joy of bringing your artistic vision to life. Each ornament reflects your unique style and creativity, adding a touch of warmth and personality to your holiday surroundings. Whether you crafted them as a solo endeavor or as a collaborative family project, the ornaments embody the spirit of creativity, togetherness, and cherished memories.
Throughout the holiday season, take pleasure in the radiant glow of the ornaments as they catch the light and exude a magical allure. Their presence will infuse your home with an atmosphere of festive cheer and timeless elegance, captivating the hearts of all who behold them. Embrace the enchanting beauty of your handcrafted glass ornaments and savor the joy they bring to your holiday celebrations.
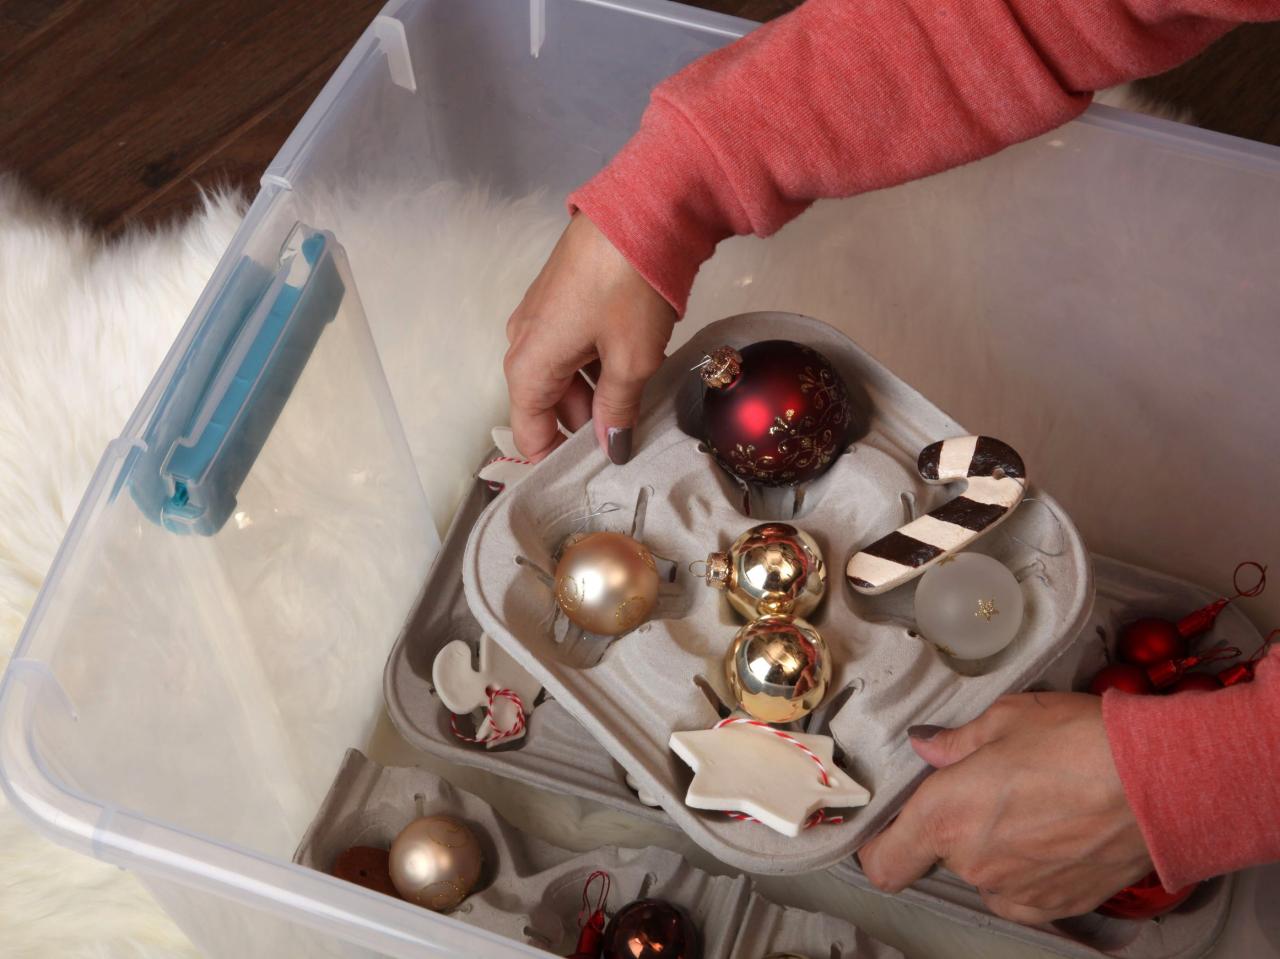
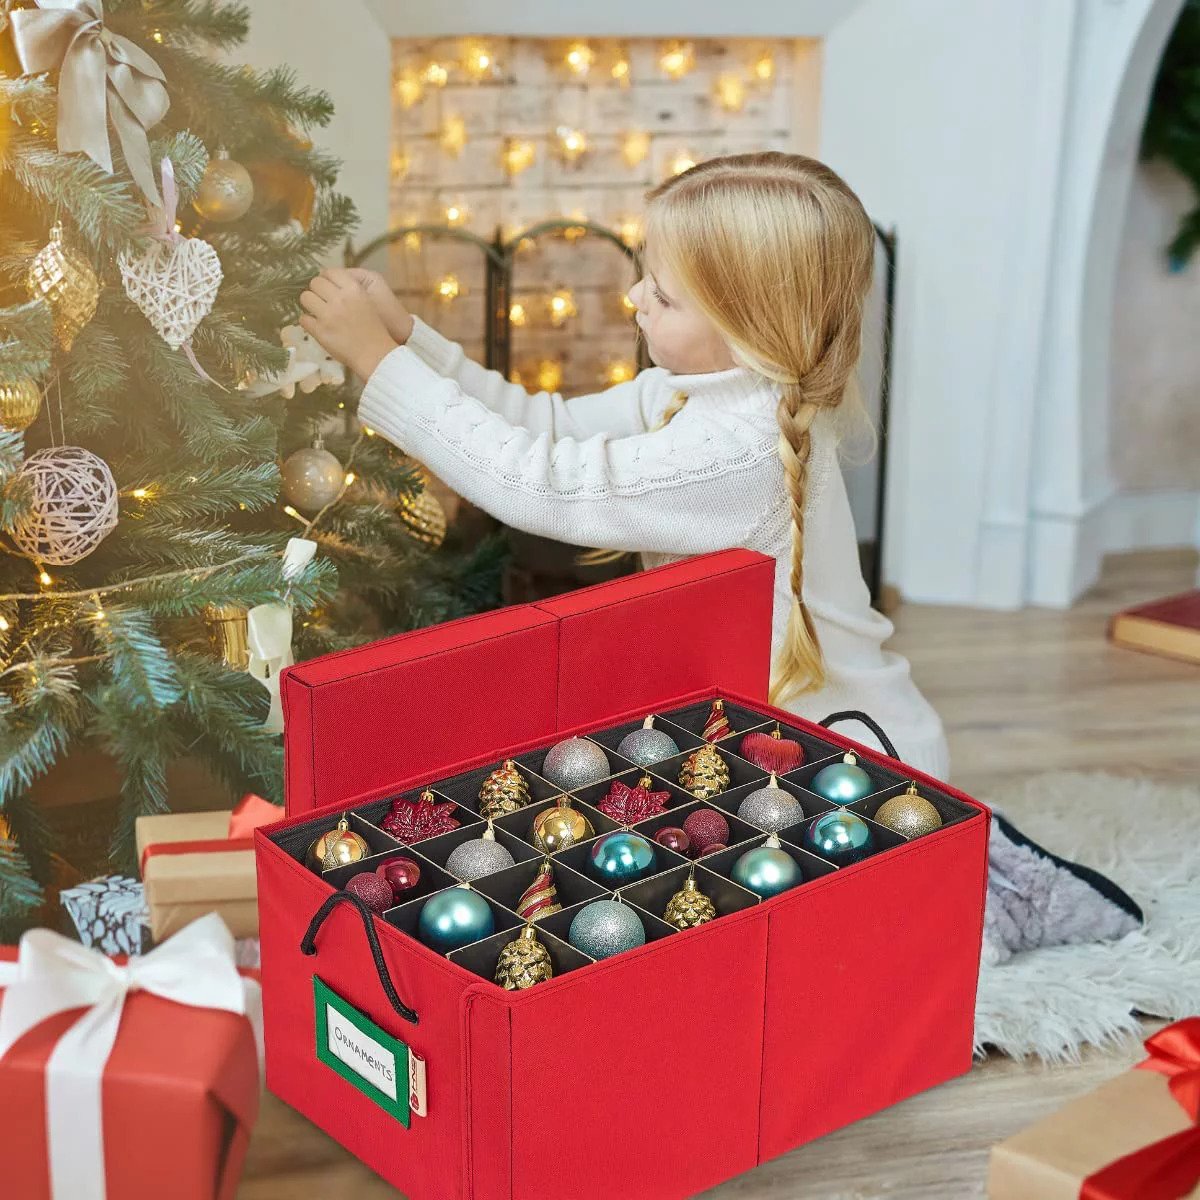
As the season draws to a close, carefully pack and store your glass ornaments to preserve their beauty for future festivities. Safely stow them away in protective containers, ensuring that they remain pristine and ready to adorn your home with their captivating charm in the years to come. The enduring allure of your handcrafted ornaments will continue to enrich your holiday traditions, serving as cherished keepsakes that evoke fond memories and creative inspiration.
In displaying and enjoying your glass ornaments, you celebrate the artistry, creativity, and festive spirit that infuse your home with warmth and elegance. Each ornament is a testament to your craftsmanship and individuality, enriching your holiday decor with a touch of handmade charm and timeless allure. Embrace the enchanting beauty of your handcrafted glass ornaments and revel in the joy they bring to your home and heart.
Frequently Asked Questions about How To Make Glass Ornament
Was this page helpful?
At Storables.com, we guarantee accurate and reliable information. Our content, validated by Expert Board Contributors, is crafted following stringent Editorial Policies. We're committed to providing you with well-researched, expert-backed insights for all your informational needs.


0 thoughts on “How To Make Glass Ornament”