Home>Furniture & Design>Interior Design Trends>How To Wire Wrap Sea Glass
Interior Design Trends
How To Wire Wrap Sea Glass
Modified: August 17, 2024
Learn how to wire wrap sea glass to create beautiful interior design trends. Discover the best techniques and tips for incorporating sea glass into your home decor.
(Many of the links in this article redirect to a specific reviewed product. Your purchase of these products through affiliate links helps to generate commission for Storables.com, at no extra cost. Learn more)
Introduction
Wire wrapping sea glass is a captivating and creative way to showcase these beautiful, naturally tumbled gems. Whether you're a seasoned jewelry maker or a novice crafter, learning how to wire wrap sea glass can open up a world of artistic possibilities. The process allows you to transform ordinary sea glass into stunning pendants, earrings, and other jewelry pieces that capture the essence of the ocean.
As you embark on this artistic journey, you'll discover the joy of working with your hands and the satisfaction of creating unique, one-of-a-kind pieces. Each piece of sea glass carries a story of its own, shaped by the ebb and flow of the ocean over time. By learning the art of wire wrapping, you can preserve and accentuate the natural beauty of sea glass while adding your own personal touch.
In this guide, we'll walk you through the step-by-step process of wire wrapping sea glass, from selecting the perfect piece of sea glass to adding the finishing touches. With a few essential materials and a bit of patience, you can elevate sea glass into wearable art that reflects your individual style and appreciation for the natural world.
So, gather your sea glass treasures, grab your wire, and let's dive into the enchanting world of wire wrapping. Get ready to unlock your creativity and bring new life to these ocean gems through the art of wire wrapping.
Key Takeaways:
- Transform ordinary sea glass into stunning jewelry by learning the art of wire wrapping. Select the perfect sea glass, prepare the wire, and let your creativity flow to create unique, wearable works of art.
- Secure the wire and add finishing touches to your wire-wrapped sea glass jewelry for durability and a polished look. Embrace the beauty of nature and infuse each piece with your artistic vision.
Read more: How To Clean Sea Glass
Materials Needed
To embark on your wire wrapping journey, you'll need a few essential materials to bring your sea glass creations to life. Here's a comprehensive list of what you'll need:
-
Sea Glass: The star of the show! Select a piece of sea glass that speaks to you. Consider the color, shape, and size as you envision the final piece of jewelry.
-
Wire: Opt for a high-quality wire that is easy to manipulate yet sturdy enough to hold its shape. 20 or 22-gauge wire in sterling silver, gold-filled, or copper are popular choices for wire wrapping sea glass.
-
Wire Cutters: A reliable pair of wire cutters is essential for cleanly snipping the wire to the desired length without leaving sharp edges.
-
Chain or Cord: Depending on your design, you may need a chain or cord to turn your wire-wrapped sea glass into a wearable necklace or bracelet.
-
Round-Nose Pliers: These pliers are indispensable for creating loops and curves in the wire, adding a professional finish to your wire-wrapped sea glass.
-
Flat-Nose Pliers: Use flat-nose pliers to hold and manipulate the wire as you craft intricate designs around the sea glass.
-
Bail-Making Pliers (Optional): If you plan to create bails for pendants, these specialized pliers will help you achieve consistent and polished results.
-
Safety Glasses: Protect your eyes while working with wire and sea glass by wearing safety glasses.
-
Work Surface: A smooth, flat work surface provides a stable foundation for wire wrapping and prevents the sea glass from getting scratched during the process.
-
Ruler or Measuring Tape: Accurately measuring the wire ensures precision in your designs and helps maintain consistency across multiple pieces.
-
Polishing Cloth: Keep a polishing cloth handy to buff the wire-wrapped sea glass to a beautiful shine once your creation is complete.
By gathering these materials, you'll be well-equipped to begin your wire wrapping adventure and transform ordinary sea glass into stunning, wearable works of art. With these tools at your disposal, you're ready to dive into the step-by-step process of wire wrapping sea glass and unleash your creativity.
Step 1: Choose Your Sea Glass
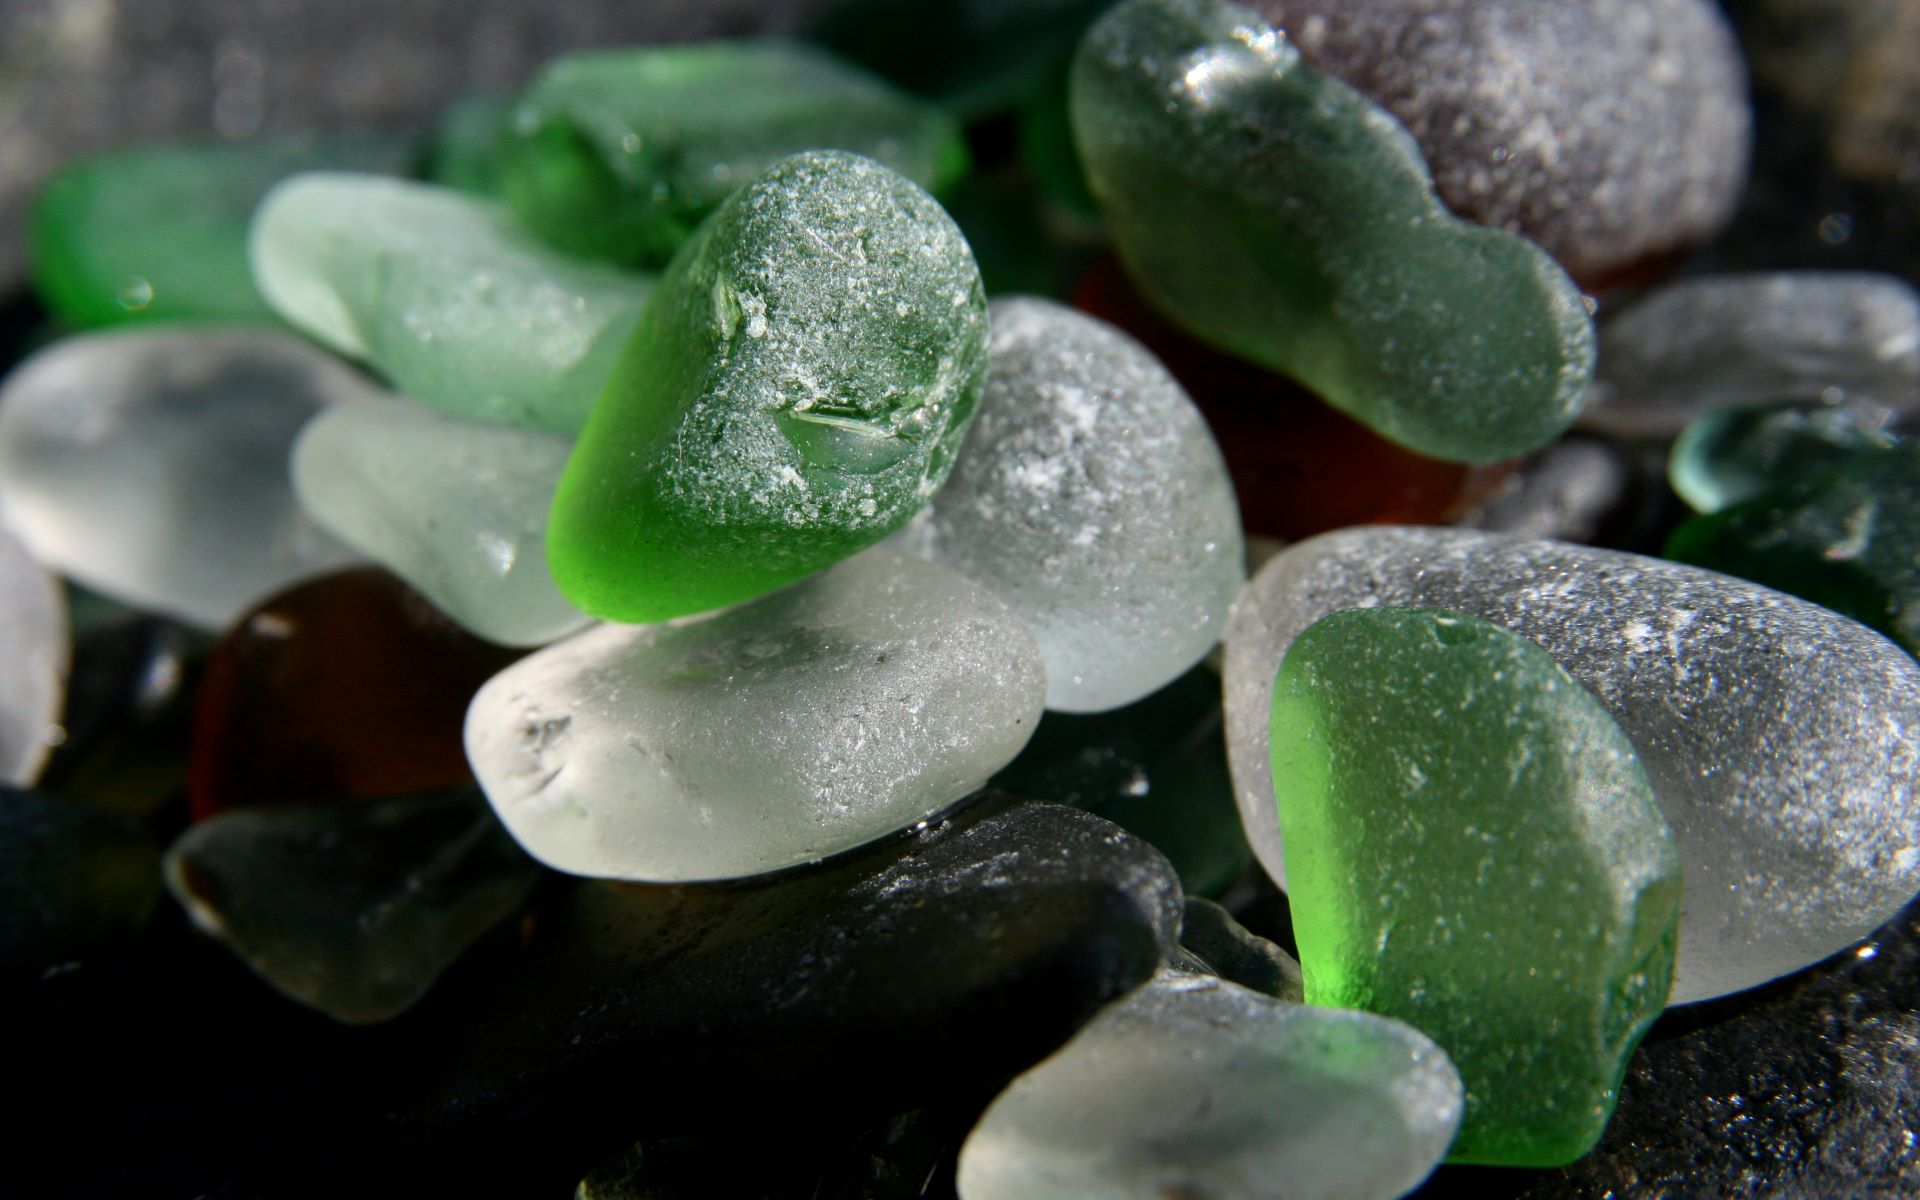
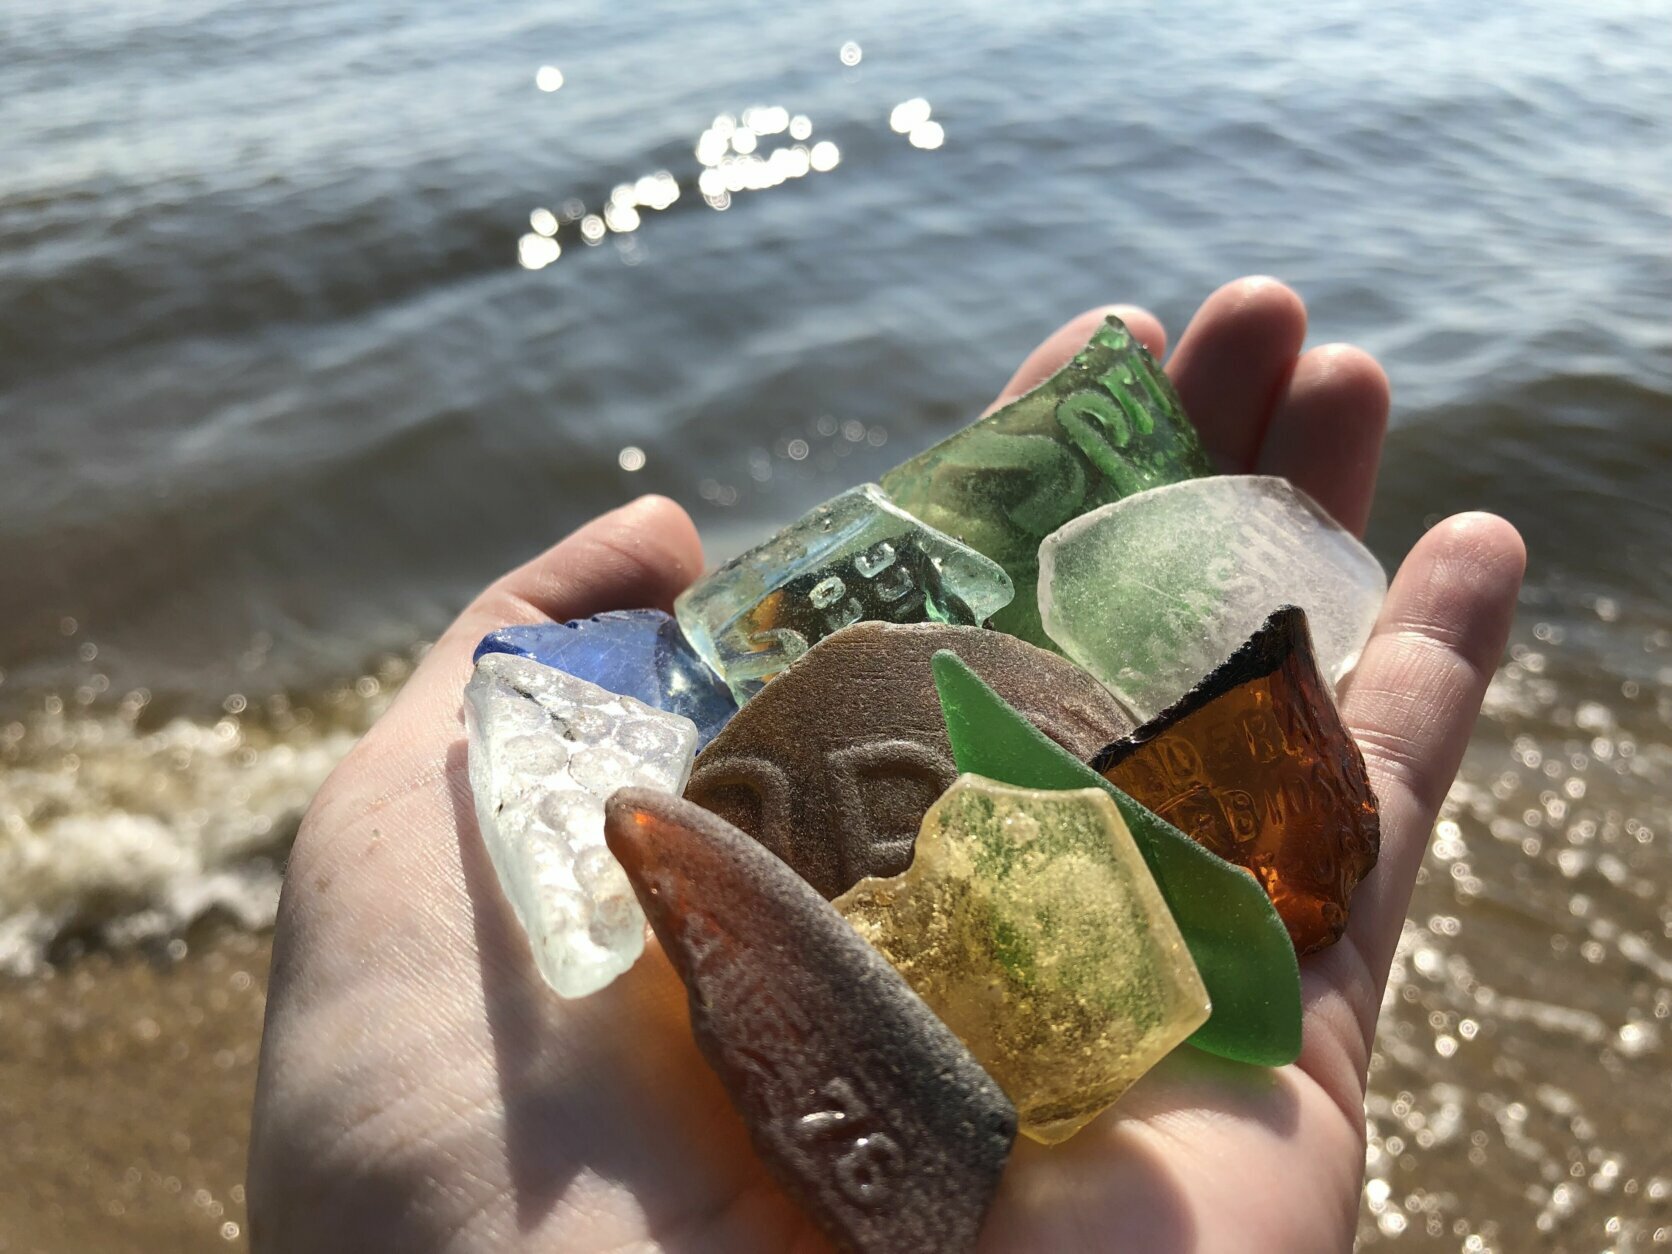
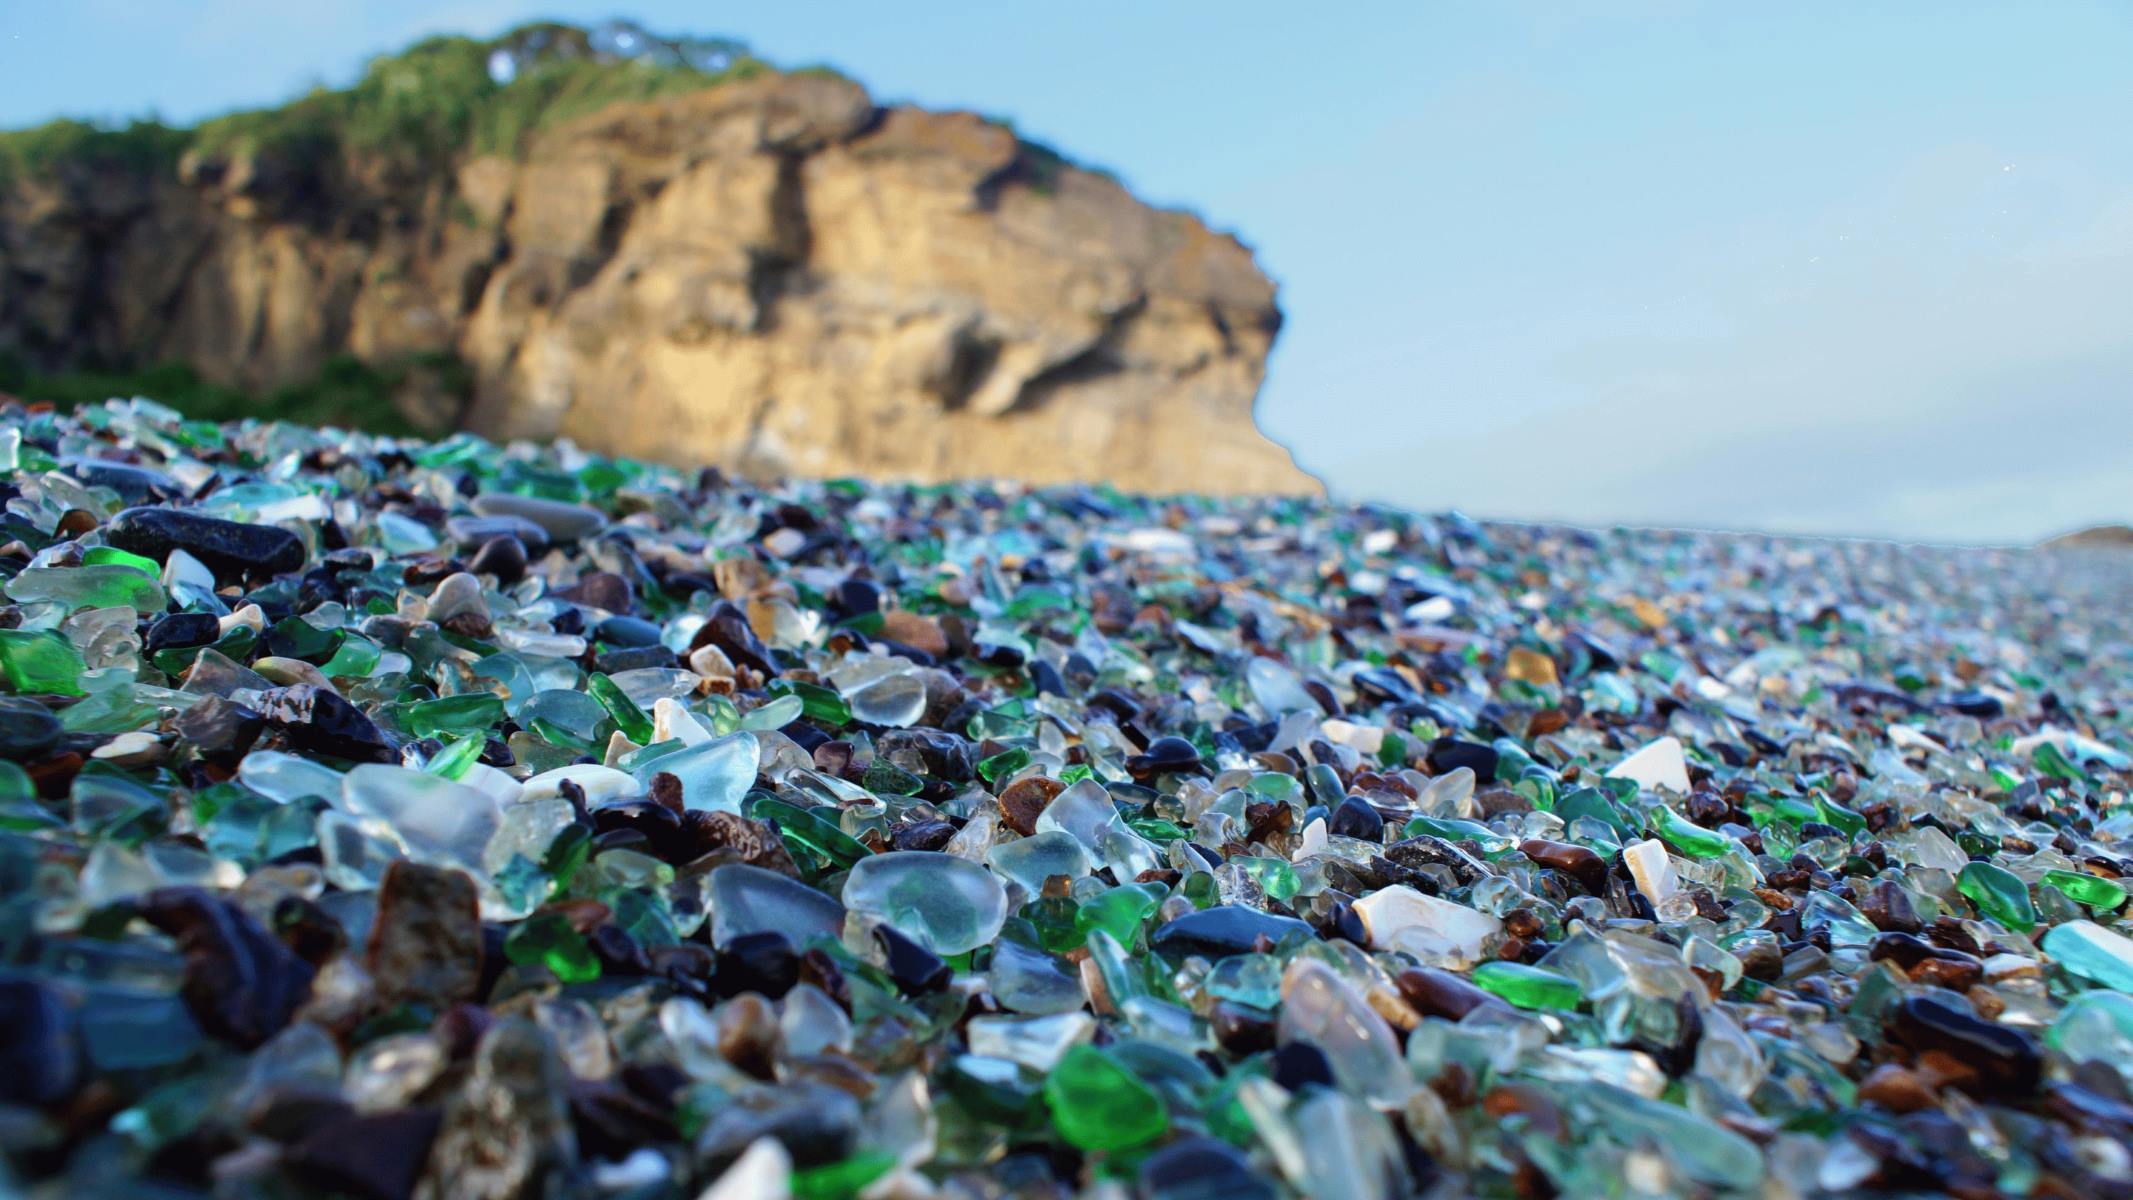
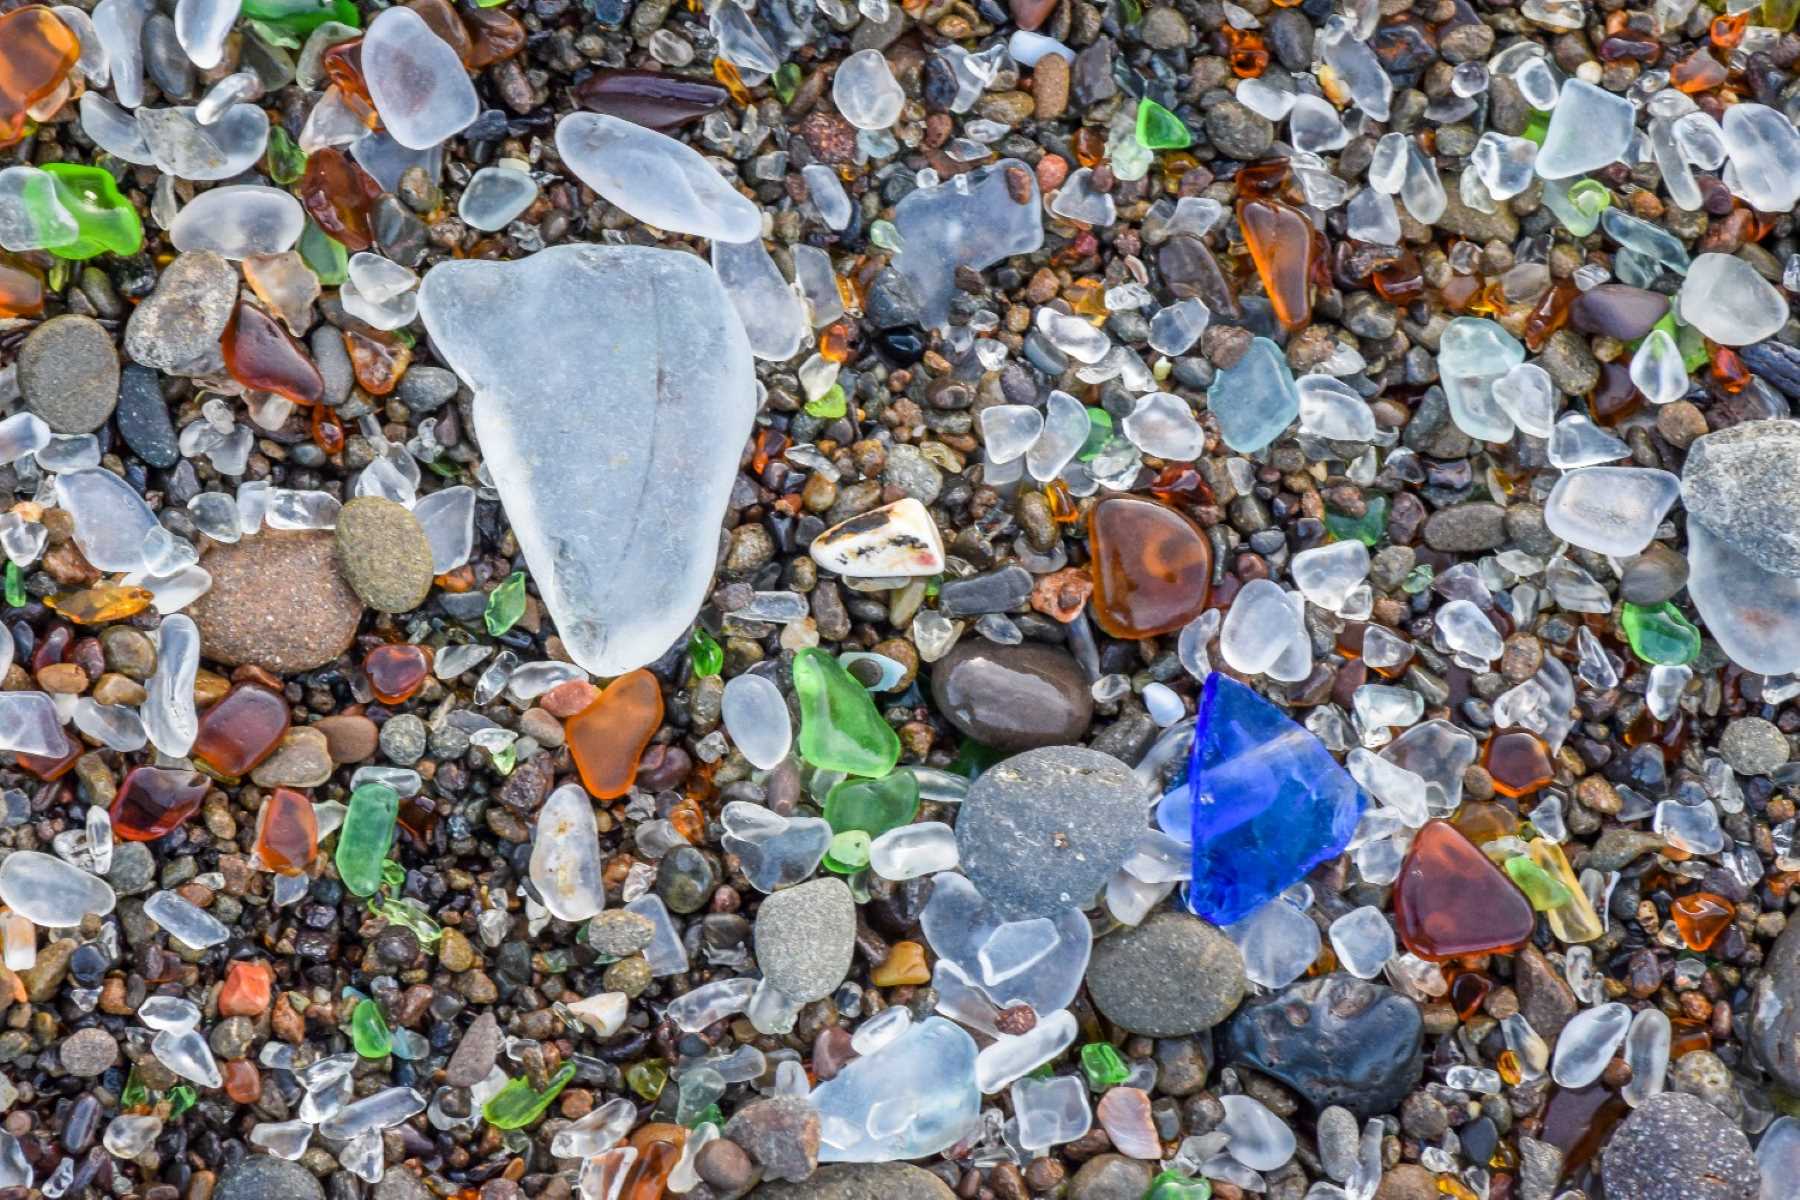
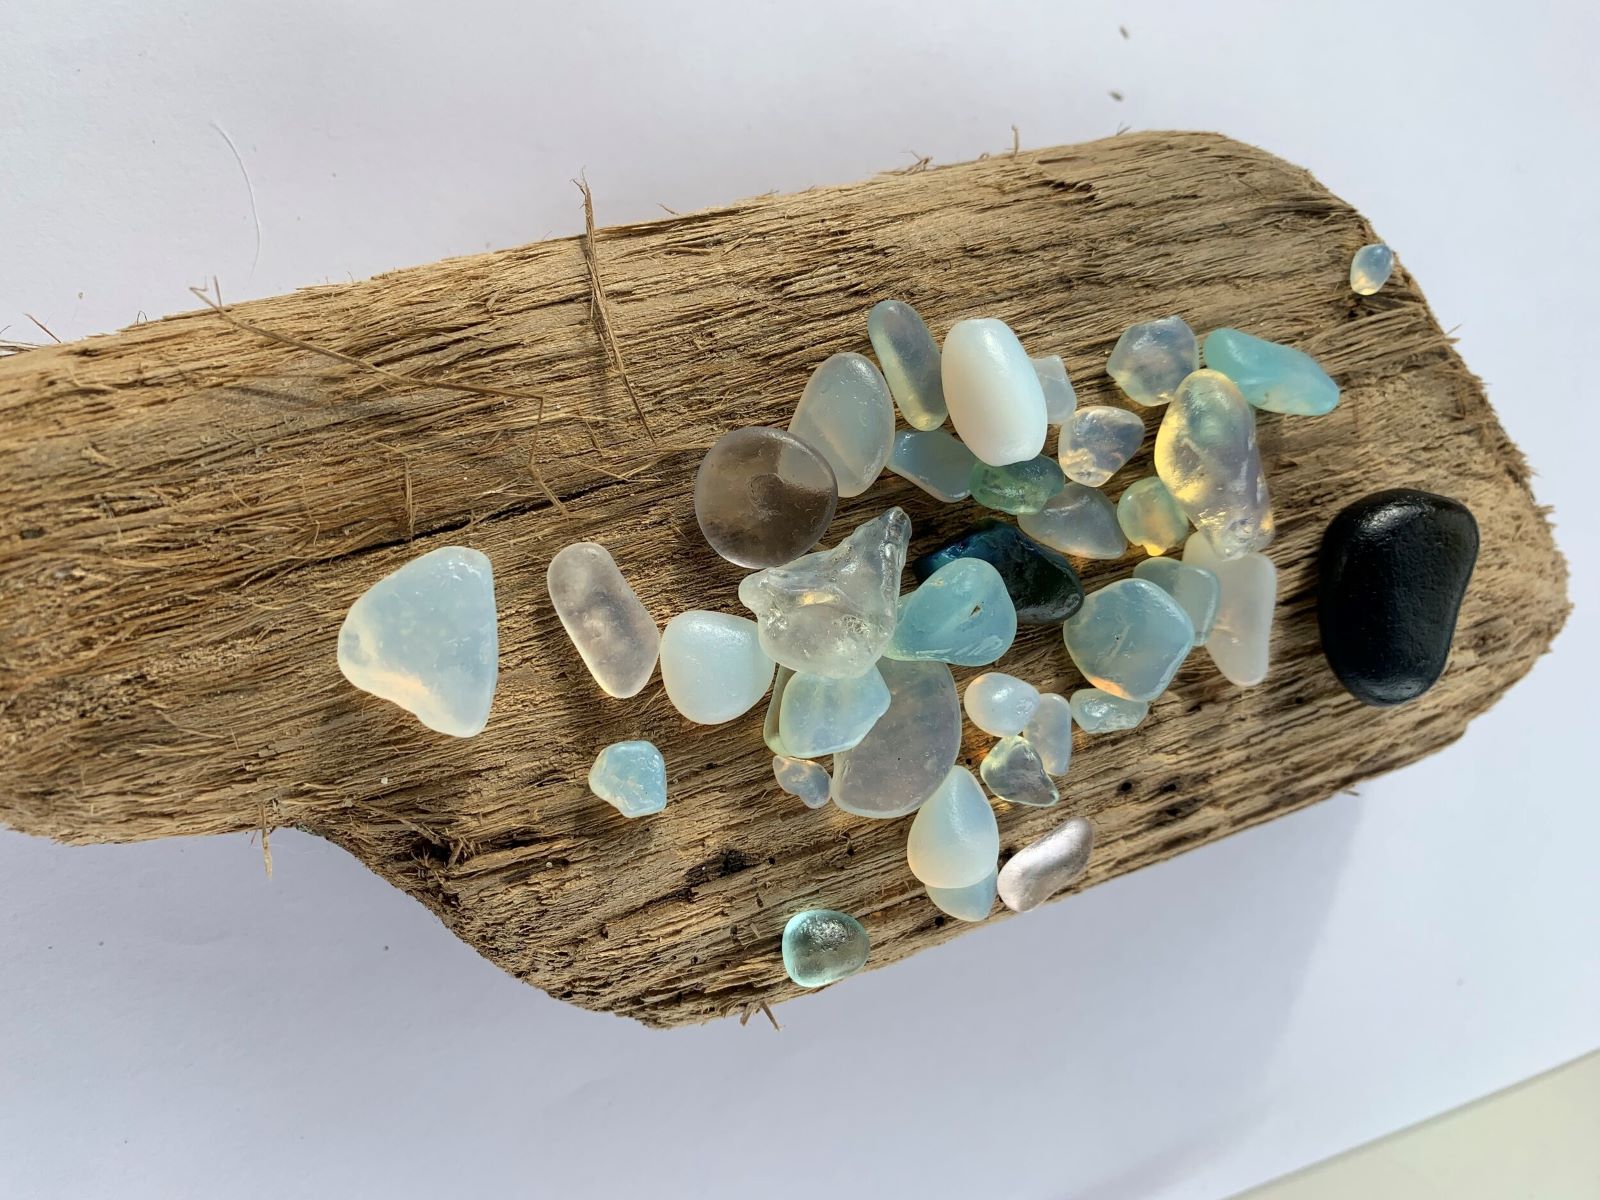
The first step in wire wrapping sea glass is selecting the perfect piece to serve as the focal point of your jewelry creation. When choosing sea glass, consider its color, shape, size, and overall condition. Each of these factors contributes to the visual appeal and character of the finished piece.
Color: The color of sea glass is a defining characteristic that can evoke different moods and aesthetics. Whether you're drawn to the serene hues of aqua and seafoam green, the soft pastels of lavender and pink, or the deep, rich tones of cobalt and emerald, the color of the sea glass sets the tone for your design. Consider how the color will complement the wearer's skin tone and personal style.
Shape: Sea glass comes in a variety of shapes, from perfectly rounded to more irregular and organic forms. The shape of the sea glass will influence the overall design of your wire-wrapped creation. Smooth, well-worn edges may lend themselves to elegant, minimalist designs, while more angular or asymmetrical shapes can inspire bold and artistic wire wrapping techniques.
Size: The size of the sea glass will determine the scale of your finished piece. Whether you're creating a delicate pendant or a statement-making focal point for a necklace, the size of the sea glass will guide the overall proportions of your design. Consider how the size of the sea glass will harmonize with the intended jewelry piece and its wearability.
Condition: The condition of the sea glass, including its surface texture and any natural imperfections, adds to its unique charm. Some sea glass may bear the telltale signs of its oceanic journey, such as pitting, frosting, or the presence of natural inclusions. Embracing these characteristics can infuse your design with a sense of authenticity and natural beauty.
As you consider these factors, allow your intuition and personal preferences to guide your selection. Each piece of sea glass has its own story to tell, and by choosing thoughtfully, you can create a wire-wrapped masterpiece that honors the inherent beauty of this ocean treasure. Once you've chosen the perfect piece of sea glass, you're ready to move on to the next step in the wire wrapping process.
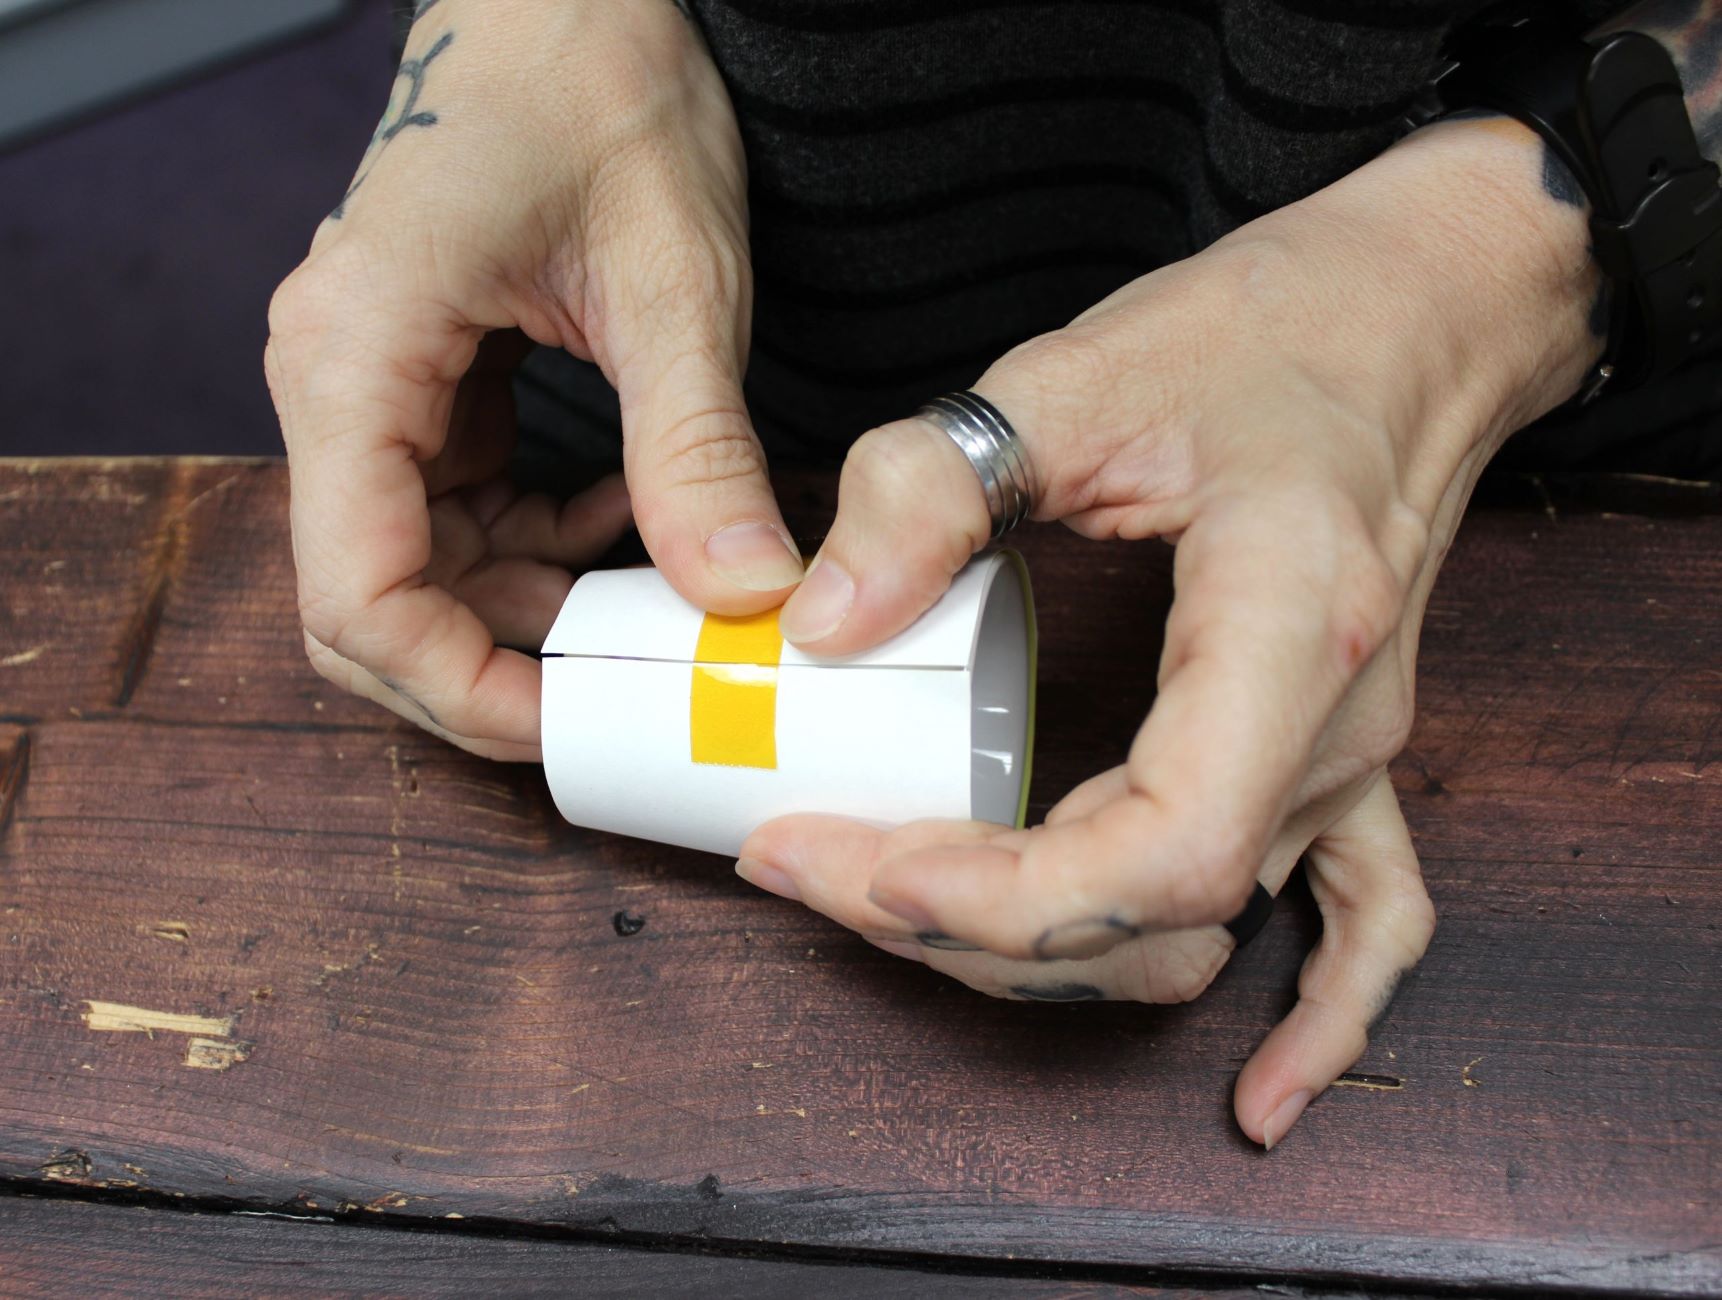
Step 2: Prepare Your Wire
Before diving into the intricate art of wire wrapping sea glass, it's essential to prepare your wire for the creative journey ahead. Properly preparing the wire sets the foundation for a well-crafted and visually appealing design. Here's a detailed guide on how to prepare your wire for wire wrapping sea glass:
Selecting the Right Wire
Choosing the appropriate wire is crucial for achieving the desired look and durability in your wire-wrapped sea glass jewelry. Opt for a high-quality wire with the ideal gauge and material. A 20 or 22-gauge wire is commonly used for wire wrapping sea glass, offering flexibility for intricate designs while maintaining ample strength to hold the sea glass securely. Additionally, consider using sterling silver, gold-filled, or copper wire to complement the color and aesthetic of the sea glass.
Read more: How To Display Sea Glass
Measuring and Cutting
Accurately measuring and cutting the wire is a fundamental step in the preparation process. Use a ruler or measuring tape to determine the required length of wire based on your design plan. It's advisable to add a few extra inches to accommodate wrapping and forming the wire around the sea glass. Once measured, use wire cutters to cleanly snip the wire to the desired length, ensuring that the ends are smooth and free from sharp edges.
Straightening the Wire
Straightening the wire before wrapping is essential for achieving clean, polished results. Gently run the wire through your fingers to remove any kinks or bends, ensuring that it is smooth and uniform in texture. This step is particularly important when working with intricate wire wrapping designs, as straightened wire allows for greater precision and control during the wrapping process.
Creating a Clean Finish
After straightening the wire, inspect the ends to ensure they are free from any imperfections or irregularities. If necessary, use flat-nose pliers to gently flatten and smooth the wire ends, creating a clean and professional finish. This attention to detail at the preparation stage contributes to the overall quality and aesthetic appeal of the wire-wrapped sea glass jewelry.
By meticulously preparing your wire with these essential steps, you set the stage for a seamless and enjoyable wire wrapping experience. With the wire ready and primed for creativity, you're now poised to embark on the next phase of the wire wrapping process, where you'll bring your vision to life by elegantly encasing the sea glass in a stunning wire-wrapped design.
Step 3: Start Wrapping
With your sea glass selected and wire prepared, it's time to embark on the captivating process of wrapping the wire around the sea glass. This step is where your creativity takes center stage as you begin to encase the sea glass in an elegant and secure wire design. Here's a detailed guide on how to start wrapping the wire around the sea glass:
Read more: What Is Sea Glass
Positioning the Sea Glass
Begin by holding the sea glass in the desired orientation, envisioning how you want it to appear in the finished piece. Whether you're aiming for a vertical or horizontal orientation, ensure that the sea glass is positioned securely on your work surface to prevent it from shifting during the wrapping process.
Anchoring the Wire
Take the prepared wire and position it against the sea glass, leaving a few inches of wire extending beyond the top of the sea glass. This excess wire will be used to create loops, wraps, and decorative elements in the design. Hold the wire firmly against the sea glass to anchor it in place, ensuring that it remains taut and secure as you begin the wrapping process.
Initiating the Wraps
Using your fingers or flat-nose pliers, carefully bend the wire around the sea glass, creating the initial wraps that will form the foundation of the design. Maintain a steady and even pressure as you guide the wire around the sea glass, ensuring that each wrap is neatly aligned and snug against the surface of the glass.
Crafting Intricate Designs
As you continue wrapping the wire, let your creativity flow by experimenting with different wrapping techniques and patterns. Whether you opt for simple, uniform wraps or intricate, asymmetrical designs, allow the natural contours of the sea glass to inspire the direction of the wire. Embrace the organic flow of the wire as it elegantly envelops the sea glass, adding depth and character to the overall design.
Read more: How Is Sea Glass Made
Maintaining Consistency
Throughout the wrapping process, strive for consistency in the spacing and tension of the wire wraps. This attention to detail contributes to a polished and professional finish, elevating the visual appeal of the wire-wrapped sea glass. Regularly assess the symmetry and balance of the wraps, making adjustments as needed to achieve a harmonious and visually pleasing result.
Embracing Creativity
As you immerse yourself in the art of wire wrapping, embrace the opportunity to infuse your personal style and artistic flair into the design. Whether you prefer sleek and minimalist wraps or bold and ornate embellishments, let your intuition guide the evolution of the wire-wrapped sea glass, resulting in a truly unique and expressive creation.
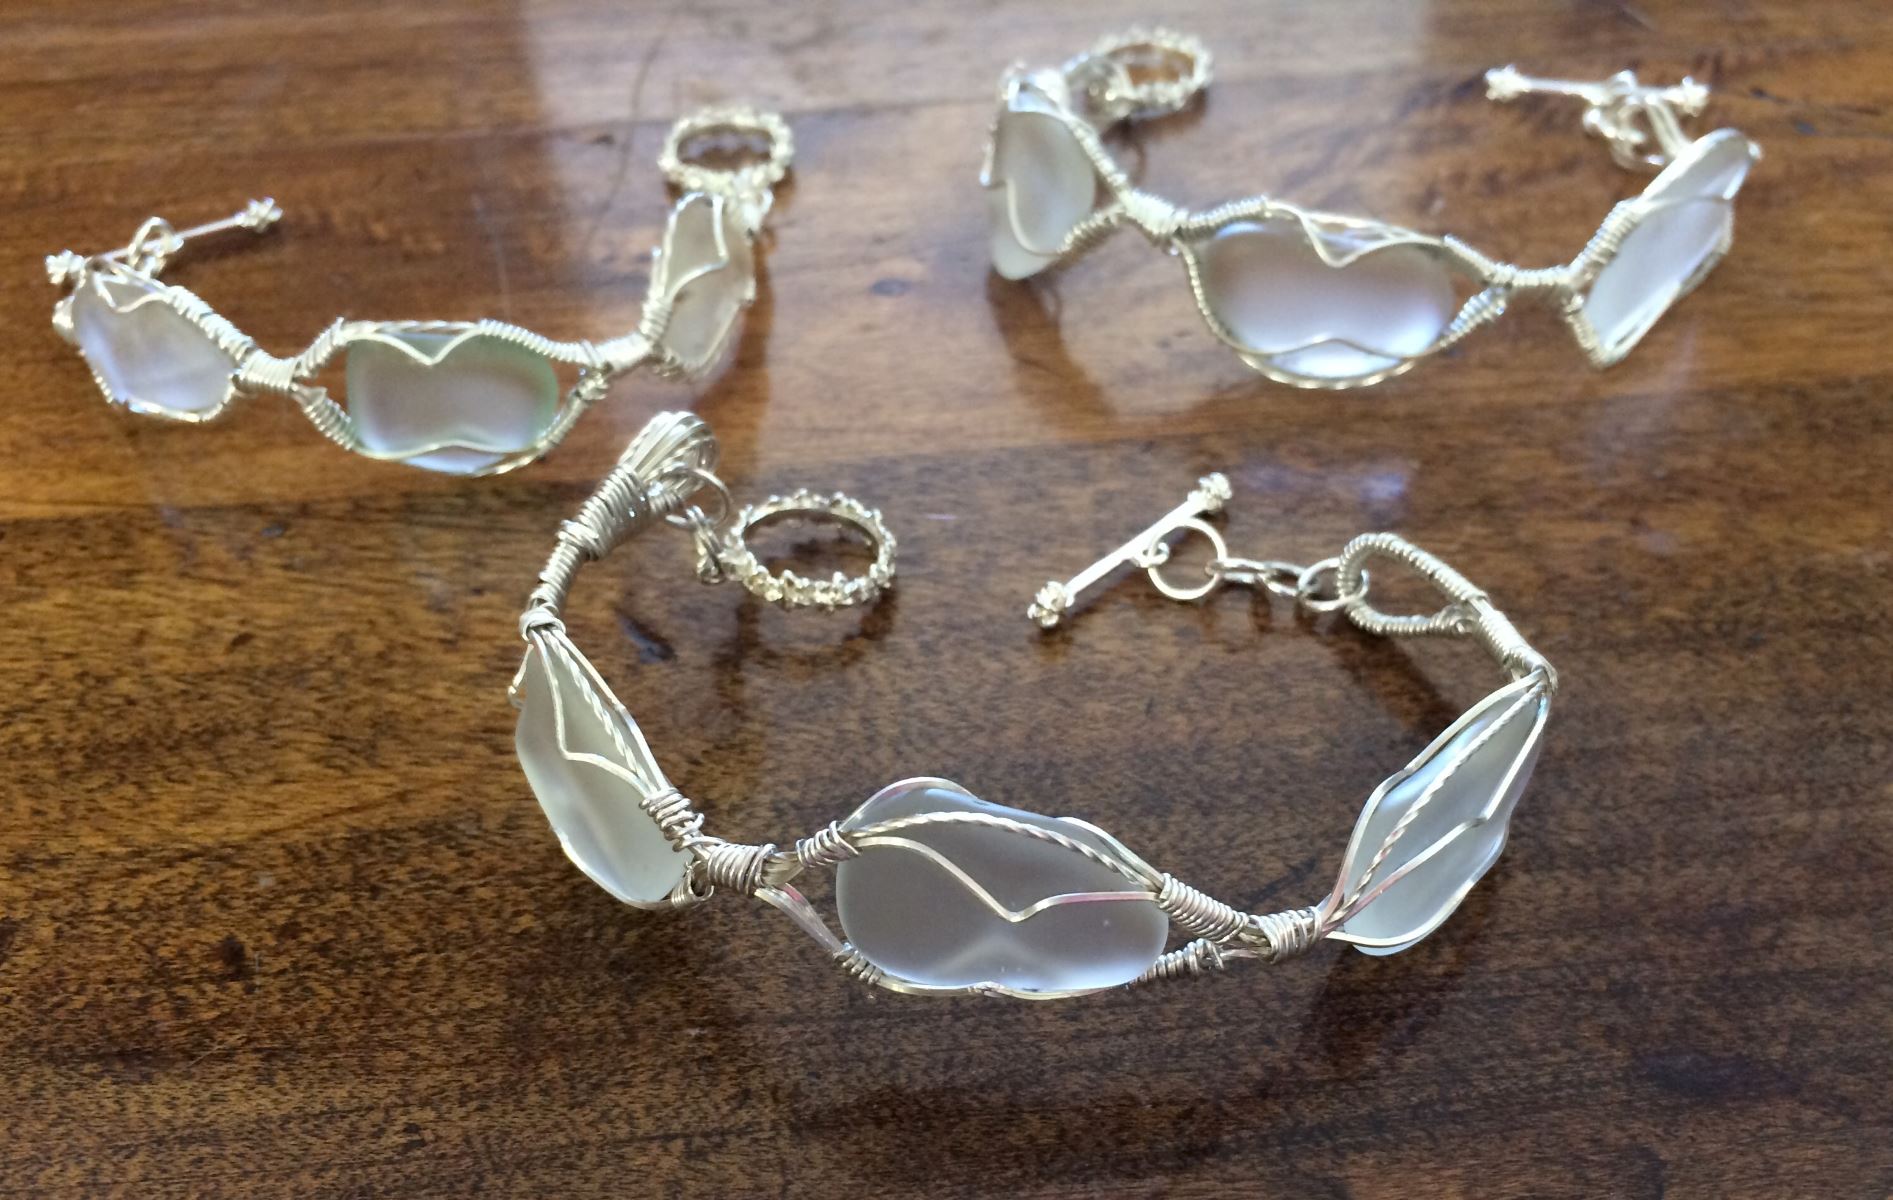
By following these steps and allowing your creativity to flourish, you'll embark on a rewarding journey of transforming sea glass into wearable art through the captivating process of wire wrapping. With the wire elegantly encasing the sea glass, you're now ready to proceed to the next stage of securing the wire and adding the finishing touches to your wire-wrapped masterpiece.
Step 4: Secure the Wire
Once you have meticulously wrapped the wire around the sea glass, the next crucial step is to secure the wire to ensure the durability and longevity of your wire-wrapped creation. Properly securing the wire not only enhances the structural integrity of the jewelry piece but also adds a professional finish to the design. Here's a detailed guide on how to effectively secure the wire in your wire-wrapped sea glass jewelry:
Assessing the Tension
Before securing the wire, carefully assess the tension and alignment of the wraps around the sea glass. Ensure that the wire is snug and uniformly positioned, with no loose or overlapping sections. This evaluation allows you to identify any areas that may require additional tightening or adjustment before proceeding to secure the wire.
Read more: What To Make With Sea Glass
Creating Anchor Points
Identify strategic points along the wire wraps where you can anchor the wire securely to the sea glass. These anchor points serve as the foundation for securing the wire and preventing it from shifting or unraveling over time. Select areas where the wire naturally crosses over itself or where the wraps converge, providing stable anchor points for securing the wire.
Utilizing Wire Tail Ends
If your wire wrapping design incorporates tail ends of wire extending beyond the wraps, these ends can be utilized to secure the wire. Use flat-nose pliers to carefully tuck the tail ends of the wire under the existing wraps, creating a seamless and secure finish. This technique not only reinforces the wraps but also conceals the wire ends for a polished appearance.
Incorporating Additional Wraps
Incorporating additional wraps of wire at strategic points can further reinforce the security of the design. By carefully weaving the wire around the existing wraps and anchor points, you create a layered and resilient structure that enhances the overall stability of the wire-wrapped sea glass. This technique is particularly effective for intricate and decorative designs that benefit from added reinforcement.
Ensuring Long-Term Durability
As you secure the wire, envision the jewelry piece enduring daily wear and potential movement. Strive to create a design that can withstand the test of time, maintaining its integrity and beauty for years to come. By prioritizing the securement of the wire, you instill confidence in the longevity and quality of your wire-wrapped sea glass jewelry.
By following these steps and prioritizing the securement of the wire, you elevate the craftsmanship and durability of your wire-wrapped sea glass jewelry. With the wire securely anchored and reinforced, your creation is poised for the final step of adding the finishing touches, bringing your vision to fruition in a stunning and enduring piece of wearable art.
Read more: How To Drill A Hole In Sea Glass
Step 5: Finish and Trim the Wire
As you near the completion of your wire-wrapped sea glass jewelry, the final step involves adding the finishing touches and carefully trimming the wire to achieve a polished and professional appearance. This pivotal stage not only enhances the aesthetic appeal of the jewelry piece but also ensures that the wire is neatly trimmed and secured, ready to be transformed into a wearable work of art.
Inspecting the Design
Before proceeding with the finishing touches, take a moment to inspect the wire-wrapped sea glass design. Assess the overall symmetry, alignment, and tension of the wire wraps, ensuring that the design reflects your artistic vision. Pay attention to any areas that may require minor adjustments or refinements before moving forward.
Trimming Excess Wire
Using precision wire cutters, carefully trim any excess wire, ensuring that the cuts are clean and precise. Trim the wire ends close to the wraps, taking care to avoid leaving sharp edges that could detract from the finished piece. This meticulous trimming process contributes to a refined and professional presentation, elevating the overall quality of the wire-wrapped sea glass jewelry.
Smoothing and Tucking
After trimming the wire, use flat-nose pliers to gently smooth and tuck any remaining wire ends, ensuring that they are seamlessly integrated into the design. By tucking the wire ends discreetly within the wraps, you create a cohesive and polished finish that exudes craftsmanship and attention to detail. This step also enhances the comfort and wearability of the jewelry piece, ensuring that it is smooth to the touch.
Read more: How Does Sea Glass Form
Final Quality Check
Perform a final quality check to confirm that the wire ends are securely tucked and the wraps are uniformly aligned. Run your fingers along the wire-wrapped sea glass, verifying that the design is free from any protruding wire or rough edges. This meticulous attention to detail guarantees that your creation meets the highest standards of craftsmanship and visual appeal.
Polishing and Buffing
Once the wire ends are neatly trimmed and secured, use a polishing cloth to gently buff the wire-wrapped sea glass, imparting a lustrous shine to the finished piece. This final touch adds a captivating gleam to the wire and accentuates the natural beauty of the sea glass, resulting in a jewelry piece that radiates elegance and sophistication.
By meticulously completing the finishing touches and trimming the wire with precision, you bring your wire-wrapped sea glass jewelry to its full potential, ready to be showcased and admired. With the wire elegantly encasing the sea glass and the finishing touches enhancing its allure, your creation is a testament to your artistic vision and dedication to the craft of wire wrapping.
Conclusion
In conclusion, the art of wire wrapping sea glass is a captivating journey that allows you to transform ordinary ocean treasures into extraordinary pieces of wearable art. Throughout this creative process, you have embarked on a transformative adventure, infusing each step with your unique vision and passion for craftsmanship. From selecting the perfect sea glass to meticulously wrapping and securing the wire, every stage has been an opportunity to channel your creativity and appreciation for the natural beauty of sea glass.
As you reflect on the culmination of this artistic endeavor, you can take pride in the exquisite wire-wrapped sea glass jewelry you have brought to life. Each piece is a testament to your dedication to the craft, showcasing not only the inherent allure of sea glass but also the artistry and skill you have infused into every design.
Furthermore, the jewelry pieces you have created hold the potential to resonate with others on a deeply personal level. Whether gifted to a loved one or cherished as a symbol of self-expression, your wire-wrapped sea glass creations carry the essence of the ocean and the artistry of your hands. They serve as tangible reminders of the beauty that can be found in nature and the boundless creativity that thrives within the human spirit.
As you continue to explore the art of wire wrapping, remember that each piece of sea glass holds a story waiting to be told through your craftsmanship. Embrace the organic flow of the wire, allow your intuition to guide your designs, and revel in the joy of bringing sea glass to life in a new and enchanting form.
In the end, the art of wire wrapping sea glass transcends the mere act of crafting jewelry; it is a celebration of nature's beauty, a testament to human creativity, and a timeless expression of artistry. With each wire-wrapped creation, you have breathed new life into sea glass, honoring its journey through the ocean and elevating it into a wearable masterpiece that will be cherished for years to come.
Frequently Asked Questions about How To Wire Wrap Sea Glass
Was this page helpful?
At Storables.com, we guarantee accurate and reliable information. Our content, validated by Expert Board Contributors, is crafted following stringent Editorial Policies. We're committed to providing you with well-researched, expert-backed insights for all your informational needs.

0 thoughts on “How To Wire Wrap Sea Glass”