
Tableware
How To Wrap Wine Glasses As A Gift
Modified: October 19, 2024
Want to learn how to wrap wine glasses as a gift? Discover the best methods and techniques to beautifully wrap tableware for any occasion.
(Many of the links in this article redirect to a specific reviewed product. Your purchase of these products through affiliate links helps to generate commission for Storables.com, at no extra cost. Learn more)
Introduction
When it comes to gift giving, wine glasses make for a stylish and practical present. However, they can be delicate and susceptible to damage during transit. That’s why it’s important to properly wrap them to ensure they arrive in perfect condition.
In this article, we will guide you through the steps needed to wrap wine glasses as a gift. Whether you’re preparing for a special occasion or simply want to surprise a wine lover in your life, these tips will help you protect your precious glassware and present it in a beautiful way.
So, let’s gather the necessary materials and get started on this delightful wrapping journey! Set your table with all the wrapping tools and materials you need, and we’ll dive into the best techniques to ensure your wine glasses are both safe and elegantly presented.
Key Takeaways:
- Protect delicate wine glasses during transit by following a step-by-step guide to wrapping them as a stylish and thoughtful gift, ensuring they arrive in perfect condition.
- Elevate the presentation of your gift by adding personalized touches and decorative accents, creating a memorable and delightful surprise for the recipient.
Read more: How To Wrap A Quilt For A Gift
Materials Needed
Before we dive into the process of wrapping wine glasses, let’s make sure we have all the necessary materials. Here’s what you’ll need:
- Wine glasses: The main star of the gift, choose a set of wine glasses that you know the recipient will love.
- Tissue paper: Soft and lightweight, tissue paper will provide a protective layer for the wine glasses.
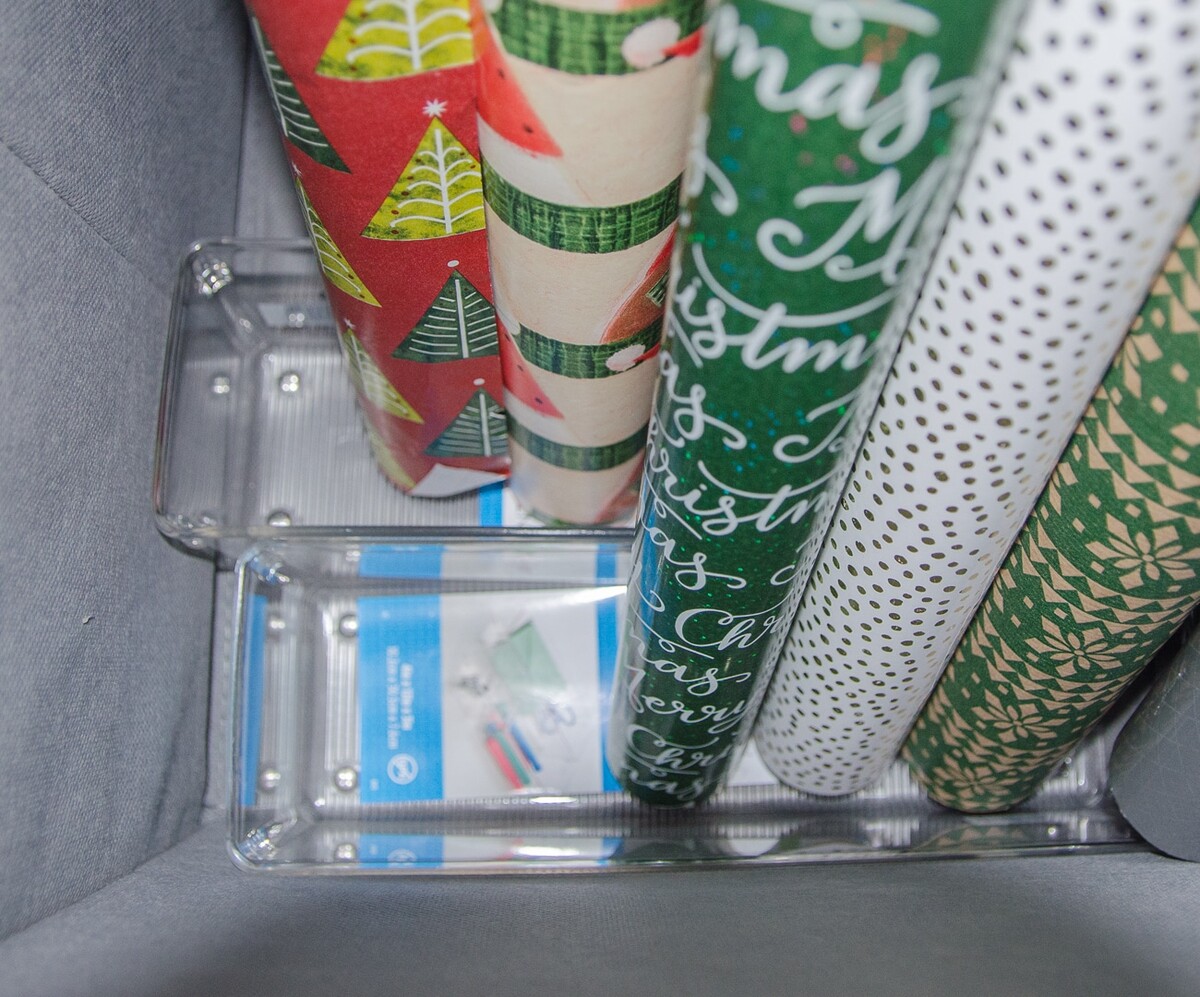
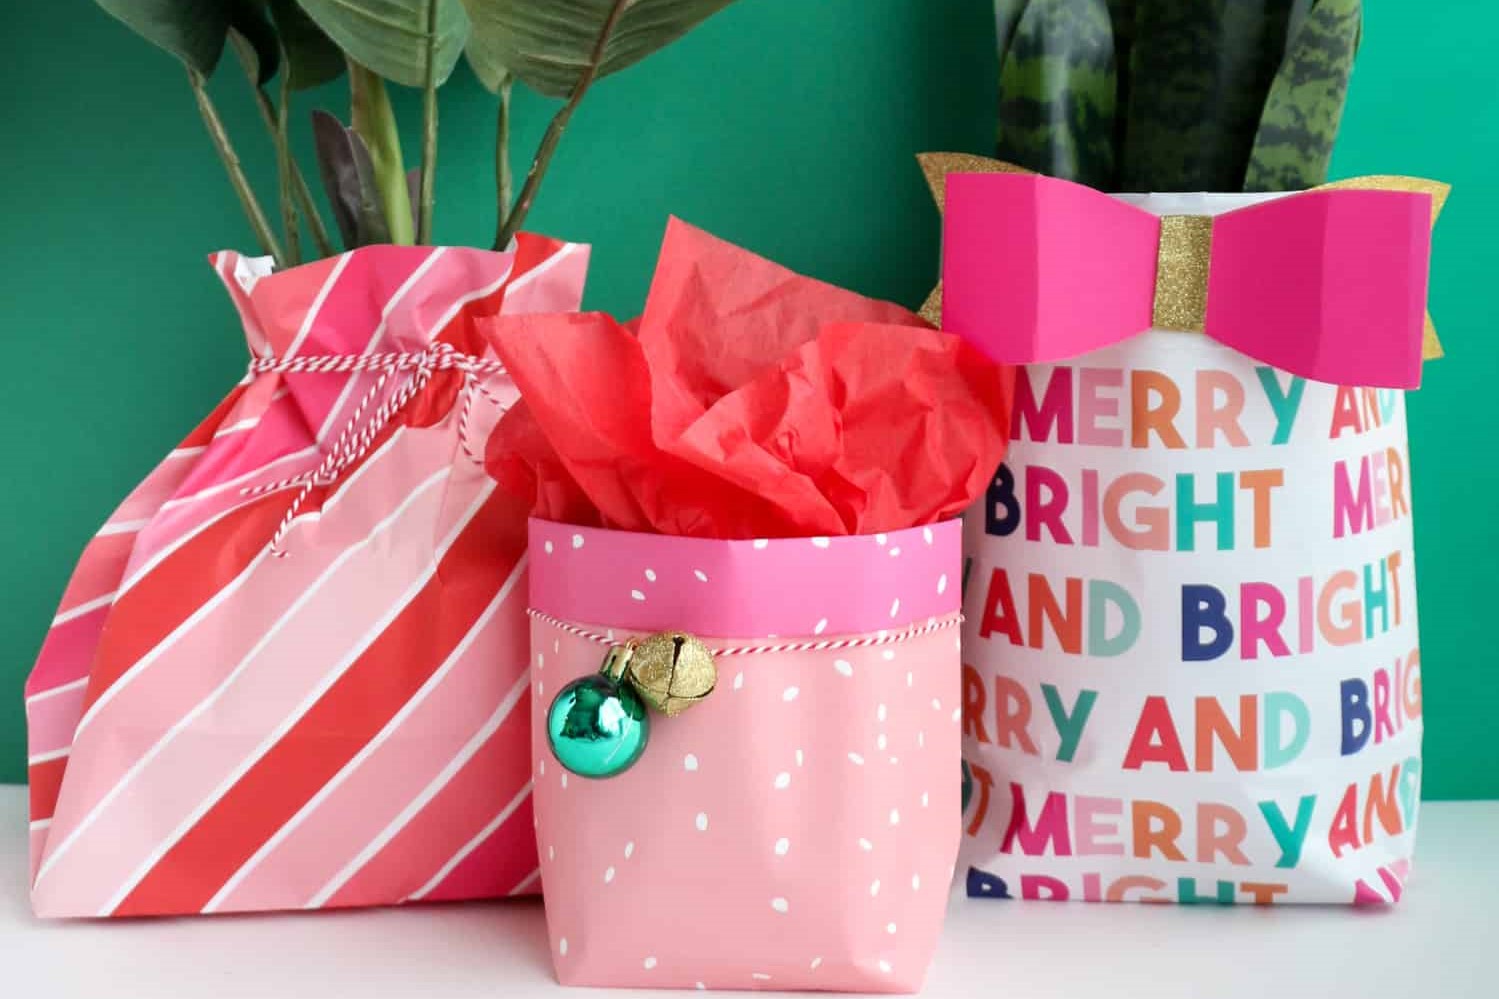
- Gift wrap: Select a stylish wrapping paper that complements the occasion or the recipient’s taste.
- Ribbon or twine: Get creative with your choice of ribbon or twine to add an elegant finishing touch.
- Scissors: A trusty pair of scissors will be handy for cutting the wrapping paper and ribbon.
- Tape: Use clear tape to secure the layers of paper and keep everything in place.
- Gift tags: Don’t forget to include a personalized message on a gift tag to make it extra special.
Now that we have all the necessary materials, let’s move on to the step-by-step process of wrapping wine glasses!
Step 1: Gather Supplies
The first step in wrapping wine glasses is to gather all the required supplies. Make sure you have a clean and spacious workspace where you can comfortably wrap the glasses without any obstructions. Here’s what you’ll need:
- Wine glasses: Select the wine glasses you want to wrap as a gift. Ensure they are clean and free from any dust or smudges.
- Tissue paper: Choose a soft and lightweight tissue paper that will provide a protective layer for the glasses.
- Gift wrap: Pick a beautiful and sturdy wrapping paper that will complement the style and personality of the recipient.
- Ribbon or twine: Select a ribbon or twine that matches the occasion or the recipient’s preferences.
- Scissors: Use a pair of sharp scissors to cut the wrapping paper, tissue paper, and ribbon.
- Tape: Have a roll of clear tape ready to secure the layers of wrapping paper.
- Gift tags: Prepare personalized gift tags that can be attached to the wrapped wine glasses.
Once you have gathered all your supplies, arrange them neatly on your workspace so they are easily accessible throughout the wrapping process. This will help ensure a smooth and efficient wrapping experience.
With all the necessary supplies at hand, you’re now ready to move on to the next step: preparing the wine glasses for wrapping.
Step 2: Prepare the Wine Glasses
Before you begin wrapping the wine glasses, it’s important to prepare them properly to ensure they are clean and secure. Follow these steps to prepare the wine glasses for wrapping:
- Inspect the glasses: Carefully examine each wine glass to ensure there are no cracks, chips, or other damages. If you come across any flawed glasses, set them aside and choose a different set to wrap.
- Clean the glasses: Use warm water and mild dish soap to thoroughly clean the wine glasses. Rinse them well and dry them with a lint-free cloth or paper towel. This will ensure that the glasses are free from any dirt, fingerprints, or smudges.
- Remove any accessories: If the wine glasses come with any decorative accessories or attachments, such as wine charms or stems, carefully remove them before wrapping. These small components can be easily lost or damaged during the wrapping process, so it’s best to keep them separate.
By properly preparing the wine glasses, you can ensure that they are in pristine condition and ready to be beautifully wrapped. Once the glasses are clean and free from any additional attachments, it’s time to proceed to the next step: creating a protective layer.
Step 3: Create a Protective Layer
Creating a protective layer is an essential step in wrapping wine glasses. This layer will provide cushioning and prevent any potential damage during transit. Follow these instructions to create a protective layer for your wine glasses:
- Take a sheet of tissue paper: Lay out a clean sheet of tissue paper on your workspace. Ensure that it is large enough to wrap around the wine glass.
- Center the wine glass: Place the wine glass in the center of the tissue paper. Adjust it so that it is aligned in a vertical position.
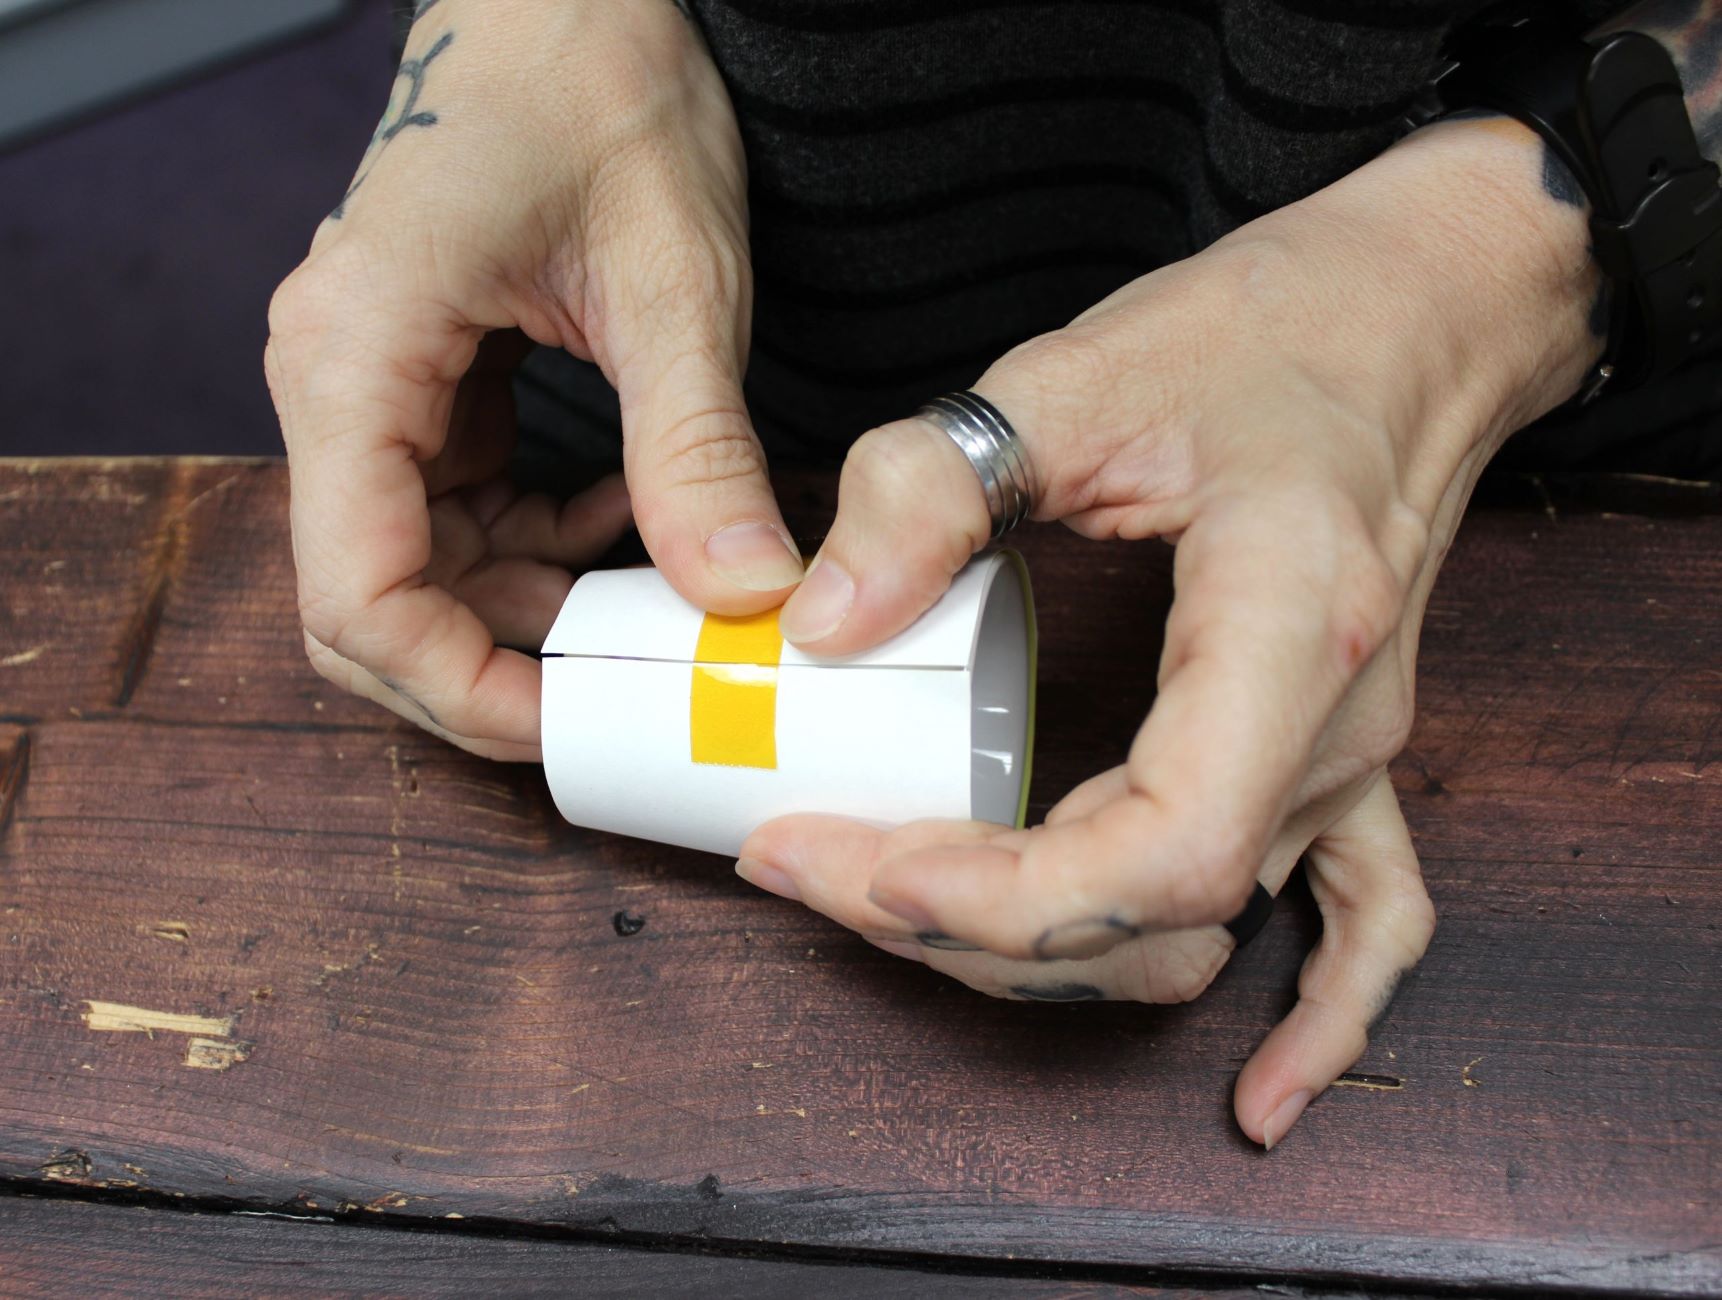
- Gently fold the tissue paper: Start by folding one side of the tissue paper over the wine glass. Then, fold the other side over, ensuring that the glass is completely covered. The tissue paper should wrap snugly around the glass without applying too much pressure.
- Twist the excess paper: While holding the wrapped wine glass, twist the excess tissue paper at the top, creating a twisted tail. This will help secure the tissue paper and keep it in place.
By creating this protective layer with tissue paper, you’re adding an extra layer of cushioning to prevent any potential scratches or breakages. The next step will guide you through the process of wrapping the wine glasses in gift wrap, so let’s move on!
When wrapping wine glasses as a gift, use tissue paper to protect the delicate stems and wrap the glasses individually to prevent them from clinking together and potentially breaking during transportation.
Read more: How To Wrap Candles For Gifts
Step 4: Wrap the Wine Glasses
Now that you have created a protective layer for the wine glasses, it’s time to wrap them in beautiful gift wrap. Follow these steps to wrap the wine glasses:
- Prepare the wrapping paper: Lay out a sheet of wrapping paper on your workspace. Make sure it is larger than the size of the wine glass, allowing enough room for wrapping.
- Place the wrapped wine glass: Take the wine glass with the protective tissue paper and place it in the center of the wrapping paper. Ensure that the glass is positioned vertically.
- Wrap the wine glass: Begin by folding one side of the wrapping paper over the wine glass. Then, fold the opposite side over, securely wrapping the glass. Smooth out any wrinkles or creases as you go.
- Secure the paper: Use clear tape to secure the edges of the wrapping paper together. Make sure the tape is discreet and doesn’t detract from the overall presentation.
- Repeat for each wine glass: Repeat the steps for each wine glass you are wrapping, creating a separate gift-wrapped package for each glass.
Remember to take your time and ensure that the wrapping paper is neatly and securely wrapped around each wine glass. This will not only protect the glass but also add an element of surprise and anticipation for the recipient when they unwrap their gift.
Now that the wine glasses are wrapped, let’s move on to the next step: securing the wrap.
Step 5: Secure the Wrap
Once you have wrapped the wine glasses in gift wrap, it’s important to secure the wrap to ensure that it stays in place during transit. Follow these steps to securely fasten the wrapping:
- Check the wrap: Before securing the wrap, double-check that it is tightly and neatly wrapped around the wine glass. Smooth out any wrinkles or creases.
- Wrap a ribbon or twine: Take a ribbon or twine of your choice and wrap it around the wrapped wine glass. Make sure the ribbon or twine is wrapped tightly but not too tight as to damage the wrap.
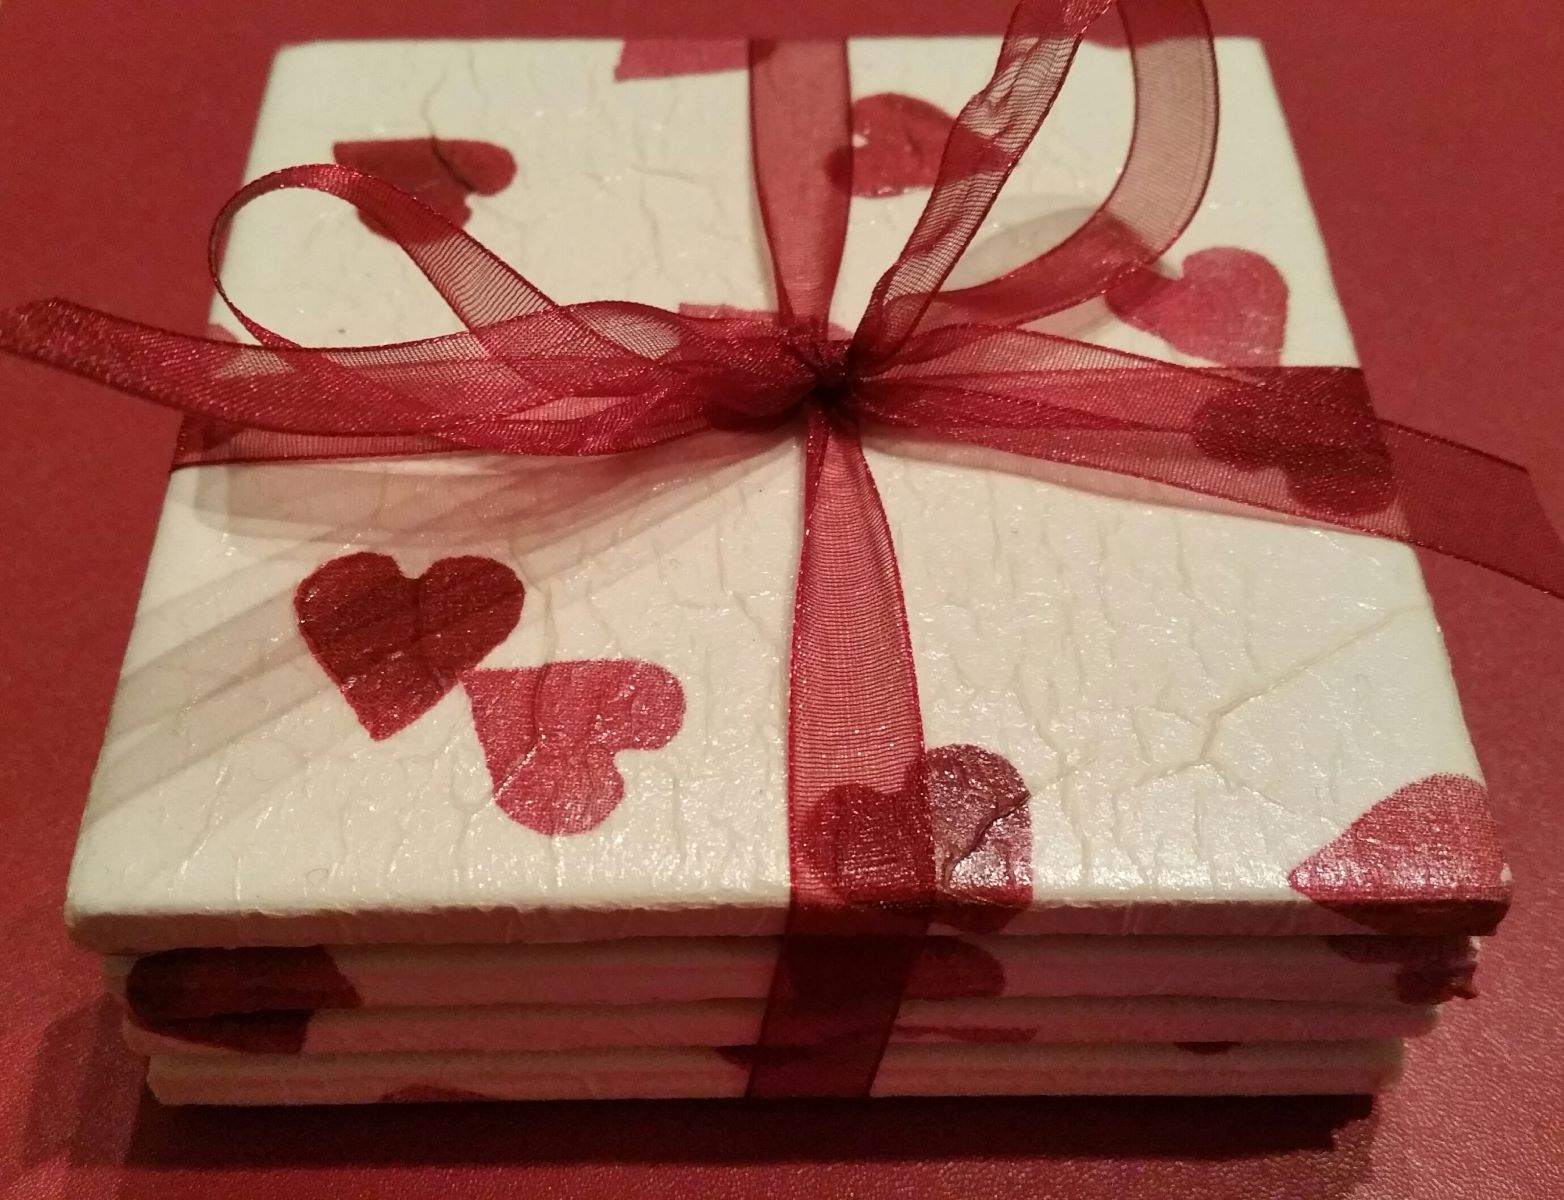
- Tie a bow or knot: Create a beautiful bow or tie a knot to secure the ribbon or twine. Adjust the bow or knot to your desired tightness and position it neatly on the wrapped wine glass.
- Trim any excess ribbon: If there is excess ribbon or twine, use scissors to carefully trim it for a clean and polished look. Be cautious not to cut too close to the knot or bow.
By securing the wrap with a ribbon or twine, you not only add a decorative touch but also ensure that the wrap stays intact. This will prevent any shifting or unwrapping of the wine glasses during transportation.
Now that the wrap is secured, let’s move on to the final step: adding the finishing touches.
Step 6: Add Finishing Touches
Adding the finishing touches to your wrapped wine glasses will elevate their presentation and make the gift even more special. Follow these steps to add those final decorative elements:
- Attach a gift tag: Take a personalized gift tag and attach it to the ribbon or twine. You can write a heartfelt message or simply include the recipient’s name.
- Embellish with decorative accents: If desired, further decorate the wrapped wine glasses with additional accents. You can attach small ornaments, dried flowers, or other decorative elements that complement the occasion or the recipient’s taste.
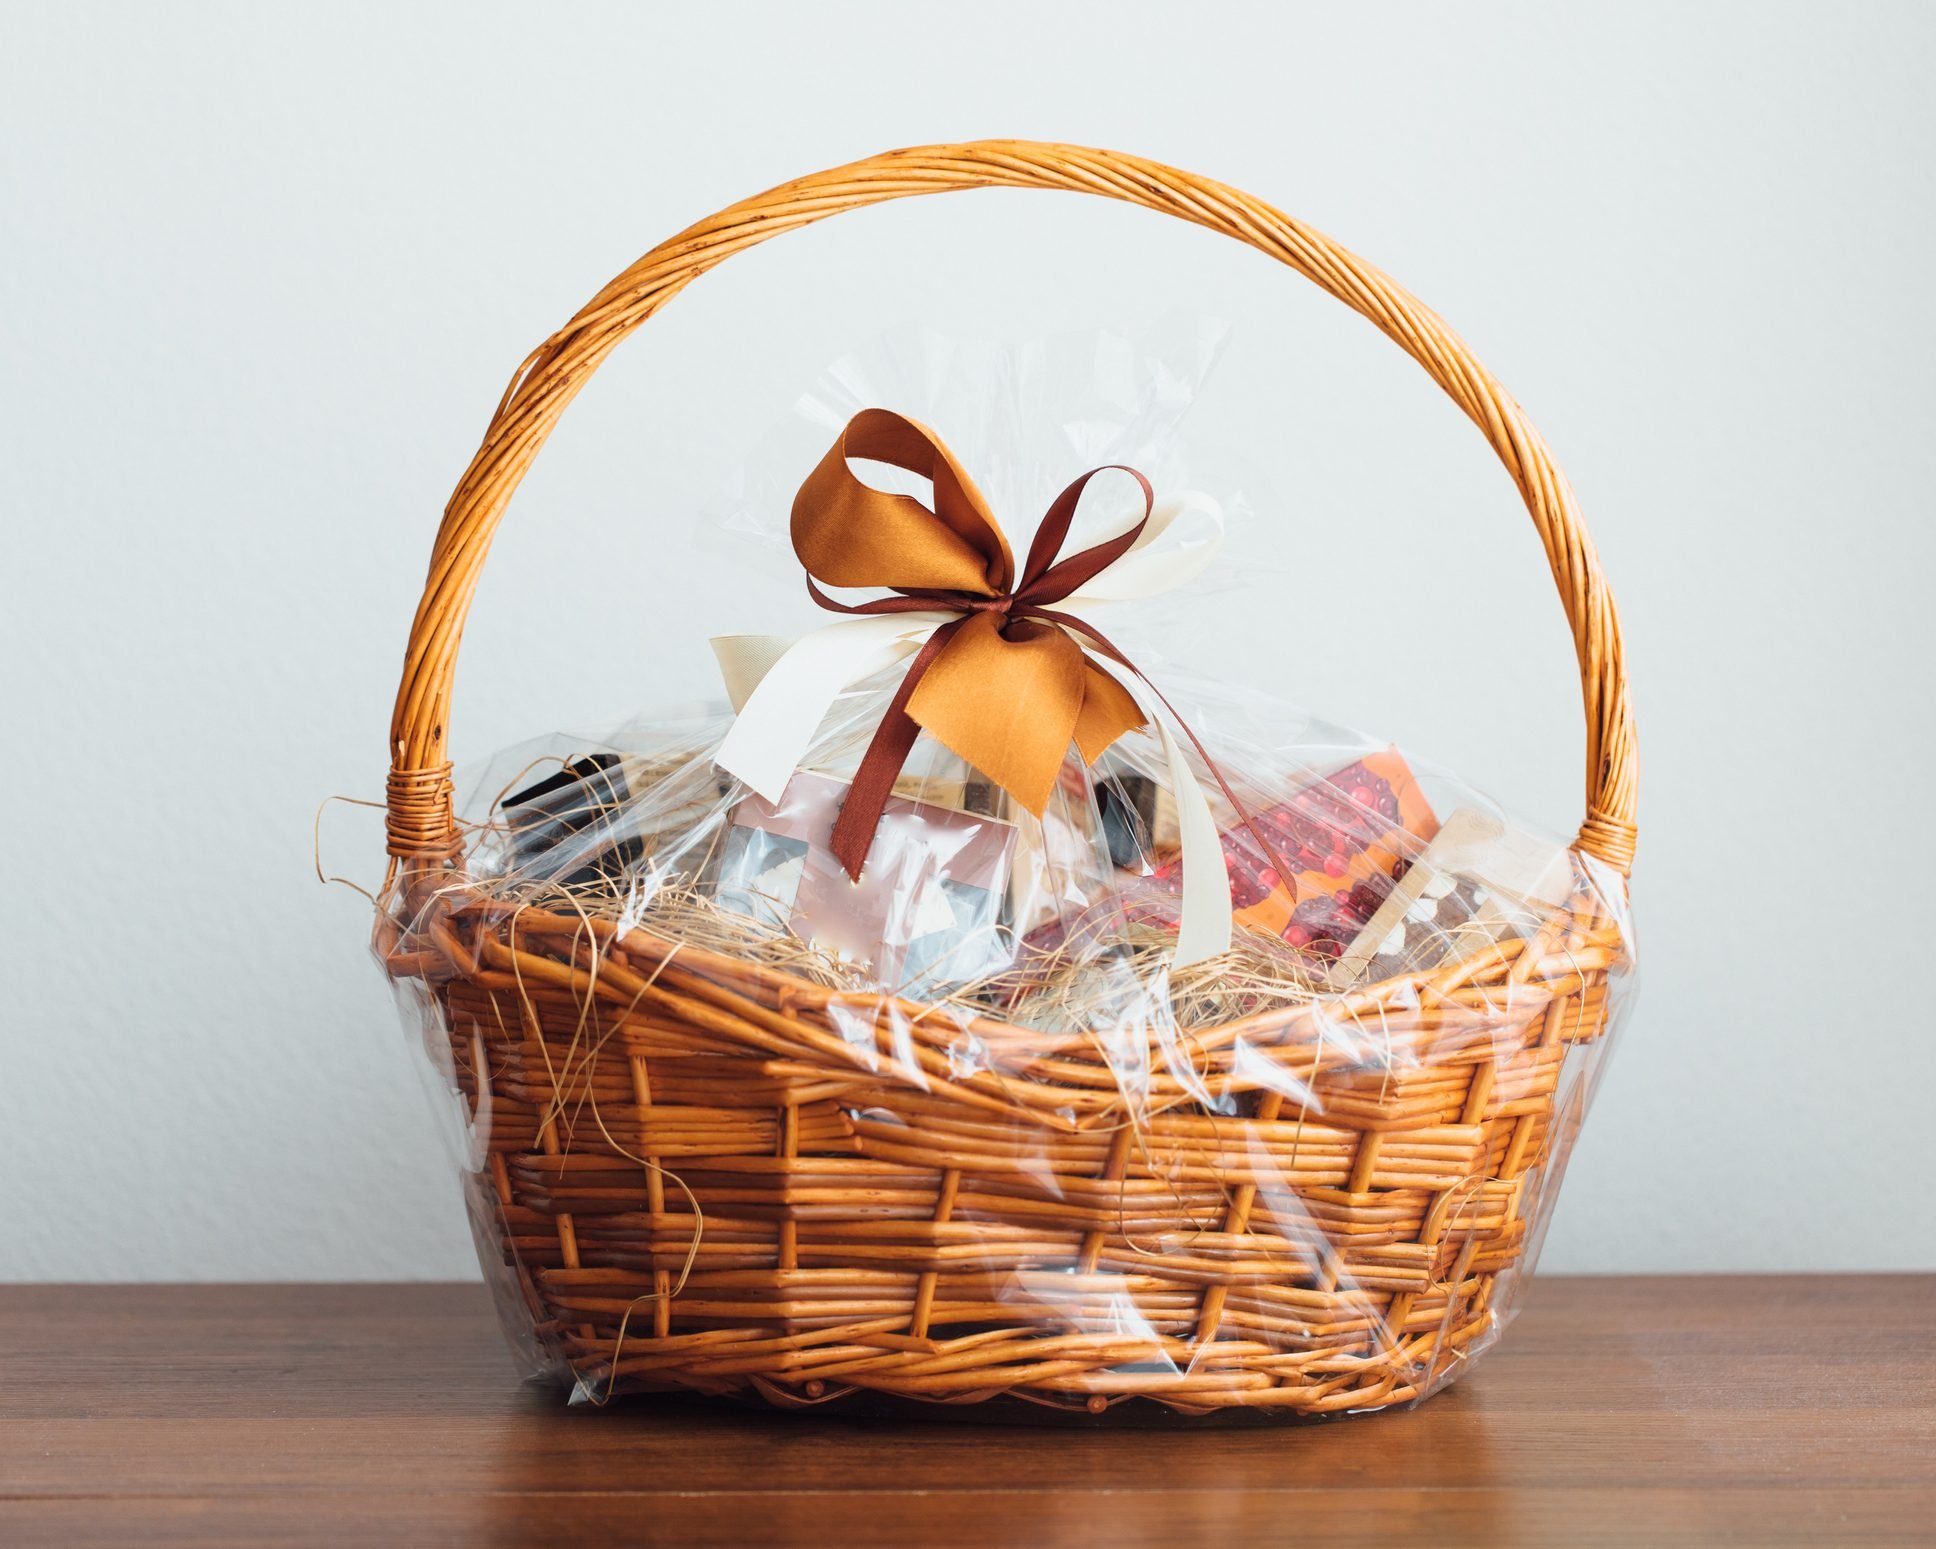
- Create a gift set: If you want to present a set of wine glasses, repeat the wrapping process for each glass and bundle them together with a larger ribbon or twine. This will create a cohesive and visually appealing gift set.
By adding these finishing touches, you’re personalizing the gift and making it even more memorable. The recipient will appreciate the efforts you put into creating a beautifully wrapped and thoughtfully presented gift.
Now that you have completed all the steps, take a moment to admire your wrapped wine glasses. They are now ready to be gifted and enjoyed!
Conclusion
Wrapping wine glasses as a gift not only protects them during transit but also adds an element of surprise and elegance. By following the steps outlined in this guide, you can ensure that your wine glasses are beautifully presented and ready to be received with joy. Set your table with these elegantly wrapped glasses to elevate any dining experience.
Remember to gather all the necessary materials, prepare the wine glasses by cleaning and removing any accessories, create a protective layer with tissue paper, wrap them in gift wrap, secure the wrap with ribbon or twine, and add those final finishing touches such as gift tags or decorative accents.
Throughout the process, take your time and pay attention to the details, ensuring that each wine glass is carefully wrapped and secured. By doing so, you’ll create a gift that not only showcases your thoughtfulness, but also protects the fragile glassware inside.
Now, go ahead and wrap those wine glasses with confidence, knowing that your gift will be a delightful surprise to the recipient. Whether it’s for a special occasion or just to show someone you care, a beautifully wrapped set of wine glasses is sure to make a lasting impression.
So, gather your supplies, follow the steps outlined, and let your creativity shine through as you wrap your wine glasses as a gift. Cheers to the joy of gift-giving and the delight of sharing a glass of wine!
Frequently Asked Questions about How To Wrap Wine Glasses As A Gift
Was this page helpful?
At Storables.com, we guarantee accurate and reliable information. Our content, validated by Expert Board Contributors, is crafted following stringent Editorial Policies. We're committed to providing you with well-researched, expert-backed insights for all your informational needs.
0 thoughts on “How To Wrap Wine Glasses As A Gift”