Home>Furniture & Design>Interior Design Trends>How To Drill A Hole In Sea Glass
Interior Design Trends
How To Drill A Hole In Sea Glass
Modified: August 18, 2024
Learn how to drill a hole in sea glass and incorporate it into your interior design trends. Create unique and stylish decor with this DIY technique. Discover more on interior design trends.
(Many of the links in this article redirect to a specific reviewed product. Your purchase of these products through affiliate links helps to generate commission for Storables.com, at no extra cost. Learn more)
Introduction
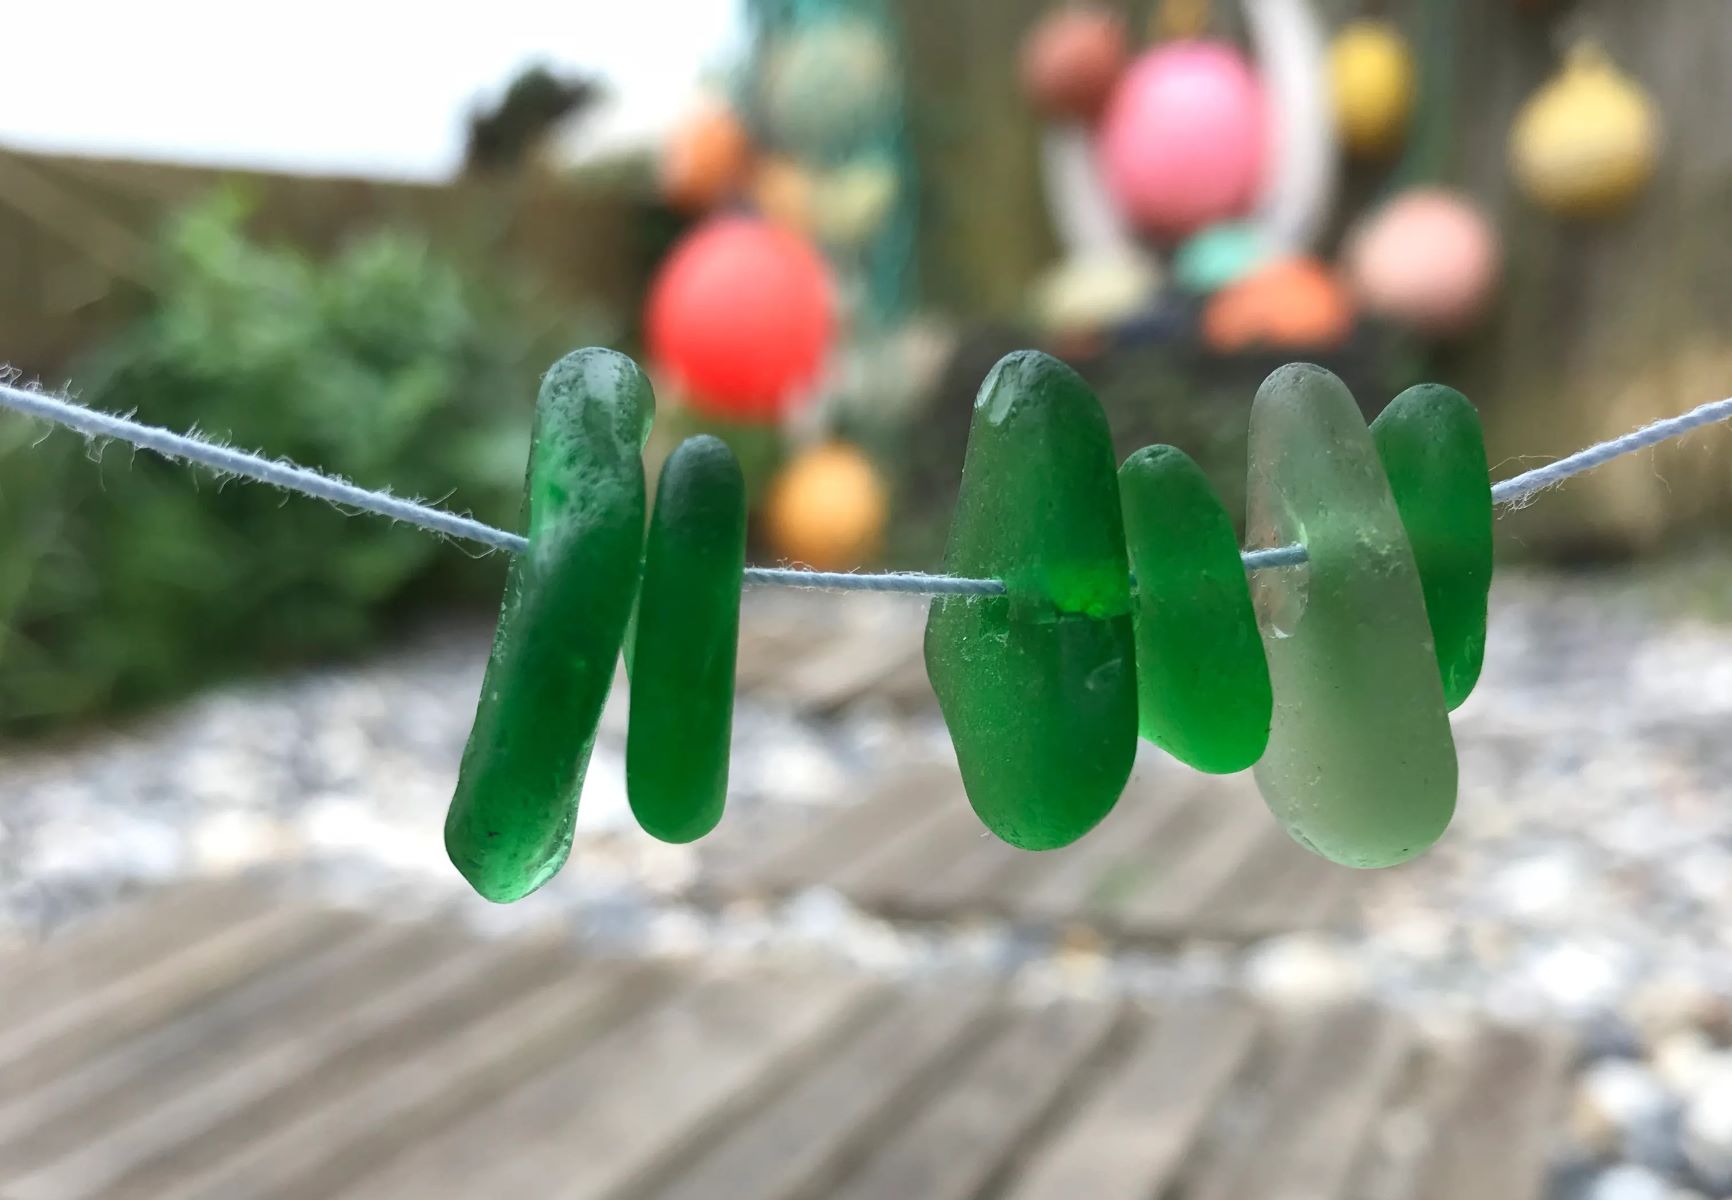
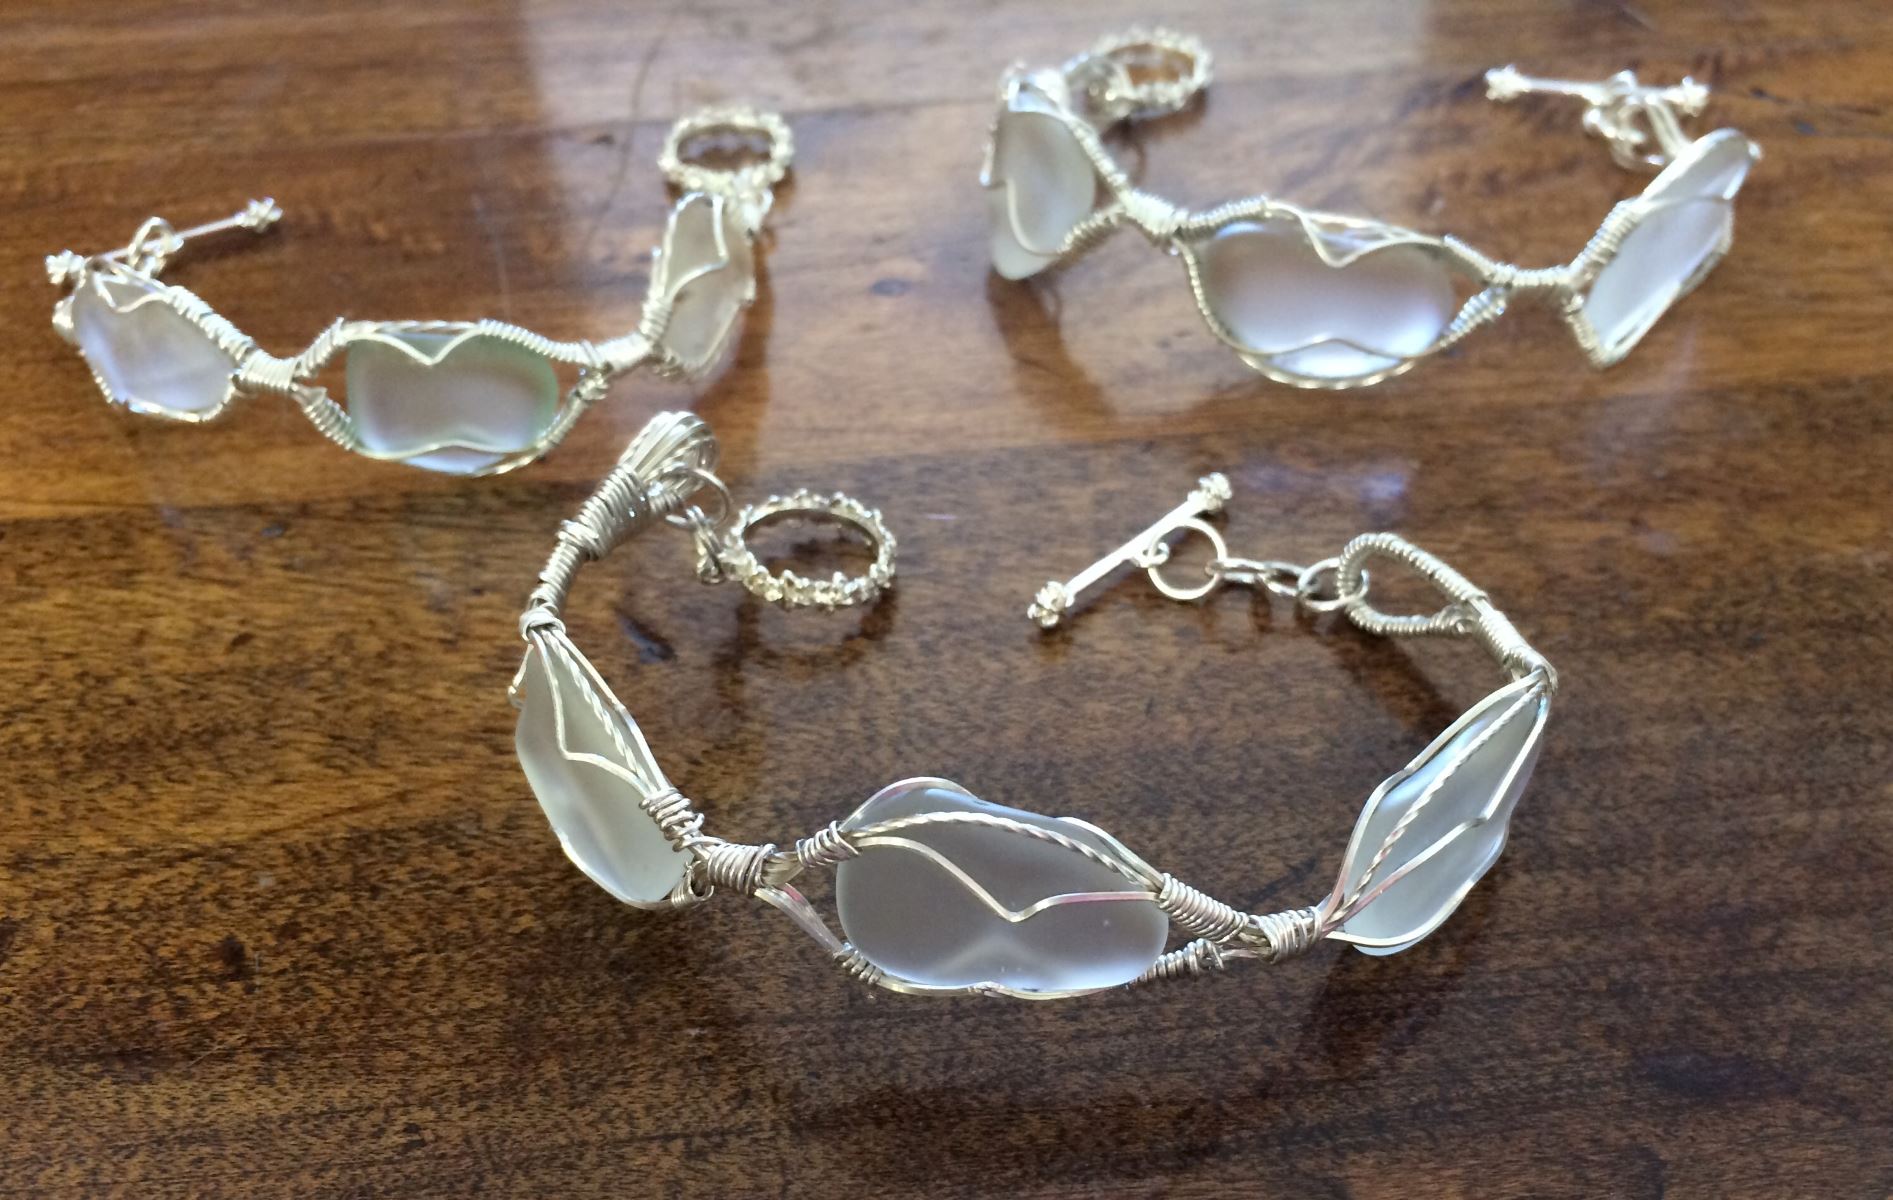
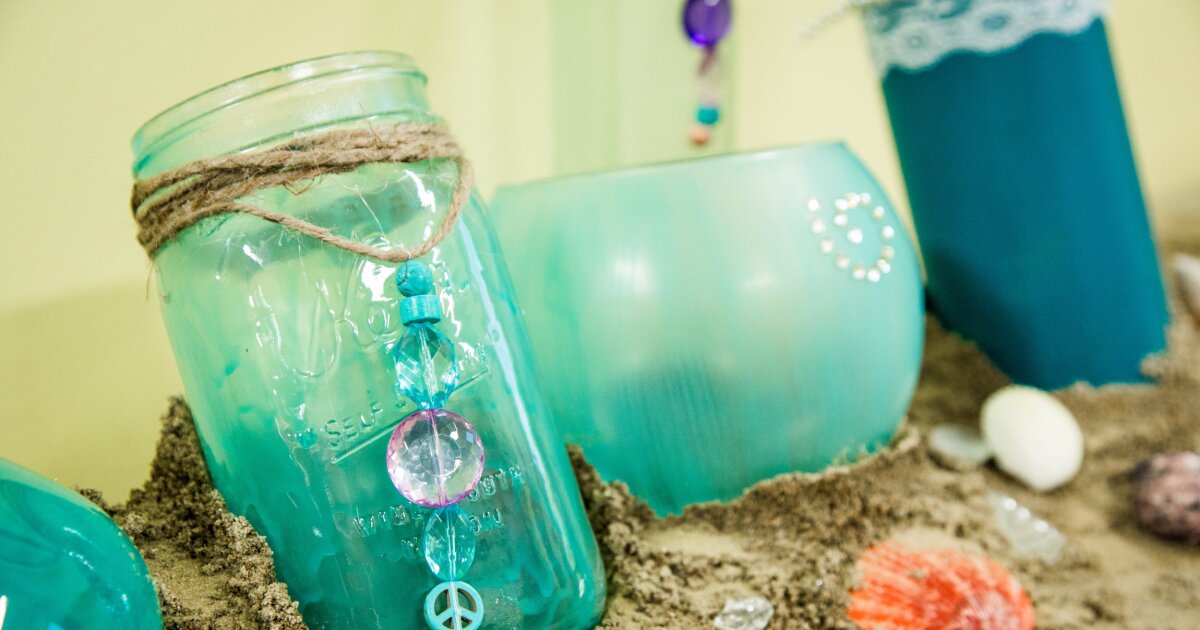
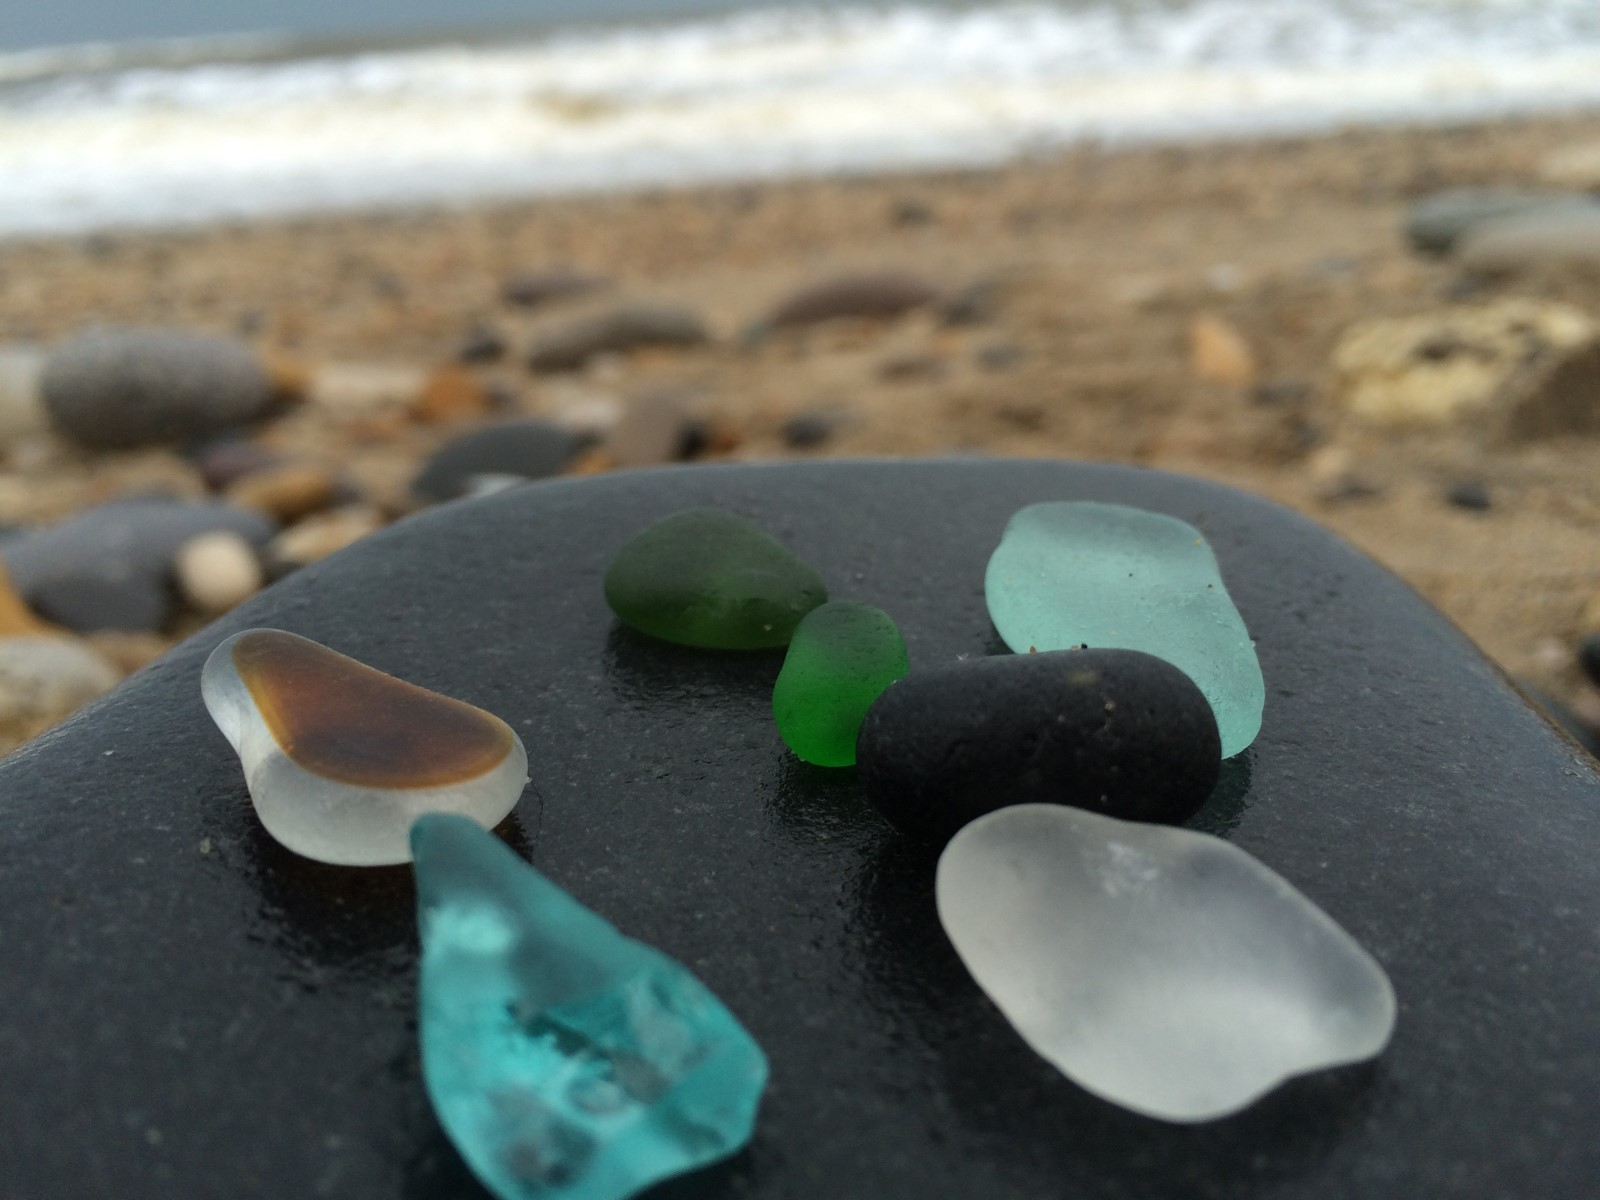
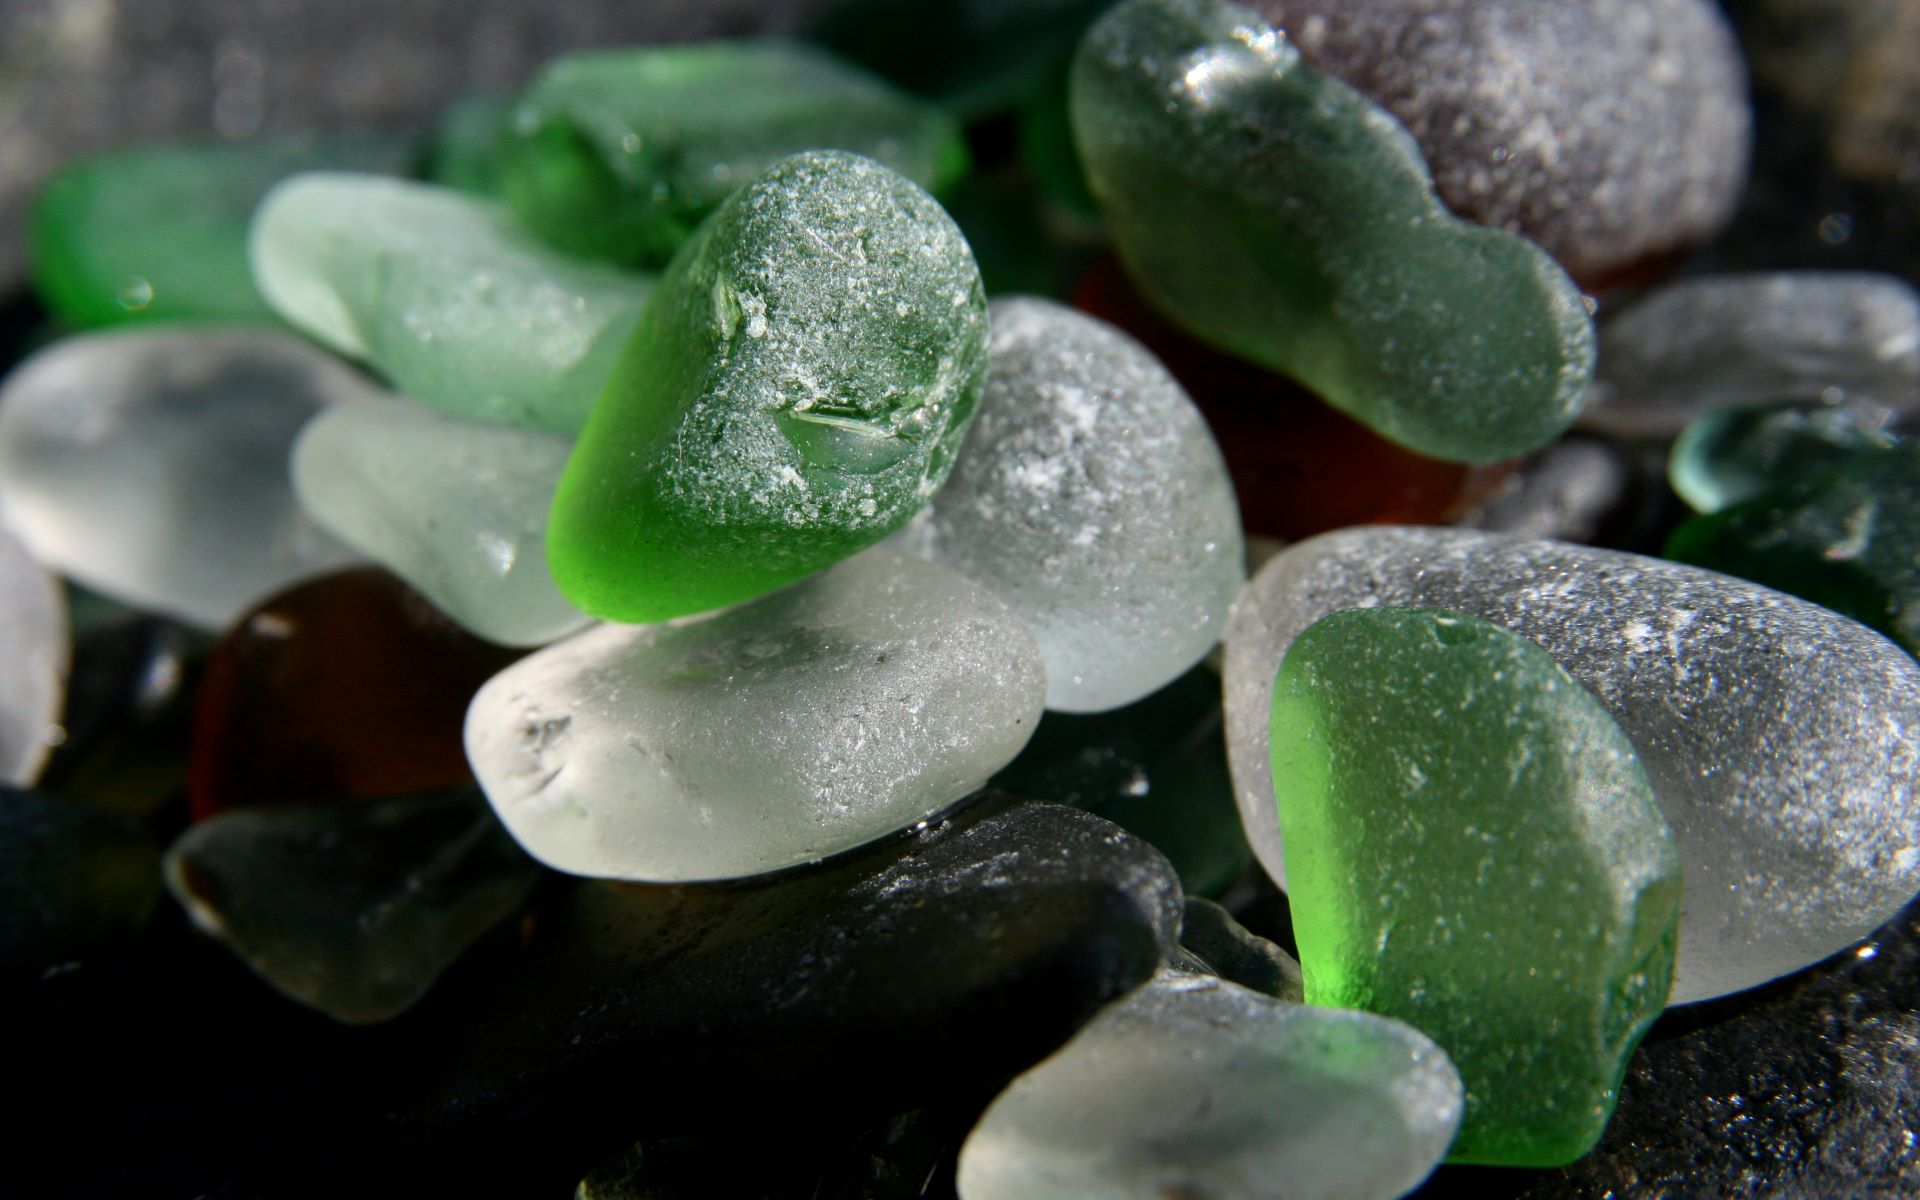
Drilling a hole in sea glass can be a captivating and rewarding craft, allowing you to transform these ocean-tumbled treasures into stunning jewelry pieces, home decor accents, or unique gifts. Sea glass, with its smooth and frosted appearance, carries the mystique of the ocean and the allure of hidden treasures. By learning the art of drilling holes in sea glass, you can unlock its potential and create one-of-a-kind pieces that capture the essence of the sea.
Whether you're a seasoned artisan or a novice crafter, mastering the technique of drilling through sea glass opens up a world of creative possibilities. From delicate pendants and earrings to decorative wind chimes and sun catchers, the ability to add a hole to sea glass expands the scope of what you can craft with these enchanting gems.
In this comprehensive guide, we will walk you through the step-by-step process of drilling a hole in sea glass, providing valuable insights, tips, and techniques to ensure your success. By understanding the materials needed, selecting the right drill bit, and mastering the drilling process, you will be well-equipped to embark on your sea glass drilling journey with confidence and creativity. So, gather your sea glass collection and let's dive into the art of drilling holes in these mesmerizing coastal treasures.
Key Takeaways:
- Transform sea glass into stunning jewelry and decor by mastering the art of drilling holes. Select the right drill bit, secure the glass, and clean the hole for professional-quality results.
- Drilling sea glass requires precision and patience. Choose a diamond-tipped drill bit, secure the glass with tape or a clamp, and finish the hole for flawless craftsmanship.
Read more: How To Drill A Hole In Glass
Materials Needed
To embark on the captivating craft of drilling holes in sea glass, you will need a few essential materials to ensure a successful and safe process. Here's a detailed list of the items required to begin your sea glass drilling journey:
-
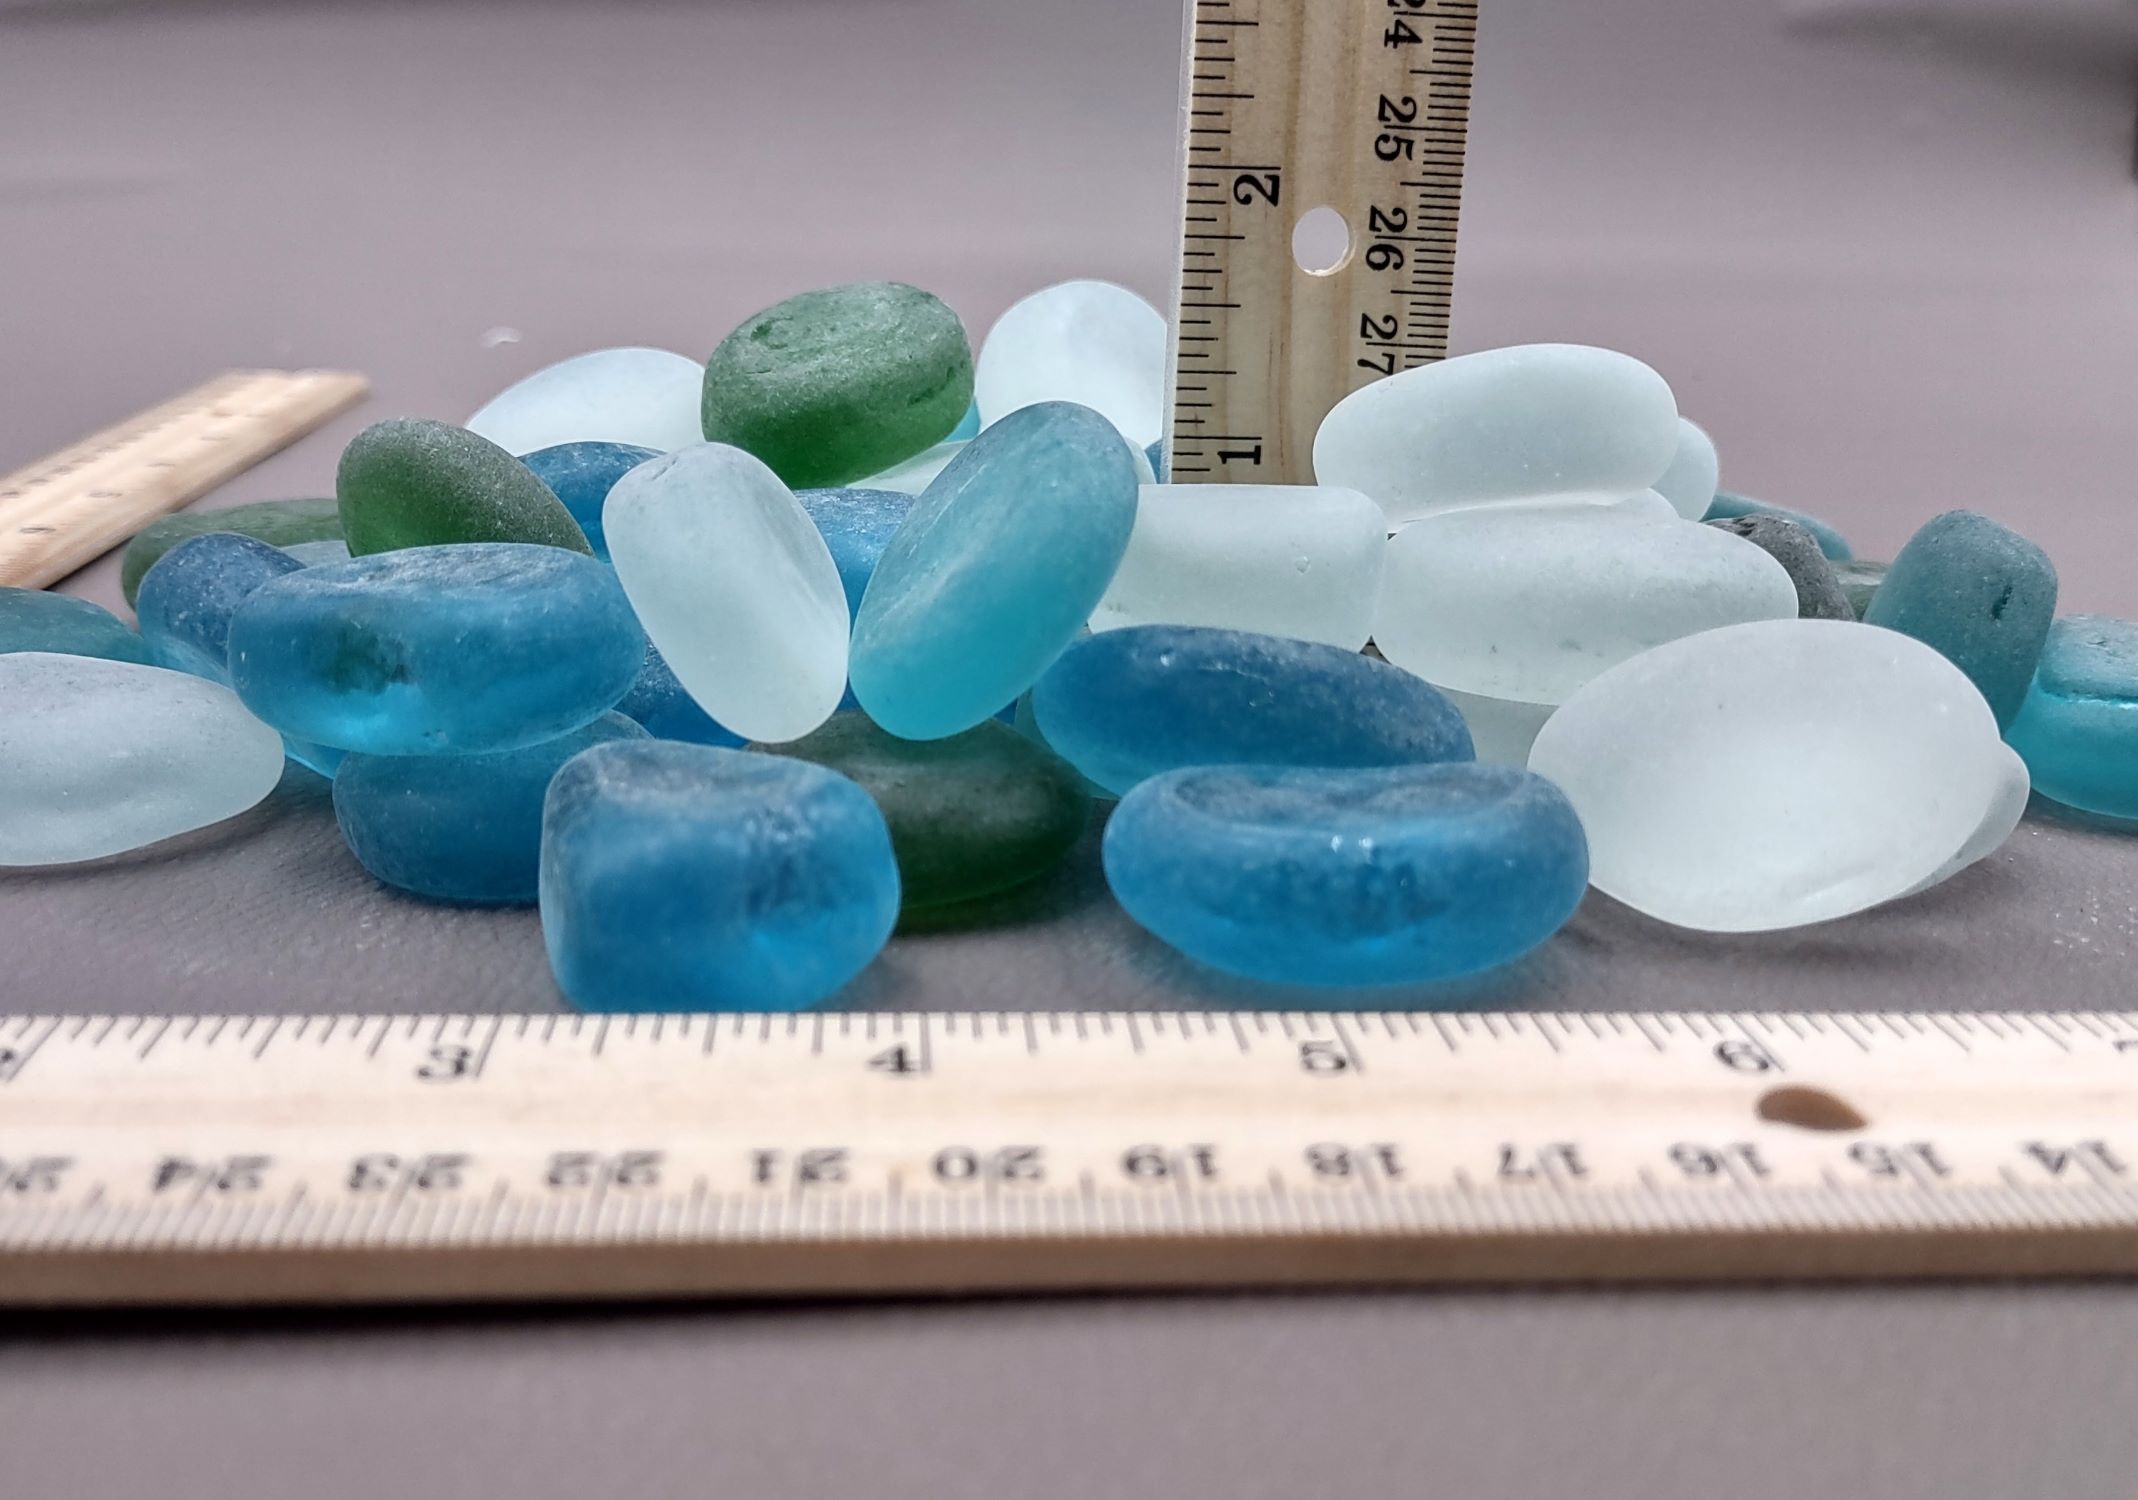
Sea Glass: The star of the show, your collection of sea glass will serve as the focal point of your drilling endeavors. Whether you've gathered these treasures from coastal shores or acquired them through other means, ensure that the pieces are free from cracks and are of a suitable size for your intended project.
-
Safety Glasses: Protecting your eyes is paramount when working with glass and power tools. Invest in a pair of durable safety glasses to shield your eyes from any potential debris or splinters during the drilling process.
-
Dremel Rotary Tool or Drill Press: Selecting the right tool for the job is crucial. A Dremel rotary tool with a diamond-tipped drill bit or a drill press specifically designed for glass drilling will provide the precision and control needed to create clean and accurate holes in sea glass.
-
Diamond-Tipped Drill Bit: When it comes to drilling through glass, a diamond-tipped drill bit is essential. These specialized drill bits are designed to effectively cut through glass without shattering or chipping the material, ensuring a smooth and precise hole.
-
Masking Tape: Securing the sea glass in place during the drilling process is essential for safety and accuracy. Utilize masking tape to create a stable and slip-resistant surface for the glass, preventing it from shifting or sliding during drilling.
-
Container of Water: Keeping the drill bit and sea glass cool is crucial to prevent overheating and potential damage to the glass. Submerging the drilling area in a container of water will act as a coolant, reducing friction and ensuring a smooth drilling process.
-
Marker or Tape: Marking the spot where you intend to drill the hole is essential for precision. A marker or tape can be used to indicate the exact location on the sea glass, allowing for accurate drilling without guesswork.
-
Workbench or Stable Surface: Creating a stable and secure work environment is vital for safe and effective drilling. Ensure that you have a sturdy workbench or surface to support the sea glass and drilling equipment during the process.
By gathering these essential materials, you will be well-prepared to embark on the art of drilling holes in sea glass, setting the stage for a creative and fulfilling crafting experience.
Step 1: Choose the Right Drill Bit
Selecting the appropriate drill bit is a critical first step in the process of drilling a hole in sea glass. Unlike drilling through wood or metal, glass requires specialized tools to achieve clean and precise results. When it comes to choosing the right drill bit for sea glass, diamond-tipped drill bits stand out as the preferred option for their exceptional cutting capabilities and ability to minimize the risk of glass breakage.
Diamond-tipped drill bits are specifically designed to handle the hardness and fragility of glass, making them the ideal choice for drilling sea glass. The diamond coating on these drill bits allows for efficient cutting without causing cracks or chips in the glass, ensuring a smooth and controlled drilling experience. Additionally, the sharpness and durability of diamond-tipped drill bits enable them to maintain their cutting edge throughout the drilling process, resulting in consistent and high-quality holes in the sea glass.
When selecting a diamond-tipped drill bit, consider the size of the hole you intend to create and the thickness of the sea glass. Drill bits come in various diameters, allowing you to choose the most suitable size for your project. It's essential to match the drill bit size to the intended use of the sea glass, whether it's for threading a chain through a pendant or incorporating it into a larger decorative piece.
Furthermore, the shank size of the drill bit should align with the chuck of your drilling tool, ensuring compatibility and stability during the drilling process. Whether you're using a Dremel rotary tool or a drill press, verifying the compatibility of the drill bit shank with your chosen tool is crucial for safe and effective drilling.
In addition to the drill bit size and shank compatibility, consider the overall quality and reputation of the drill bit manufacturer. Opting for reputable brands known for producing high-performance diamond-tipped drill bits can provide assurance of durability, precision, and reliability during the drilling process.
By carefully selecting a diamond-tipped drill bit that aligns with the specific requirements of your sea glass drilling project, you set the foundation for a successful and gratifying drilling experience. The right drill bit not only ensures the integrity of the sea glass but also paves the way for the creation of exquisite and enduring pieces that showcase the beauty of these ocean-inspired gems.
Step 2: Secure the Sea Glass
Before initiating the drilling process, it is crucial to secure the sea glass effectively to ensure stability, precision, and safety. The proper securing of the sea glass not only prevents slippage during drilling but also minimizes the risk of potential damage to the glass and ensures accurate hole placement. Here's a detailed guide on how to secure the sea glass for a seamless drilling experience.
Masking Tape Method
One of the most widely used techniques for securing sea glass is the masking tape method. Begin by laying a piece of masking tape on a flat and stable surface, sticky side up. Carefully place the sea glass on the tape, ensuring that it is positioned securely and does not wobble or shift. The adhesive nature of the masking tape provides a firm grip on the glass, preventing it from sliding during the drilling process. Additionally, the transparency of the tape allows for easy visibility of the drilling spot, enabling precise hole placement.
Read more: How To Drill Hole In Glass Bottle
Clamping the Sea Glass
For larger or irregularly shaped sea glass pieces, utilizing a clamp to secure the glass can offer enhanced stability and control. Position the sea glass on a stable work surface and carefully apply a clamp to hold it in place. Ensure that the clamp is adjusted to exert gentle pressure, just enough to immobilize the glass without causing damage. This method is particularly beneficial when working with thicker or heavier sea glass pieces that may require additional support during drilling.
Considerations for Stability
Regardless of the securing method chosen, it is essential to prioritize stability and balance when positioning the sea glass for drilling. Uneven or unstable placement can lead to inaccuracies and potential slippage, compromising the integrity of the drilling process. Take the time to assess the stability of the secured sea glass, making any necessary adjustments to guarantee a secure and immovable setup.
By implementing these techniques to secure the sea glass, you establish a solid foundation for the drilling process, setting the stage for precise and controlled hole creation. The careful and secure positioning of the sea glass not only facilitates safe and accurate drilling but also contributes to the overall quality and craftsmanship of the finished piece. With the sea glass firmly secured and ready for drilling, you are prepared to proceed to the next step of the exhilarating sea glass drilling journey.
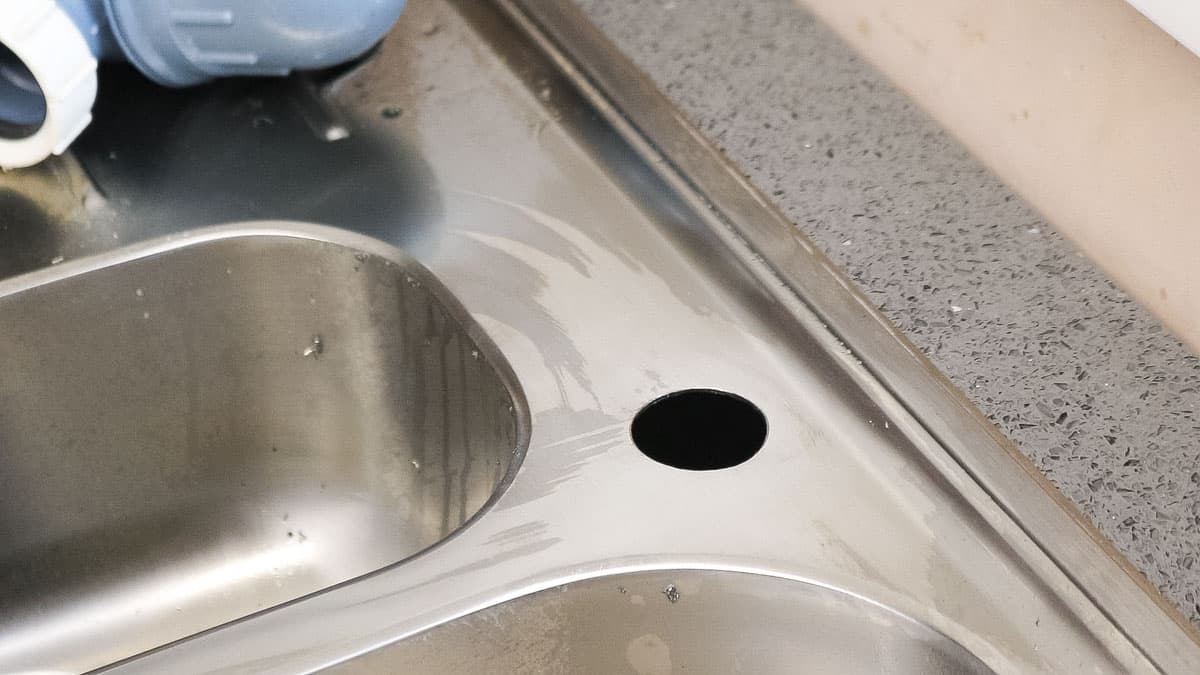
Step 3: Drill the Hole
With the sea glass securely positioned and the appropriate drill bit selected, it's time to embark on the pivotal step of drilling the hole. This stage requires precision, patience, and a steady hand to ensure a clean and accurate outcome. Follow these detailed steps to navigate the drilling process with confidence and finesse.
1. Mark the Drilling Spot
Before commencing the drilling, use a marker or tape to clearly indicate the exact spot on the sea glass where you intend to create the hole. This visual guide will serve as a reference point, allowing for targeted and precise drilling without guesswork.
Read more: How To Drill A Hole In A Brick Wall
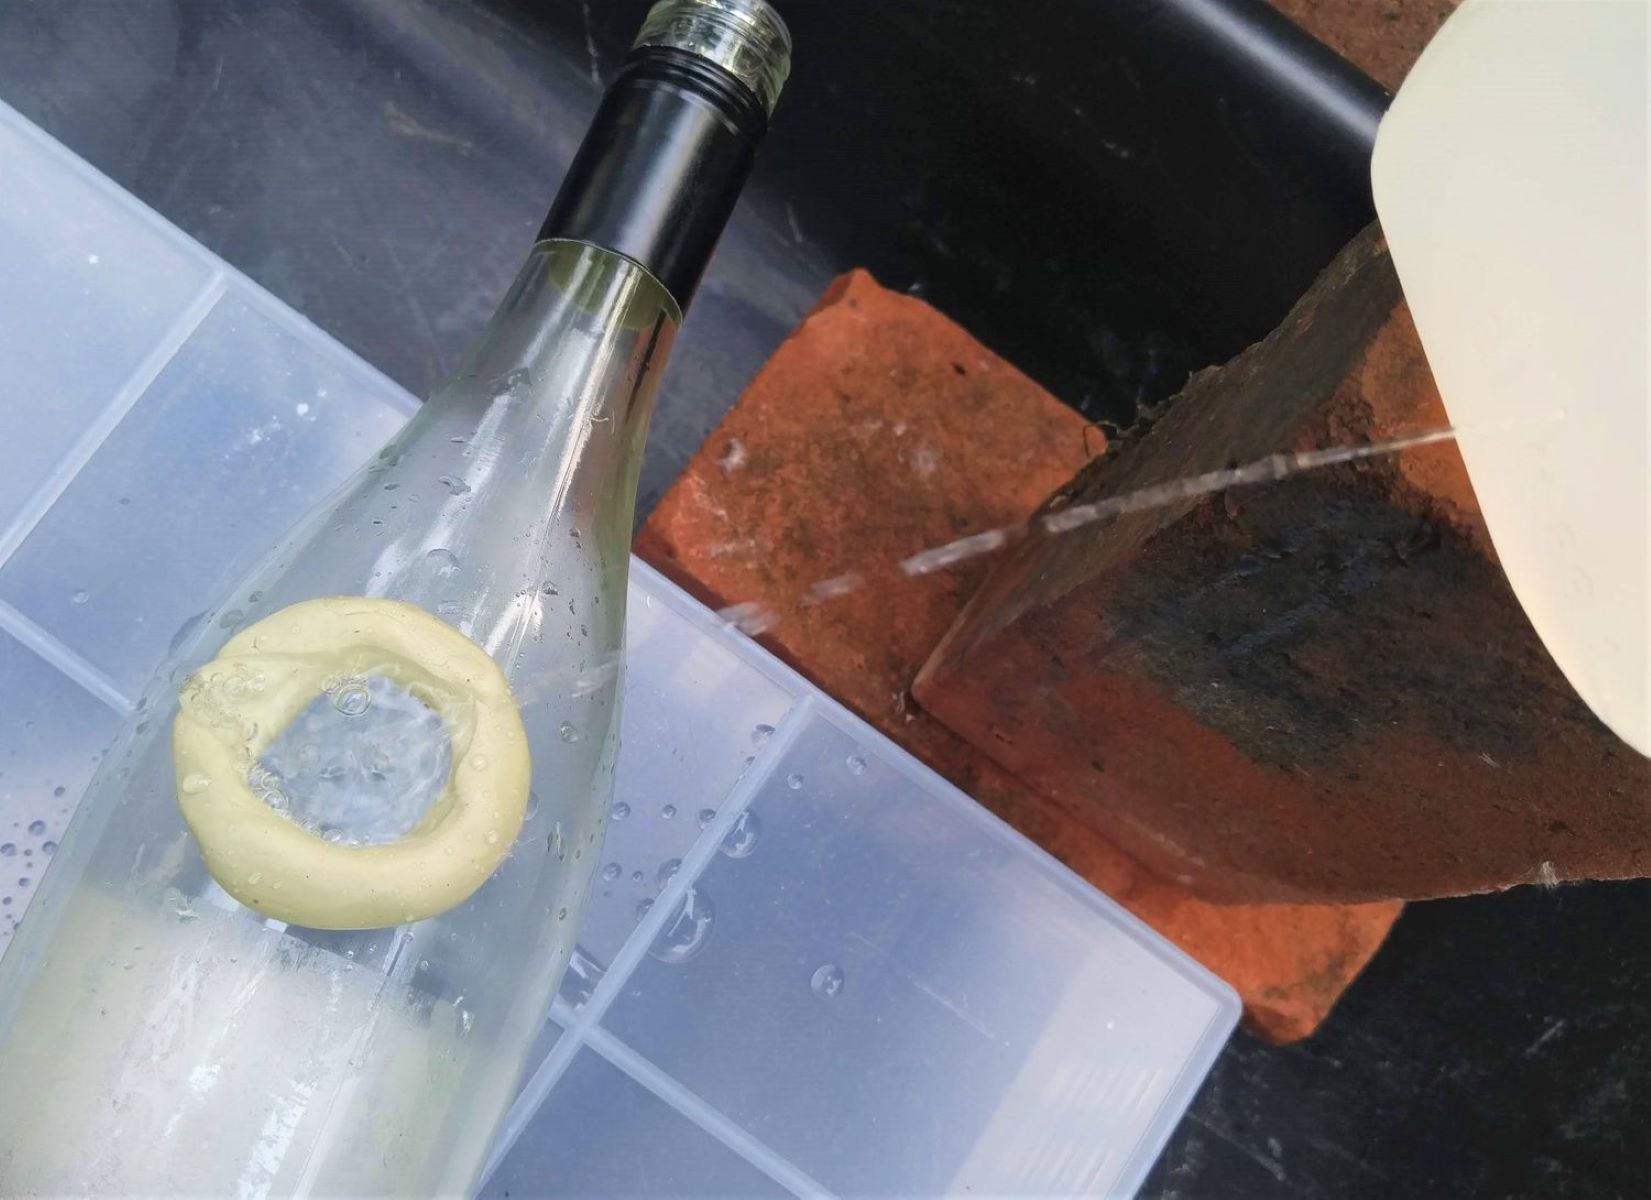
2. Submerge in Water
Fill a container with water deep enough to submerge the area of the sea glass where the hole will be drilled. The water acts as a coolant, dissipating heat generated during drilling and preventing the glass from overheating or cracking due to friction.
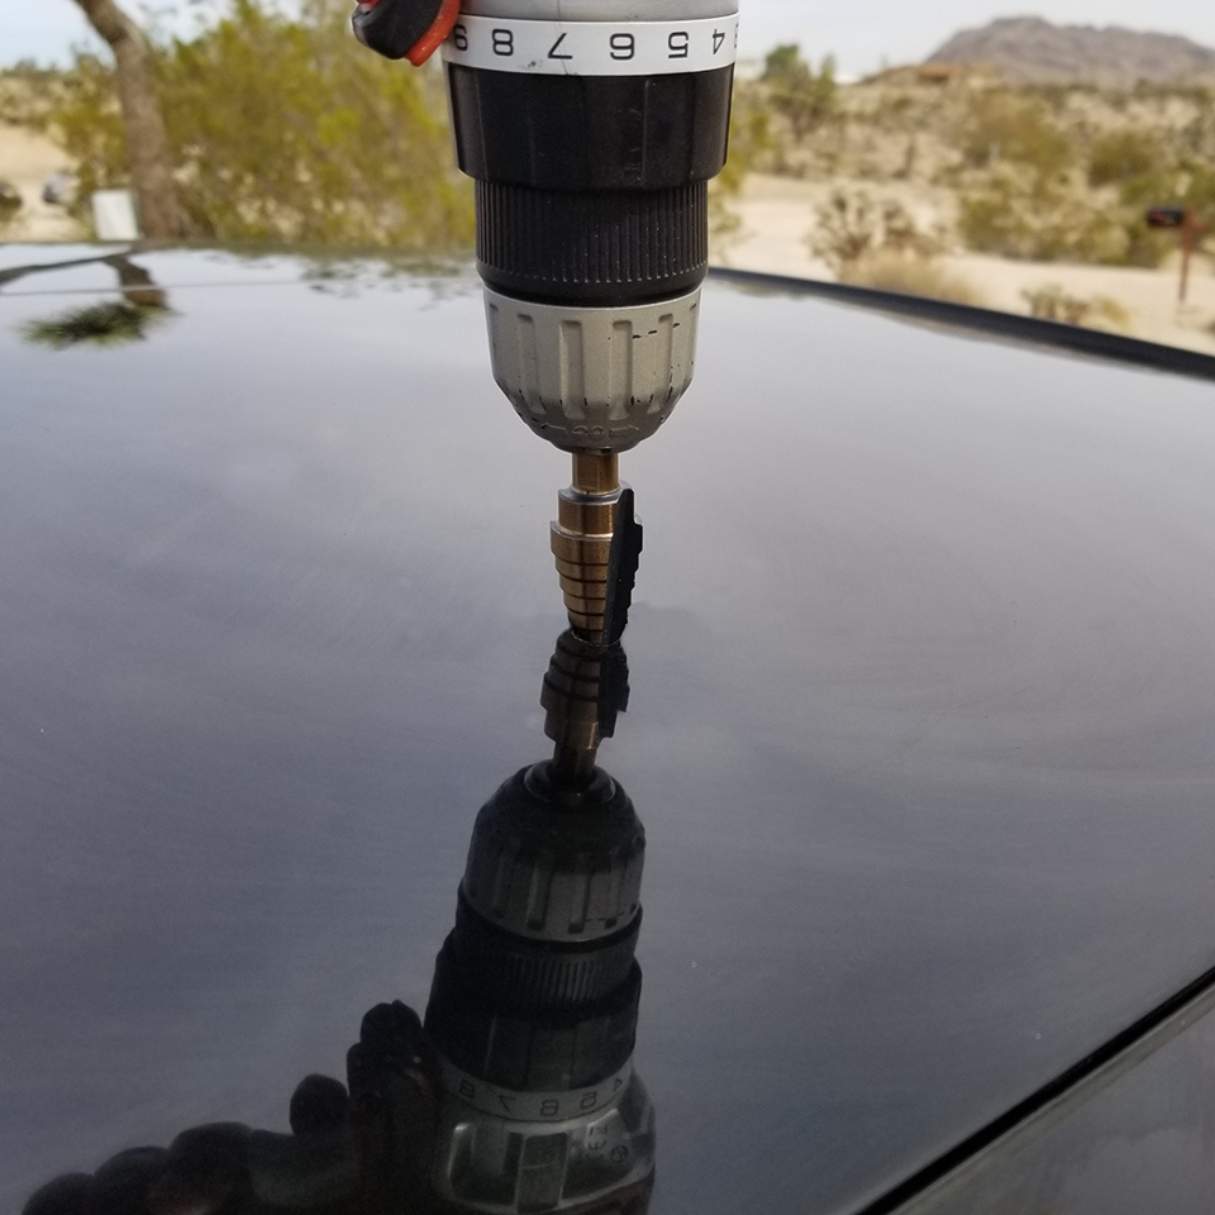
3. Position the Drill
If using a Dremel rotary tool, ensure that the diamond-tipped drill bit is securely attached. For a drill press, adjust the settings to the appropriate speed and depth for glass drilling. Position the drill bit perpendicular to the marked spot on the sea glass, maintaining a steady and controlled grip on the tool.
4. Initiate the Drilling Process
With the sea glass and drill bit in place, initiate the drilling process with a gentle and consistent downward pressure. Avoid exerting excessive force, as glass drilling requires a delicate touch. Allow the drill bit to gradually penetrate the glass, maintaining a steady and even pace throughout the drilling.
5. Monitor Progress
As the drill bit advances through the sea glass, monitor the progress closely to ensure that the drilling remains on track and that the glass is not subjected to undue pressure. The transparent nature of sea glass allows for visibility into the drilling process, enabling real-time adjustments if necessary.
Read more: How To Clean Sea Glass
6. Maintain Coolant and Pressure
Throughout the drilling, periodically lift the drill bit from the glass to allow water to flow into the drilled hole, providing continuous cooling and lubrication. Sustaining a consistent but gentle pressure on the drill is essential to prevent glass breakage and achieve a smooth, clean hole.
7. Complete the Drilling
Continue drilling until the desired depth is reached, ensuring that the drill bit emerges cleanly from the opposite side of the sea glass. Once the hole is successfully created, carefully withdraw the drill bit from the glass, maintaining caution to avoid any sudden movements that could cause damage.
By following these meticulous steps and exercising patience and precision, you can successfully drill a hole in sea glass, unlocking its potential for a myriad of creative applications. The careful execution of the drilling process is fundamental to preserving the integrity of the sea glass and achieving professional-quality results. With the hole now expertly drilled, you are poised to explore the final step of cleaning and finishing the hole, bringing your sea glass crafting endeavors to fruition.
Step 4: Clean and Finish the Hole
After successfully drilling a hole in the sea glass, it is essential to focus on the crucial step of cleaning and finishing the newly created aperture. This meticulous process not only ensures the removal of any residual debris or glass particles but also contributes to the overall aesthetics and functionality of the drilled hole. Follow these detailed guidelines to expertly clean and finish the hole in your sea glass:
1. Rinse and Inspect
Begin by gently rinsing the sea glass under running water to remove any lingering glass fragments or debris resulting from the drilling process. Inspect the drilled hole carefully, ensuring that it is free from obstructions and irregularities. This initial cleansing step sets the stage for a thorough and pristine finish.
Read more: How To Display Sea Glass
2. Use a Diamond Coated Reamer
Employ a diamond-coated reamer to meticulously smooth and refine the edges of the drilled hole. The reamer's abrasive surface allows for precise shaping and polishing, resulting in a clean and professional finish. By carefully maneuvering the reamer around the edges of the hole, you can eliminate any roughness or sharp edges, creating a flawlessly contoured opening.
3. Buff with Polishing Compound
Apply a small amount of specialized glass polishing compound to a soft cloth or felt buffing wheel. Gently buff the edges and interior of the drilled hole, utilizing circular motions to achieve a smooth and lustrous finish. The polishing compound aids in removing any remaining imperfections and imparts a refined sheen to the glass, elevating the visual appeal of the drilled hole.
4. Final Rinse and Dry
Conclude the cleaning and finishing process by giving the sea glass a final rinse under running water, ensuring that all traces of polishing compound and debris are thoroughly removed. Carefully dry the sea glass with a clean, lint-free cloth, taking care to eliminate any moisture or residue from the drilled hole. The pristine cleanliness and polished appearance of the hole signify the successful completion of the cleaning and finishing stage.
By meticulously cleaning and finishing the drilled hole, you elevate the overall quality and craftsmanship of the sea glass, preparing it for a myriad of creative applications. The smooth and refined aperture serves as a testament to your attention to detail and dedication to achieving professional-grade results. With the hole now impeccably cleaned and finished, your sea glass is ready to be incorporated into exquisite jewelry pieces, decorative accents, or personalized creations, showcasing the allure and beauty of these ocean-inspired treasures.
Conclusion
In conclusion, mastering the art of drilling a hole in sea glass opens up a world of creative possibilities, allowing enthusiasts and artisans to transform these ocean-tumbled treasures into captivating jewelry pieces, decorative accents, and personalized gifts. The journey of drilling holes in sea glass encompasses meticulous preparation, precise execution, and a deep appreciation for the inherent beauty of these coastal gems.
By carefully selecting the right drill bit, securing the sea glass with precision, and navigating the drilling process with patience and finesse, crafters can achieve professional-quality results while preserving the integrity of the glass. The emphasis on stability, safety, and attention to detail throughout the drilling journey underscores the dedication and passion that enthusiasts bring to their sea glass crafting endeavors.
Furthermore, the meticulous cleaning and finishing of the drilled hole adds a layer of refinement and sophistication to the sea glass, elevating its potential for a wide range of creative applications. The smooth and polished aperture serves as a testament to the artisan's commitment to achieving excellence and ensuring that each piece of sea glass is showcased in its best light.
As crafters embark on their sea glass drilling journey, they not only hone their technical skills but also deepen their connection to the natural world and the timeless allure of the ocean. Each drilled hole in sea glass represents a harmonious blend of artistry and craftsmanship, capturing the essence of the sea and infusing it into unique and personalized creations.
Ultimately, the art of drilling holes in sea glass transcends the realm of crafting, serving as a testament to the enduring fascination with coastal beauty and the boundless potential for creative expression. Whether it's crafting bespoke jewelry, adorning home decor, or gifting personalized creations, the drilled sea glass becomes a tangible symbol of artistry, passion, and the timeless allure of the ocean.
In the hands of dedicated artisans and enthusiasts, sea glass continues to inspire and captivate, its journey from coastal shores to cherished creations a testament to the enduring magic of the sea. With each meticulously drilled hole, the story of sea glass unfolds, weaving a narrative of creativity, craftsmanship, and the timeless connection to the ebb and flow of the ocean's treasures.
Frequently Asked Questions about How To Drill A Hole In Sea Glass
Was this page helpful?
At Storables.com, we guarantee accurate and reliable information. Our content, validated by Expert Board Contributors, is crafted following stringent Editorial Policies. We're committed to providing you with well-researched, expert-backed insights for all your informational needs.

0 thoughts on “How To Drill A Hole In Sea Glass”