Home>Furniture & Design>Living Room Furniture>How To Build A Recliner Massage Chair
Living Room Furniture
How To Build A Recliner Massage Chair
Published: February 12, 2024
Discover how to build a luxurious recliner massage chair for your living room with our expert tips and design ideas. Upgrade your home with custom living room furniture.
(Many of the links in this article redirect to a specific reviewed product. Your purchase of these products through affiliate links helps to generate commission for Storables.com, at no extra cost. Learn more)
Introduction
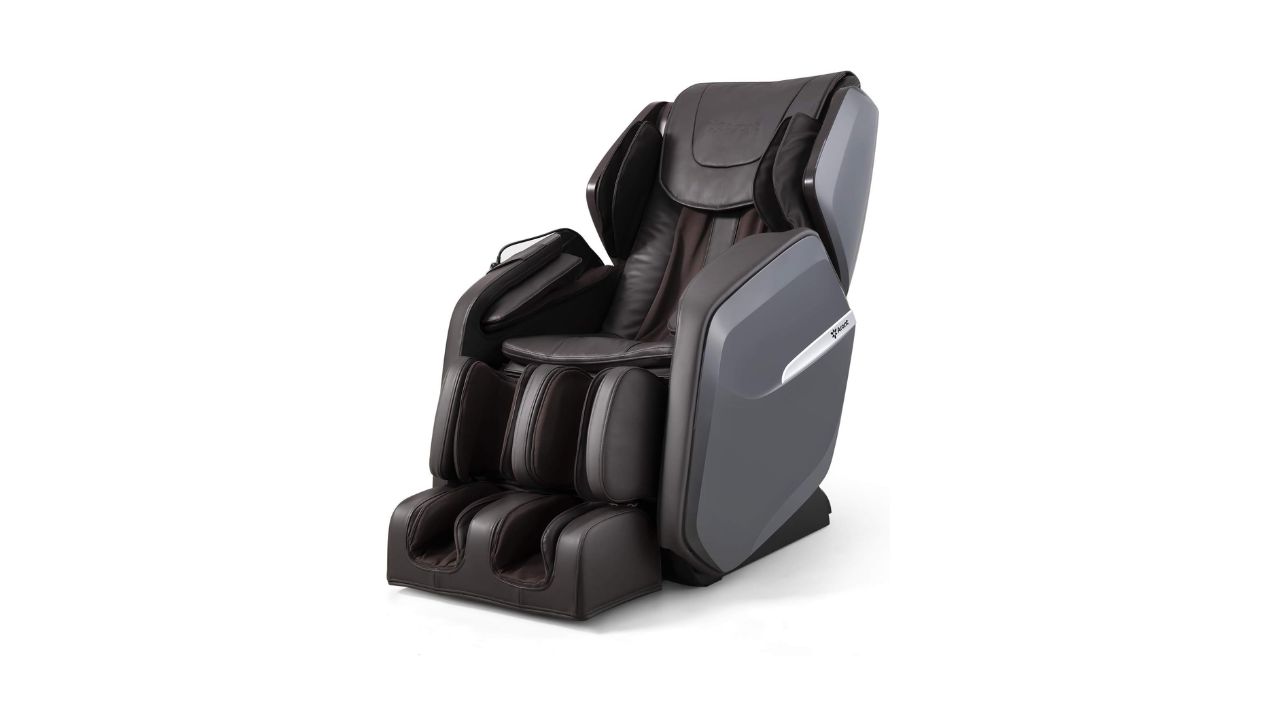
Building your own recliner massage chair can be a rewarding and fulfilling project that not only allows you to customize the chair to your preferences but also provides a sense of accomplishment once it's completed. Imagine having a luxurious and personalized piece of furniture that offers both relaxation and comfort right in your living room. With the right materials, tools, and a bit of patience, you can create a recliner massage chair that meets your specific needs and enhances the ambiance of your home.
In this comprehensive guide, we will walk you through the step-by-step process of building your very own recliner massage chair. From gathering the necessary materials and tools to assembling the frame, installing the reclining mechanism, adding the massage functionality, upholstering the chair, and finally, testing and enjoying the fruits of your labor, we've got you covered. Whether you're a seasoned DIY enthusiast or a novice looking to embark on your first furniture-building project, this guide will equip you with the knowledge and confidence to bring your vision to life.
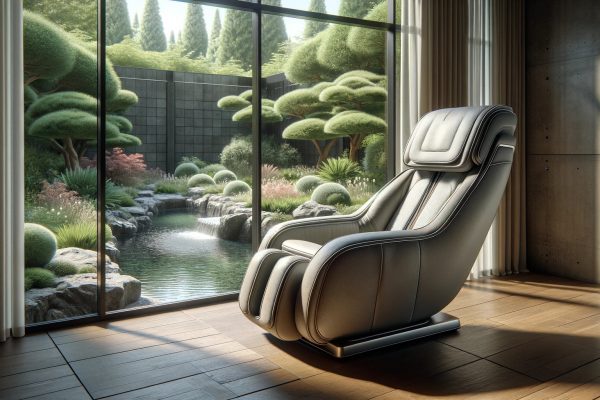
By following this guide, you'll not only save money compared to purchasing a pre-made recliner massage chair, but you'll also have the opportunity to tailor every aspect of the chair to your liking. From the choice of materials and colors to the specific massage features you desire, building your own recliner massage chair allows for a level of personalization that is hard to come by with store-bought furniture.
So, roll up your sleeves, gather your tools, and get ready to embark on an exciting journey of creativity and craftsmanship. Whether you're looking to add a touch of luxury to your living space or simply want to indulge in the ultimate relaxation experience, building your own recliner massage chair is a project that promises both satisfaction and comfort. Let's dive into the process and bring your dream chair to life!
Key Takeaways:
- Building your own recliner massage chair allows you to customize every aspect, from materials to massage features, creating a personalized oasis of comfort and relaxation in your living room. It’s a rewarding DIY project that saves money and offers a sense of accomplishment.
- By following the step-by-step guide, you can assemble a luxurious recliner massage chair with a smooth reclining mechanism and soothing massage functionality. The final product not only enhances your home decor but also provides a personalized haven for unwinding and rejuvenating.
Read more: How To Build Recliner Massage Chair
Step 1: Gather the Necessary Materials and Tools
Before diving into the construction of your recliner massage chair, it's essential to gather all the materials and tools required for the project. By ensuring that you have everything at your disposal, you can streamline the building process and minimize interruptions. Here's a comprehensive list of the necessary materials and tools:
Materials:
- Wood: Select high-quality wood for the frame, such as oak or maple, ensuring it is sturdy and durable.
- Foam Padding: Choose dense foam padding to provide comfort and support for the chair's seat, backrest, and armrests.
- Upholstery Fabric: Opt for a durable and aesthetically pleasing fabric that complements your home decor.
- Reclining Mechanism: Purchase a reliable and smooth-operating reclining mechanism that suits the size and style of your chair.
- Massage Components: Acquire massage motors, vibration nodes, and wiring for integrating the massage functionality into the chair.
- Screws, Nails, and Glue: Stock up on various sizes of screws, nails, and wood glue for assembling the chair securely.
Tools:
- Saw: A quality saw will be essential for cutting the wood to the required dimensions for the chair's frame and components.
- Drill and Bits: Invest in a drill with a set of bits to create holes for screws and other fasteners.
- Staple Gun: A staple gun is necessary for attaching the upholstery fabric and securing the foam padding to the wooden frame.
- Screwdriver Set: Ensure you have a set of screwdrivers, including both flathead and Phillips head, for assembling the chair.
- Measuring Tape and Square: Accurate measurements and precise angles are crucial, so having a measuring tape and square is essential.
- Sanding Tools: Sandpaper or a power sander will be needed to smooth the wood surfaces for a professional finish.
By gathering these materials and tools, you'll be well-prepared to commence the construction of your recliner massage chair. With everything in place, you can proceed to the next step with confidence, knowing that you have the necessary resources to bring your vision to life.
Step 2: Assemble the Frame of the Chair
Assembling the frame of the recliner massage chair is a critical step that forms the foundation of the entire structure. The frame provides the structural integrity and support necessary to ensure the chair's stability and longevity. Here's a detailed breakdown of the process involved in assembling the frame:
Read more: How To Build A Recliner Chair
1. Cut the Wood to Size
Using precise measurements and a quality saw, carefully cut the wood into the required pieces for the chair's frame. This includes the backrest, seat, armrests, and any additional components based on the chair's design. Accuracy in cutting the wood is crucial to ensure that the pieces fit together seamlessly during assembly.
2. Create the Frame Components
With the wood pieces cut to size, begin constructing the individual components of the frame. This involves creating the backrest, seat, and armrest sections according to the predetermined design. Pay close attention to the alignment and angles to guarantee a cohesive and sturdy frame.
3. Join the Frame Sections
Using screws, nails, and wood glue, join the frame sections together to form the complete structure of the chair. It's essential to ensure that the connections are secure and stable, as they will bear the weight and pressure exerted on the chair during use.
4. Reinforce the Joints
To enhance the durability of the frame, reinforce the joints with additional support where necessary. This may involve adding corner braces or support blocks to key areas of the frame, particularly where stress and weight concentration are expected.
Read more: How To Open A Recliner Chair
5. Smooth and Sand the Frame
Once the frame is fully assembled, take the time to smooth and sand the wood surfaces to eliminate any rough edges or imperfections. This step not only enhances the visual appeal of the chair but also prevents potential splinters and ensures a comfortable user experience.
By meticulously following these steps, you can successfully assemble the frame of your recliner massage chair, laying the groundwork for the subsequent stages of the construction process. With the frame in place, you are one step closer to realizing your vision of a personalized and luxurious piece of furniture that combines comfort, functionality, and style.
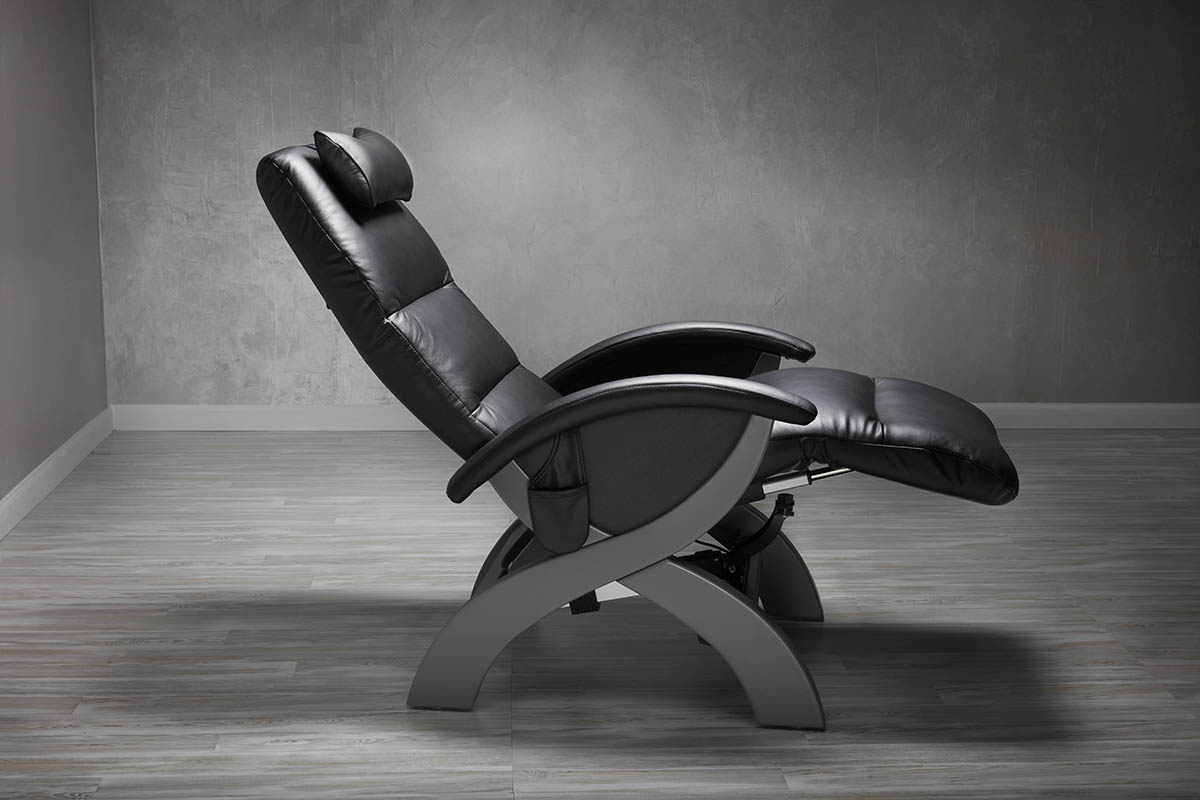
Step 3: Install the Reclining Mechanism
Installing the reclining mechanism is a pivotal stage in the construction of your recliner massage chair, as it directly influences the comfort and functionality of the final product. The reclining mechanism enables the chair to smoothly transition from an upright position to a reclined posture, offering users the flexibility to adjust their seating position according to their preferences. Here's a detailed guide on how to install the reclining mechanism with precision and efficiency:
-
Position the Reclining Mechanism: Begin by positioning the reclining mechanism at the designated location on the frame of the chair. Ensure that it aligns perfectly with the dimensions and contours of the chair to guarantee a seamless integration.
-
Secure the Mechanism: Using the appropriate screws and fasteners, securely attach the reclining mechanism to the frame. It's essential to double-check the alignment and stability of the mechanism to prevent any potential issues with its operation in the future.
-
Test the Reclining Function: Once the reclining mechanism is firmly in place, test its functionality to verify that it operates smoothly and without any obstructions. This step allows you to identify and address any adjustments or fine-tuning required before proceeding further.
-
Reinforce the Attachment Points: To fortify the connection between the reclining mechanism and the frame, consider adding additional support or reinforcement where necessary. This may involve installing support brackets or reinforcing the attachment points with sturdy hardware to enhance the overall stability of the mechanism.
-
Ensure Safety Measures: Prioritize safety by inspecting the reclining mechanism for any sharp edges, protruding components, or potential hazards that could pose a risk to users. Smooth out any rough edges and ensure that the mechanism is free from any safety concerns.
By meticulously following these steps, you can successfully install the reclining mechanism, bringing your recliner massage chair one step closer to completion. The seamless integration of the reclining functionality not only enhances the comfort and versatility of the chair but also contributes to its overall appeal as a luxurious and functional piece of furniture. With the reclining mechanism in place, you're ready to proceed to the next phase of the construction process, inching closer to the realization of your personalized recliner massage chair.
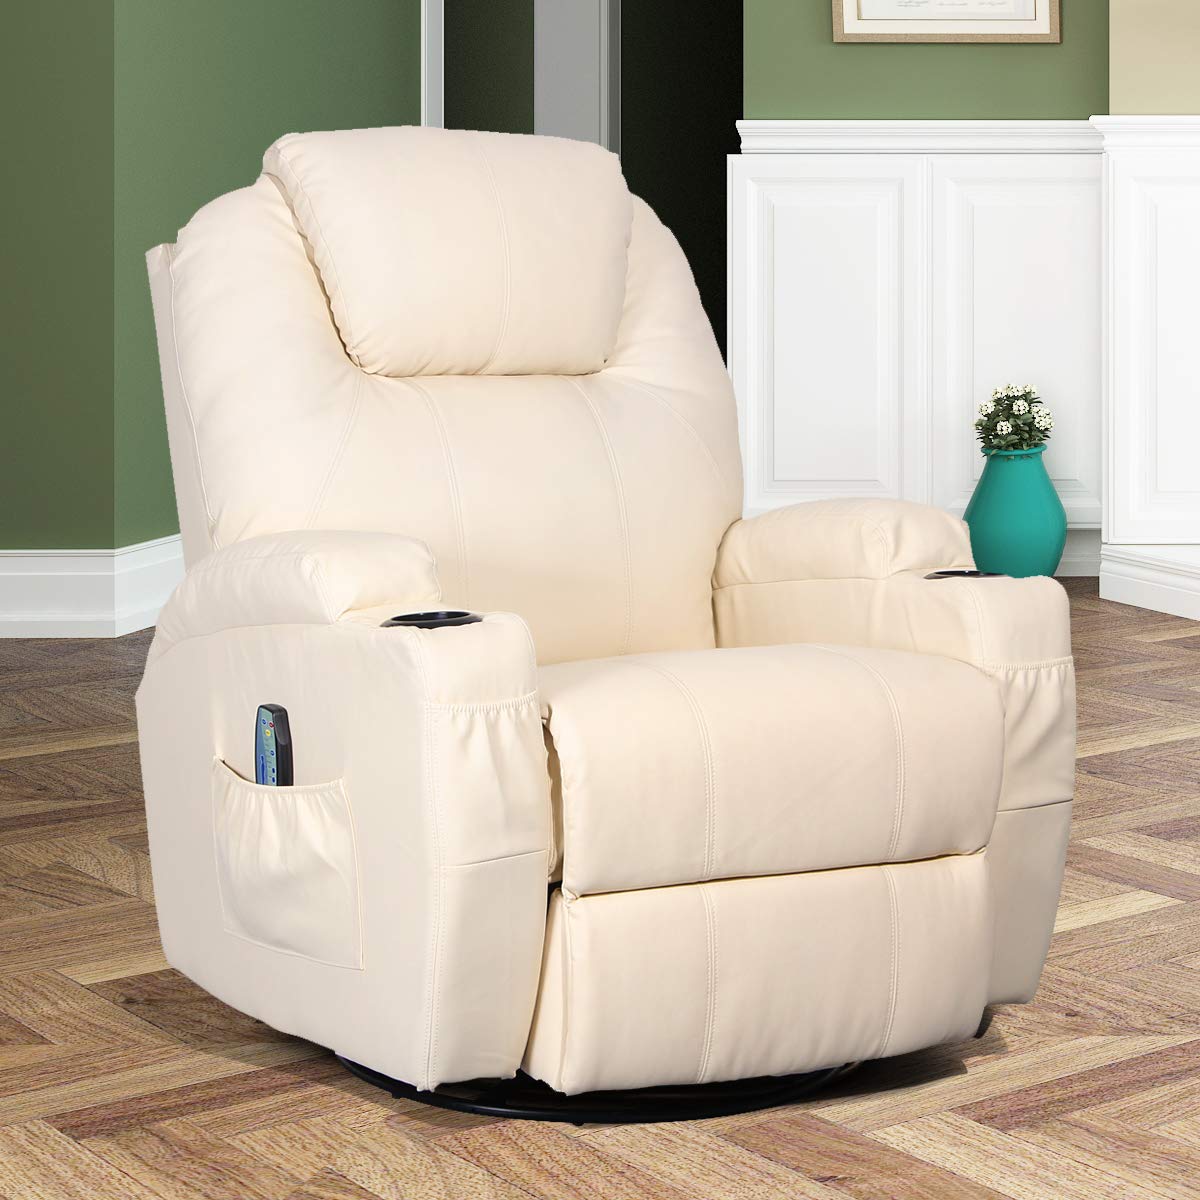
Step 4: Add the Massage Functionality
Integrating the massage functionality into your recliner chair elevates its appeal by offering a luxurious and therapeutic experience. The addition of massage features transforms the chair into a haven of relaxation, providing soothing relief for tired muscles and promoting overall well-being. Here's a detailed walkthrough of the process to seamlessly incorporate massage functionality into your recliner chair:
1. Select the Massage Components
Carefully choose the massage components, including motors, vibration nodes, and wiring, based on the desired massage features. Opt for high-quality, durable components to ensure the longevity and effectiveness of the massage functionality.
Read more: How To Choose A Recliner Chair
2. Determine Massage Zones
Identify the specific areas of the chair where the massage nodes will be positioned to target key muscle groups. Common massage zones include the back, lumbar region, and seat, with some advanced designs incorporating massage features in the footrest and armrests.
3. Install Massage Nodes
Strategically install the massage nodes within the chair, ensuring precise placement to deliver targeted and effective massage therapy. Secure the nodes firmly to guarantee consistent performance and durability during prolonged use.
4. Connect the Wiring
Carefully connect the wiring of the massage components, ensuring proper insulation and organization to prevent any potential electrical issues. Adhere to safety standards and guidelines when handling electrical connections to ensure user safety.
5. Test the Massage Functionality
After installing the massage components and wiring, thoroughly test the massage functionality to verify its performance and effectiveness. Fine-tune the settings and adjustments to achieve the desired massage intensity and patterns, catering to individual preferences.
Read more: How To Use A Recliner Chair
6. Integrate Control Mechanisms
Incorporate user-friendly control mechanisms, such as remote controls or integrated panels, to allow users to effortlessly adjust the massage settings and modes. The ease of control enhances the overall user experience, making the massage functionality accessible and convenient.
By meticulously following these steps, you can seamlessly add massage functionality to your recliner chair, creating a luxurious and rejuvenating seating experience. The integration of massage features elevates the chair to a new level of comfort and indulgence, offering a personalized oasis of relaxation within your living space. With the massage functionality in place, your recliner chair becomes a sanctuary of comfort and well-being, inviting you to unwind and rejuvenate in style.
Step 5: Upholster the Chair
Upholstering the chair is a pivotal stage in the construction process, as it not only enhances the visual appeal of the recliner massage chair but also contributes to its overall comfort and functionality. The upholstery fabric serves as the external layer that defines the chair's aesthetic and tactile qualities, making it an integral aspect of the chair's design. Here's a detailed guide on how to upholster the chair with precision and attention to detail:
-
Select High-Quality Upholstery Fabric:
Choose a durable and visually appealing upholstery fabric that aligns with your design preferences and complements the overall decor of your living space. Consider factors such as color, texture, and maintenance requirements when making your selection. -
Cut and Prepare the Fabric:
Using precise measurements based on the dimensions of the chair's components, carefully cut the upholstery fabric to size, allowing for adequate coverage and a seamless fit. Take into account any patterns or directional elements in the fabric to ensure proper alignment during the upholstery process. -
Attach the Fabric to the Frame:
Begin by securing the upholstery fabric to the frame of the chair, starting with the seat, backrest, and armrests. Utilize a staple gun to fasten the fabric securely to the wooden frame, ensuring a smooth and taut finish without any wrinkles or excess material. -
Create Neat Corners and Edges:
Pay special attention to creating neat and visually appealing corners and edges when upholstering the chair. Carefully fold and tuck the fabric to achieve crisp and well-defined corners, maintaining a professional and polished appearance. -
Upholster Additional Details:
If your design includes additional details such as piping, tufting, or decorative elements, incorporate these into the upholstery process with precision and attention to detail. These embellishments can elevate the visual appeal of the chair and add a touch of sophistication to the overall design. -
Inspect and Refine the Upholstery:
Once the fabric is securely attached to the frame, inspect the upholstery for any imperfections or irregularities. Smooth out any wrinkles, adjust the tension of the fabric, and trim any excess material to achieve a flawless and uniform upholstery finish.
By meticulously following these steps, you can successfully upholster the chair, transforming it into a visually stunning and inviting piece of furniture. The upholstery fabric not only enhances the chair's aesthetic appeal but also contributes to its overall comfort and tactile allure. With the chair upholstered to perfection, you're one step closer to enjoying the luxurious comfort and personalized style of your very own recliner massage chair.
Step 6: Test and Enjoy Your Recliner Massage Chair
With the construction of your recliner massage chair complete, it's time to embark on the final and most gratifying step – testing and enjoying the fruits of your labor. This pivotal phase allows you to experience firsthand the comfort, functionality, and luxury that your personalized chair has to offer. Here's a detailed exploration of how to test and revel in the indulgent experience of your recliner massage chair:
-
Functional Testing: Begin by testing the core functionalities of the chair, including the reclining mechanism and massage features. Verify that the recliner smoothly transitions between upright and reclined positions, ensuring seamless operation without any resistance or irregularities. Next, explore the massage functionality, experimenting with different settings and intensities to experience the full range of therapeutic benefits offered by the chair.
-
Comfort Assessment: Take a seat in your recliner massage chair and assess the overall comfort and support it provides. Pay attention to the ergonomics of the design, evaluating the lumbar support, headrest comfort, and the plushness of the seat and armrests. Engage the massage functionality to gauge its effectiveness in relieving tension and promoting relaxation, immersing yourself in the luxurious comfort that your personalized chair delivers.
-
Aesthetic Appreciation: Step back and admire the visual appeal of your recliner massage chair, taking note of how its design seamlessly integrates with your living space. Evaluate the upholstery fabric, ensuring that it complements your decor and adds a touch of elegance to the room. Consider the overall aesthetic impact of the chair, appreciating how it enhances the ambiance and style of your home.
-
Personalized Experience: Embrace the personalized nature of your recliner massage chair by customizing the massage settings and reclining positions to suit your preferences. Explore the range of massage modes and intensities, tailoring the experience to address specific areas of tension and promote relaxation. Revel in the freedom to adjust the chair to your liking, creating a personalized oasis of comfort and well-being.
-
Share the Experience: Invite family members and friends to experience the indulgent comfort of your recliner massage chair, sharing the joy and satisfaction of your DIY creation. Encourage them to test the various functionalities and experience the luxurious comfort firsthand, allowing them to appreciate the craftsmanship and personalization that went into building the chair.
By immersing yourself in the testing and enjoyment of your recliner massage chair, you can fully appreciate the culmination of your efforts and creativity. The satisfaction of experiencing the comfort, functionality, and personalized luxury of your DIY creation is a testament to the fulfillment and pride that comes with bringing your vision to life. As you bask in the comfort and indulgence of your recliner massage chair, you can take pride in the fact that you've crafted a truly unique and captivating piece of furniture that enriches your living space and elevates your relaxation experience.
Frequently Asked Questions about How To Build A Recliner Massage Chair
Was this page helpful?
At Storables.com, we guarantee accurate and reliable information. Our content, validated by Expert Board Contributors, is crafted following stringent Editorial Policies. We're committed to providing you with well-researched, expert-backed insights for all your informational needs.

0 thoughts on “How To Build A Recliner Massage Chair”