Home>Furniture>Bedroom Furniture>How To Cut A Foam Mattress Topper
Bedroom Furniture
How To Cut A Foam Mattress Topper
Modified: January 6, 2024
Learn how to cut a foam mattress topper to fit your bedroom furniture perfectly. Step-by-step instructions for a seamless DIY project.
(Many of the links in this article redirect to a specific reviewed product. Your purchase of these products through affiliate links helps to generate commission for Storables.com, at no extra cost. Learn more)
Introduction
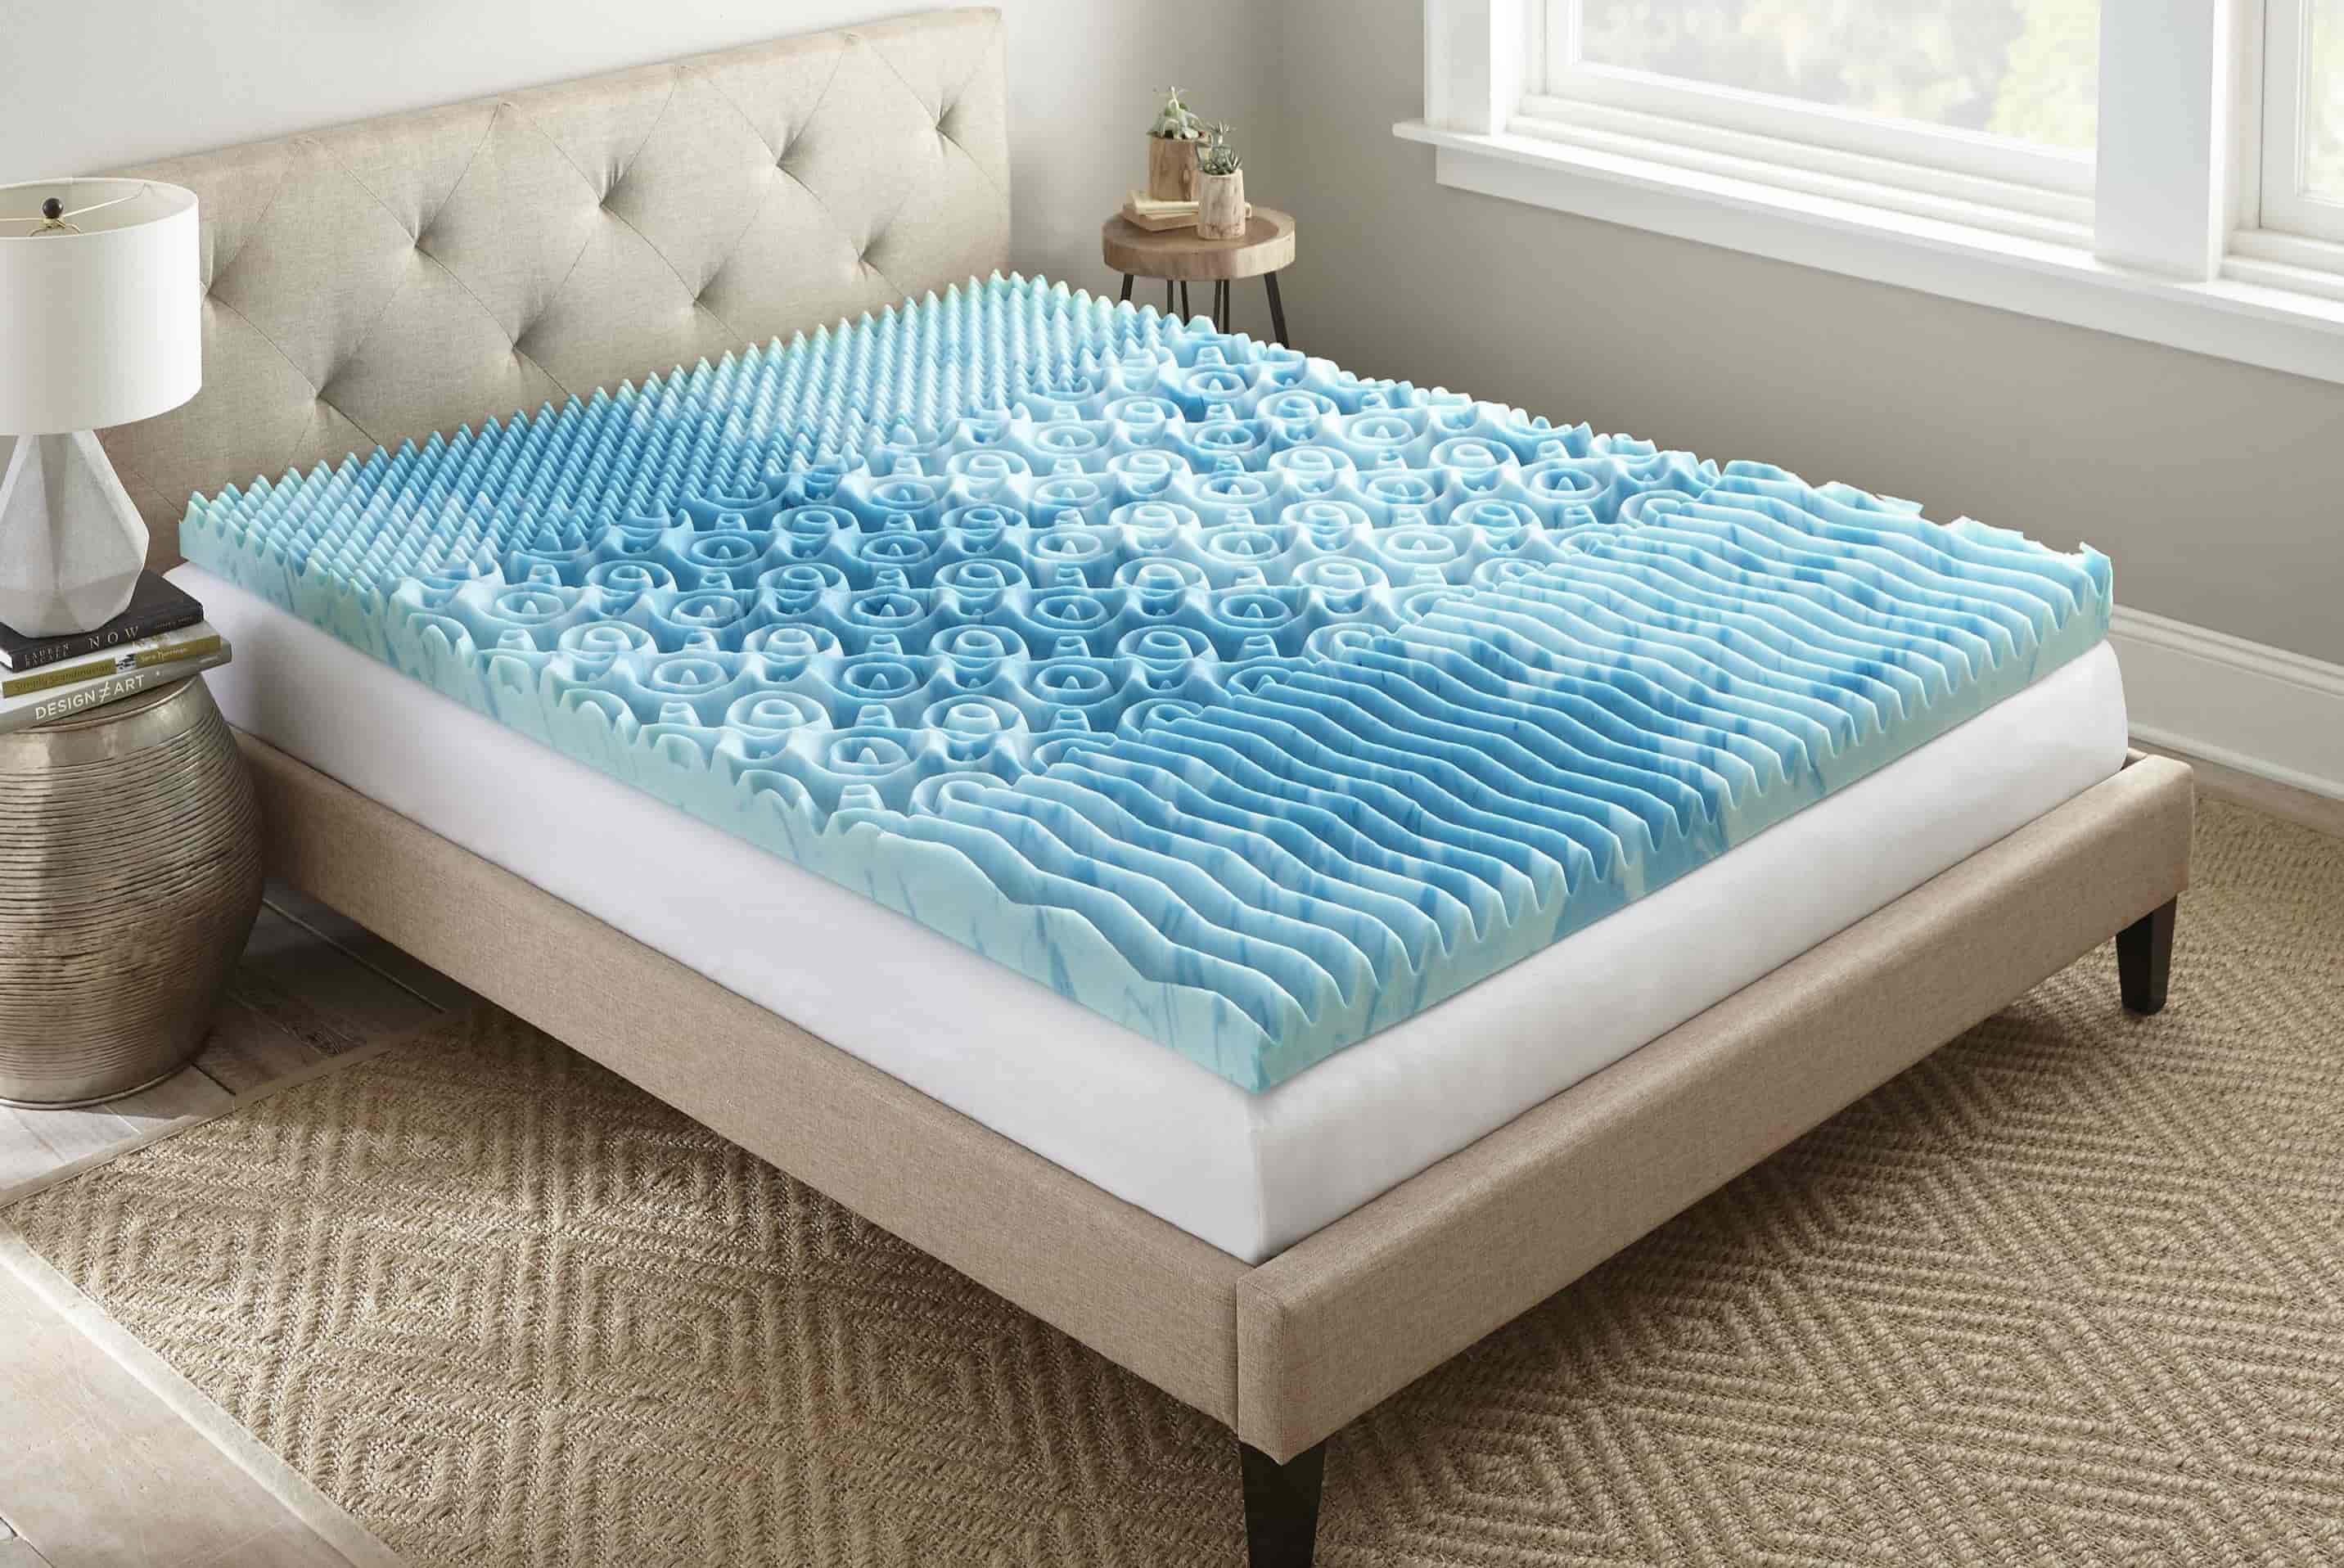
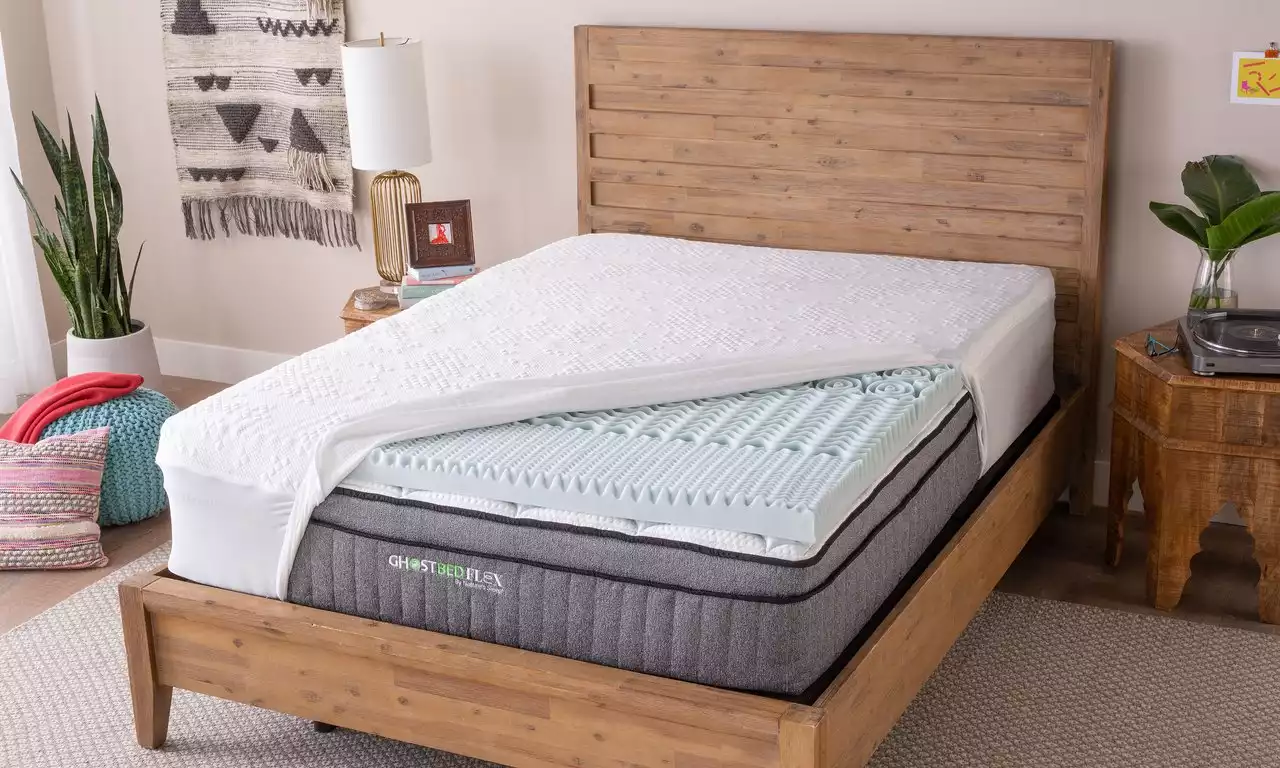
When it comes to getting a good night’s sleep, the right mattress topper can make all the difference. However, sometimes you may find that your foam mattress topper is too thick or doesn’t fit properly on your bed. In these cases, you may need to cut your foam mattress topper to the desired size.
While cutting a foam mattress topper may seem daunting at first, with the right tools and techniques, it can be a simple and straightforward process. In this article, we will guide you through the steps on how to cut a foam mattress topper effectively.
Before you begin, it is important to gather the necessary tools and materials. This will ensure that you have everything you need to complete the task seamlessly. Let’s take a look at what you’ll need.
Key Takeaways:
- Customize your foam mattress topper to fit your bed perfectly with the right tools and techniques. Prioritize safety, take your time, and enjoy a comfortable and restful sleep.
- From measuring and marking to making precise cuts, follow the step-by-step process to cut a foam mattress topper effectively. Smooth the edges, clean up, and transform your mattress topper with confidence.
Read more: How To Store A Foam Mattress Topper
Tools and Materials You Will Need
Before you start cutting your foam mattress topper, make sure you have the following tools and materials:
- Measuring Tape: This will help you accurately measure the dimensions of your foam mattress topper.
- Marker or Pen: You’ll need something to mark the cutting lines on the foam.
- Straight Edge or Ruler: A straight edge will help you draw straight and precise cutting lines.
- Utility Knife or Electric Knife: These knives are sharp and efficient for cutting through foam material. You can use either a utility knife with a retractable blade or an electric knife specifically designed for cutting foam.
- Work Surface: It’s essential to have a stable and flat work surface to safely cut your foam mattress topper. A sturdy table or workbench will suffice.
- Protective Gear: To ensure your safety during the cutting process, consider wearing protective gloves and safety glasses.
Once you have gathered all the necessary tools and materials, you are ready to move on to the next step: measuring and marking your foam mattress topper for cutting.
Step 1: Measure and Mark
The first step in cutting your foam mattress topper is to accurately measure and mark the dimensions you want for your new size. Here’s how you can do it:
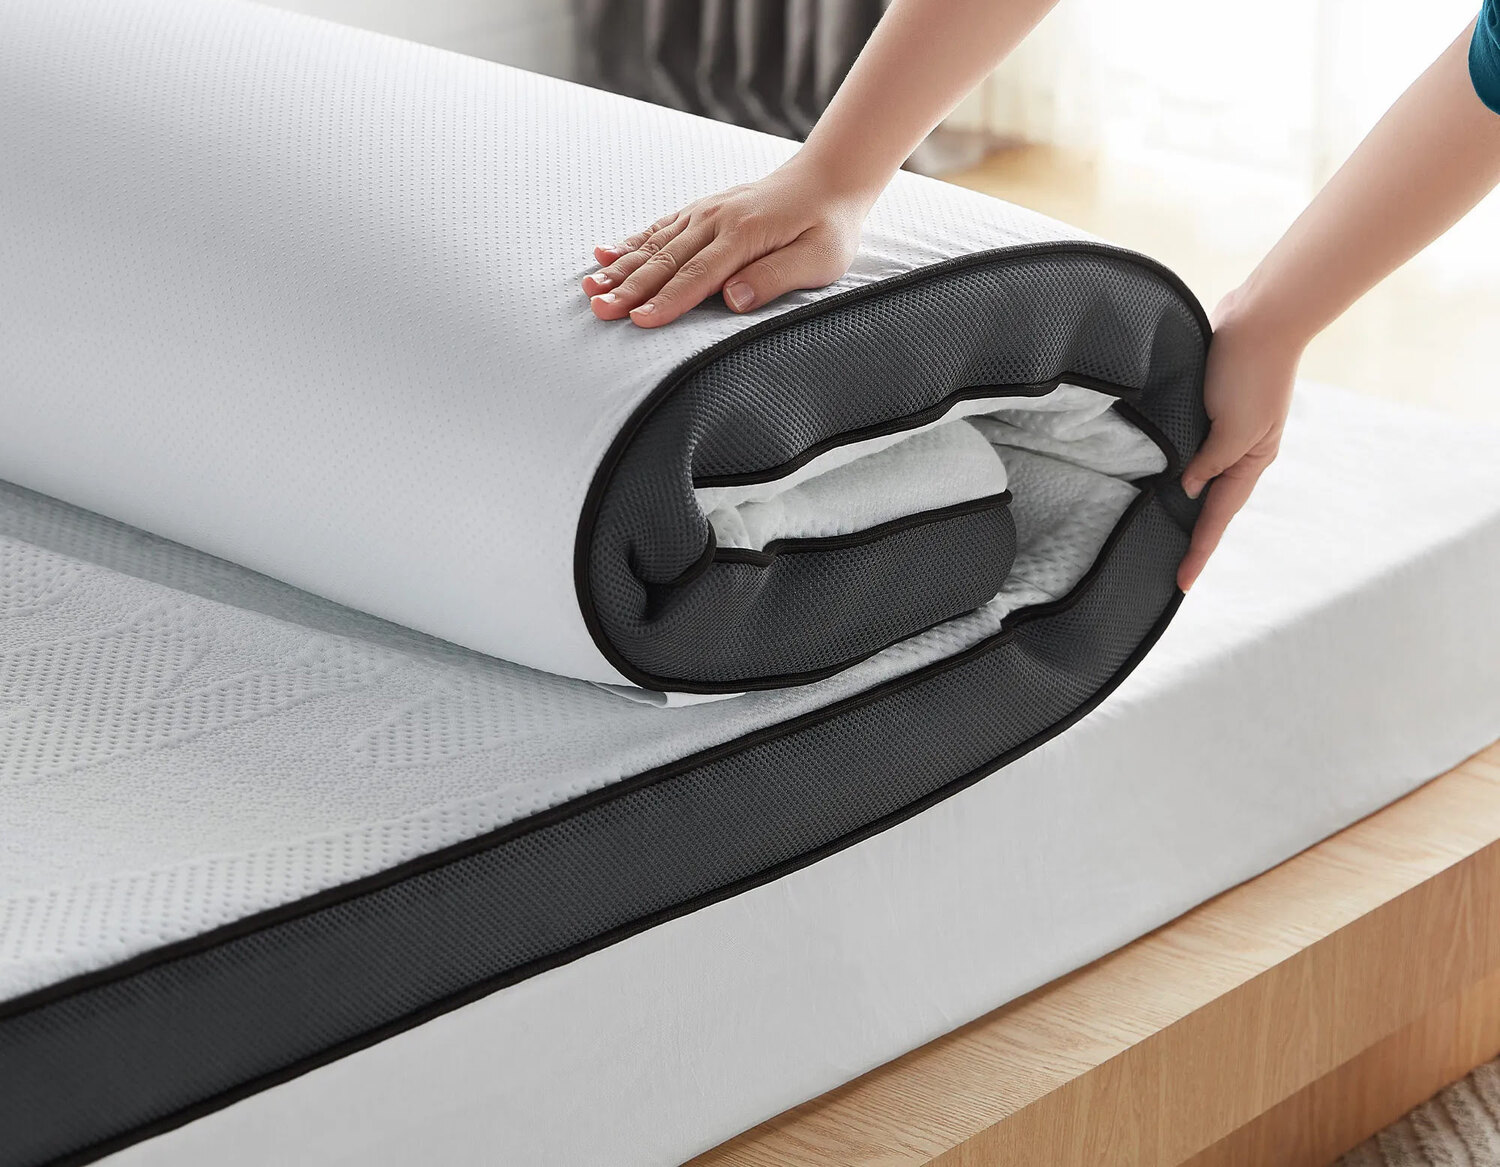
- Place your foam mattress topper on a flat surface. Ensure that it is fully extended and free from any wrinkles or folds.
- Use a measuring tape to measure the length and width of your mattress topper. Make sure to measure from edge to edge for precise dimensions.
- Once you have determined the desired size, mark the cutting lines on the foam using a marker or pen. It’s a good idea to use a straight edge or ruler to draw straight lines for accuracy.
- Double-check your measurements and cutting lines to ensure they are correct.
Remember, when marking the cutting lines, it’s important to consider any patterns or designs on the foam mattress topper. Keep in mind how the patterns will align once the foam is cut to ensure a visually appealing result.
Now that you have measured and marked the cutting lines, it’s time to prepare the cutting area.
Step 2: Prepare the Cutting Area
Before you start cutting your foam mattress topper, it’s important to set up a proper cutting area to ensure accuracy and safety. Here’s how you can prepare the cutting area:
- Clear the Work Surface: Make sure your work surface is clean, stable, and free from any objects or obstructions. This will provide a flat and even surface for cutting your foam mattress topper.
- Secure the Foam: Place the foam mattress topper on the work surface, ensuring that it is properly aligned with the cutting lines you marked earlier. You can use masking tape or clamps to hold the foam in place, preventing any movement during the cutting process.
- Protect the Work Surface: To prevent any damage to your work surface, place a cutting mat or a thick piece of cardboard underneath the foam. This will act as a protective layer and prevent the surface from being scratched or damaged by the knife.
- Ensure Adequate Lighting: Proper lighting is essential for accurate cutting. Ensure that the cutting area is well-lit to clearly see the cutting lines and make precise cuts.
- Put on Protective Gear: Prioritize your safety by wearing protective gloves to protect your hands and safety glasses to shield your eyes from any debris during the cutting process.
By preparing the cutting area properly, you are now ready to move on to the next step: cutting the foam mattress topper.
When cutting a foam mattress topper, use a sharp utility knife or electric carving knife for clean, precise cuts. Measure and mark the desired size before cutting to ensure accuracy.
Step 3: Cut the Foam Mattress Topper
Now that you’ve measured, marked, and prepared the cutting area, it’s time to cut your foam mattress topper. Follow these steps for a clean and precise cut:
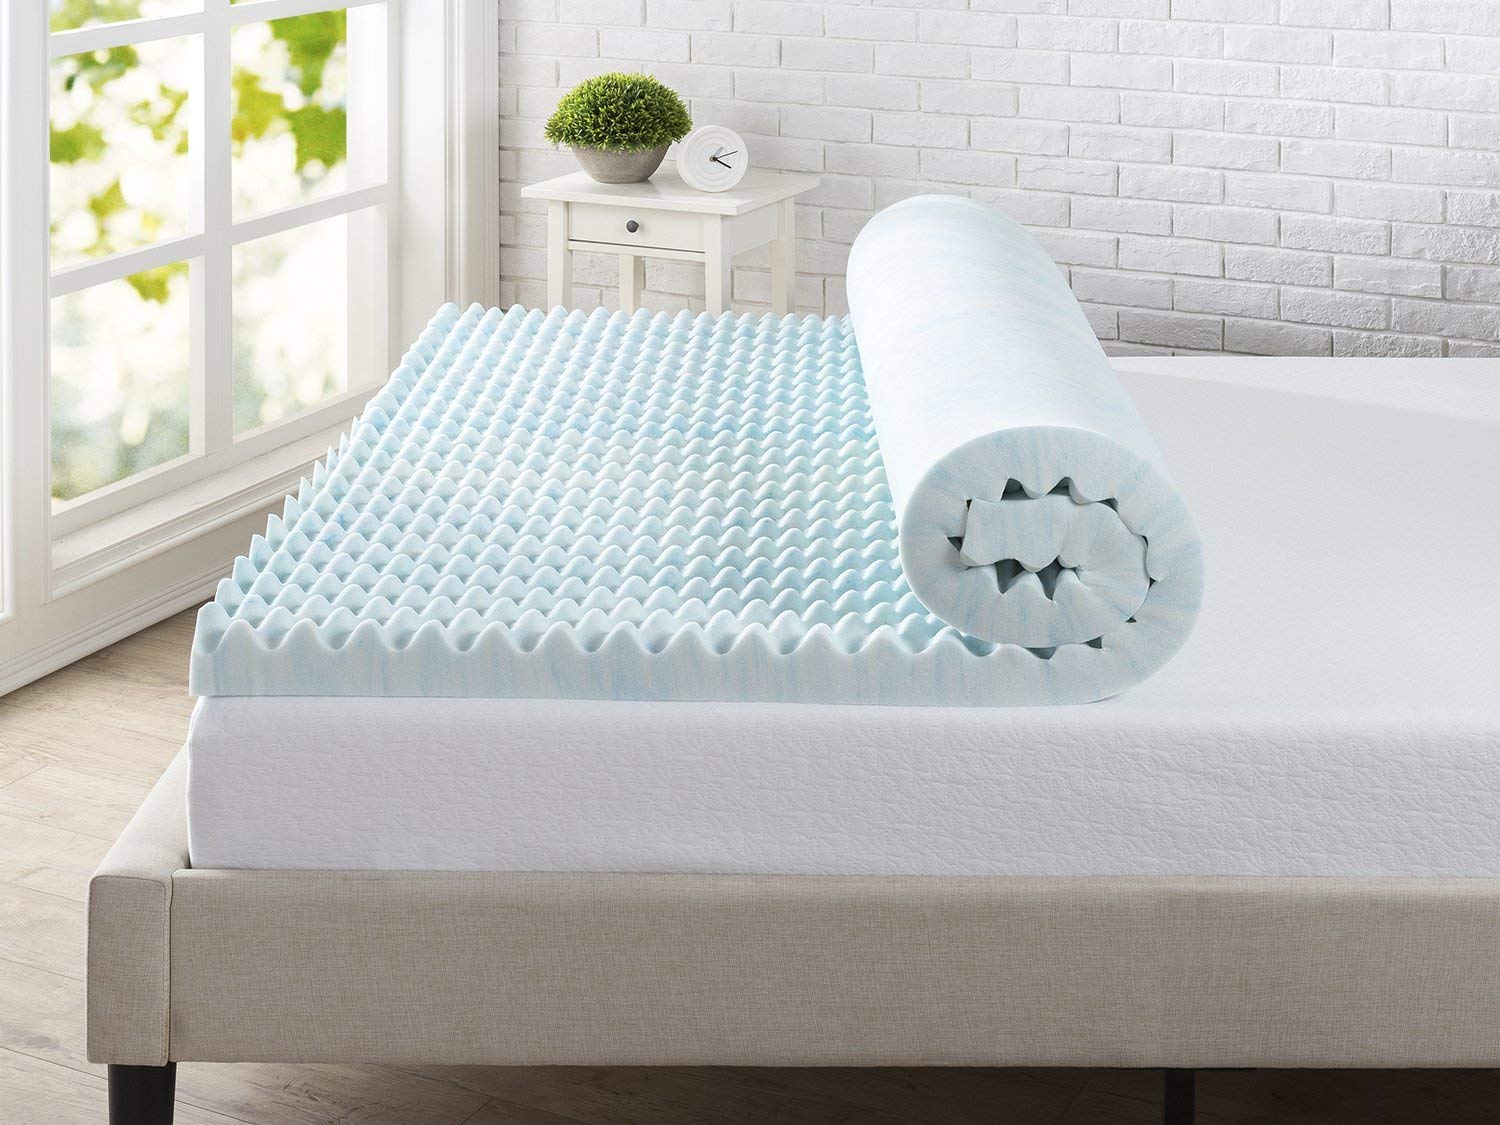
- Choose the Right Knife: Depending on your preference and comfort level, you can use either a sharp utility knife or an electric knife specifically designed for cutting foam. Whichever option you choose, make sure the blade is sharp to achieve smooth cuts.
- Position the Knife: Hold the knife perpendicular to the foam mattress topper, aligning it with the cutting lines you marked earlier.
- Start the Cutting Process: Apply consistent and gentle pressure as you start cutting through the foam along the marked lines. If using a utility knife, make multiple shallow cuts to gradually penetrate the foam, rather than trying to cut through it all at once. If using an electric knife, let the blade glide through the foam smoothly.
- Take Your Time: Cutting through foam requires patience and precision. Avoid rushing the process, as it can result in uneven or jagged cuts. Instead, take your time and make slow, steady cuts to achieve the desired shape and size.
- Follow the Cutting Lines: Continue cutting along the marked lines until you have completely separated the desired portion from the foam mattress topper.
Throughout the cutting process, remember to stay focused and maintain a firm grip on the knife. Keep your fingers away from the blade and take breaks as needed to avoid any accidents or fatigue.
Once you’ve successfully cut your foam mattress topper, it’s time to move on to the next step: smoothing the edges.
Read more: How To Wash A Foam Mattress Topper
Step 4: Smooth the Edges
After cutting your foam mattress topper, you may notice that the edges are rough or uneven. Smoothly finished edges not only enhance the appearance but also prevent the foam from fraying or deteriorating over time. Follow these steps to achieve neatly finished edges:
- Inspect the Edges: Take a close look at the cut edges of your foam mattress topper. Identify any jagged or uneven areas that need to be smoothed out.
- Trim Excess Foam: If there are any portions of excess foam jutting out from the cut edges, use a sharp utility knife or scissors to carefully trim them off. Be cautious not to cut too close to the desired size to avoid making any accidental mistakes.
- Sand the Edges: Using a fine-grit sandpaper or a sanding block, gently rub the edges of the foam mattress topper in a back-and-forth motion. This will help smoothen any rough edges and create a polished finish.
- Remove Dust: Once you have finished sanding, wipe away any dust or debris from the foam using a clean cloth or vacuum cleaner. This will ensure that your foam mattress topper is clean and ready for use.
By taking the time to smooth the edges of your foam mattress topper, you will achieve a professional-looking finish that adds to the overall quality and aesthetic appeal.
Now that the edges are smooth, it’s time to move on to the final step: cleaning up the work area.
Step 5: Clean Up
Once you have successfully cut your foam mattress topper and smoothed the edges, it’s important to clean up the work area. By following these steps, you can ensure a tidy and organized space:
- Remove Excess Foam: Dispose of any excess foam scraps or trimmings that may have accumulated during the cutting process. Gather them into a garbage bag or container for proper disposal.
- Clean the Cutting Area: Use a damp cloth or vacuum cleaner to remove any remaining foam particles, dust, or debris from the work surface. This will help prevent any mess from spreading and keep your work area clean.
- Store Tools and Materials: Put away your tools and materials in their designated places or storage areas. This will prevent accidents and ensure that everything is organized for future use.
- Inspect the Foam: Take a final look at your newly cut foam mattress topper to ensure that it meets your desired size and specifications. If needed, make any final adjustments or touch-ups.
By cleaning up the work area and properly storing your tools and materials, you will maintain a safe and clutter-free environment for your next project.
Congratulations! You have successfully cut your foam mattress topper to the desired size. Now you can enjoy a comfortable and properly fitting mattress topper on your bed. Remember, always prioritize safety during the cutting process and take your time to ensure accurate cuts.
With the information and steps provided in this article, you have the knowledge and confidence to tackle the task of cutting a foam mattress topper. Sweet dreams and restful nights await!
Encode HTML and validate the response to ensure proper formatting.
Conclusion
Cutting a foam mattress topper to the desired size doesn’t have to be a daunting task. With the right tools, techniques, and attention to detail, you can successfully customize your mattress topper to fit your bed perfectly.
Throughout this article, we walked you through the step-by-step process of cutting a foam mattress topper. Starting from measuring and marking the desired dimensions, to preparing the cutting area, and finally, making precise cuts, we covered all the essential steps to ensure a successful outcome.
Remember, safety should always be a priority when working with sharp tools. Wear protective gear, such as gloves and safety glasses, and take your time to make accurate cuts. It’s important to be patient and maintain focus throughout the process.
Once you have cut the foam mattress topper, take the time to smooth the edges for a polished finish. This will not only enhance the appearance but also prevent fraying or deterioration of the foam over time.
Lastly, don’t forget to clean up the work area and properly store your tools and materials. By doing so, you’ll maintain a safer and more organized space for future projects.
We hope that this article has provided you with valuable insights on how to cut a foam mattress topper effectively. By following these steps, you can customize your mattress topper to fit your bed perfectly, ensuring a comfortable and restful sleep.
So go ahead, grab your tools, and get ready to transform your foam mattress topper into the ideal size for your bed. Sleep tight!
Encode HTML and validate the response to ensure proper formatting.
Frequently Asked Questions about How To Cut A Foam Mattress Topper
Was this page helpful?
At Storables.com, we guarantee accurate and reliable information. Our content, validated by Expert Board Contributors, is crafted following stringent Editorial Policies. We're committed to providing you with well-researched, expert-backed insights for all your informational needs.