Home>Furniture & Design>Bedroom Furniture>How To Cut Memory Foam
Bedroom Furniture
How To Cut Memory Foam
Modified: August 17, 2024
Learn how to cut memory foam for your bedroom furniture and design needs. Follow these simple steps to customize your mattress or pillows with ease.
(Many of the links in this article redirect to a specific reviewed product. Your purchase of these products through affiliate links helps to generate commission for Storables.com, at no extra cost. Learn more)
Introduction
Welcome to the ultimate guide on how to cut memory foam like a pro! Whether you're customizing a mattress, crafting a DIY project, or simply need to resize a memory foam topper, knowing how to cut memory foam properly is essential. This comprehensive tutorial will equip you with the knowledge and skills to tackle this task with confidence.
Memory foam is a versatile and resilient material known for its ability to contour to the body, providing exceptional support and comfort. However, cutting memory foam may seem daunting at first, especially if you're unfamiliar with the process. Fear not, as we'll walk you through each step, providing valuable tips and insights along the way.
By following the techniques outlined in this guide, you'll be able to achieve clean, precise cuts without compromising the integrity of the foam. Whether you're a seasoned DIY enthusiast or a first-time foam cutter, this tutorial is designed to empower you with the expertise needed to master this essential skill.
So, gather your tools and let's dive into the world of memory foam cutting. With a bit of patience and the right approach, you'll soon be on your way to creating perfectly tailored memory foam pieces for your various projects. Let's get started!
Key Takeaways:
- Mastering the art of cutting memory foam empowers you to customize and create with precision, opening up a world of creative possibilities for DIY projects and custom designs.
- Attention to detail and commitment to achieving precise results are key to successful memory foam cutting, allowing you to bring unique visions to life with confidence and expertise.
Read more: How To Choose A Memory Foam Mattress
Tools and Materials Needed
Before embarking on your memory foam cutting journey, it’s crucial to gather the necessary tools and materials. Here’s what you’ll need:
- Memory Foam: The star of the show! Ensure you have the correct size and density of memory foam for your specific project.
- Measuring Tape: Accurate measurements are key to achieving precise cuts, so a reliable measuring tape is essential.
- Marker or Pen: Use a marker or pen to mark the cutting lines clearly on the foam.
- Straight Edge or Ruler: A straight edge or ruler will help you create straight and even cutting lines.
- Utility Knife: Opt for a sharp utility knife with a retractable blade for smooth and controlled cutting.
- Cutting Surface: Protect your work area with a cutting surface such as a self-healing cutting mat or a piece of plywood.
- Sandpaper or Sanding Block: To smooth out the edges of the cut foam, have some fine-grit sandpaper or a sanding block on hand.
- Vacuum Cleaner or Brush: Cleaning up the foam debris is essential, so have a vacuum cleaner or brush ready to tidy your workspace.
- Protective Gear: While cutting memory foam, consider wearing protective gear such as gloves and safety goggles to ensure safety.
By having these tools and materials at your disposal, you’ll be well-prepared to tackle the memory foam cutting process efficiently and safely. Now that you’ve gathered everything you need, it’s time to move on to the next step: measuring and marking the foam for cutting.
Step 1: Measure and Mark
Before making any cuts, it’s crucial to measure and mark the memory foam accurately. Precision at this stage will ensure that your final cuts align with your project’s specifications. Here’s how to approach this critical first step:
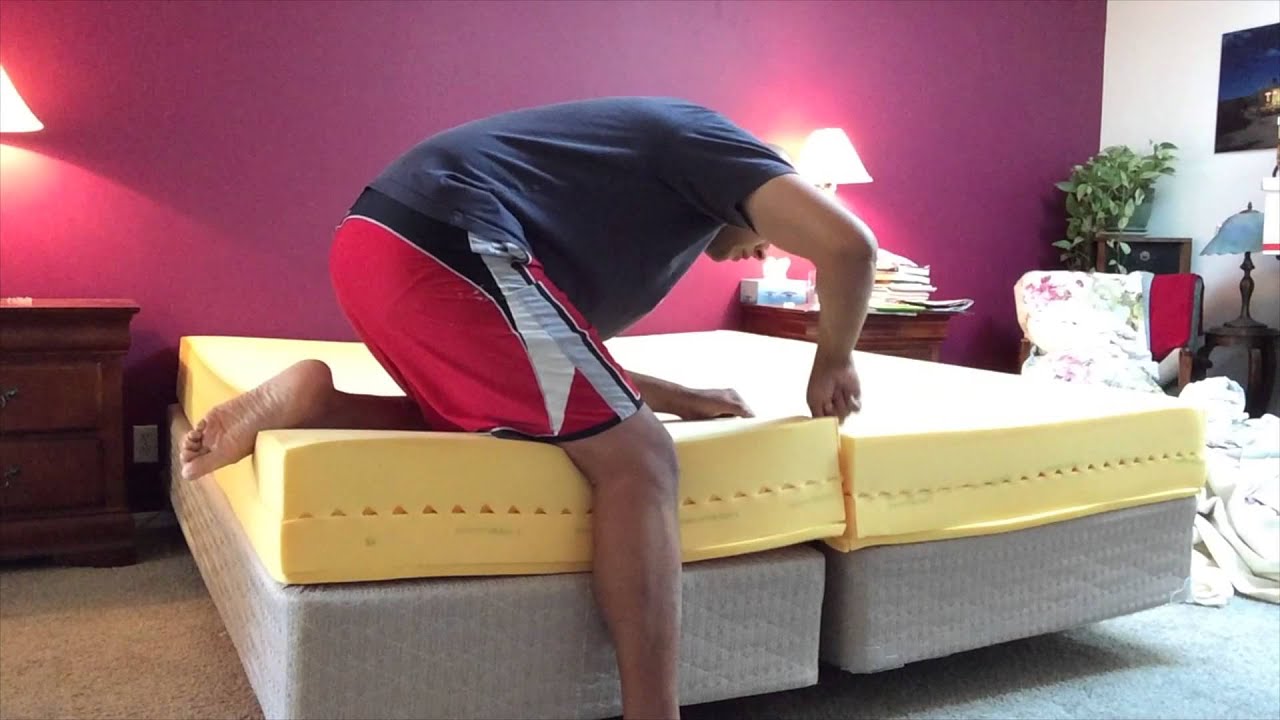
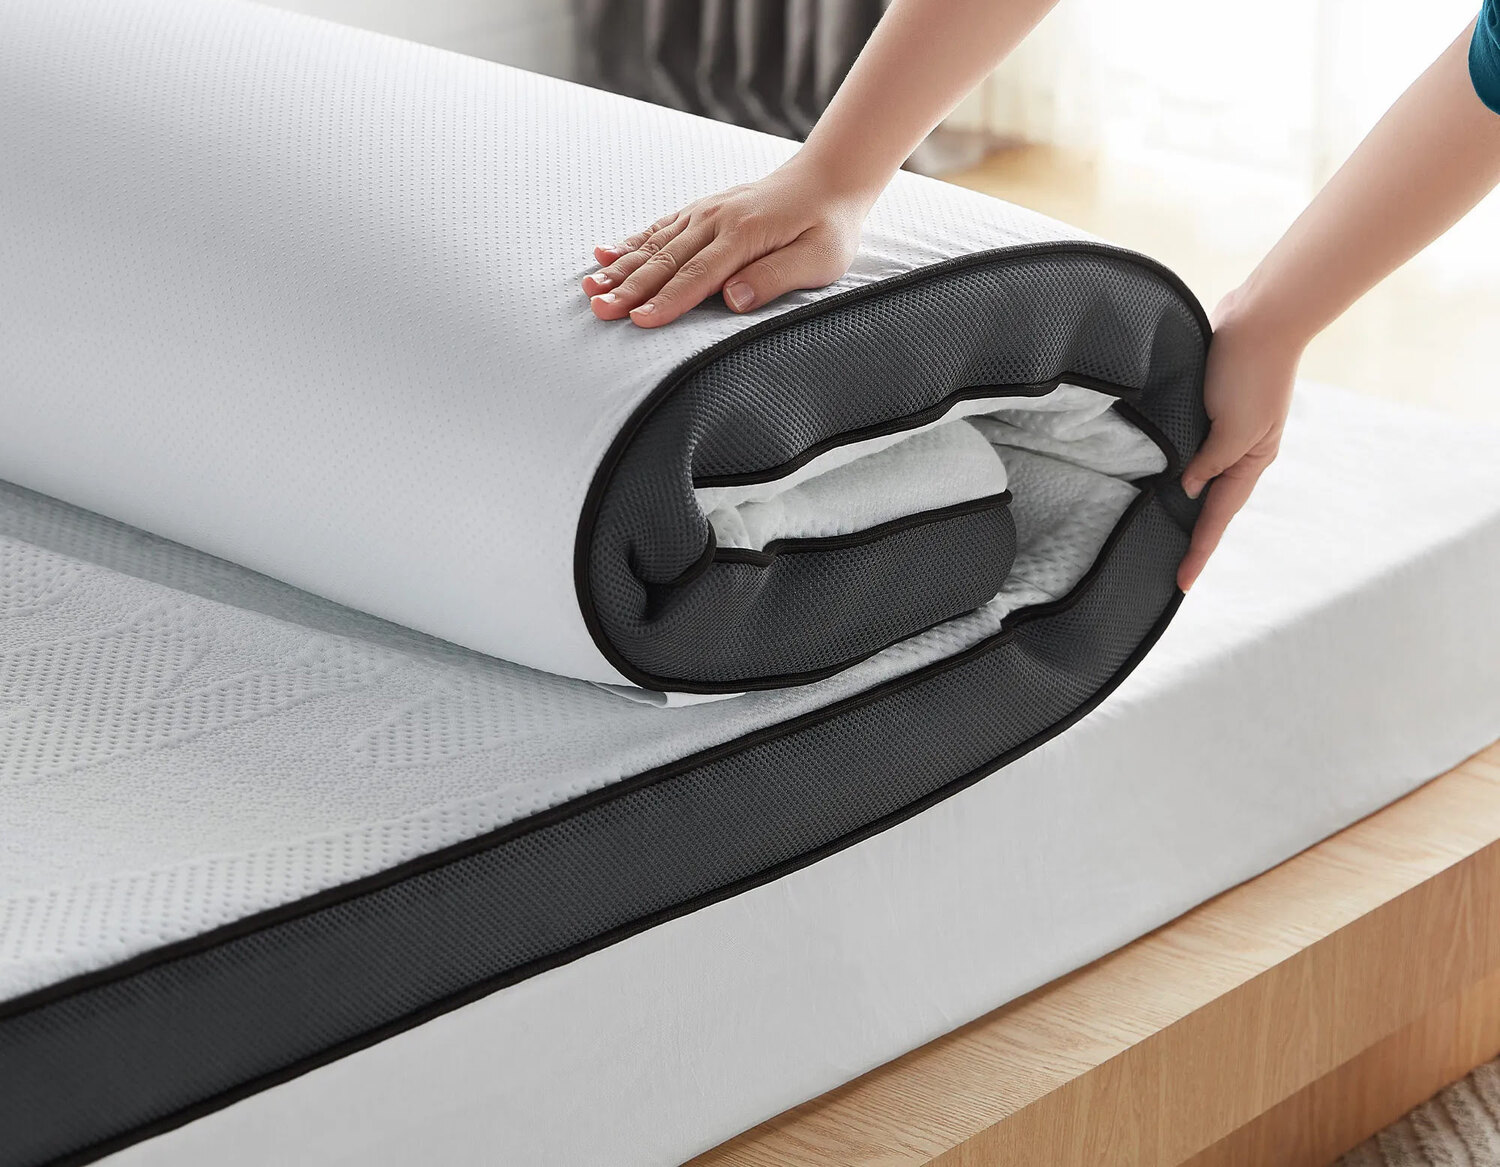
1.1 Measure the Foam: Lay out the memory foam on a flat surface, ensuring it’s fully expanded and free of any wrinkles or folds. Use a measuring tape to determine the exact dimensions needed for your project. Whether you’re cutting a mattress, topper, or any other foam-based item, precise measurements are key to achieving the desired outcome.
1.2 Mark the Cutting Lines: Once you’ve established the correct measurements, use a marker or pen to clearly mark the cutting lines on the foam. If you’re cutting specific shapes or angles, use a straight edge or ruler to ensure straight and accurate lines. Take your time with this step, as it will serve as a guide for the cutting process.
1.3 Double-Check the Marks: After marking the cutting lines, take a moment to review and double-check the accuracy of your measurements and markings. Ensuring everything is correctly marked will minimize the risk of errors during the cutting phase, saving you time and potential material wastage.
By diligently measuring and marking the memory foam, you’re setting the stage for a successful cutting process. With the cutting lines clearly defined, you’re now ready to move on to the next step: cutting the foam using a utility knife.
Step 2: Cut with a Utility Knife
Once the memory foam is accurately measured and marked, it’s time to proceed with the cutting process. A sharp utility knife and a steady hand are essential for achieving clean and precise cuts. Follow these steps to cut the memory foam with precision:
2.1 Select the Right Blade: Ensure your utility knife is equipped with a sharp, retractable blade. A fresh blade will make the cutting process smoother and reduce the likelihood of jagged edges.
2.2 Position the Foam: Place the memory foam on a stable surface, ensuring it’s secure and won’t shift during cutting. If necessary, use clamps or weights to hold the foam in place and prevent any movement that could compromise the cutting lines.
2.3 Follow the Cutting Lines: With a firm grip on the utility knife, carefully follow the marked cutting lines on the foam. Apply gentle and consistent pressure as you guide the blade through the foam, maintaining a steady pace to ensure an even cut.
2.4 Use Multiple Passes if Needed: Depending on the thickness of the foam, it may be necessary to make multiple passes with the utility knife to achieve a complete cut. Avoid rushing this process, as patience and precision will yield the best results.
2.5 Mind the Blade Angle: Pay attention to the angle at which you’re cutting the foam. Holding the knife perpendicular to the foam’s surface will result in a straight cut, while angling the blade may be necessary for beveled or angled cuts.
2.6 Maintain Control and Safety: Throughout the cutting process, prioritize safety by keeping your fingers and hands clear of the blade’s path. Maintain control of the knife, and if fatigue sets in, take breaks to prevent any loss of focus that could lead to errors.
By following these steps, you’ll be able to navigate the cutting process with confidence, ensuring that the memory foam is trimmed precisely according to your markings. With the foam now cut to size, it’s time to move on to the next step: sanding the edges to achieve a smooth and professional finish.
When cutting memory foam, use a sharp serrated knife or an electric carving knife for clean, precise cuts. Make sure to measure and mark the foam before cutting to ensure accuracy.
Step 3: Sand the Edges
After cutting the memory foam to the desired dimensions, it’s essential to refine the edges for a professional and polished finish. Sanding the edges will smooth out any rough or uneven areas, ensuring that the foam fits seamlessly into your project. Follow these steps to achieve impeccably smooth edges:
3.1 Prepare the Sanding Surface: Secure a piece of fine-grit sandpaper or a sanding block on a flat surface. This will serve as your sanding station for refining the foam’s edges.
3.2 Smooth the Cut Edges: Gently run the sandpaper or sanding block along the cut edges of the foam, using light and even pressure. The goal is to remove any jaggedness and create a uniform edge that complements the overall finish of your project.
3.3 Be Mindful of Pressure: Avoid applying excessive pressure during sanding, as memory foam is relatively soft and can be easily deformed. A light touch combined with patience will yield the best results without compromising the foam’s integrity.
3.4 Check for Consistency: Periodically assess the sanded edges to ensure they are consistent in smoothness and appearance. Make any necessary adjustments to areas that may require further attention, maintaining a keen eye for detail throughout the process.
3.5 Address Beveled or Angled Cuts: If your project involves beveled or angled cuts, take extra care to sand these areas meticulously, ensuring that the transitions are seamless and visually appealing.
3.6 Final Inspection: Once the edges are uniformly smooth and free of imperfections, visually inspect the foam to confirm that the desired finish has been achieved. Any remaining roughness or inconsistencies can be addressed with additional light sanding.
By meticulously sanding the edges of the memory foam, you’ll elevate the overall quality of your project, whether it’s a custom mattress, cushion, or any other foam-based creation. With the edges now refined, it’s time to transition to the final step: cleaning up the workspace and ensuring that the foam is ready for use.
Read more: How To Fix A Memory Foam Mattress
Step 4: Clean Up
With the memory foam cut to perfection and its edges expertly smoothed, it’s time to focus on tidying up the workspace and ensuring that the foam is pristine and ready for use in your project. Follow these steps to complete the cutting process with a thorough clean-up:
4.1 Remove Debris: Use a vacuum cleaner or a brush to carefully remove any foam debris that may have accumulated during the cutting and sanding processes. Ensuring a clean work surface is essential for the next stages of your project.
4.2 Inspect the Foam: Take a moment to inspect the cut and sanded edges of the foam, verifying that they meet your expectations in terms of smoothness and precision. Address any lingering imperfections with additional light sanding if necessary.
4.3 Store or Install the Foam: Depending on your project, store the cut memory foam in a safe and clean area if it’s not immediately needed. If the foam is part of an ongoing project, proceed with installing it according to your design plans.
4.4 Organize Tools and Materials: Return the tools and materials used for the cutting process to their designated storage areas, ensuring that they are clean and ready for future use. Properly maintained tools will be in optimal condition for your next foam-related endeavor.
4.5 Reflect on the Process: Take a moment to reflect on the cutting experience, noting any insights or lessons learned that could enhance future foam cutting projects. Each cutting endeavor provides an opportunity for growth and refinement of your skills.
4.6 Celebrate Your Achievement: Acknowledge and celebrate the successful completion of the memory foam cutting process. Whether it’s a small DIY project or a larger-scale endeavor, every accomplishment contributes to your expertise and creative journey.
With the workspace cleaned, the foam inspected, and the tools organized, you’ve completed the memory foam cutting process with finesse. Your attention to detail and dedication to achieving precision have resulted in a beautifully tailored foam piece ready to enhance your project. Congratulations on mastering the art of cutting memory foam!
With the cutting process now concluded, you’ve gained valuable skills that will serve you well in future foam-related projects. Whether you’re customizing bedding, creating upholstery, or crafting innovative designs, your ability to cut and manipulate memory foam will undoubtedly elevate your creations to new heights.
Conclusion
Cutting memory foam is a skill that empowers you to customize and create with precision, and by following the steps outlined in this guide, you’ve gained valuable insights into this essential process. From measuring and marking the foam to refining its edges and completing the clean-up, each step contributes to the transformation of memory foam into a tailored and versatile material for your projects.
As you’ve discovered, the key to successful memory foam cutting lies in meticulous planning, attention to detail, and a commitment to achieving precise results. Whether you’re designing a custom mattress, crafting cushions, or engaging in innovative DIY projects, the ability to cut memory foam effectively opens up a world of creative possibilities.
By mastering the art of cutting memory foam, you’ve honed your skills as a creator, allowing you to bring your unique visions to life with confidence and expertise. The knowledge gained from this guide equips you to tackle future foam cutting endeavors with assurance, knowing that you have the tools and techniques to achieve exceptional results.
Remember, each cutting experience is an opportunity for growth and refinement, and your journey as a foam cutter is filled with endless potential for creativity and innovation. Whether you’re embarking on a new project or refining existing designs, the mastery of memory foam cutting will continue to be a valuable asset in your creative toolkit.
Congratulations on completing this comprehensive guide on cutting memory foam. Your dedication to mastering this skill demonstrates your commitment to excellence and your passion for bringing your ideas to life. As you venture forward, may your future foam cutting endeavors be marked by precision, creativity, and the satisfaction of transforming raw materials into remarkable creations.
Frequently Asked Questions about How To Cut Memory Foam
Was this page helpful?
At Storables.com, we guarantee accurate and reliable information. Our content, validated by Expert Board Contributors, is crafted following stringent Editorial Policies. We're committed to providing you with well-researched, expert-backed insights for all your informational needs.


0 thoughts on “How To Cut Memory Foam”