Home>Furniture>Bedroom Furniture>How To Get Dog Pee Out Of A Mattress

Bedroom Furniture
How To Get Dog Pee Out Of A Mattress
Modified: August 23, 2024
Learn how to effectively remove dog urine stains and odor from your mattress with our simple and practical tips. Preserve the cleanliness and freshness of your bedroom furniture today!
(Many of the links in this article redirect to a specific reviewed product. Your purchase of these products through affiliate links helps to generate commission for Storables.com, at no extra cost. Learn more)
Introduction
Welcome to the ultimate guide on how to get dog pee out of a mattress. If you have a furry friend who occasionally has accidents on your bed, don’t panic! With the right supplies and a little bit of patience, you can effectively remove the urine stains and odor from your mattress.
Accidents happen, especially if you’re potty training a new puppy or dealing with an older dog with bladder control issues. The key is to act quickly and follow the proper cleaning techniques to prevent the stain from setting in and the odor from lingering.
In this comprehensive guide, we will take you through a step-by-step process to tackle dog pee stains on your mattress. It’s important to note that these techniques can be used on any type of mattress, including memory foam, hybrid, latex, or traditional innerspring.
Key Takeaways:
- Say goodbye to dog pee stains on your mattress by following our step-by-step guide. Act quickly, use natural cleaning solutions, and invest in a mattress protector for a fresh and clean sleeping environment.
- Blot, rinse, and eliminate odors with baking soda to effectively remove dog pee stains. Protect your mattress with a quality mattress protector for future accidents.
Read more: How Do You Get Dog Pee Out Of A Mattress
Step 1: Gather the Necessary Supplies
Before you begin the process of cleaning dog pee from your mattress, it’s important to round up all the supplies you’ll need. Having everything on hand will save you time and prevent any interruptions during the cleaning process.
Here’s a list of the essential supplies:
- White vinegar
- Baking soda
- Hydrogen peroxide
- Dish soap or enzyme cleaner
- Clean cloths or paper towels
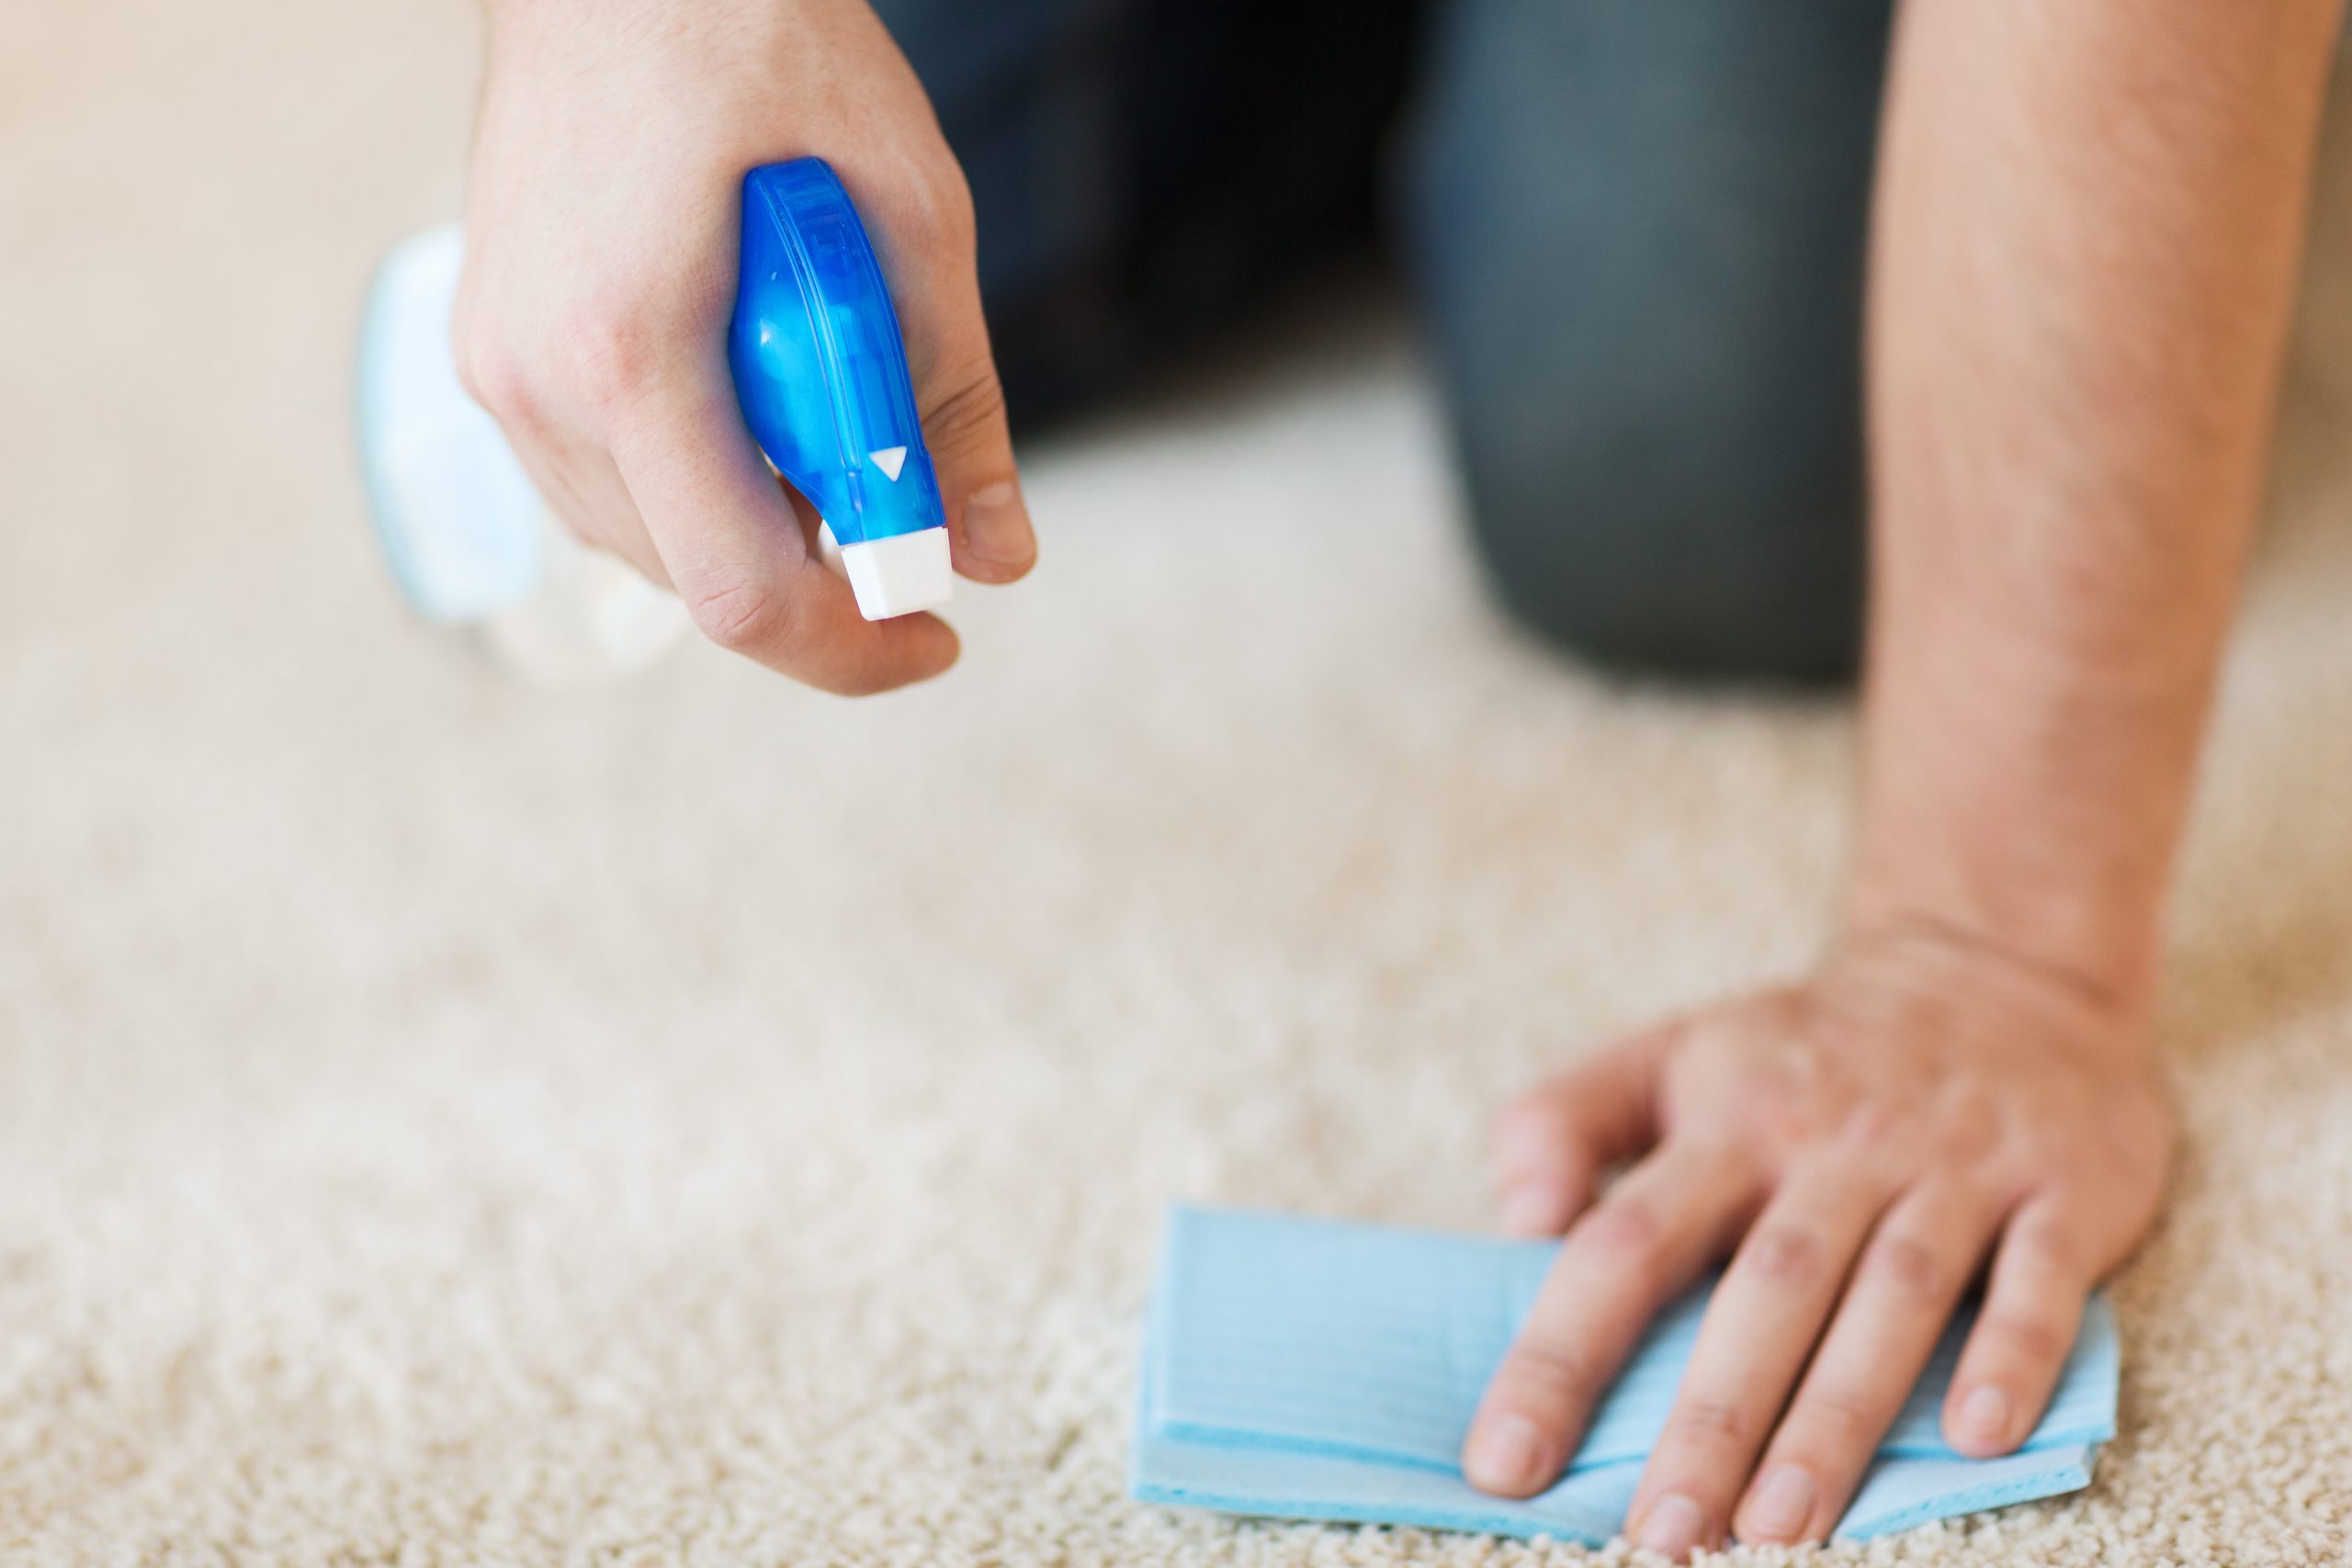
- A spray bottle
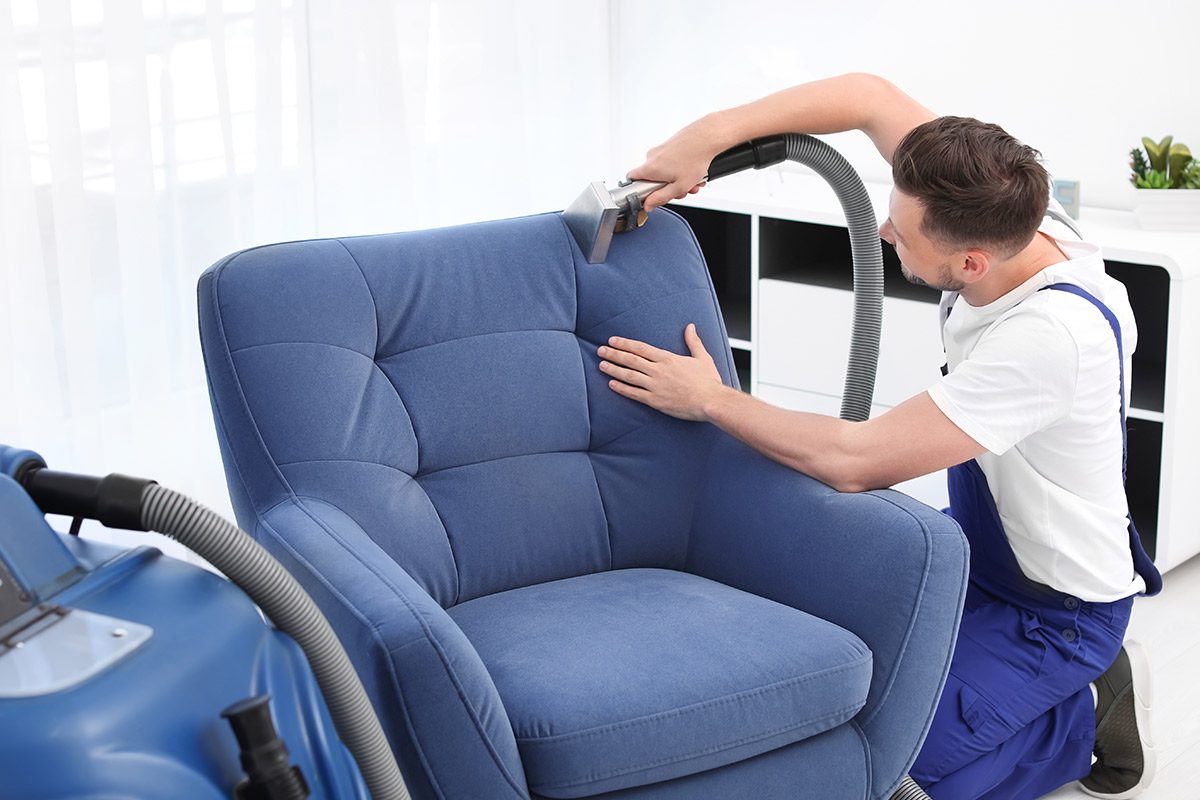
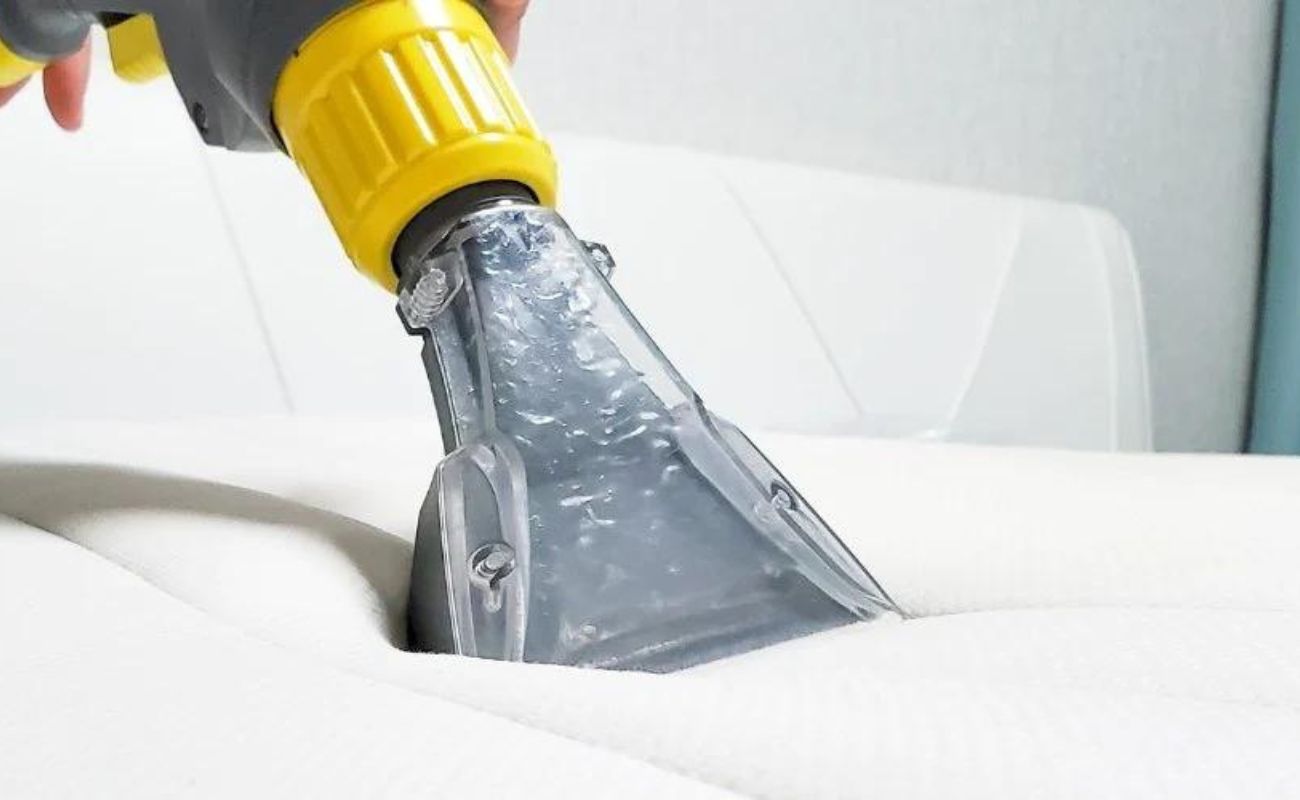
- A vacuum cleaner with upholstery attachment
- A plastic or vinyl mattress protector (optional)
The white vinegar will help neutralize the odor, while the baking soda will eliminate any remaining smell and absorb moisture. Hydrogen peroxide is excellent for stain removal, and dish soap or an enzyme cleaner will break down the urine proteins.
Having clean cloths or paper towels on hand is crucial for blotting moisture and cleaning the affected area. Additionally, a spray bottle will allow you to apply the cleaning solution evenly.
A vacuum cleaner with an upholstery attachment will come in handy for removing any residual baking soda once the mattress is dry.
While not necessary for cleaning, a plastic or vinyl mattress protector can act as a preventative measure for future accidents, making cleanup easier and protecting your mattress.
With all the supplies gathered, you’re ready to move on to the next step: blotting the urine stain.
Step 2: Blot the Urine Stain
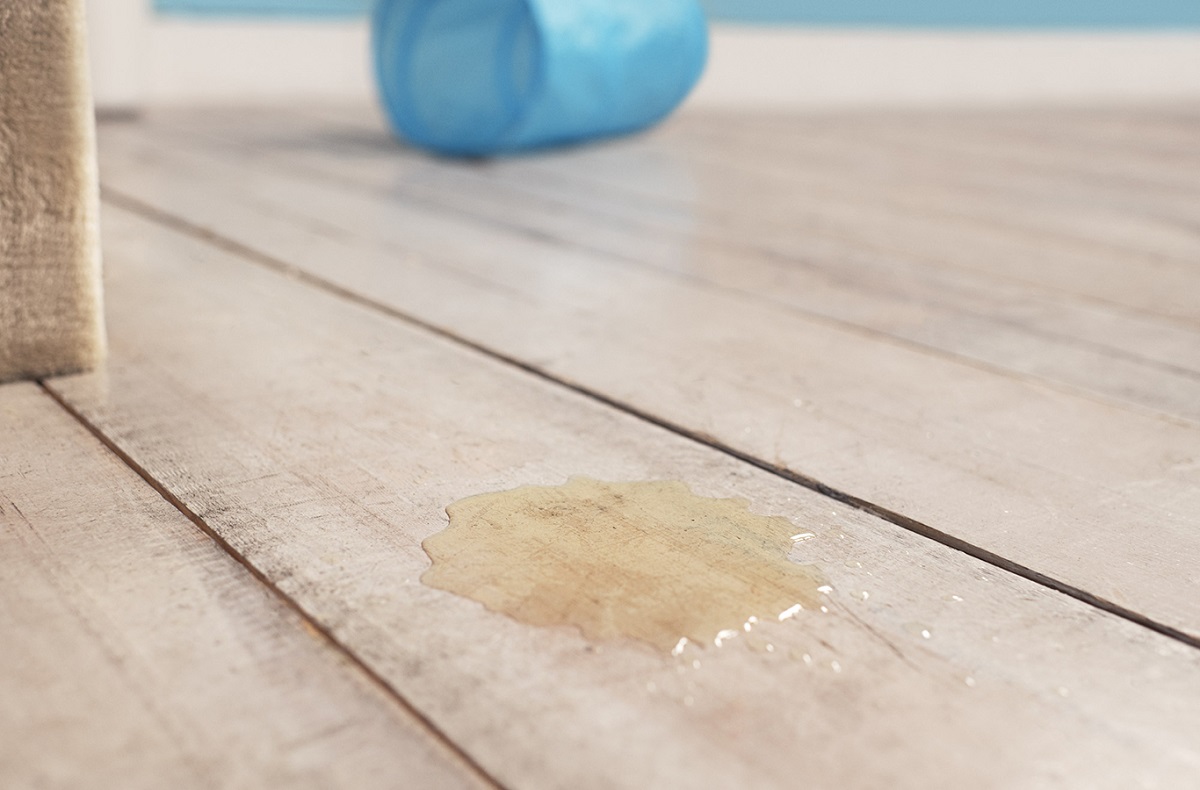
Once you have gathered all the necessary supplies, it’s time to begin the cleaning process by blotting the urine stain. This step is crucial in removing as much moisture as possible before applying any cleaning solutions.
Follow these steps to properly blot the urine stain:
- Start by removing any bedding or covers from the mattress. If they are soiled, set them aside to be washed separately.
- Use clean cloths or paper towels to gently blot the urine stain. Avoid rubbing or scrubbing the area, as this may cause the urine to spread further or push it deeper into the mattress.
- Continue blotting until you have removed as much moisture as possible. You may need to use multiple towels or cloths, depending on the size of the stain.
- Dispose of the soiled towels or paper towels properly. If using cloth towels, make sure to wash them separately to prevent the urine from contaminating other laundry items.
By blotting the urine stain, you are effectively absorbing any excess moisture and minimizing the size of the potential stain. This step is essential in preventing the urine from seeping deeper into the mattress, making the cleaning process more challenging.
Once you have successfully blotted the urine stain, it’s time to move on to Step 3: creating and applying a homemade cleaning solution.
Step 3: Create and Apply a Homemade Cleaning Solution
After blotting the urine stain, it’s time to tackle the cleaning process by creating and applying a homemade cleaning solution. This solution will help break down the urine and remove any remaining stains and odors from the mattress.
Follow these steps to create and apply the homemade cleaning solution:
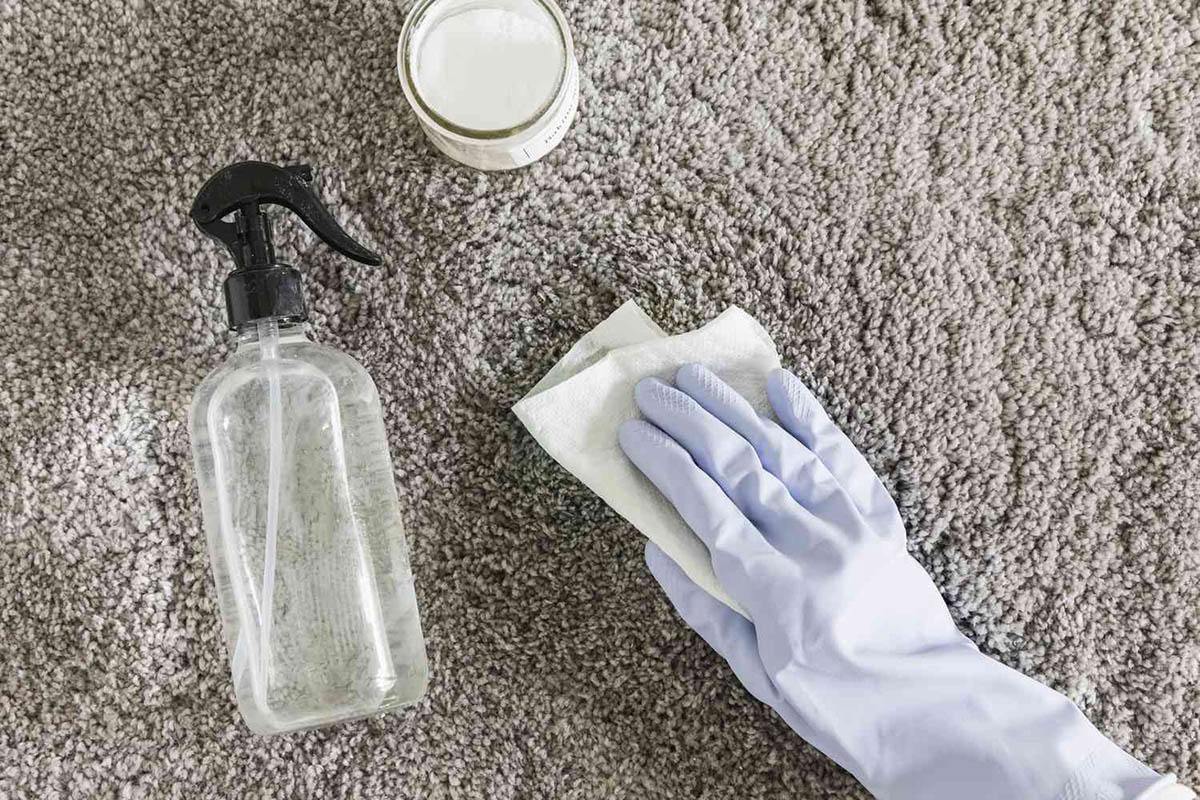
- In a spray bottle, combine equal parts white vinegar and water. Shake the bottle to mix the solution thoroughly.
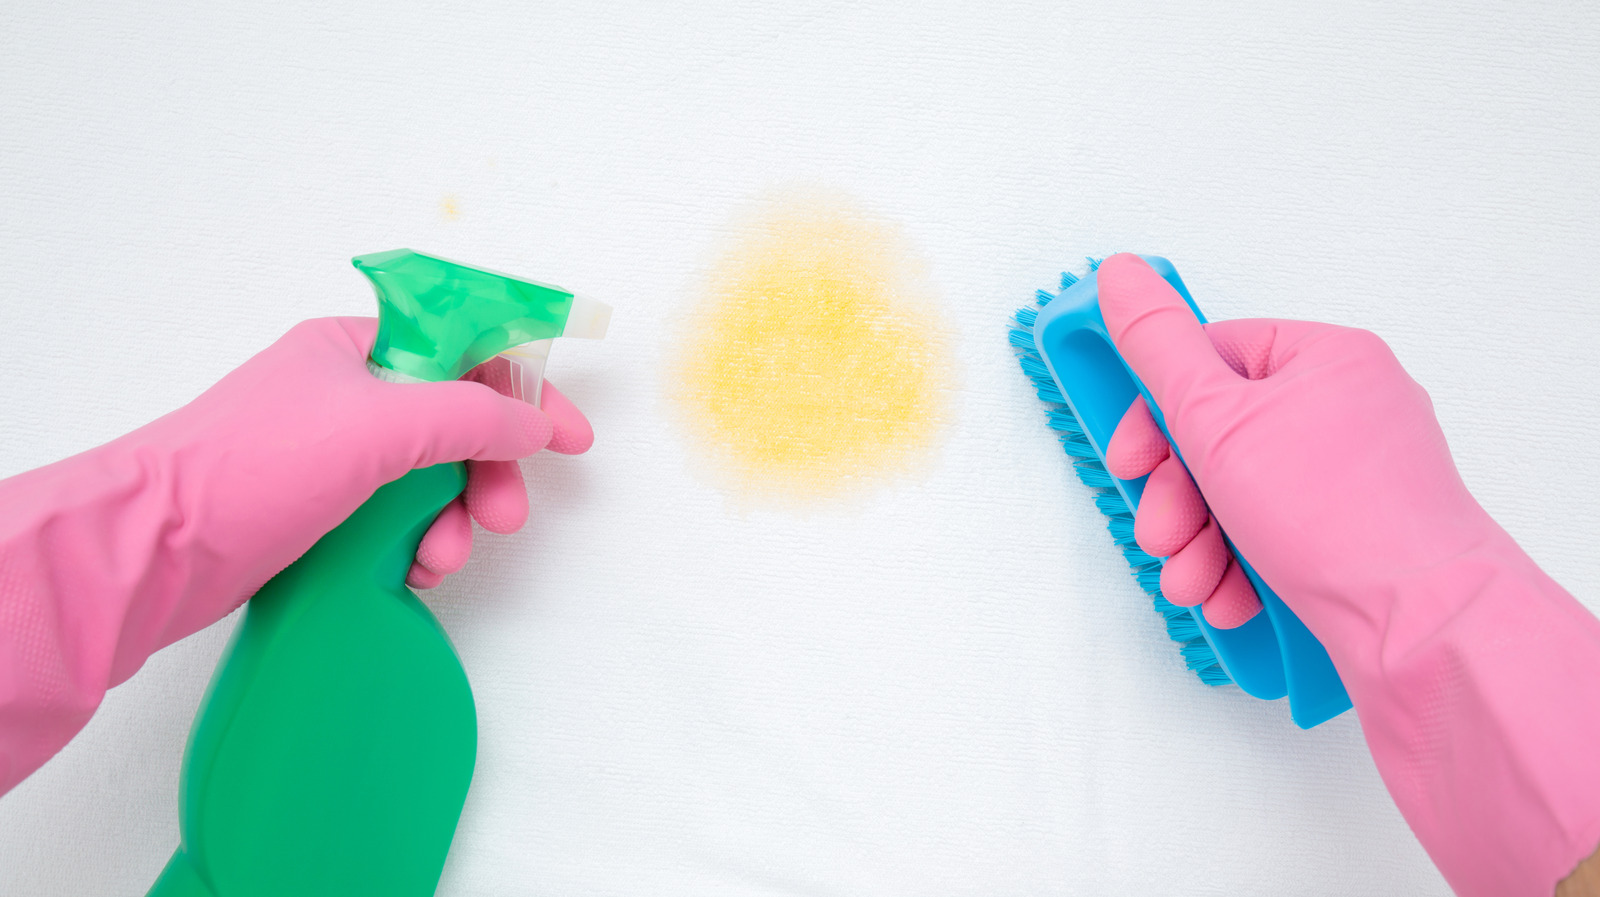
- If the stain is particularly stubborn or has been sitting for a while, you can add a small amount of dish soap or enzyme cleaner to the vinegar and water mixture. Be sure to read the instructions on the cleaner for proper usage.
- Spray the cleaning solution generously onto the urine stain. Make sure to saturate the area but avoid oversaturating to prevent damage to the mattress.
- Allow the cleaning solution to sit on the stain for approximately 10-15 minutes. This will give the solution time to break down the urine and eliminate any odor.
Creating a homemade cleaning solution using white vinegar is an effective and natural way to remove urine stains and neutralize odors. Vinegar works by breaking down the urine proteins and helping to eliminate the smell.
If the stain is stubborn or older, adding a small amount of dish soap or enzyme cleaner can provide extra cleaning power. However, be cautious not to use too much, as excessive soap residue can be challenging to remove from the mattress.
Allowing the cleaning solution to sit for a few minutes helps the vinegar and other cleaning agents penetrate the stain and effectively remove it. With the cleaning solution applied, you’re ready to move on to the next step: blotting and rinsing the mattress.
Step 4: Blot and Rinse the Mattress
After allowing the cleaning solution to sit on the urine stain for a few minutes, it’s time to blot and rinse the mattress. This step will help remove the cleaning solution along with the dissolved urine and any remaining stains.
Follow these steps to effectively blot and rinse the mattress:
- Using clean cloths or paper towels, blot the treated area to remove as much of the cleaning solution and dissolved urine as possible. Press down firmly but avoid rubbing or scrubbing.
- Once you have blotted the area, dampen another clean cloth or paper towel with fresh water. Gently blot the urine stain to rinse out any remaining cleaning solution.
- Continue blotting with the damp cloth or towel until no more cleaning solution or urine residue transfers onto the cloth.
- Once you have completed the blot and rinse process, allow the mattress to air dry. Open windows or turn on fans to promote airflow and aid in the drying process.
When blotting the mattress, it’s important to apply enough pressure to absorb the moisture but avoid excessive force that could damage the mattress. Blotting with fresh water helps remove any leftover cleaning solution and ensures a thorough rinse.
After you have finished blotting and rinsing, allow the mattress ample time to dry. This may take several hours or even overnight, depending on the mattress’s thickness, the amount of moisture present, and the drying conditions in the room.
With the mattress properly blotted and rinsed, it’s time to move on to Step 5: eliminating odor with baking soda.
Blot the urine with a towel, then apply a mixture of water and white vinegar. Let it sit for 5-10 minutes, then blot again. Sprinkle baking soda on the area, let it sit for a few hours, then vacuum it up.
Read more: How To Get Pee Out Of A Mattress
Step 5: Eliminate Odor with Baking Soda
After the mattress has been blotted and rinsed, it’s essential to eliminate any remaining odors. Baking soda is a natural and effective odor neutralizer that can help remove lingering smells from the mattress.
Follow these steps to eliminate odor with baking soda:
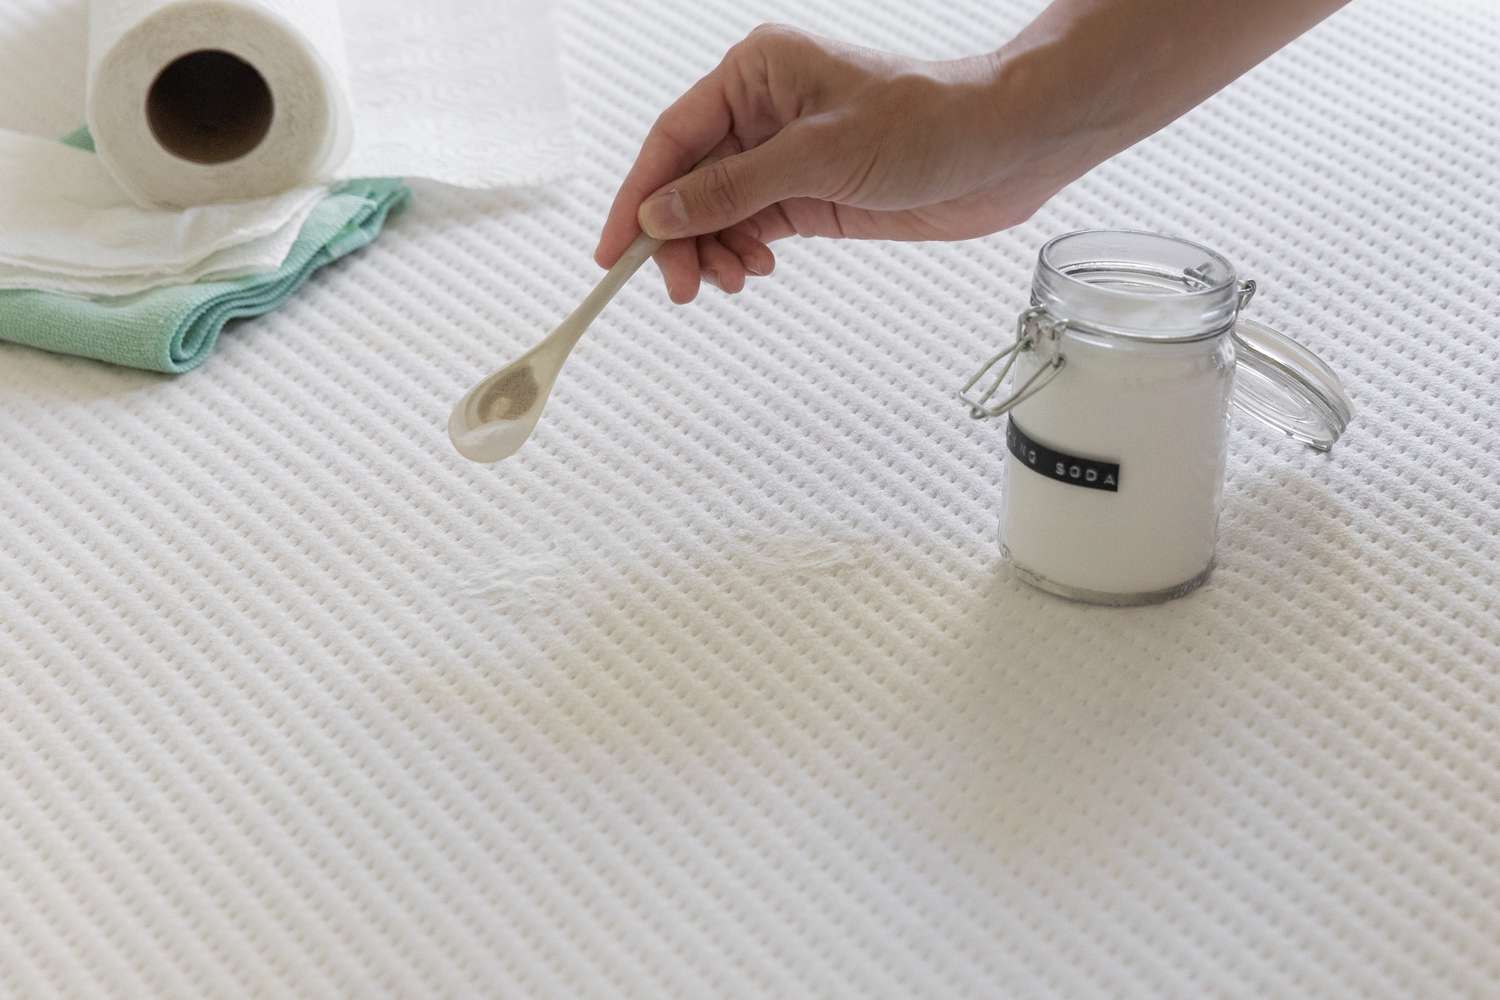
- Sprinkle a generous amount of baking soda over the entire surface of the mattress, focusing on the previously treated area.
- Gently rub the baking soda into the mattress using a clean cloth or a soft-bristle brush. This will help the baking soda penetrate the fabric and absorb any remaining odors.
- Leave the baking soda on the mattress for at least a few hours, or preferably overnight. This allows the baking soda ample time to work its magic and absorb the odors.
- Once the baking soda has had enough time to sit, vacuum your mattress thoroughly to remove the baking soda residue. Use the upholstery attachment of your vacuum cleaner for best results.
Baking soda is a fantastic odor-absorbing agent that can help neutralize the smell of urine on your mattress. Its porous structure allows it to trap and absorb odors effectively.
Make sure to rub the baking soda into the fabric gently to ensure even distribution and deeper penetration. Leaving the baking soda on the mattress for an extended period, preferably overnight, allows it to work its magic and absorb any remaining odors.
Vacuuming the mattress thoroughly after the baking soda has had time to sit is important to remove any residue and particles. This will leave your mattress fresh, clean, and odor-free.
With the odor eliminated using baking soda, you’re one step closer to restoring your mattress. The next step, Step 6, involves allowing the mattress to dry completely.
Step 6: Allow the Mattress to Dry
After completing the previous steps of blotting, rinsing, and eliminating odor, it’s crucial to allow the mattress to dry completely. Proper drying ensures that no moisture is trapped inside the mattress, which can lead to mold or mildew growth.
Here are the steps to follow to ensure the mattress dries thoroughly:
- Leave the mattress in a well-ventilated area with good air circulation. This could be near an open window or with a fan blowing on the mattress.
- If possible, prop the mattress up on its side or rest it horizontally with one end elevated. This helps air to circulate around and underneath the mattress, speeding up the drying process.
- Leave the mattress to air dry for at least 24-48 hours, or until it is completely dry to the touch. This timeframe may vary depending on factors such as the humidity level and the thickness of the mattress.
- Once the mattress is dry, perform a visual and tactile inspection to ensure there is no residue or moisture remaining. This step is important to prevent any potential damage or health risks.
Proper drying time is essential to prevent any moisture from being trapped inside the mattress. Failing to allow the mattress to dry completely can lead to mold or mildew growth, which can cause further damage and affect your health.
Ensure that the mattress is placed in a well-ventilated area with good air circulation. If possible, propping the mattress up or elevating one end can aid in the drying process by allowing air to circulate around and underneath the mattress.
It’s important to err on the side of caution and allow the mattress to dry for a sufficient amount of time. Depending on various factors, such as humidity and mattress thickness, it may take anywhere from 24 to 48 hours or longer for the mattress to dry completely.
Once the mattress is dry, perform a close inspection to ensure there is no remaining moisture or residue. This step ensures that your mattress is clean and ready to be used again.
With the mattress thoroughly dry, you can now move on to the final step, Step 7: using a mattress protector for future accidents.
Step 7: Use a Mattress Protector for Future Accidents
To protect your mattress from future accidents and spills, it’s highly recommended to invest in a good quality mattress protector. A mattress protector acts as a barrier between potential stains and your mattress, helping to keep it clean and prolong its lifespan.
Here’s why using a mattress protector is important:
- Prevents stains: A mattress protector creates a waterproof barrier that prevents urine, spills, and other liquids from seeping into the mattress. This significantly reduces the chances of stains and odors developing.
- Blocks allergens and dust mites: Mattress protectors can also help protect against allergens, dust mites, and bacteria, which can accumulate over time. This is especially beneficial for individuals with allergies or asthma.
- Easy to clean: Unlike a mattress, a mattress protector is typically machine washable. In the event of an accident, you can easily remove and clean the protector, saving you the hassle of deep cleaning the entire mattress.
- Preserves mattress warranty: Using a mattress protector is often a requirement for maintaining the warranty of your mattress. Manufacturers may void the warranty if the mattress is stained or soiled.
When choosing a mattress protector, opt for one that is waterproof, breathable, and hypoallergenic. Look for durable materials that are easy to clean and offer a secure fit on your mattress.
Remember to regularly wash and dry your mattress protector according to the manufacturer’s instructions to maintain its effectiveness and keep your mattress clean and protected.
By using a mattress protector, you can provide an extra layer of defense against accidents and spills, ensuring that your mattress stays fresh, clean, and protected for years to come.
With Step 7 completed, you have successfully learned how to get dog pee out of a mattress and take preventative measures for the future. By following these steps and using the right cleaning techniques, you can effectively eliminate stains and odors caused by dog urine, restoring the cleanliness and freshness of your mattress.
Remember, accidents happen, but with the right knowledge and tools, you can keep your mattress in top condition and enjoy a comfortable and clean sleeping environment.
We hope this guide has been helpful, and may you and your furry friend enjoy many accident-free nights on your freshly cleaned mattress!
Conclusion
Cleaning dog pee out of a mattress may seem like a daunting task, but with the right approach and supplies, it can be effectively done. By following the step-by-step guide outlined in this article, you can tackle urine stains and odors, restoring your mattress to its original freshness.
Remember to act quickly when accidents happen, as prompt action can prevent stains from setting in and minimize odor. Blotting the urine stain, creating and applying a homemade cleaning solution, and thorough rinsing are crucial steps in the cleaning process.
Utilizing natural ingredients such as white vinegar, baking soda, and hydrogen peroxide can help neutralize odors and remove stains effectively. Additionally, using a mattress protector not only protects your mattress from future accidents but also keeps it clean and prolongs its lifespan.
Keep in mind that proper drying of the mattress is essential to prevent mold or mildew growth, so allow sufficient time for the mattress to dry completely before using it again.
By incorporating these steps into your cleaning routine, you can maintain a fresh and clean sleeping environment while ensuring the longevity of your mattress.
Now that you have the knowledge and tools to tackle dog pee stains on your mattress, you can rest easy knowing that accidents can be remedied with ease. So, embrace this guide, follow the steps diligently, and say goodbye to dog pee stains on your mattress for good!
Happy cleaning and sleep well!
Frequently Asked Questions about How To Get Dog Pee Out Of A Mattress
Was this page helpful?
At Storables.com, we guarantee accurate and reliable information. Our content, validated by Expert Board Contributors, is crafted following stringent Editorial Policies. We're committed to providing you with well-researched, expert-backed insights for all your informational needs.
