Home>Furniture>Bedroom Furniture>How To Get Dried Milk Out Of A Mattress
Bedroom Furniture
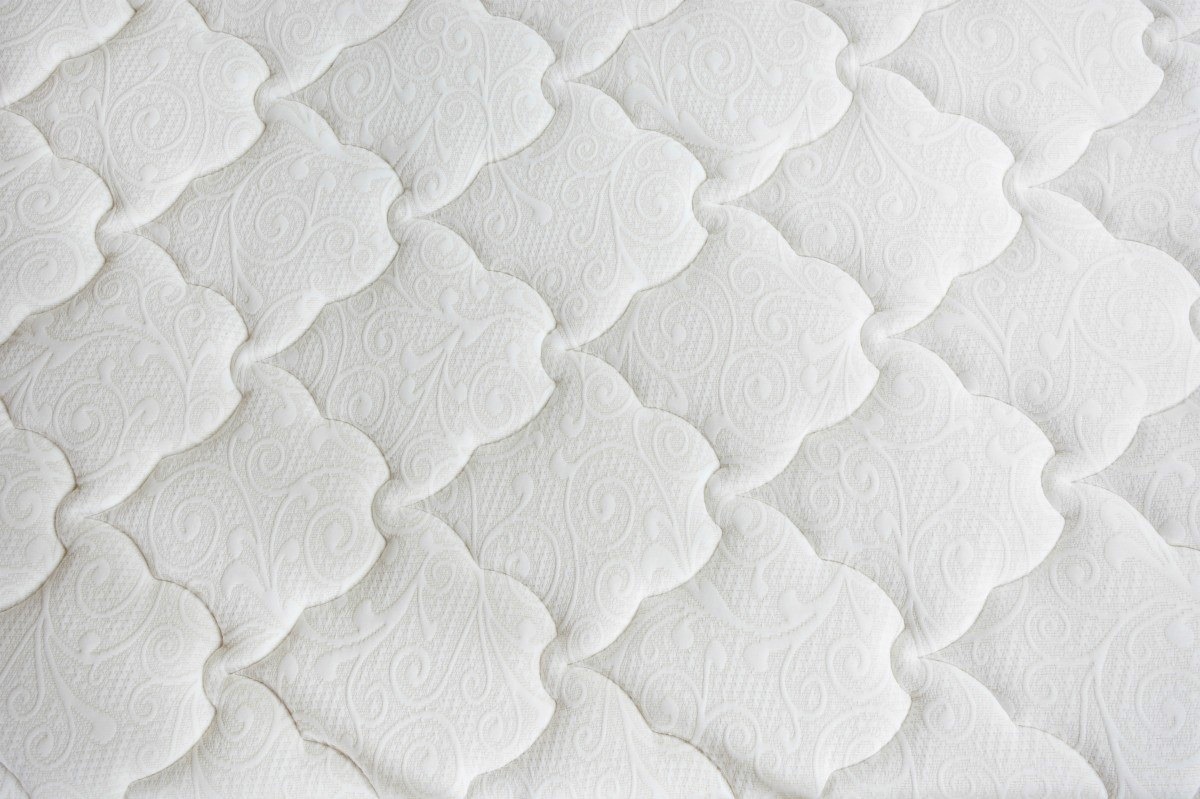
How To Get Dried Milk Out Of A Mattress
Modified: August 24, 2024
Learn how to effectively remove dried milk stains from your mattress with these easy bedroom furniture cleaning tips. Keep your mattress fresh and clean!
(Many of the links in this article redirect to a specific reviewed product. Your purchase of these products through affiliate links helps to generate commission for Storables.com, at no extra cost. Learn more)
Introduction
When it comes to our bedrooms, a comfortable and clean environment is essential for a good night’s sleep. However, accidents do happen, and sometimes we find ourselves faced with unexpected spills and stains on our mattresses. One common issue many people encounter is dried milk on their mattress. Whether it’s from a late-night snack or a spill from breakfast in bed, dried milk can leave an unsightly stain and an unpleasant odor.
But fear not! Removing dried milk from a mattress is not as daunting as it may seem. With the right approach and the proper materials, you can effectively clean your mattress and restore its freshness. In this article, we will guide you through a step-by-step process on how to get dried milk out of a mattress, ensuring that your sleeping space remains comfortable and hygienic.
Before we dive into the cleaning process, it’s important to note that time is of the essence when dealing with any stains on your mattress, including dried milk. The longer a stain sits, the harder it becomes to remove. Therefore, it’s crucial to take action as soon as possible to prevent the milk from setting into the fabric and becoming more challenging to clean.
Now, let’s get started and learn the correct approach to safely and effectively remove dried milk stains from your mattress.
Key Takeaways:
- Act quickly to remove dried milk stains from your mattress to prevent them from setting in and becoming more challenging to clean. Assess the situation, gather the necessary materials, and start by blotting the excess milk from the surface of the mattress.
- Use a gentle cleaning solution and repeat the process as needed to effectively remove dried milk stains from your mattress. Allow the mattress to dry completely and finish by vacuuming to ensure a clean and fresh sleeping environment.
Read more: How To Get Milk Out Of A Mattress
Step 1: Assess the Situation
The first step in tackling any stain, including dried milk, is to assess the extent of the damage. Take a close look at the affected area of the mattress and determine how much milk has been spilled and how long it has been sitting. This will help you gauge the severity of the stain and develop an appropriate cleaning plan.
If the spilled milk is still wet or relatively fresh, you’re in luck! Wet stains are generally easier to remove compared to dried-on stains. You can proceed directly to the cleaning process outlined in the following steps.
However, if the milk has already dried on the mattress, it may require a bit more effort to completely remove the stain. Dried milk tends to form a crusty layer on the surface of the mattress and can penetrate deeper into the fabric, making it more challenging to clean. In such cases, you may need to follow the steps below more diligently and potentially repeat the cleaning process.
It’s also important to consider the type of mattress you have before proceeding with the cleaning process. Different types of mattresses, such as memory foam, latex, or spring mattresses, may require slightly different approaches to prevent damage. Make sure to check the manufacturer’s instructions or guidelines for cleaning your specific type of mattress.
Take note of any specific instructions or warnings provided by the manufacturer, as well as the warranty specifications, to ensure that your cleaning methods do not void the warranty or cause any long-term damage to the mattress.
Once you’ve assessed the situation and taken into account the type of mattress you have, you’re ready to move on to the next step: gathering the necessary materials.
Step 2: Gather the necessary materials
Before diving into the cleaning process, it’s essential to gather the right materials to efficiently and effectively remove the dried milk stain from your mattress. Here’s a list of the items you’ll need:
- Mild detergent or stain remover: Choose a detergent or stain remover that is suitable for your mattress fabric and does not contain harsh chemicals or bleach. Look for products that are specifically designed for removing organic stains.
- White vinegar: Vinegar is a natural cleaning agent that can help neutralize odors and disinfect the affected area.
- Clean cloth or sponge: Use a clean, soft cloth or sponge to blot and clean the mattress. Avoid using colored or abrasive materials that could potentially damage the fabric.
- Cold water: Cold water is ideal for cleaning milk stains as hot water can cause the protein in the milk to set into the fabric, making it more difficult to remove.
- Baking soda: Baking soda is a versatile cleaning agent that can help absorb odors. It will be used in the later steps to freshen up the mattress.
- Vacuum cleaner with upholstery attachment: A vacuum cleaner with an upholstery attachment will come in handy to remove any residue or loose particles from the mattress after the cleaning process.
Once you’ve gathered all the necessary materials, you’re ready to move on to the next step: blotting the excess milk from the mattress. Remember, it’s important to act swiftly to prevent the milk from further soaking into the fabric.
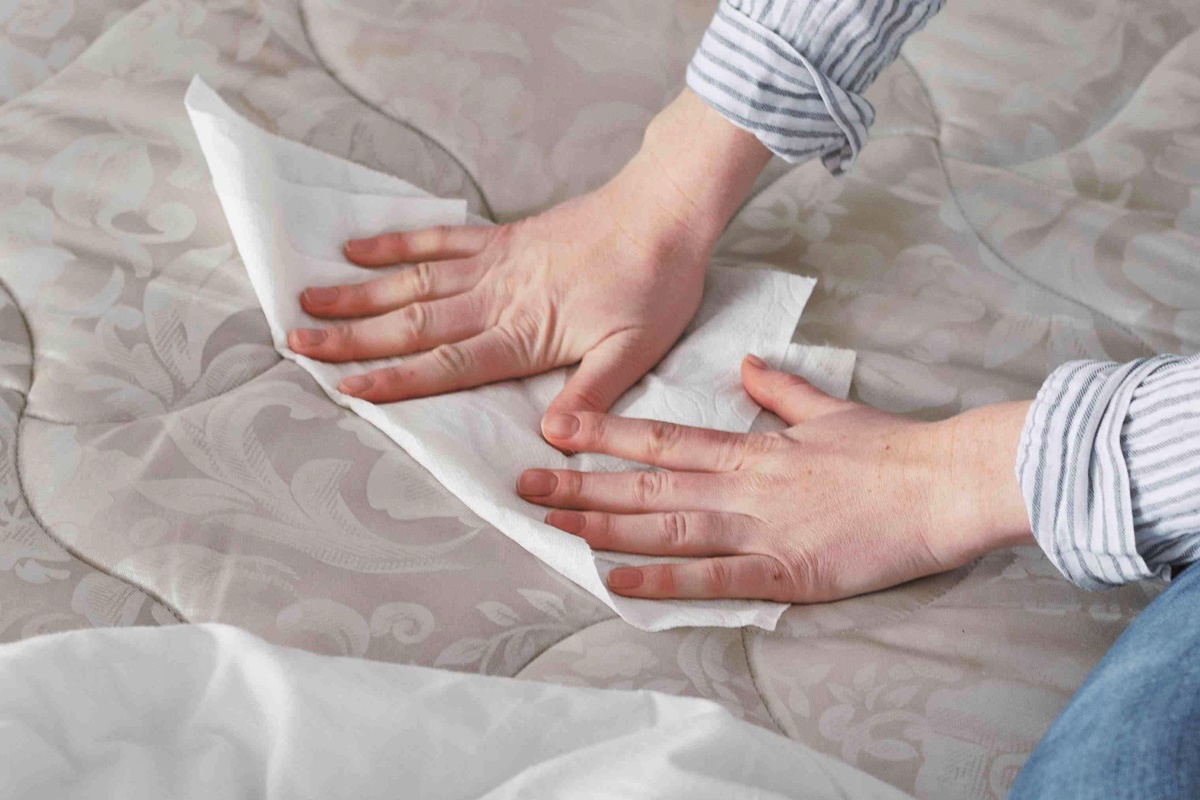
Step 3: Blot the excess milk
Now that you’ve gathered your materials, it’s time to tackle the dried milk stain on your mattress. Before applying any cleaning solution, it’s important to remove any excess milk from the surface. Blotting the stain helps prevent the milk from seeping further into the mattress, making the cleaning process easier and more effective. Follow these steps to blot the excess milk:
- Take a clean cloth or sponge and gently press it onto the stained area of the mattress. Avoid rubbing the stain, as this can spread the milk and potentially push it deeper into the fabric.
- Continue blotting until you’ve absorbed as much of the milk as possible. If the cloth or sponge becomes saturated, switch to a clean one to prevent spreading the milk around. Repeat this process until no more milk can be lifted from the mattress.
- If the milk has dried and formed a crusty layer, you can use a soft-bristled brush or a spoon to gently scrape off the hardened residue. Be careful not to damage the fabric or push the milk further into the mattress.
Once you’ve successfully blotted the excess milk and removed any crusty residue, you’re ready to move on to the next step: applying a cleaning solution to the stain.
Note: It’s important to act quickly and blot the milk spill as soon as possible to prevent it from seeping deeper into the mattress. The longer the milk sits, the harder it will be to remove the stain completely.
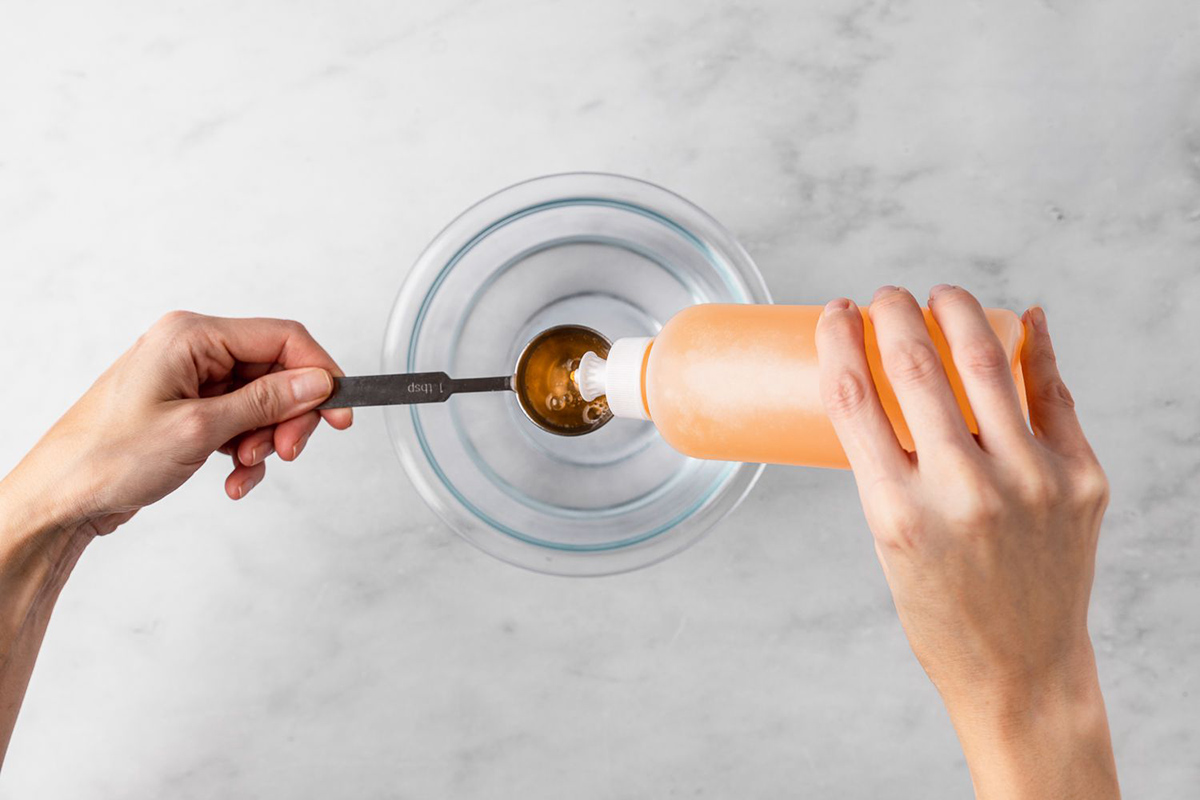
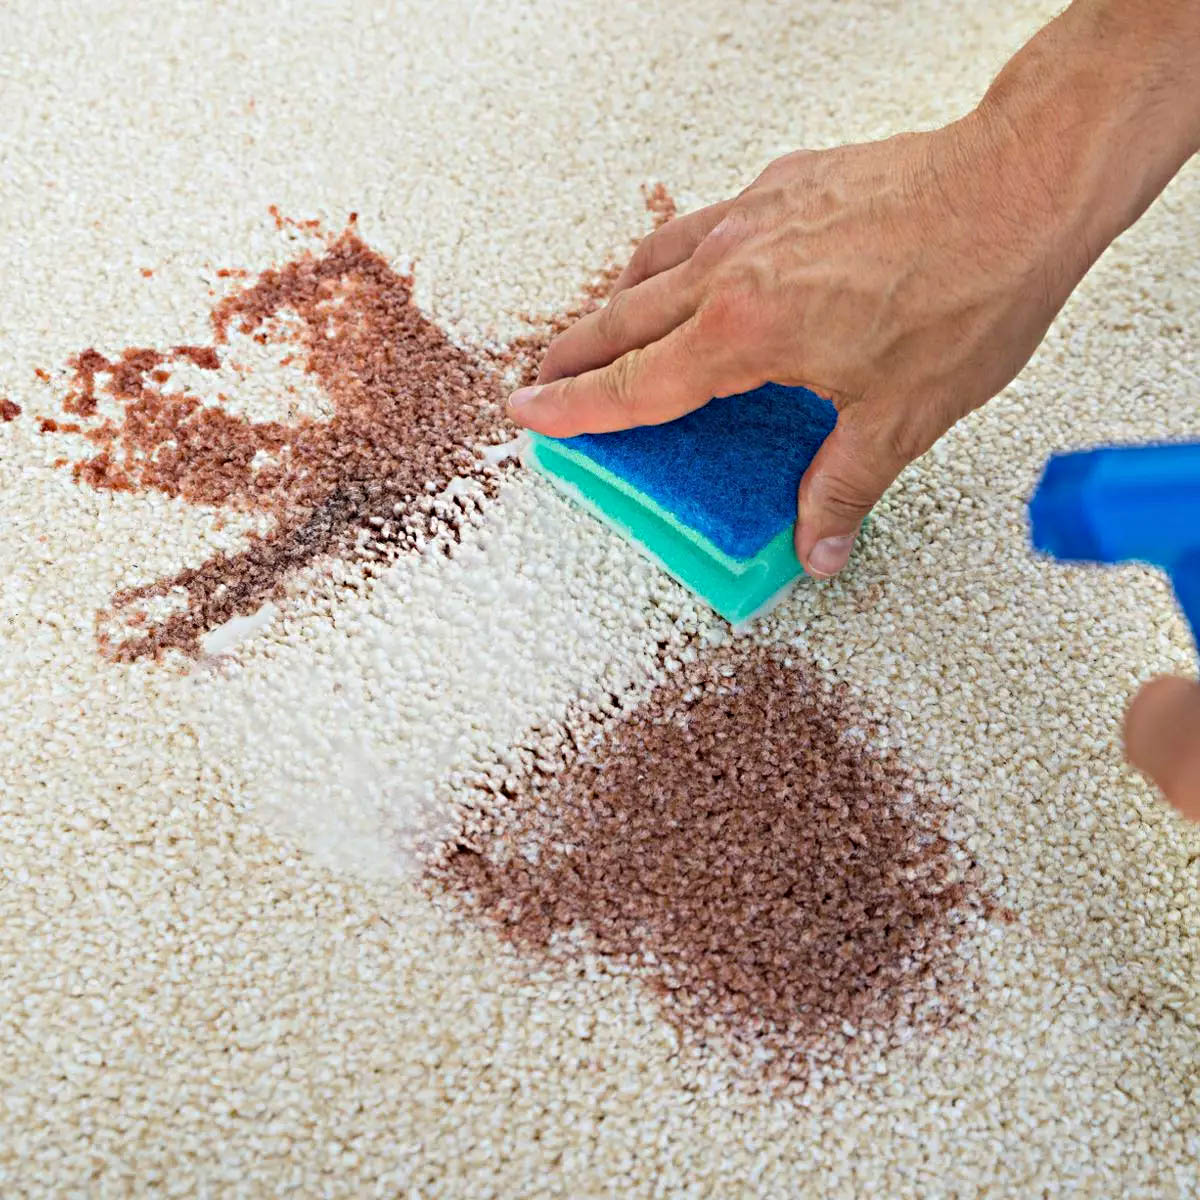
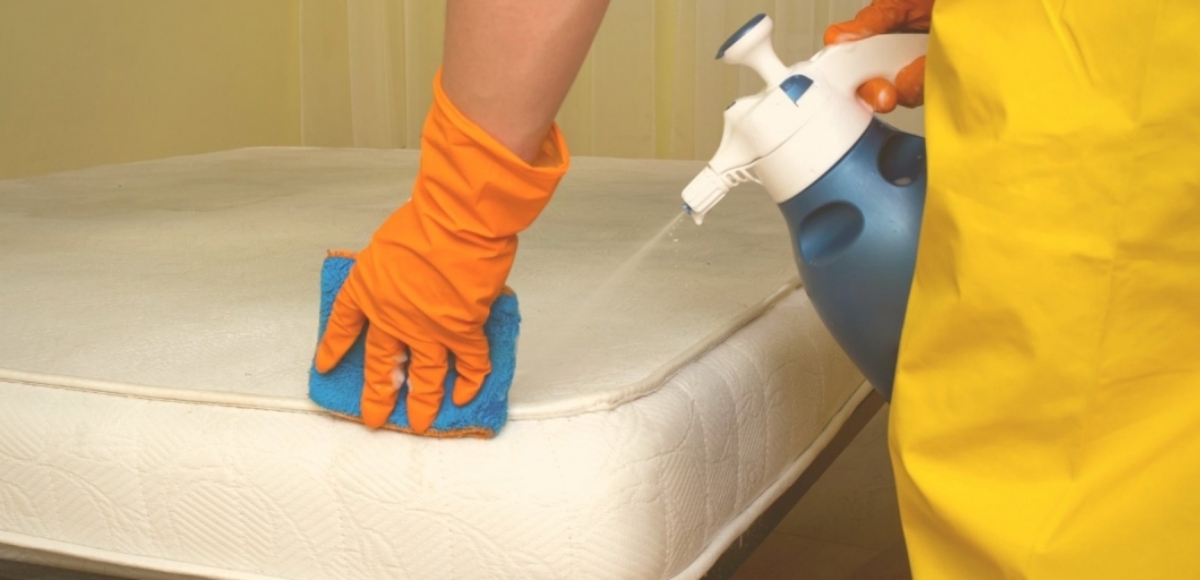
Step 4: Apply a cleaning solution
Now that you’ve successfully blotted the excess milk from the mattress, it’s time to tackle the dried milk stain using a cleaning solution. The cleaning solution will help break down and lift the remaining milk residue from the fabric. Follow these steps to apply a cleaning solution:
- Create a mixture of mild detergent or stain remover with cold water. Follow the instructions on the detergent or stain remover bottle for the correct ratio of solution to water.
- Alternatively, you can create a natural cleaning solution using white vinegar. Mix equal parts white vinegar and cold water in a spray bottle or a bowl.
- Lightly dampen a clean cloth or sponge with the cleaning solution you’ve chosen. Make sure the cloth is not dripping wet to avoid saturating the mattress.
- Gently blot the stained area of the mattress with the dampened cloth. Start from the outer edges of the stain and work your way towards the center. Avoid rubbing the stain vigorously, as this may push the milk further into the fabric.
- Continue blotting until you’ve covered the entire stained area. If needed, reapply the cleaning solution to the cloth and repeat the process until you’re satisfied with the results.
It’s important to note that when using a cleaning solution, whether commercial or homemade, always perform a patch test on a small, inconspicuous area of the mattress first, especially if you’re unsure of the fabric’s reaction to the solution. This helps ensure that the cleaning solution does not cause any discoloration or damage to the mattress.
Once you’ve applied the cleaning solution and removed as much of the stain as possible, you’re ready to move on to the next step: blotting and repeating the process if necessary.
Blot the dried milk with a clean cloth to absorb as much as possible. Then, mix a solution of mild detergent and water, and gently scrub the affected area. Finally, blot with a clean, damp cloth to remove any remaining residue.
Read more: How To Get Dry Milk Out Of A Carpet
Step 5: Blot and repeat
After applying the cleaning solution to the dried milk stain on your mattress, it’s important to continue the process of blotting and repeating as necessary. This step ensures that you thoroughly remove any remaining residue and work towards achieving a clean and fresh mattress. Follow these steps to blot and repeat:
- Take a clean cloth or sponge and dampen it with cold water. This step helps to rinse out any lingering cleaning solution and remove any residue that may be left behind.
- Gently blot the cleaned area of the mattress with the damp cloth or sponge. This will help remove any excess cleaning solution and residue from the fabric.
- Inspect the stained area and assess the level of improvement. If the stain is still visible or if there is residual odor, it may be necessary to repeat the cleaning process.
- Repeat steps 4 and 5, applying the cleaning solution and blotting the stain, as needed. Remember to not over-saturate the mattress and to work in a gentle, circular motion to avoid damaging the fabric.
- Continue blotting and repeating the process until the milk stain is no longer visible and the odor has been eliminated. Patience and persistence are key, especially with stubborn or deeply ingrained stains.
It’s important to allow the mattress to dry completely between each round of cleaning. This prevents any moisture from becoming trapped in the fabric, which can lead to mold or mildew growth. You can speed up the drying process by placing a fan near the mattress or by opening the windows to promote air circulation.
Once you’re satisfied with the cleanliness and smell of the mattress, it’s time to move on to the next step: allowing the mattress to dry completely.
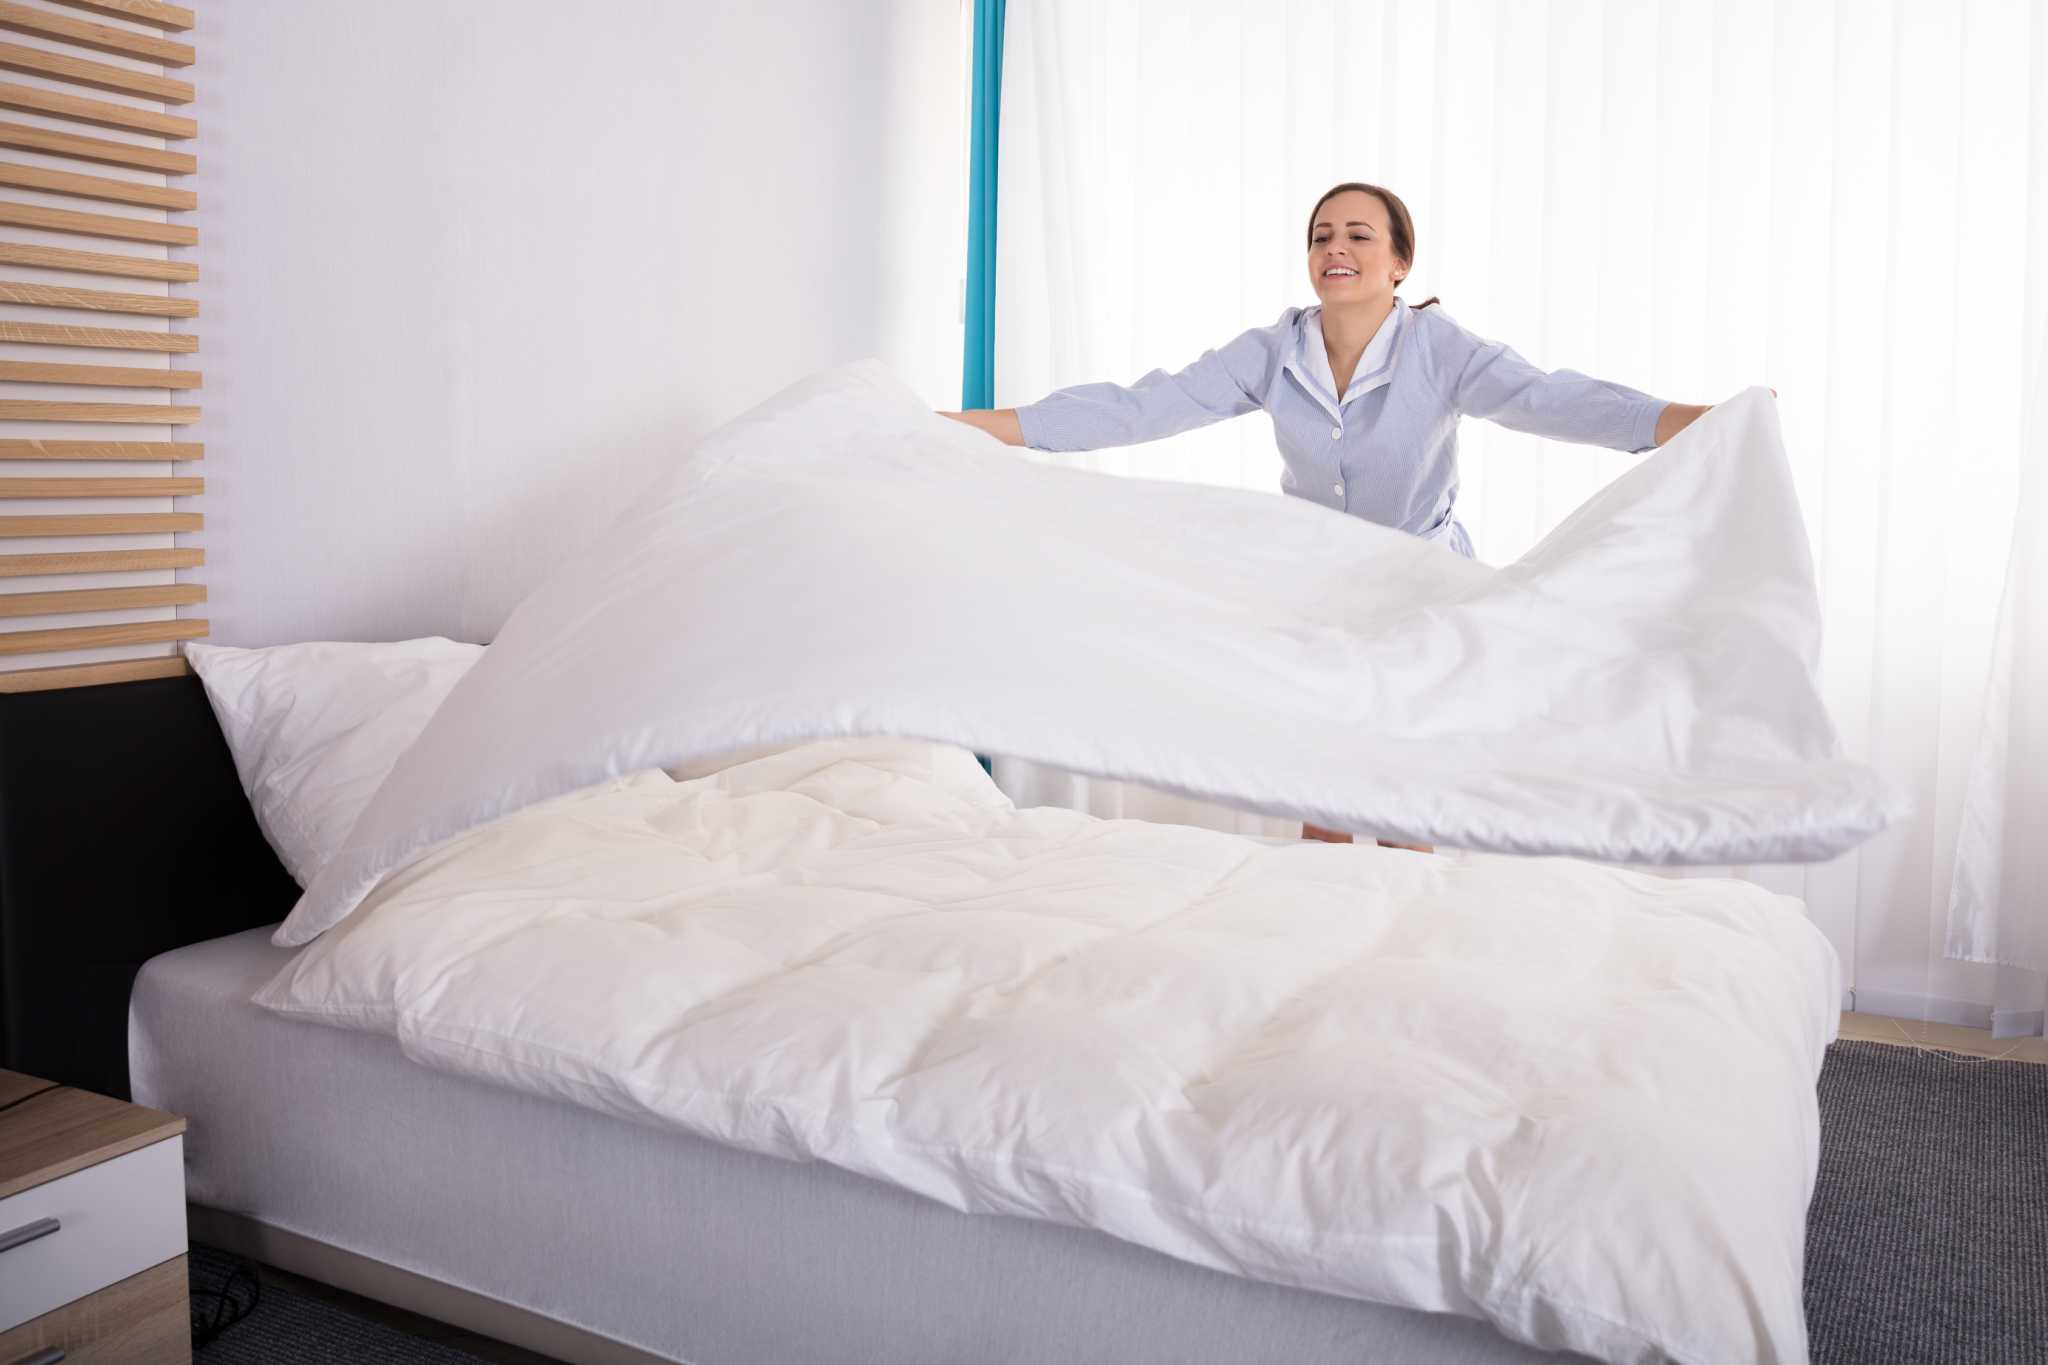
Step 6: Allow the mattress to dry
After completing the cleaning process and removing the dried milk stain from your mattress, it’s crucial to allow the mattress to dry thoroughly. This step is essential to prevent the growth of mold or mildew and to ensure that your mattress is ready for use. Follow these steps to allow your mattress to dry:
- First, remove any excess moisture from the mattress by gently blotting the cleaned area with a dry, absorbent cloth or using a fan to promote airflow.
- Next, place the mattress in a well-ventilated area, preferably near an open window or with a fan directing air towards it. This will help facilitate the drying process.
- If possible, prop the mattress upright, using pillows or other objects to support it in a standing position. This allows for better air circulation around the entire mattress.
- Keep the mattress away from direct sunlight, as this can cause discoloration and damage to the fabric.
- Allow the mattress to dry completely, which may take anywhere from a few hours to a full day depending on factors such as the fabric type, humidity levels, and airflow. Ensure that both sides of the mattress are adequately dried.
During the drying process, it’s essential to avoid using the mattress or applying any weight on it. This will help prevent any moisture from being trapped and will ensure that the mattress dries evenly.
Once the mattress is completely dry, it’s time to move on to the final step: vacuuming the mattress to remove any loose particles or residue.
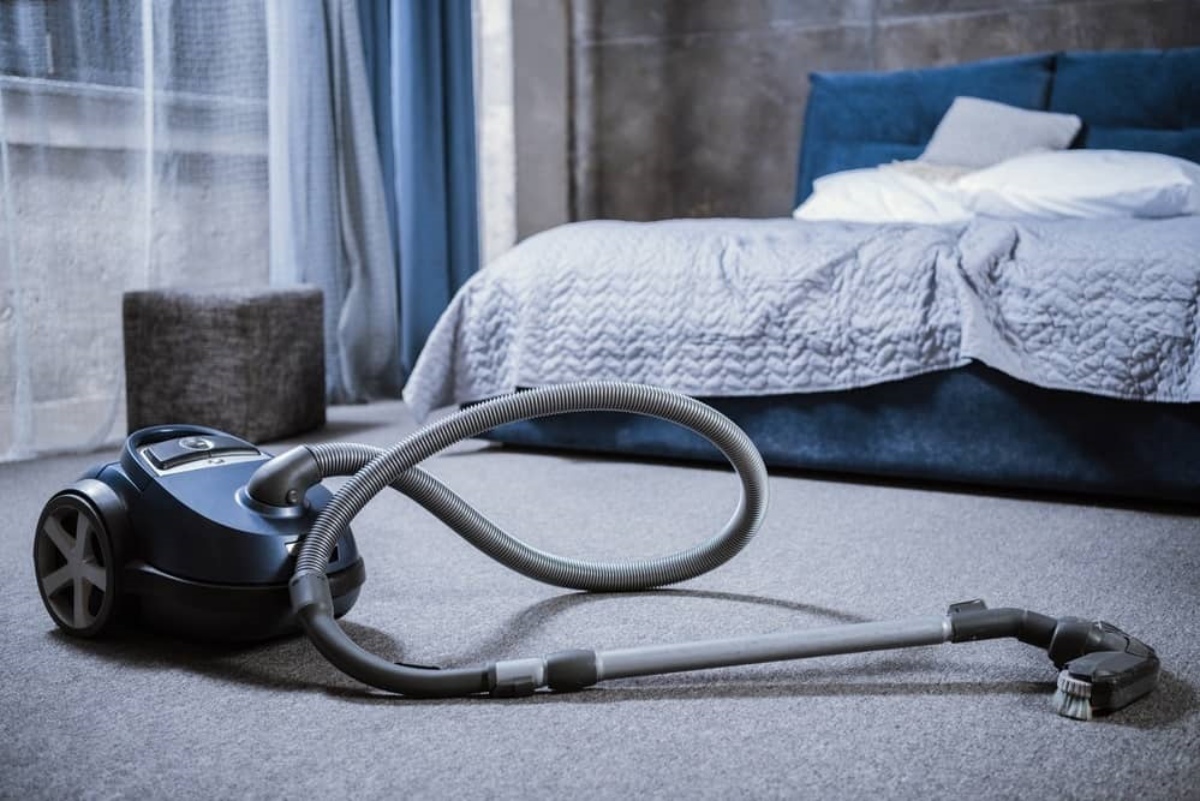
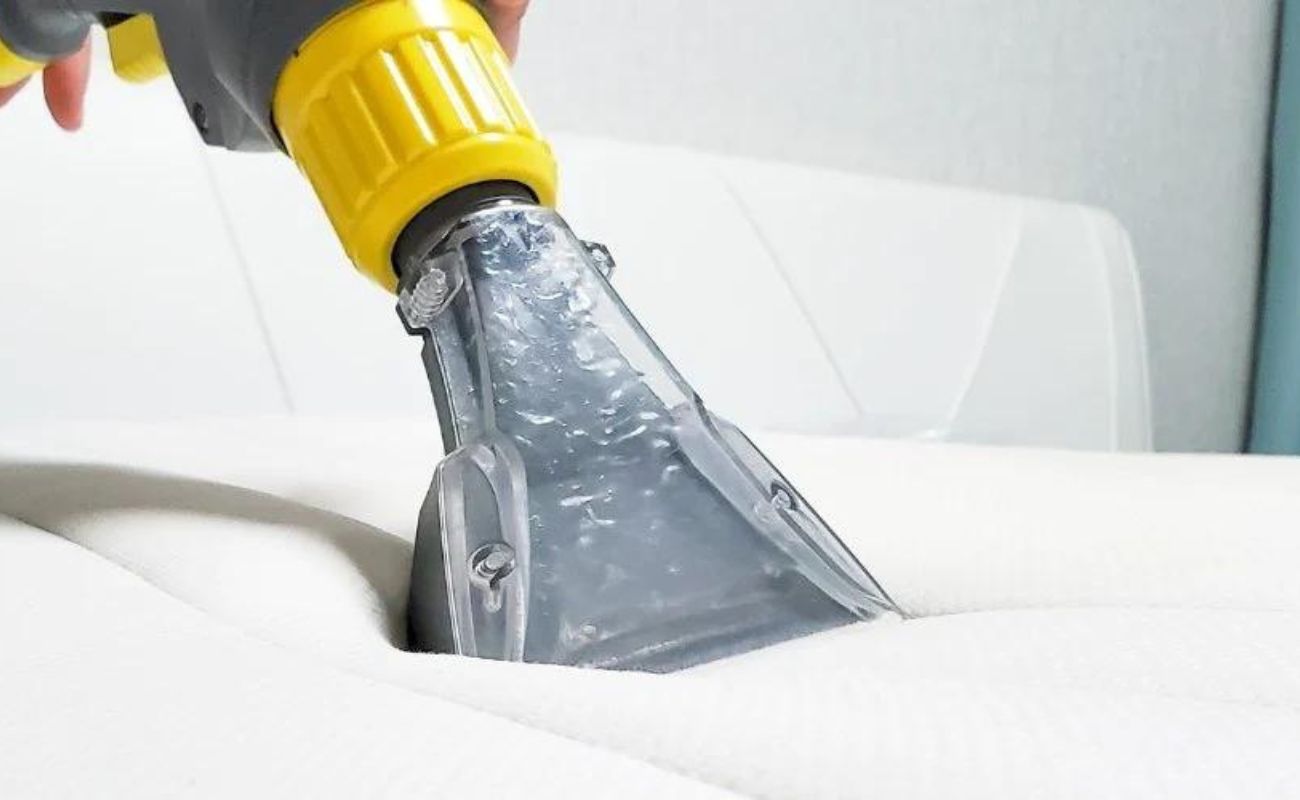
Step 7: Vacuum the mattress
After the mattress has dried thoroughly, it’s time to give it a final cleaning touch by vacuuming. Vacuuming helps remove any loose particles, residual cleaning solution, or baking soda that may be left on the surface. Follow these steps to effectively vacuum your mattress:
- Attach the upholstery attachment or a soft brush attachment to your vacuum cleaner. This will help protect the fabric and prevent any damage while effectively removing debris.
- Starting from the top of the mattress, slowly move the vacuum cleaner in vertical and horizontal motions, ensuring that you cover the entire surface. Pay particular attention to the stained area and any other spots where the milk may have been spilled.
- Use firm yet gentle pressure to ensure thorough cleaning without pressing too hard. This will help loosen and lift any remaining particles or residue.
- Pay attention to the edges and seams of the mattress. These areas tend to accumulate dust and debris, so be sure to vacuum them carefully.
- If your mattress has a removable cover or a zippered compartment, remove it and vacuum it separately to ensure a complete cleaning.
Once you have finished vacuuming, take a moment to inspect the mattress for any remaining stains, odors, or debris. If necessary, you may repeat the cleaning process or apply a specialized stain remover to target specific areas.
By following these steps, you can effectively remove dried milk stains from your mattress and restore its cleanliness and freshness. Regular maintenance and immediate action when spills occur can help prevent stubborn stains and keep your mattress in excellent condition for years to come.
Remember to check the manufacturer’s guidelines or warranty specifications for your specific mattress type to ensure that your cleaning methods do not void the warranty. Additionally, consider using mattress protectors to minimize the risk of spills and stains in the future.
With a clean and fresh mattress, you can enjoy a comfortable and hygienic sleep environment every night.
Conclusion
Removing dried milk stains from a mattress may seem like a daunting task, but with the right approach and materials, it can be accomplished successfully. By following the step-by-step guide outlined in this article, you can effectively tackle dried milk stains and restore the cleanliness and freshness of your mattress.
Remember, timing is crucial when dealing with any stain. Act quickly to prevent the milk from setting into the fabric and making the stain more challenging to remove. Assess the situation, gather the necessary materials, and start by blotting the excess milk from the surface of the mattress. Apply a suitable cleaning solution or a mixture of mild detergent and water to break down the remaining residue, and repeat the process if necessary. Allow the mattress to dry completely to prevent mold or mildew growth, and finish by vacuuming to remove any loose particles.
Always refer to the manufacturer’s guidelines or warranty specifications for your specific mattress type before cleaning, to ensure that your methods do not void the warranty. Additionally, using mattress protectors can help minimize the risk of future stains and spills, extending the life of your mattress.
A clean and fresh mattress not only enhances the aesthetics of your bedroom but also contributes to a hygienic and comfortable sleep environment. By taking the time to remove dried milk stains and maintain the cleanliness of your mattress, you can enjoy a restful night’s sleep in a healthy and inviting sleep space.
So, don’t let dried milk stains linger on your mattress any longer. Follow these steps, and your mattress will be free from unsightly stains and odors, allowing you to sleep soundly and wake up refreshed every day.
Now that you've tackled dried milk stains, why not dive into more cleaning adventures? If that stubborn stain on your toilet seat has been bothering you, our guide on effective stain removal will show you how to handle it like a pro. Or maybe your fridge could use a refresh? Check out our practical cleaning tips for a spotless refrigerator, ensuring every nook and cranny shines. Both articles provide straightforward, helpful advice to keep your home in tip-top shape!
Frequently Asked Questions about How To Get Dried Milk Out Of A Mattress
Was this page helpful?
At Storables.com, we guarantee accurate and reliable information. Our content, validated by Expert Board Contributors, is crafted following stringent Editorial Policies. We're committed to providing you with well-researched, expert-backed insights for all your informational needs.