Home>Furniture>Living Room Furniture>How To Clean Feather Cushions

Living Room Furniture
How To Clean Feather Cushions
Modified: October 19, 2024
Learn how to clean feather cushions and maintain your living room furniture's comfort and freshness. Find effective cleaning methods and useful tips.
(Many of the links in this article redirect to a specific reviewed product. Your purchase of these products through affiliate links helps to generate commission for Storables.com, at no extra cost. Learn more)
Introduction
Welcome to your ultimate guide on how to clean feather cushions! There’s nothing quite like sinking into a cozy feather-filled cushion at the end of a long day. Feather cushions are not only incredibly comfortable but also add a touch of elegance and luxury to any living room. However, over time, these cushions can become dirty, lose their shape, or develop unpleasant odors. That’s where proper cleaning and care come in to ensure that your feather cushions stay fresh, clean, and plush for years to come.
Before we dive into the step-by-step cleaning process, let’s discuss the supplies you’ll need to effectively clean your feather cushions. Having the right tools and products on hand will make the cleaning process easier and more efficient.
Key Takeaways:
- Keep your feather cushions fresh and cozy by regularly shaking out loose feathers, spot cleaning stains, and airing them out to eliminate odors. Fluff and restore their shape for long-lasting comfort.
- Remember to gather the necessary supplies, remove and clean the cushion covers, and replace them once dry. Regular care and cleaning will maintain the plushness and elegance of your living room.
Supplies Needed
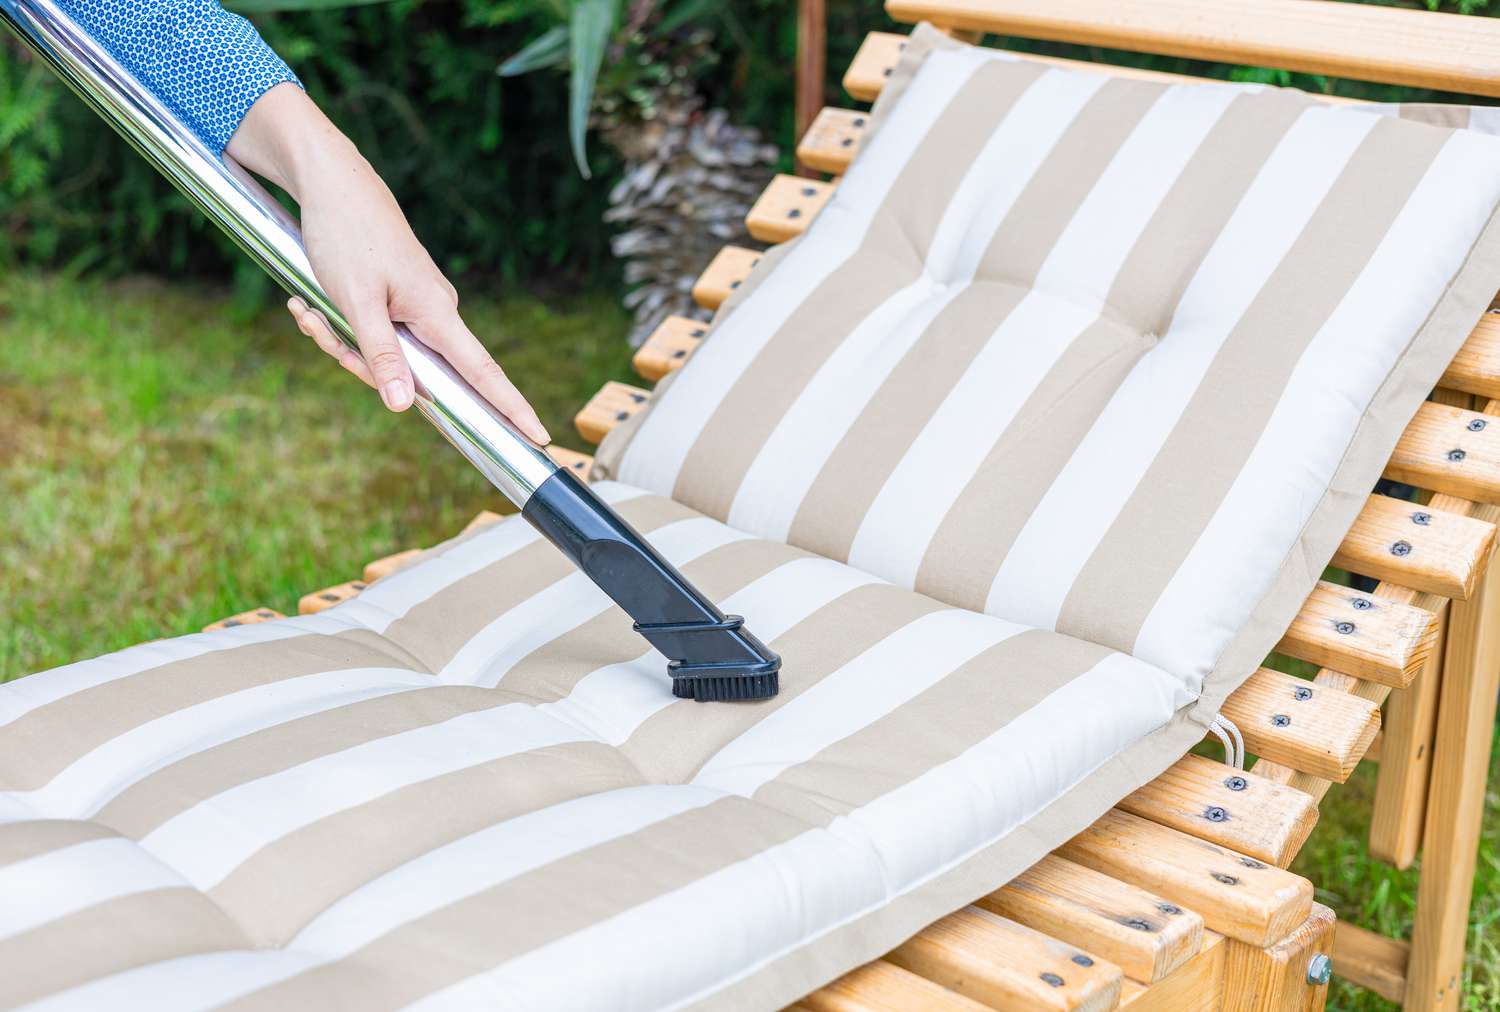
1. Vacuum cleaner with upholstery attachment
2. Mild detergent or upholstery cleaner
3. Clean cloth or sponge
4. Warm water
5. Baking soda (optional)
6. Odor neutralizer (optional)
7. Air freshener spray (optional)
8. Plastic sheet or tarp (to protect your furniture or floor)
9. Feather-friendly cleaner or deodorizer (optional)
10. Lint roller (optional)
11. Feather replacement (if necessary)
Now that we have our supplies ready, let’s get started with the cleaning process!
Key Takeaways:
- Keep your feather cushions fresh and cozy by regularly shaking out loose feathers, spot cleaning stains, and airing them out to eliminate odors. Fluff and restore their shape for long-lasting comfort.
- Remember to gather the necessary supplies, remove and clean the cushion covers, and replace them once dry. Regular care and cleaning will maintain the plushness and elegance of your living room.
Supplies Needed
When it comes to cleaning feather cushions, having the right supplies on hand will make the process much smoother. Here are the essential items you’ll need before you get started:
- Vacuum cleaner with upholstery attachment: A vacuum cleaner with an upholstery attachment is essential for removing dust, dirt, and loose feathers from the cushions. Make sure your vacuum is in good working condition before you begin.
- Mild detergent or upholstery cleaner: You’ll need a mild detergent or upholstery cleaner that is safe for use on feather-filled cushions. Avoid harsh chemicals or bleach, as they can damage the feathers. Read the instructions on the cleaner to ensure it is suitable for your fabric.
- Clean cloth or sponge: A clean cloth or sponge will be used to apply the cleaning solution to the cushions. Make sure it is damp, but not soaking wet, to avoid saturating the feathers.
- Warm water: Warm water will be used to dilute the cleaning solution and rinse off any residue. It is important to use warm water, as hot water can harm the feathers.
- Baking soda (optional): Baking soda can be used to eliminate odors from the cushions. If your cushions have developed an unpleasant smell, sprinkle baking soda over them and let it sit for a few hours before vacuuming it off.
- Odor neutralizer (optional): If baking soda is not enough to eliminate stubborn odors, you can use an odor neutralizer specifically designed for upholstery. Follow the instructions on the product for best results.
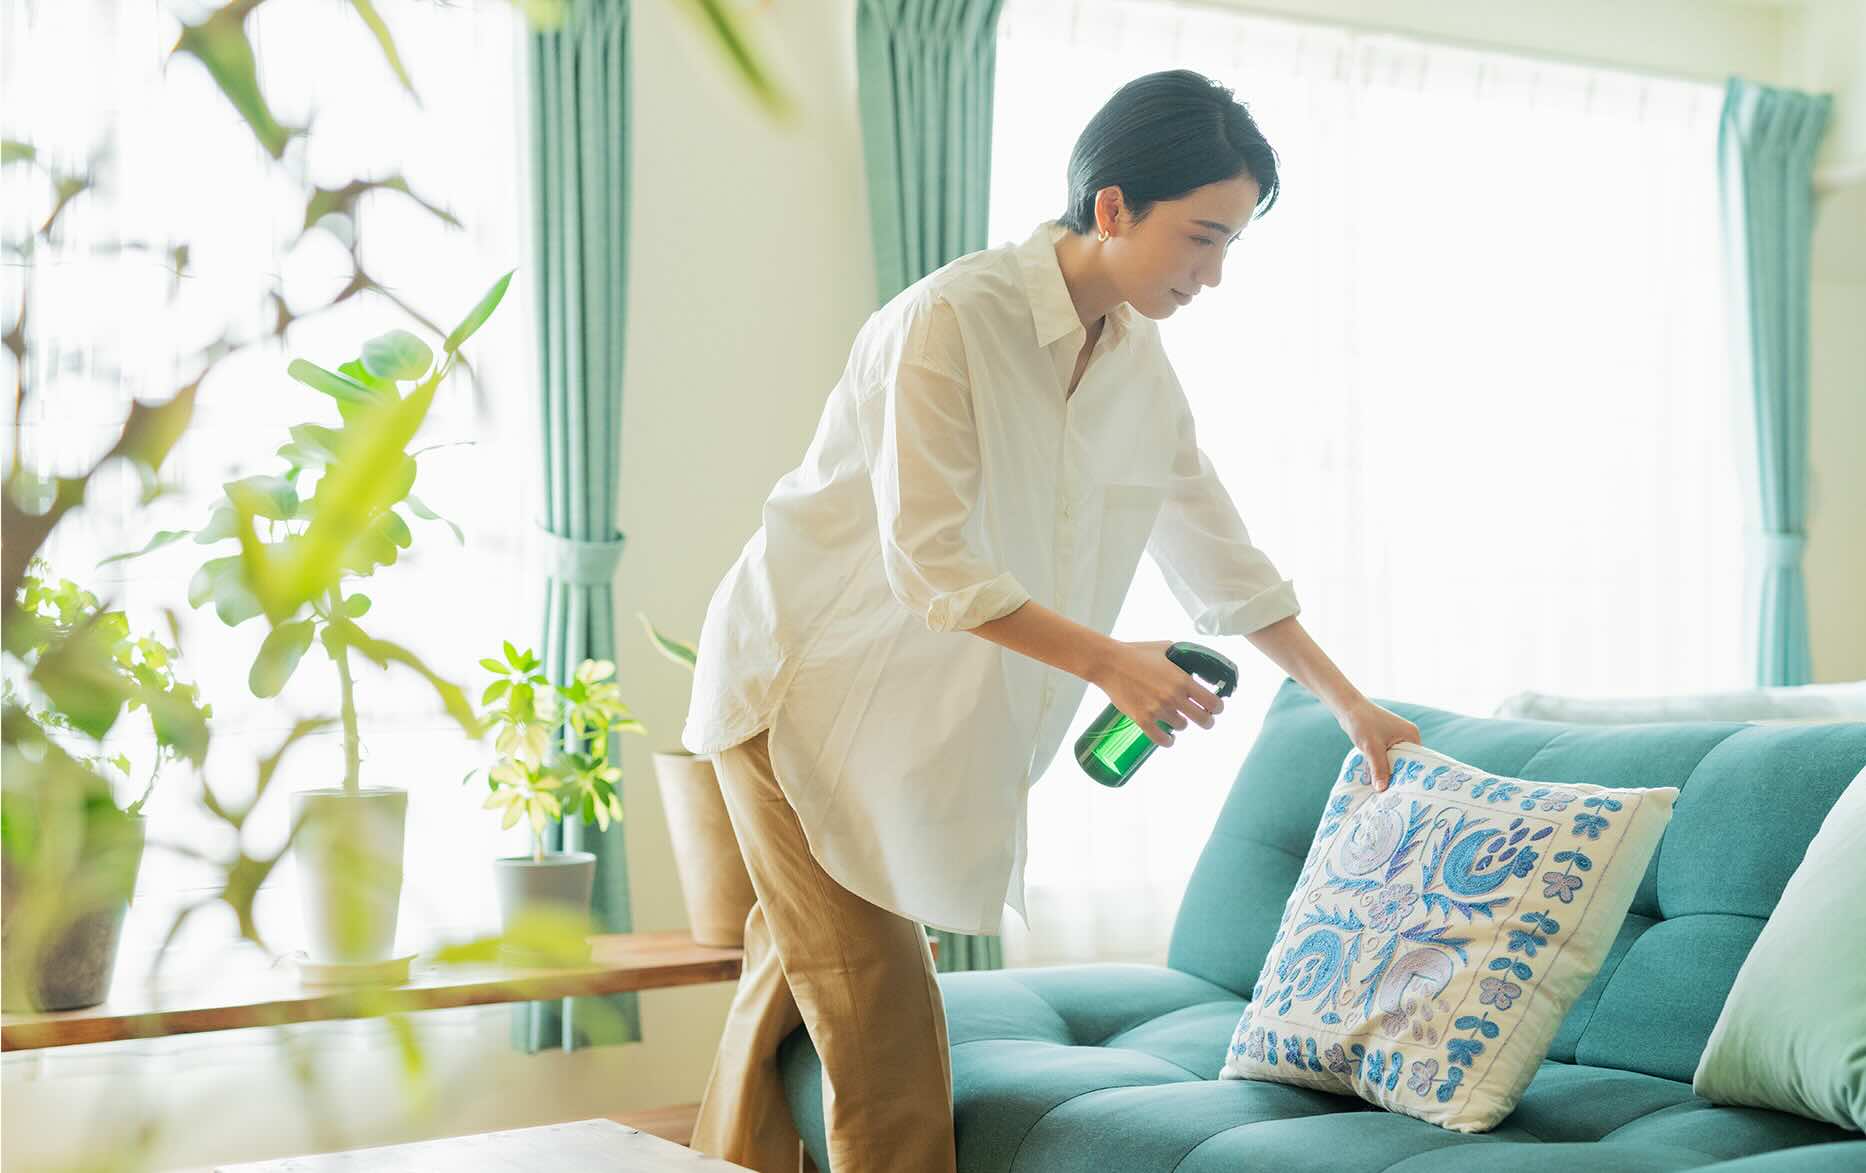
- Air freshener spray (optional): To give your freshly cleaned cushions a pleasant aroma, you can use an air freshener spray specifically designed for upholstery. However, make sure the spray is safe to use on feathers.
- Plastic sheet or tarp: Before you begin cleaning, place a plastic sheet or tarp on your furniture or floor to provide a protective barrier against any spills or drips.
- Feather-friendly cleaner or deodorizer (optional): If you prefer using specialized feather cleaners or deodorizers, make sure they are safe to use and follow the instructions provided by the manufacturer.
- Lint roller (optional): A lint roller can be handy for removing any residual feathers or lint from the cushions after cleaning.
- Feather replacement (if necessary): If you notice that some feathers are missing or significantly damaged, you may need to replace them. Ensure you have spare feathers on hand or contact a professional for assistance.
Now that you have all the necessary supplies, let’s move on to the step-by-step process of cleaning feather cushions.
Step 1: Remove the Cushion Covers
The first step in cleaning feather cushions is to remove the cushion covers. Most feather-filled cushions have removable covers that can be easily taken off for cleaning. Follow these steps to remove the cushion covers:
- Find the zipper or closure on the cushion cover. This can usually be found along one of the edges.
- Gently unzip or unfasten the closure to access the cushion’s interior.
- Carefully remove the cushion cover, taking care not to snag or tear it. If the cover is held in place with buttons or snaps, unfasten them before removing the cover.
- Once the cover is off, set it aside for cleaning later. If the cover has any labels with specific cleaning instructions, make sure to follow them.
By removing the cushion covers, you’ll have better access to the feather filling and be able to clean it more thoroughly. It’s important to note that some cushions may have non-removable covers. In such cases, you can still proceed with the cleaning process, but be cautious not to soak the cushion excessively to avoid damaging the fabric.
Now that the cushion covers are removed, let’s move on to the next step: shaking out loose feathers.
Step 2: Shake Out Loose Feathers
Once you have removed the cushion covers, it’s time to shake out any loose feathers from the cushions. This step will help remove dust, dirt, and debris trapped within the feathers. Follow these steps to shake out the loose feathers:
- Take the feather cushion and hold it firmly on one side.
- Gently shake the cushion up and down in a controlled manner, allowing the feathers to loosen and separate.
- Rotate the cushion and repeat the shaking process on all sides to ensure you cover the entire surface.
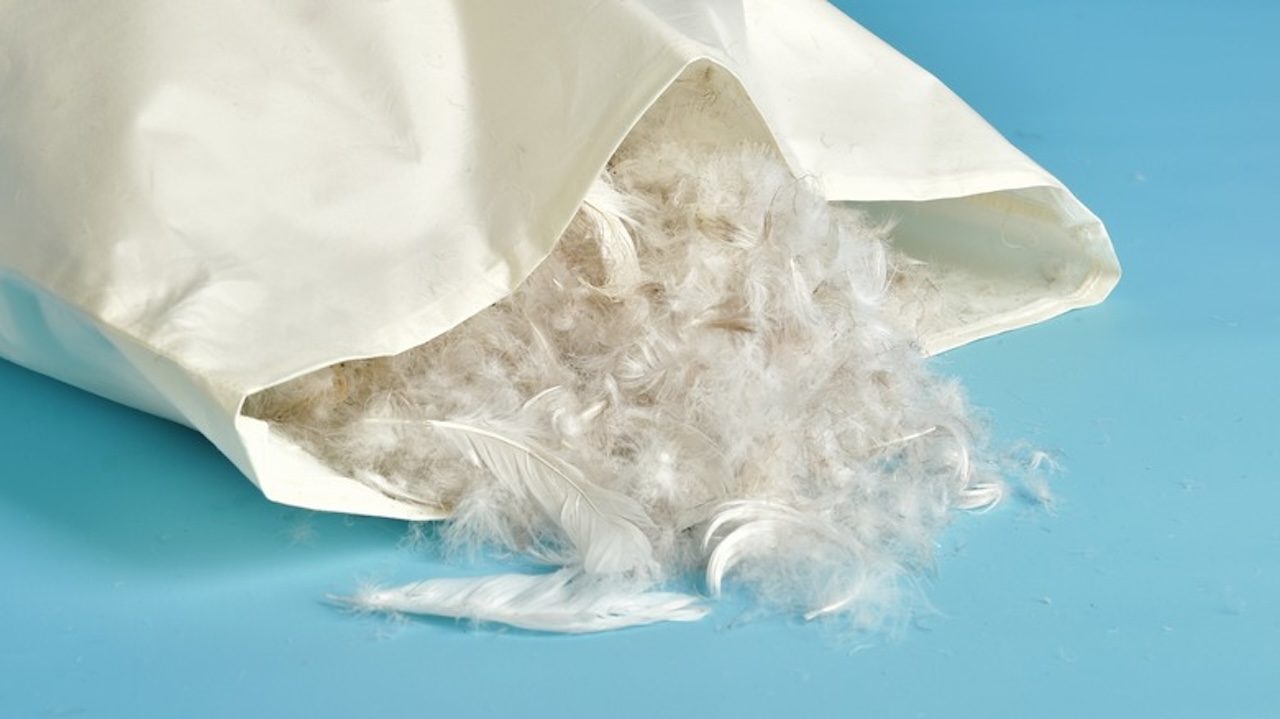
- If you notice any clumps or clumps of feathers stuck together, use your hands to gently separate and fluff them up.
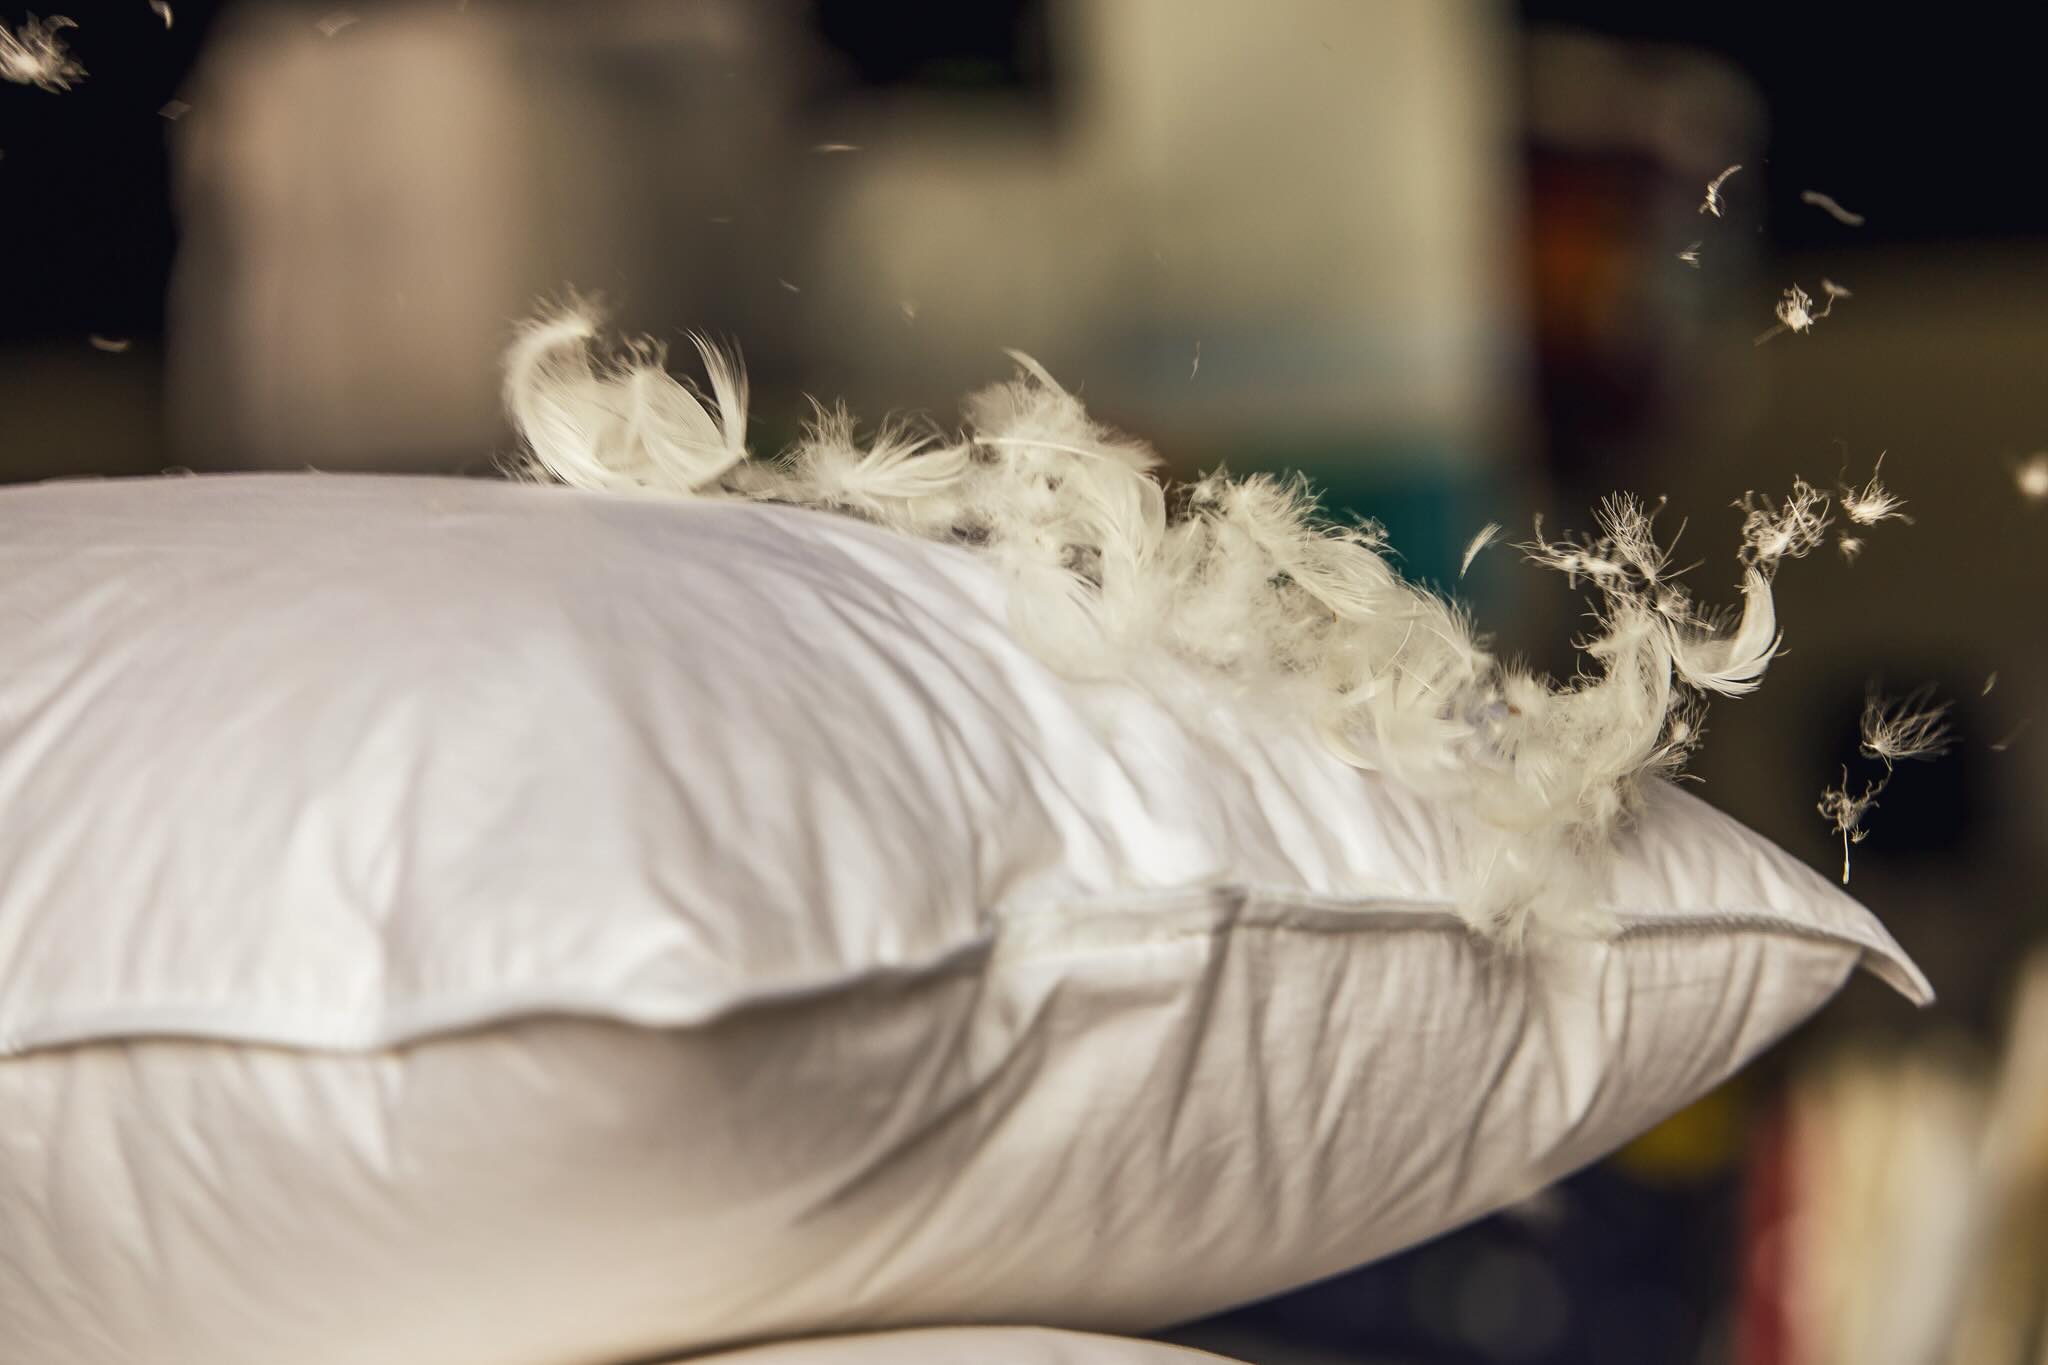
Shaking out the loose feathers helps improve the overall fluffiness and comfort of the cushion. It also helps remove any surface-level debris that may have accumulated over time. Remember to handle the cushion with care and avoid shaking it too aggressively, as this can cause damage to the feathers or the cushion itself.
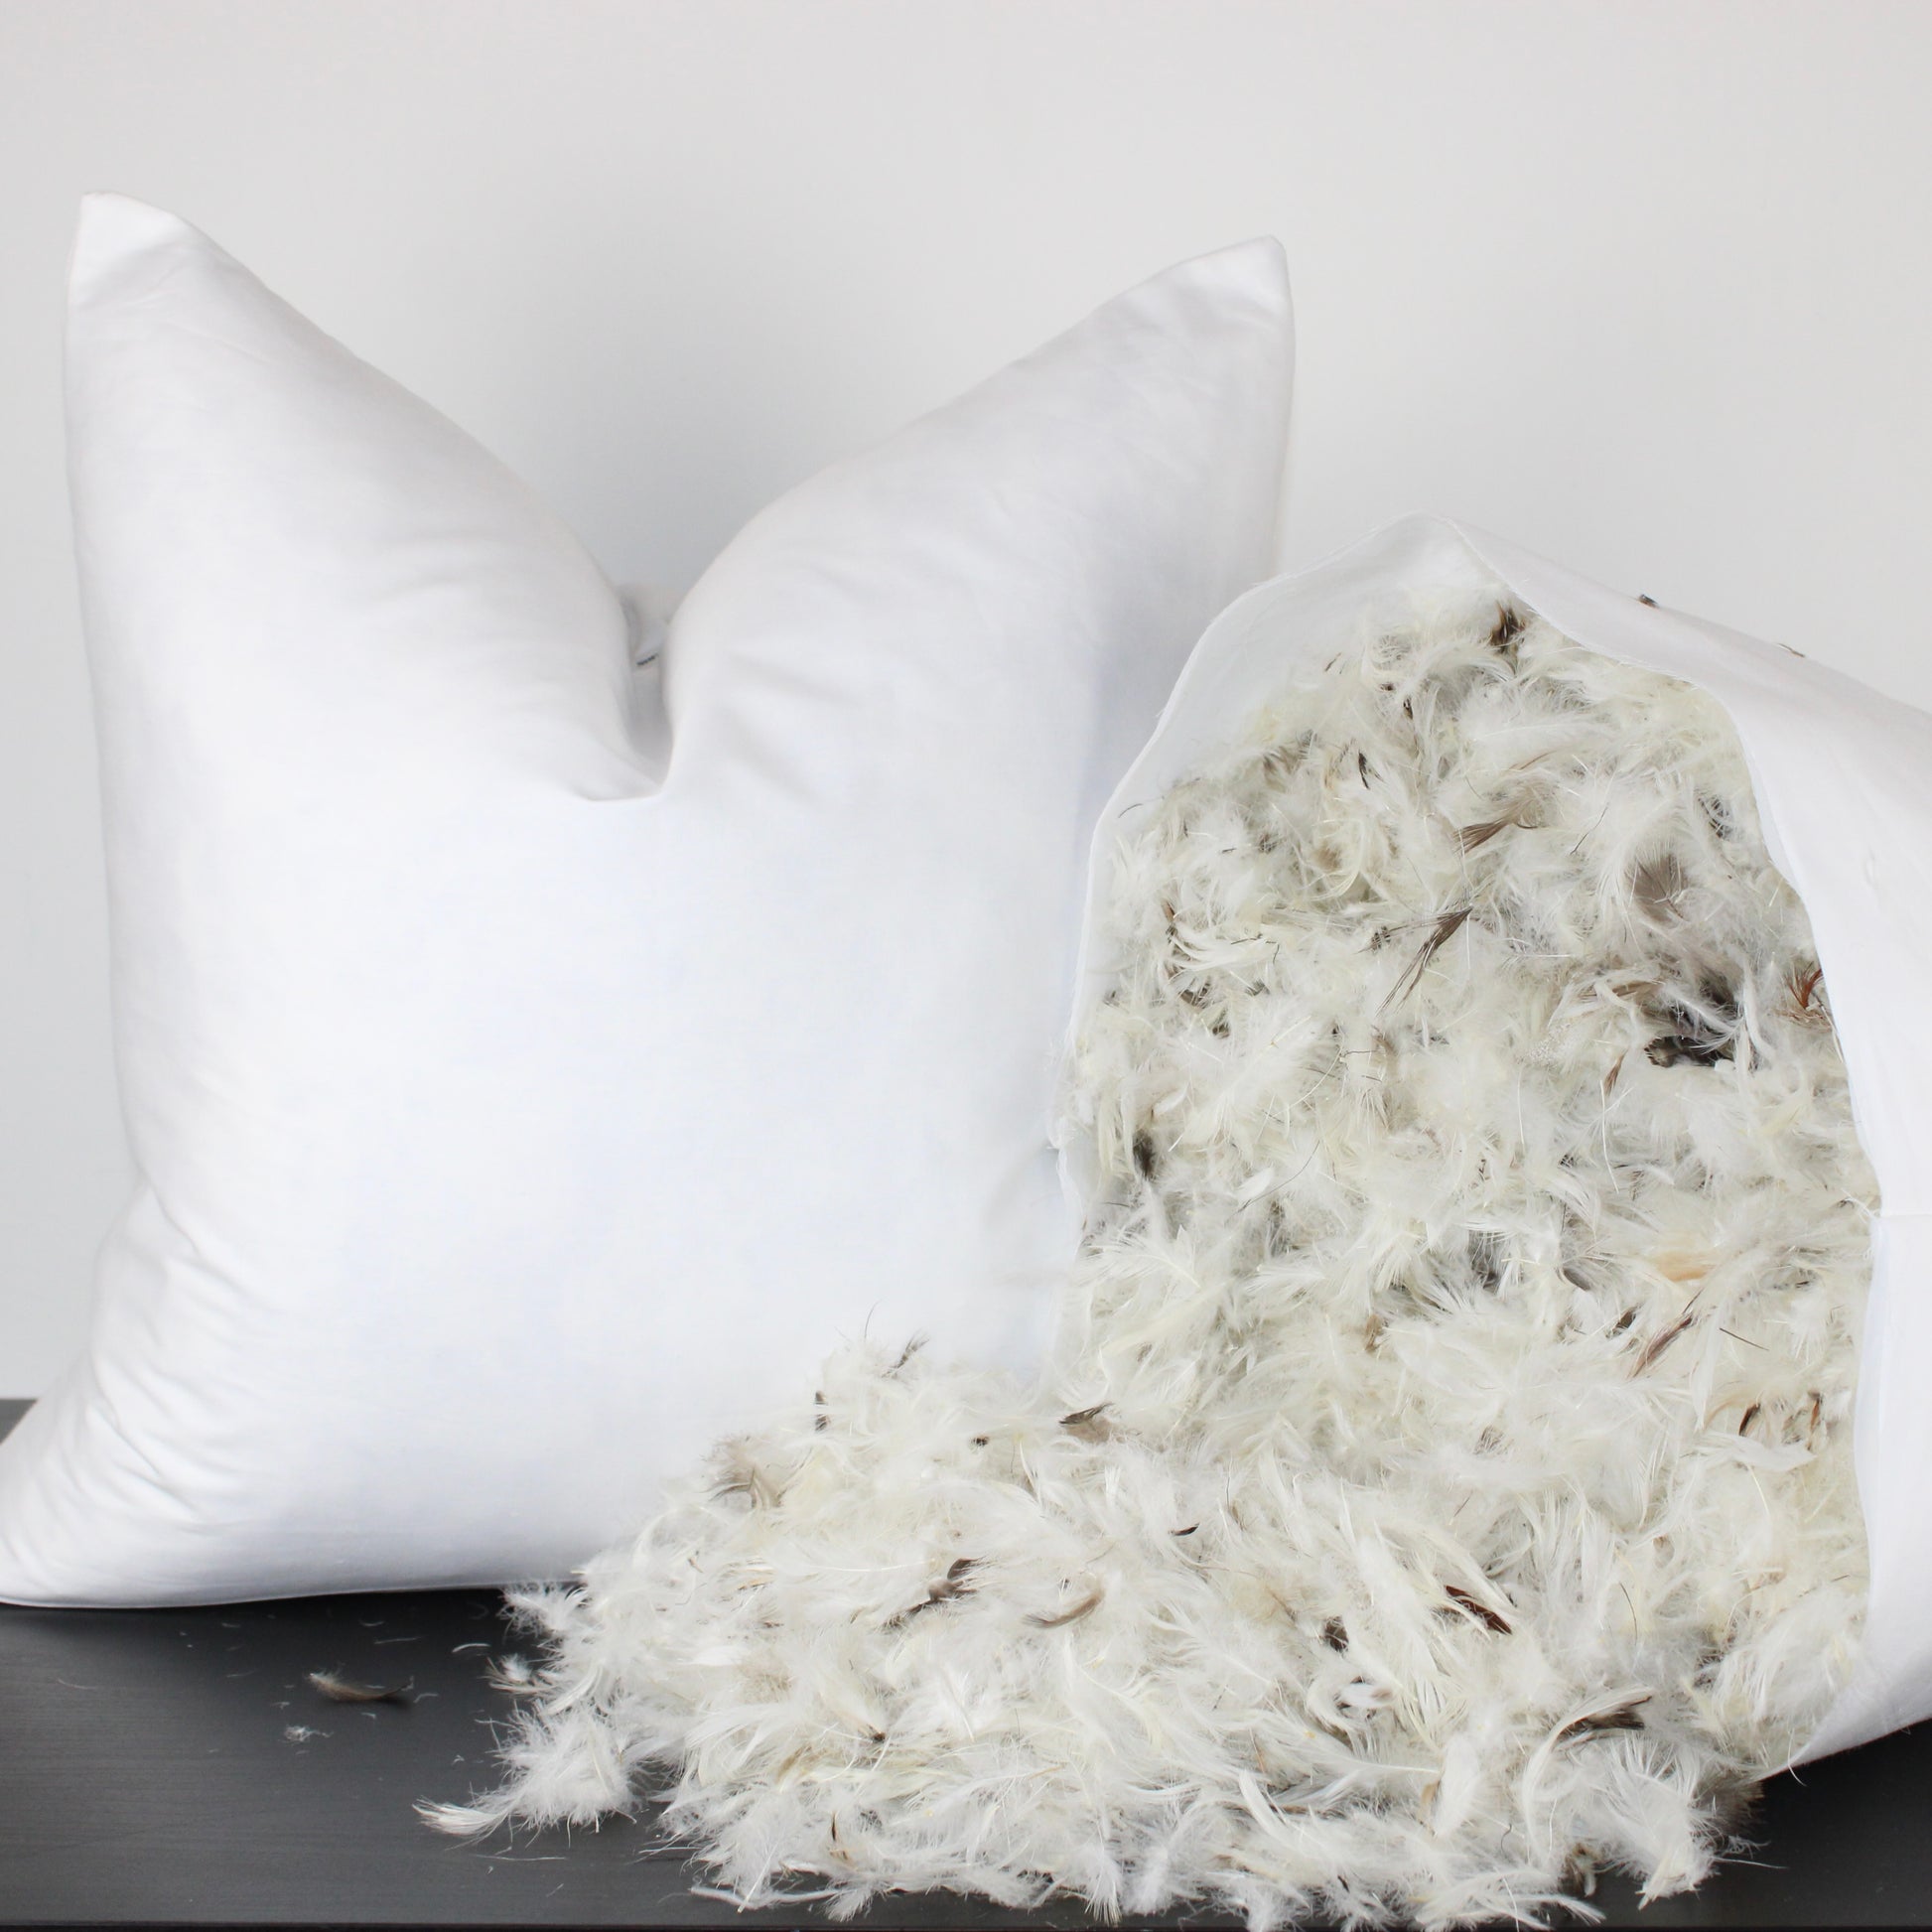
After shaking out the loose feathers, if you notice any damaged or flat feathers, you may need to consider replacing them. Feather cushions may naturally experience some feather loss over time, but excessive feather loss or flattened feathers can affect the cushion’s comfort and shape. Consider consulting a professional or researching online for guidance on how to replace feathers in your specific cushion.
Now that you’ve shaken out the loose feathers, let’s move on to step 3: spot cleaning any stains on the cushion.
To clean feather cushions, first remove the cover and spot clean any stains. Then, fluff the cushions and place them in the sun to air out and kill any bacteria or odors. Finally, use a fabric freshener to keep them smelling fresh.
Read more: How To Clean Foam Cushions
Step 3: Spot Clean Stains
Spot cleaning stains on your feather cushions is an essential step to keep them looking fresh and clean. Whether it’s a spill, a food stain, or a stubborn mark, addressing the stains promptly will help prevent them from setting in and becoming more difficult to remove. Follow these steps to spot clean stains on your feather cushions:
- Identify the stained areas on the cushion. This may include visible discoloration or areas that feel sticky or greasy.
- Prepare a cleaning solution by mixing a small amount of mild detergent or upholstery cleaner with warm water. Follow the product instructions for the correct ratio.
- Dampen a clean cloth or sponge in the cleaning solution. Make sure it’s not soaking wet, as excessive moisture can damage the feathers.
- Gently blot the stained areas with the damp cloth or sponge. Avoid rubbing the stain vigorously, as this can spread it or push it further into the fabric.
- Continue blotting until the stain starts to lift. If the stain is stubborn, you may need to repeat the process or use a specialized stain remover that is safe for feather-filled cushions.
- Once the stain is removed or lightened, dampen a clean cloth with plain water and blot the area to rinse off any residue from the cleaning solution.
- After spot cleaning, allow the cushion to air dry completely before moving on to the next step.
It’s important to remember that different types of stains may require specific cleaning methods or products. Always check the cushion’s care instructions or consult a professional for guidance, especially for delicate or valuable cushions.
Now that you’ve spot cleaned the stains, let’s proceed to step 4: airing out the cushions to remove any odors.
Step 4: Air Out the Cushions
Airing out your feather cushions is an effective way to remove any lingering odors and freshen them up. Over time, cushions can absorb various smells, such as pets, smoke, or cooking odors. Follow these steps to properly air out your cushions:
- Take the cleaned cushions to a well-ventilated area, preferably outdoors if weather permits. Alternatively, you can open windows and doors to allow fresh air to circulate in the room.
- Give the cushions a gentle shake to further loosen any trapped odors or stale air.
- Place the cushions on a clean and dry surface, such as a clean sheet or towel. This will prevent them from picking up dirt or moisture from the ground.
- Allow the cushions to air out for several hours or even a full day, depending on the intensity of the odors. During this time, you may want to flip the cushions occasionally to ensure all sides are exposed to fresh air.
- If the cushions have a persistent odor, you can sprinkle a small amount of baking soda over them and leave it on for a few hours. Baking soda is known for its odor-absorbing properties. Afterward, gently brush or vacuum off the baking soda.
Airing out your cushions regularly can help maintain a fresh and inviting scent. However, if you find that the odor persists despite proper airing, you may want to consider using an odor neutralizer or feather-friendly cleaner specifically designed to eliminate odors. Follow the instructions provided by the product manufacturer for best results.
Now that your cushions are nicely aired out, let’s move on to step 5: fluffing and restoring their shape.
Step 5: Fluff and Restore Shape
After cleaning and airing out your feather cushions, it’s time to give them some extra love by fluffing and restoring their shape. Regular fluffing helps to maintain the cushion’s plushness, ensure even distribution of feathers, and prevent them from becoming flat or lumpy. Follow these steps to fluff and restore the shape of your feather cushions:
- Gently pat and shake the cushions to separate any clumps of feathers and redistribute them evenly. This will help restore their natural loft and fluffiness.
- If the cushions still appear flat or unevenly shaped, you can use your hands to manipulate the filling. Squeeze and knead the cushion gently to evenly distribute the feathers and restore their shape. Pay extra attention to any areas that feel compressed or flattened.
- For overstuffed cushions, you can try pressing down on the cushion to release some excess air. This can help achieve a more comfortable and balanced feel.
- If necessary, you can give the cushion a gentle punch or pat on all sides to further fluff it up.
It’s important to note that some feather cushions may have a compartmentalized design to keep the feathers in place. In such cases, be gentle when fluffing, so you don’t disturb the structure or integrity of the cushion. If you’re unsure about the specific design of your cushions, refer to the manufacturer’s instructions or seek professional advice.
Fluffing your feather cushions regularly, especially after cleaning, will help maintain their original shape, comfort, and support. Now that your cushions are fluffed up, it’s time to move on to the final step: replacing the cushion covers.
Step 6: Replace Cushion Covers
Now that you’ve cleaned, aired out, and fluffed your feather cushions, it’s time to put the finishing touch by replacing the cushion covers. The cushion covers not only protect the feathers but also add style and visual appeal to your living room. Follow these steps to properly replace the cushion covers:
- Ensure that the cushion covers are clean and completely dry. Damp or wet covers can lead to mold or mildew growth.
- If necessary, give the cushion covers a quick iron or steam to remove any wrinkles.
- Hold the cushion cover with the zipper or closure facing upwards.
- Carefully slide the cushion into the cover, making sure all corners and edges align properly.
- Zip up or fasten the closure to secure the cushion inside the cover.
- If your cushion covers have buttons or snaps, make sure to fasten them accordingly.
- Give the cushion a gentle fluff and pat to ensure it is evenly distributed within the cover.
Properly replacing the cushion covers will not only protect the feathers from dust and dirt but also give your cushions a fresh and finished look. Ensure that the covers are properly secured and aligned to prevent any unevenness or discomfort.
Now that you’ve successfully replaced the cushion covers, you can sit back, relax, and enjoy your clean and comfortable feather cushions in your refreshed living room!
Remember, regular maintenance and cleaning will help prolong the life and comfort of your feather cushions. It’s a good idea to follow these cleaning steps every few months or as needed, depending on how frequently the cushions are used and any specific care instructions provided by the manufacturer.
By taking the time to clean and care for your feather cushions, you’ll be able to enjoy their luxurious comfort for years to come.
Happy lounging!
Read more: How To Clean Porch Cushions
Conclusion
Cleaning and maintaining feather cushions not only keeps them looking fresh and inviting but also ensures their longevity and comfort. By following the steps outlined in this guide, you can effectively clean your feather cushions and restore them to their plush and cozy state.
Remember, gathering the necessary supplies, including a vacuum cleaner, mild detergent, clean cloth, and warm water, is crucial for a successful cleaning process. Removing the cushion covers, shaking out loose feathers, spot cleaning stains, airing out the cushions, fluffing, and restoring their shape are all essential steps in maintaining clean and comfortable feather cushions.
Regular care and cleaning will not only remove dirt, dust, and stains but also help prevent odors and keep your cushions looking their best. Airing out the cushions can refresh them and eliminate any lingering odors, while fluffing helps maintain their loft and support.
Replacing the cushion covers is the final step that adds a finishing touch to your feather cushions. Clean and dry covers ensure a hygienic environment while also enhancing the aesthetic appeal of your living room.
By following these cleaning steps regularly, you can extend the lifespan of your feather cushions and enjoy their sumptuous comfort for years to come.
So, go ahead, take the time to give your feather cushions the care they deserve. Your living room will be a haven of plushness and relaxation, and you’ll have the peace of mind that comes with a clean and pristine seating area.
Now indulge and sink into the comfort of your freshly cleaned feather cushions!
Frequently Asked Questions about How To Clean Feather Cushions
Was this page helpful?
At Storables.com, we guarantee accurate and reliable information. Our content, validated by Expert Board Contributors, is crafted following stringent Editorial Policies. We're committed to providing you with well-researched, expert-backed insights for all your informational needs.


0 thoughts on “How To Clean Feather Cushions”