Home>Garden Essentials>How Long Does It Take Chia Seeds To Grow

Garden Essentials
How Long Does It Take Chia Seeds To Grow
Modified: October 19, 2024
Discover how long it takes for chia seeds to grow in your garden and start enjoying the benefits of these nutritious superfoods!
(Many of the links in this article redirect to a specific reviewed product. Your purchase of these products through affiliate links helps to generate commission for Storables.com, at no extra cost. Learn more)
Introduction
Chia seeds have gained popularity in recent years for their numerous health benefits and versatility in the kitchen. But have you ever wondered how long it takes for these tiny seeds to grow into healthy and vibrant plants?
In this article, we will delve into the world of chia seeds and explore the germination process, the factors that affect their growth, and the time required for them to sprout. Whether you’re a novice gardener or a seasoned pro, understanding the growth of chia seeds can help you optimize their growth and ensure a bountiful harvest.
So, let’s dig in and discover the fascinating journey of chia seed growth!
Key Takeaways:
- Chia seeds typically take 7 to 14 days to sprout, needing warmth, moisture, and quality seeds. Understanding these factors can help optimize their growth and ensure a successful germination process.
- Caring for chia plants involves consistent watering, ample sunlight, and proper maintenance. Harvesting chia seeds requires patience and attention to detail, ensuring a successful and rewarding process.
Read more: How Long Does It Take For Chia Seeds To Soak
Understanding Chia Seeds
Before we dive into the growth process of chia seeds, let’s take a moment to understand what they are and why they are highly regarded in the gardening and health communities.
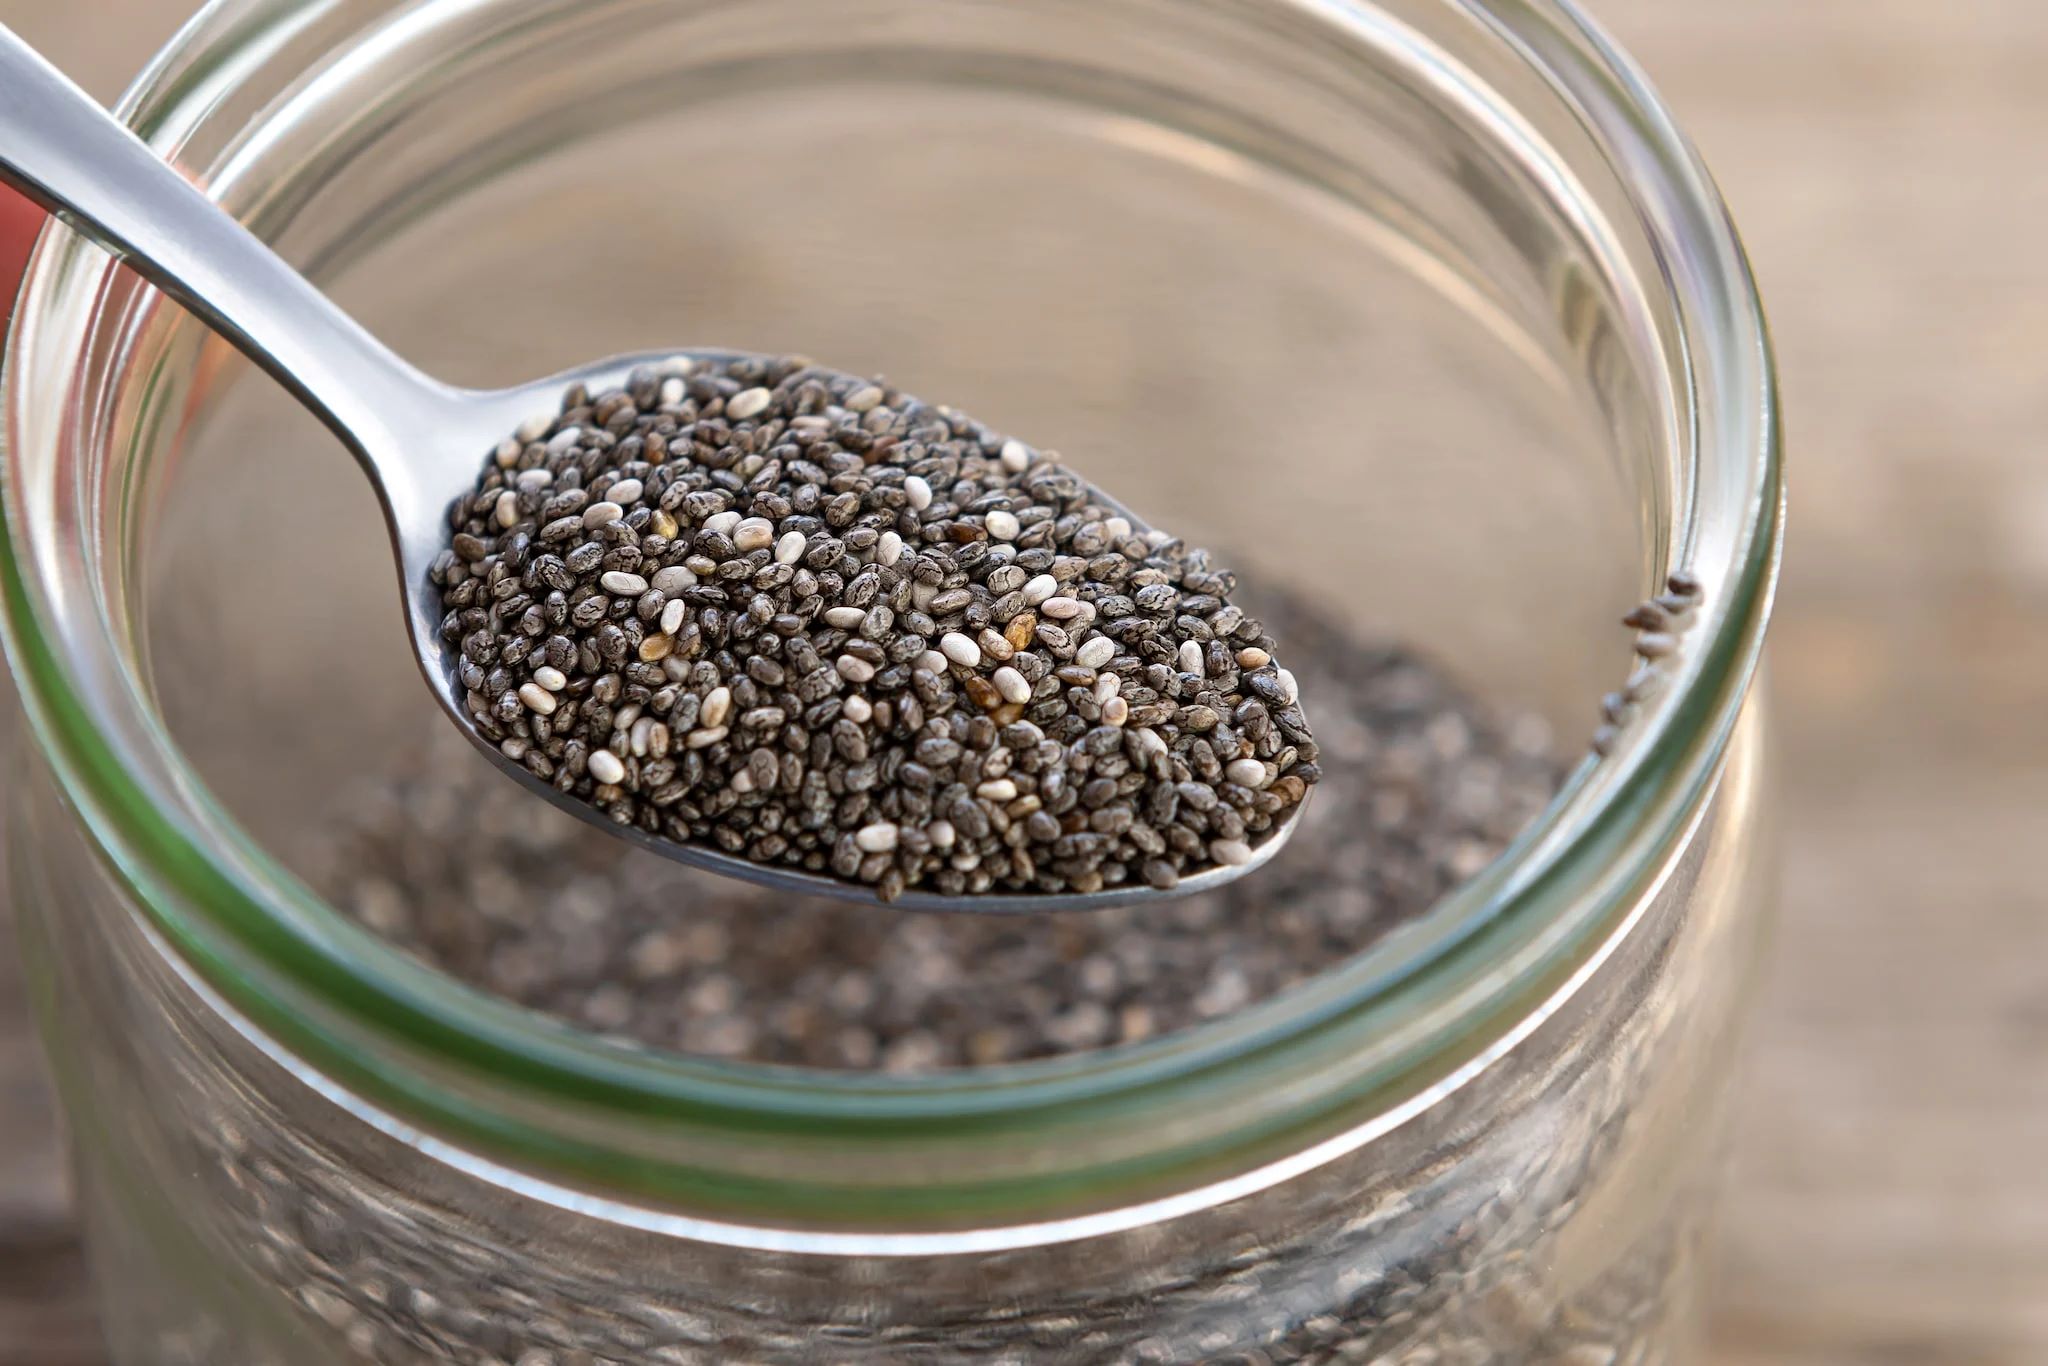
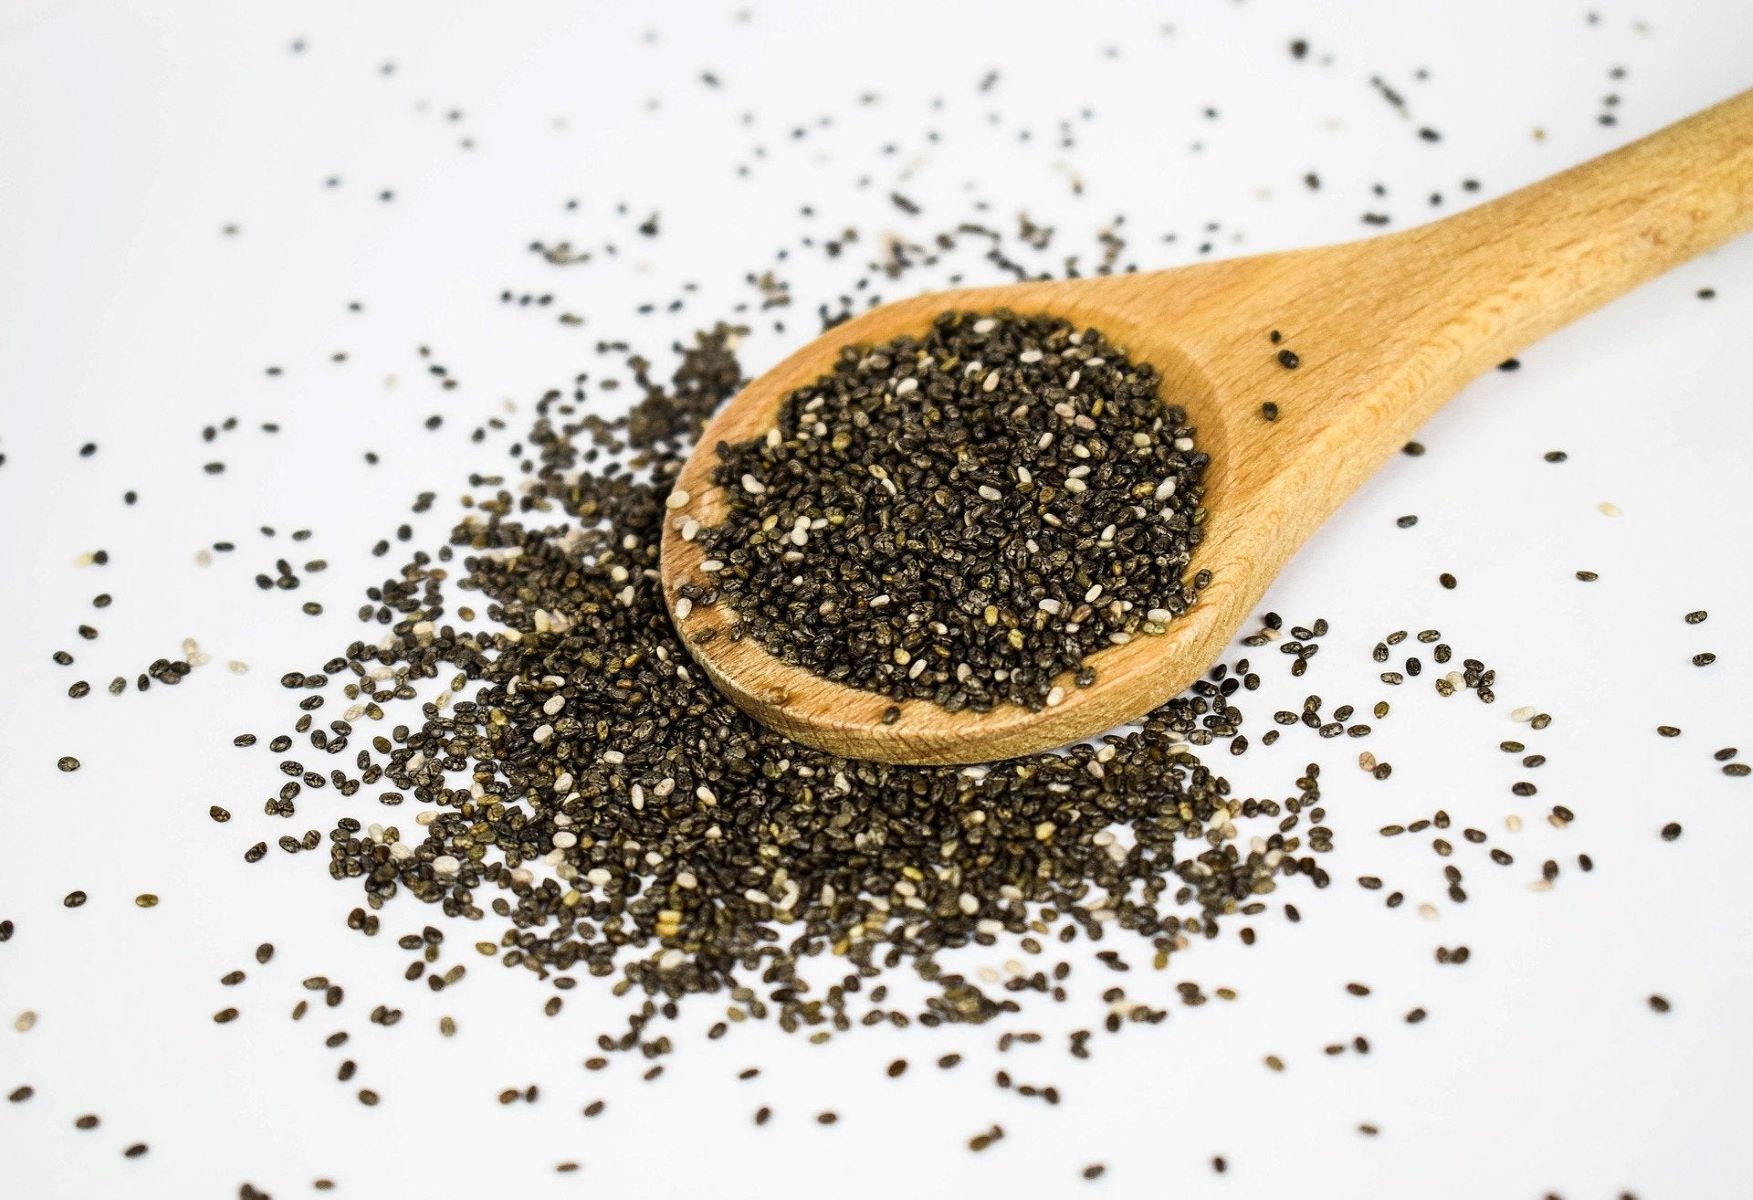
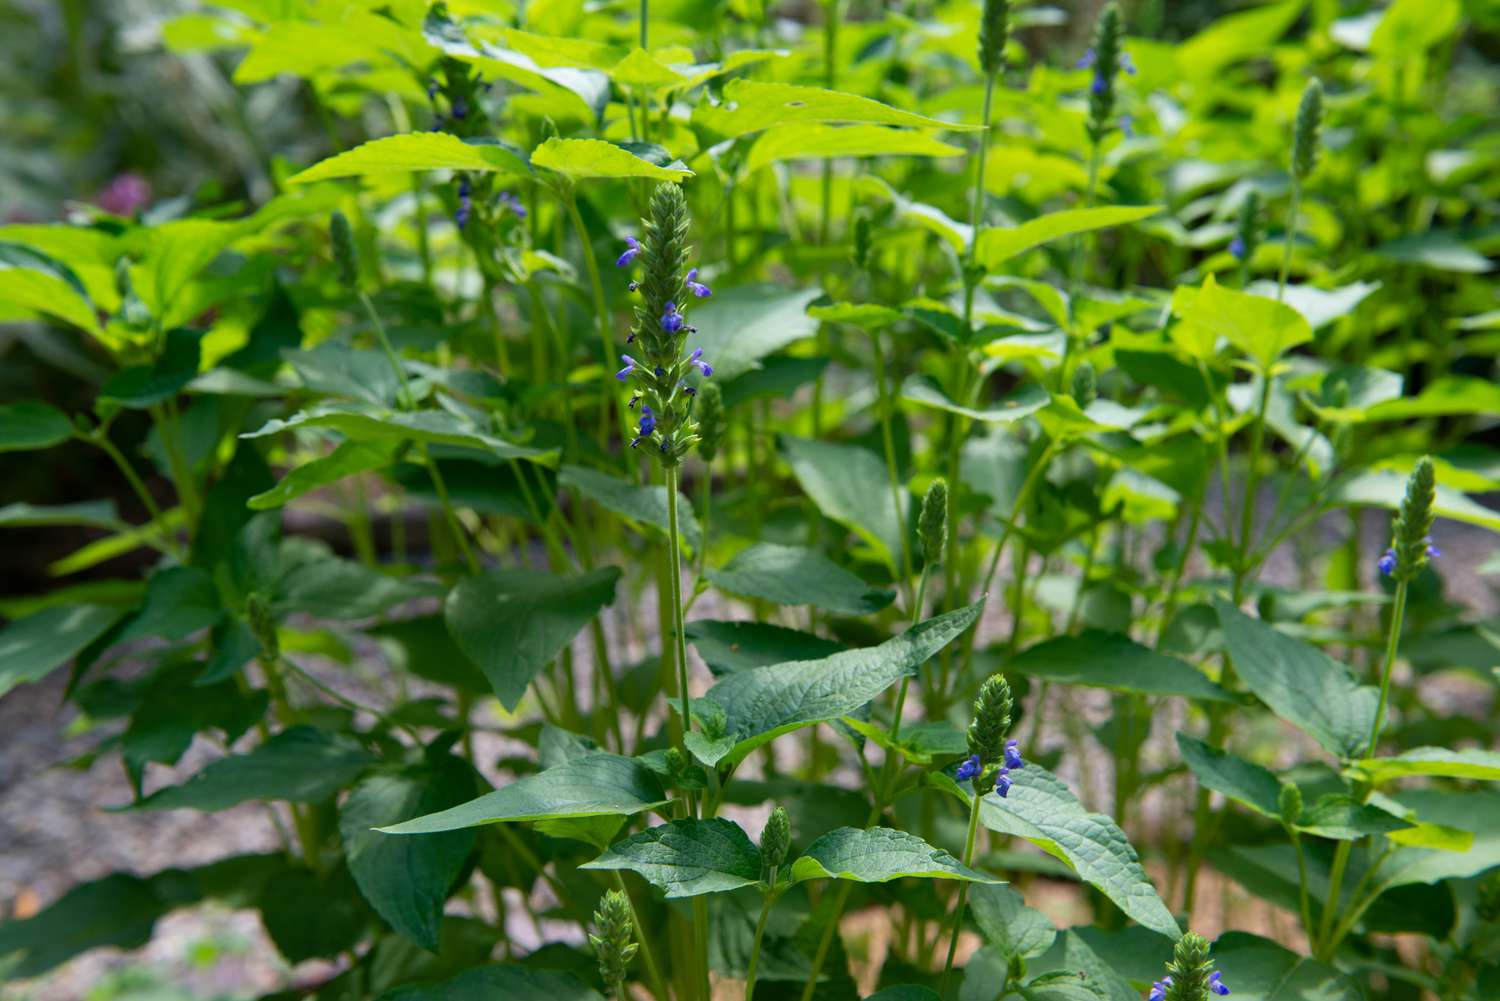
Chia seeds are derived from the Salvia hispanica plant, which is native to Central and South America. They have a long history of being used as a nutritional powerhouse by ancient civilizations, including the Aztecs and Mayans. These tiny seeds are packed with essential nutrients, such as omega-3 fatty acids, fiber, protein, antioxidants, and various vitamins and minerals.
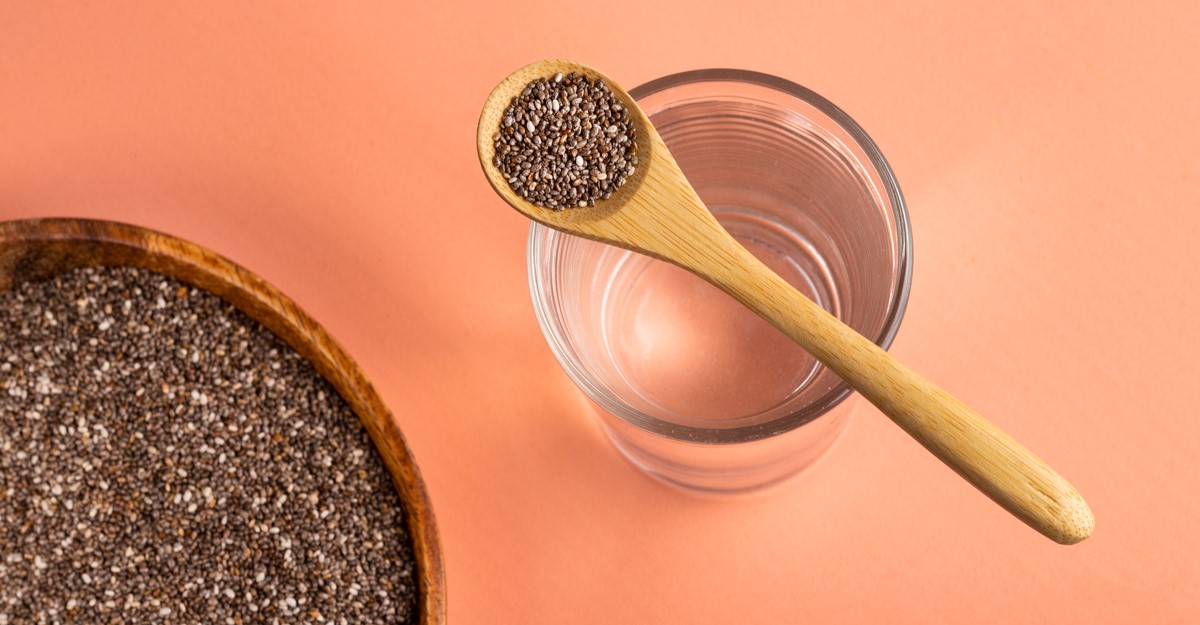
One of the remarkable characteristics of chia seeds is their ability to absorb liquid and form a gel-like consistency. This unique feature makes them a popular ingredient in recipes such as smoothies, puddings, and baked goods. They also make an excellent vegan substitute for eggs in baking due to their binding properties.
In addition to their culinary uses, chia seeds have gained recognition for their potential health benefits. Consuming chia seeds has been linked to improved digestion, reduced blood sugar levels, increased satiety, and enhanced heart health. They are also gluten-free, making them suitable for individuals with gluten sensitivities or celiac disease.
Now that we have a basic understanding of chia seeds, let’s explore the fascinating process of how these nutrient-rich seeds transform into vibrant plants.
Germination Process of Chia Seeds
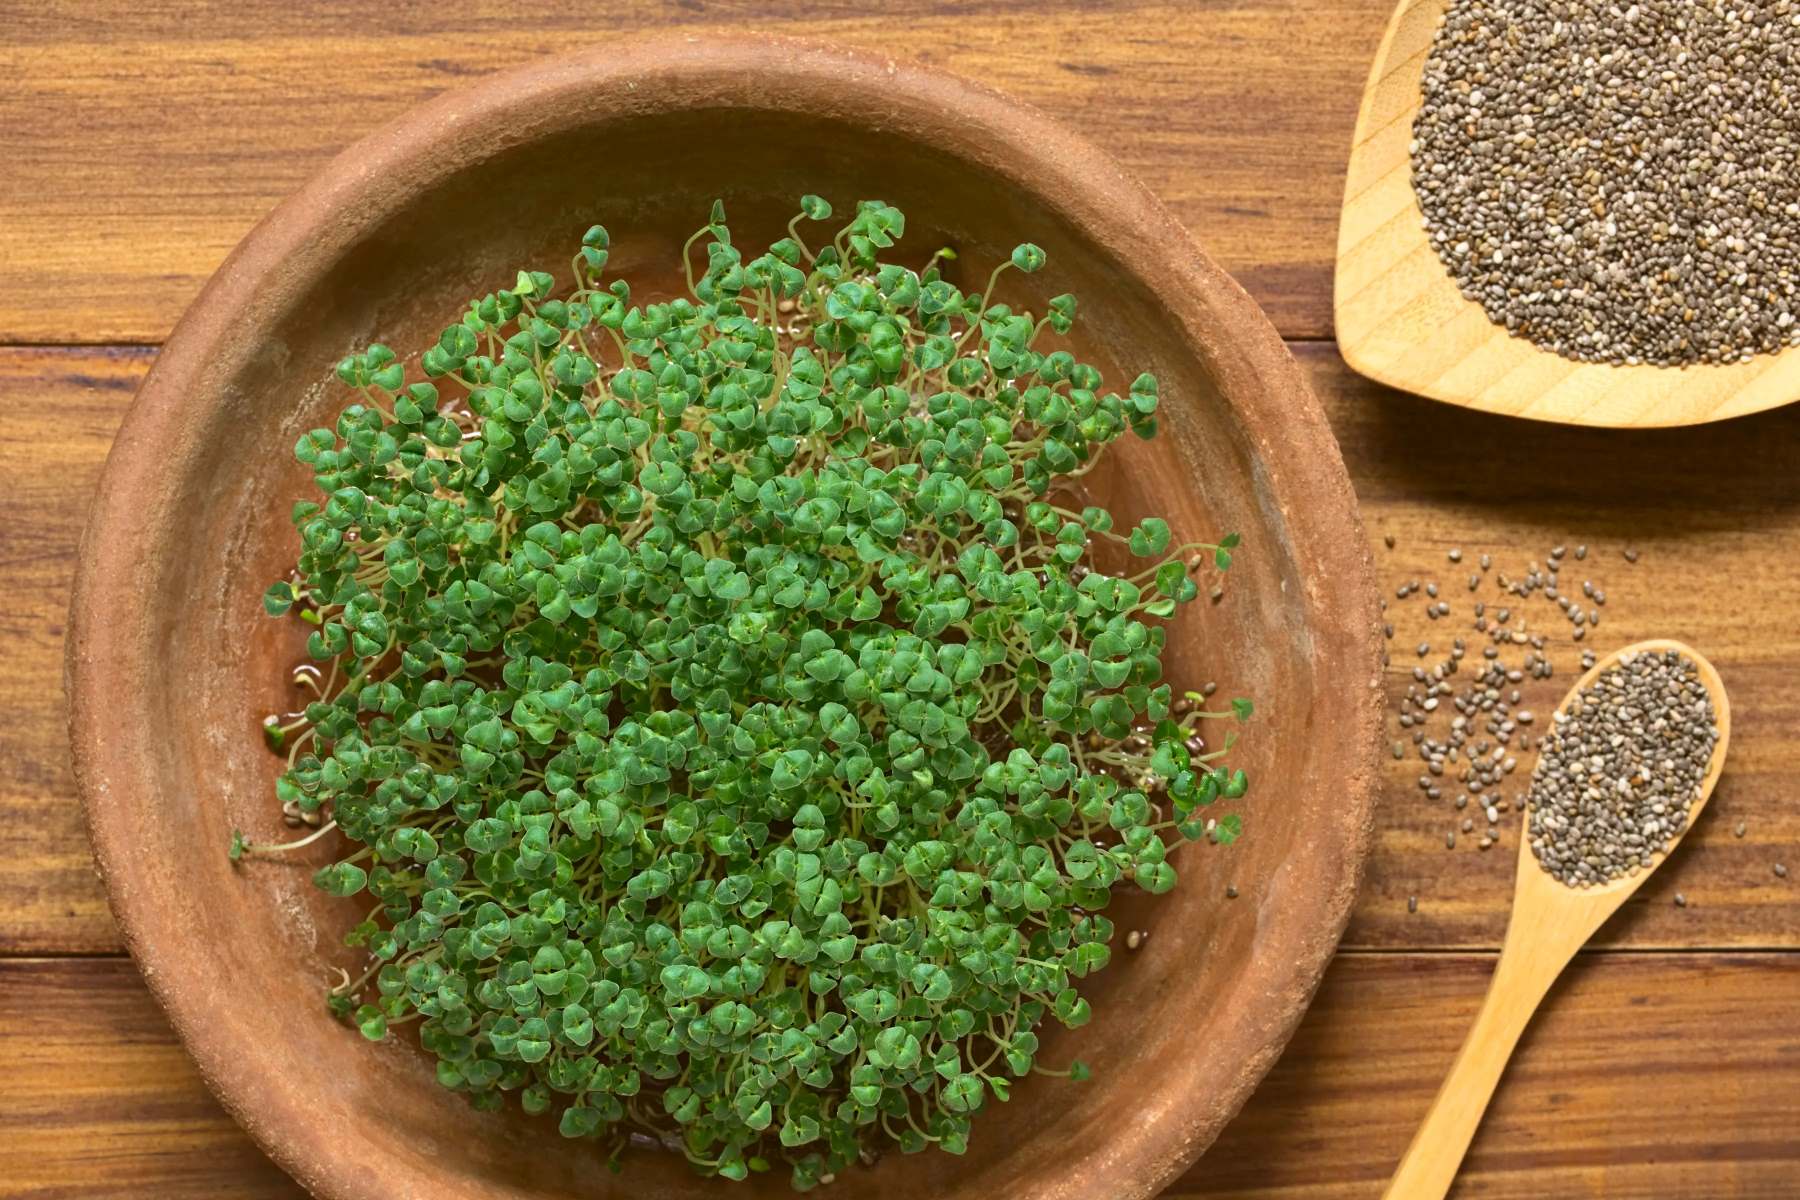
The germination process is the crucial initial stage in the life cycle of chia seeds. When provided with the right conditions, chia seeds sprout and develop into seedlings, ready to grow into mature plants.
Germination begins when chia seeds come into contact with moisture. This triggers the activation of enzymes within the seed, causing it to undergo biochemical changes. As a result, the dormant embryo within the seed begins to grow and push its way out of the shell.
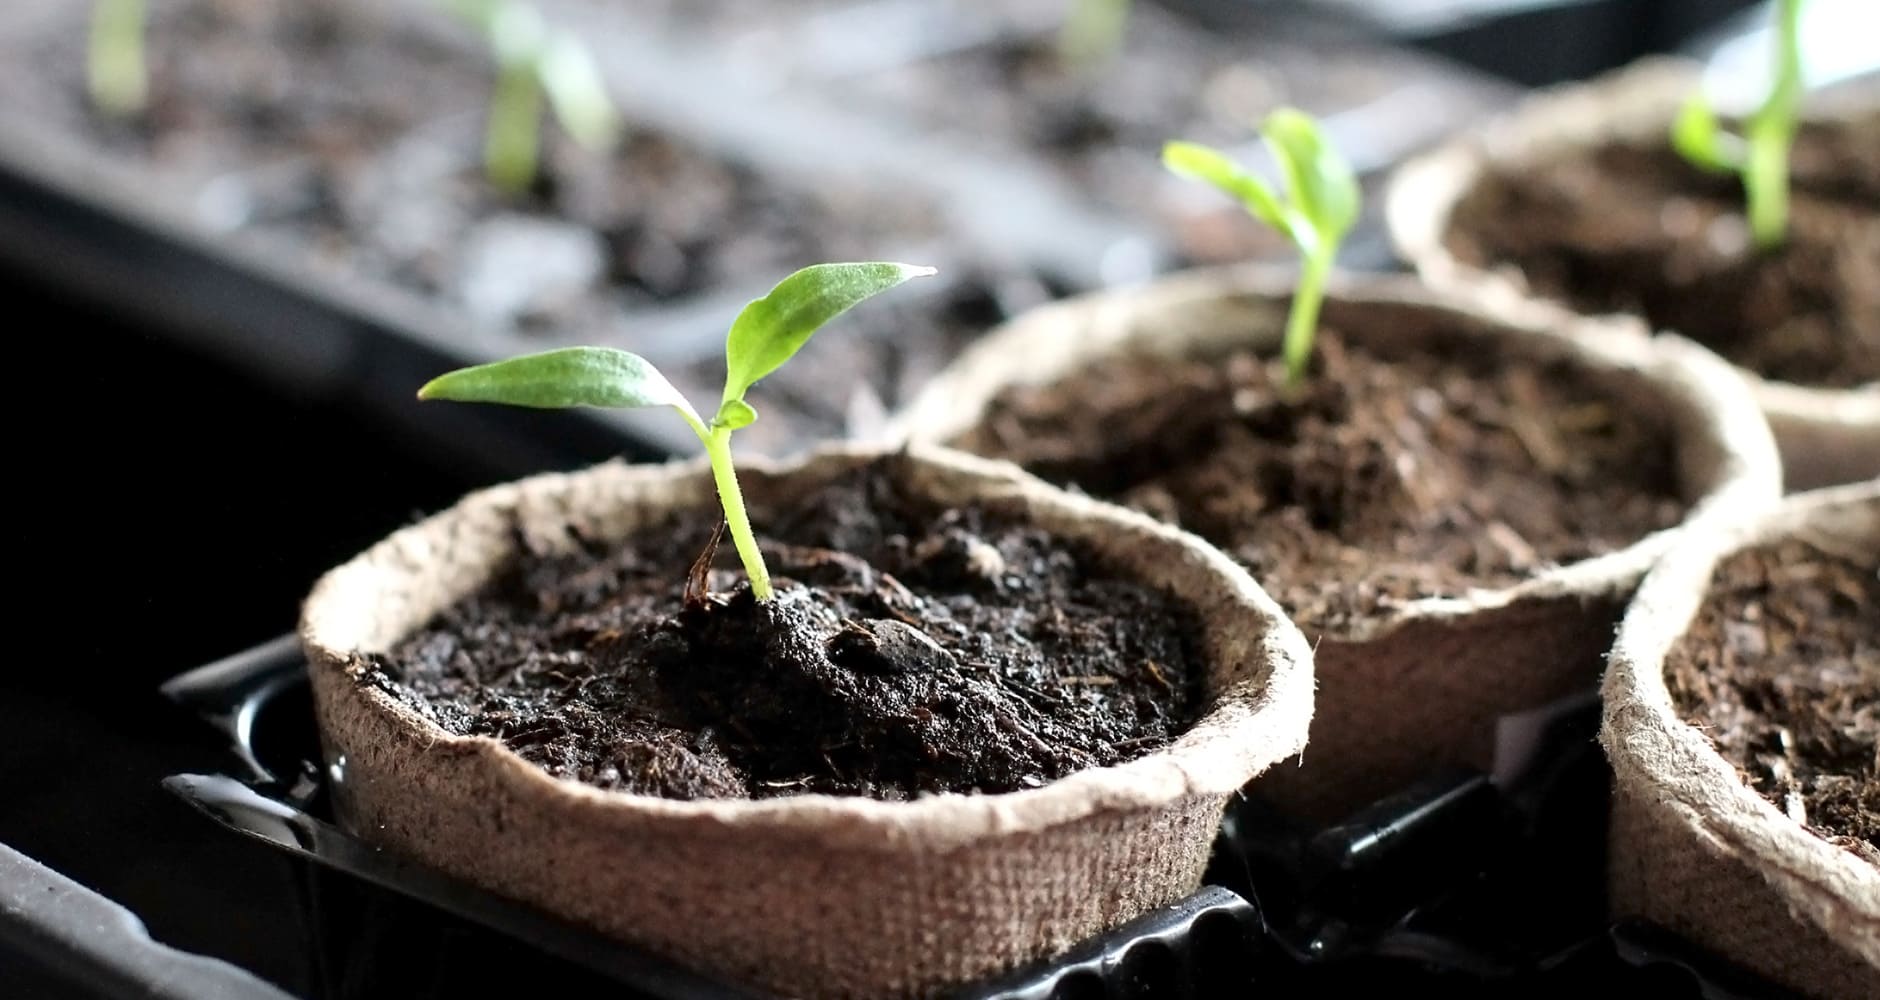
During germination, chia seeds require a balance of moisture, oxygen, and warmth to stimulate growth. Exposing the seeds to these optimal conditions allows the radicle, the embryonic root, to emerge from the seed. The radicle then grows downward, anchoring the seedling into the soil.
As the radicle continues to grow, the seedling develops its first set of leaves known as cotyledons. These leaves absorb sunlight and serve as a source of energy for the seedling until it can produce its own through photosynthesis.
At this point, the seedling is fully established and can continue to grow into a mature chia plant. The entire germination process typically takes around 7 to 14 days, depending on various factors that influence the growth rate of chia seeds.
Let’s explore some of these factors and how they can impact the time required for chia seeds to sprout.
Factors Affecting Chia Seed Growth
Several factors play a crucial role in determining the growth and germination rate of chia seeds. Understanding these factors can help you create ideal conditions for your chia plants and optimize their growth. Here are some key factors to consider:
- Temperature: Chia seeds prefer a warm and stable temperature for optimal germination. The ideal temperature range is between 70°F (21°C) and 85°F (29°C). Extreme cold or heat can hinder germination or cause seedling damage.
- Moisture: Adequate moisture is essential for chia seeds to germinate. The seeds need to be kept consistently moist but not overly soaked. Soggy conditions can invite mold growth and lead to seed rot. Gentle misting or a light watering regime can help maintain the right moisture level.
- Light: Chia seeds are versatile and can germinate in both light and dark conditions. However, exposing them to light can aid in the photosynthesis process once the seedlings emerge. If you’re using a tray or container to grow chia seeds indoors, place them in a well-lit area but away from direct sunlight to prevent drying out.
- Soil quality: The quality of the soil plays a vital role in the growth of chia seeds. Chia plants prefer well-draining soil that is rich in organic matter. Loose and crumbly soil allows the roots to grow and spread easily. A pH level between 6 and 7 is considered optimal for chia seed growth.
- Seed quality: The quality of the chia seeds you use also affects their germination rate. Fresh, high-quality seeds have a higher chance of successful germination compared to old or poor-quality seeds. Purchase seeds from reputable sources or consider saving seeds from mature chia plants.
By understanding and controlling these factors, you can create the ideal environment for chia seed growth and maximize your chances of a successful germination process.
Chia seeds typically take 7-10 days to sprout and grow into a healthy plant. Make sure to keep the seeds moist and in a sunny spot for best results.
Time Required for Chia Seeds to Sprout
The time required for chia seeds to sprout can vary depending on several factors, including temperature, moisture, and seed quality. In optimal conditions, chia seeds typically take around 7 to 14 days to sprout.
Temperature plays a significant role in the germination process. Chia seeds prefer a warm environment with a temperature range between 70°F (21°C) and 85°F (29°C). If the temperature is too cold, germination can be delayed or inhibited. Similarly, if the temperature is too hot, it can also negatively affect seed germination.
Moisture is another crucial factor. Chia seeds require consistent moisture to sprout. It is important to keep the seeds moist but not overly soaked. Soggy conditions can potentially lead to seed rot or fungal growth. A good practice is to mist the seeds or lightly water them to maintain the ideal moisture level.
Seed quality also plays a role in the germination period. Fresh and high-quality chia seeds have a higher chance of sprouting successfully and in a shorter time frame. Old or poor-quality seeds may have a lower germination rate and may take longer to sprout. Thus, it is advisable to use fresh seeds or source them from reputable suppliers.
It is important to note that these are general guidelines, and the actual time it takes for chia seeds to sprout may vary. Factors such as seed viability, environmental conditions, and individual plant genetics can all influence the germination process.
During this waiting period, it is important to continue providing the seeds with appropriate care, such as maintaining optimal temperature and moisture levels. Regularly monitor the seeds and be patient, as germination may take longer or occur earlier depending on the specific conditions.
By understanding the time frame and factors influencing chia seed sprouting, you can effectively plan and monitor the growth of your chia plants.
Read more: How Long Does It Take Chia Seeds To Sprout
Caring for Chia Plants
Once your chia seeds have sprouted and developed into healthy seedlings, it’s time to shift your focus to caring for the chia plants as they continue to grow and mature. Proper care and attention will ensure their long-term health and vitality. Here are some essential tips for caring for chia plants:
- Watering: Chia plants require consistent moisture to thrive. Water the plants regularly, keeping the soil evenly moist but not overly saturated. Avoid letting the soil completely dry out, as this can cause stress and impact plant growth. Monitor the moisture level by checking the soil’s top inch and adjust watering accordingly.
- Sunlight: Chia plants are sun-loving and require ample sunlight to grow well. Place them in a sunny location where they can receive at least 6 to 8 hours of direct sunlight each day. If growing indoors, place them near a south-facing window or use supplemental grow lights to ensure they receive adequate light.
- Fertilization: Chia plants generally do not require heavy fertilization. However, you can provide a balanced, organic fertilizer once or twice during the growing season to enhance their overall health and productivity. Follow the instructions on the fertilizer packaging and avoid over-fertilization, which can lead to excessive vegetative growth and reduced seed production.
- Pruning: As chia plants grow, they may develop dense foliage. Pruning can help improve air circulation, reduce disease risks, and encourage a more compact growth habit. Trim back any dead or diseased leaves and branches to maintain the plant’s vigor. Additionally, regular pruning can divert energy towards seed production.
- Weed Control: Keep the area around your chia plants free from weeds. Weeds compete for essential nutrients, water, and sunlight, which can hinder the growth and development of your chia plants. Regularly remove any weeds by hand or use mulch to suppress weed growth while also conserving soil moisture.
- Pest and Disease Management: Chia plants are relatively resistant to pests and diseases. However, it’s important to monitor them regularly for any signs of infestation or disease. Inspect the leaves, stems, and undersides of the plant for pests such as aphids or mites. If necessary, treat the affected areas with appropriate organic pest control methods or consult a gardening professional.
- Harvesting Seeds: Chia seeds are ready for harvest when the flowers have faded and dried out, and the seed heads have turned a brownish color. Cut the seed heads and place them in a paper bag or a clean, dry container. Gently crush the heads to release the seeds. Store the harvested seeds in an airtight container in a cool, dark place until ready to use.
By providing proper care, watering, sunlight, and regular maintenance, you can ensure the health and productivity of your chia plants, resulting in a bountiful harvest of nutritious seeds.
Harvesting Chia Seeds
Harvesting chia seeds is an exciting and rewarding process that allows you to enjoy the fruits of your labor. Chia seeds are typically ready for harvest when the flowers have faded and dried out, and the seed heads have turned a brownish color. Here’s a step-by-step guide on how to harvest chia seeds:
- Observe the plant: Watch for signs that the chia plants are reaching maturity. The flowers will start to wither, and the seed heads will begin to turn brown. This usually occurs around 90 to 120 days after planting, but it can vary depending on the specific variety and growing conditions.
- Prevent seed loss: To prevent seed loss, it’s a good idea to cut the seed heads from the plants before they fully dry out and the seeds begin to disperse naturally. This helps to salvage as many seeds as possible and reduces the risk of them being scattered by wind or wildlife.
- Cut the seed heads: Using sharp garden shears or scissors, carefully cut the seed heads from the plants, leaving a few inches of stem attached. Handle the seed heads gently to avoid damaging the seeds.
- Collect the seeds: Place the harvested seed heads in a paper bag or a clean, dry container. You can also lay a clean sheet or tarp on the ground and gently rub the seed heads over it to dislodge the seeds. The seeds will separate from the seed heads and fall onto the sheet or tarp.
- Remove debris: Transfer the seeds into a clean bowl or bucket. Remove any unwanted plant material, such as leaves or stems, by gently blowing or using a fine-mesh sieve to separate the seeds from debris. Check for any damaged or immature seeds and discard them.
- Dry the seeds: To ensure the longevity and quality of the harvested seeds, they need to be thoroughly dried. Spread the cleaned seeds in a single layer on a clean, dry surface such as a baking tray or a screen. Place them in a well-ventilated area away from direct sunlight. Stir or turn the seeds occasionally to ensure even drying. It may take a week or longer for the seeds to dry completely.
- Store the seeds: Once the chia seeds are completely dry, transfer them to an airtight container, such as a glass jar or a resealable bag. Store them in a cool, dark place, such as a pantry or a cupboard. Properly stored chia seeds can retain their nutritional value and viability for up to several years.
Remember, harvesting chia seeds requires patience and attention to detail. By following these steps, you can ensure a successful harvest and enjoy the abundance of nutritious chia seeds for your culinary creations and health-focused endeavors.
Conclusion
Cultivating chia seeds and witnessing their growth from tiny, nutrient-dense seeds to vibrant and productive plants is a rewarding experience. Through understanding the germination process, the factors that influence growth, and proper care, you can foster healthy chia plants and enjoy an abundant harvest of nutritious chia seeds.
Chia seeds, with their rich nutritional profile, versatility, and potential health benefits, have gained immense popularity. Incorporating these seeds into your diet can provide a host of advantages, including improved digestion, increased satiety, and enhanced heart health.
When it comes to growing chia plants, paying attention to factors such as temperature, moisture, light, soil quality, and seed quality is crucial. Creating the right environment for germination and providing proper care, including watering, sunlight, pruning, and pest control, will contribute to the overall success of your chia plants.
Once the chia plants have reached maturity, it’s time to harvest the seeds. Carefully cutting the seed heads and collecting the seeds before they disperse ensures maximum seed preservation. Drying the seeds thoroughly and storing them properly will maintain their quality for long-term use.
In conclusion, growing chia seeds is a fascinating journey that combines the wonders of nature with the joy of gardening. By understanding the germination process, caring for the plants, and harvesting the seeds, you can enjoy the benefits of these tiny powerhouses in your culinary endeavors and health-conscious lifestyle.
So, embrace the wonderful world of chia seeds and embark on your own chia-growing adventure. Whether you’re a gardening enthusiast, a health-conscious individual, or simply curious about the wonders of nature, chia seeds offer a wealth of possibilities and rewards. Start your journey today and experience the joy of growing and harvesting your own chia seeds!
Frequently Asked Questions about How Long Does It Take Chia Seeds To Grow
Was this page helpful?
At Storables.com, we guarantee accurate and reliable information. Our content, validated by Expert Board Contributors, is crafted following stringent Editorial Policies. We're committed to providing you with well-researched, expert-backed insights for all your informational needs.


0 thoughts on “How Long Does It Take Chia Seeds To Grow”