Home>Garden Essentials>How Chia Seeds Grow
Garden Essentials
How Chia Seeds Grow
Modified: March 24, 2024
Discover the fascinating process of how chia seeds grow in your garden and learn how to cultivate your own healthy and nutritious chia plants.
(Many of the links in this article redirect to a specific reviewed product. Your purchase of these products through affiliate links helps to generate commission for Storables.com, at no extra cost. Learn more)
Introduction
Welcome to the fascinating world of chia seeds! If you have ever wondered how these tiny, nutrient-packed powerhouses grow, you have come to the right place. Chia seeds have gained popularity in recent years due to their numerous health benefits and versatile uses. But have you ever thought about the journey these marvelous seeds go through before they end up in your kitchen?
In this article, we will explore the growth process of chia seeds, from germination to harvesting. You will discover the optimal conditions required for their growth, learn how to plant chia seeds, and gain insights into the care and maintenance of chia plants. By the end, you will have a deeper understanding of these incredible seeds and be inspired to grow your very own chia plants.
So, let’s dive in and uncover the secrets of how chia seeds grow!
Key Takeaways:
- Chia seeds need warmth, sunlight, and well-drained soil to grow. With proper care, anyone can enjoy the joy of cultivating these tiny seeds into thriving plants for a bountiful harvest.
- Harvesting chia seeds is a rewarding process that involves waiting for the seeds to mature, collecting them from the dried seed heads, and preserving them for culinary use or future planting.
Read more: How To Grow Chia Seeds In Terracotta
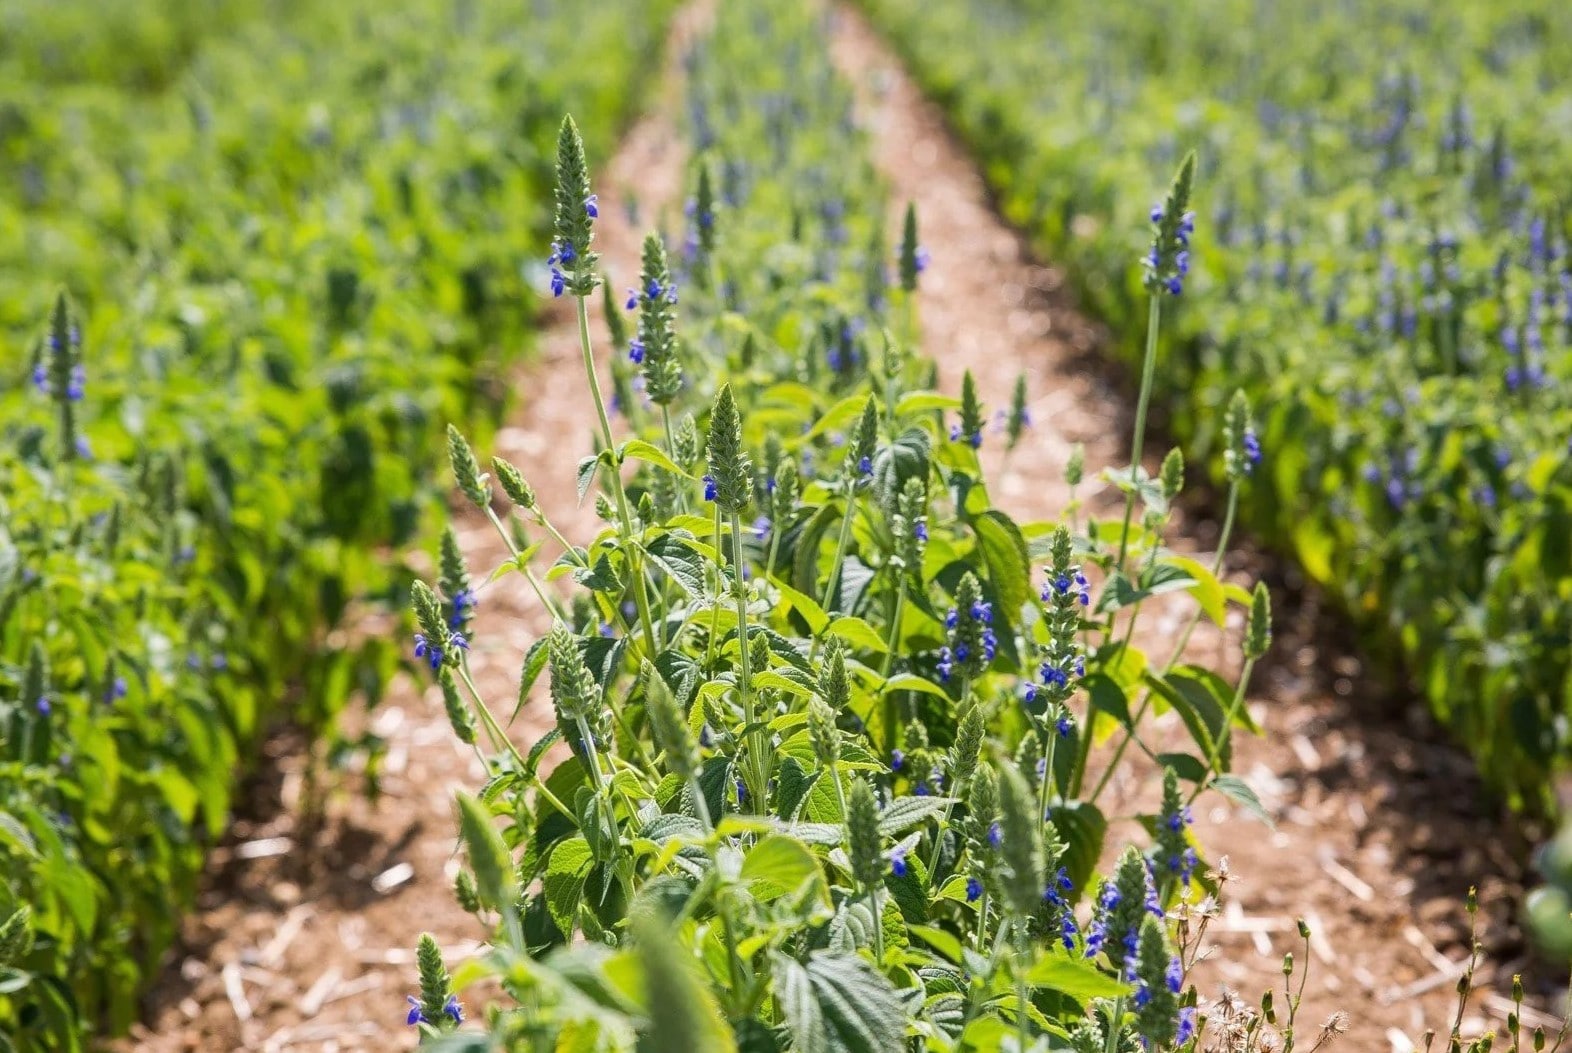
Characteristics of Chia Seeds
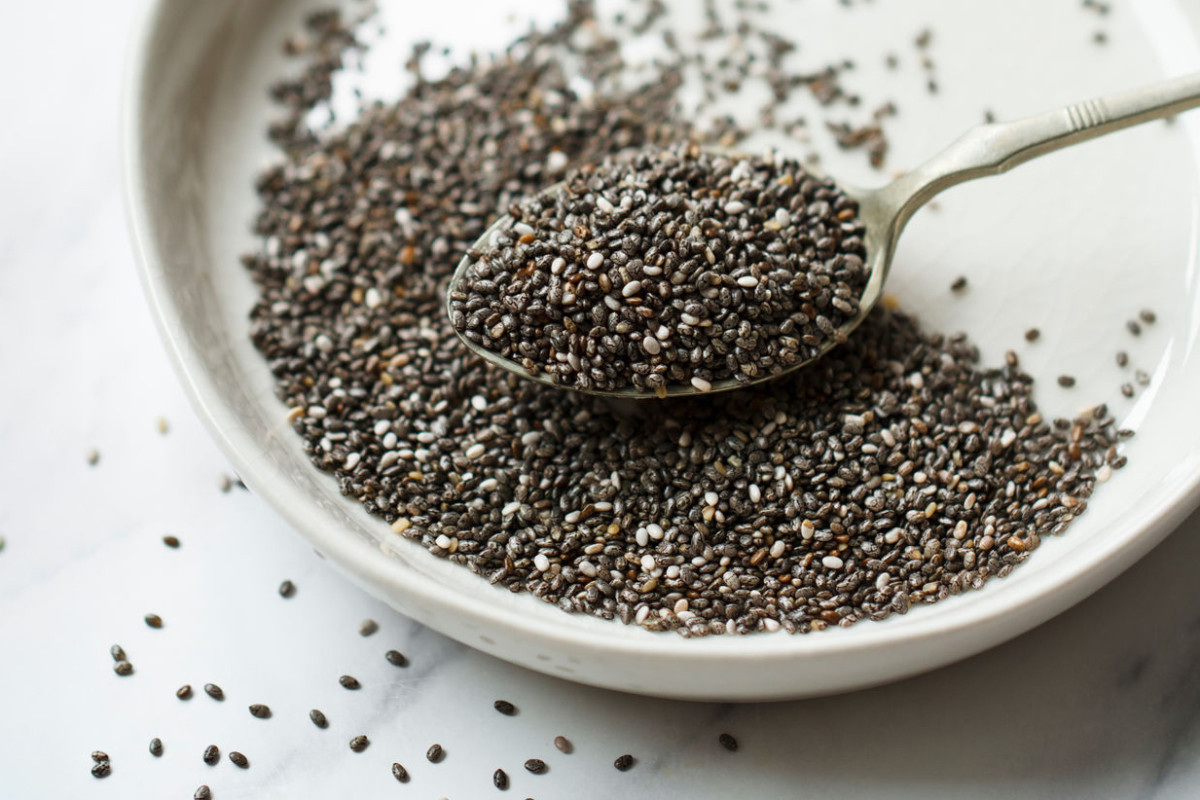
Before we delve into the growth process of chia seeds, let’s first explore their unique characteristics. Chia seeds, scientifically known as Salvia hispanica, are small, oblong-shaped seeds that come in different colors, including black, brown, and white. They have a smooth, shiny texture and are about the size of a poppy seed.
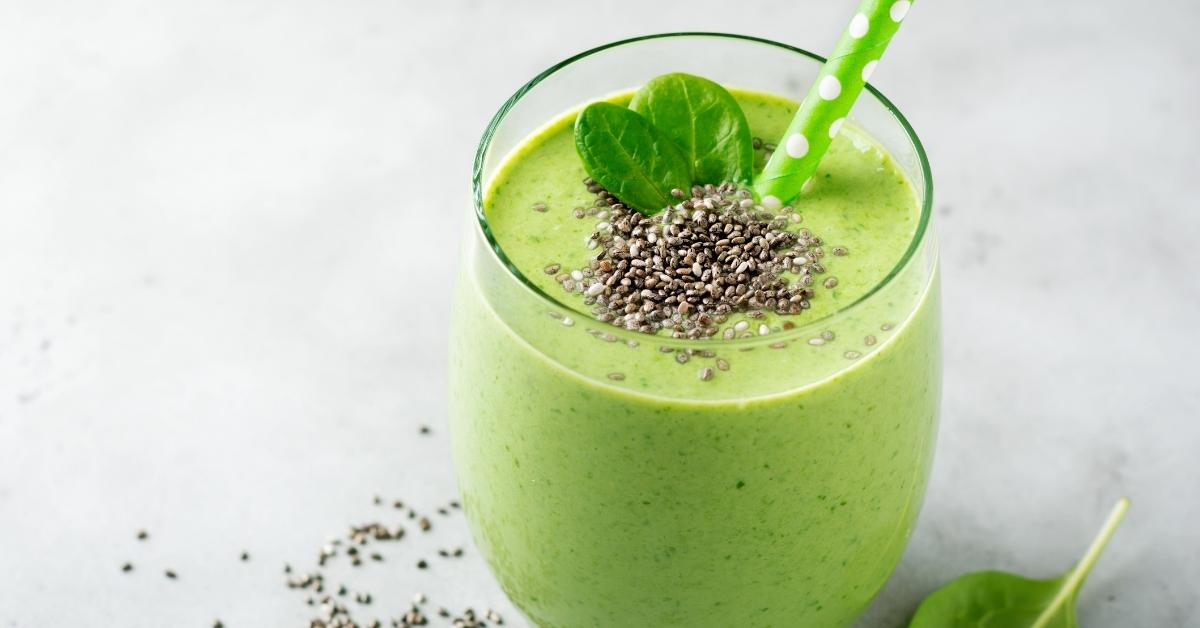
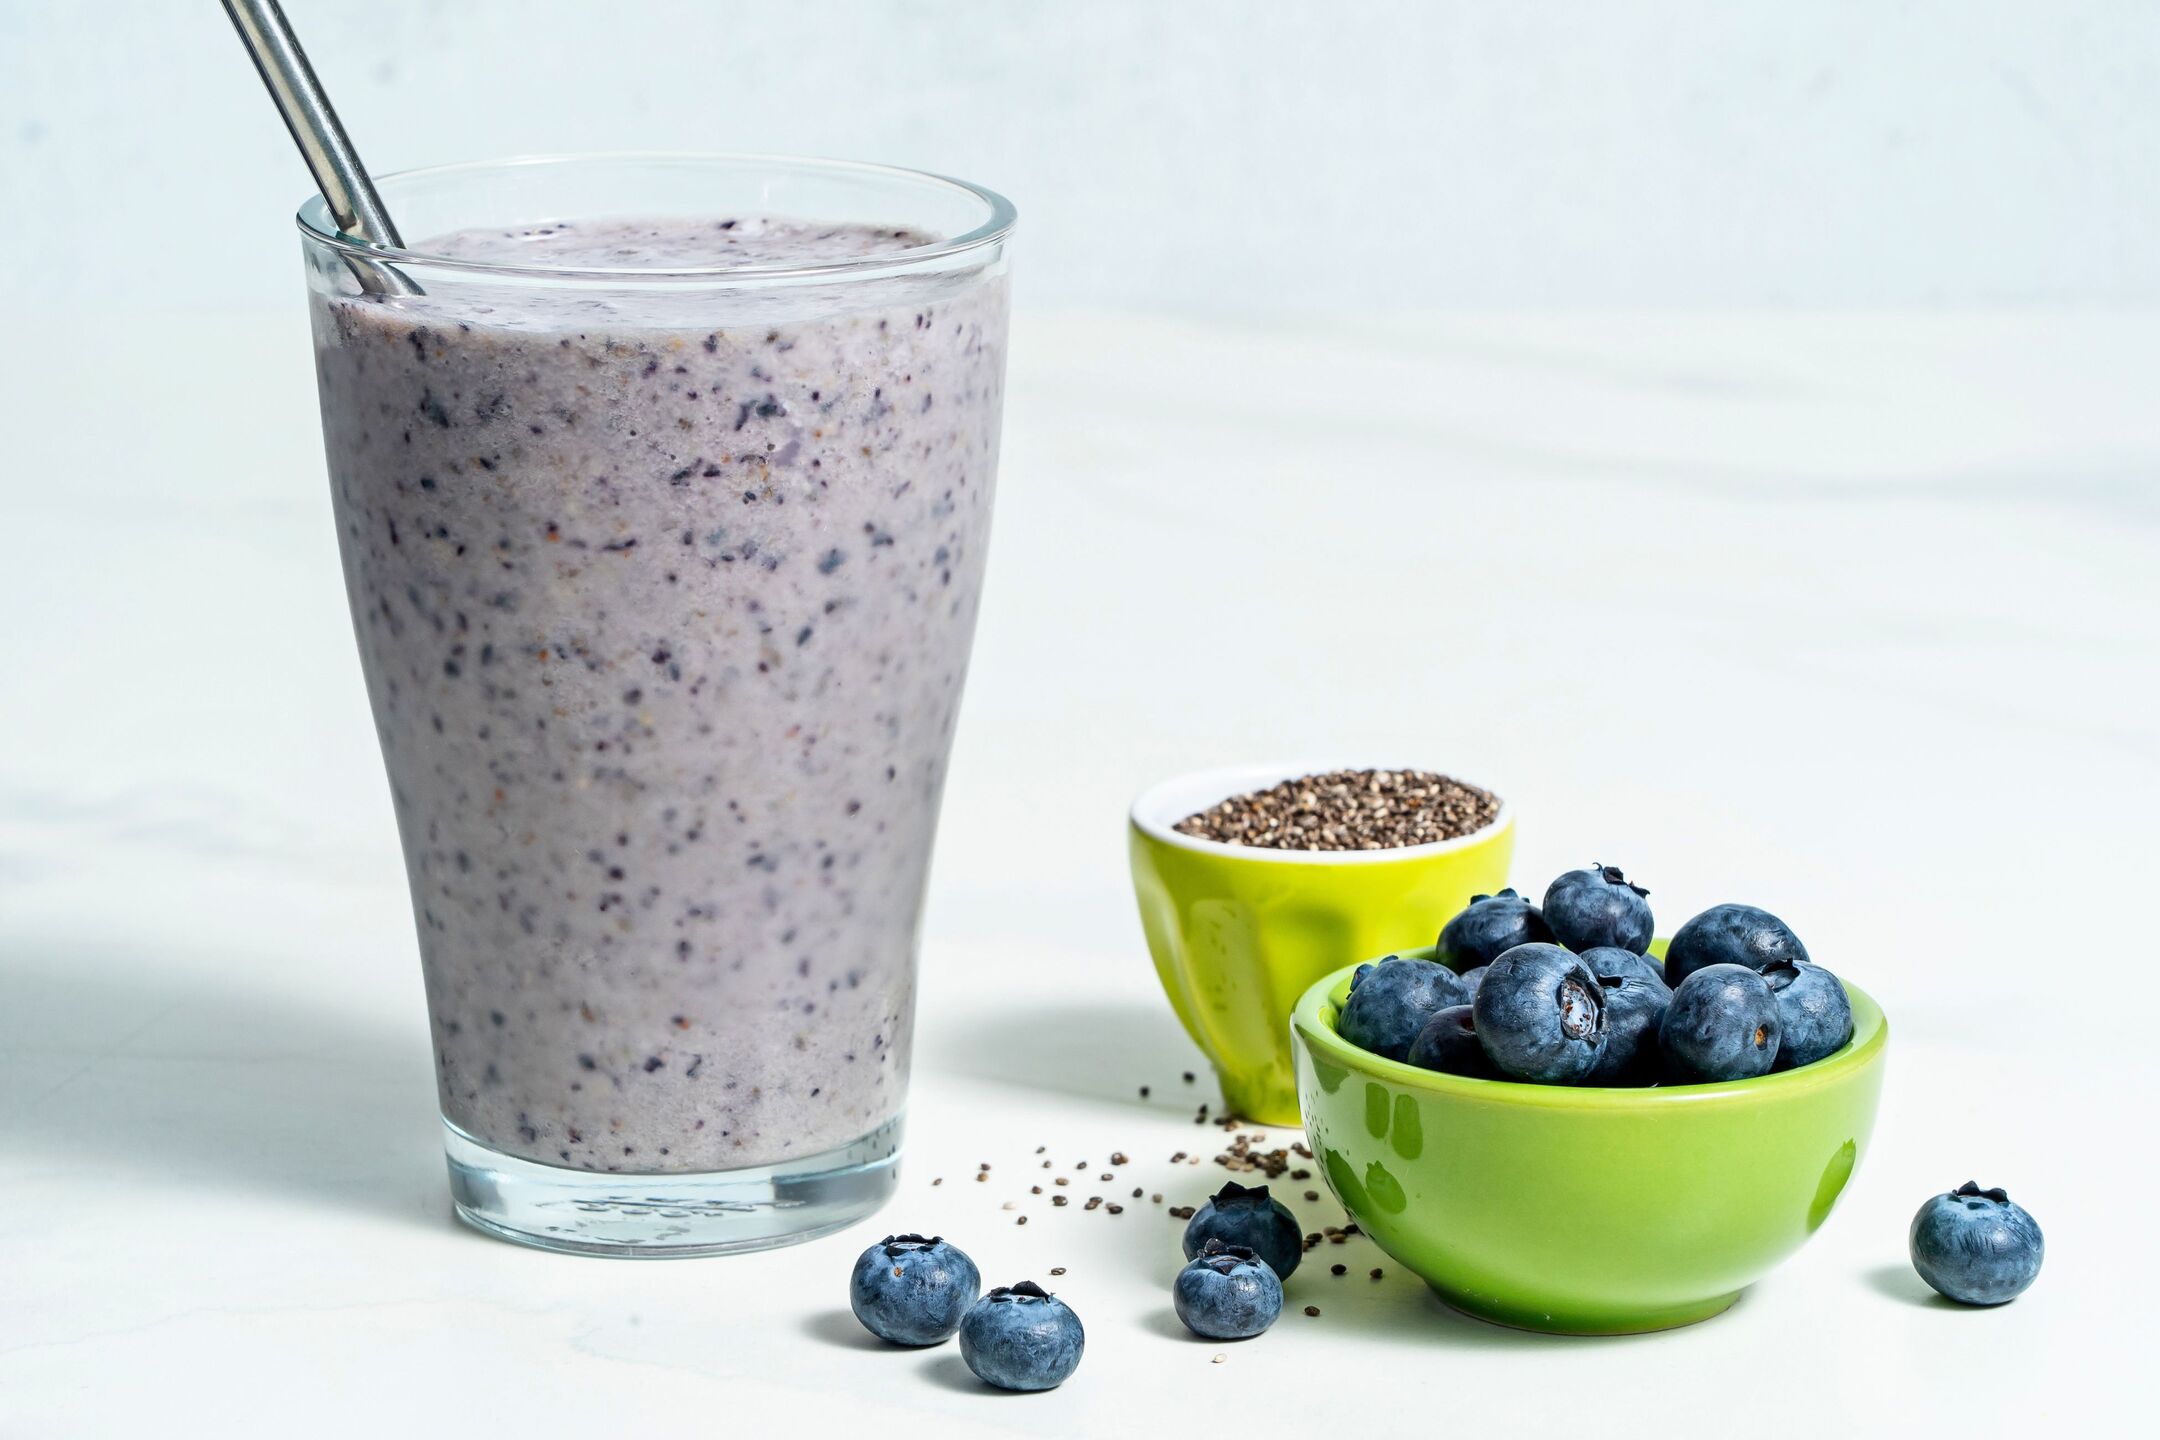
One of the most remarkable qualities of chia seeds is their nutritional profile. Despite their small size, chia seeds pack a powerful punch when it comes to essential nutrients. They are rich in omega-3 fatty acids, protein, fiber, antioxidants, and various vitamins and minerals. These nutrient-dense seeds have been associated with numerous health benefits, including improved heart health, enhanced digestion, and stabilized blood sugar levels.
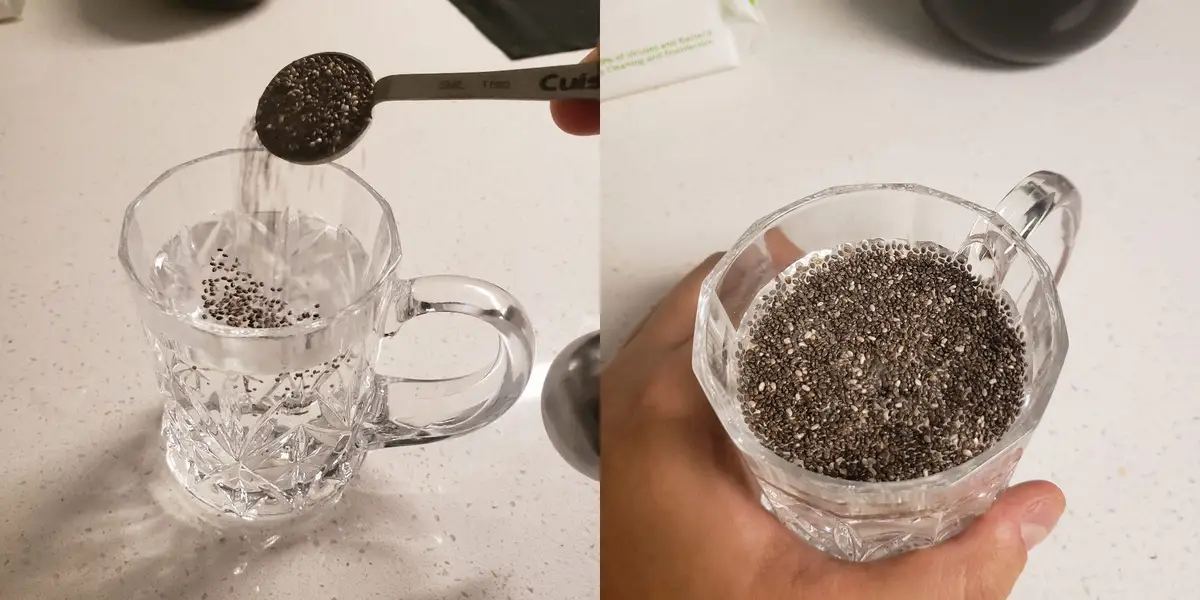
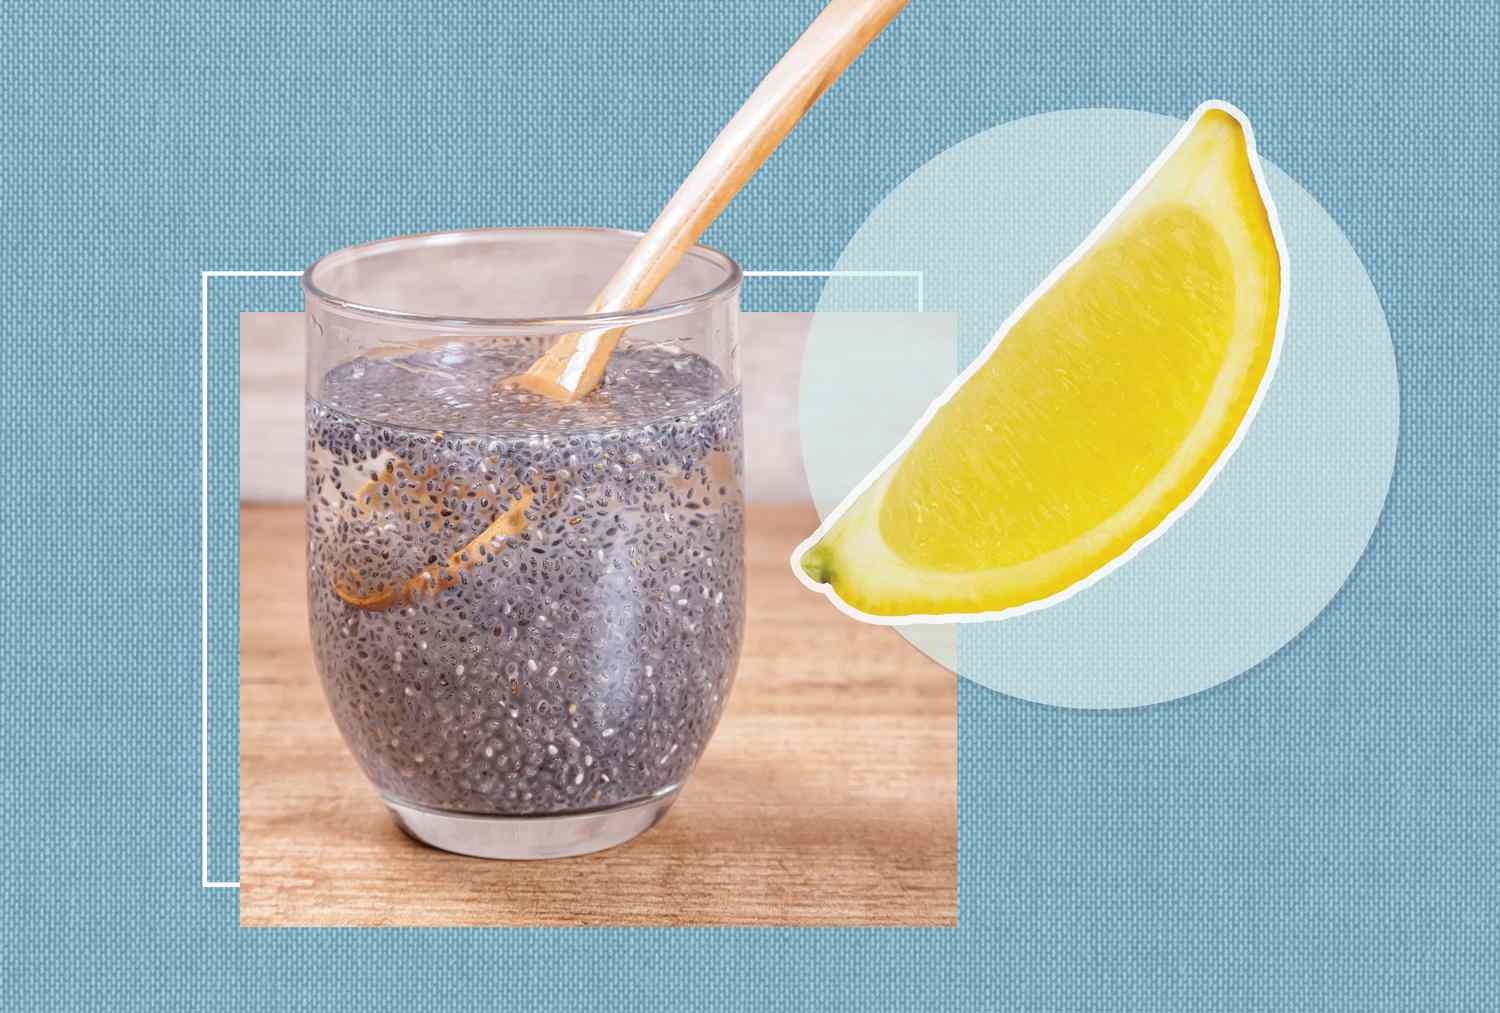
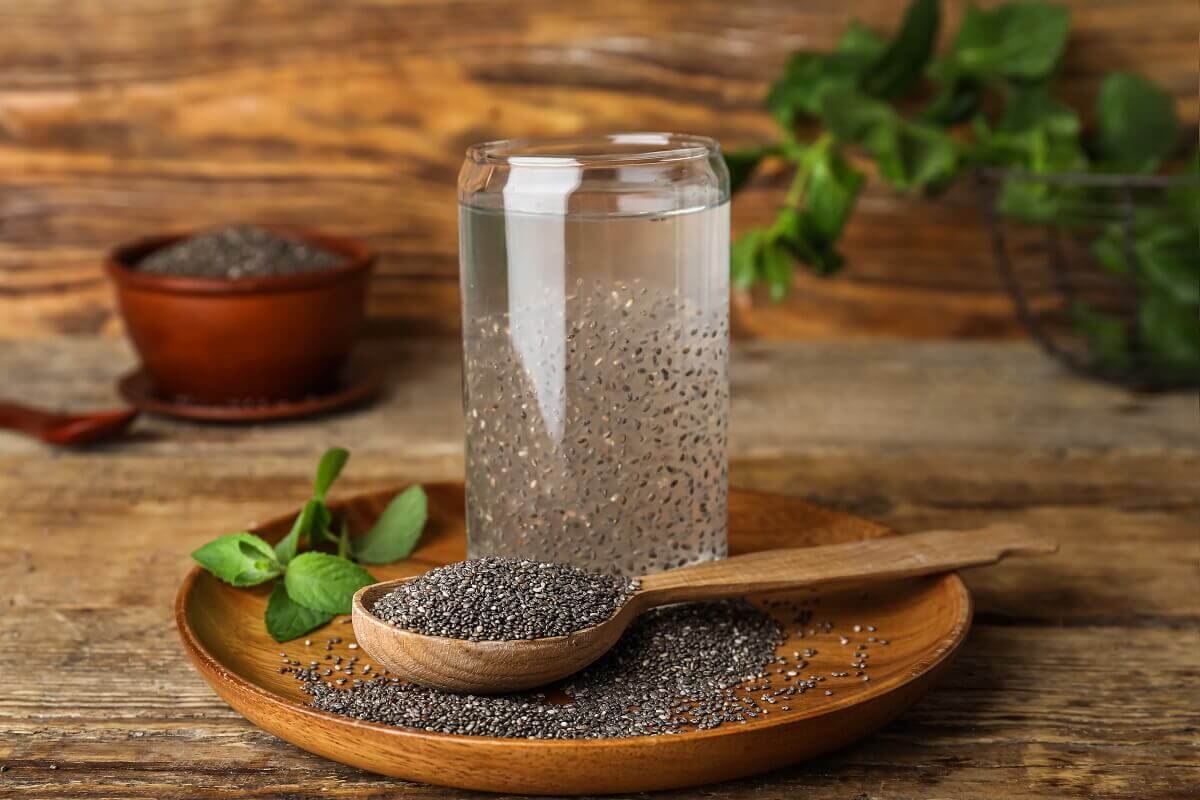
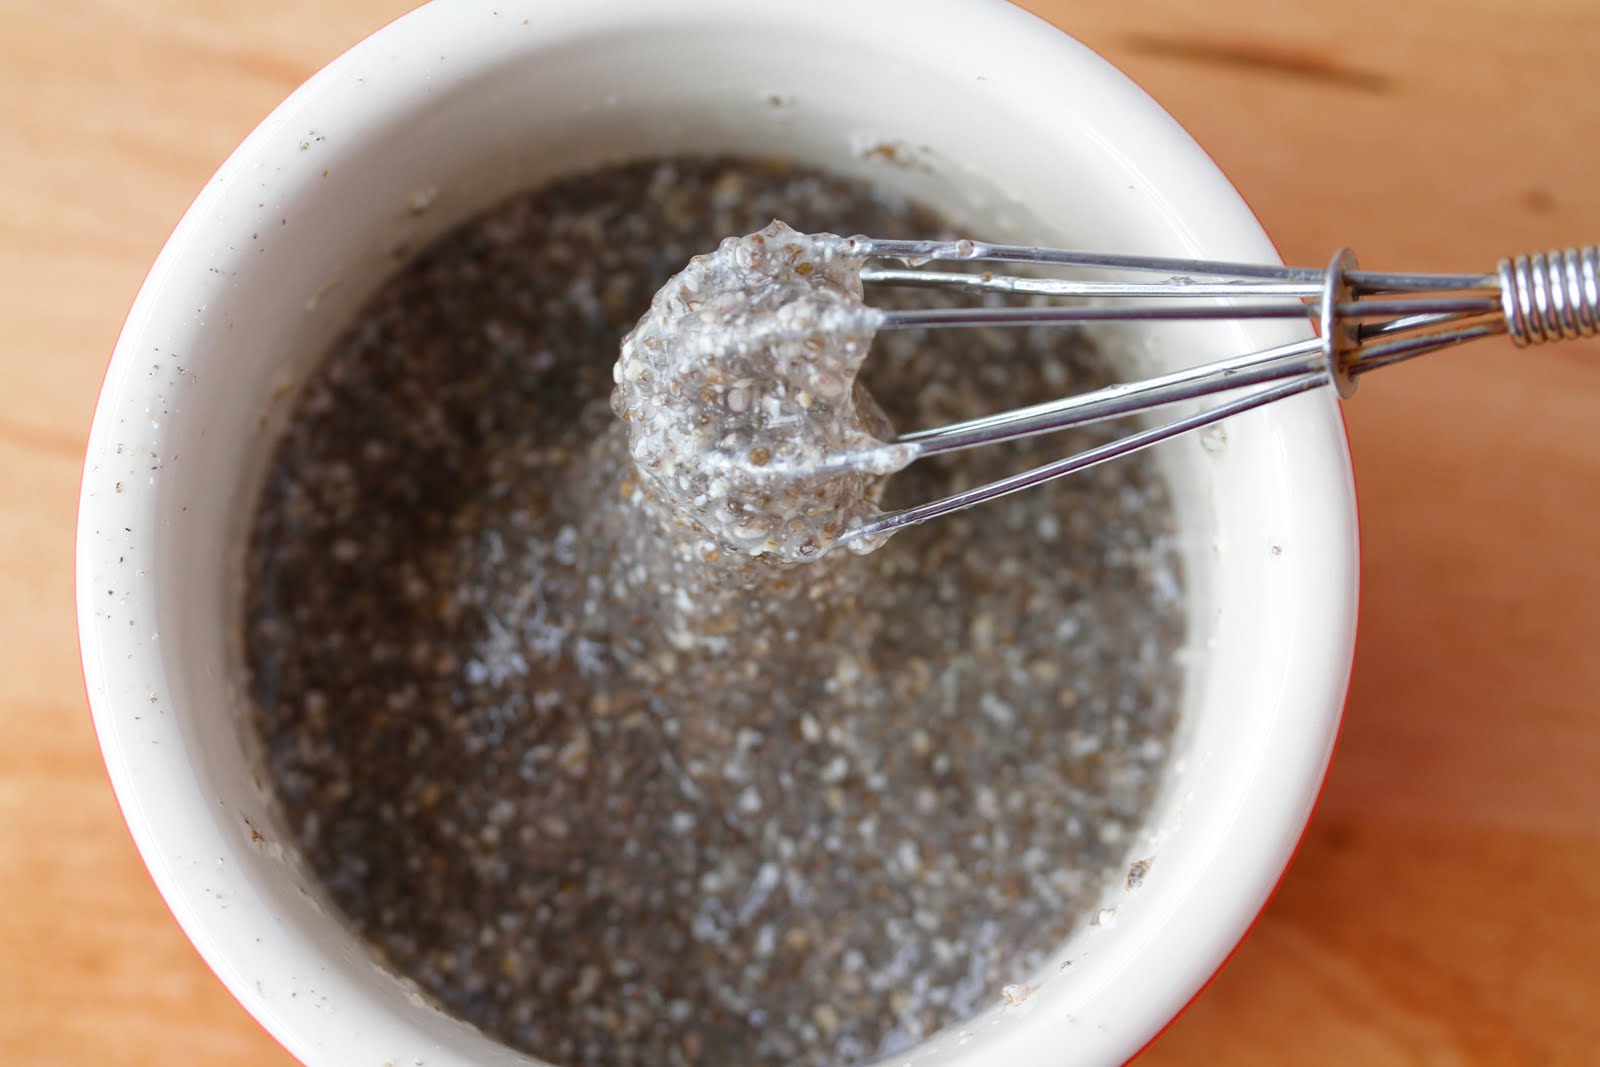
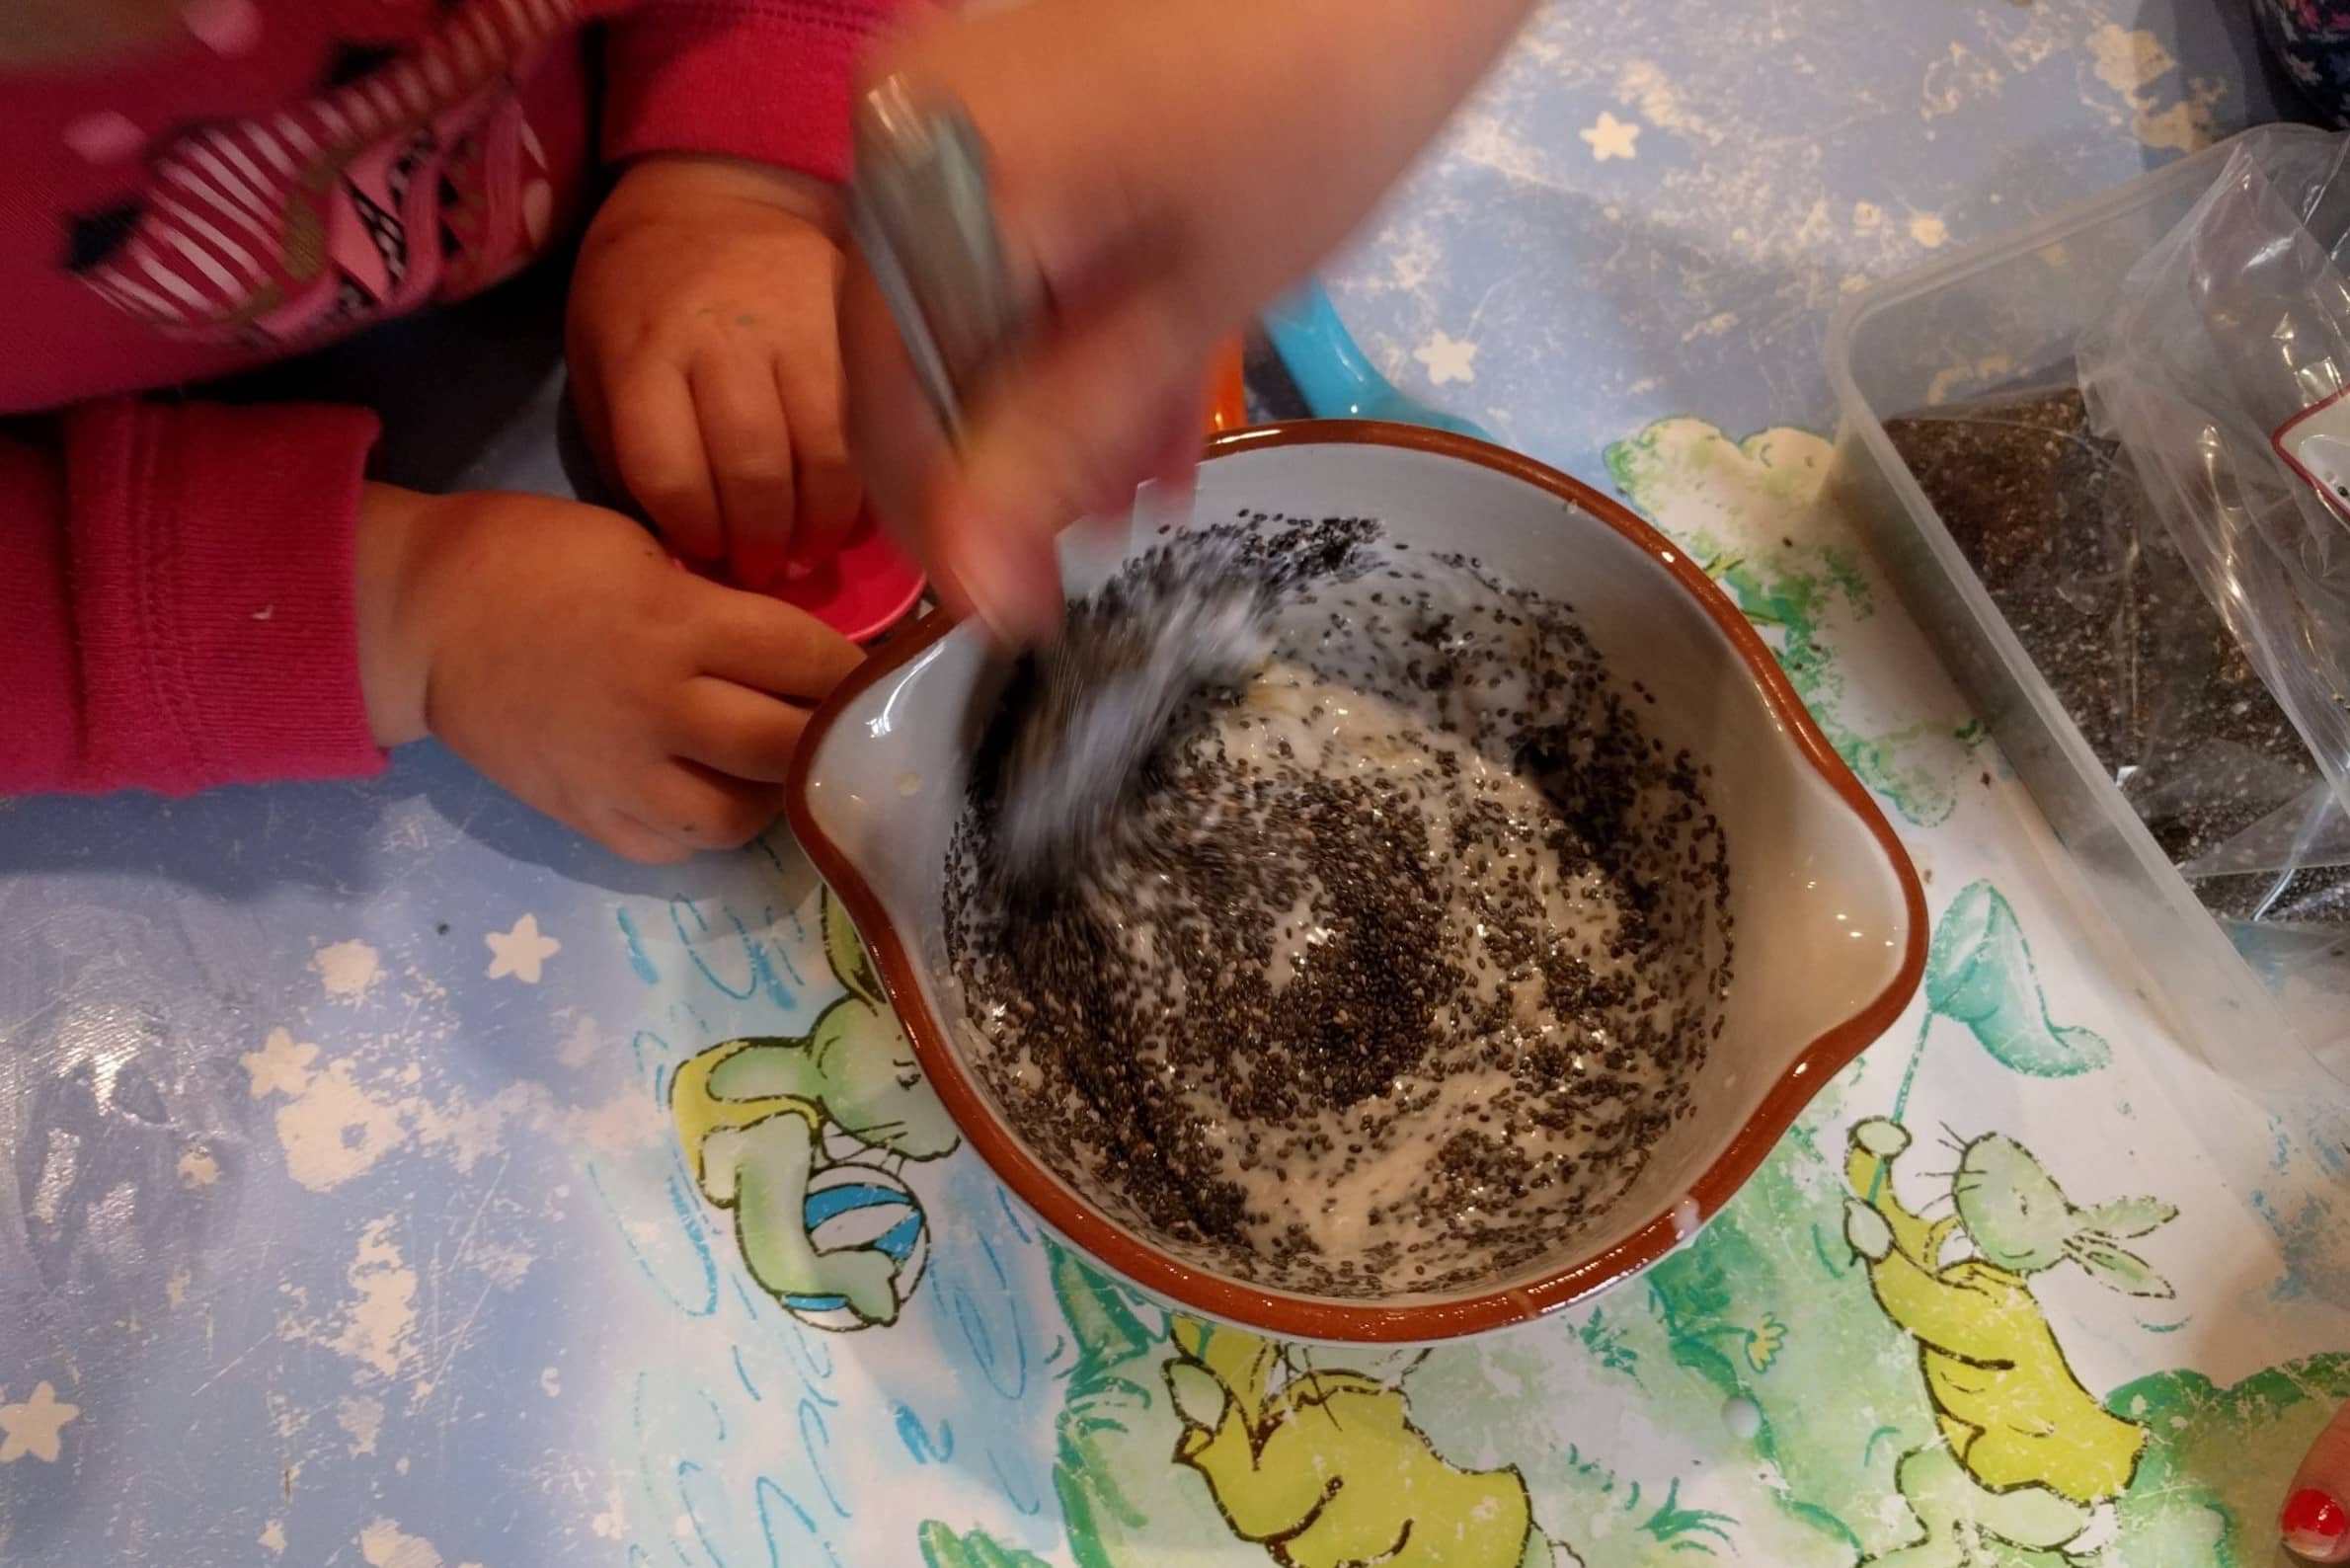
Another distinctive feature of chia seeds is their remarkable ability to absorb liquid. When chia seeds come into contact with water or any other liquid, they form a gel-like substance. This unique gel-forming property makes chia seeds a popular ingredient in various recipes like puddings, smoothies, and baked goods. The gel also contributes to the feeling of fullness, making chia seeds a great addition to weight management efforts.
Additionally, chia seeds have a long shelf life and can be easily stored without losing their nutritional value. They are versatile and can be incorporated into both sweet and savory dishes, adding a delightful crunch and nutty flavor.
Now that we have explored the characteristics of chia seeds, let’s uncover how these remarkable seeds go from a tiny speck to a thriving plant in the growth process.
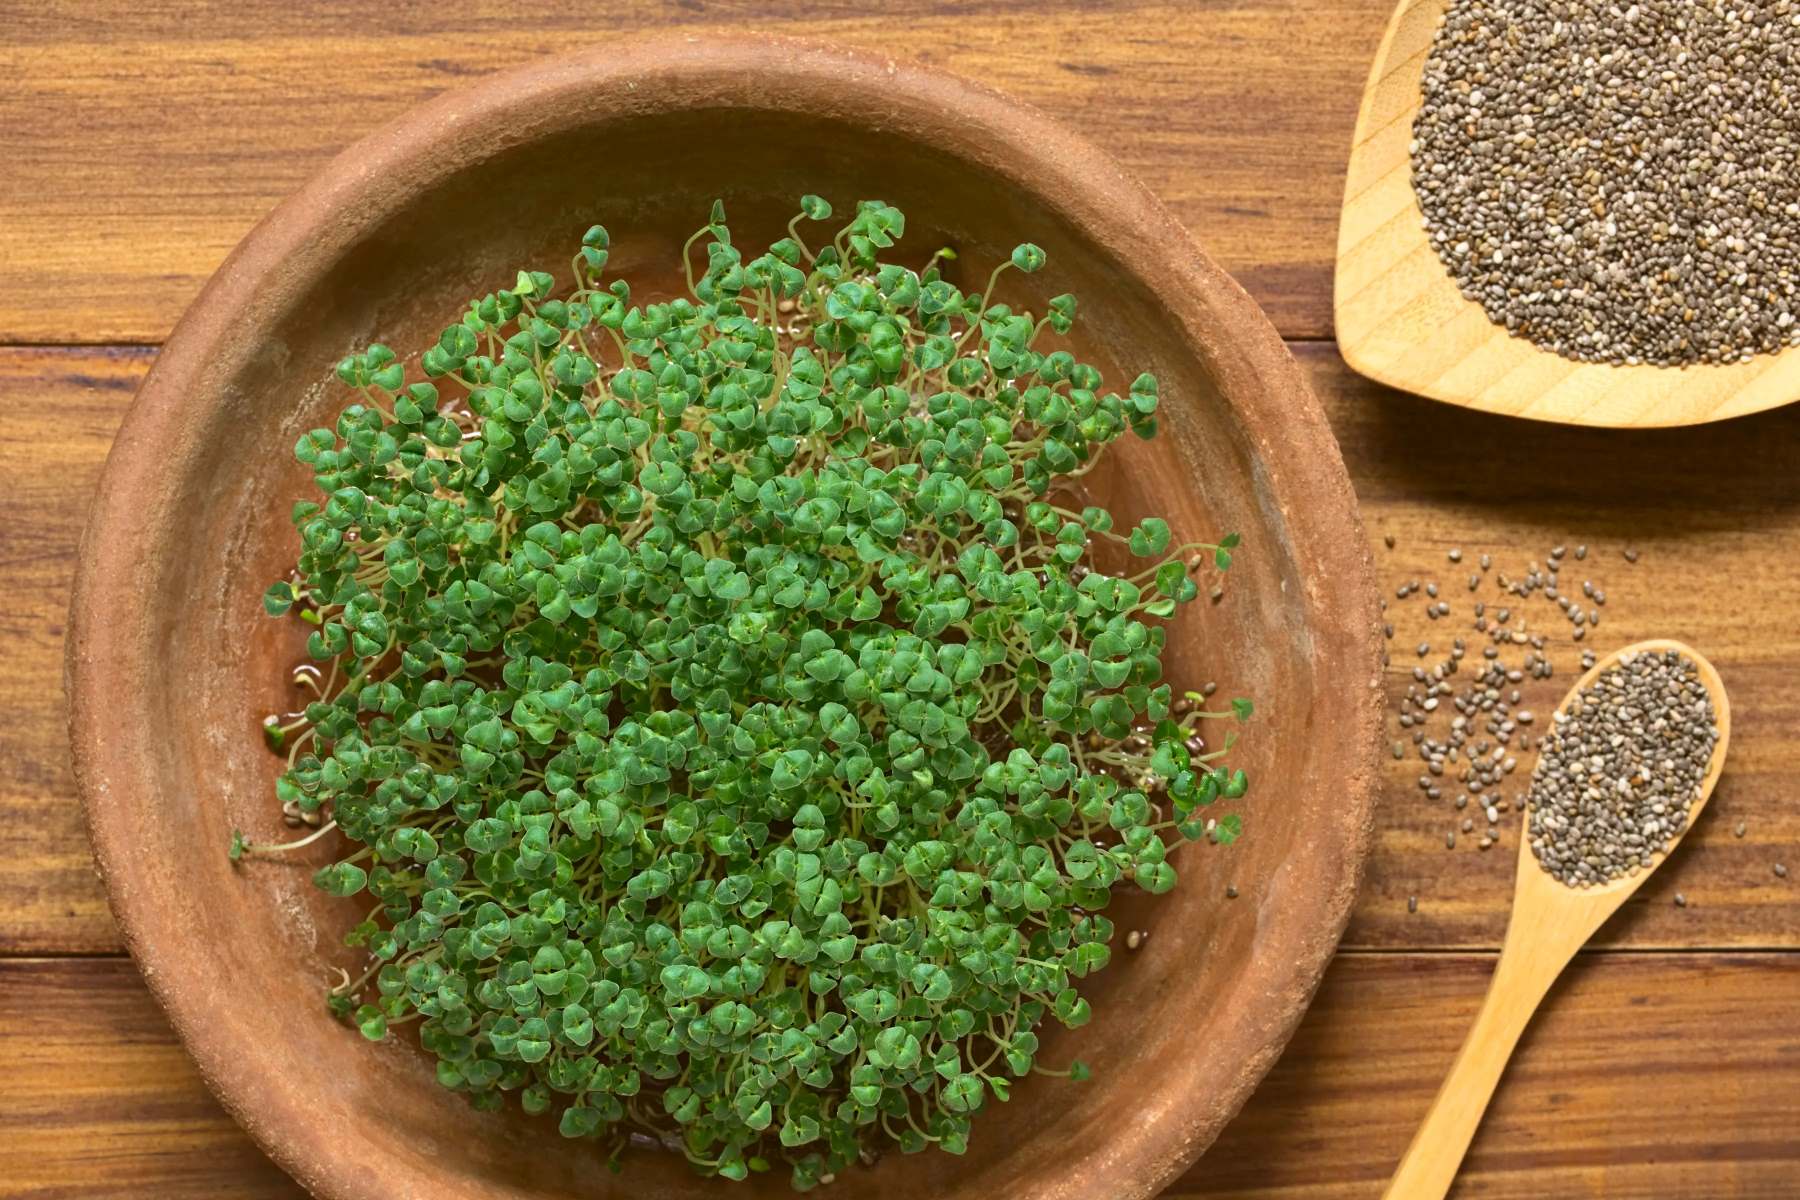
Germination Process
The germination process is the first step in the growth journey of chia seeds. It is the point where the seed begins to sprout and establish its roots in the soil.
Germination occurs when the chia seed is exposed to the right combination of moisture, warmth, and oxygen. When these conditions are met, the seed swells, and a tiny embryo within it starts to grow. This process activates the enzymes within the seed, initiating the transformation from dormant seed to a living plant.
During germination, the seed coat softens, and the embryo extends a root called the radicle. The radicle starts to absorb water from the surrounding soil, providing the necessary hydration for the seedling to grow. As the root system develops, the stem emerges from the seed, pushing its way towards the surface.
Chia seeds are known for their quick germination process. Under optimal conditions, chia seeds can sprout within 3 to 10 days. However, it’s important to note that factors such as temperature, moisture levels, and seed quality can influence the germination time.
Now that we have a better understanding of the germination process, let’s explore the optimal conditions required for chia seed growth.
Optimal Conditions for Chia Seed Growth
For chia seeds to thrive and reach their full potential, they require specific environmental conditions. Understanding these optimal conditions is crucial for successful chia seed growth.
1. Temperature: Chia plants prefer a moderate temperature range of 60 to 75 degrees Fahrenheit (15 to 24 degrees Celsius). They can tolerate slightly higher or lower temperatures, but extreme heat or cold may hinder their growth and development.
2. Sunlight: Chia seeds require ample sunlight to flourish. They thrive in full sun, which is around 6 to 8 hours of direct sunlight per day. However, they can also tolerate partial shade, especially in regions with intense heat.
3. Soil: Chia plants thrive in well-draining soil with a slightly acidic to neutral pH level (between 6 and 7). The soil should be rich in organic matter and have good water retention capacity. Prior to planting, it’s advisable to amend the soil with compost or organic matter to ensure optimal conditions for seedling growth.
4. Moisture: Chia seeds require adequate moisture during the germination and initial growth stages. It’s essential to provide consistent and evenly distributed moisture to prevent drying out or waterlogging of the soil. Aim to keep the soil moist but not saturated, ensuring proper drainage.
5. Air Circulation: Chia plants benefit from good air circulation to minimize the risk of fungal diseases and promote healthy growth. Avoid overcrowding plants and ensure sufficient spacing between chia plants to allow for proper air movement.
By providing these optimal conditions, chia seeds will have the ideal environment to grow and thrive. In the next section, we will explore the steps involved in planting chia seeds for a successful harvest.
When growing chia seeds, make sure to plant them in well-draining soil and water them regularly. They thrive in sunny spots and don’t require much maintenance.
Planting Chia Seeds
Planting chia seeds is a relatively simple process that can be done directly in the garden bed or in containers. Here’s a step-by-step guide to help you successfully plant chia seeds:
1. Prepare the soil: Ensure the soil is well-draining and has been properly amended with compost or organic matter. Remove any weeds or debris from the planting area.
2. Sow the seeds: Scatter the chia seeds over the soil surface, aiming for an even distribution. Alternatively, you can create furrows or shallow trenches and plant the seeds about 1/4 to 1/2 inch deep. Space the seeds approximately 6 to 12 inches apart to allow room for growth.
3. Lightly cover the seeds: Gently rake the soil or use your hands to lightly cover the chia seeds with a thin layer of soil. Avoid burying the seeds too deeply, as they require sunlight for germination.
4. Water thoroughly: After planting, water the soil thoroughly but gently to ensure the seeds are adequately hydrated. Keep the soil consistently moist during the germination period. Avoid overwatering, as this can lead to waterlogged soil and hinder seedling growth.
5. Provide sunlight: Place the planting area in a location that receives ample sunlight. Chia seeds require direct sunlight to germinate and grow. If growing indoors, place the containers near a sunny window or use grow lights to provide sufficient light.
6. Monitor growth and maintain care: Keep a close eye on the seedlings as they emerge from the soil. Ensure they are receiving adequate water and sunlight. Thin out any overcrowded seedlings if necessary, allowing the strongest plants to thrive. Apply organic fertilizer if desired, following the instructions on the packaging.
7. Transplant if needed: If the chia plants become overcrowded or if you initially started them in containers, you may need to transplant them to allow for proper spacing. Carefully lift the seedlings from the soil and replant them in their designated spots, ensuring they have enough room to grow.
With these simple steps, you can plant your chia seeds and set them on their path to becoming healthy, thriving plants. In the next section, we will explore the care and maintenance required to ensure the successful growth of your chia plants.
Read more: How To Grow Chia Seeds In The Garden
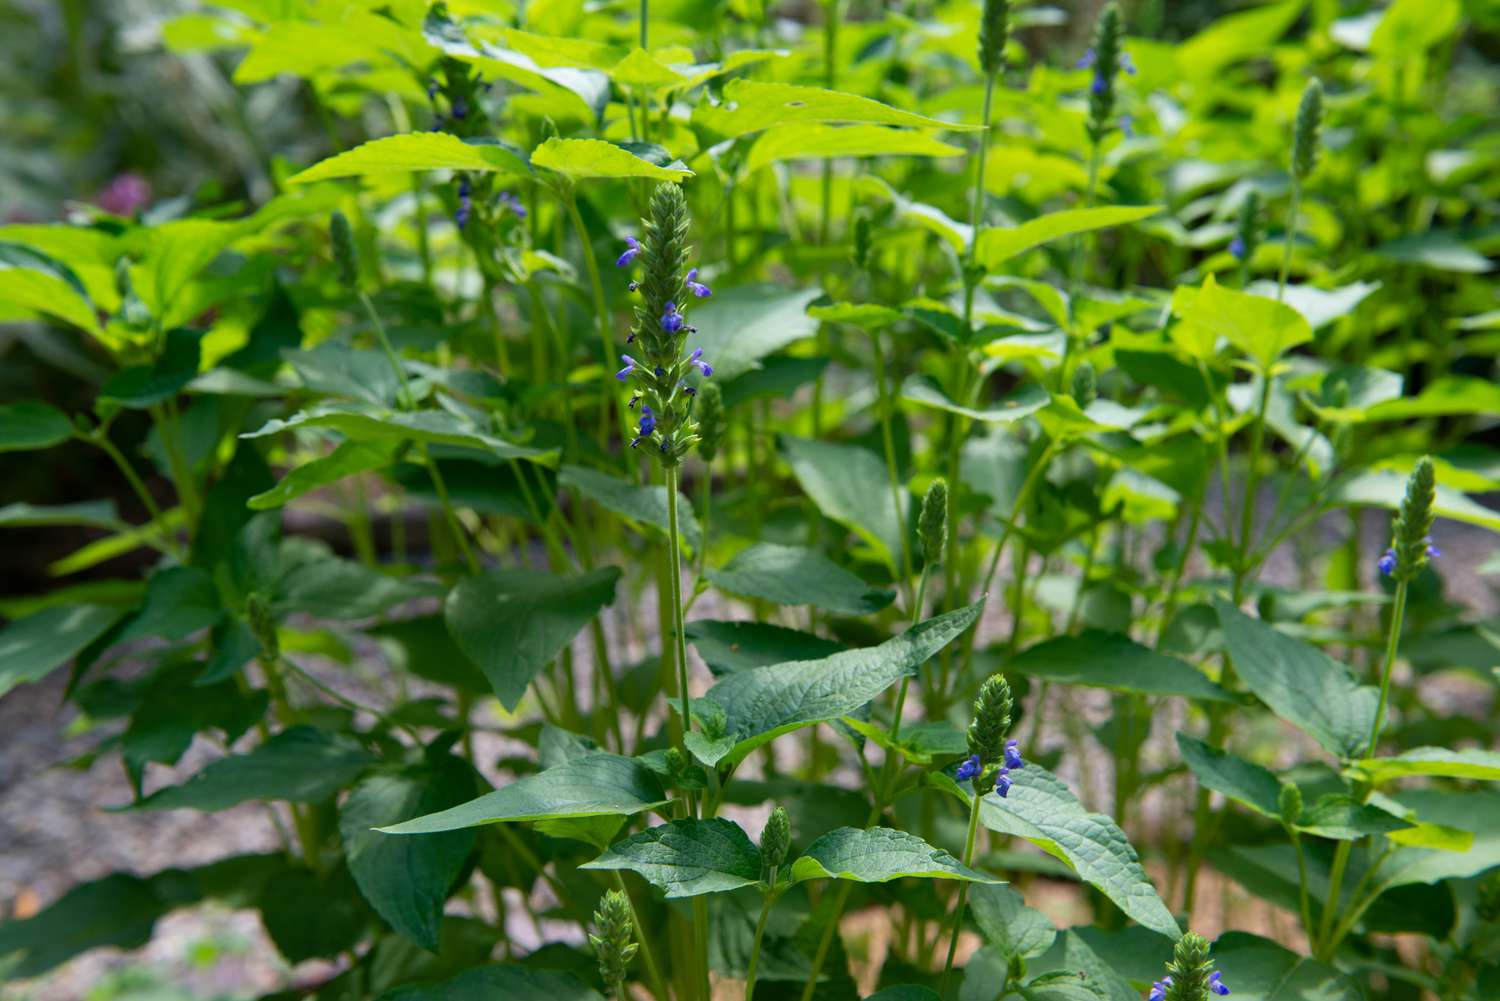
Care and Maintenance of Chia Plants
Now that your chia plants are growing, it’s important to provide them with the care and maintenance they need to thrive. Here are some essential tips to keep in mind:
1. Watering: Chia plants require regular watering to keep the soil evenly moist. Water deeply but infrequently, allowing the top inch of soil to dry out between waterings. Avoid overwatering, as chia plants are susceptible to root rot. A good rule of thumb is to water when the soil feels dry to the touch.
2. Mulching: Apply a layer of organic mulch, such as straw or wood chips, around the base of the chia plants. Mulching helps retain moisture in the soil, suppresses weed growth, and regulates soil temperature. Maintain a mulch depth of about 2-3 inches, leaving some space around the stem to prevent rotting.
3. Fertilizing: Chia plants generally don’t require heavy fertilization, especially if the soil is rich in organic matter. However, if you notice slow growth or nutrient deficiencies, you can apply a balanced organic fertilizer during the growing season. Follow the manufacturer’s instructions for application rates.
4. Pruning: Chia plants usually don’t require extensive pruning. However, you can trim back any dead or damaged leaves to promote air circulation and prevent the spread of diseases. Prune lightly to maintain a tidy appearance, if desired.
5. Pest and Disease Control: Chia plants are relatively resistant to pests and diseases. However, keep an eye out for common garden pests like aphids or snails. If necessary, use organic pest control methods such as insecticidal soaps or natural predators to manage pest populations. If you notice any signs of disease, promptly remove affected plant parts to prevent further spread.
6. Support: As your chia plants grow, they may need support to prevent them from bending or breaking. Consider using stakes or small trellises to provide support and ensure proper growth.
7. Harvesting: Chia plants typically reach maturity in 90 to 120 days. The flowers will start to dry out and the seeds will turn a darker color. To harvest the chia seeds, gently shake the mature seed heads over a container to collect the seeds. Allow them to dry fully before storing them in airtight containers.
By following these care and maintenance practices, you can ensure the successful growth and productivity of your chia plants. In the next section, we will explore the exciting process of harvesting chia seeds.
Harvesting Chia Seeds
After months of careful nurturing, it’s time to reap the rewards of your chia plants by harvesting their seeds. Follow these steps to harvest chia seeds for culinary or planting purposes:
1. Timing: Chia plants usually mature within 90 to 120 days after planting. The flowers will begin to dry out, and the seeds will turn a darker color, indicating that they are ready for harvest. Wait until the majority of the seed heads have dried before proceeding with the harvest.
2. Collecting the seed heads: Gently hold the dried seed heads over a container and use your fingers or scissors to carefully detach them from the plant. Shake or brush the seed heads to release the seeds into the container. Be cautious not to apply excessive force, as you want to preserve the quality of the seeds.
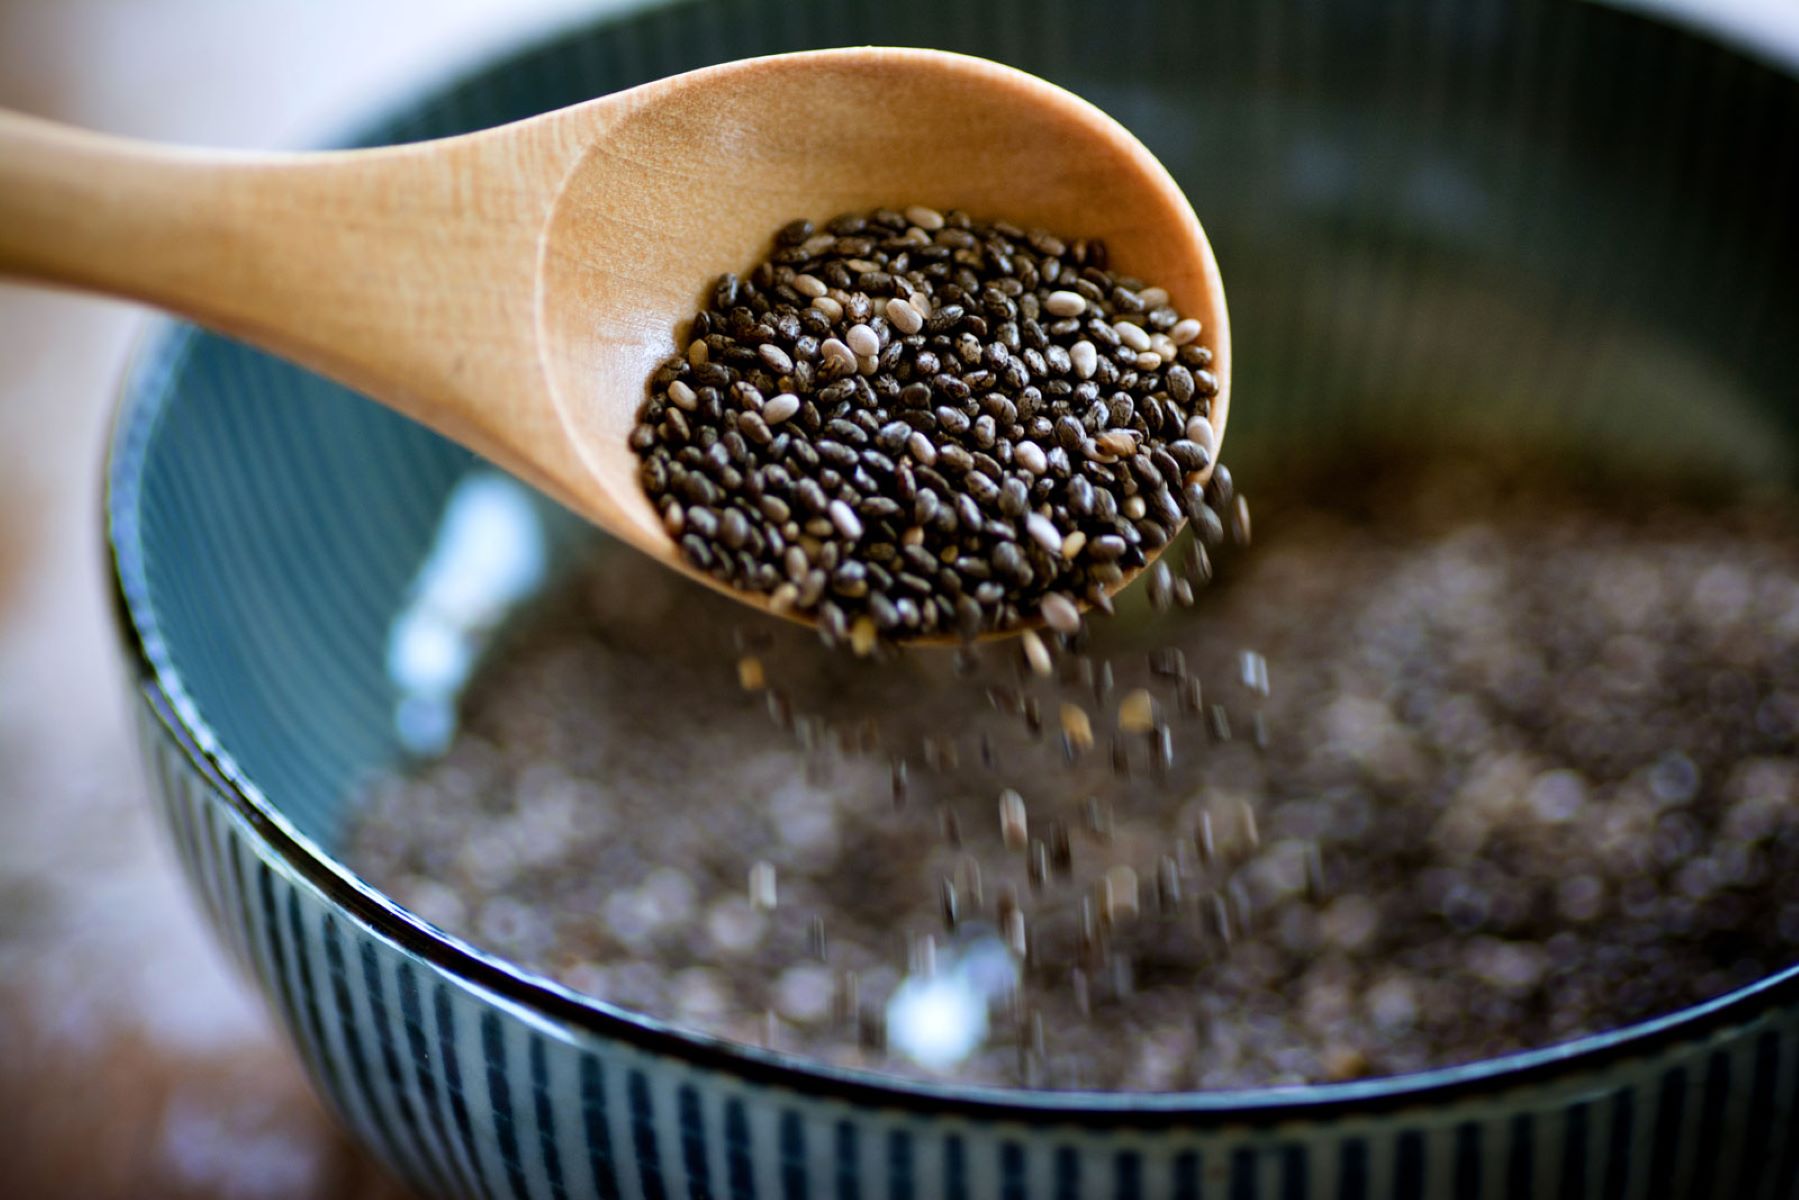
3. Threshing: To remove any remaining chaff or debris from the seeds, you can lightly crush the seed heads or rub them between your hands over a sieve. The smaller, lightweight chaff will separate from the seeds, leaving you with pure chia seeds.
4. Drying: After threshing, spread the chia seeds out on a clean, dry surface or a baking tray lined with parchment paper. Allow the seeds to air-dry completely in a well-ventilated area. Ensure they are fully dry before storing to prevent mold or deterioration.
5. Storing: Once the chia seeds are dry, transfer them to airtight containers, such as glass jars or resealable bags. Store them in a cool, dark place to maintain their freshness and nutritional value. Properly stored chia seeds can last for several years.
Remember, you can also reserve a portion of the harvested seeds for future planting. Simply set aside some of the seeds in a labeled envelope or container, ensuring they are stored in a cool, dry place until the next planting season.
Congratulations! You have successfully harvested your chia seeds and can now enjoy their nutritional benefits in various recipes or share them with fellow gardening enthusiasts. In the concluding section, let’s reflect on the journey of chia seed growth and the joy of cultivating these remarkable plants.
Conclusion
As we conclude this exploration into the growth of chia seeds, we have gained a deeper understanding of the fascinating journey these tiny seeds undertake to become thriving plants. From the unique characteristics of chia seeds to the germination process, optimal growing conditions, planting, care and maintenance, and finally, the joy of harvesting, we have uncovered the secrets behind successful chia seed cultivation.
Chia seeds, with their nutritional powerhouse and incredible versatility, have become a beloved addition to kitchens and gardens worldwide. By understanding the optimal conditions and providing proper care, anyone can experience the joy of cultivating their own chia plants and harvesting the bountiful rewards of these remarkable seeds.
Whether you choose to incorporate chia seeds into your diet for their nutritional benefits or embark on the journey of growing chia plants, the experience is both rewarding and fulfilling. From the moment the seeds germinate and push through the soil, to the vibrant green foliage filling your garden, and finally, the excitement of harvesting the seeds, the process of cultivating chia plants is a testament to the wonders of nature and our connection to it.
So, whether you have a small garden, a balcony, or even a sunny windowsill, don’t hesitate to embark on the journey of growing chia seeds. Watch as these fascinating seeds transform into beautiful plants, heralding a bountiful harvest of nutritious seeds.
Remember to provide them with the optimal conditions of sunlight, well-drained soil, consistent moisture, and proper nutrition. Nurture them with care, protecting them from pests and diseases, and providing necessary support as they grow.
By doing so, you will not only reap the benefits of fresh, homegrown chia seeds but also connect with the natural world and revel in the joy of cultivating your own garden. So, go ahead and embrace the magic of chia seed growth, and unlock a world of possibility for your health and culinary adventures.
Frequently Asked Questions about How Chia Seeds Grow
Was this page helpful?
At Storables.com, we guarantee accurate and reliable information. Our content, validated by Expert Board Contributors, is crafted following stringent Editorial Policies. We're committed to providing you with well-researched, expert-backed insights for all your informational needs.

0 thoughts on “How Chia Seeds Grow”