Home>Garden Essentials>How Long Does It Take Seeds To Sprout Indoors
Garden Essentials
How Long Does It Take Seeds To Sprout Indoors
Modified: August 28, 2024
Learn how long it takes for seeds to sprout indoors and get your garden off to a successful start. Discover the tips and tricks for fast and healthy seed germination.
(Many of the links in this article redirect to a specific reviewed product. Your purchase of these products through affiliate links helps to generate commission for Storables.com, at no extra cost. Learn more)
Introduction
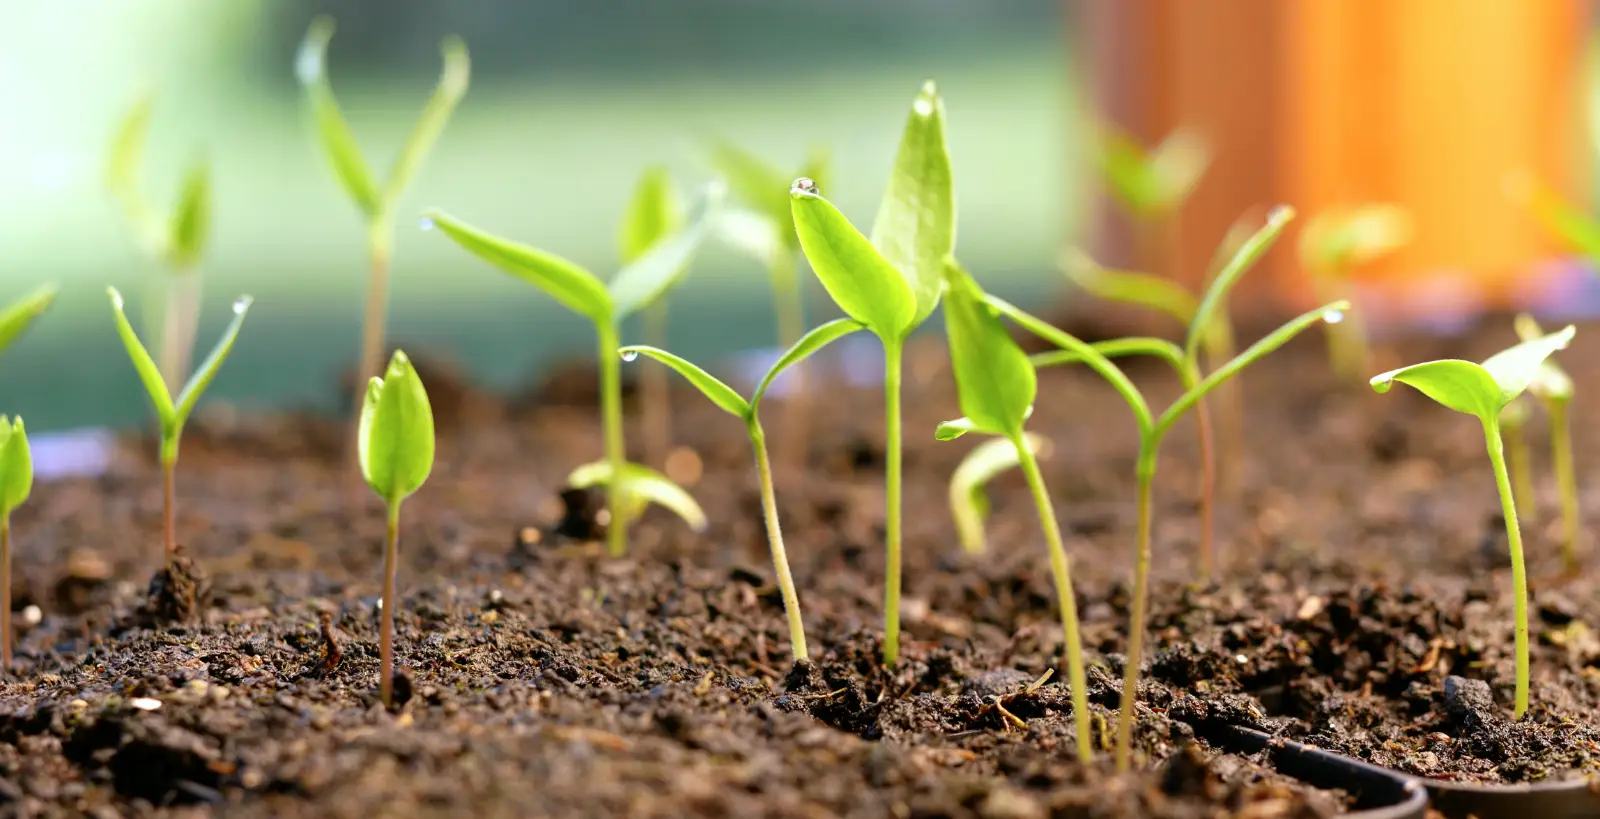
Gardening enthusiasts often find joy in starting their plants from seeds, and this is typically done by sowing seeds directly into the soil outdoors. However, there are times when you may want to get a head start on your gardening season by sprouting seeds indoors. Whether it’s because of a shorter growing season, a desire to extend the harvest, or to have more control over the germination process, indoor seed sprouting can be a rewarding and fulfilling experience.
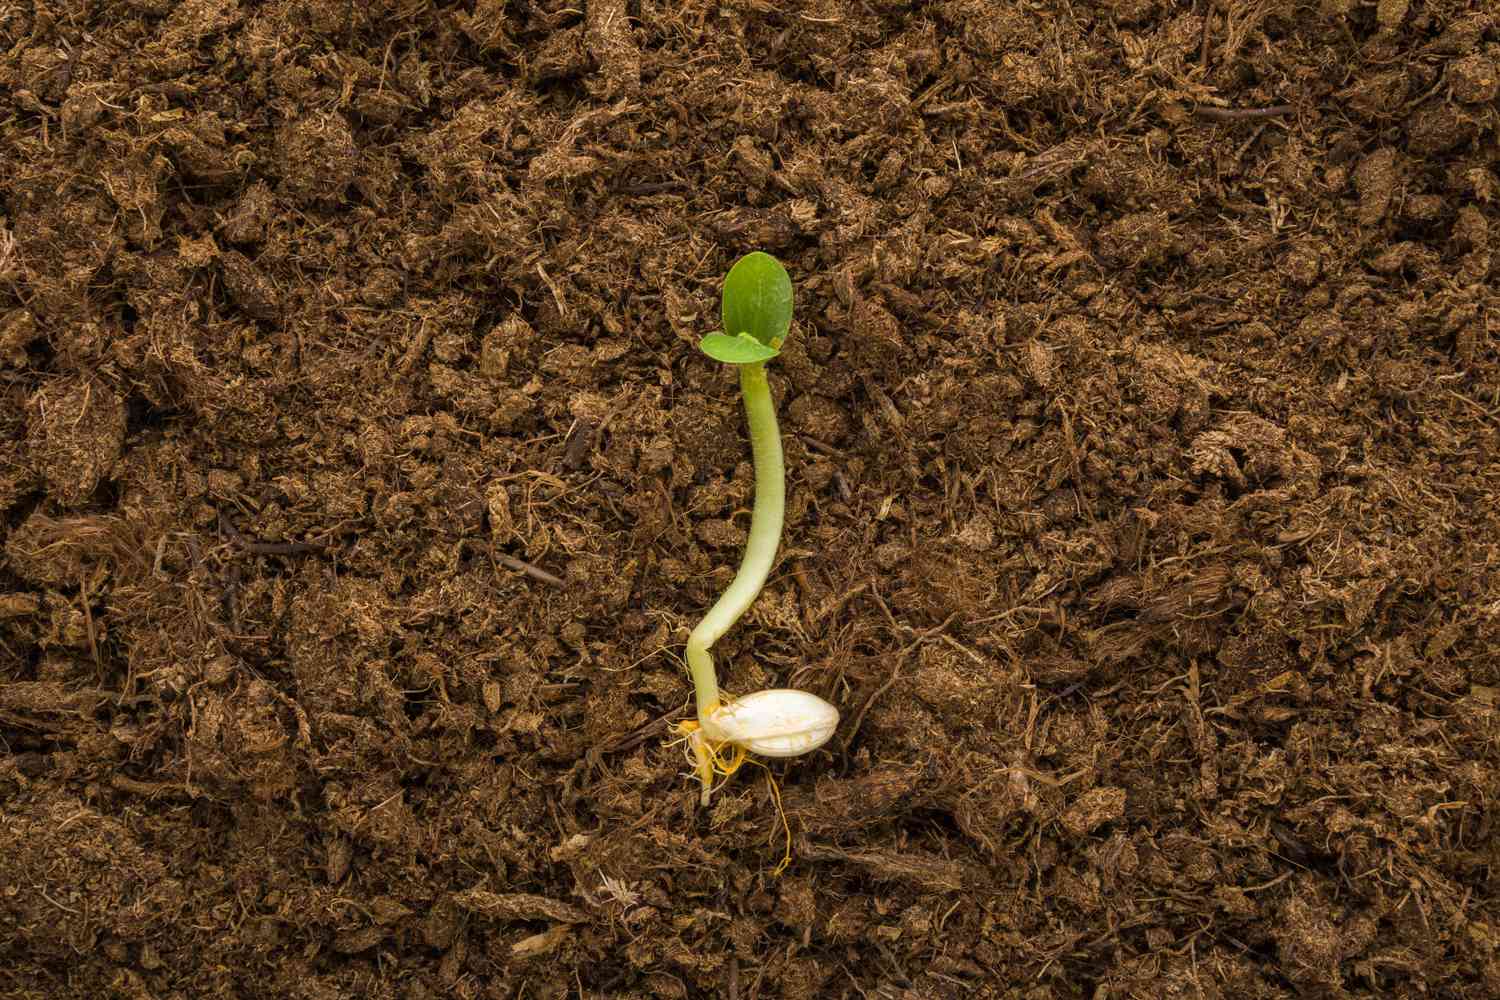
When it comes to indoor seed sprouting, one of the most frequently asked questions is, “How long does it take for seeds to sprout indoors?” The answer to this question varies depending on several factors, including the type of seed, environmental conditions, and specific germination requirements.
In this article, we will explore the factors that influence seed germination, provide tips on choosing the right seeds for indoor sprouting, discuss how to prepare seeds for optimal germination, and outline the conditions necessary for successful indoor sprouting. Additionally, we will delve into the specific germination times for common indoor sprouting seeds, troubleshoot any potential issues that may arise during the sprouting process, and guide you on harvesting and transplanting the sprouted seeds.
So, if you’re ready to embark on your indoor seed sprouting journey, let’s dive in and discover the fascinating world of seed germination!
Key Takeaways:
- Indoor seed sprouting success depends on factors like temperature, moisture, and seed quality. Choosing quick-germinating seeds and providing optimal conditions can lead to a rewarding gardening experience.
- Properly preparing and caring for sprouted seeds, troubleshooting common issues, and transplanting them with care can lead to a bountiful harvest of fresh vegetables, herbs, or stunning flowers. Happy gardening!
Read more: How Long Does A Seed Take To Sprout
Factors Affecting Seed Germination
For successful seed germination, it is essential to understand the factors that affect this crucial stage in the plant’s life cycle. By taking these factors into consideration, you can create the optimal conditions for your seeds to sprout indoors.
1. Temperature: Different seeds have different temperature requirements for germination. Generally, most seeds germinate best within a specific temperature range. Some seeds, like tomatoes and peppers, prefer warmer temperatures around 70-85°F (21-29°C), while others, such as lettuce and spinach, thrive in cooler temperatures between 60-70°F (15-21°C). Maintaining the appropriate temperature is crucial to promote successful seed germination.
2. Moisture: Adequate moisture is vital for seed germination. Seeds need to absorb water to break dormancy and initiate the germination process. However, it’s important to strike a balance as excessive moisture can lead to rot and fungal diseases. Ensure that the growing medium is consistently moist, but not overly saturated.
3. Light: While some seeds require light to germinate, others prefer darkness. Seeds that need light are very small and should be sown on the soil surface or gently pressed into the soil, ensuring they are exposed to light. On the other hand, larger seeds typically germinate better in darkness, so they should be covered with a layer of soil.
4. Oxygen: Just like all living organisms, seeds require oxygen for respiration. Proper aeration of the growing medium is crucial to ensure the seeds have access to an adequate oxygen supply. Avoid compacting the soil too tightly, as it can restrict oxygen flow and impede germination.
5. Seed Age and Quality: Fresh seeds generally have higher germination rates compared to older seeds. While some seeds can remain viable for years under the right storage conditions, others have shorter viability periods. Additionally, it is important to source high-quality seeds from reputable suppliers to increase your chances of successful germination.
By understanding and controlling these factors, you can significantly improve the germination success rate of your indoor-sprouted seeds. Now that we have explored the factors affecting seed germination, let’s move on to selecting the right seeds for indoor sprouting.
Choosing the Right Seeds for Indoor Sprouting
When it comes to indoor sprouting, not all seeds are created equal. Some seeds are better suited for indoor germination due to their specific requirements or growth characteristics. Here are some important factors to consider when selecting seeds for indoor sprouting:
1. Quick Germination: Choose seeds that have a relatively short germination period. This is especially important if you want to get a head start on your growing season. For example, lettuce, radishes, and herbs like basil and cilantro are known for their fast germination.
2. Compact Growth: Consider seeds that produce compact plants suitable for indoor growing. Look for varieties specifically labeled as “compact” or “bush” varieties. Compact plants are ideal for limited space and can thrive well indoors without taking up excessive room.
3. Edible Greens: If you aim to grow edible greens indoors, select seeds of vegetables like lettuce, spinach, kale, and microgreens. These types of plants are known for their rapid growth and can be harvested within a relatively short period after germination.
4. Indoor-Specific Varieties: Some seed companies offer specific varieties that are specifically bred for indoor growing. These seeds are tailored to thrive in the conditions typically found indoors, such as lower light levels and cooler temperatures.
5. Personal Preferences: Ultimately, your choice of seeds for indoor sprouting should align with your personal preferences and gardening goals. Consider the types of plants you enjoy growing and consuming. Whether it’s vibrant flowers, fresh herbs, or flavorful vegetables, selecting seeds that resonate with you will make your indoor gardening experience all the more rewarding.
Once you have the perfect seeds in hand, it’s time to prepare them for indoor sprouting. In the next section, we will discuss the steps to prepare your seeds for optimal germination.
Preparing Seeds for Indoor Sprouting
To maximize the chances of successful germination, it’s crucial to properly prepare your seeds before sowing them for indoor sprouting. Here are some steps to follow:
1. Seed Selection: Choose high-quality seeds from reliable sources. Ensure they are fresh and have good viability by checking the seed packet for the expiration date or germination rate.
2. Seed Cleaning: Some seeds may have debris or coatings that can impede germination. Cleaning the seeds by gently rubbing them between your fingers or rinsing them in water can help remove any unwanted substances.
3. Seed Soaking (Optional): Soaking the seeds in water overnight can help jumpstart the germination process by softening the seed coat. However, not all seeds benefit from soaking, so research the specific requirements of the seeds you are using beforehand.
4. Scarification (Optional): Some hard-coated seeds benefit from scarification, which involves nicking or scratching the seed coat to enhance water absorption. This can be done by gently filing or sanding a small portion of the seed coat, being careful not to damage the seed itself.
5. Stratification (Optional): Certain seeds, especially those native to colder climates, require a period of cold stratification to break their dormancy. This can be achieved by placing the seeds in a sealed container with a moistened medium, such as vermiculite or peat moss, and refrigerating them for a specified period of time.
6. Labeling: It’s important to label your seeds to avoid confusion later on. Use waterproof markers or labels to identify the seed type and the date of preparation.
7. Proper Storage: Store your prepared seeds in a cool, dry place until you are ready to sow them. Airtight containers or resealable bags can help maintain their viability and protect them from moisture and pests.
By taking the time to prepare your seeds properly, you can give them the best possible start for successful germination. Now, let’s move on to the next step – providing optimal indoor sprouting conditions.
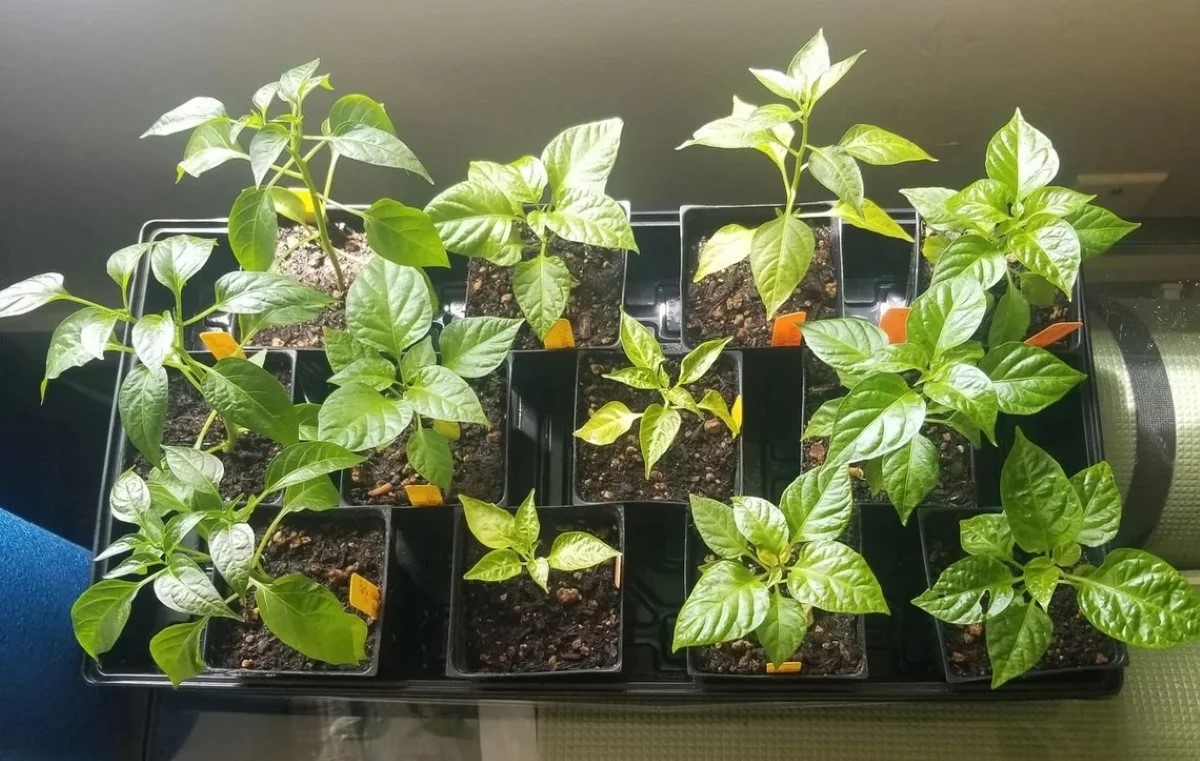
Providing Optimal Indoor Sprouting Conditions
Creating the right environment is crucial for successful indoor seed sprouting. Here are some key factors to consider when providing optimal conditions:
1. Temperature: Maintain a consistent temperature range suitable for the seeds you are sprouting. Most seeds prefer temperatures between 60-85°F (15-29°C). Use a thermometer to monitor the temperature and adjust as necessary.
2. Light: Adequate light is essential for photosynthesis and healthy seedling growth. Place your sprouting containers near a south-facing window where they can receive ample sunlight. If natural light is limited, you can supplement it with fluorescent lights or LED grow lights, keeping them at a distance of 6-12 inches above the seedlings.
3. Humidity: Seeds require a certain level of humidity for optimal germination. Use a spray bottle to mist the soil surface or use a humidity dome or plastic wrap to create a greenhouse-like environment that retains moisture. Check the humidity levels regularly to prevent excessive dampness.
4. Air Circulation: Proper air circulation helps prevent fungal diseases and ensures that carbon dioxide is efficiently exchanged. Use a small fan on the lowest setting or crack open a window to provide gentle airflow without causing excessive drafts.
5. Watering: Take care not to overwater or underwater your seeds. Use a spray bottle or a watering can with a fine nozzle to water the soil lightly whenever it feels slightly dry. Avoid waterlogging the soil, as it can lead to root rot and hinder germination.
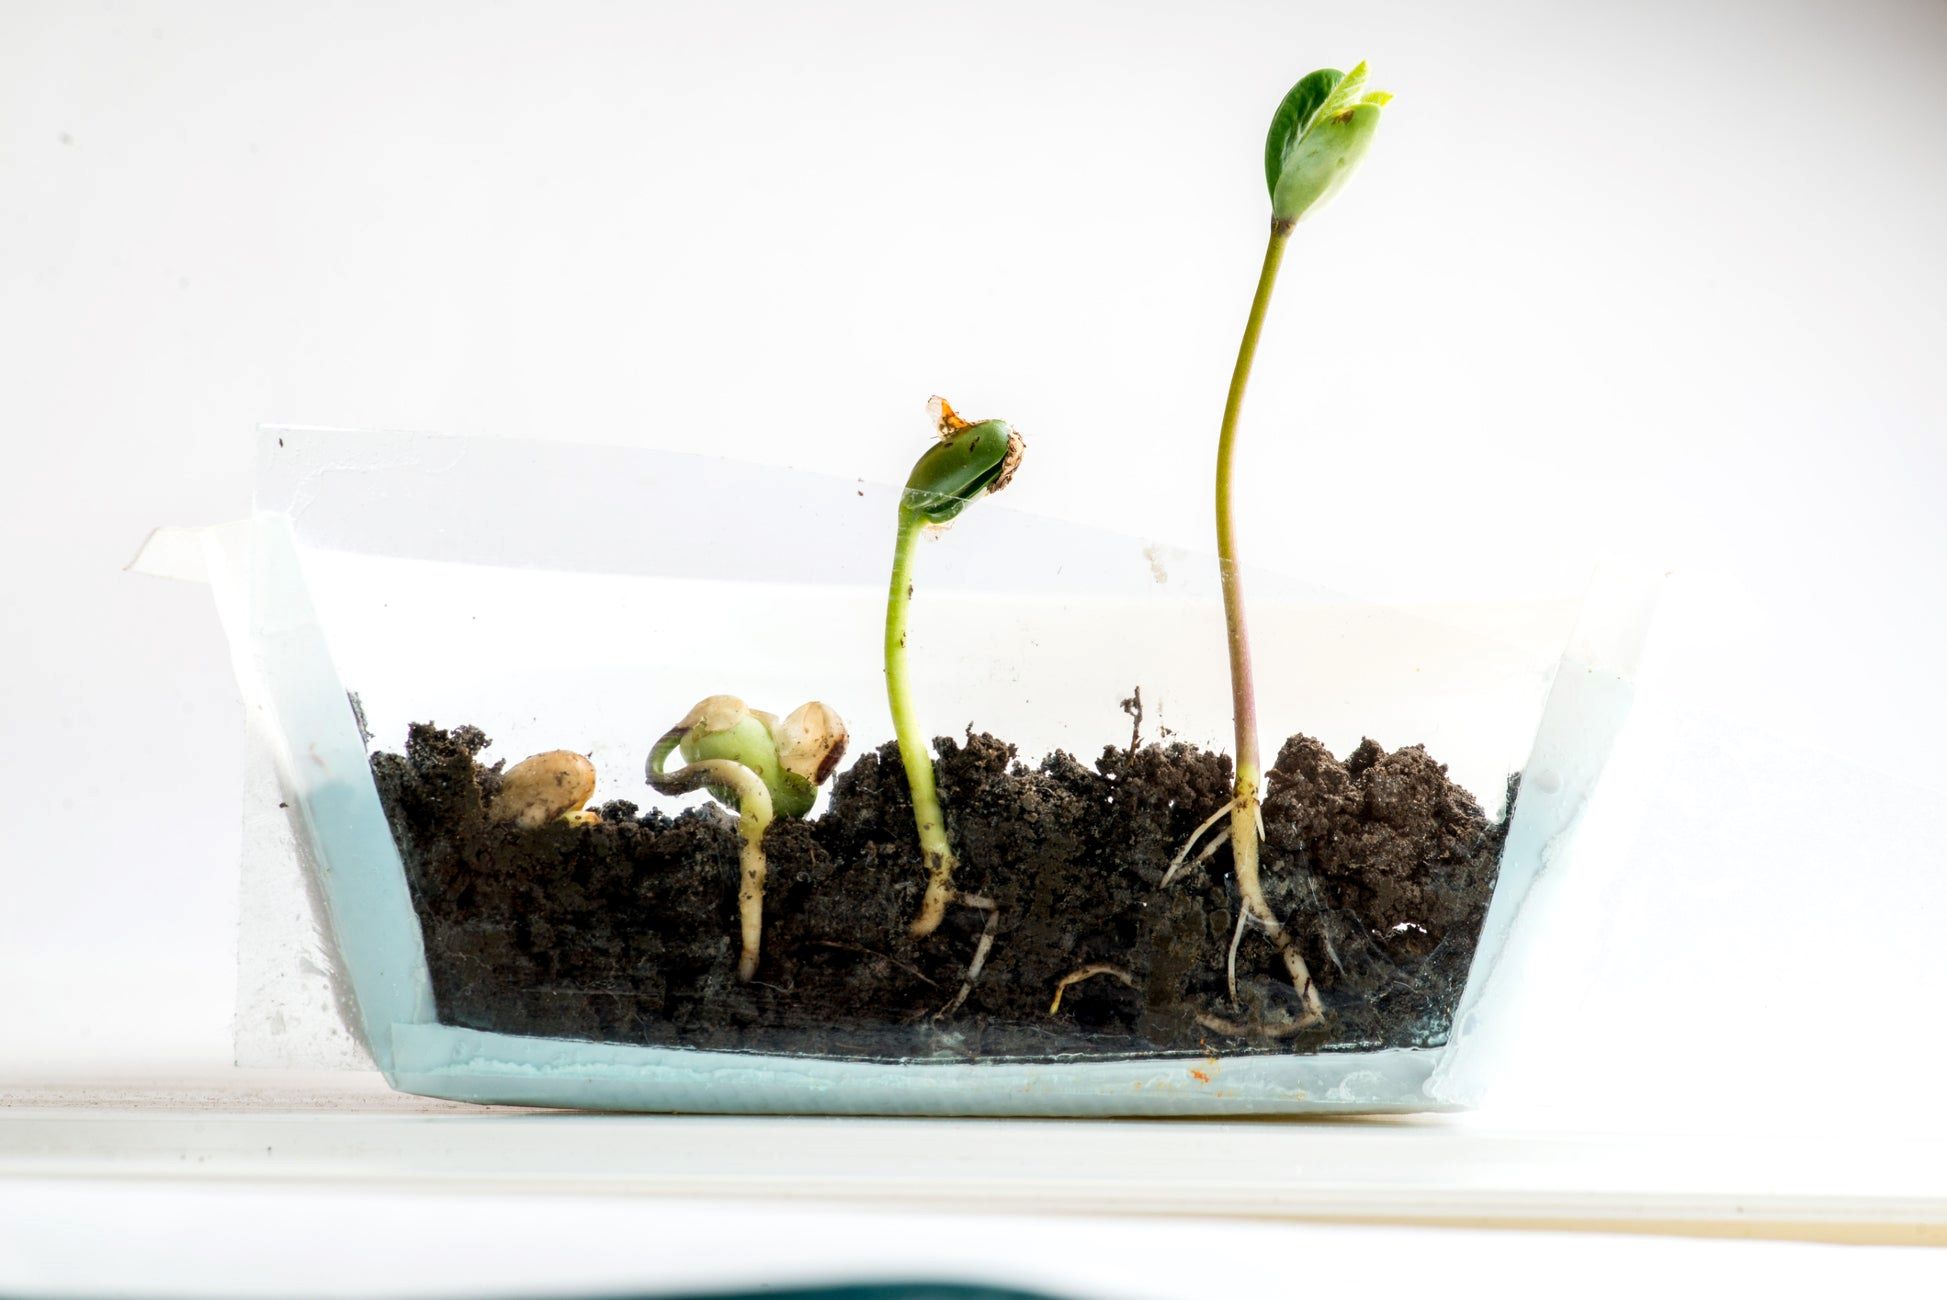
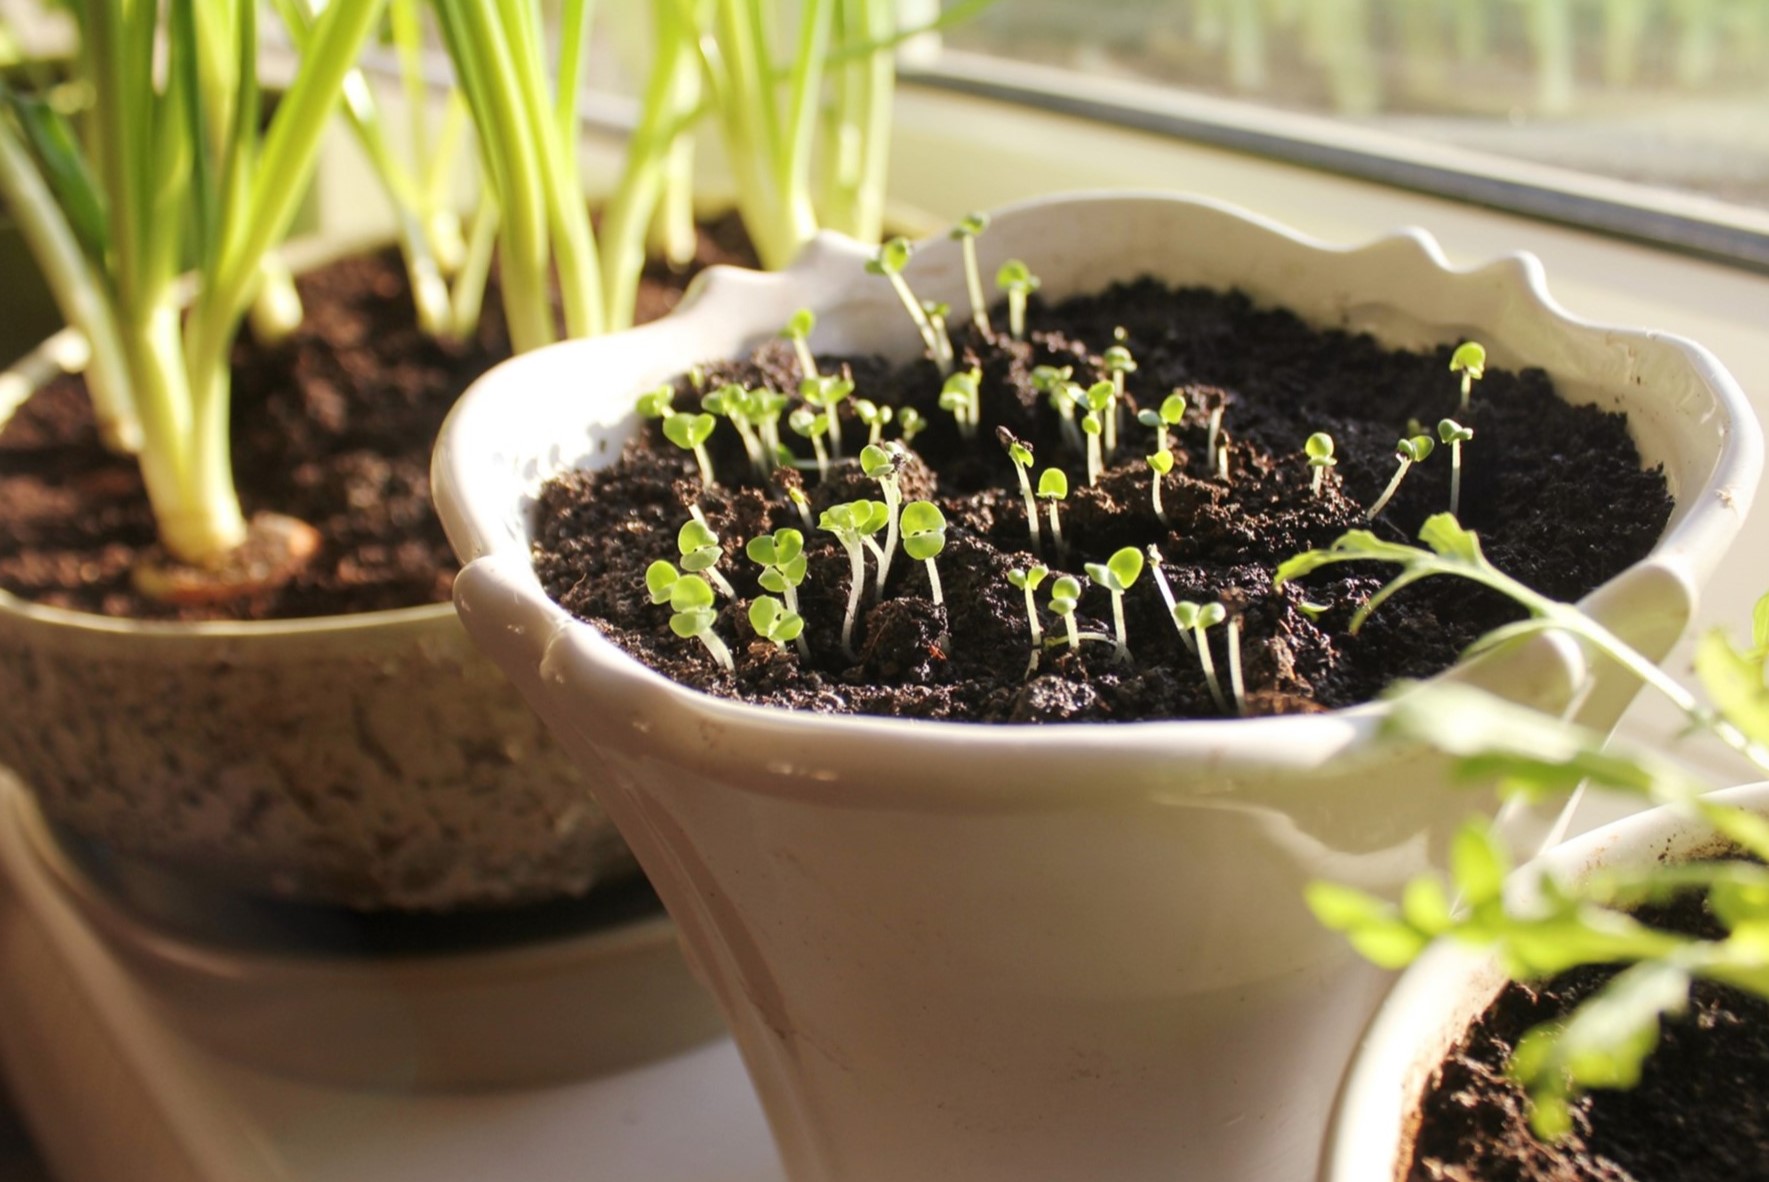
6. Time and Patience: Be aware that different seeds have different germination times. Some may sprout within a few days, while others may take weeks. Patience is key, so monitor the progress of your seeds regularly and resist the temptation to overwater or disturb them.
By maintaining these optimal conditions, you can provide a nurturing environment that encourages successful seed germination and healthy plant development. Now, let’s explore the germination times for common indoor sprouting seeds.
Keep seeds moist but not waterlogged, provide warmth and light, and be patient. Different seeds have different germination times, so check the seed packet for specific instructions.
Read more: How Long Does It Take Chia Seeds To Sprout
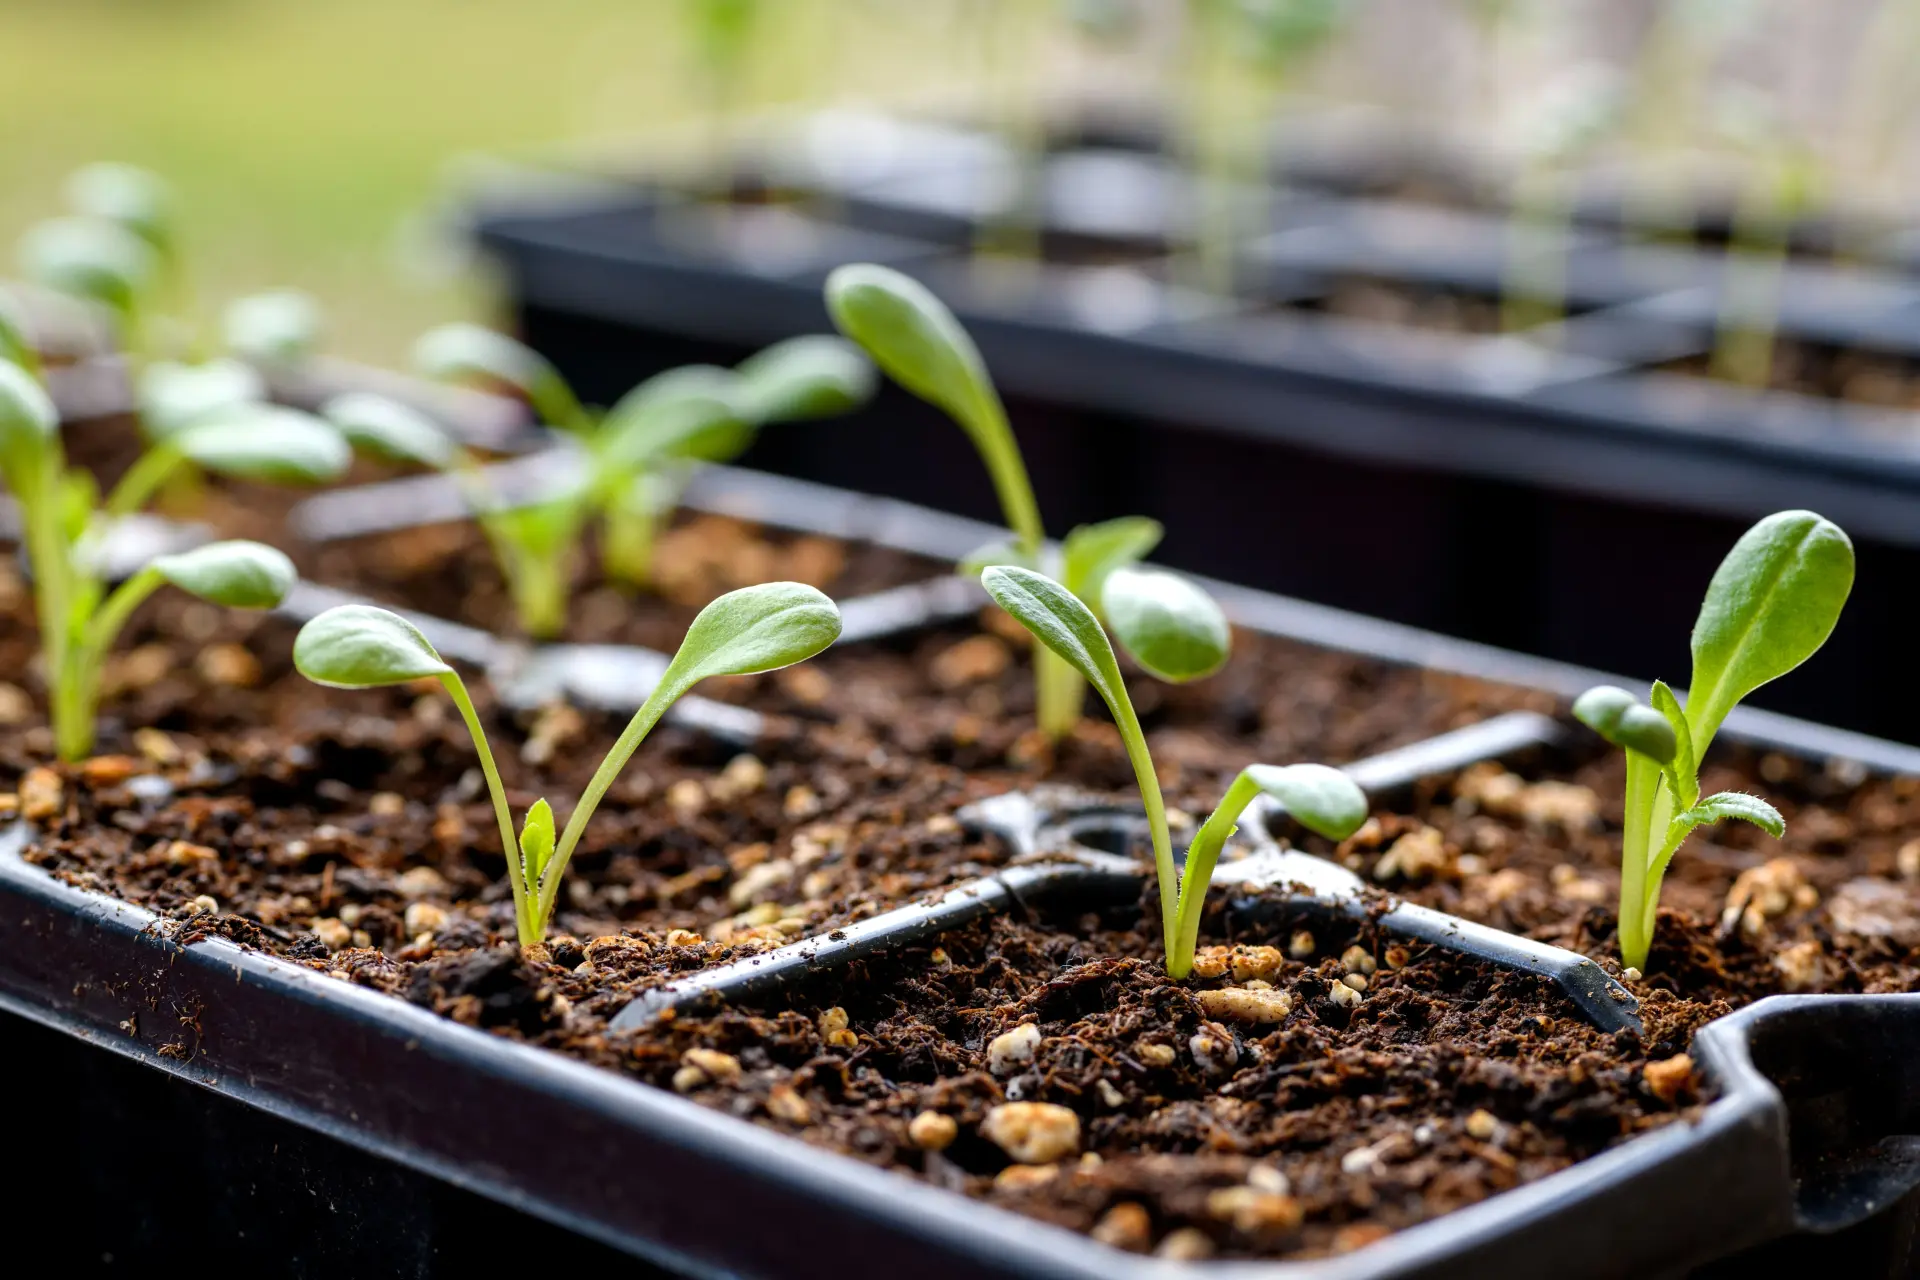
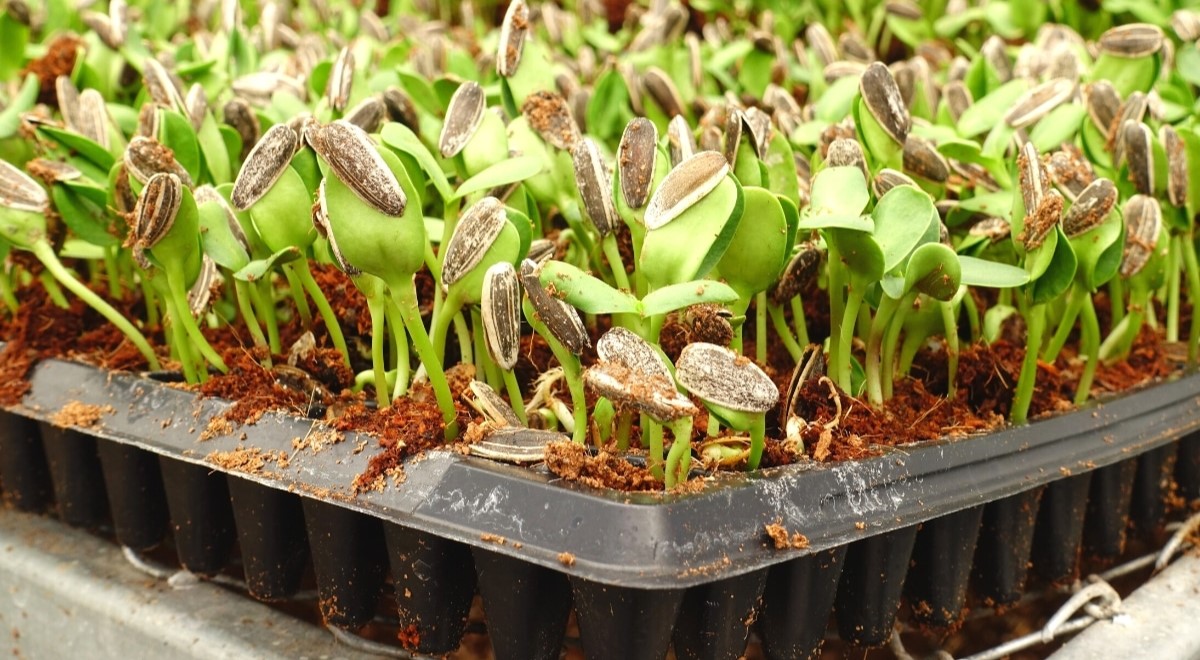
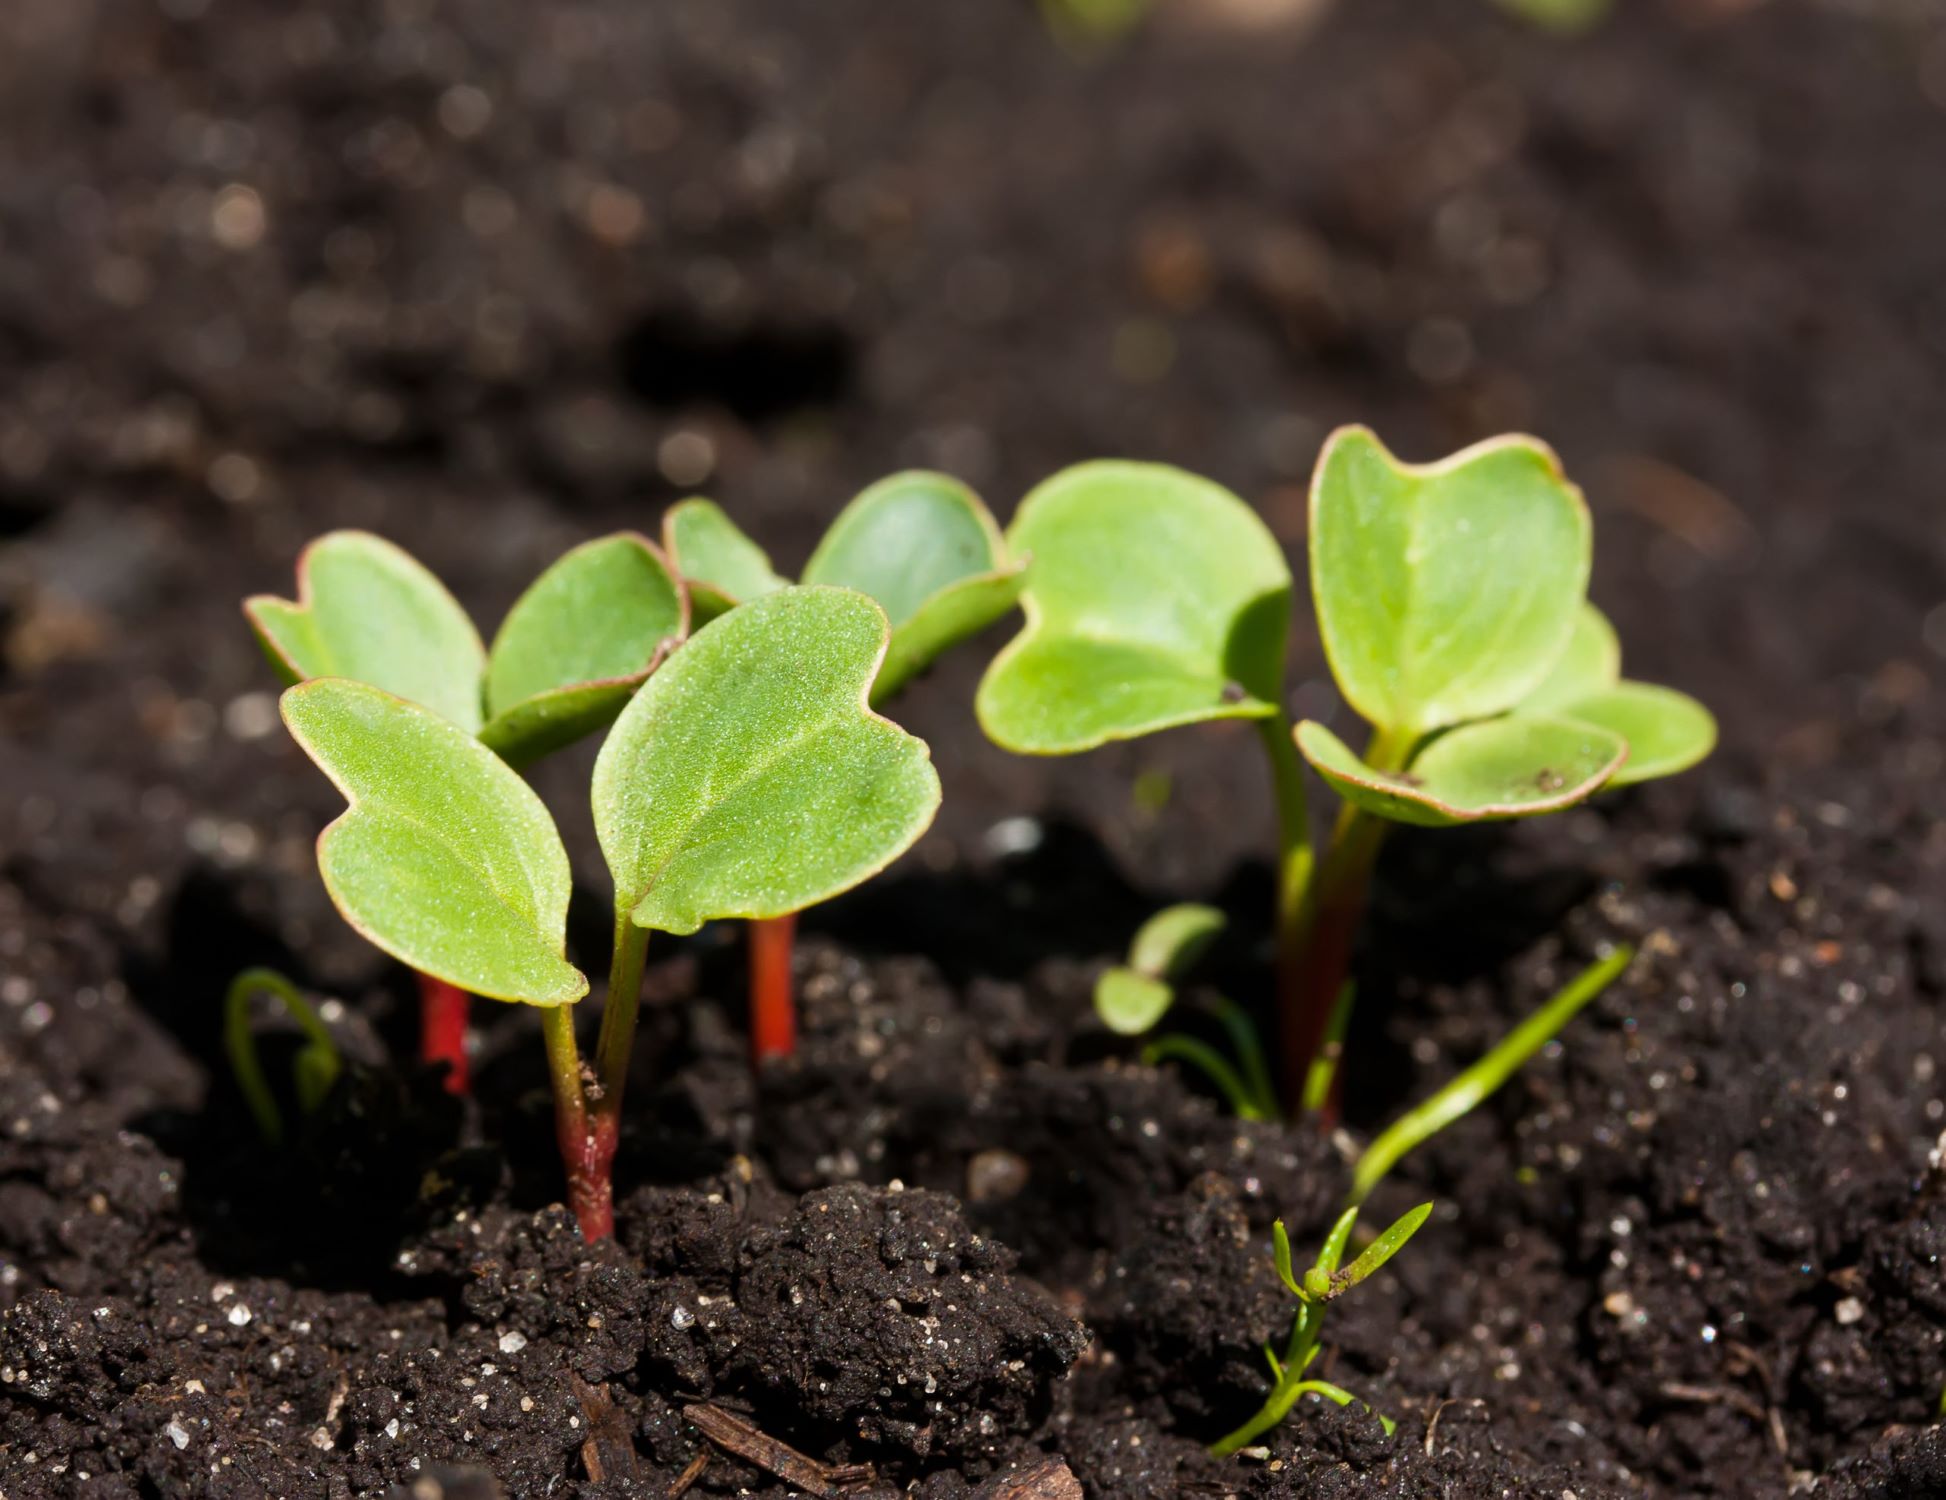
Germination Time for Common Indoor Seeds
Each seed has its own unique germination timeline, which can vary depending on the specific plant species and environmental conditions. Here are some common indoor sprouting seeds and their approximate germination times:
1. Lettuce: Lettuce seeds typically germinate within 7-14 days. Varieties like Butterhead and Romaine lettuce tend to have faster germination compared to Crisphead varieties.
2. Tomatoes: Tomato seeds usually germinate within 5-10 days. However, some varieties may take up to 14 days. Optimal temperature for germination is around 70-80°F (21-27°C).
3. Peppers: Pepper seeds can take 7-21 days to germinate. Bell peppers, chili peppers, and sweet peppers all fall within this range. They require warmer temperatures around 75-85°F (24-29°C) for successful germination.
4. Herbs: Many common herbs have relatively quick germination times. Basil generally sprouts within 5-10 days, while cilantro germinates within 7-14 days. Parsley can take anywhere from 14-30 days to sprout.
5. Spinach: Spinach seeds typically germinate within 7-14 days. They prefer slightly cooler temperatures of around 60-70°F (15-21°C) for optimal germination.
6. Radishes: Radish seeds are known for their fast germination, usually taking only 3-7 days. They are an excellent choice for beginners due to their quick results and ability to thrive in cooler temperatures.
Keep in mind that these germination times are approximate and can vary depending on factors such as seed quality, temperature, light, and other growing conditions. Monitoring your seeds closely and providing the ideal environment will help ensure successful sprouting.
If your seeds do not germinate within the expected timeframe, don’t lose hope. Some seeds may require more time, so be patient and continue to provide the necessary care. If you experience prolonged germination failure, it may be worth investigating other potential issues, such as improper seed storage or unfavorable conditions.
Now that you know the germination times for common indoor seeds, let’s address any potential issues that may arise during the sprouting process.
Troubleshooting Common Issues in Indoor Seed Sprouting
While indoor seed sprouting can be an exciting and rewarding process, it is not without its challenges. Here are some common issues that may arise during the sprouting process and how to troubleshoot them:
1. Poor Germination: If your seeds have not sprouted within the expected timeframe, it could be due to factors such as low seed viability, improper temperature, insufficient moisture, or inadequate lighting. Ensure that you are providing the optimal conditions for germination based on the specific seed requirements.
2. Mold or Fungal Growth: Excessive moisture or poor air circulation can lead to the development of mold or fungal growth on the soil surface. To combat this issue, ensure proper ventilation, avoid overwatering, and allow the top layer of soil to dry out slightly between watering. Additionally, you can sprinkle a thin layer of cinnamon or charcoal powder on the soil surface to help prevent fungal growth.
3. Damping Off: Damping off is a common problem characterized by the sudden collapse and decay of seedlings. It is caused by soil-borne fungal pathogens. To prevent damping off, use sterile soil or seed starting mix, avoid overcrowding seedlings, and water from the bottom by placing the pots in a tray of water instead of watering from the top.
4. Leggy Seedlings: Leggy, elongated seedlings indicate insufficient light and are more susceptible to bending or breaking. To overcome this issue, provide adequate light intensity by placing the seedlings closer to a light source or using supplemental grow lights. Rotate the containers regularly to ensure even light distribution.
5. Insufficient or Uneven Watering: Inconsistent watering can lead to uneven germination and stunted growth. Water the seeds gently but consistently, keeping the soil moist but not waterlogged. Use a watering can with a fine nozzle or a spray bottle to avoid dislodging the seeds or causing soil disturbance.
6. Pest Infestation: Indoor plants are not exempt from pest problems. Common pests that can affect indoor seed sprouts include aphids, fungus gnats, and spider mites. Regularly inspect your plants, especially the undersides of leaves, and take appropriate measures, such as using organic insecticidal soap or sticky traps, to control pests.
By being observant and proactive, you can identify and address these common issues in indoor seed sprouting, ensuring the overall health and success of your seedlings. Now, let’s move on to harvesting and transplanting your sprouted indoor seeds.
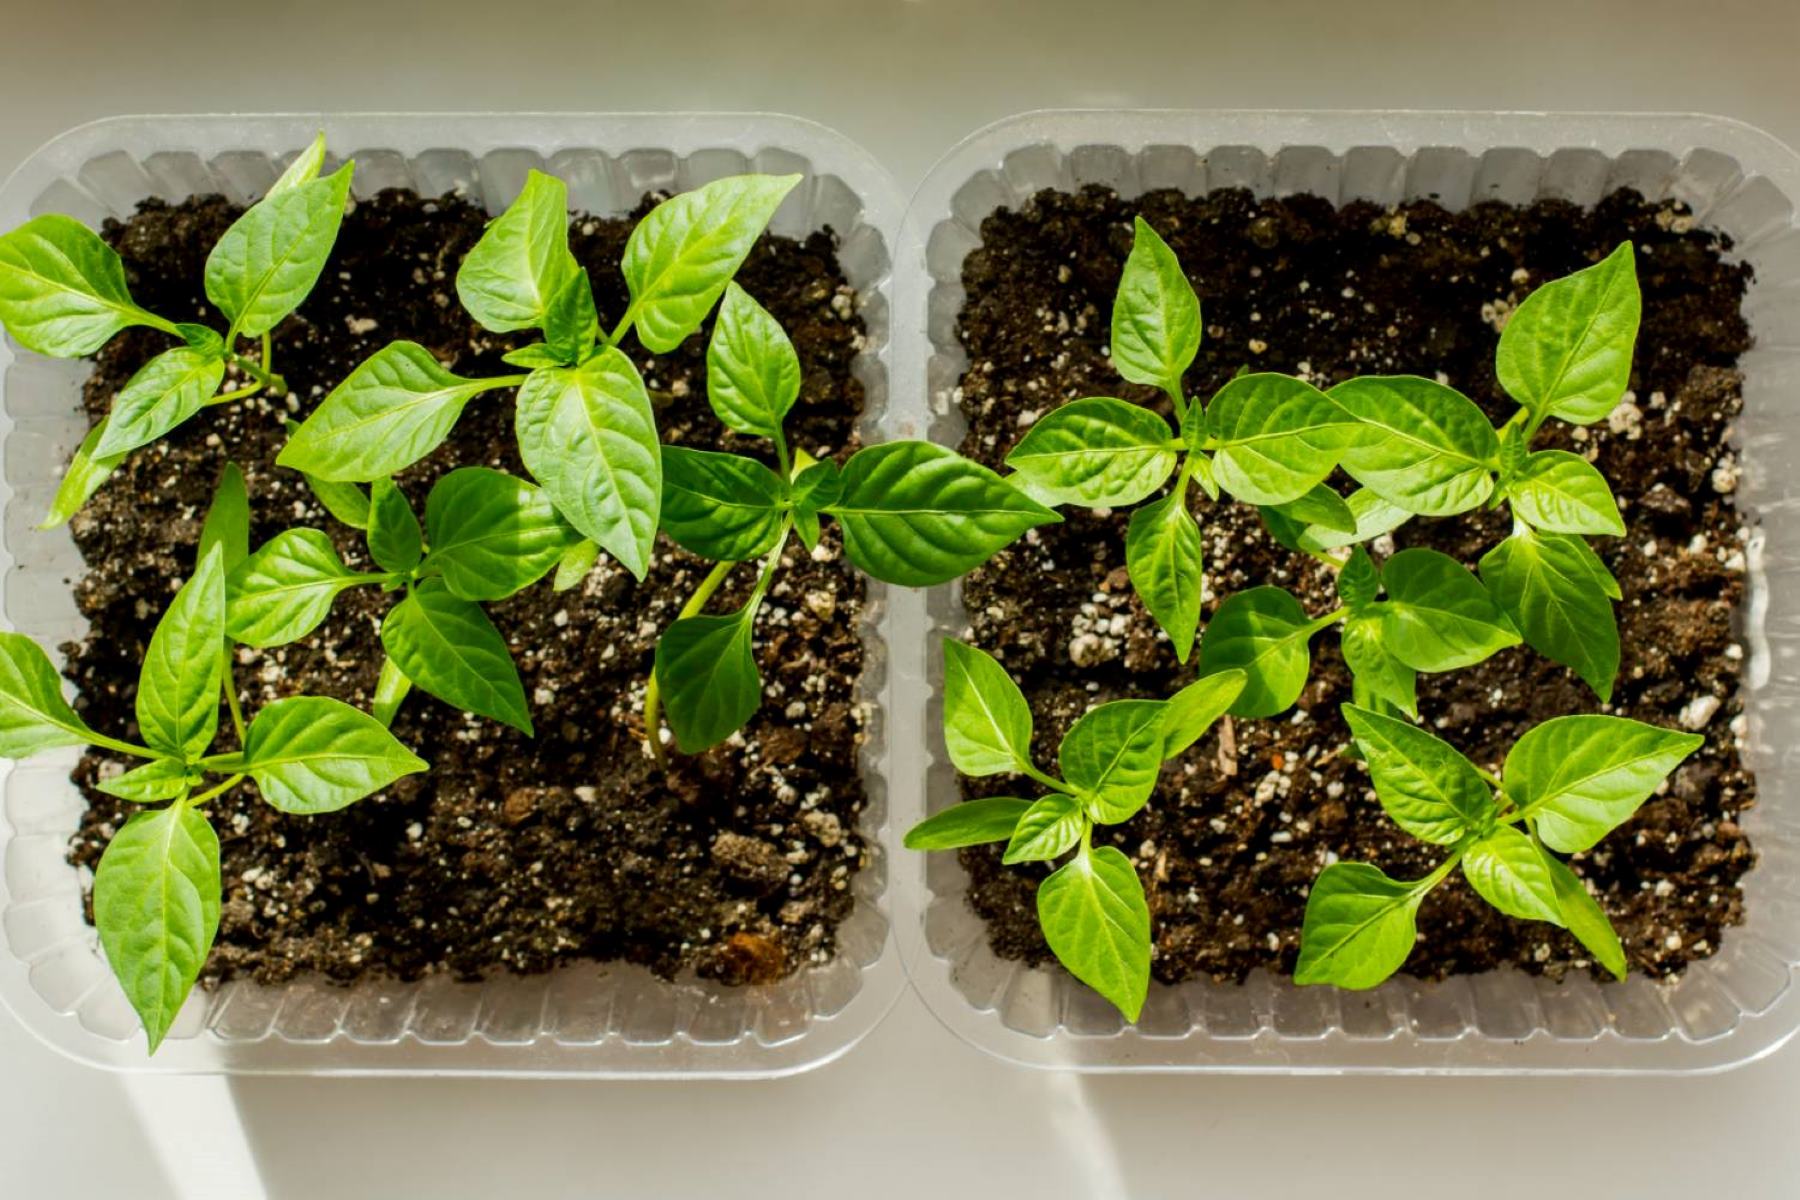
Harvesting and Transplanting Sprouted Indoor Seeds
Once your seeds have successfully germinated and developed into healthy seedlings, it’s time to prepare them for transplantation into their final growing location. Here are the key steps to harvesting and transplanting sprouted indoor seeds:
1. Harden Off the Seedlings: Before transplanting your seedlings, it’s important to acclimate them to outdoor conditions gradually. Start by placing them in a sheltered, shaded area for a few hours a day, gradually increasing the exposure to sunlight and outdoor elements over the course of a week.
2. Transplanting Seedlings: Choose an appropriate location for transplanting based on the specific requirements of each plant. Prepare the soil in your garden bed or pots by loosening it and incorporating organic matter, such as compost or well-rotted manure. Carefully remove each seedling from its container, handling the root ball gently to avoid damaging the delicate roots. Dig a hole in the prepared area, place the seedling in the hole, and backfill with soil, ensuring the seedling is planted at the same depth it was in its original container.
3. Watering: After transplanting, water the seedlings thoroughly to settle the soil and ensure good contact between the roots and the surrounding soil. Continue to water regularly, keeping the soil consistently moist but not waterlogged, particularly during the establishment phase.
4. Provide Support (if needed): Some plants, such as tomatoes or tall flowers, may require additional support as they grow. Install stakes, cages, or trellises around the seedlings to provide support and prevent them from falling or bending under their weight.
5. Monitor and Maintain: Regularly monitor your transplanted seedlings for signs of stress, pests, or diseases. Adjust watering and provide additional care as needed to support their growth. Apply organic fertilizers as recommended for optimal nutrition.
6. Enjoy the Harvest: As your transplanted seedlings continue to grow, you’ll soon be rewarded with a bountiful harvest of fresh vegetables, herbs, or stunning flowers. Harvest your crops when they reach their desired maturity, following specific guidelines for each plant type. Enjoy the fruits of your labor and celebrate the successful outcome of your indoor seed sprouting endeavor.
By following these steps, you can ensure the smooth transition of your sprouted indoor seeds into their permanent growing location and foster their continued growth and development. Now that we’ve covered the process of harvesting and transplanting sprouted seeds, let’s summarize our findings.
Conclusion
Cultivating plants from seeds is a gratifying and fulfilling experience, and indoor seed sprouting provides a way to kickstart your gardening season or extend it throughout the year. By understanding the factors that affect seed germination, selecting the right seeds, preparing them properly, and providing optimal conditions, you can increase the success rate of your indoor sprouting endeavors.
Temperature, moisture, light, oxygen, seed age, and seed quality all play key roles in the germination process. Choosing seeds that have quick germination times and compact growth, as well as aligning with your personal preferences, enables you to maximize your indoor gardening success.
Preparing seeds through cleaning, soaking, scarification, and stratification can further optimize their germination potential. Providing a suitable environment with the right balance of temperature, light, humidity, air circulation, and watering ensures the proper development of your seedlings.
Understanding the approximate germination times for common indoor sprouting seeds helps you plan and monitor their progress effectively. Troubleshooting common issues such as poor germination, mold, leggy seedlings, or pests ensures that your seedlings stay healthy and robust.
Finally, harvesting and transplanting your sprouted seedlings into the garden or containers completes the journey from seed to plant. Harden off the seedlings, carefully transplant them into prepared soil, and provide the necessary support and care as they continue to grow.
With patience, diligence, and a little bit of nurturing, you can enjoy the beauty and bounty of your indoor-sprouted seeds. So, whether you’re growing vibrant flowers, fresh herbs, or delicious vegetables, take pleasure in the process and embrace the wonders of indoor seed sprouting.
Now, go forth and let your green thumb thrive with the knowledge and skills you’ve gained. Happy gardening!
Frequently Asked Questions about How Long Does It Take Seeds To Sprout Indoors
Was this page helpful?
At Storables.com, we guarantee accurate and reliable information. Our content, validated by Expert Board Contributors, is crafted following stringent Editorial Policies. We're committed to providing you with well-researched, expert-backed insights for all your informational needs.
0 thoughts on “How Long Does It Take Seeds To Sprout Indoors”