Home>Garden Essentials>How To Collect Pepper Seeds
Garden Essentials
How To Collect Pepper Seeds
Modified: August 27, 2024
Learn the best techniques for collecting pepper seeds from your garden. Discover expert tips and tricks to ensure a successful harvest.
(Many of the links in this article redirect to a specific reviewed product. Your purchase of these products through affiliate links helps to generate commission for Storables.com, at no extra cost. Learn more)
Introduction
Gardening is not just about enjoying the beauty of plants and flowers, it’s also about the joy of growing your own food. One vegetable that many gardeners love to grow is peppers. Whether you prefer the fiery heat of habanero peppers or the vibrant sweetness of bell peppers, these versatile vegetables are a favorite for many home gardeners.
When growing peppers, it’s not just about the harvest of fresh produce, but also the opportunity to collect and save seeds for future plantings. By collecting seeds from your own peppers, you can ensure that you have a continuous supply of your favorite pepper varieties year after year.
In this article, we will walk you through the process of collecting pepper seeds, from choosing the right peppers for seed collection to storing the seeds for future use. So, grab your gardening gloves and let’s get started!
Key Takeaways:
- Preserve your favorite pepper varieties by collecting and storing seeds from ripe, healthy peppers. Choose open-pollinated or heirloom varieties for best results.
- Harvest, clean, dry, and store pepper seeds to ensure a continuous supply of your favorite pepper varieties. Enjoy the satisfaction of self-sufficiency in your gardening endeavors.
Read more: How To Collect Hibiscus Seeds
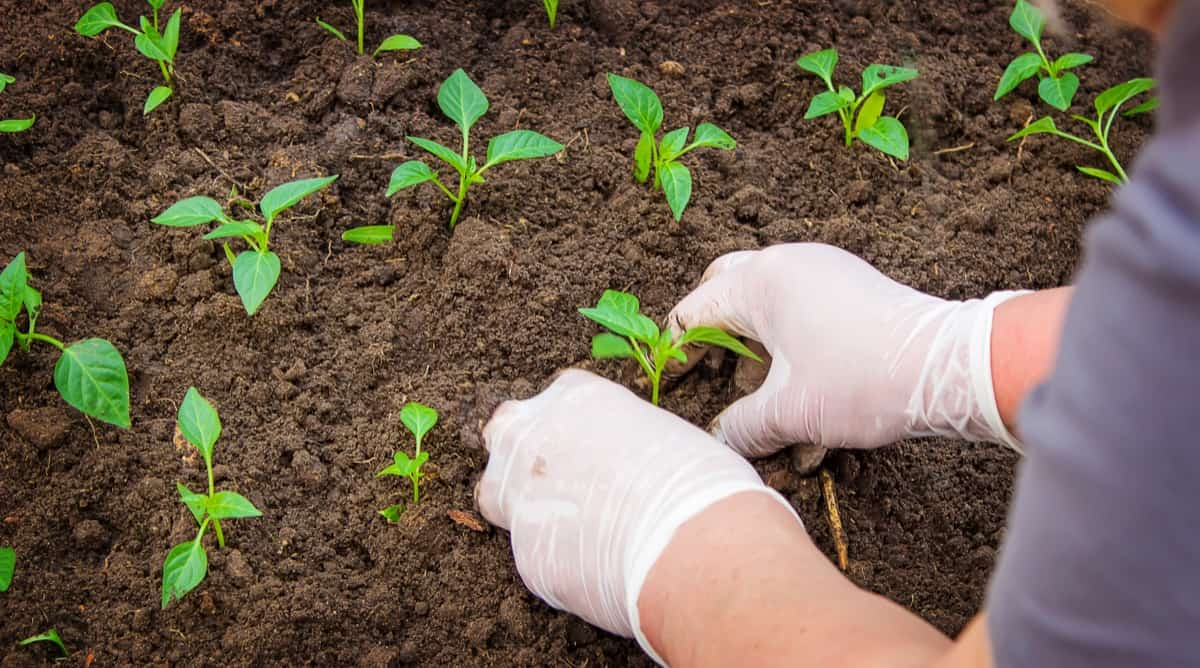
Step 1: Choosing the Right Peppers for Seed Collection
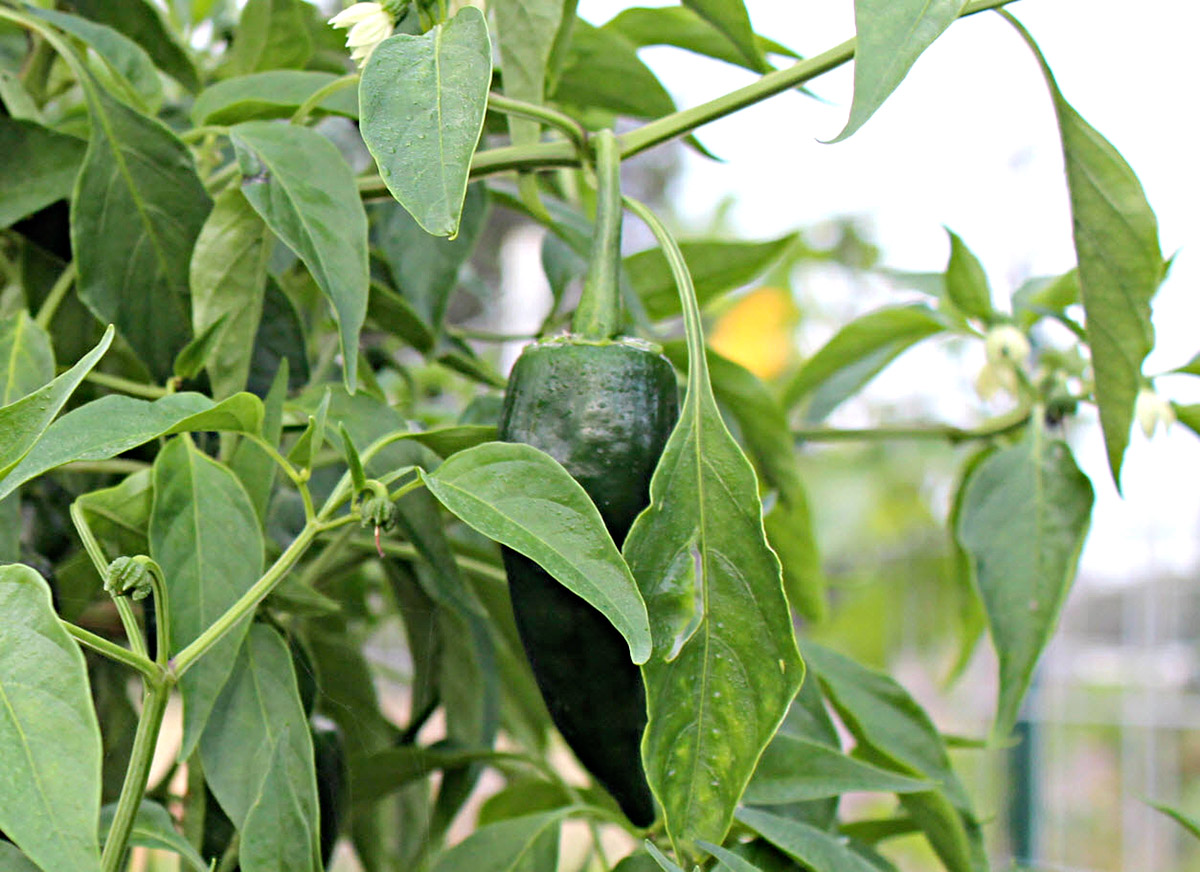
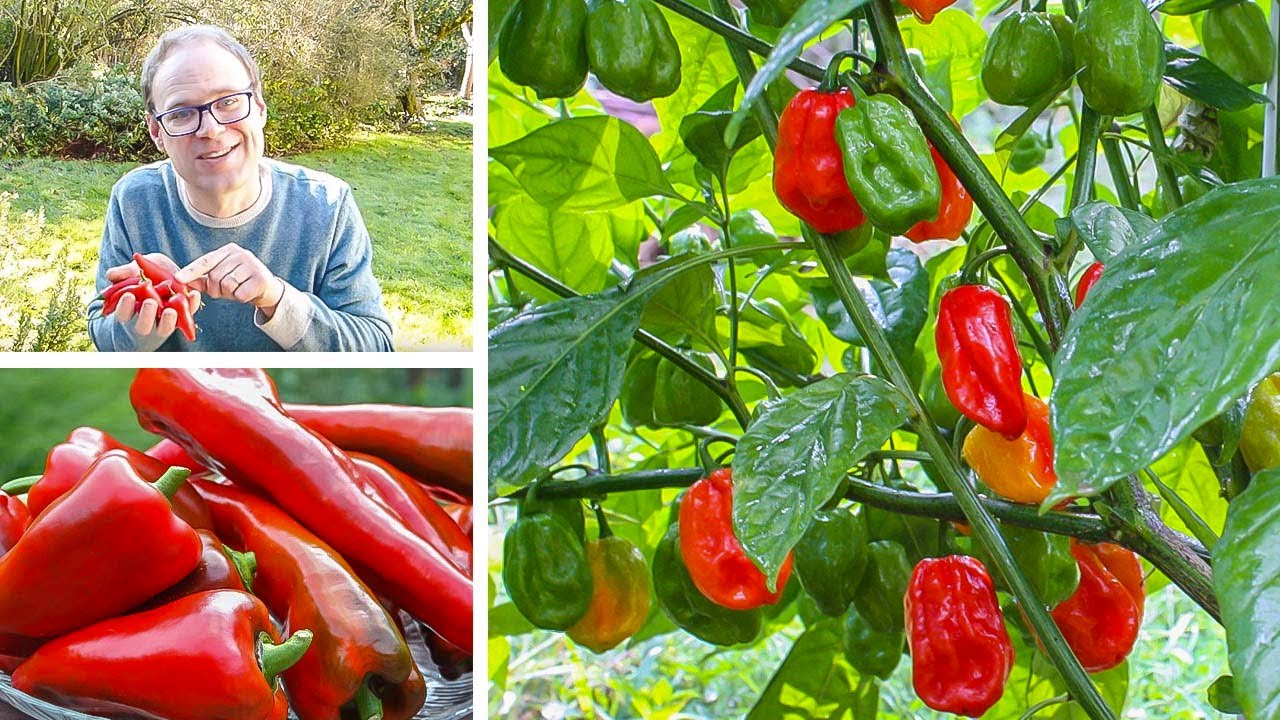
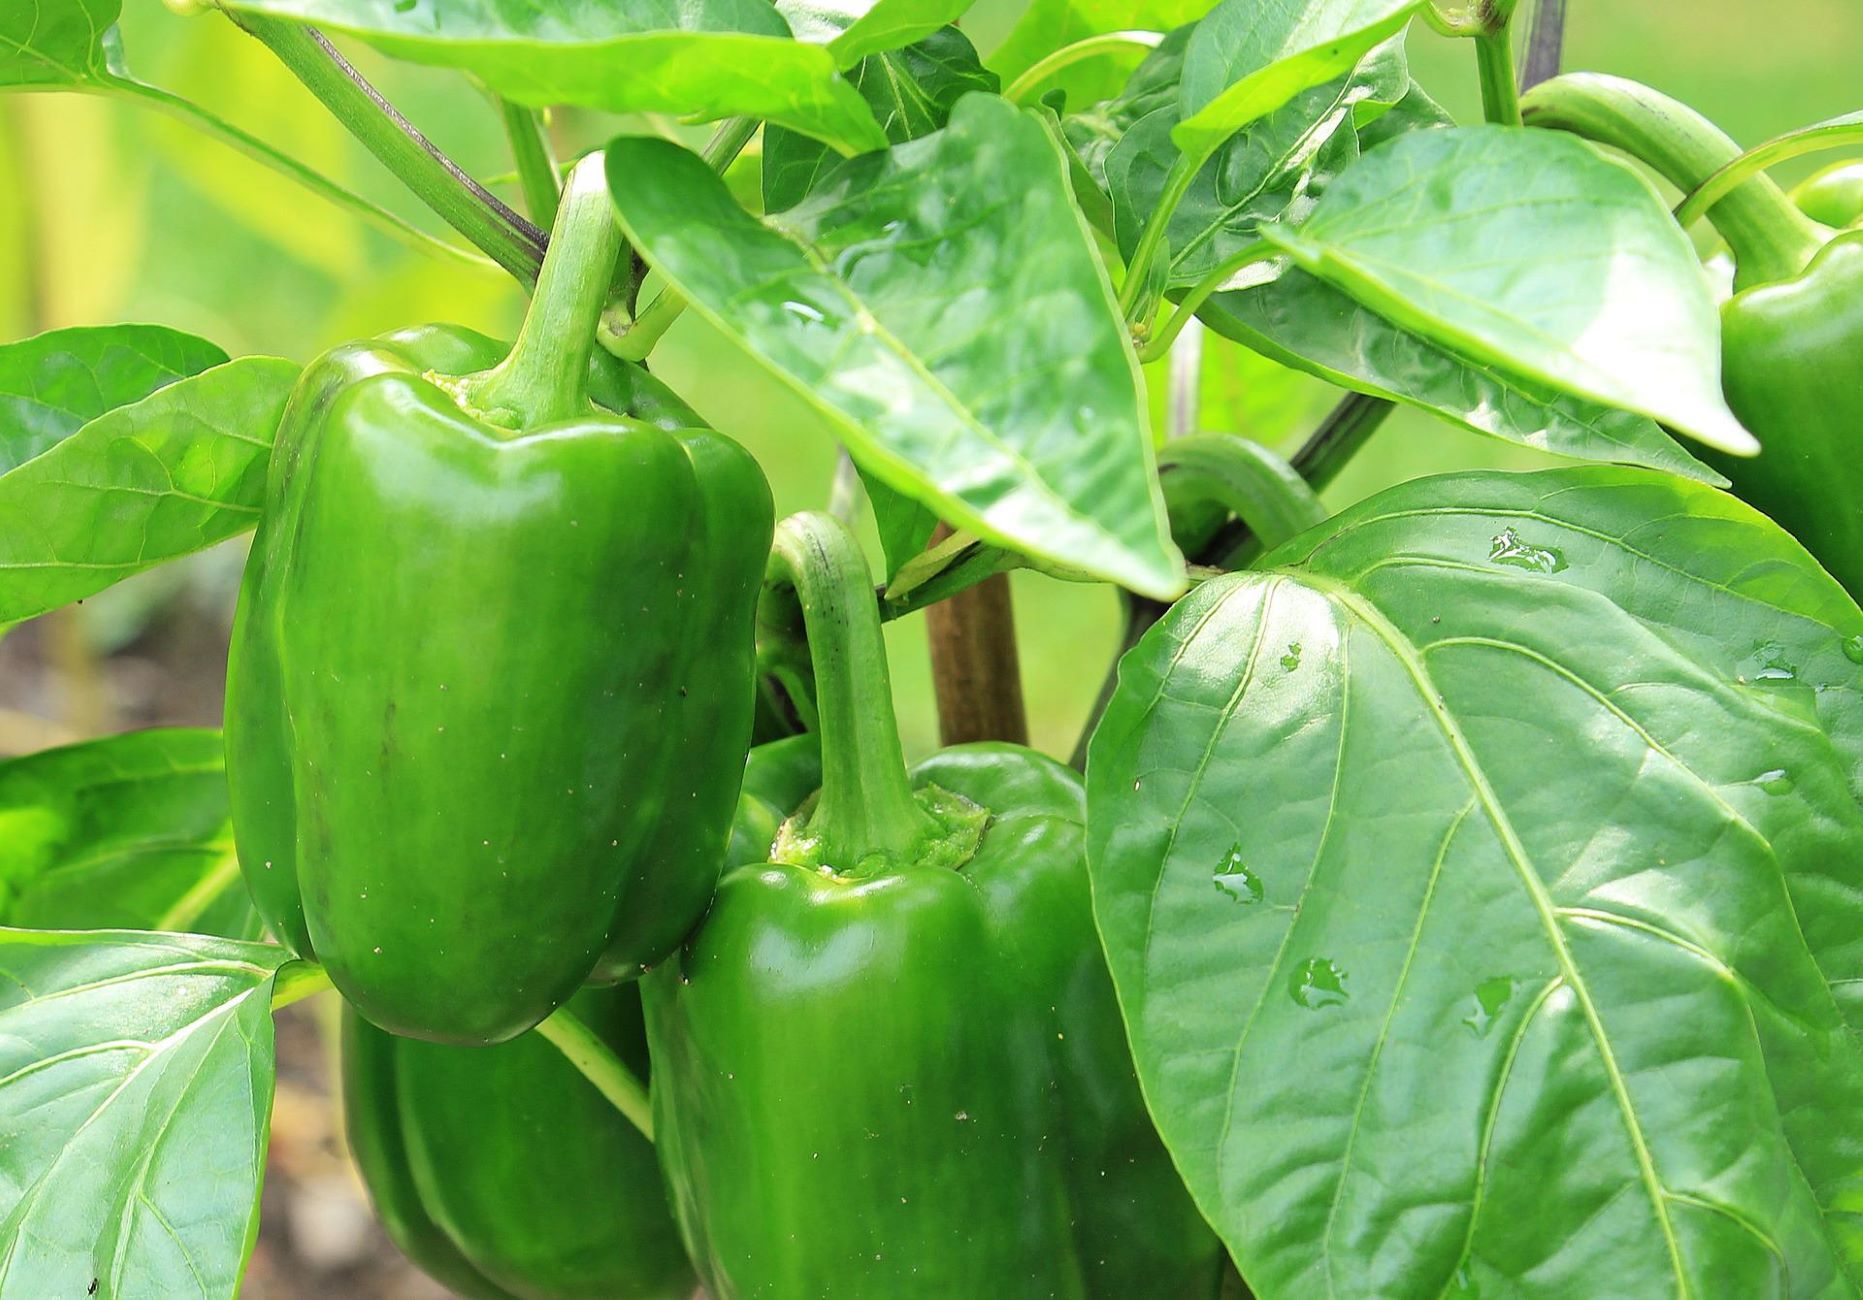
When it comes to collecting pepper seeds, it’s important to start with the right peppers. You’ll want to choose the healthiest and most mature peppers from your garden as these will have the best likelihood of producing viable seeds.
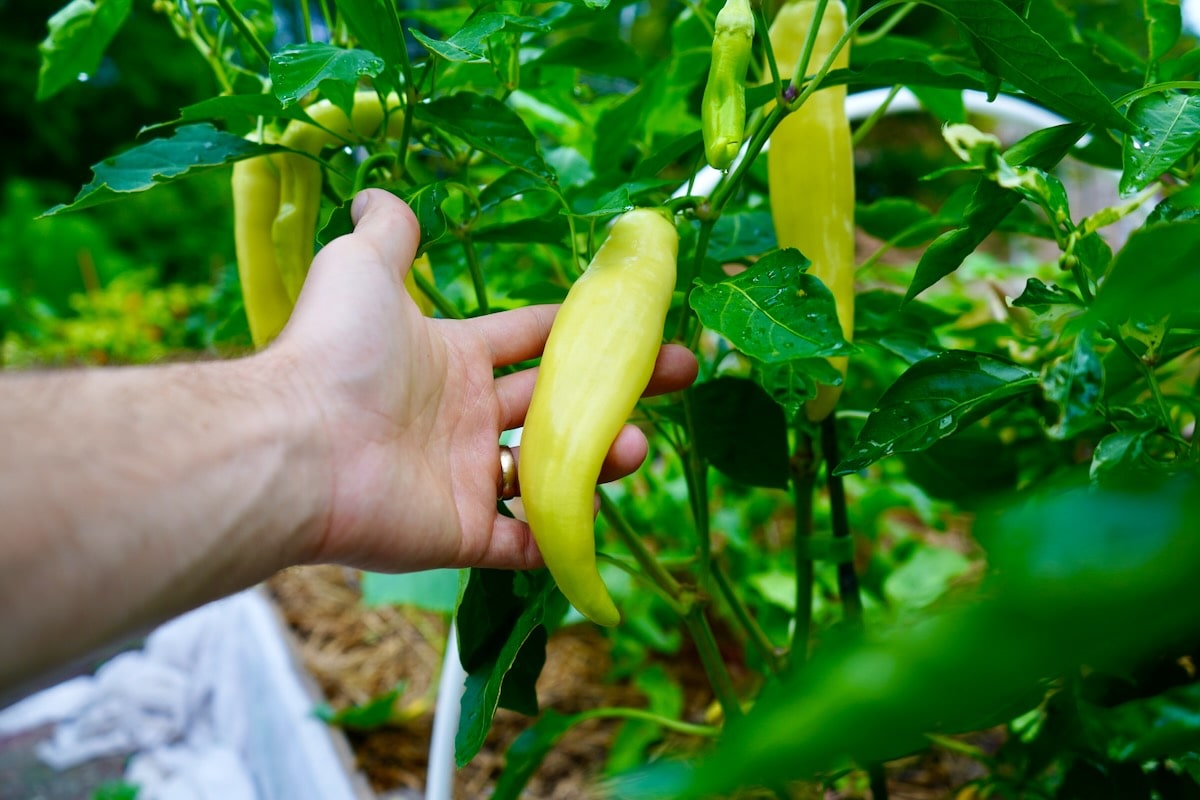
Look for peppers that are fully ripe. This means they have reached their desired color and are firm to the touch. Avoid peppers that are underripe or overripe, as these may not have fully developed seeds or may have seeds that are past their prime.
Another factor to consider is the variety of pepper. If you are growing multiple varieties of peppers, it’s best to collect seeds from each variety separately to maintain their distinct characteristics. This way, you can ensure that your future plants will retain the same flavor profile and heat level as the parent plant.
It’s also wise to choose open-pollinated or heirloom pepper varieties for seed collection. These types of peppers are more likely to produce seeds that will grow into plants with the same characteristics as the parent plant. Hybrid peppers, on the other hand, may not produce consistently desirable offspring.
Now that you’ve gathered the ripest and healthiest peppers, it’s time to move on to the next step: harvesting the peppers for seed collection.
Step 2: Harvesting the Peppers
Now that you have selected the right peppers for seed collection, it’s time to harvest them. Harvesting peppers at the right time is crucial to ensure the best quality seeds.
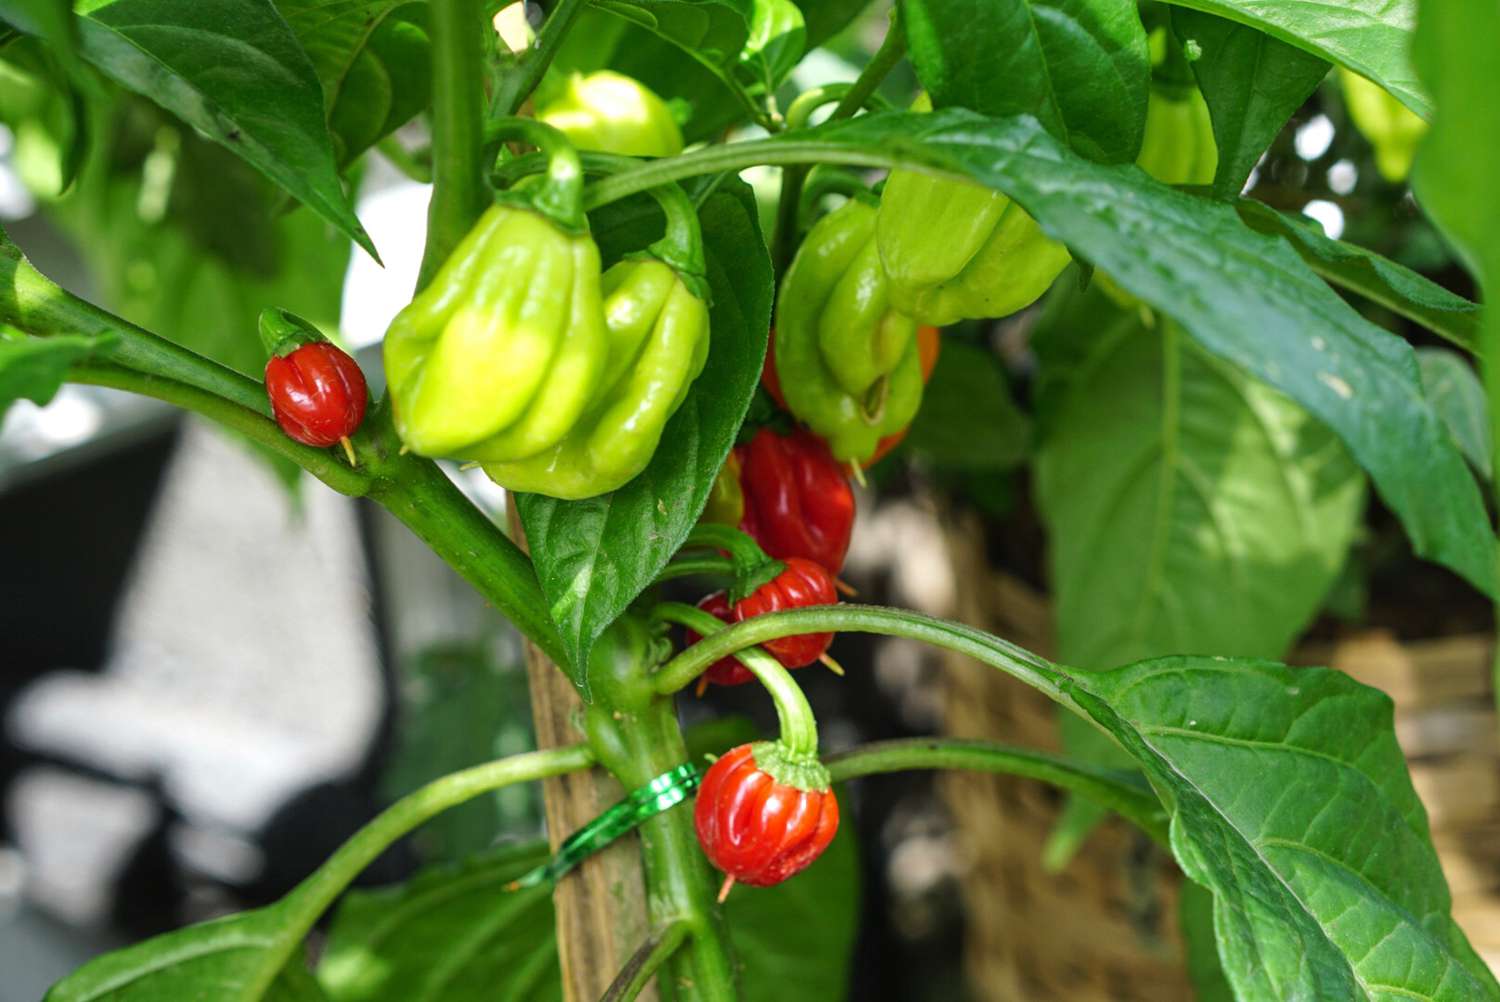
Peppers should be harvested when they have fully ripened on the plant. Depending on the variety, this can be indicated by a change in color from green to red, orange, yellow, or another designated color. You can also gently squeeze the pepper to check for firmness. If it feels plump and firm, it’s likely ready for harvest.
To harvest the peppers, use a clean pair of garden shears or scissors to cut the stems about one inch above the pepper. It is important to leave a small stem attached to the pepper, as this will help during the seed removal process.
As you harvest the peppers, be careful not to bruise or damage them, as this can affect the viability of the seeds. Handle them with care and place each harvested pepper gently in a basket or container.
After you have harvested all the peppers, it’s time to move on to the next step: removing the seeds.
Step 3: Removing the Seeds
With your freshly harvested peppers in hand, it’s time to extract the seeds. Removing the seeds properly ensures that you collect the highest quality seeds for future planting.
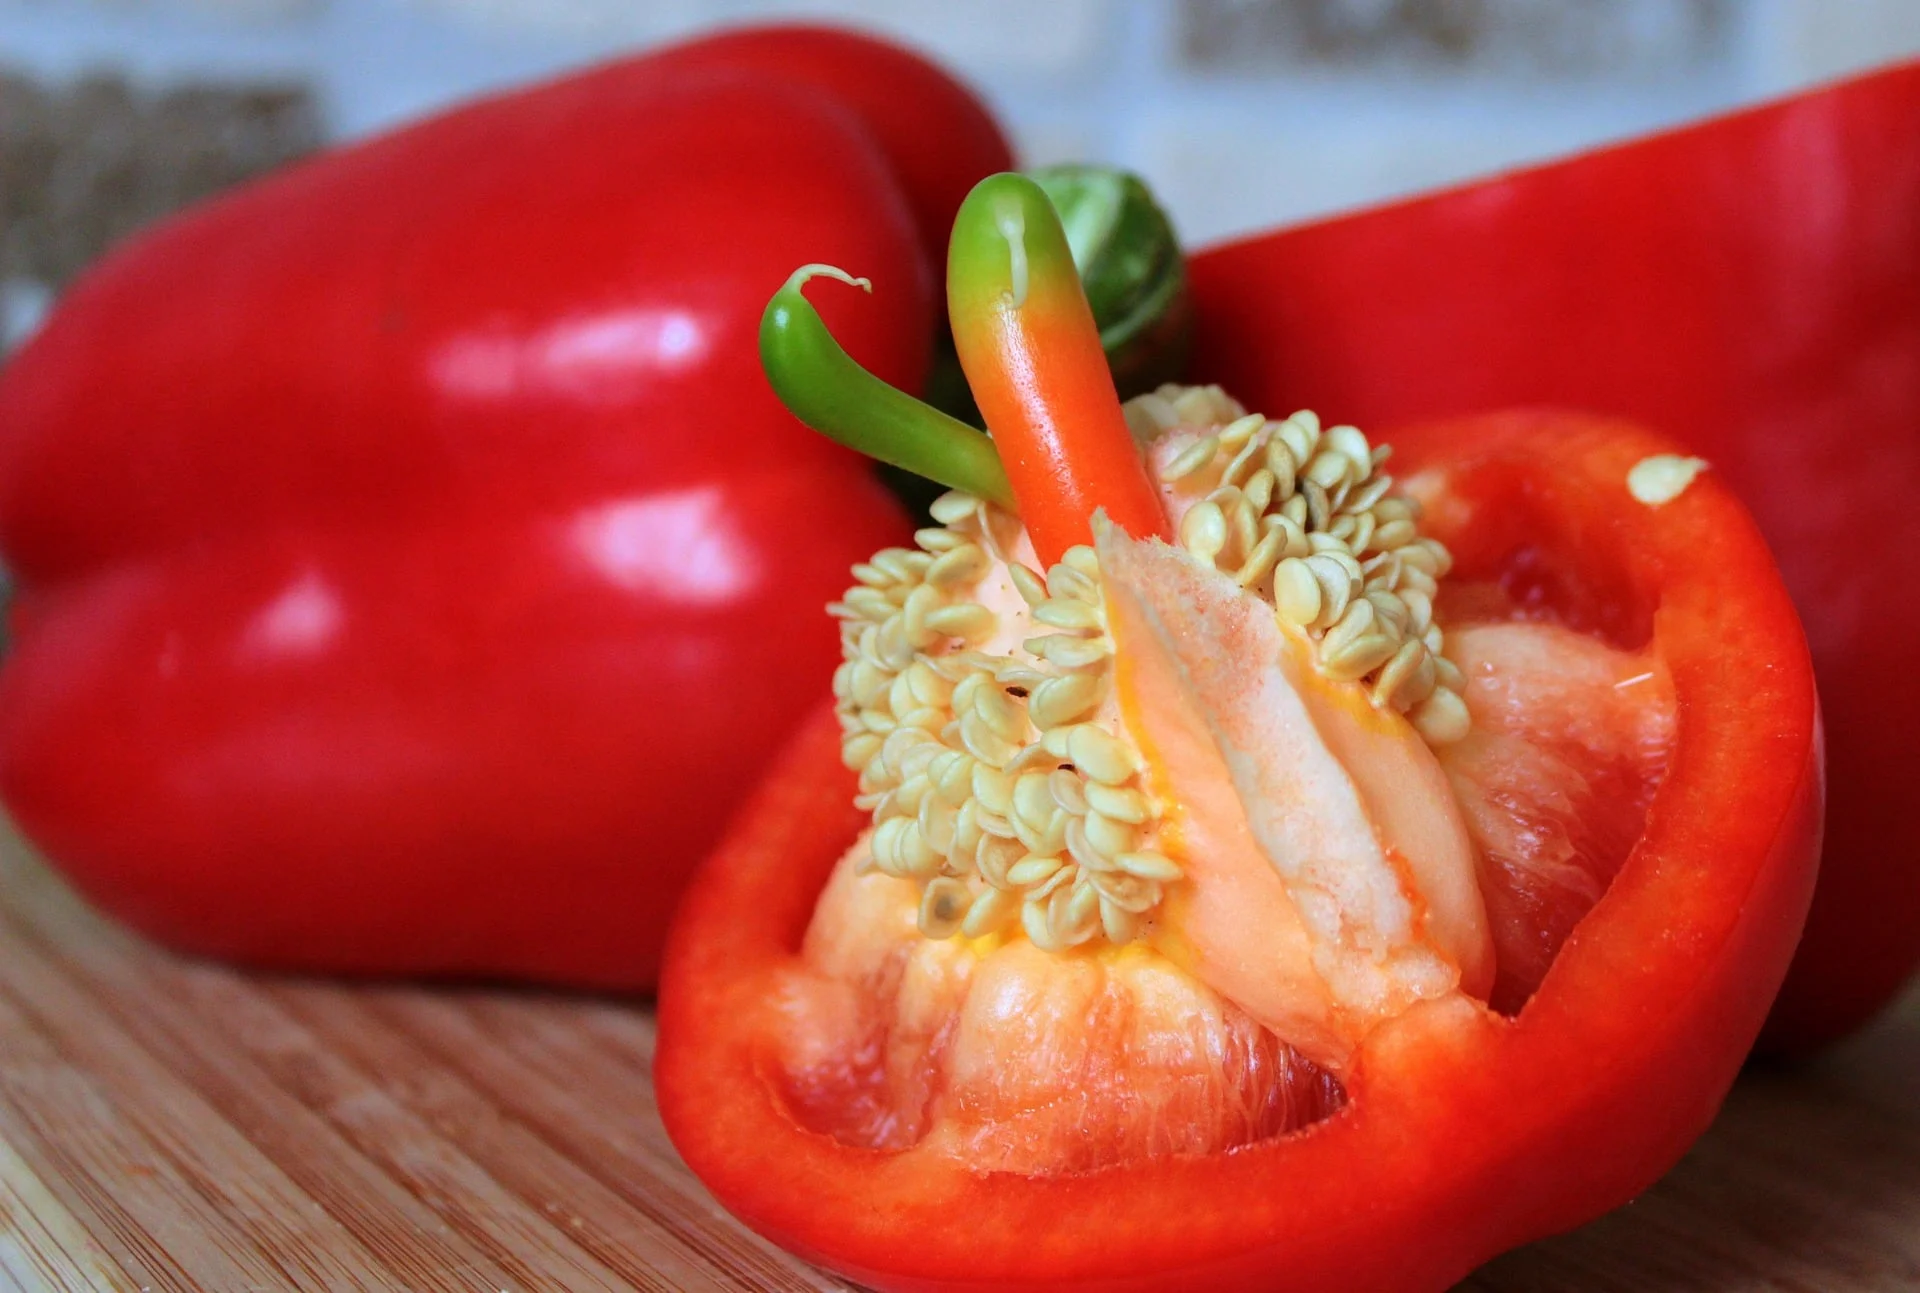
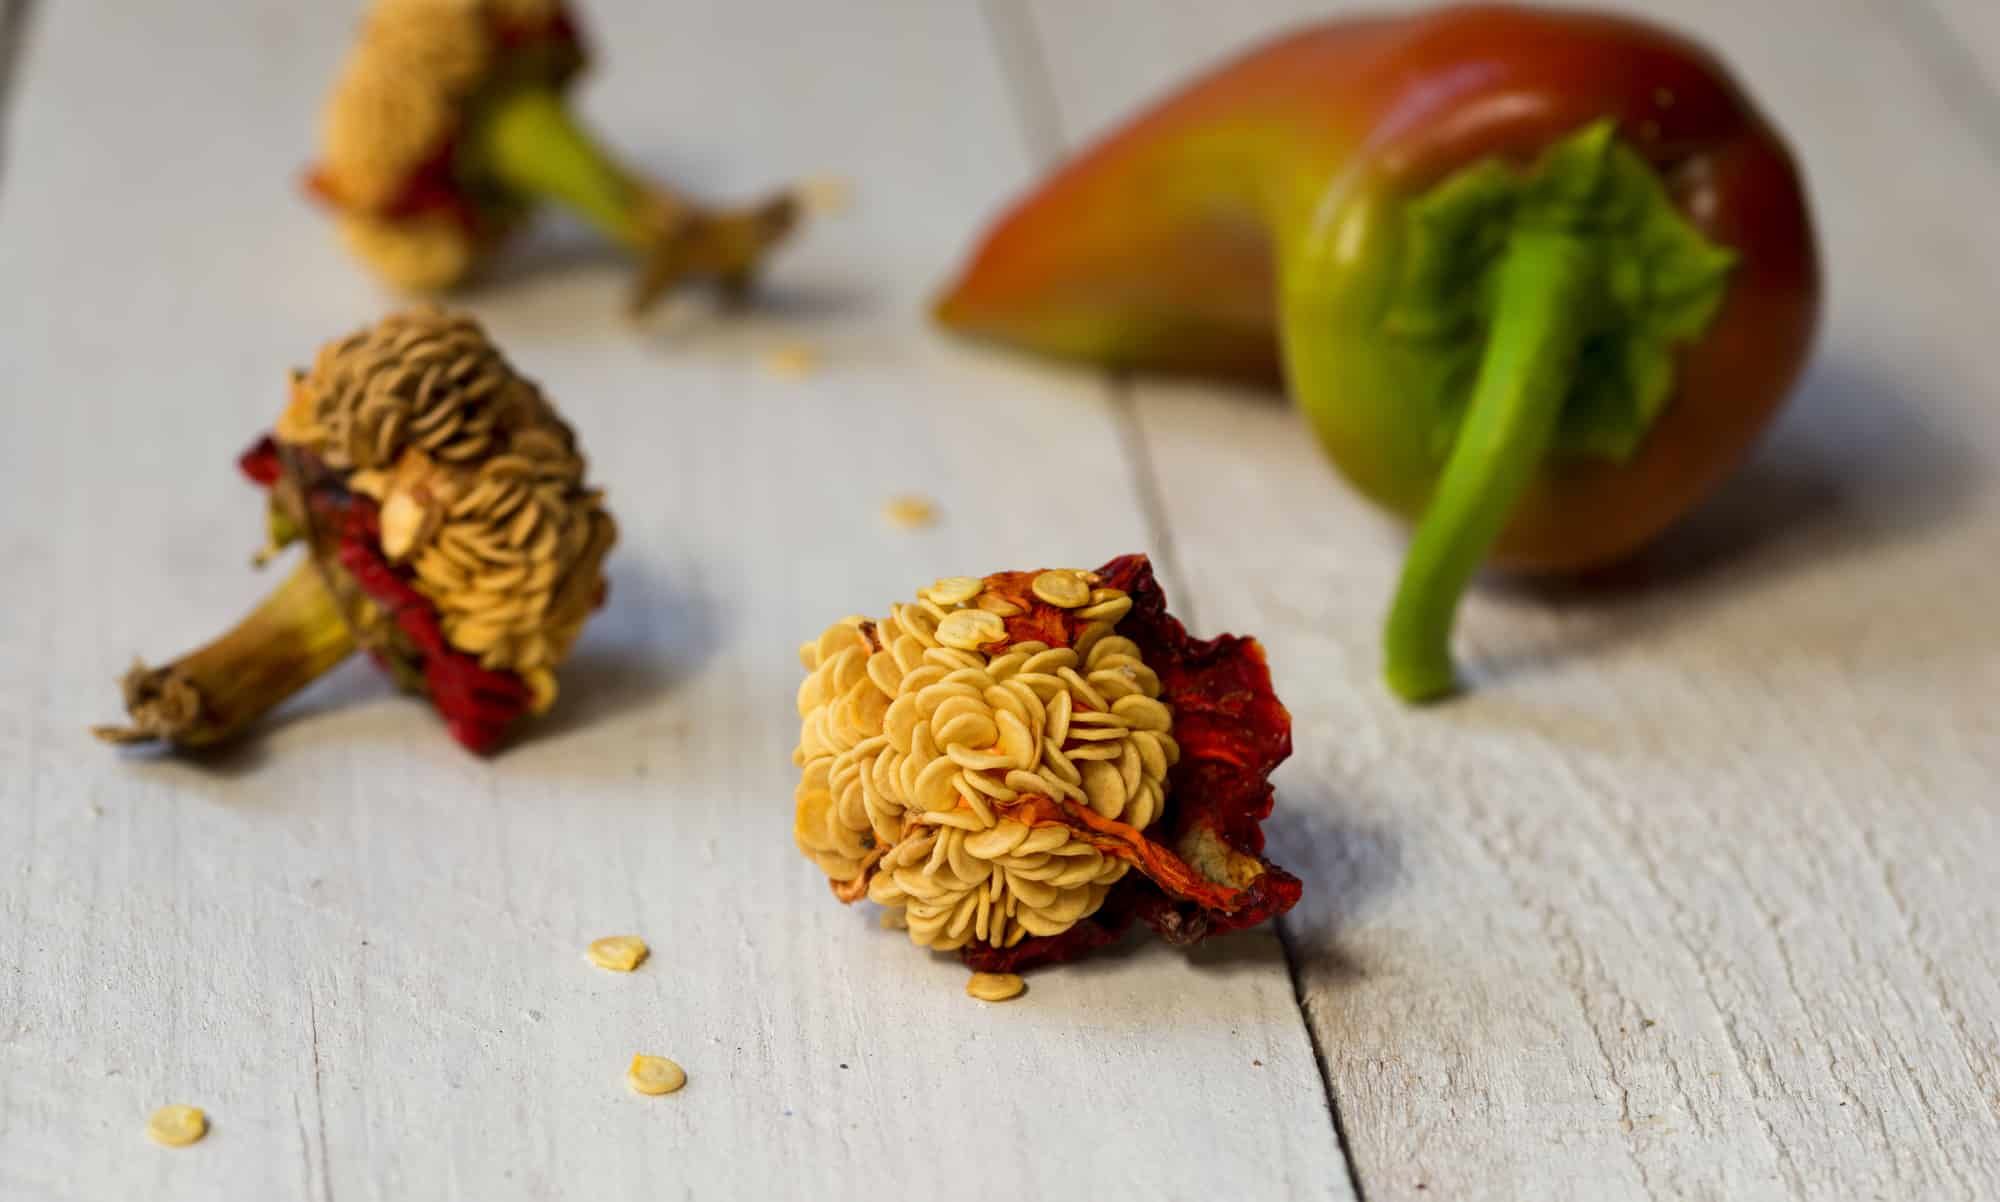
Start by carefully slicing open each pepper lengthwise. You can use a sharp knife and make a clean cut from the stem end to the tip of the pepper. Take caution while cutting to avoid cutting through the seeds.
Once the pepper is sliced open, gently scrape the seeds and the surrounding membrane from the pepper using a spoon or your fingers. The seeds will be attached to the membrane, so it’s important to remove both together. Place the seeds and membrane into a clean container.
Some varieties of peppers may have a tougher membrane that holds the seeds tightly. In such cases, you can soak the seeds and membranes in water for a few minutes to loosen them. Then, gently rub the seeds to separate them from the membrane.
After extracting the seeds from all the peppers, you may notice some remaining bits of membrane. To clean the seeds further, you can place them in a strainer and rinse them under running water. This will help remove any remaining debris and ensure that you have clean seeds.
Once the seeds are clean, you can proceed to the next step: cleaning and drying the seeds.
To collect pepper seeds, allow the peppers to fully ripen on the plant. Once ripe, remove the seeds and spread them out to dry for a few days. Store in a cool, dry place for future planting.
Step 4: Cleaning and Drying the Seeds
Now that you have extracted the seeds from the peppers, it’s time to clean and dry them. Properly cleaning and drying the seeds helps to prevent mold or rot and ensures their viability for future planting.
Start by transferring the seeds from the container to a fine-mesh sieve or strainer. Rinse the seeds under running water, gently agitating them with your fingers. This will remove any remaining pulp or debris that may still be attached to the seeds.
After rinsing, spread the seeds out evenly on a clean paper towel or a drying screen. Make sure they are arranged in a single layer and not clumped together. This allows for air circulation and prevents the seeds from sticking together during the drying process.
Place the seeds in a well-ventilated area away from direct sunlight. You can place them indoors in a cool, dry room or in a shady spot outdoors. The drying process can take anywhere from one to two weeks, depending on the humidity levels in your area. It’s important to periodically check the seeds and ensure they are completely dry before moving on to the next step.
To test if the seeds are fully dried, give them a gentle squeeze. They should feel hard and not yield to pressure. If the seeds are still soft or pliable, they need more time to dry.
Once the seeds are thoroughly dried, you can proceed to the final step: storing the seeds for future use.
Read more: How To Collect Dahlia Seeds
Step 5: Storing the Seeds
After successfully collecting and drying your pepper seeds, it’s important to store them properly to maintain their viability. Proper seed storage ensures that they remain viable for germination in the future.
The first step in storing the seeds is to ensure that they are completely dry. Moisture is the enemy of seed storage, as it can lead to mold or rot. If you encounter any damp or moist seeds during the drying process, it’s best to discard them and only keep the fully dried seeds.
Next, transfer the dried seeds to an airtight container, such as a glass jar or a seed packet. Make sure the container is clean and dry before adding the seeds. You can also consider adding a desiccant packet or a silica gel pack to help absorb any residual moisture.
Label the container with the variety and the date of collection. This will help you keep track of the different types of pepper seeds and their freshness. It’s also a good idea to include any specific growing instructions or notes about the pepper variety.
Store the seed container in a cool and dark place, such as a pantry or a basement. A consistent temperature is important for seed longevity. Avoid storing the seeds in areas that are prone to temperature fluctuations, such as near windows or heaters.
Regularly check on your seed collection to ensure that no moisture or pests have infiltrated the storage container. If you notice any signs of mold or pests, it’s best to remove and discard those affected seeds.
With proper storage, pepper seeds can remain viable for several years. However, it’s a good practice to collect fresh seeds every few years to ensure the best germination rates.
By following these steps, you can successfully collect, clean, dry, and store pepper seeds for future plantings. Enjoy the satisfaction of growing your favorite pepper varieties year after year and sharing them with friends and family!
Conclusion
Collecting pepper seeds from your garden is a rewarding and sustainable practice that allows you to preserve your favorite pepper varieties for future plantings. With the right selection, harvesting, seed removal, cleaning, drying, and storage techniques, you can ensure the viability and success of your collected pepper seeds.
Start by choosing ripe and healthy peppers, selecting open-pollinated or heirloom varieties for seed collection. Harvest the peppers at their peak ripeness and handle them with care to avoid damaging the seeds. Next, remove the seeds by slicing open the peppers and gently scraping out the seeds and membrane.
Clean the seeds by rinsing off any remaining debris and allow them to dry thoroughly in a well-ventilated area. Once dried, store the seeds in airtight containers, labeled with variety and collection date, in a cool and dark place. Regularly monitor the seeds for any signs of moisture or pests.
By following these steps, you can ensure a steady supply of your favorite pepper varieties and take pride in being self-sufficient in your gardening endeavors. So, why wait? Start collecting and preserving your pepper seeds today and create a legacy of bountiful pepper harvests for years to come!
Frequently Asked Questions about How To Collect Pepper Seeds
Was this page helpful?
At Storables.com, we guarantee accurate and reliable information. Our content, validated by Expert Board Contributors, is crafted following stringent Editorial Policies. We're committed to providing you with well-researched, expert-backed insights for all your informational needs.

0 thoughts on “How To Collect Pepper Seeds”