Home>Garden Essentials>How To Make A Seed Packet
Garden Essentials
How To Make A Seed Packet
Modified: October 19, 2024
Learn how to make a garden seed packet with this step-by-step guide. Create personalized and organized seed packets for your garden.
(Many of the links in this article redirect to a specific reviewed product. Your purchase of these products through affiliate links helps to generate commission for Storables.com, at no extra cost. Learn more)
Introduction
Gardening is a passion that many people enjoy. The process of nurturing plants, watching them grow, and eventually harvesting the fruits of your labor can be incredibly rewarding. One aspect of gardening that often brings joy to both experienced gardeners and beginners alike is the act of collecting and sharing seeds. Seeds carry the potential for new life and represent the cycle of growth and renewal in the garden.
When it comes to collecting and sharing seeds, having proper packaging is essential. Seed packets not only protect the seeds but also provide important information about the plant variety and growing instructions. Making your own seed packets can be a fun and creative project, allowing you to personalize the packaging and add a special touch to your seeds.
In this article, we will walk you through the process of making your own seed packets. From choosing the seeds to designing, printing, and assembling the packets, we will cover all the necessary steps to create beautiful and functional seed packets that you can use or share with fellow gardening enthusiasts. So let’s gather our materials and get started on this DIY gardening project!
Please note that while making your own seed packets is a delightful and cost-effective option, if you prefer convenience, you can always purchase ready-made seed packets from gardening stores or online suppliers.
Key Takeaways:
- Making your own seed packets is a fun and creative way to personalize your gardening experience, from choosing seeds to designing, filling, and sharing the packets.
- By crafting and sharing homemade seed packets, you not only add a personal touch to gardening but also inspire others to embrace the joy of growing plants.
Read more: How To Fold Seed Packet
Materials Needed
Before we dive into the steps of making seed packets, let’s gather all the materials that you’ll need for this DIY project. Here’s a list of the essentials:
- Cardstock or heavy-weight paper: This will serve as the main material for your seed packets. Opt for sturdy paper that can withstand handling and protect the seeds.
- Printer: You’ll need a printer to design and print the template for your seed packets. Make sure your printer is in good working condition and has enough ink.
- Scissors: A pair of sharp scissors will be needed to cut out the seed packet templates and trim excess paper.
- Glue stick or double-sided tape: These adhesive options will be used to secure the edges of the seed packets.
- Ruler: A ruler will help you accurately measure and fold the seed packet templates.
- Markers or pens: You’ll need markers or pens to label your seed packets with the plant names and any other relevant information.
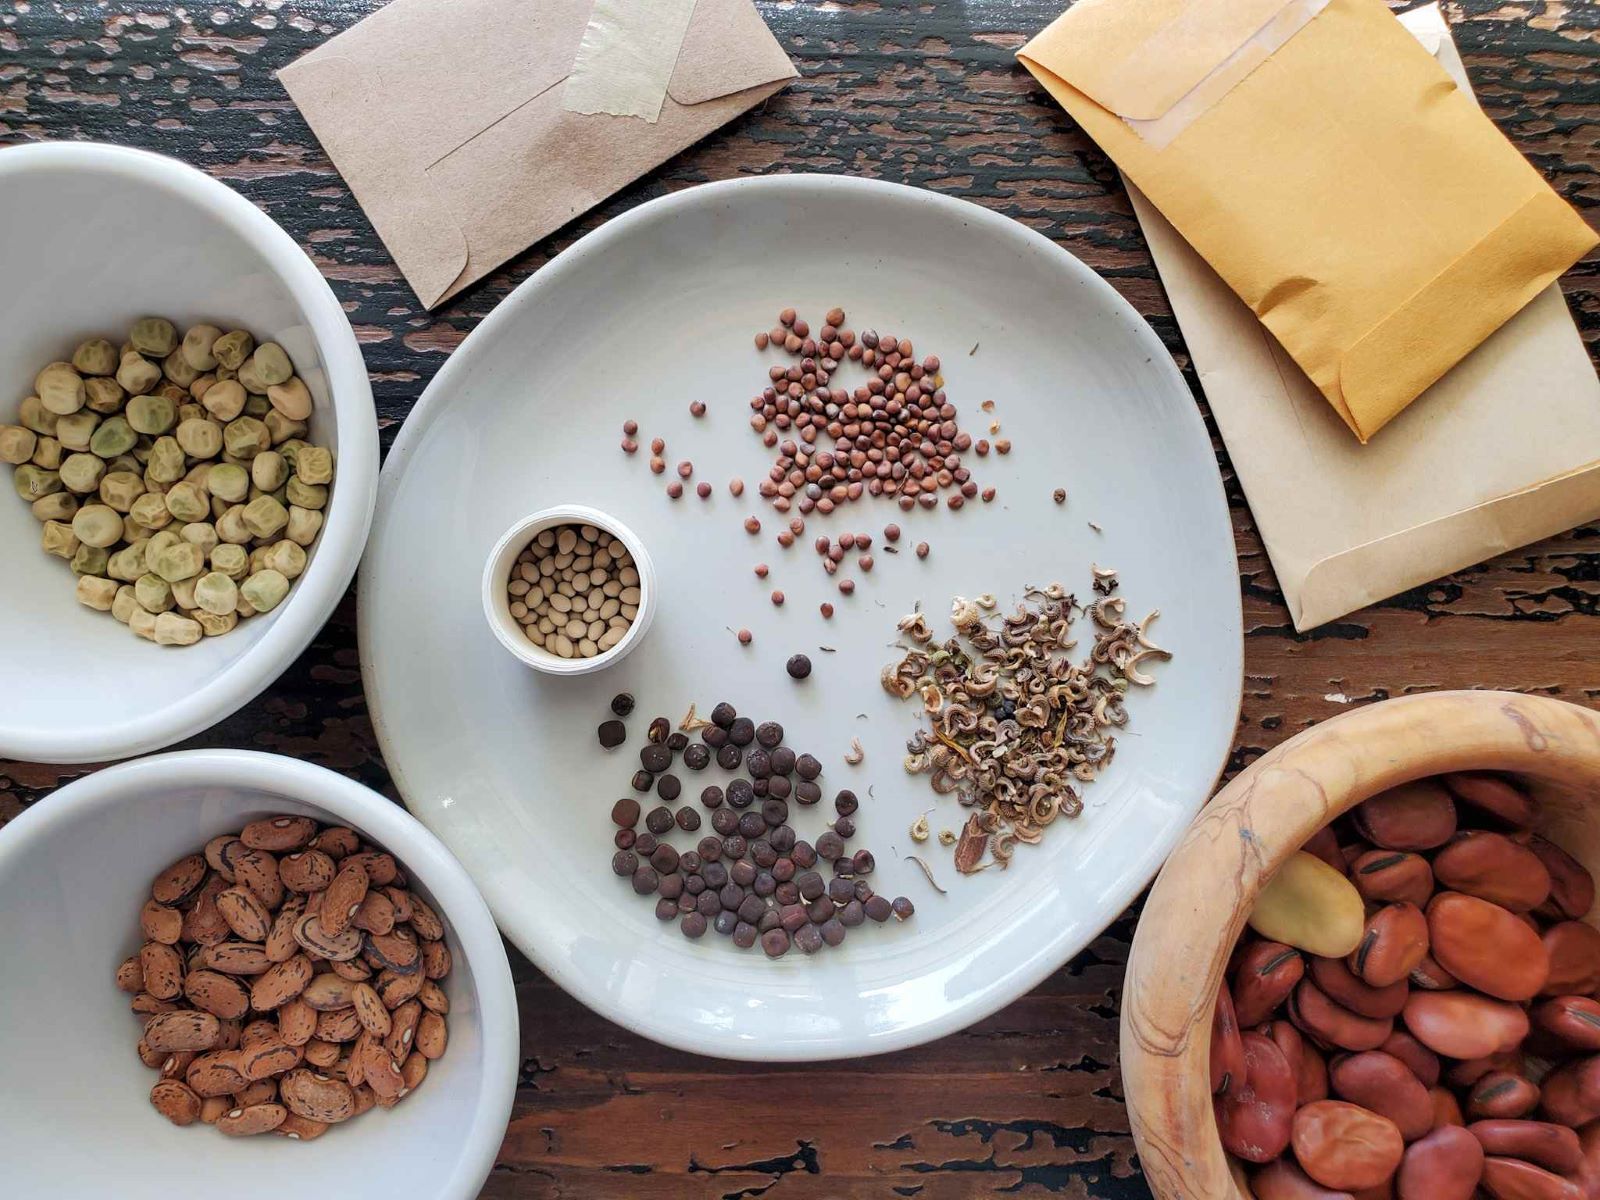
- Seeds: Of course, you’ll need a variety of seeds to fill your homemade seed packets. Choose high-quality seeds from reputable sources.
- Optional: Decorative materials such as stamps, stickers, or colored pencils can be used to add a personal touch to your seed packets. Get creative and make your seed packets visually appealing.
Once you have gathered all the necessary materials, you’re ready to move on to the next step and choose the seeds you want to package in your homemade seed packets.
Step 1: Choose Your Seeds
Choosing the seeds is a crucial step in making your own seed packets. Think about the types of plants you want to grow and consider your gardening goals. Are you interested in growing vegetables, flowers, or a combination of both? Do you have any specific varieties in mind?
Take some time to research different plant varieties and their specific requirements. Look for seeds that are well-suited to your climate and growing conditions. Consider factors such as sunlight, soil type, and water requirements to ensure the success of your plants.
You can purchase seeds from reputable garden centers, online suppliers, or even save seeds from your own garden. If you’re new to gardening, it’s a good idea to start with easy-to-grow plants that are known for their resilience and adaptability.
Remember to choose organic and non-GMO (Genetically Modified Organism) seeds whenever possible. These seeds are free from harmful chemicals and have not been genetically altered. They promote biodiversity and are better for your health and the environment.
Once you have selected the seeds you want to package in your homemade seed packets, it’s time to move on to preparing the packaging materials.
Step 2: Prepare the Packaging Materials
Now that you have chosen the seeds, it’s time to prepare the packaging materials for your homemade seed packets. Here’s what you need to do:
- Start by deciding on the size and shape of your seed packets. You can create seed packets of any size, depending on the amount of seeds you want to package.
- Using a ruler and pencil, measure and mark the dimensions of your seed packet on the cardstock or heavy-weight paper. You can make rectangular or square-shaped packets. Ensure that the dimensions are suitable for holding the seeds securely.
- Once you have marked the dimensions, use scissors to carefully cut out the seed packet template. Make sure to cut along the lines accurately.
- Next, fold the template along the designated lines. Use a ruler to make precise folds, ensuring that the edges align properly. This will give your seed packet a clean and professional finish.
- After folding, unfold the template and lay it flat. You can now customize the design of your seed packets. Add decorative elements such as stamps, stickers, or hand-drawn illustrations to make them visually appealing.
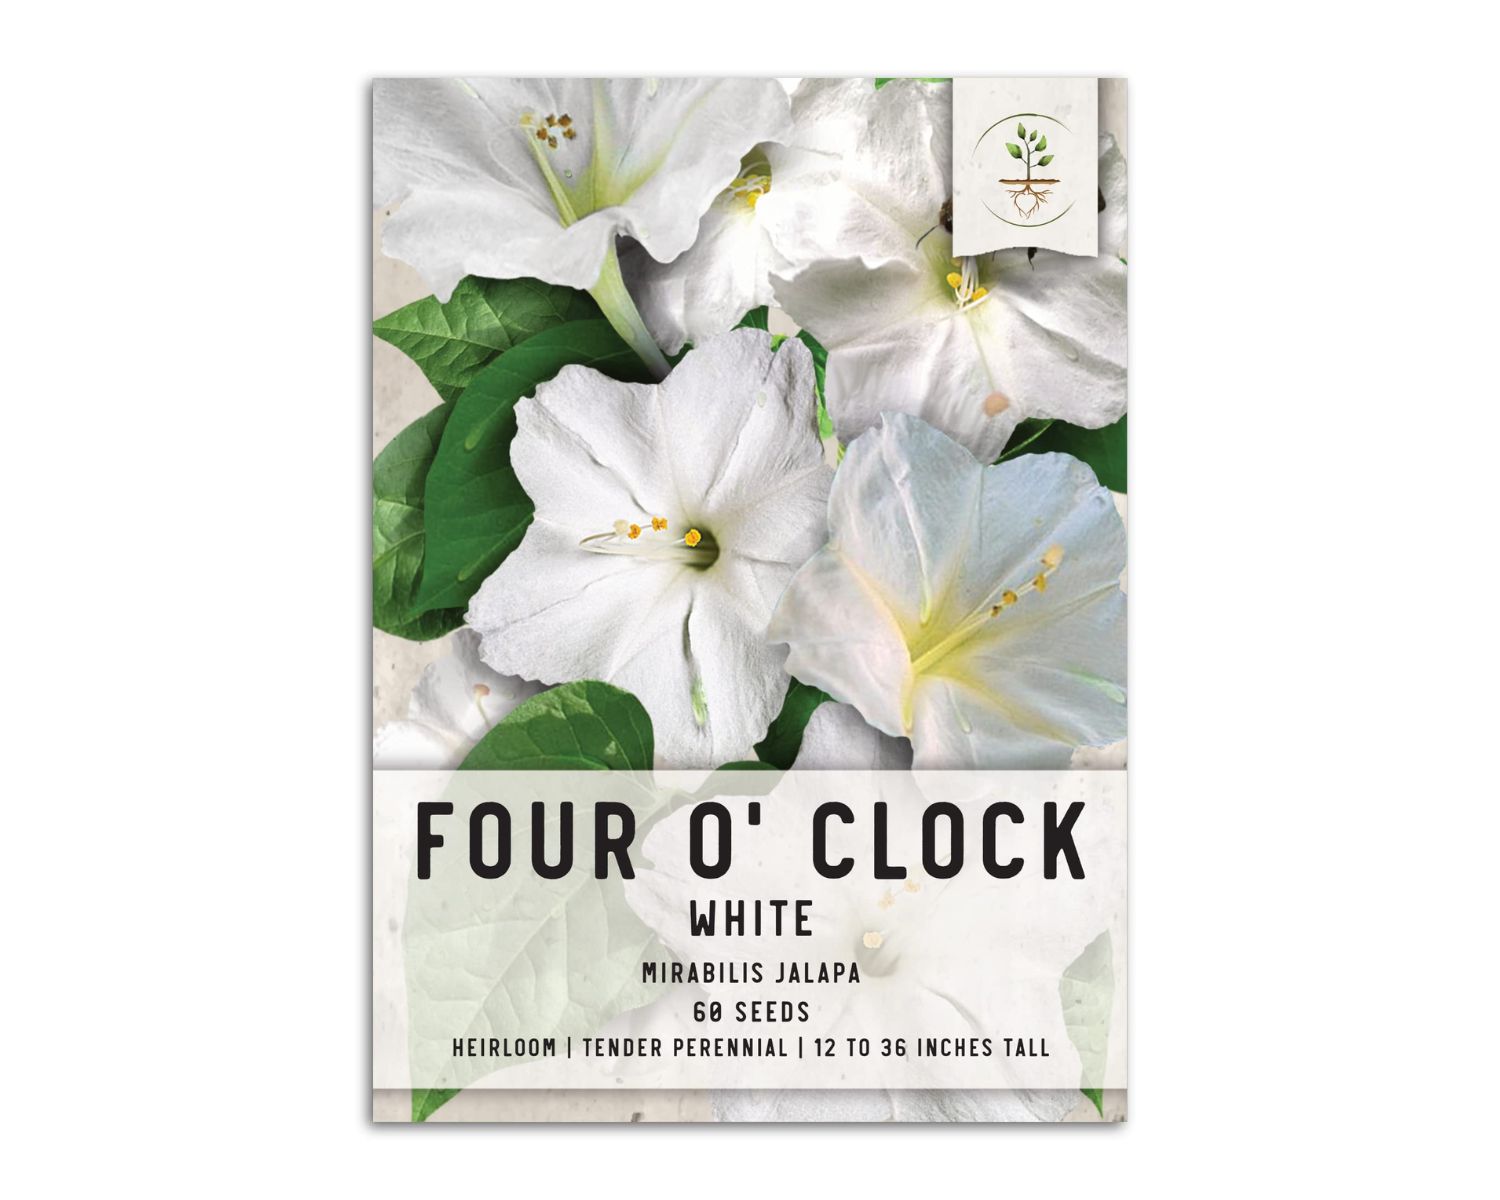
- Using your printer, design and print labels that contain important information, such as the plant variety, planting instructions, and the date the seeds were collected or purchased. Cut out the labels and set them aside.
Now that your packaging materials are ready, it’s time to move on to the next step and design and print the seed packets.
Step 3: Design and Print the Seed Packets
Designing and printing the seed packets is an exciting step in creating your own customized packaging. Follow these steps to design and print your seed packets:
- Open a design software or use a word processor to create your seed packet template. You can also find pre-designed templates online that you can customize according to your preferences.
- On the template, add any desired text, such as the plant name, a brief description, or planting instructions. Be creative and make your seed packets informative and visually appealing.
- Insert the cardstock or heavy-weight paper into your printer. Ensure that the paper is loaded correctly and securely.
- Print a test sheet to ensure that the design is aligned properly and any text or images are not cut off. Adjust the settings if necessary.
- Once you’re satisfied with the design and alignment, print the seed packet templates on the cardstock or heavy-weight paper. Print as many copies as needed, taking into account the amount of seeds you want to package.
After printing the seed packet templates, allow them to dry completely before proceeding to the next step. This will prevent smudging of the ink or any damage to the design.
Now that you have your beautifully designed seed packet templates, it’s time to move on to the next step and cut and fold the packets.
Read more: How Many Grams In A Seed Packet
Step 4: Cut and Fold the Seed Packets
With your printed seed packet templates in hand, it’s time to cut and fold them to create the actual packets. Follow these steps:
- Using a pair of sharp scissors, carefully cut out the seed packet templates along the printed outline. Take your time to ensure clean and precise cuts.
- Once you have cut out the templates, lay them flat on a clean, flat surface. If you have multiple templates, organize them for easy access.
- Take one seed packet template and fold along the pre-determined lines. Use a ruler to assist you in creating crisp and even folds.
- Begin by folding the longer side flaps inward, towards the center. Crease the fold well to secure the edges.
- Next, fold the shorter bottom flap upward, overlapping the longer side flaps. Ensure that the edges align correctly and create a snug pocket for the seeds.
- Lastly, fold the top flap of the seed packet down, covering the opening. This flap will serve as the closure to keep the seeds secure.
Repeat this process for all the seed packet templates you have printed. Take care to fold them neatly and securely to ensure that the seeds will not spill out. If needed, use a glue stick or double-sided tape to secure the edges of the flaps.
Once all the seed packets are folded, they are ready to be filled with seeds in the next step.
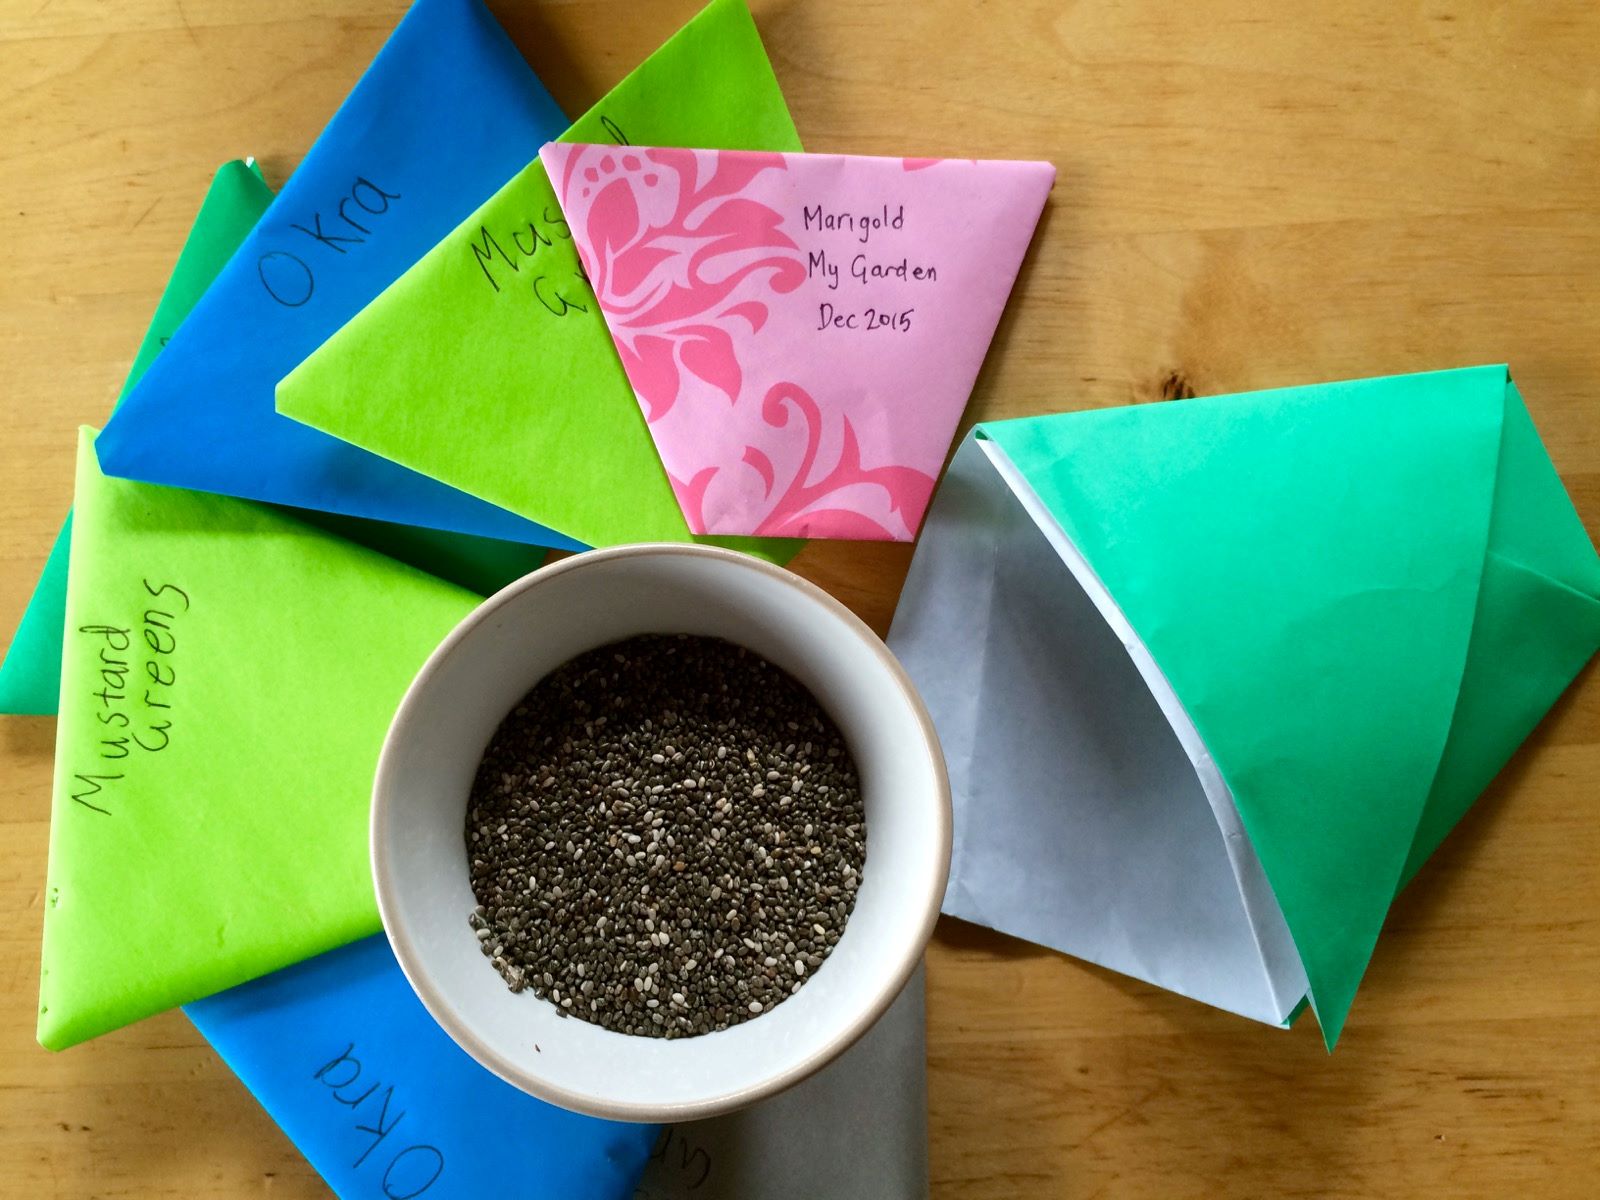
When making a seed packet, be sure to include the name of the seeds, planting instructions, and the date the seeds were collected. This will help you keep track of your seeds and ensure successful planting.
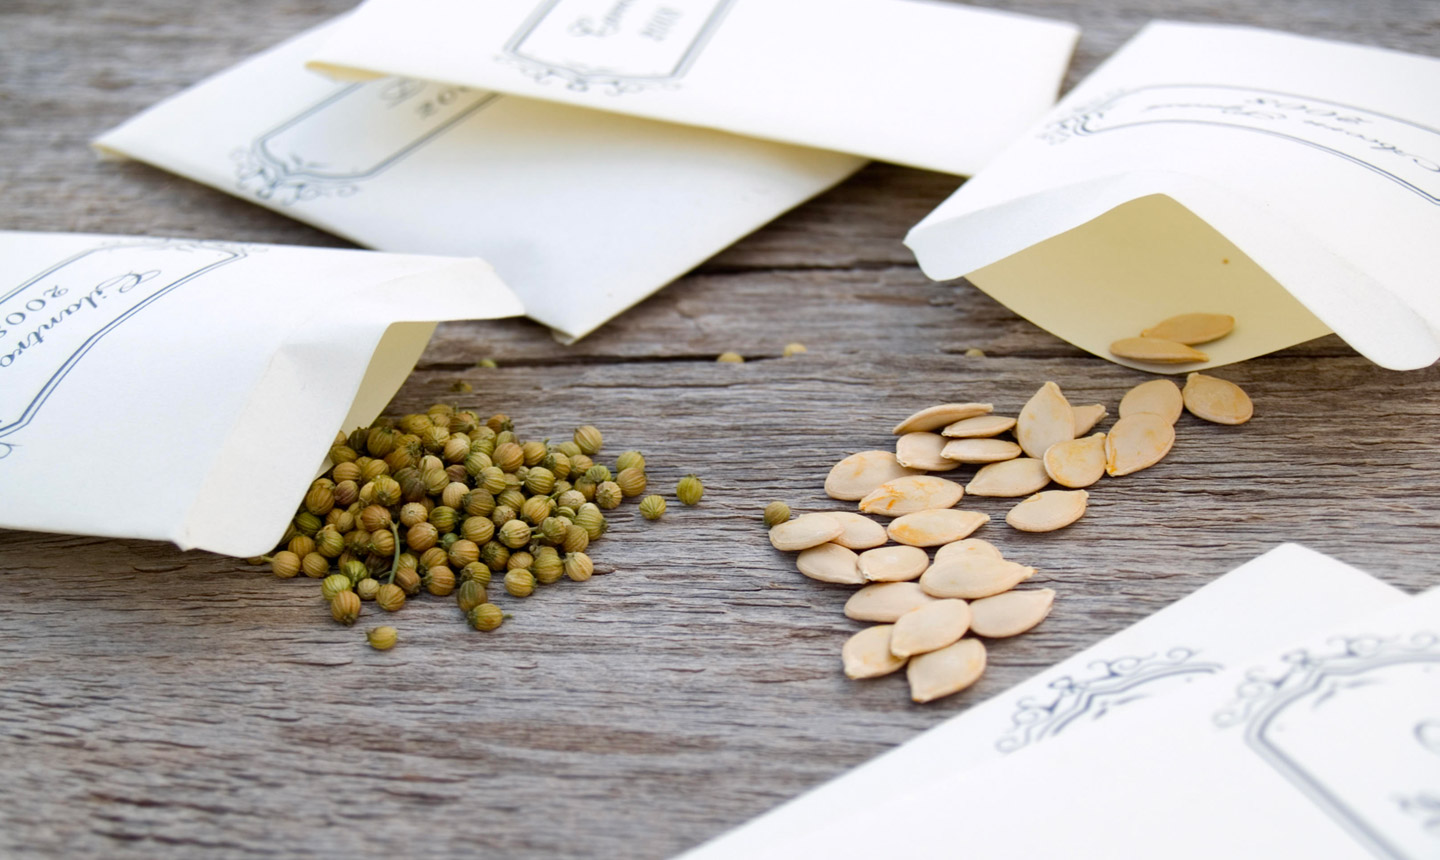
Step 5: Fill the Seed Packets
Now that your seed packets are neatly folded and ready, it’s time to fill them with seeds. Follow these steps to ensure a successful seed-filling process:
- Gather your chosen seeds and separate them according to the different varieties or types of plants.
- Take one folded seed packet and gently open the top flap to create an opening.
- Using clean hands or a small spoon, carefully pour the desired amount of seeds into the packet. Be mindful not to overflow the packet, as it should be able to close properly.
- If you’re working with very small seeds, you can use a piece of folded paper as a funnel to guide the seeds into the packet.
- Once the seeds are inside the packet, gently tap it on a flat surface to ensure that they settle evenly.
- Close the top flap of the seed packet firmly, ensuring that it is securely sealed. If necessary, use a small piece of tape or a glue stick to reinforce the closure.
Repeat this process for each seed packet, filling them with the appropriate seeds for each variety. Take care to keep the different seed varieties separate to avoid mixing them up.
As you fill the packets, you may want to consider including a small label or note inside each packet indicating the variety of seeds and any additional planting instructions or recommendations.
Congratulations! You have successfully filled your homemade seed packets with seeds. Now it’s time to move on to the next step and seal the packets.
Step 6: Seal the Seed Packets
After filling your seed packets with seeds, it’s important to seal them securely to protect the seeds and prevent any accidental spillage. Follow these steps to seal your seed packets effectively:
- Inspect each seed packet to ensure that the top flap is securely closed. If needed, press down on the flap with your hand to create a tight seal.
- If you didn’t use any adhesive during the folding process, you can apply a thin strip of glue stick or use double-sided tape along the edges of the top flap to provide extra reinforcement.
- Press the glued or taped edges firmly together to create a strong seal. Hold the flap in place for a few seconds to allow the adhesive to set.
- For added protection, you can fold a small piece of clear tape over the top flap, covering the sealed edges. This will prevent the flap from accidentally opening.
Repeat this process for all your seed packets until they are securely sealed and ready for storage or gifting.
By sealing your seed packets effectively, you ensure that the seeds remain contained and protected during storage and transportation. This step is crucial to maintain the viability and integrity of the seeds.
Now that your seed packets are sealed, it’s time to move on to the next step and label them with the necessary information.
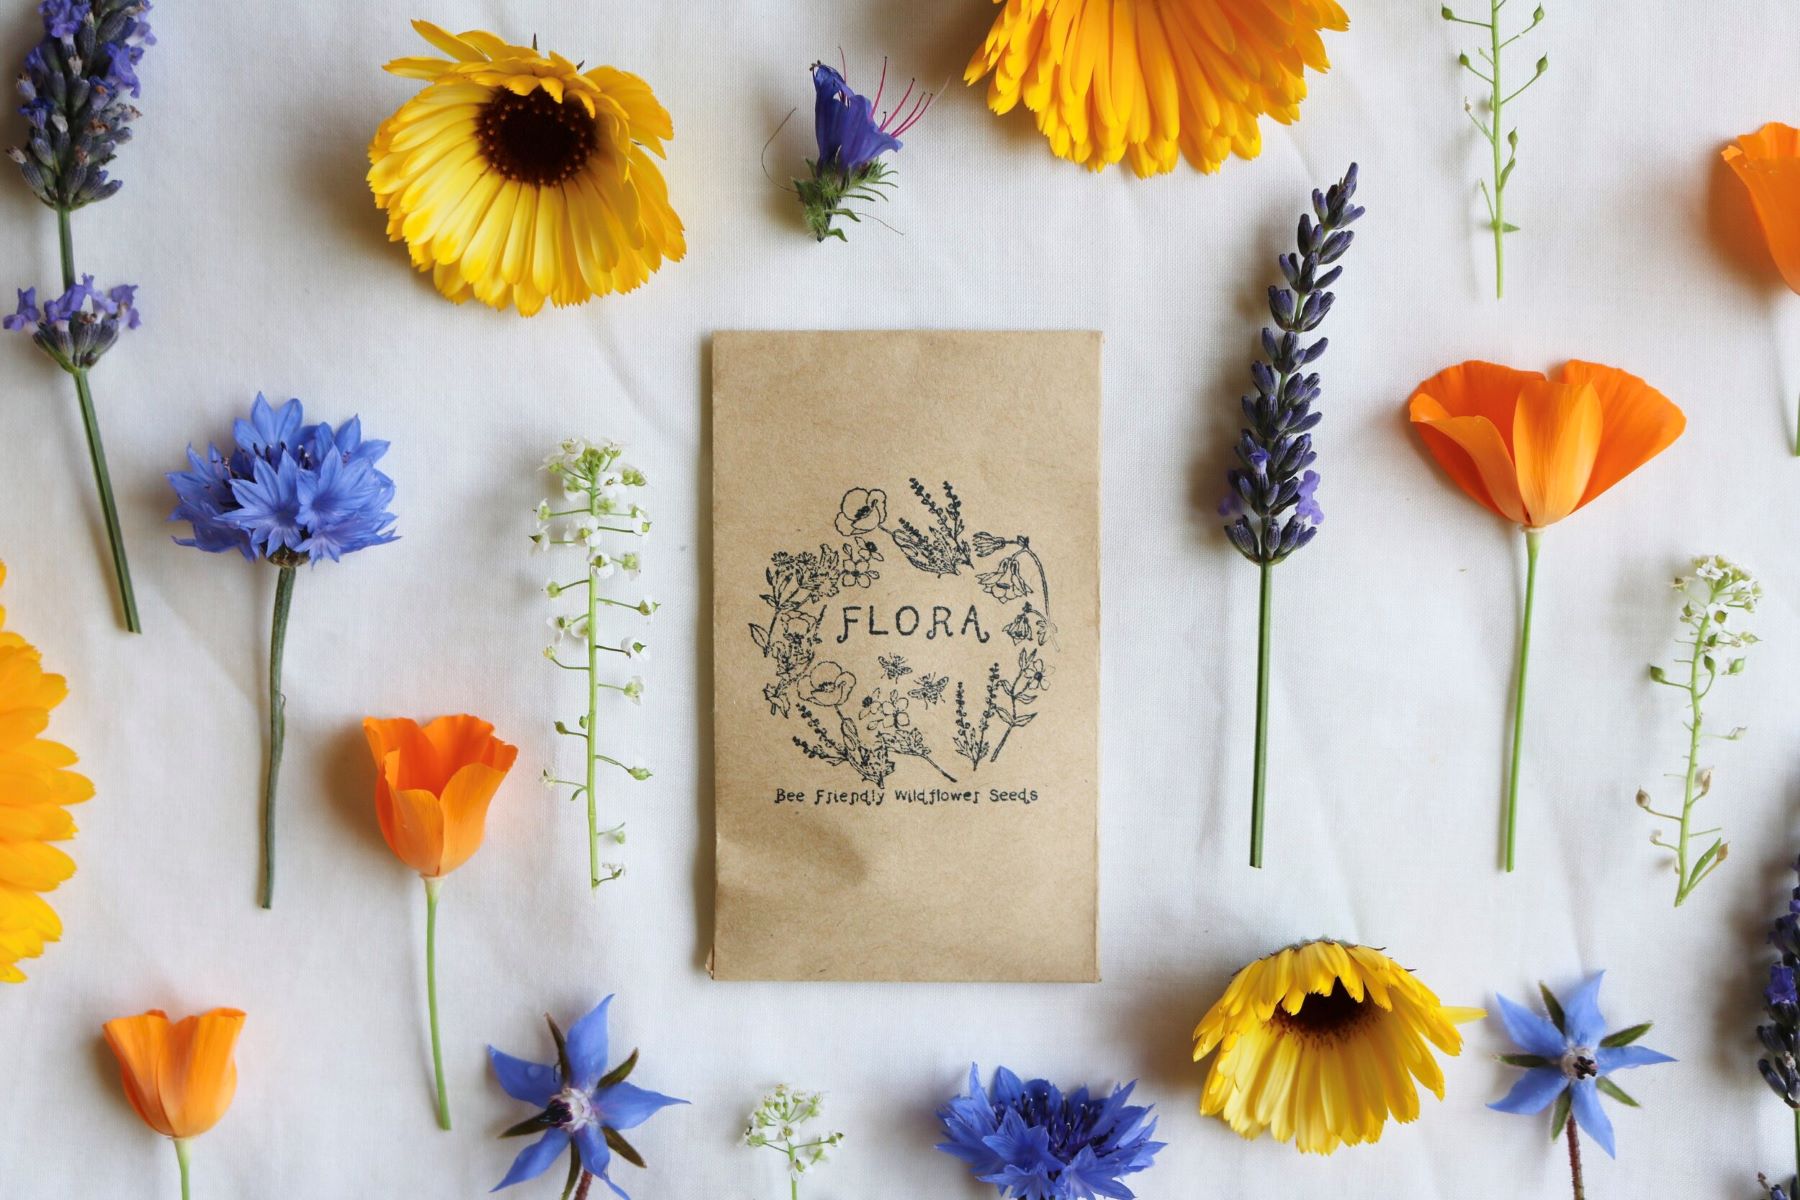
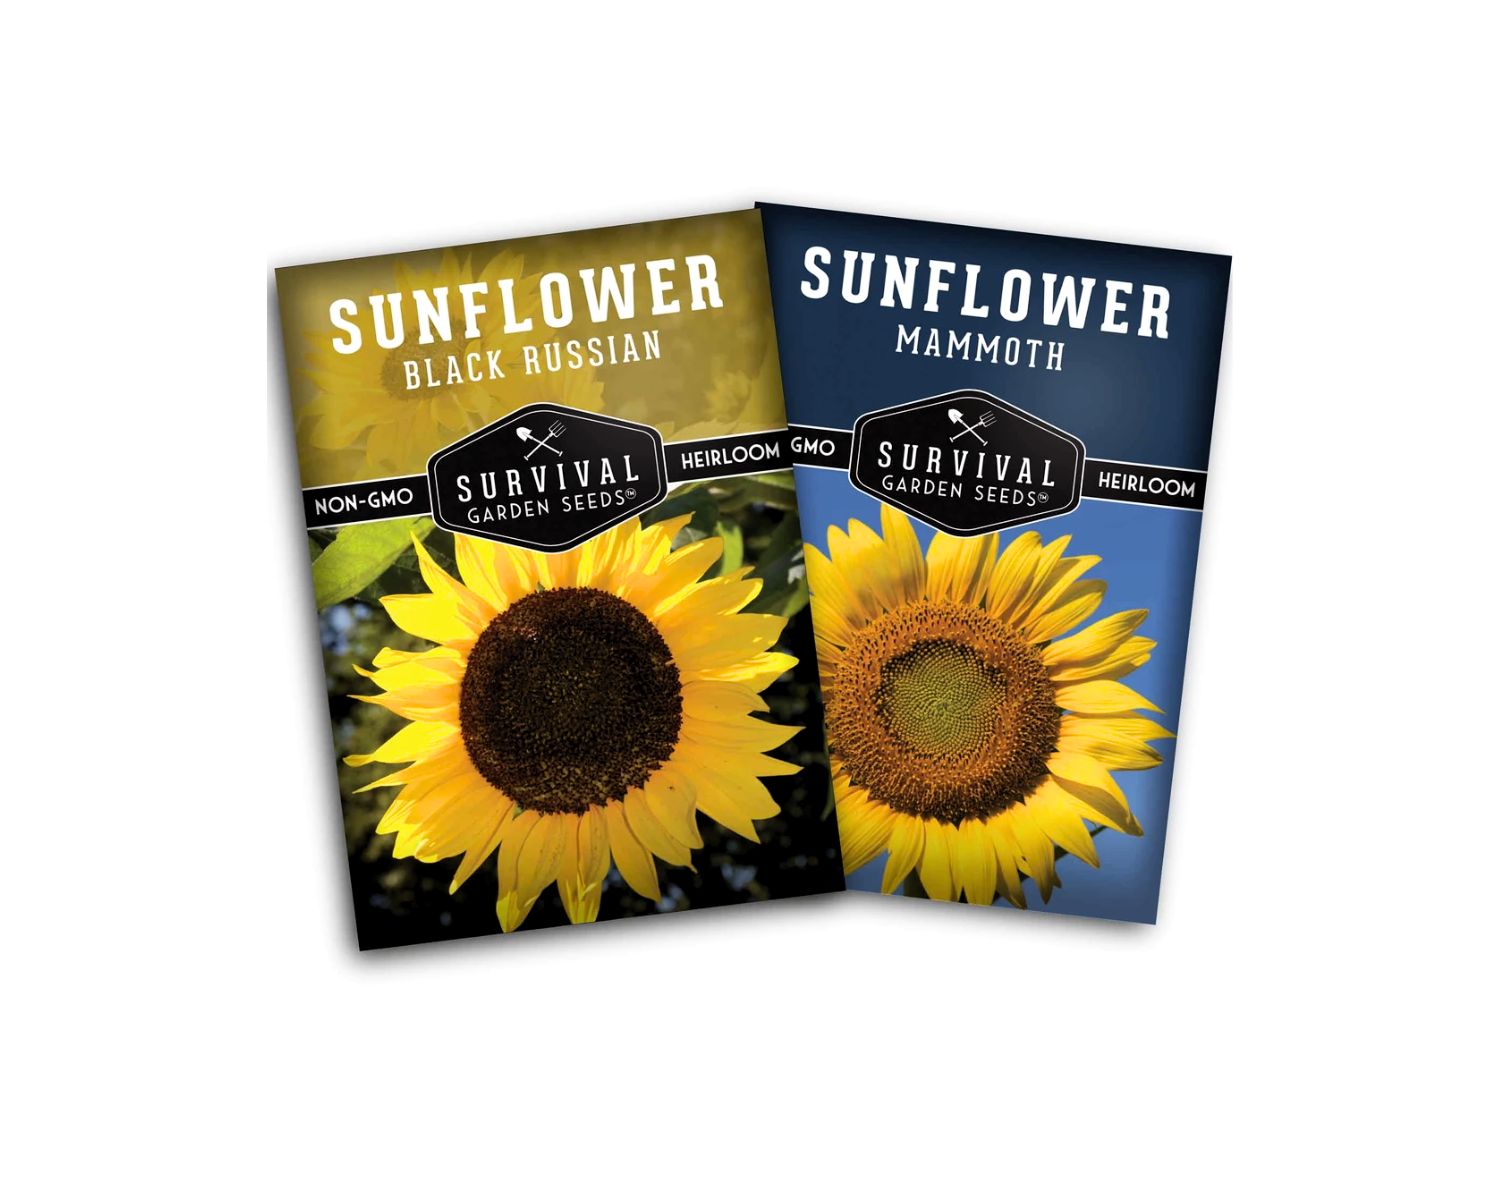
Step 7: Label the Seed Packets
Labeling your seed packets is essential to provide important information about the seeds and ensure proper identification. Follow these steps to label your seed packets:
- Take a marker or pen and write the name of the plant variety on the front of each seed packet. Make sure to write legibly and clearly.
- In addition to the plant name, you can include other relevant information such as planting instructions, recommended sowing season, or the date the seeds were collected or purchased.
- If you printed separate labels during the design and printing step, cut out each label and glue or tape it onto the front or back of the seed packet. This will provide a more professional and informative look.
- Consider including any special details about the seeds, such as heirloom or organic status, to further enhance their value.
As you label each seed packet, take your time to ensure accuracy and clarity. This will help both you and others easily identify and understand the contents of the packets.
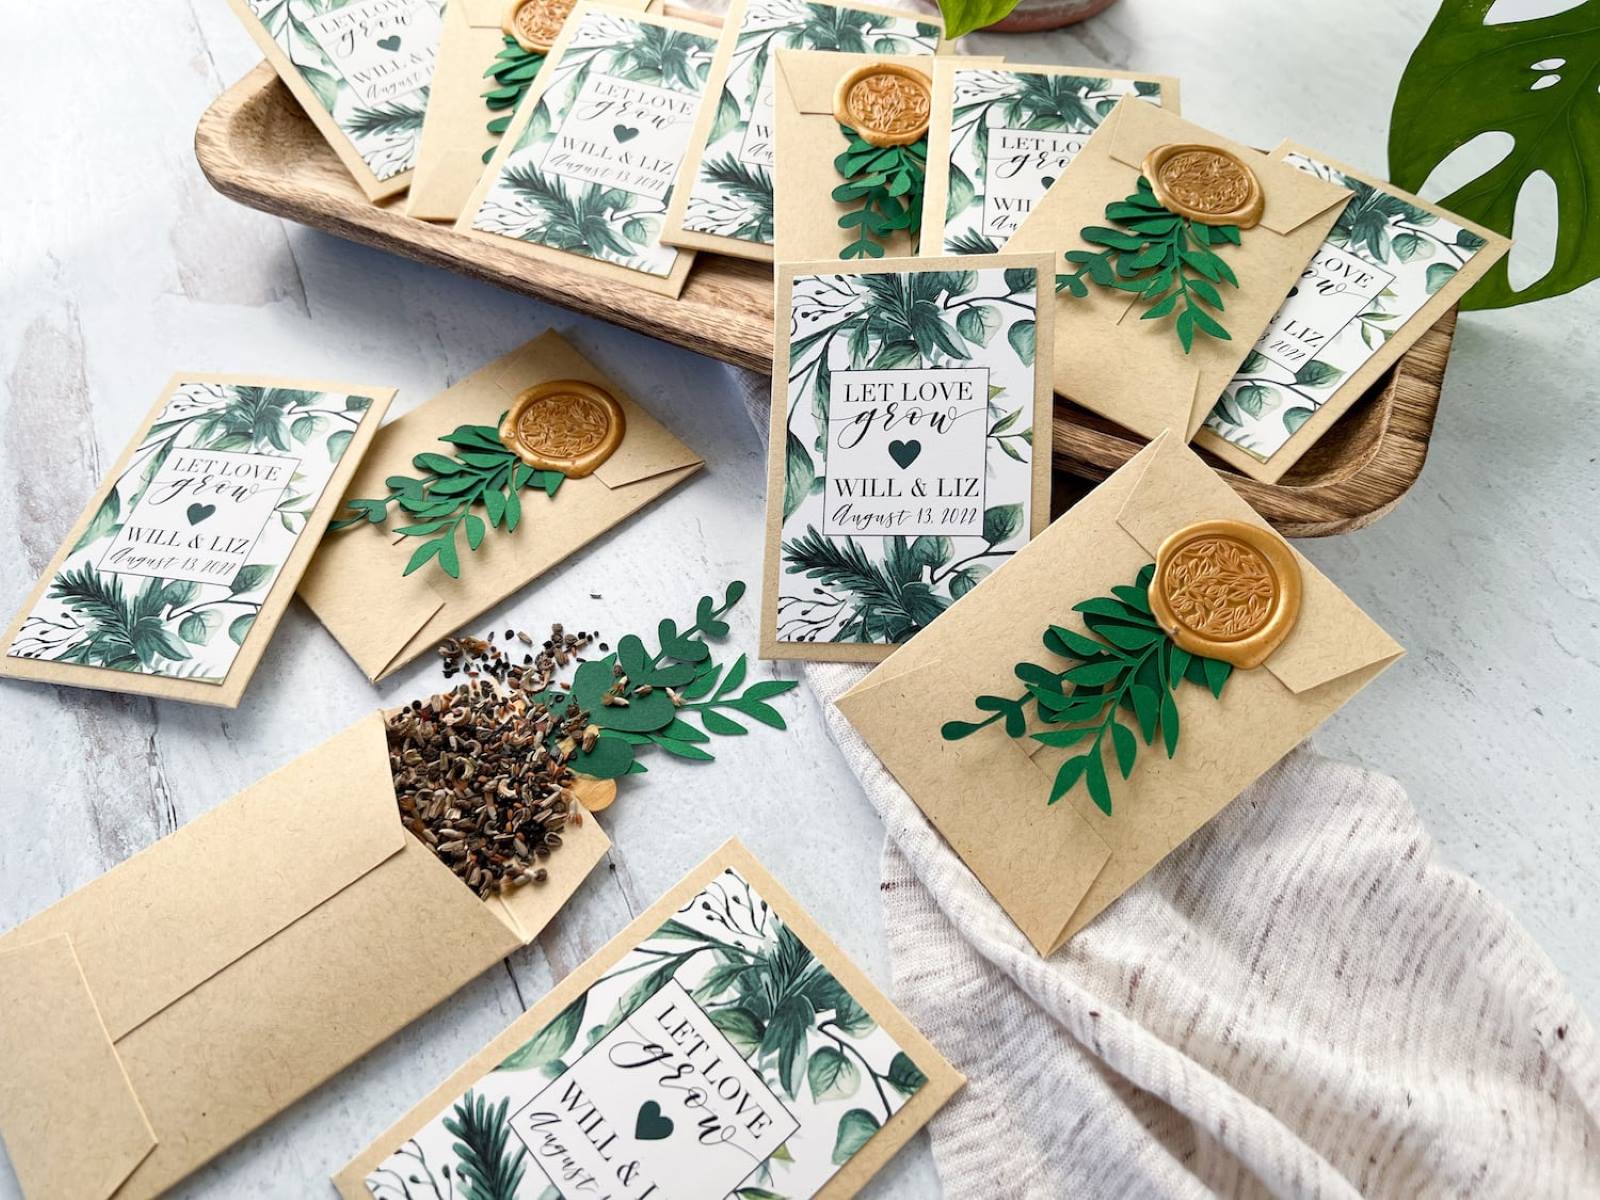
If you are creating seed packets to share with others or give as gifts, you can also add a personal touch by decorating the labels with colorful illustrations or using decorative fonts. Get creative and make your seed packets visually appealing!
With the seed packets labeled, you have completed another important step in the process. Now, it’s time to move on to the final step: storing and sharing your seed packets.
Step 8: Store and Share Your Seed Packets
After all the hard work of creating and labeling your homemade seed packets, it’s time to store and share them. Follow these steps to ensure the longevity of your seeds and spread the joy of gardening:
- Choose a cool, dry, and dark storage location for your seed packets. This will help preserve their viability and prevent them from being exposed to excess moisture or sunlight.
- Consider using airtight containers, such as glass jars or plastic zip-top bags, to store your seed packets. This will provide an extra layer of protection against moisture and pests.
- Label the storage containers with the names of the plant varieties contained inside. This will help you quickly locate the desired seeds when you’re ready to sow them.
- Store your seed packets in a place where they are easily accessible but not at risk of being damaged or lost. A dedicated drawer or shelf in your gardening area is a great option.
- Now, it’s time to share the joy of gardening with others. Consider gifting your homemade seed packets to friends, family, or fellow gardening enthusiasts. You can also participate in community seed swaps or donate them to local gardening clubs or schools.
- When sharing your seed packets, it’s helpful to include any additional information about the seeds, such as planting instructions or tips for successful cultivation. This will support others in their gardening journey.
Remember to keep a few seed packets for yourself, as you’ll want to sow them in your own garden or save them for future seasons.
By storing your seed packets properly and sharing them with others, you not only contribute to the preservation of plant diversity but also inspire and empower fellow gardeners to embark on their own green adventures.
Congratulations! You have successfully completed all the steps to make your own seed packets. Now, enjoy the rewards and excitement that come with growing plants from your personalized and lovingly crafted seed packets.
Happy gardening!
Conclusion
Crafting your own seed packets is a delightful and rewarding DIY project that adds a personal touch to your gardening experience. By following the step-by-step process outlined in this article, you have learned how to create beautiful and functional seed packets from start to finish.
From choosing the seeds to designing, printing, cutting, folding, filling, sealing, labeling, and finally storing and sharing your seed packets, each step is crucial in ensuring the success and enjoyment of your gardening endeavors.
Making your own seed packets allows you to customize the packaging, incorporate important information about the seeds, and add a touch of creativity and personality. As you exchange or gift these seed packets, you inspire others to embrace the joy of gardening and share in the wonders of nature’s beauty and abundance.
Remember to choose high-quality seeds, save seeds from your own garden when possible, and use organic and non-GMO varieties to promote sustainability. When storing your seed packets, find a cool, dry, and dark spot to maintain their viability.
Whether you are a seasoned gardener or just starting out, creating your own seed packets is a wonderful way to connect with nature, learn about different plants, and foster a deep appreciation for the cycle of growth and renewal that exists in our gardens.
Now, armed with your newly acquired knowledge and skills, go forth and embark on your gardening adventures. Let your beautiful seed packets and the seeds they hold sow a world of color, fragrance, and bountiful harvests in your garden.
Happy gardening!
Frequently Asked Questions about How To Make A Seed Packet
Was this page helpful?
At Storables.com, we guarantee accurate and reliable information. Our content, validated by Expert Board Contributors, is crafted following stringent Editorial Policies. We're committed to providing you with well-researched, expert-backed insights for all your informational needs.

0 thoughts on “How To Make A Seed Packet”