Home>Garden Essentials>How To Remove Ground Cover
Garden Essentials
How To Remove Ground Cover
Modified: March 7, 2024
Learn how to remove ground cover in your garden with our step-by-step guide. Get rid of unwanted plants and create a healthy, beautiful space for your plants to thrive.
(Many of the links in this article redirect to a specific reviewed product. Your purchase of these products through affiliate links helps to generate commission for Storables.com, at no extra cost. Learn more)
Introduction
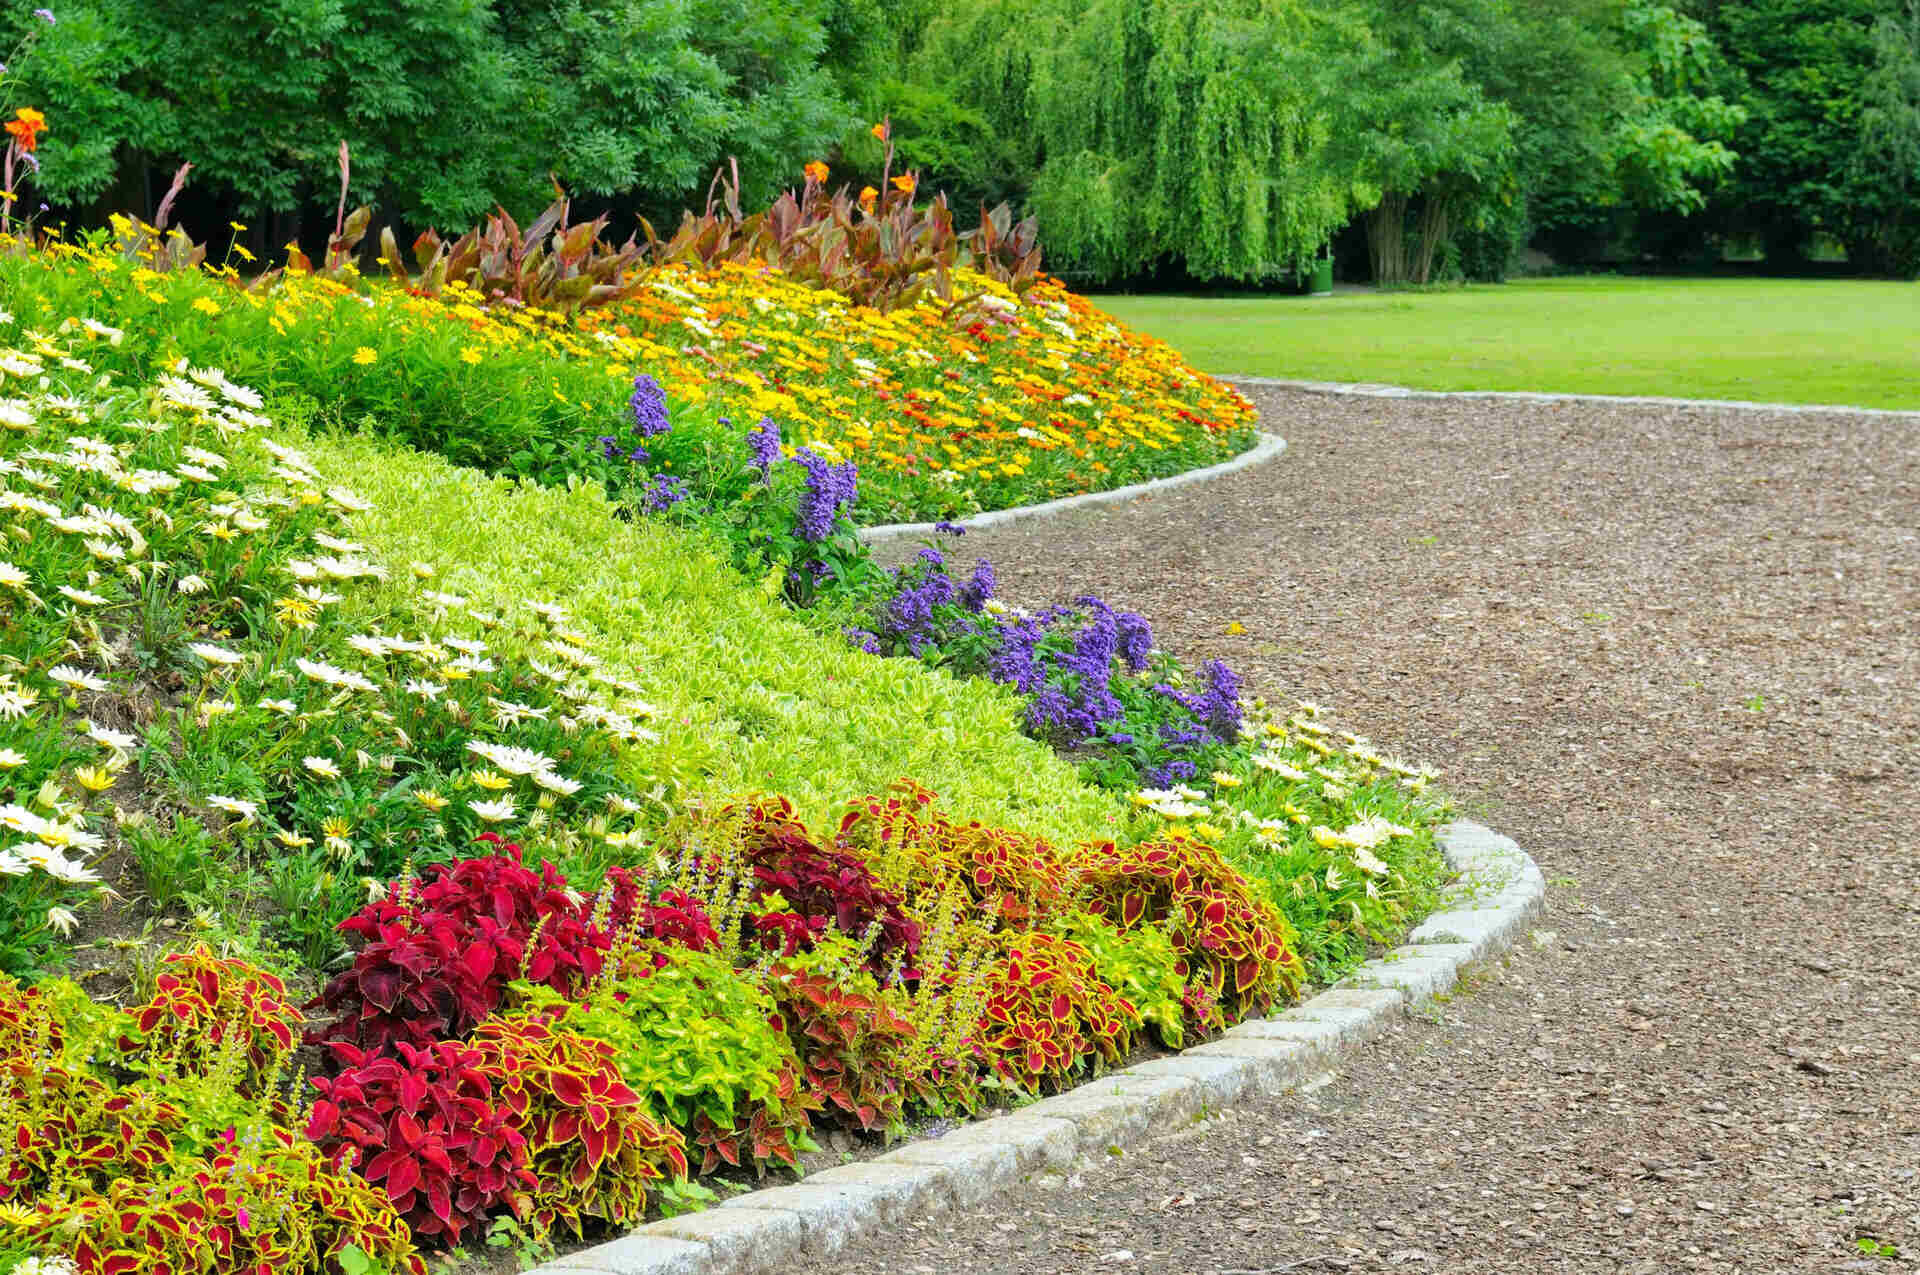
Welcome to this comprehensive guide on how to remove ground cover. Ground cover plants are a popular choice for gardeners as they provide a range of benefits such as preventing soil erosion, suppressing weeds, and adding visual appeal to landscaping. However, there are times when you may need to remove ground cover, whether it’s because the plants have become invasive, are not suited for the specific area, or simply because you want to change the look of your garden. In this article, we will walk you through the step-by-step process of removing ground cover effectively and efficiently.
Before we get started, it’s important to note that the method you choose for removing ground cover will depend on several factors, including the type of ground cover, its growth habit, and the area in which it’s located. Some ground covers can be easily dug up and removed by hand, while others may require the use of herbicides for effective eradication. It’s crucial to consider these factors and choose the method that is most suitable for your specific situation.
Now, let’s dive into the steps involved in removing ground cover from your garden. By following these guidelines, you’ll be well on your way to achieving a clean and rejuvenated outdoor space.
Key Takeaways:
- Identifying the type of ground cover and clearing the area are crucial first steps in effectively removing invasive plants from your garden. Understanding the growth habit and location of the ground cover will inform your removal strategy.
- Manual removal is often the most effective method for getting rid of ground cover, but in some cases, using herbicides may be necessary. After removal, take preventive measures to ensure the invasive plants don’t return.
Read more: How To Remove Myrtle Ground Cover
Step 1: Identifying the Ground Cover
Before you begin the process of removing ground cover, it’s important to identify the specific type of ground cover you’re dealing with. This will help you determine the best approach and techniques to effectively remove it.
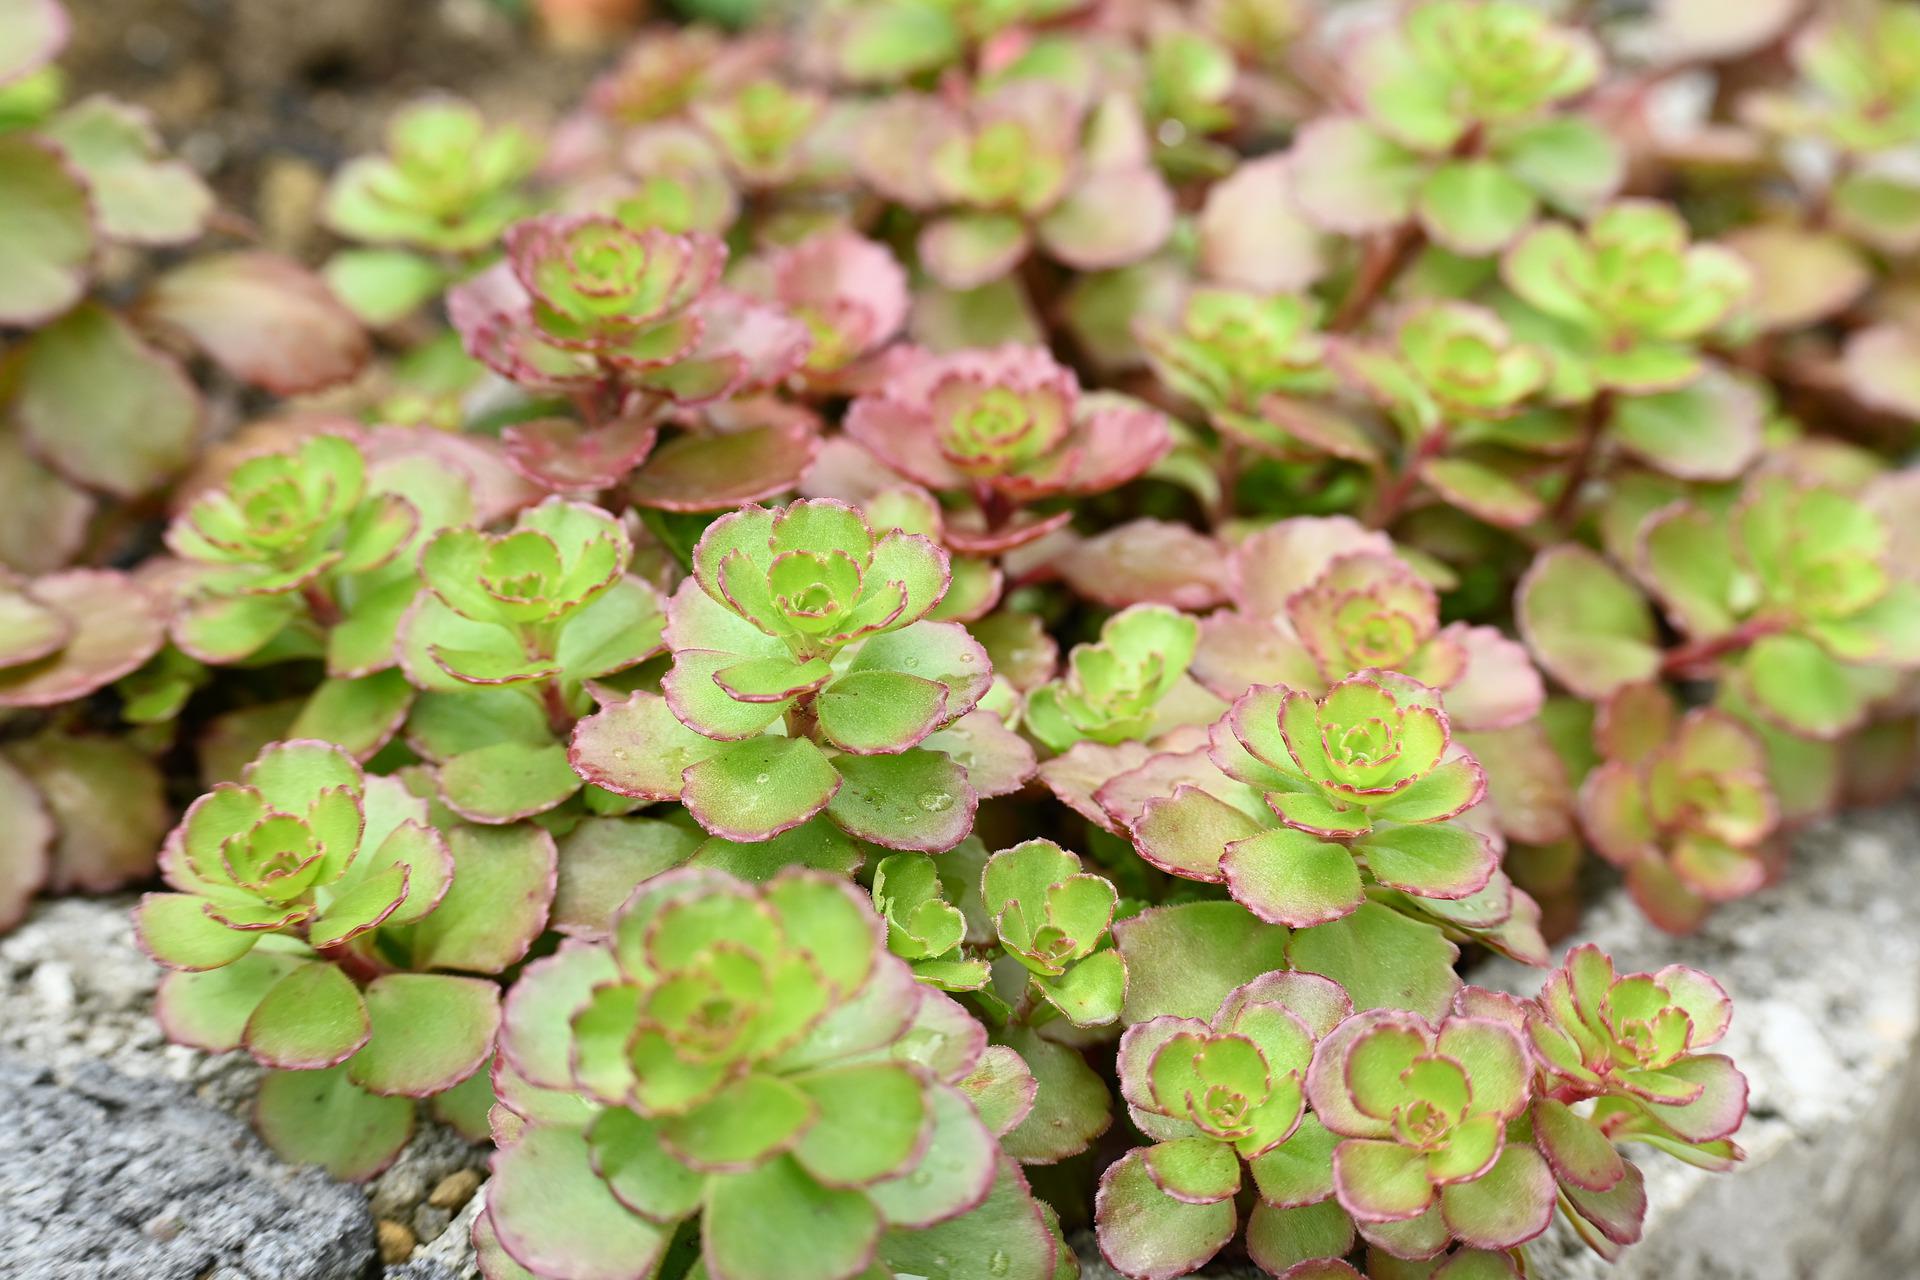
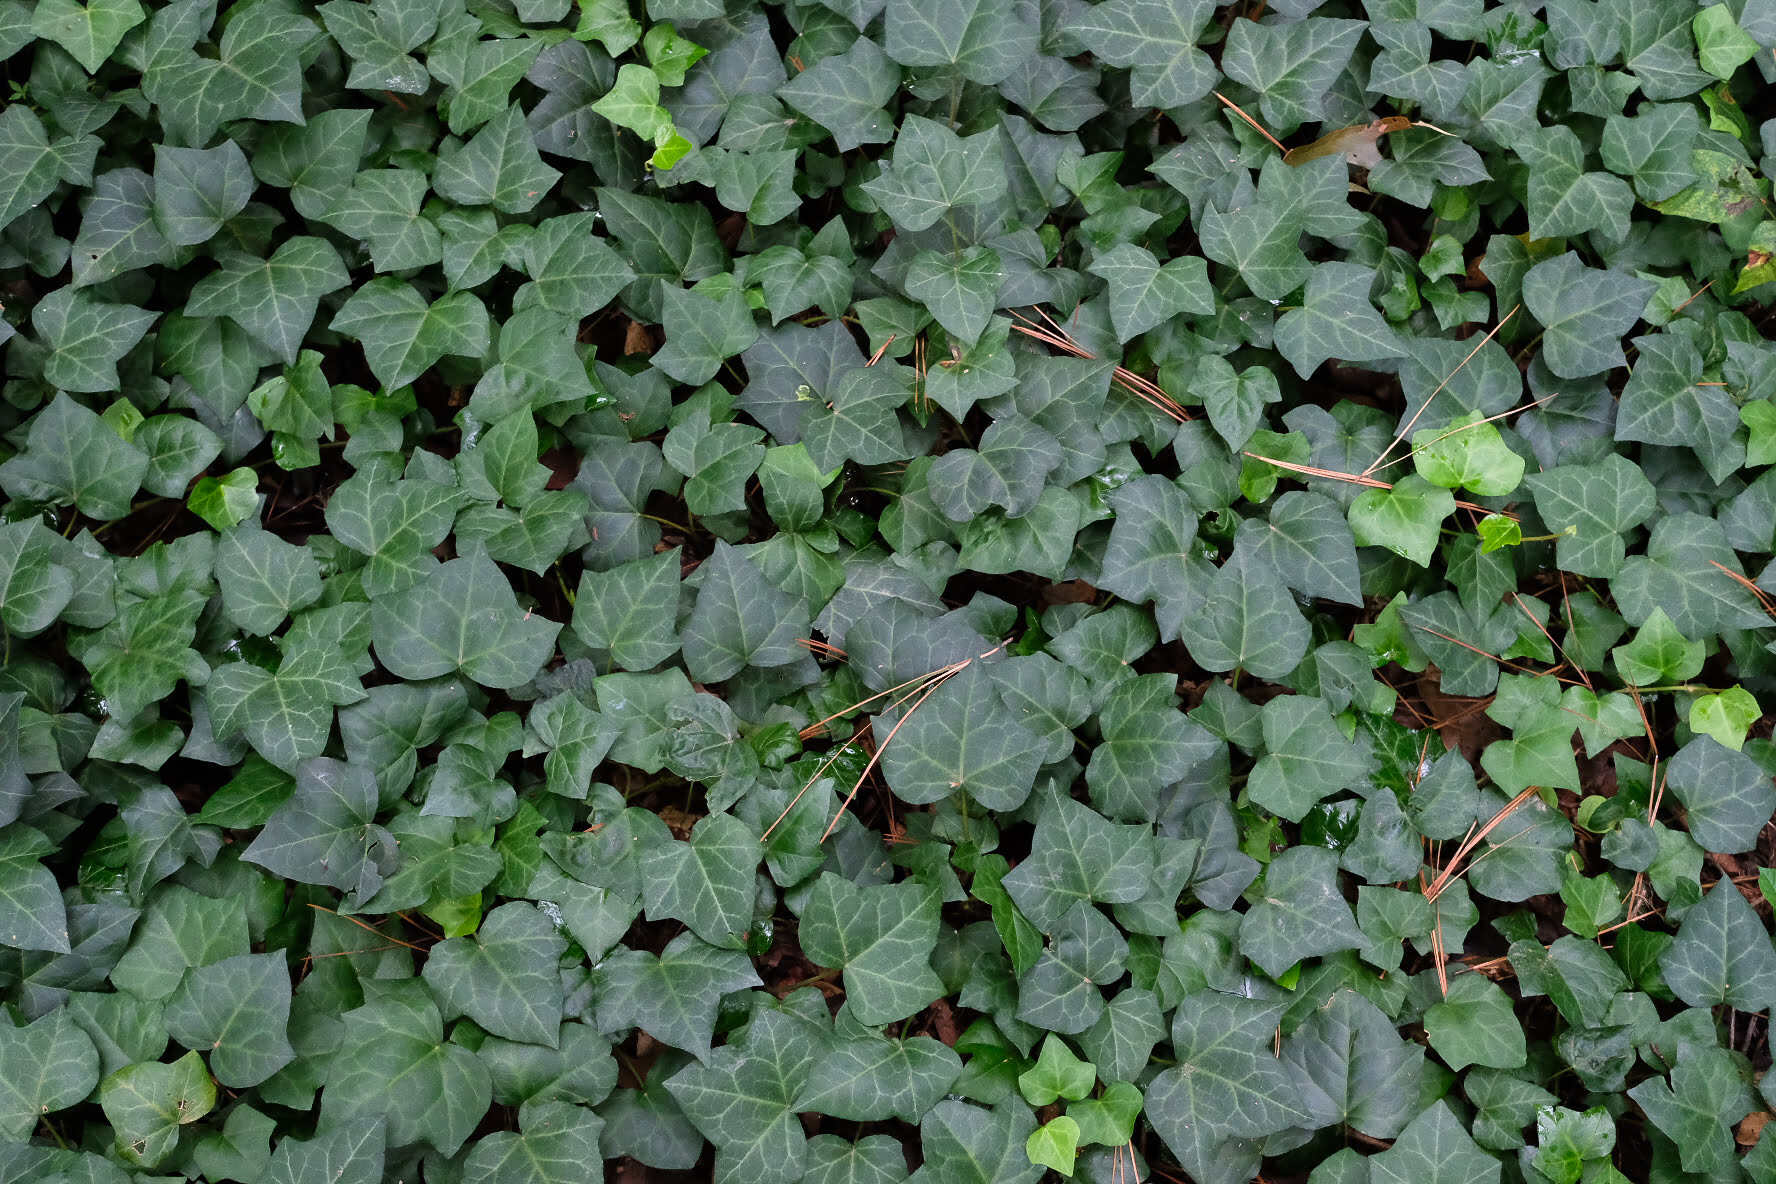
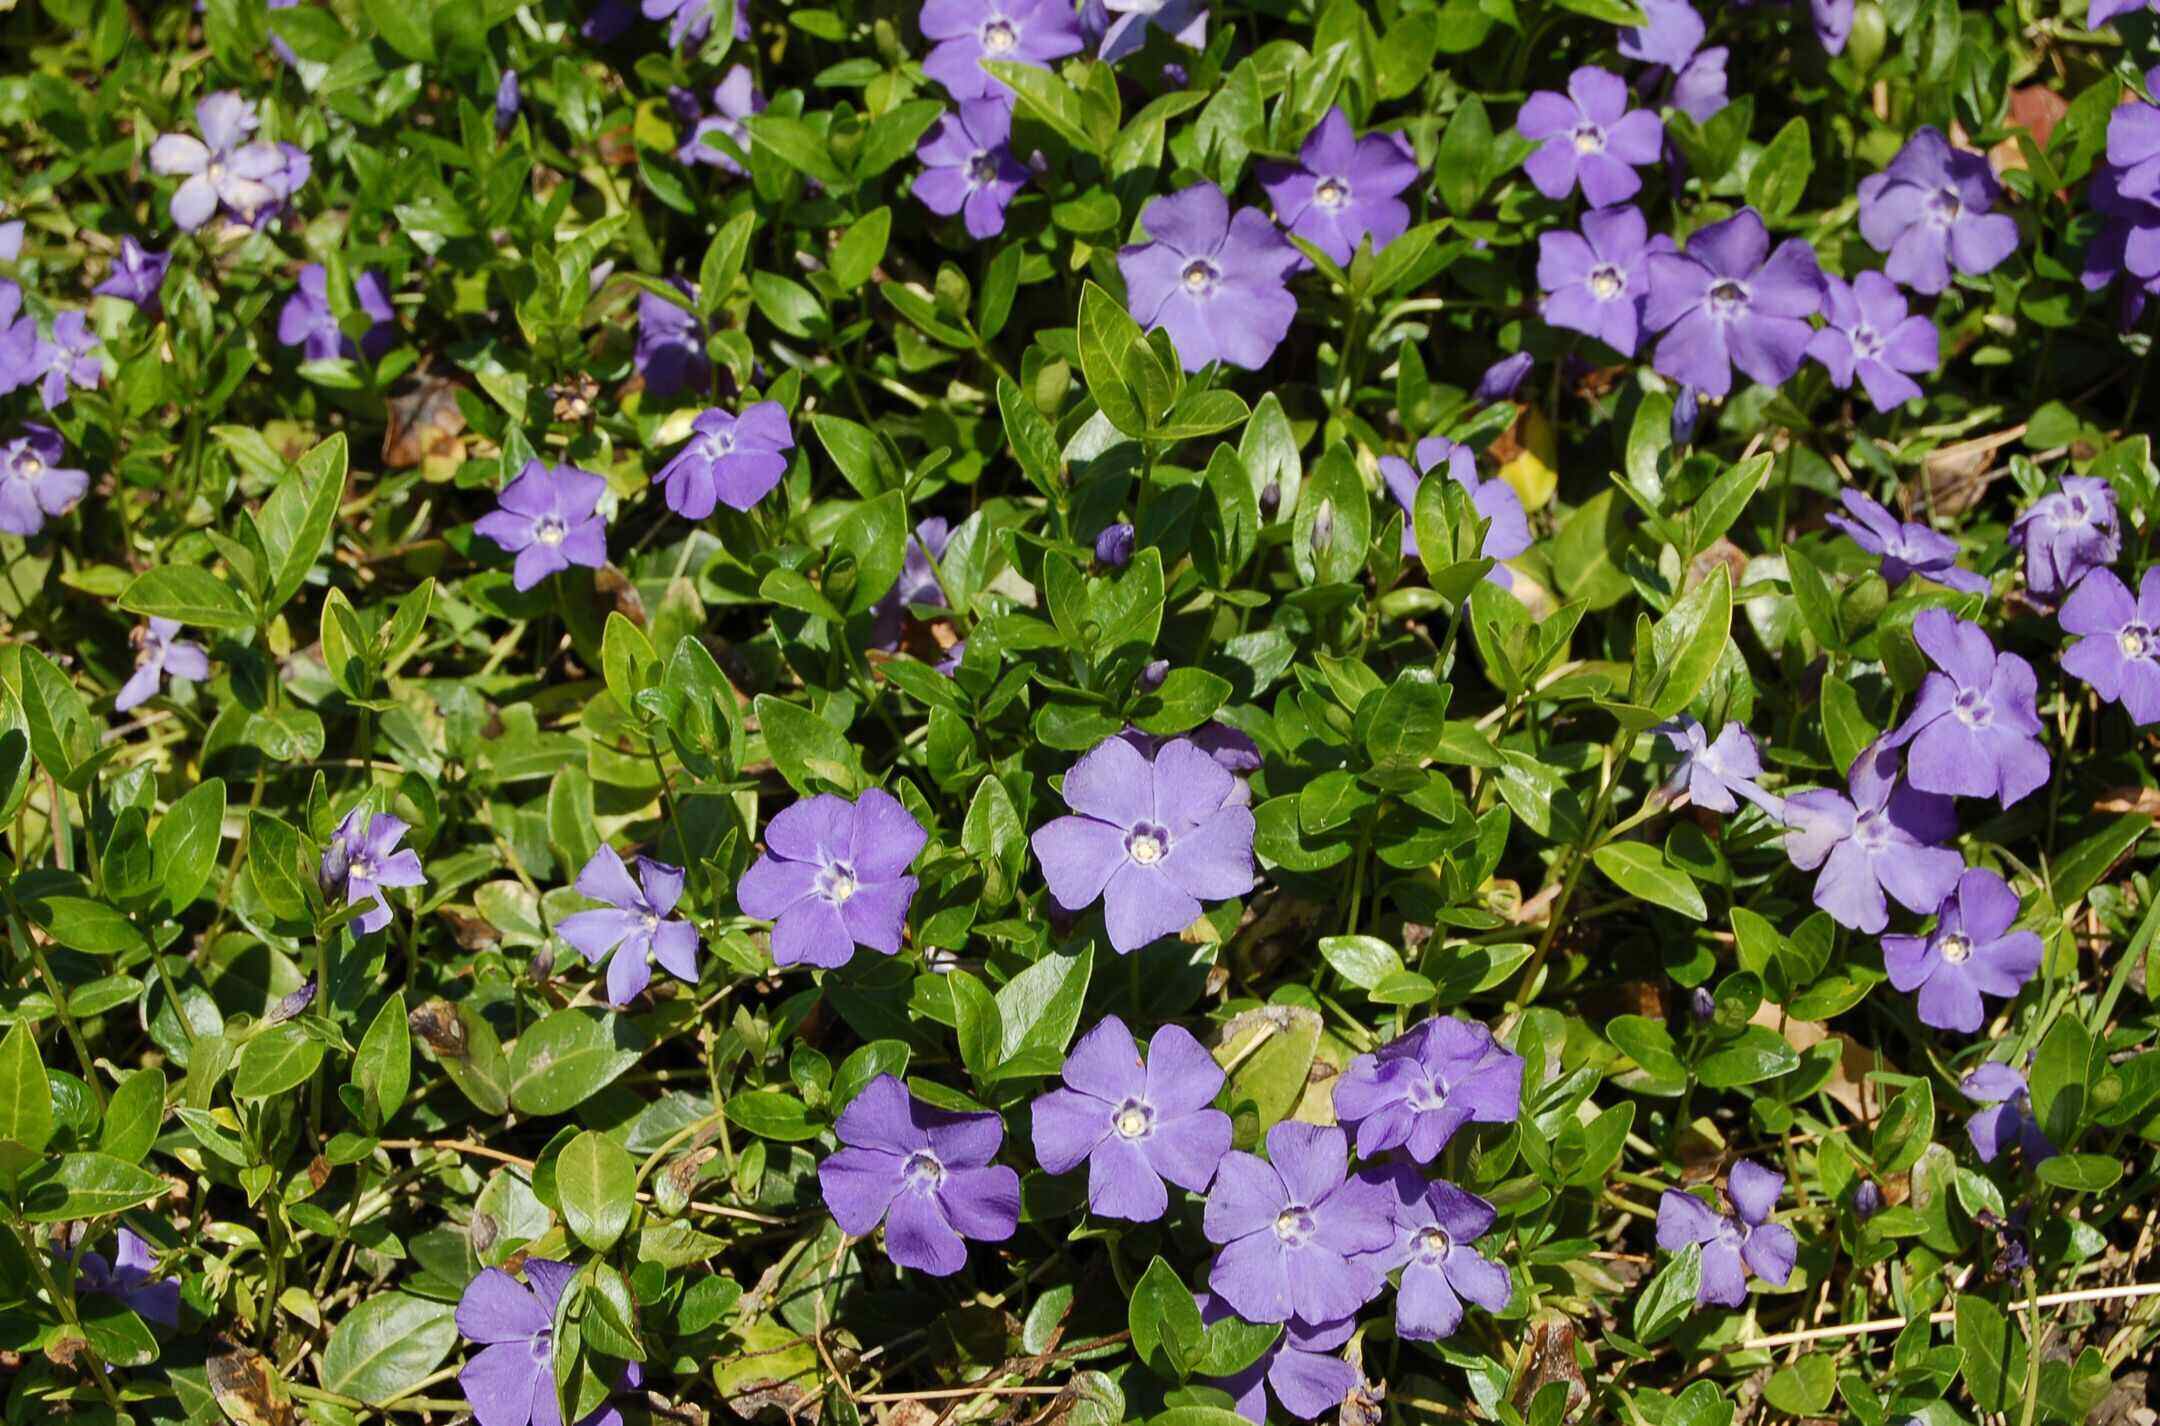
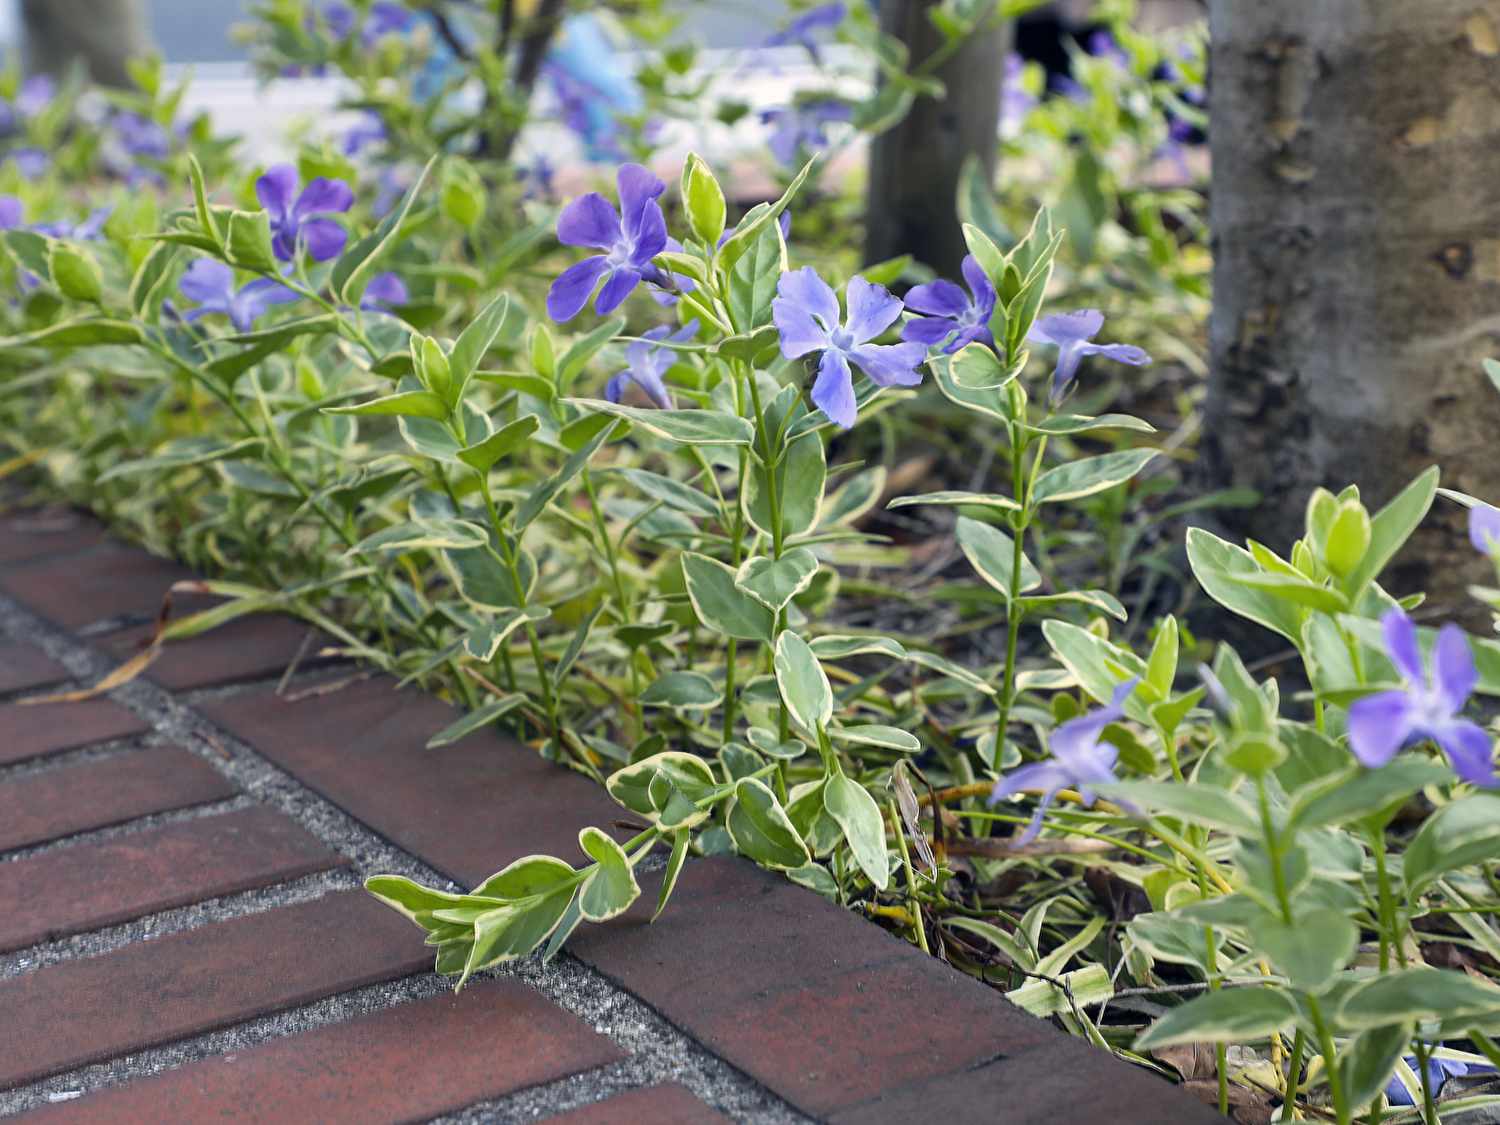
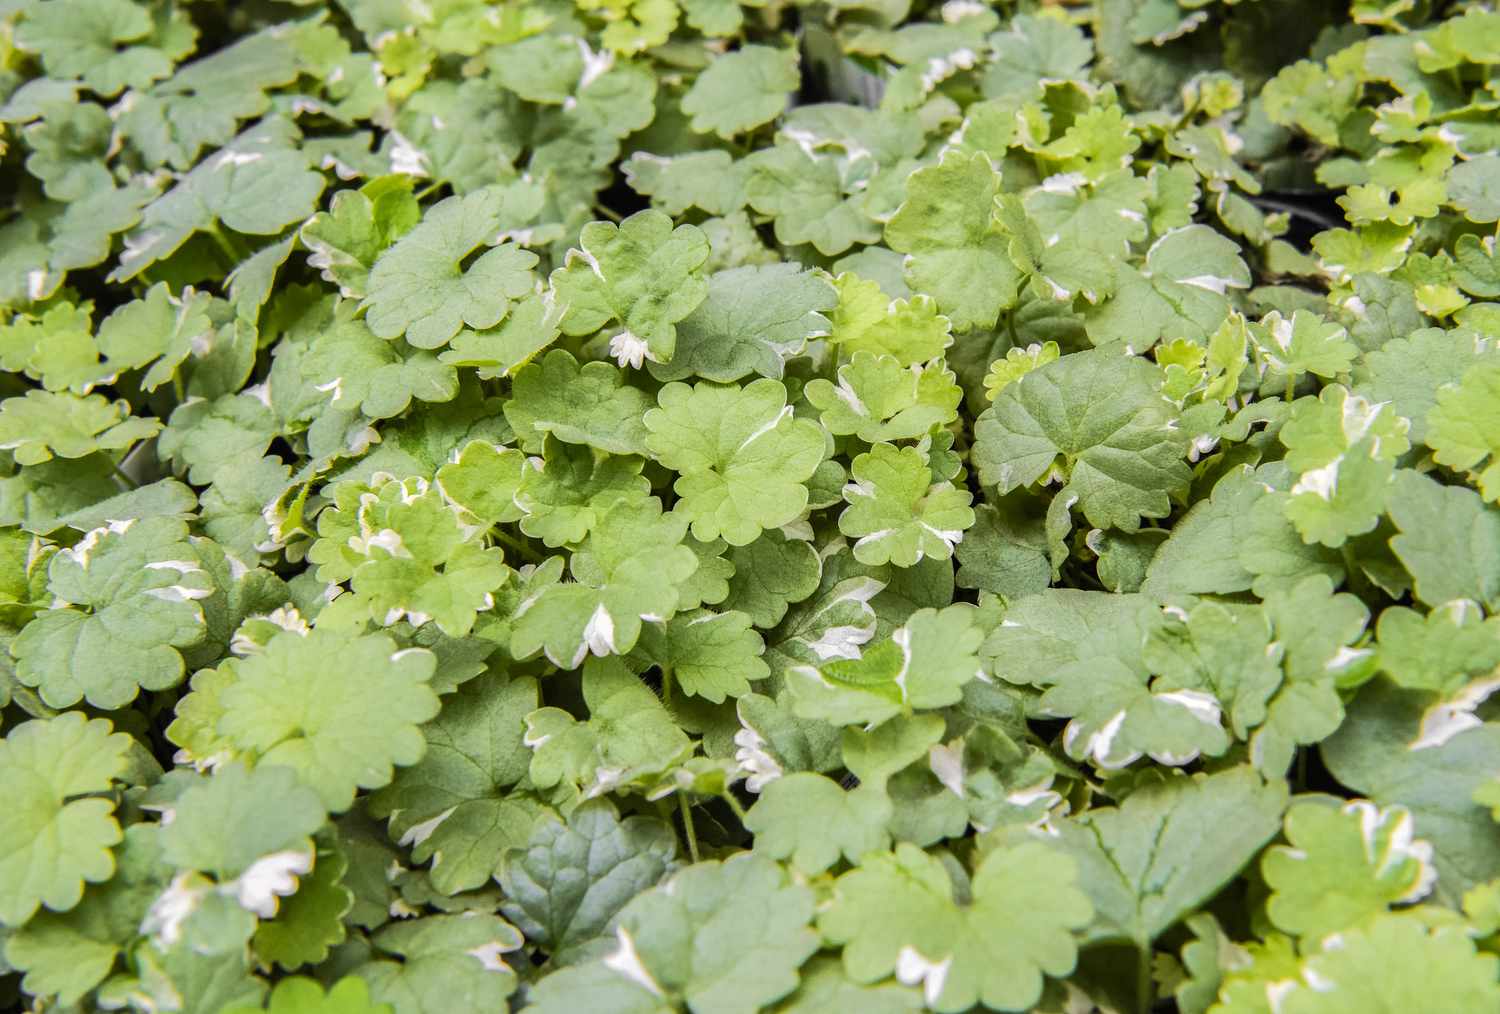
There are various types of ground covers commonly found in gardens, including creeping plants like ivy, Vinca minor (periwinkle), and Pachysandra, as well as low-growing shrubs like juniper and euonymus. Each type may require a slightly different approach for removal, so it’s crucial to accurately identify what you’re dealing with.
To identify your ground cover, closely examine their characteristics. Look at the foliage, the growth pattern, and any flowering or fruiting structures. You can also consult gardening resources, books, or seek advice from a local nursery or gardening expert for assistance in identification.
Once you have identified your ground cover, take note of its growth habit and aggressiveness. Some ground covers, like ivy, can spread rapidly and become invasive, while others are more controlled in their growth. Understanding the growth habit of your ground cover will help you determine the level of effort and method required for removal.
Furthermore, consider the area in which the ground cover is growing. Is it in a confined bed or along a fence line? Is it in a well-maintained garden or an untended area? Understanding the context of the ground cover’s location will also inform your removal strategy.
By taking the time to accurately identify your ground cover, you will have a better understanding of its characteristics and can proceed with confidence in selecting the most appropriate method for removal. Now that you’ve identified your ground cover, let’s move on to the next step: clearing the area.
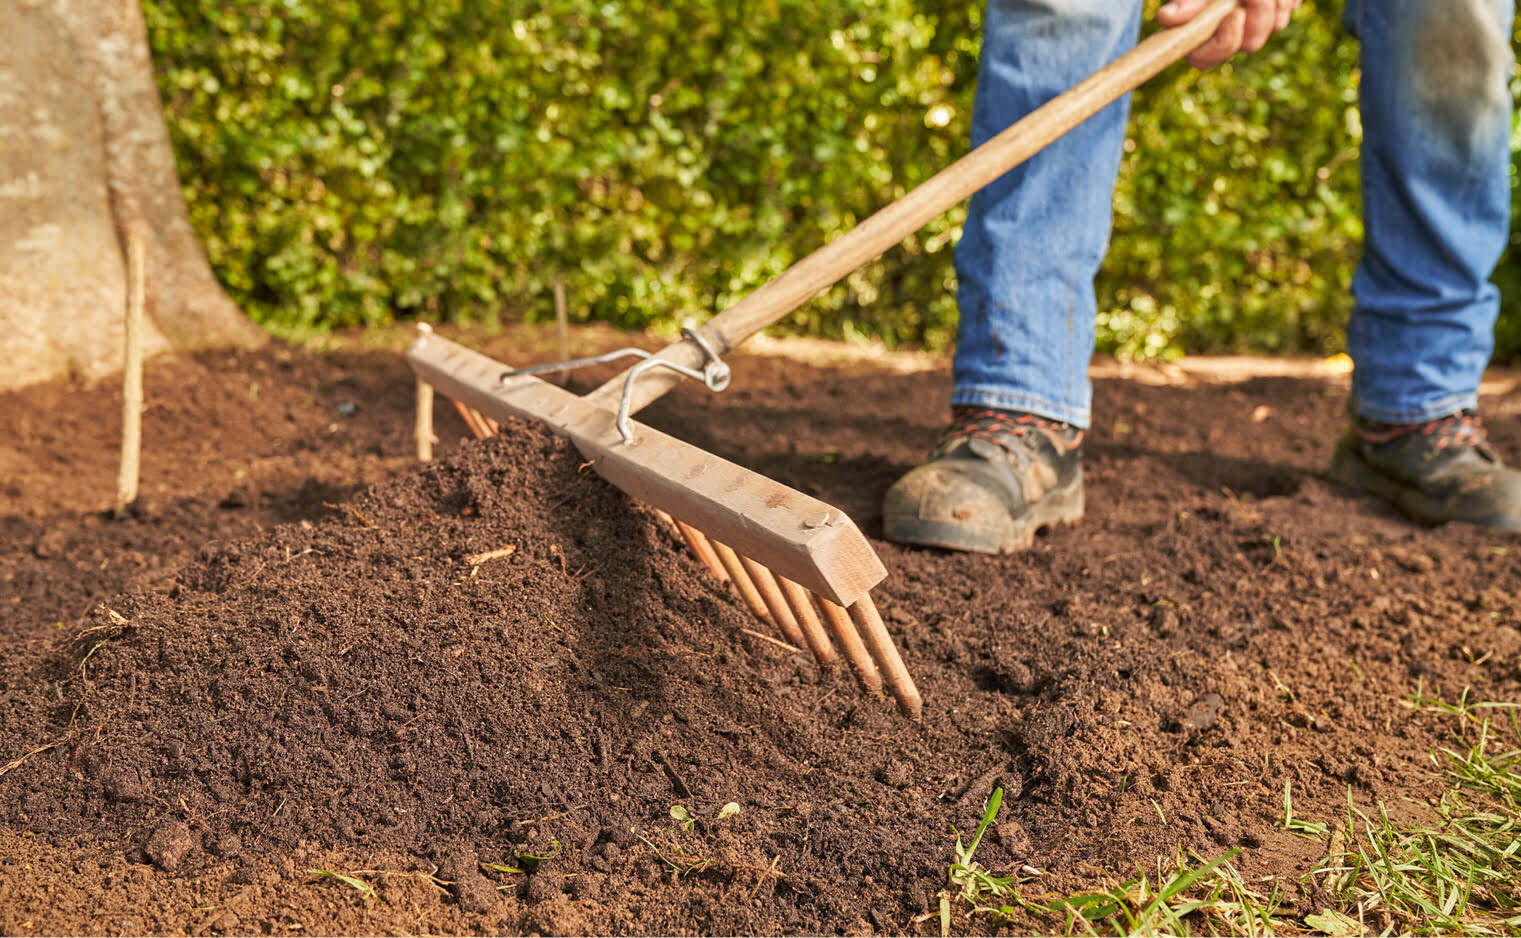
Step 2: Clearing the Area
Once you’ve identified the ground cover you need to remove, the next step is to clear the area surrounding it. This will provide you with a clear workspace and prevent any accidental damage to nearby plants or structures.
Start by removing any debris, such as fallen leaves, branches, or rocks, from the area. Use a rake or a garden broom to gather and dispose of the debris properly. This will allow you to have a clear view of the ground cover and make the removal process easier.
If there are any large plants or shrubs nearby, consider pruning them back to create more space and access to the ground cover. Be cautious when pruning to avoid damaging any desirable plants or structures.
Additionally, if the ground cover has spread and intertwined with other plants or structures, it may be necessary to carefully detach or separate them to ensure a clean removal. Use gardening gloves and hand tools like trowels or pruners to delicately disentangle the ground cover.
During this step, it’s essential to be patient and thorough. Take the time to clear the area properly, ensuring that there are no obstacles or potential hazards that could hinder your removal efforts.
By clearing the area surrounding the ground cover, you’ll create an optimal environment for the next steps of the removal process. With a clear workspace, you can now move on to the manual removal of the ground cover.
Step 3: Manual Removal
Manual removal is often the most effective method for removing ground cover, especially for smaller areas or when dealing with less aggressive species. This method involves physically pulling or digging up the ground cover to eradicate it from your garden.
Start by loosening the soil around the base of the ground cover using a garden fork or a hand trowel. This will help loosen the roots and make it easier to remove the plants. Be careful when digging to avoid damaging any nearby plants or desirable vegetation.
Once the soil is loosened, firmly grasp a clump of the ground cover and gently pull it upwards, applying steady pressure. If the ground cover has shallow roots, it should come up relatively easily. However, if the roots are deeper or more established, you may need to use a small garden spade or shovel to dig around the plant and lift it out of the ground.
As you remove each clump of ground cover, shake off any excess soil and inspect the roots. Sometimes, portions of the root system may break off during removal. It’s crucial to ensure that you remove as much of the root system as possible to prevent regrowth.
Repeat this process, working section by section, until all the ground cover has been manually removed. Dispose of the plants and roots properly, either by adding them to your compost pile or placing them in bags for disposal.
It’s important to note that manual removal may take time and effort, especially if the ground cover has spread extensively. Be patient and consistent in your approach, gradually working through the area until all the plants have been removed.
If you encounter any stubborn or stubborn clumps of ground cover that are difficult to remove manually, you may consider using a sharp pair of pruning shears or loppers to carefully cut away the plant at ground level. This will weaken the plant and make it easier to remove in future attempts.
After completing the manual removal process, it’s time to assess the effectiveness and determine whether additional measures, such as using herbicides, are necessary. We will explore this option in the next step.
Use a shovel or garden fork to loosen the ground cover roots. Pull out the plants and roots by hand or with a rake. Dispose of the removed ground cover properly to prevent regrowth.
Step 4: Using Herbicides (optional)
In some cases, manual removal may not be sufficient to completely eradicate the ground cover, especially if it is particularly tenacious or has deep, resilient roots. In such situations, using herbicides can be an effective supplementary method to ensure thorough removal.
Before considering the use of herbicides, it’s important to assess the specific needs of your garden and the potential impact on surrounding plants and the environment. Always follow the manufacturer’s instructions and exercise caution when handling and applying herbicides.
Choose a herbicide that is specifically formulated for the type of ground cover you are trying to remove. There are selective herbicides that target broadleaf plants and non-selective herbicides that kill all vegetation. Read the label carefully to ensure it is safe for use on your desired target and won’t harm desirable plants.
When using herbicides, apply them directly to the foliage of the ground cover according to the product instructions. It’s important to note that herbicides may take some time to fully eliminate the ground cover, and multiple applications may be required. Be patient and follow the recommended waiting period between applications.
During the application process, take care to shield any nearby plants or structures that you wish to preserve. You can use plastic sheeting or cardboard to create a barrier between the herbicide spray and desirable vegetation.
After the herbicide has taken effect, monitor the area regularly to assess the progress of the ground cover removal. If any plants show signs of regrowth, carefully remove them manually or reapply the herbicide as necessary.
It’s important to exercise caution when using herbicides and ensure that they are applied responsibly. Be mindful of any regulations or restrictions regarding herbicide use in your area and follow all safety guidelines to protect both yourself and the environment.
Once you have successfully removed the ground cover, it’s time to move on to the final step: preventing future growth.
Read more: How To Remove Periwinkle Ground Cover
Step 5: Preventing Future Growth
After going through the effort of removing the ground cover, it’s important to take preventive measures to ensure that it doesn’t return and reclaim your garden space. Here are some strategies to prevent future growth:
1. Regular Maintenance: Proper garden maintenance is key to preventing the establishment and spread of ground cover. Regularly prune and weed your garden to remove any new growth or invasive plants before they have a chance to take hold.
2. Improving Soil Conditions: Some ground covers thrive in specific soil conditions. Assess the soil in your garden and make any necessary amendments to discourage the growth of unwanted plants. For instance, if the ground cover prefers acidic soil, adjust the pH level by adding lime to make it less favorable for their growth.
3. Installing Barrier Materials: Create physical barriers to prevent ground cover from encroaching on unwanted areas. Use edging materials, such as plastic or metal, to create a clear separation between the ground cover and other plants or structures.
4. Smothering Techniques: If you have a small area with persistent ground cover, you can smother it to prevent its growth. Cover the area with thick layers of organic mulch, such as newspaper, cardboard, or landscape fabric, to deprive the ground cover of light and air, effectively suffocating it.
5. Regular Inspections: Make it a habit to inspect your garden regularly and address any signs of new ground cover growth promptly. By catching it early, you can take immediate action to prevent it from becoming a larger issue.
6. Proper Plant Selection: Choose native plants or non-invasive alternatives when selecting ground cover or any other plants for your garden. Native plants often have natural defenses against invasive species and are more likely to thrive in your region.
7. Monitoring and Quick Action: Keep an eye on the areas where ground cover was present and be proactive in removing any stray shoots or runners that may reappear. By acting swiftly, you can prevent the ground cover from regaining a foothold in your garden.
Remember that preventing future growth requires ongoing vigilance and maintenance. Incorporate these preventive measures into your regular garden care routine to keep unwanted ground cover at bay and maintain a healthy and beautiful outdoor space.
With the completion of these steps, you have successfully removed the ground cover and taken preventative measures to prevent its return. Enjoy your garden, now freed from the invasive plants that once occupied it!
Conclusion
Removing ground cover from your garden can be a challenging task, but by following the steps outlined in this guide, you can achieve a successful and thorough removal. Whether you choose to manually remove the ground cover or use herbicides as a supplementary method, it’s important to approach the process with patience, careful consideration, and attention to detail.
Remember to accurately identify the ground cover you’re dealing with and clear the area before proceeding with the removal. Manual removal is often the most effective method, but in some cases, herbicides may be necessary. Just be sure to use them responsibly and follow all safety guidelines to protect yourself and the environment.
After the ground cover has been removed, take preventative measures to ensure that it doesn’t return. Regular maintenance, improving soil conditions, installing barriers, and smothering techniques can all help prevent the regrowth of unwanted plants. Stay vigilant by regularly inspecting your garden and taking quick action to address any signs of new growth.
By following these steps and implementing preventive measures, you can maintain a healthy and vibrant garden free from the invasive spread of ground cover. Enjoy the newfound beauty and control over your outdoor space, and keep exploring other exciting gardening ventures!
Frequently Asked Questions about How To Remove Ground Cover
Was this page helpful?
At Storables.com, we guarantee accurate and reliable information. Our content, validated by Expert Board Contributors, is crafted following stringent Editorial Policies. We're committed to providing you with well-researched, expert-backed insights for all your informational needs.


0 thoughts on “How To Remove Ground Cover”