Home>Garden Essentials>How To Remove Periwinkle Ground Cover
Garden Essentials
How To Remove Periwinkle Ground Cover
Modified: March 7, 2024
Learn the best techniques and tools for removing periwinkle ground cover from your garden. Say goodbye to stubborn weeds and reclaim your beautiful landscape today!
(Many of the links in this article redirect to a specific reviewed product. Your purchase of these products through affiliate links helps to generate commission for Storables.com, at no extra cost. Learn more)
Introduction
Welcome to our comprehensive guide on how to remove periwinkle ground cover. Periwinkle, also known as Vinca minor, is a low-growing evergreen plant that spreads rapidly and can quickly take over your garden or landscape. While periwinkle is a beautiful and hardy ground cover, it can become invasive if left unchecked, smothering other plants and hindering their growth.
If you find yourself with periwinkle taking over your garden or simply want to remove it to make space for other plants, this article is for you. We’ll provide you with step-by-step instructions on how to effectively remove periwinkle ground cover while minimizing any potential damage to the surrounding landscape. So let’s dig in and get started!
Key Takeaways:
- Say goodbye to periwinkle! Follow our step-by-step guide to remove this invasive ground cover and reclaim your garden space. Don’t let periwinkle take over your beautiful landscape.
- Removing periwinkle is hard work, but worth it! With the right tools and techniques, you can say goodbye to invasive periwinkle and create a clean canvas for your dream garden.
Read more: How To Transplant Periwinkle Ground Cover
Understanding Periwinkle Ground Cover
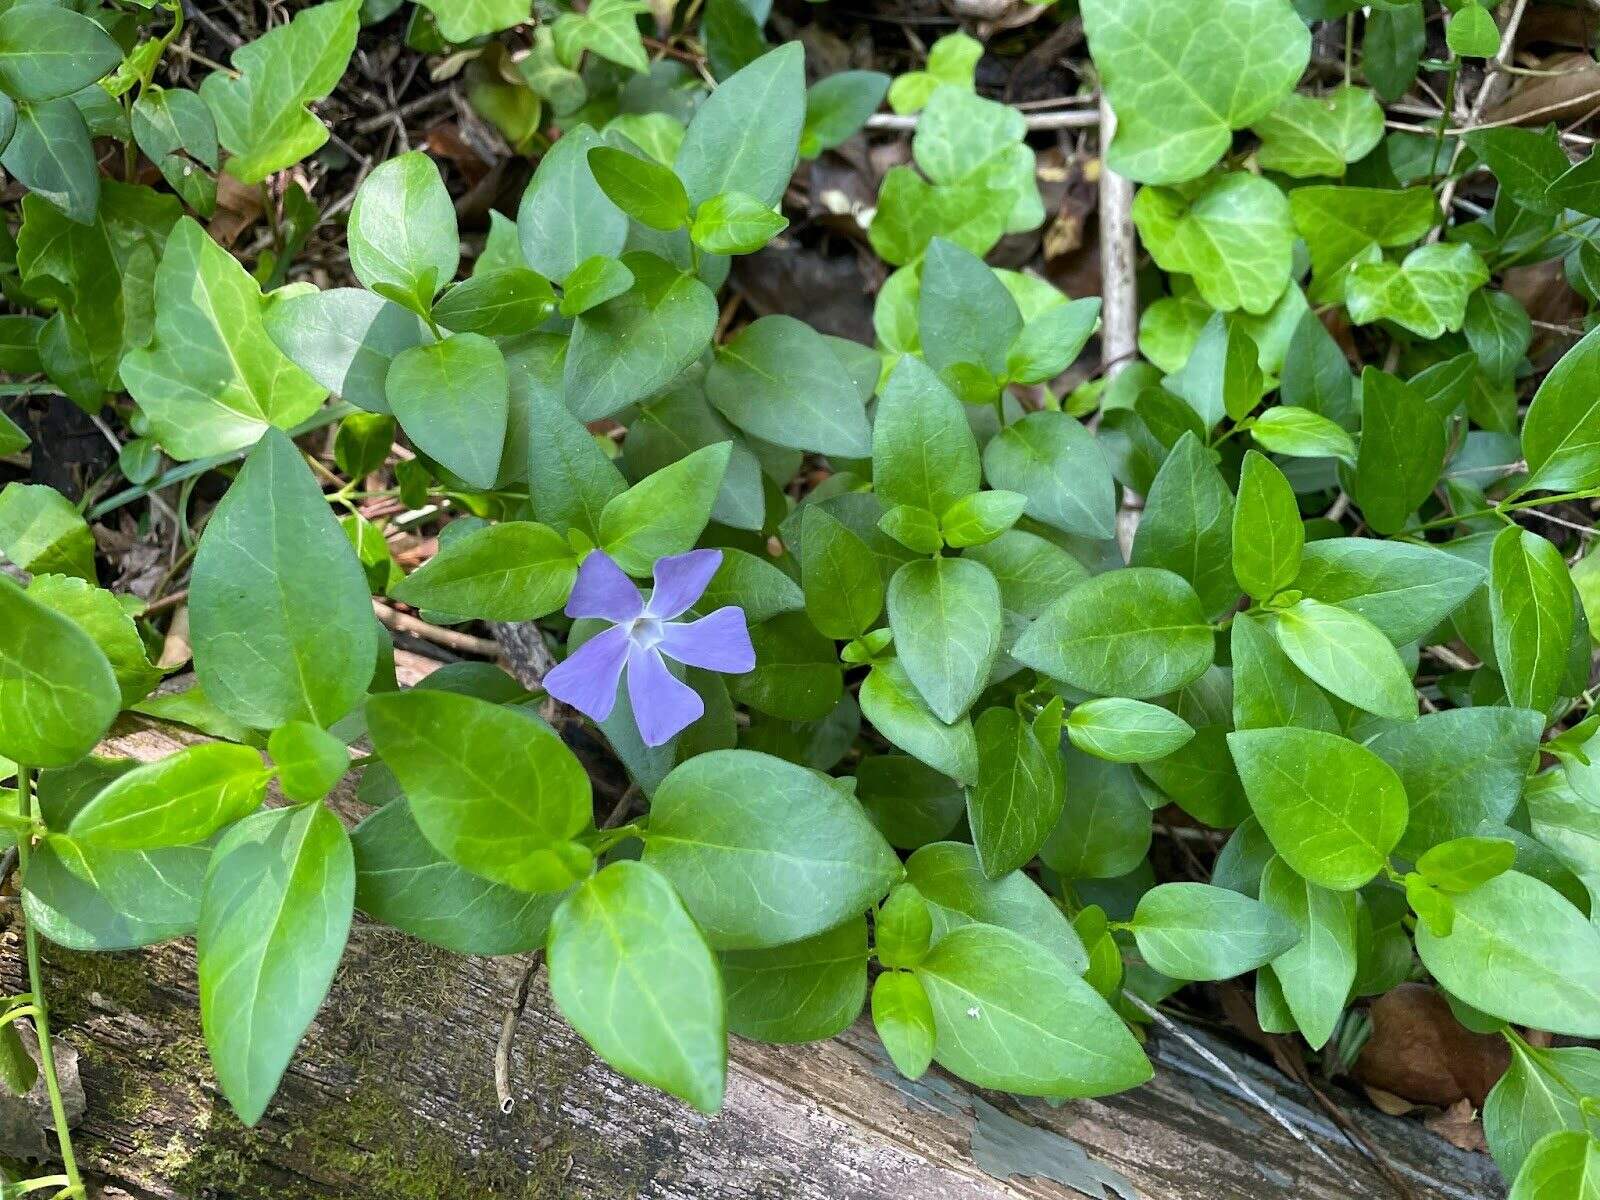
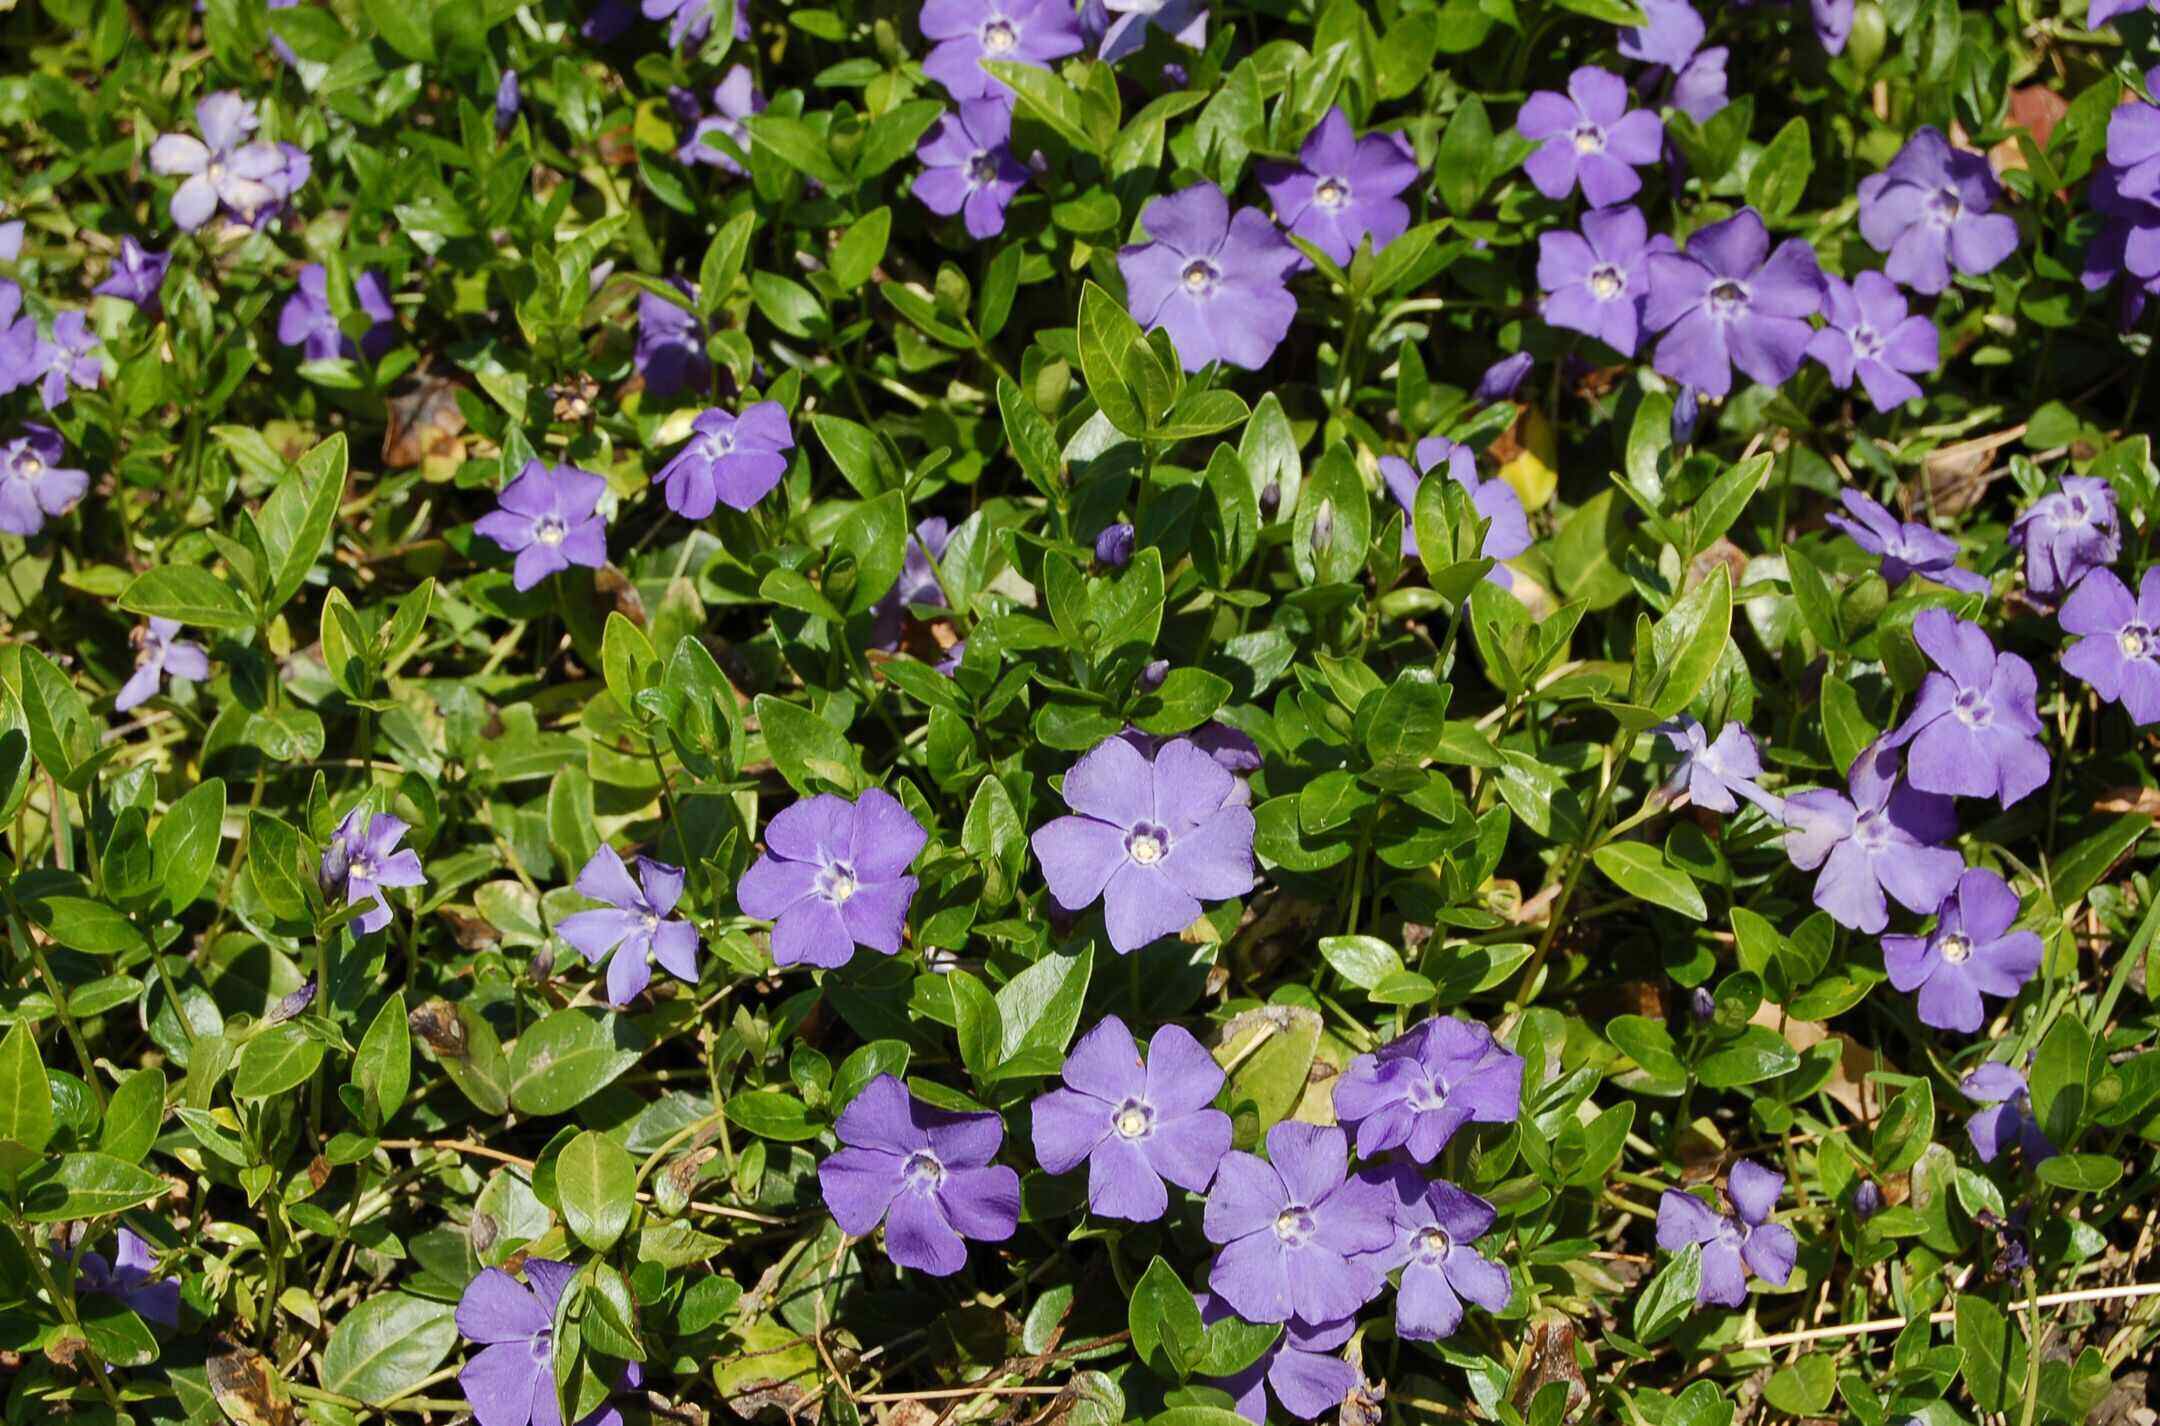
Before we delve into the process of removing periwinkle ground cover, let’s take a moment to understand this plant and its growth characteristics. Periwinkle, or Vinca minor, is a trailing evergreen plant that is native to Europe but has become naturalized in many parts of North America.
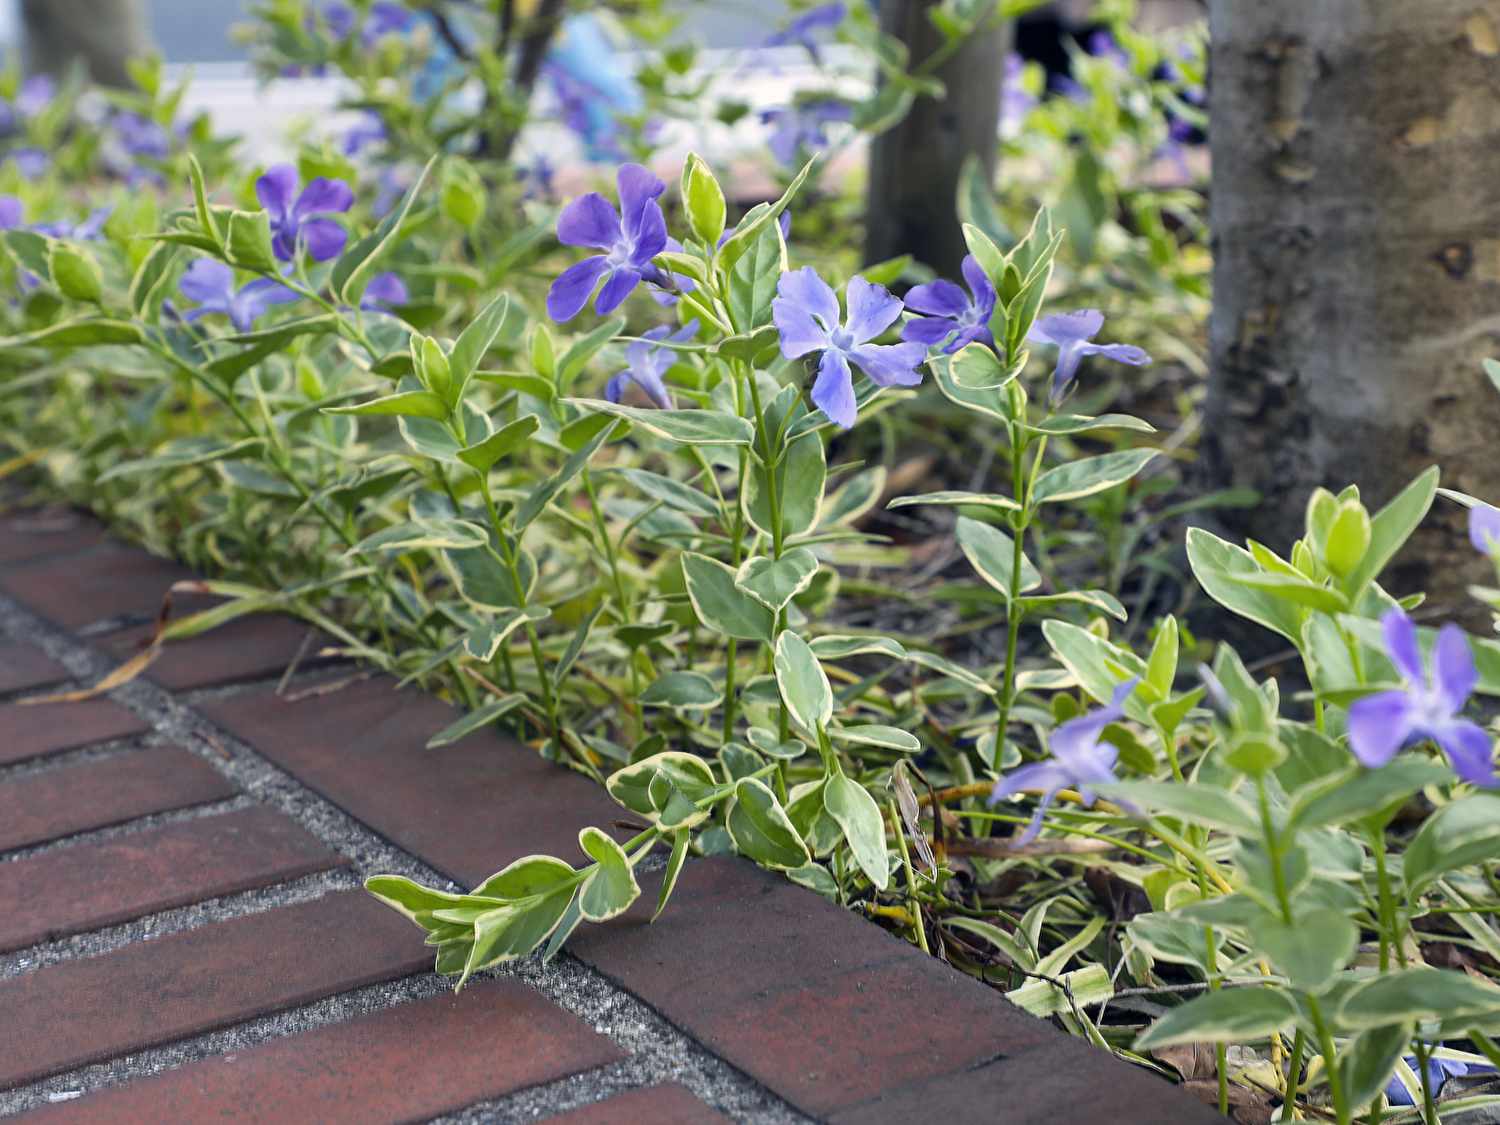
Periwinkle features glossy green leaves and produces delicate, star-shaped flowers in shades of blue, purple, or white. It thrives in shady areas and can tolerate a variety of soil conditions, making it a popular choice for ground cover in gardens.
One of the key reasons for its popularity as ground cover is its ability to spread rapidly through stolons or long runners. These runners root themselves at regular intervals, establishing new periwinkle plants and creating a dense carpet-like cover. While this rapid spread is desirable in certain areas, it can easily become overgrown and invasive, outcompeting other plants and disrupting the ecosystem.
It’s important to note that periwinkle has a high tolerance for drought and shade, making it a resilient plant that can be challenging to eradicate. However, with the right approach and tools, you can successfully remove periwinkle from your garden and regain control over your landscape.
Now that we have a better understanding of periwinkle ground cover and its growth habits, let’s move on to the next section, where we’ll explore the reasons why you might want to remove this plant from your garden.
Reasons for Removing Periwinkle Ground Cover
While periwinkle ground cover can add beauty to your garden, there are several reasons why you may want to remove it. Here are some common motivations for removing periwinkle:
- Invasive growth: Periwinkle has a vigorous growth habit and can quickly spread, overtaking other plants in your garden. If left unchecked, it can become invasive and crowd out desirable plants, causing a loss of biodiversity.
- Competition for resources: Periwinkle has a dense network of roots, which can monopolize water, nutrients, and sunlight. This can deprive neighboring plants of the resources they need to thrive.
- Difficulty in controlling: Due to its rapid spread and resilience, periwinkle can be challenging to control once it becomes established. It can quickly re-grow from even tiny fragments or roots left in the soil.
- Unwanted overgrowth: In some cases, periwinkle may have been planted as ground cover but has since become overgrown and out of control. This can lead to a messy and untidy appearance in your garden.
- Landscape change: Perhaps you’re looking to redesign your garden or change the overall aesthetic of your landscape, and periwinkle no longer fits into your vision. Removing it will provide you with a blank canvas to create your desired garden design.
Now that you’re aware of the reasons why removing periwinkle ground cover may be necessary, let’s move on to the next section, where we’ll discuss the importance of assessing the area before starting the removal process.
Assessing the Area
Before you begin the process of removing periwinkle ground cover, it’s important to assess the area where the plant is growing. This will help you plan your approach and determine the extent of the removal required. Here are some key factors to consider during the assessment:
- Surface area: Determine the size of the area covered by periwinkle. Is it a small patch or does it span a larger portion of your garden? This will give you an idea of the scale of the removal project.
- Root depth and density: Take note of the depth and density of the periwinkle roots. This will impact the difficulty of the removal process and the tools you’ll need.
- Surrounding plants: Consider nearby plants that may be affected by the removal process. Are there any delicate or desirable plants that need protection? Plan your removal strategy accordingly to minimize damage to surrounding vegetation.
- Soil condition: Assess the soil condition in the area. Is it loose and easy to work with, or compacted and challenging to dig into? This will influence the ease with which periwinkle can be removed.
- Obstacles: Identify any obstacles or structures in the vicinity, such as rocks, tree roots, or fencing. These may affect your access or the methods you can employ during the removal process.
By carefully assessing the area, you’ll be better prepared to tackle the periwinkle removal project effectively and efficiently. Once you have a good understanding of the area, it’s time to gather the necessary tools and materials to get started. We’ll cover that in the next section.
Tools and Materials Needed
Before you embark on the journey of removing periwinkle ground cover, it’s important to gather the necessary tools and materials. Having the right equipment will make the process smoother and more efficient. Here’s a list of the tools and materials you’ll need:
Read more: How To Remove Ground Cover
Tools:
- Gloves: A sturdy pair of gloves will protect your hands from thorns and irritants while working with the periwinkle.
- Garden rake or hoe: Use a garden rake or hoe to loosen the soil and remove surface debris before starting the removal process.
- Garden shears or pruners: These tools will come in handy for cutting and trimming the periwinkle stems and branches.
- Hand trowel or shovel: You’ll need a hand trowel or shovel for digging and excavating the periwinkle roots from the soil.
- Mattock or digging fork: In cases where the periwinkle roots are deep or densely packed, a mattock or digging fork can help break up the soil and facilitate easier root removal.
Materials:
- Tarp or plastic sheeting: Use a tarp or plastic sheeting to collect and contain the removed periwinkle and prevent it from spreading to other areas.
- Trash bags: Keep some sturdy trash bags handy to dispose of the collected periwinkle plants and debris.
- Organic mulch or ground cover fabric: After removing the periwinkle, you may want to apply organic mulch or ground cover fabric to suppress future weed growth and enhance the appearance of the treated area.
- Watering can or hose: Have a watering can or hose nearby to moisten the soil, making it easier to work with and aiding in root removal.
By ensuring you have these tools and materials on hand, you’ll be well-prepared to undertake the periwinkle removal process. In the next section, we’ll dive into the step-by-step instructions for removing periwinkle ground cover effectively.
Step 1: Preparation
Before you begin the actual removal process, it’s important to take some time to prepare the area to make the periwinkle removal easier and more efficient. Follow these steps to ensure proper preparation:
- Clear the area: Remove any debris, fallen leaves, or surface vegetation from the area where the periwinkle is growing. This will give you better visibility and access to the plants and roots.
- Moisten the soil: If the soil is dry, water the area with a watering can or hose. Moistening the soil will make it easier to dig and remove the periwinkle roots.
- Trim the periwinkle: Use garden shears or pruners to cut back the periwinkle vegetation to a manageable height. Trim the plants down to a few inches above the ground. This will make it easier to work with and expose the roots for removal.
- Wear protective gear: Put on your gloves to protect your hands from thorns, irritants, or any sharp objects you might encounter while working on the periwinkle removal.
- Position your tarp or plastic sheeting: Lay out a tarp or plastic sheeting adjacent to the area where you’ll be working. This will serve as a collection spot for the removed periwinkle plants and debris, preventing them from spreading to other parts of your garden.
By taking these preparatory steps, you’ll set yourself up for success during the periwinkle removal process. Once the area is ready, you can proceed to the next step: cutting and trimming the periwinkle plants. We’ll cover that in the following section.
Step 2: Cutting and Trimming
Once you have prepared the area, it’s time to start cutting and trimming the periwinkle plants. This step will help make the removal process more manageable and expose the roots for easier extraction. Follow these steps for effective cutting and trimming:
- Begin at the outer edges: Work your way from the outer edges of the periwinkle patch inward. This will help prevent spreading the periwinkle further while you work.
- Use garden shears or pruners: Use sharp garden shears or pruners to cut the periwinkle stems and branches close to the ground. Cut the plants down to a few inches above the soil surface.
- Dispose of the cuttings: As you trim the periwinkle, collect the cuttings and place them on the tarp or plastic sheeting you positioned earlier. This will help contain the removed plant material and prevent it from spreading.
- Continue cutting and trimming: Work your way systematically through the periwinkle patch, cutting and trimming the plants until you have covered the entire area.
- Take breaks as needed: Removing periwinkle can be a labor-intensive task, so don’t hesitate to take breaks and stretch to avoid fatigue or strain.
By cutting and trimming the periwinkle plants, you are not only reducing their size and density but also making it easier to access and remove their roots in the next step. Once the cutting and trimming are complete, it’s time to move on to the next crucial step: removing the periwinkle roots. We’ll guide you through that process in the following section.
To remove periwinkle ground cover, use a shovel to dig up the roots and pull up the vines. Be sure to remove all the roots to prevent regrowth. Dispose of the plant material properly to prevent spreading.
Read more: How To Remove Myrtle Ground Cover
Step 3: Removing the Periwinkle
Now that you have cut and trimmed the periwinkle plants, it’s time to focus on removing the roots. This step is crucial to prevent re-growth and ensure the complete removal of the periwinkle ground cover. Follow these steps to effectively remove the periwinkle roots:
- Use a hand trowel or shovel: Begin by using a hand trowel or shovel to dig around the base of the periwinkle plants. Start a few inches away from the center of each plant to avoid damaging the roots.
- Work in a circular motion: Gradually dig around the plant in a circular motion, loosening the soil as you go. Be careful not to disturb nearby desirable plants or vegetation.
- Go deep: As you dig, make sure to go deep enough to access the root system of the periwinkle. The depth will depend on the extent of the root growth, so be thorough in your excavation.
- Lift and extract the roots: Once the roots are exposed, carefully lift and extract them from the soil. Use your hands or a hand trowel to pull out the roots, ensuring you get as much of the root system as possible.
- Inspect the soil: After removing the periwinkle roots, carefully inspect the soil for any remaining root fragments. Remove any stray roots or fragments to prevent re-growth.
It’s important to note that periwinkle roots can be persistent and may have intertwined with other plant roots or structures in the soil. Take your time to untangle them and avoid damaging any desirable plants or garden features.
Continue this process of digging, lifting, and extracting the periwinkle roots until you have removed all the plants and their root systems. Dispose of the extracted periwinkle plants and roots in trash bags or compost if appropriate. With the periwinkle removed, it’s time to move on to the next step: clearing the area of any remaining debris. We’ll cover that in the following section.
Step 4: Clearing the Area
After successfully removing the periwinkle plants and roots, it’s time to clear the area of any remaining debris and prepare it for further landscaping or plantings. Follow these steps to effectively clear the area:
- Remove loose plant material: Begin by gathering and removing any loose stems, leaves, or plant fragments that may have been left behind during the removal process. Dispose of them in trash bags or compost if appropriate.
- Inspect the soil: Carefully inspect the soil for any remaining periwinkle roots or fragments. Remove any remaining pieces to prevent potential re-growth.
- Loosen and aerate the soil: Use a garden rake or hoe to loosen and aerate the soil in the area. This will help improve its structure and prepare it for future plantings.
- Level the surface: Smooth out the surface of the cleared area, removing any bumps or unevenness. This will create a clean canvas for your future gardening endeavors.
- Optional: Apply organic mulch or ground cover fabric: To further prevent weed growth and enhance the appearance of the treated area, consider applying organic mulch or ground cover fabric. This will help suppress weed growth and conserve soil moisture.
By clearing the area and tidying up after the periwinkle removal, you’ll create a clean and well-prepared space for new plants or landscaping elements. Take a moment to appreciate the hard work you’ve done so far, but remember that the removal process isn’t over just yet. In the final step, we’ll discuss how to prevent periwinkle re-growth and keep your garden free from its invasive tendencies.
Step 5: Preventing Periwinkle Re-growth
Preventing periwinkle re-growth is essential to maintaining a periwinkle-free garden. By taking the necessary precautions, you can ensure that the invasive plant does not return and reclaim the areas you have worked so hard to clear. Follow these steps to prevent periwinkle re-growth:
- Monitor the area: Regularly inspect the treated area for any signs of periwinkle re-growth. Be vigilant, as even a small fragment left behind can lead to new growth.
- Hand-pull any new growth: If you notice any new periwinkle shoots or growth, immediately hand-pull them from the soil. Be thorough and remove the entire plant, including the roots, to prevent re-growth.
- Apply mulch or ground cover fabric: After removing the periwinkle, consider applying a layer of organic mulch or ground cover fabric to the treated area. This will help suppress weed growth, including any potential periwinkle re-growth.
- Maintain a healthy garden: A well-maintained garden with robust and healthy plants is less susceptible to invasive species like periwinkle. Ensure proper watering, fertilization, and overall garden care to promote strong plant growth and crowd out potential weeds.
- Regularly weed the area: Remember to consistently weed the treated area. Regularly remove any unwanted plant growth to prevent periwinkle from re-establishing its dominance.
By staying vigilant and taking proactive measures, you can successfully prevent periwinkle re-growth and maintain the beauty and integrity of your garden or landscape.
Congratulations on successfully removing and preventing the re-growth of periwinkle ground cover in your garden! Your hard work and dedication will not only contribute to the health and diversity of your landscape but also provide you with a clean canvas to cultivate the garden of your dreams.
Remember, persistence and proper garden maintenance are key to long-term success. Keep up with regular inspections and take swift action if you notice any signs of periwinkle re-emerging. Enjoy your periwinkle-free garden and the new possibilities it brings!
Conclusion
Congratulations on successfully learning how to remove periwinkle ground cover from your garden! By following the step-by-step instructions provided in this guide, you are well-equipped to tackle the challenges of periwinkle removal and prevent its invasive tendencies from taking over your landscape.
Through understanding periwinkle ground cover and assessing the area, you gained valuable insights into the plant’s growth habits and the specific considerations needed for its removal. By gathering the necessary tools and materials, you ensured that you had everything you needed to complete the task.
Preparation, cutting and trimming, removing the periwinkle roots, and clearing the area were all crucial steps in the periwinkle removal process. With each step, you systematically eliminated the periwinkle, ensuring that it did not have the opportunity to re-establish itself.
Furthermore, by taking proactive measures to prevent periwinkle re-growth and maintaining a healthy garden environment, you have set yourself up for long-term success. Regular weeding, monitoring the area, and maintaining overall garden health will help ensure that periwinkle remains at bay.
Remember, the removal of periwinkle can be a labor-intensive process, but the results are worth the effort. You have created a clean and periwinkle-free space, ready for new plantings and landscape designs.
Thank you for joining us on this comprehensive journey of removing periwinkle ground cover. We hope this guide has provided you with valuable insights and practical steps to successfully remove periwinkle from your garden. Enjoy your revitalized garden, free from the invasive tendencies of periwinkle!
Frequently Asked Questions about How To Remove Periwinkle Ground Cover
Was this page helpful?
At Storables.com, we guarantee accurate and reliable information. Our content, validated by Expert Board Contributors, is crafted following stringent Editorial Policies. We're committed to providing you with well-researched, expert-backed insights for all your informational needs.


0 thoughts on “How To Remove Periwinkle Ground Cover”