Home>Garden Essentials>How To Replace Lawn With Ground Cover
Garden Essentials
How To Replace Lawn With Ground Cover
Modified: October 21, 2024
Learn how to replace your lawn with ground cover plants in your garden. Find step-by-step instructions and helpful tips for a beautiful and low-maintenance landscape.
(Many of the links in this article redirect to a specific reviewed product. Your purchase of these products through affiliate links helps to generate commission for Storables.com, at no extra cost. Learn more)
Introduction
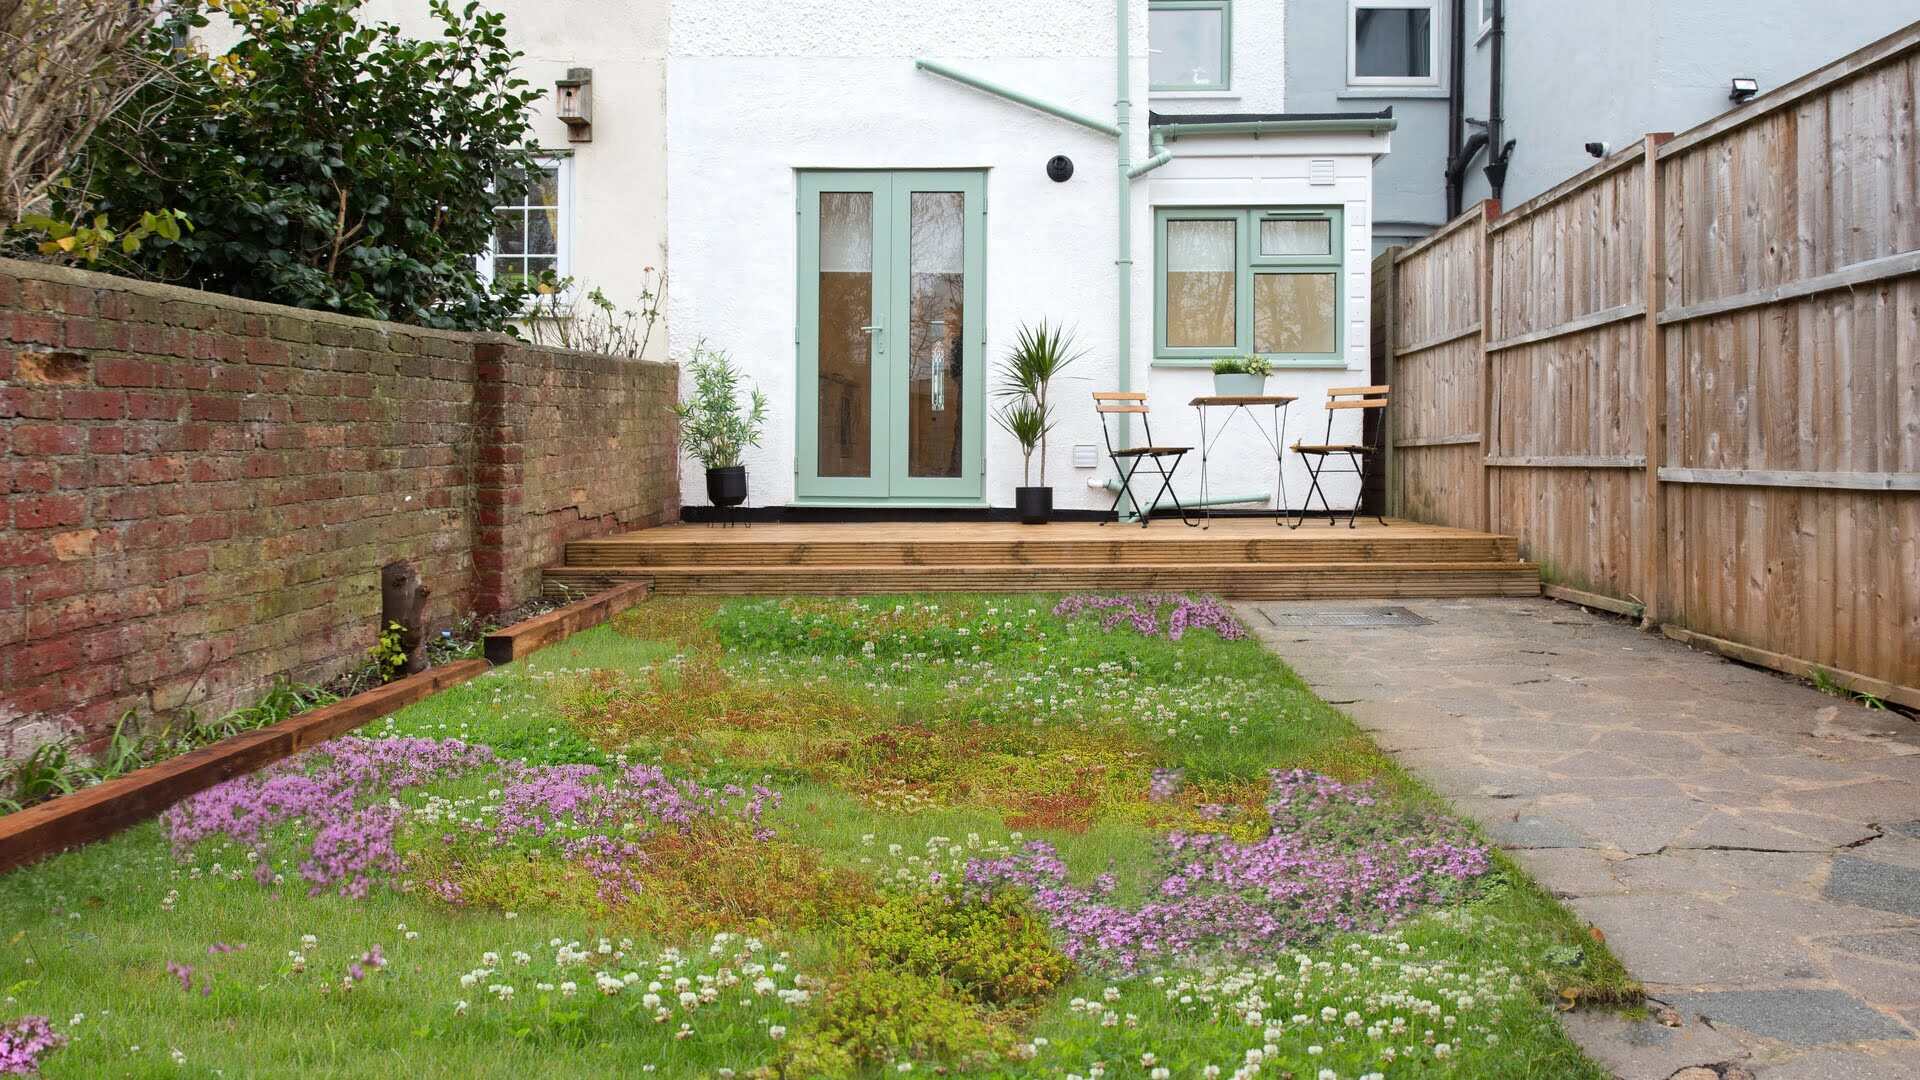
Are you tired of the constant upkeep and maintenance required by your lawn? Do you want to replace your boring, high-maintenance grass with something more interesting and eco-friendly? If so, it’s time to consider replacing your lawn with ground cover.
Ground cover refers to low-growing, spreading plants that can effectively cover large areas, offering an alternative to traditional lawns. Not only does ground cover reduce the need for excessive watering and mowing, but it also adds texture, color, and diversity to your garden.
In this article, we will walk you through the step-by-step process of replacing your lawn with ground cover. From assessing your existing lawn to selecting the right ground cover and installing it properly, we’ve got you covered. So, let’s dive in!
Key Takeaways:
- Say goodbye to high-maintenance lawns! Replacing grass with ground cover not only saves time and effort but also adds color and texture to your garden. It’s a win-win for you and the environment.
- Assess, select, prepare, install, and maintain. Follow these steps to transform your lawn into a vibrant ground cover garden. Enjoy a low-maintenance, eco-friendly, and visually appealing landscape.
Step 1: Assess the existing lawn
The first step in replacing your lawn with ground cover is to assess the current condition of your lawn. This will help you determine the necessary steps to take and ensure a successful transition.
Start by examining the overall health of your lawn. Look for signs of poor drainage, excessive thatch buildup, compaction, or pest and weed infestation. These issues should be addressed before proceeding with the replacement process.
Consider the amount of sunlight your lawn receives throughout the day. Different ground cover plants have varying light requirements, so it’s important to select a ground cover that thrives in the available sunlight conditions.
Additionally, assess the soil quality and fertility. A soil test can help you determine the pH level, nutrient content, and organic matter in your soil. This information will help you make informed decisions about soil preparation and selecting ground cover that is well-suited for the existing soil conditions.
Lastly, consider the intended use of the area. Are you looking for a ground cover that can withstand foot traffic or one that adds aesthetic value to your garden? Knowing how you plan to use the area will help you select the appropriate ground cover for your needs.
By carefully assessing the existing lawn, you can identify any underlying issues and choose the right ground cover that will thrive in your specific conditions. This will set the stage for a successful lawn replacement process.
Step 2: Select the appropriate ground cover
Now that you’ve assessed your existing lawn, it’s time to select the right ground cover for your needs and preferences. There are various factors to consider when choosing the appropriate ground cover, including climate, sunlight exposure, soil type, and maintenance requirements.
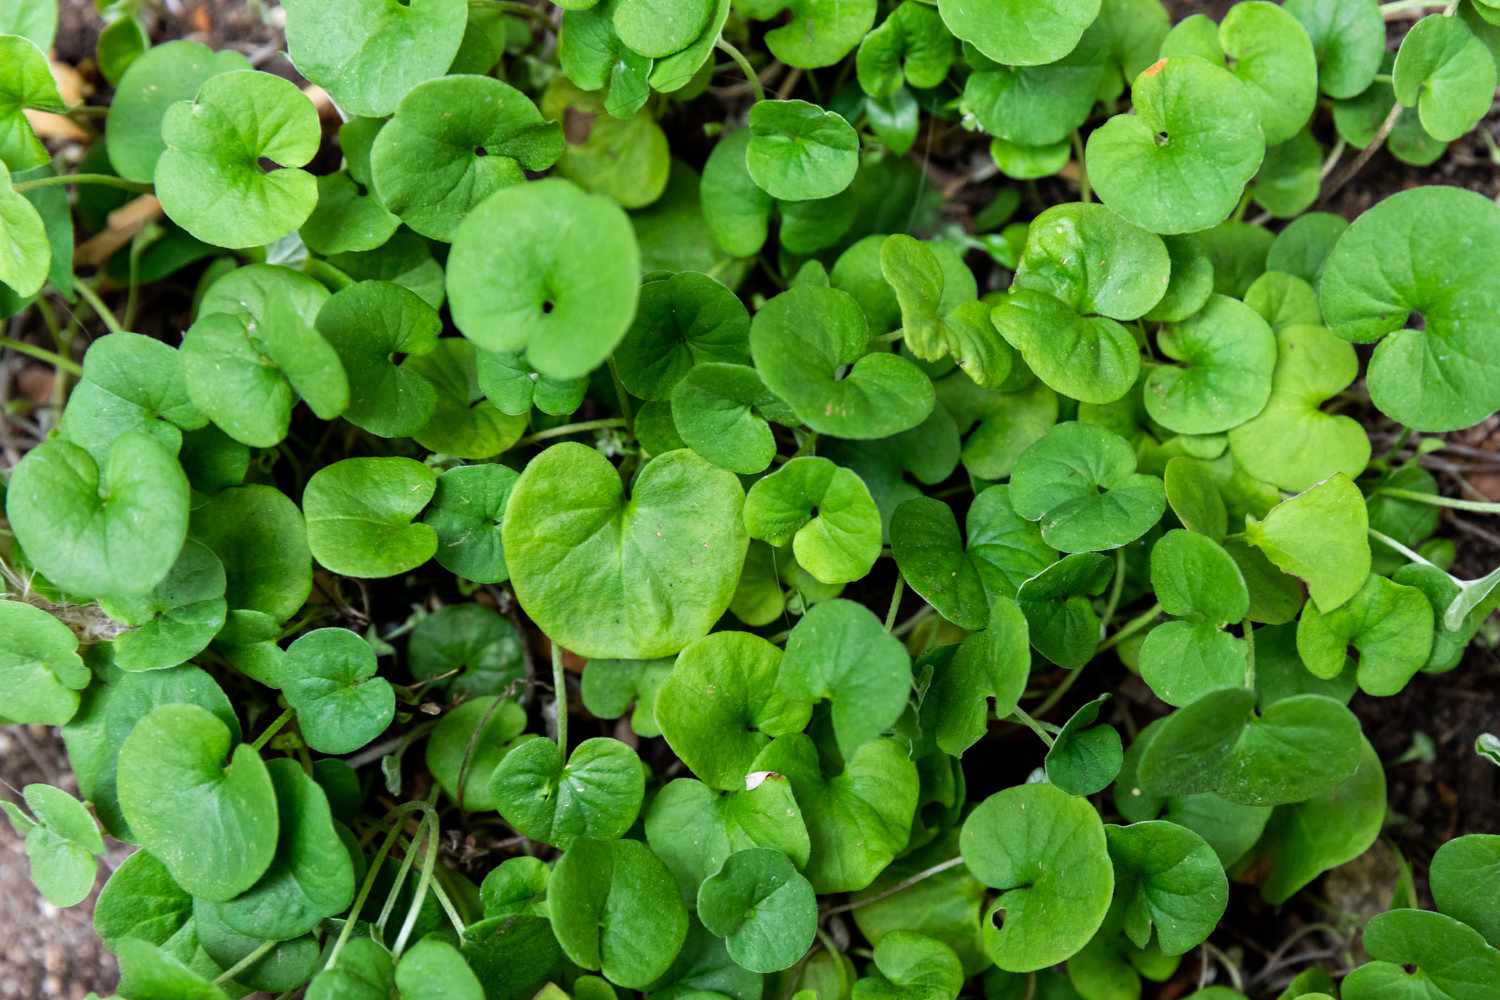
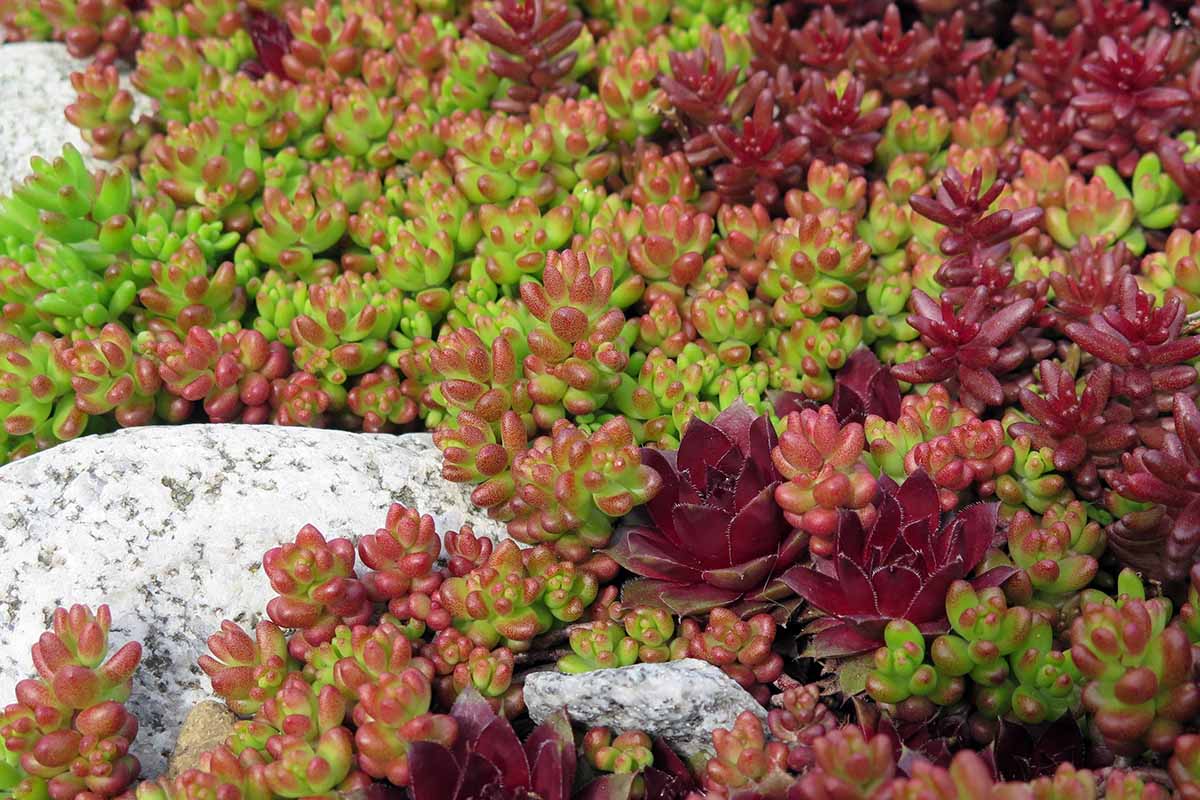
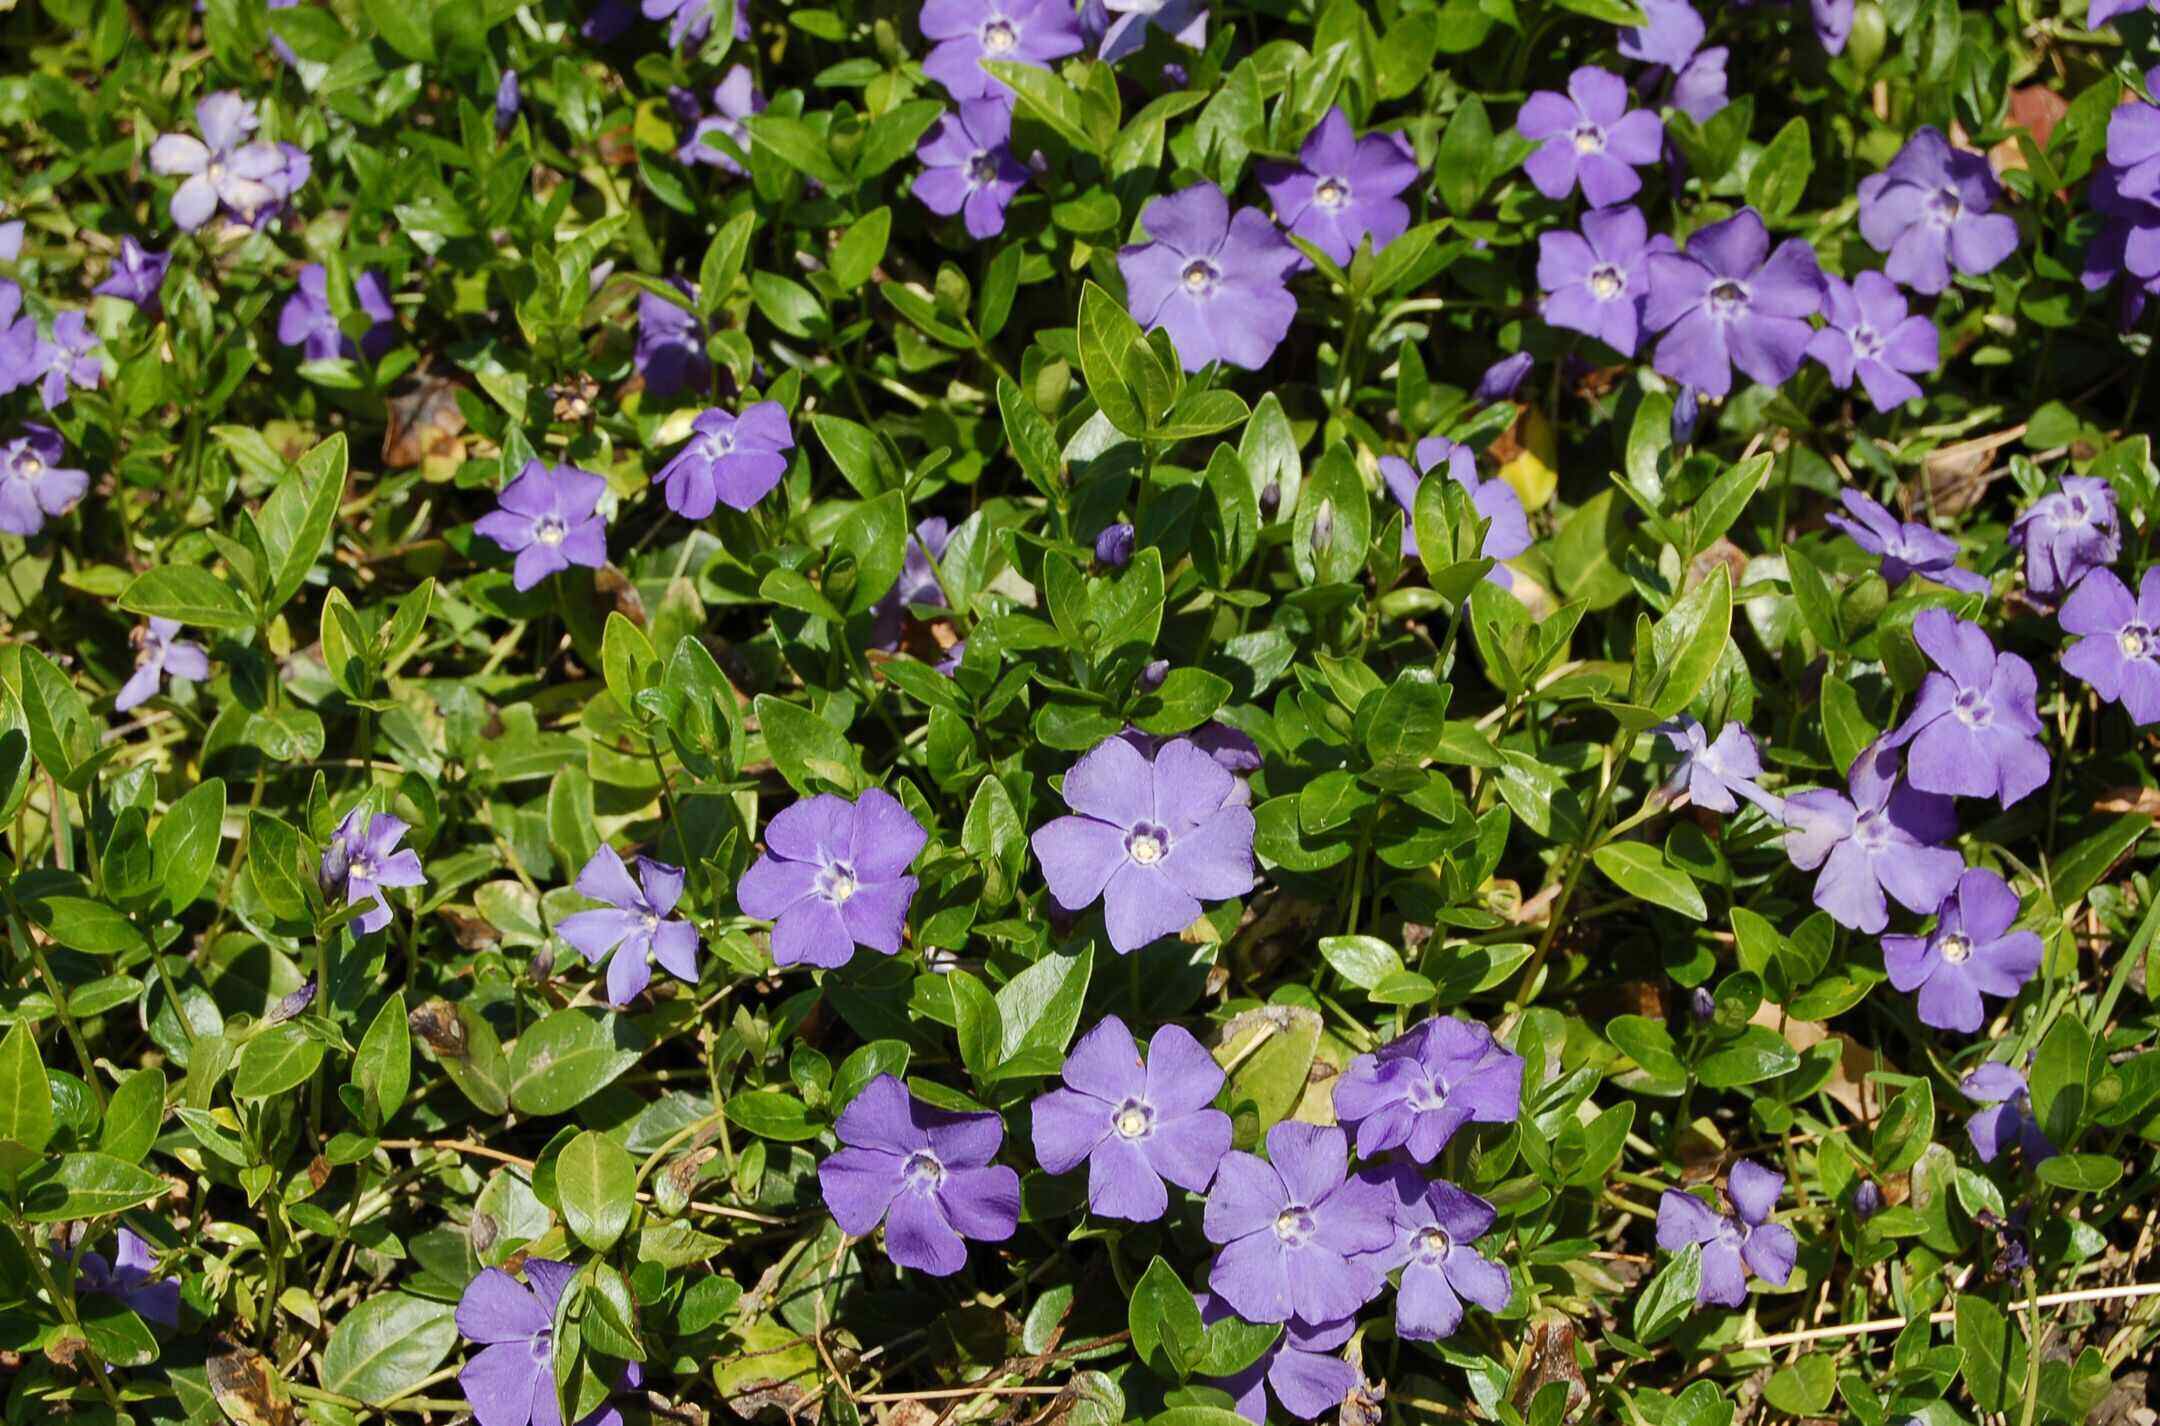
Start by researching ground cover options that are suitable for your specific region and climate. Consider native plants that are well adapted to the local environment, as they will generally require less maintenance and water. Some popular ground cover options include creeping thyme, clover, sedum, and ornamental grasses.
Take into account the amount of sunlight the area receives throughout the day. Some ground cover plants thrive in full sun, while others prefer shaded conditions. It’s crucial to choose a ground cover that is compatible with the available light in your garden.
Soil type is another important consideration. Some ground cover plants are more tolerant of poor or sandy soils, while others prefer loamy or well-draining soil. Assess the soil conditions in your garden and select a ground cover that is well-suited to those conditions.
Maintenance requirements should also factor into your decision. If you prefer low-maintenance options, choose ground cover plants that require minimal pruning, watering, and fertilizing. On the other hand, if you enjoy tending to your garden frequently, you may opt for more high-maintenance varieties that require regular care.
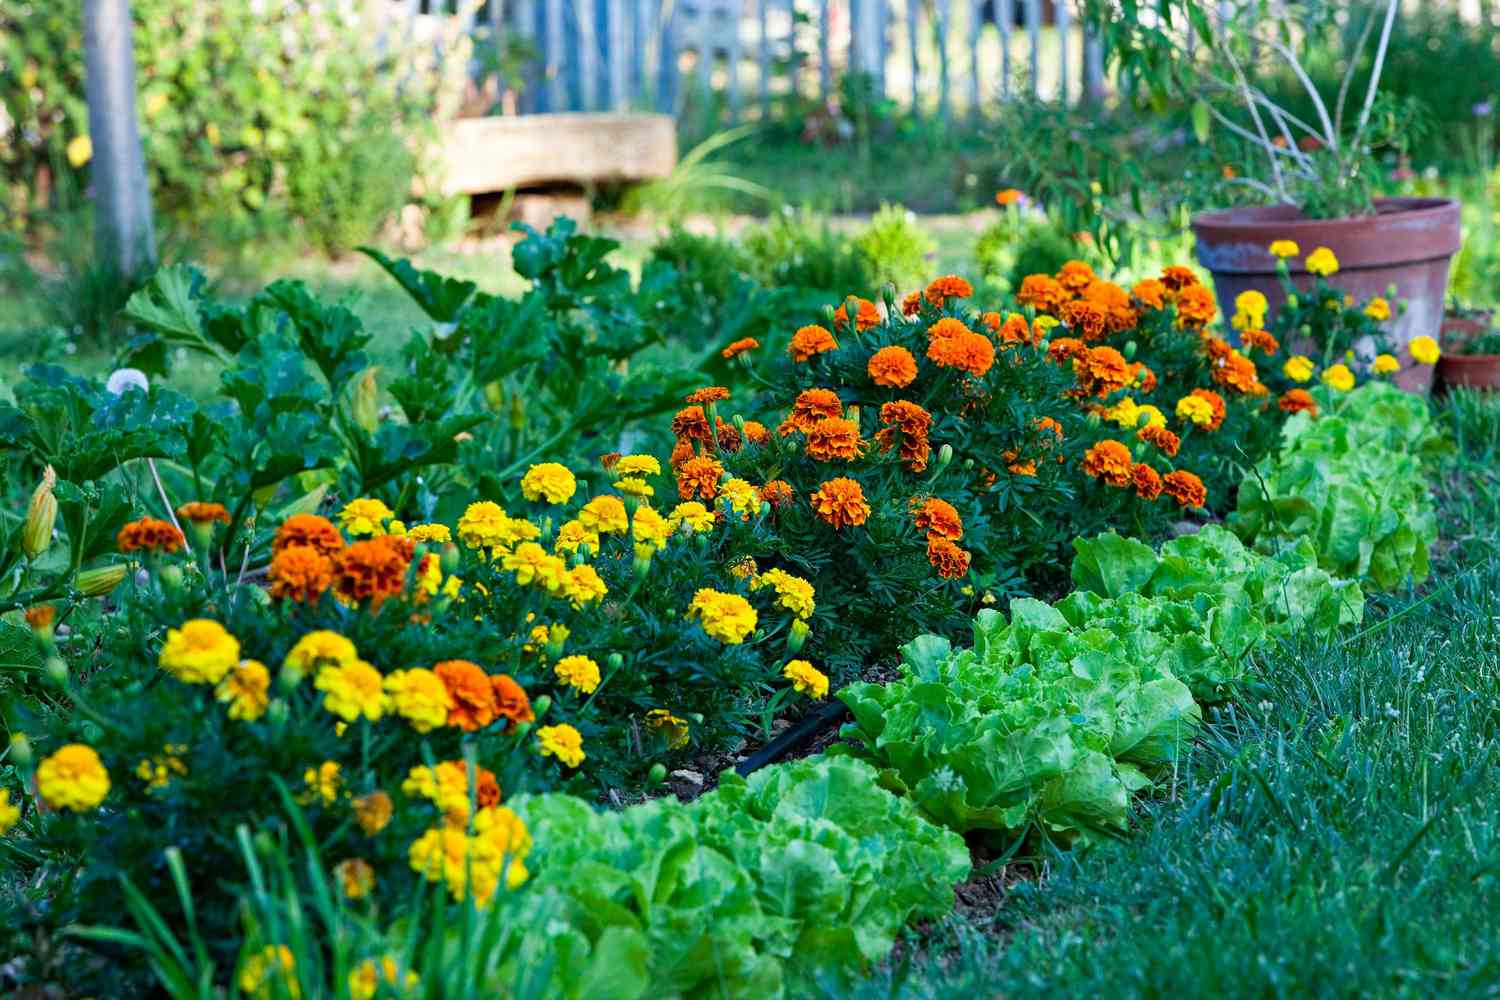
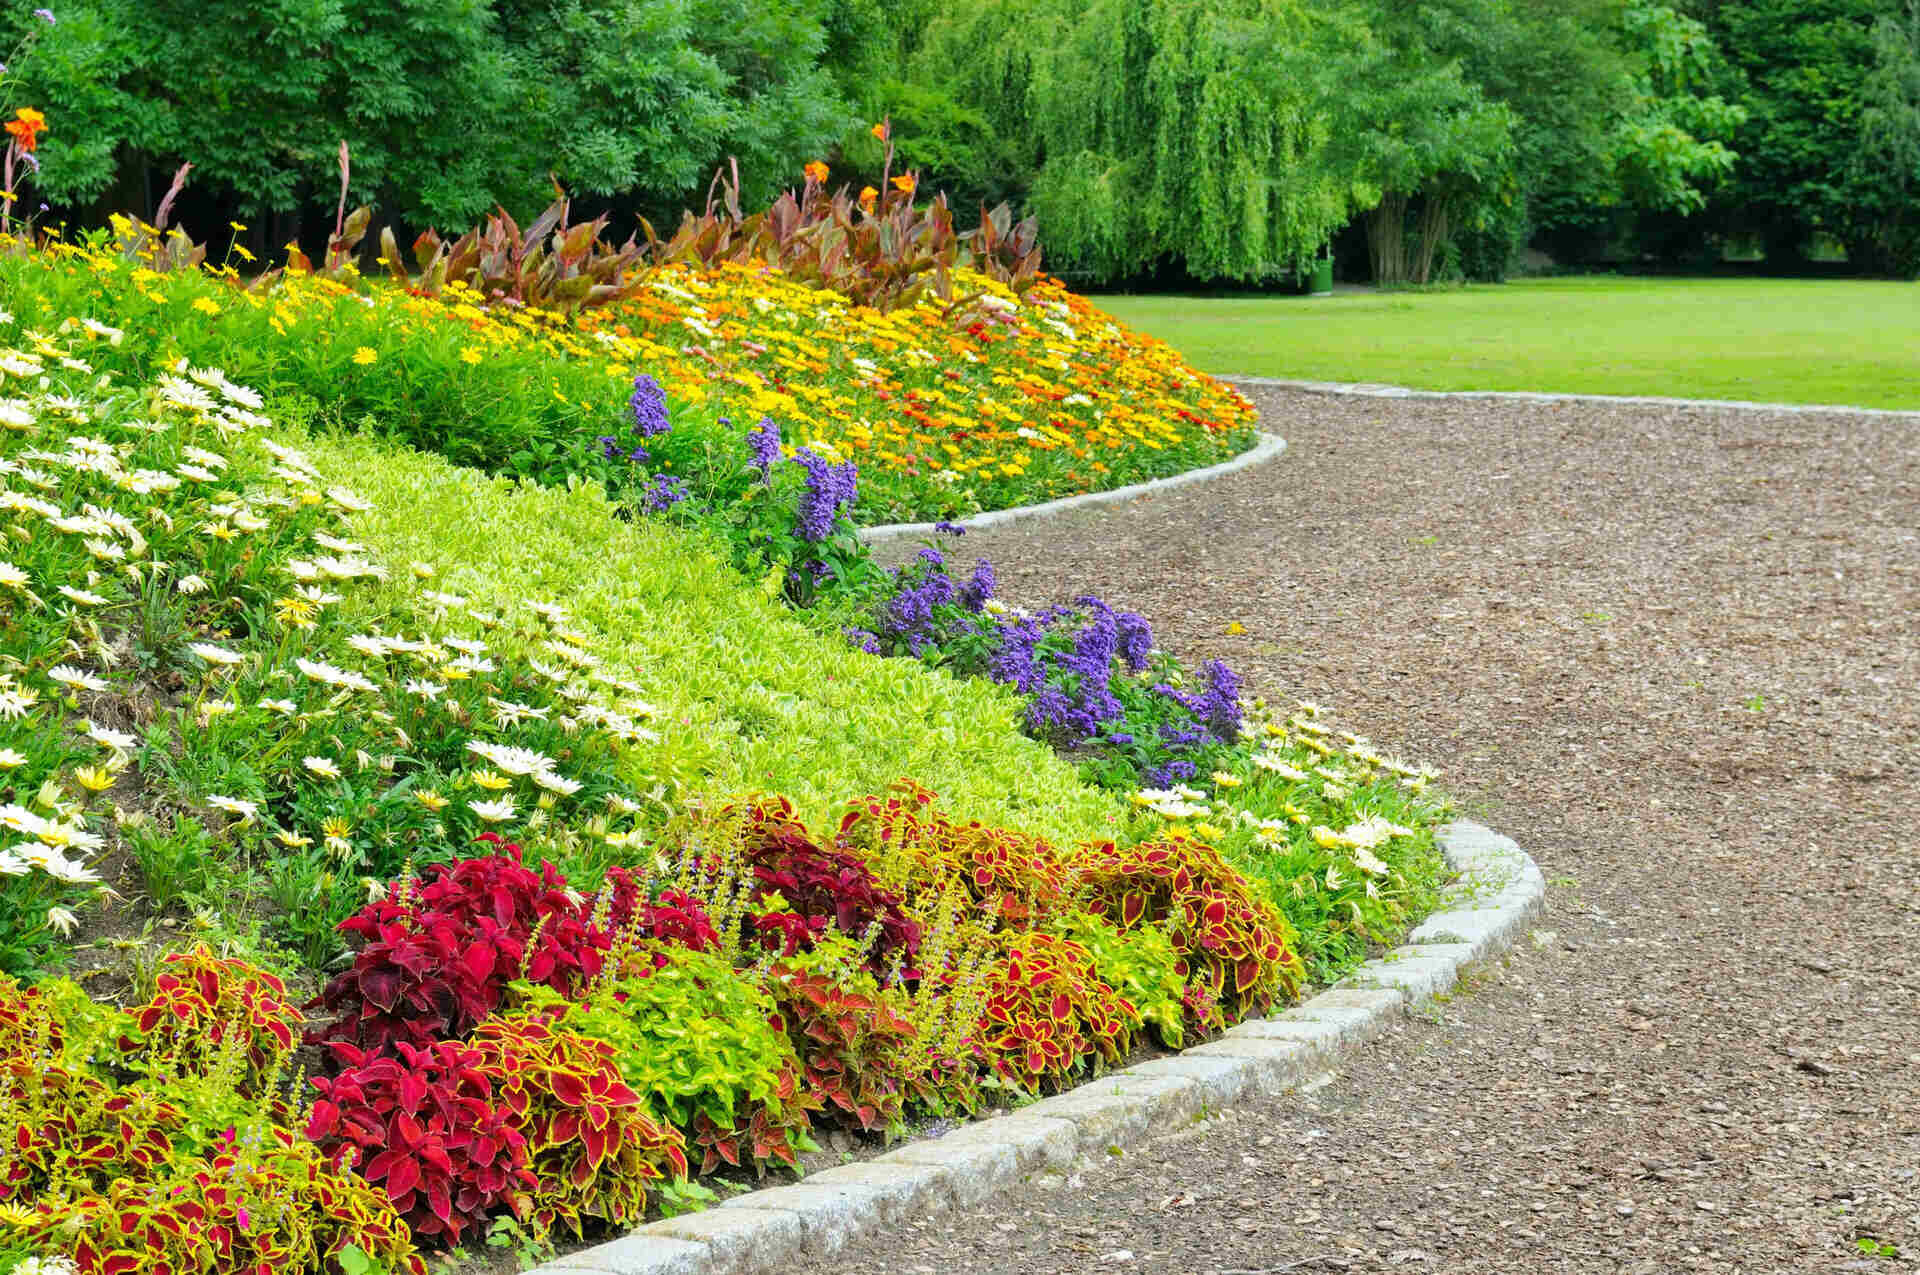
Additionally, consider the visual appeal of the ground cover options. Look for a variety of textures, colors, and heights that can complement the rest of your garden and create an aesthetically pleasing landscape.
By considering factors such as climate, sunlight exposure, soil type, maintenance requirements, and visual appeal, you can choose the appropriate ground cover that will thrive in your garden and meet your specific needs. This careful selection will ensure a successful and visually pleasing replacement for your lawn.
Step 3: Prepare the area for ground cover
Before installing the ground cover, it’s crucial to properly prepare the area to ensure optimal growth and establishment. This step involves removing any remaining grass, addressing soil issues, and creating a clean and well-prepared bed for the ground cover.
Start by clearing the existing grass or turf. This can be done by using a sod cutter, which is a machine that removes the top layer of grass and roots. Alternatively, you can use a shovel or a garden spade to manually remove the grass. Make sure to dig deep enough to remove all the grass roots.
Next, address any soil issues that were identified during the assessment phase. If the soil is compacted, use a garden fork or tiller to loosen it up. This will improve drainage and allow the ground cover’s roots to penetrate the soil more easily.
If the soil is poor in nutrients, amend it with organic matter such as compost or well-rotted manure. This will enrich the soil and provide the ground cover with the necessary nutrients for healthy growth.
Once the soil is prepared, remove any weeds, rocks, or debris from the area. Weeds can compete with the ground cover for nutrients and space, so it’s important to eliminate them to give the ground cover the best chance of success.
Consider adding a layer of landscape fabric or weed barrier over the prepared soil. This will help suppress weed growth and provide an additional layer of protection for the ground cover.
Finally, level the area and create a smooth surface for the ground cover installation. Use a rake or garden roller to even out any bumps or unevenness in the soil. This will ensure a visually pleasing and uniform appearance for your ground cover.
By properly preparing the area for ground cover, you create an ideal environment for the plants to thrive. Addressing soil issues, removing grass and weeds, and creating a level surface will set the foundation for a successful ground cover installation.
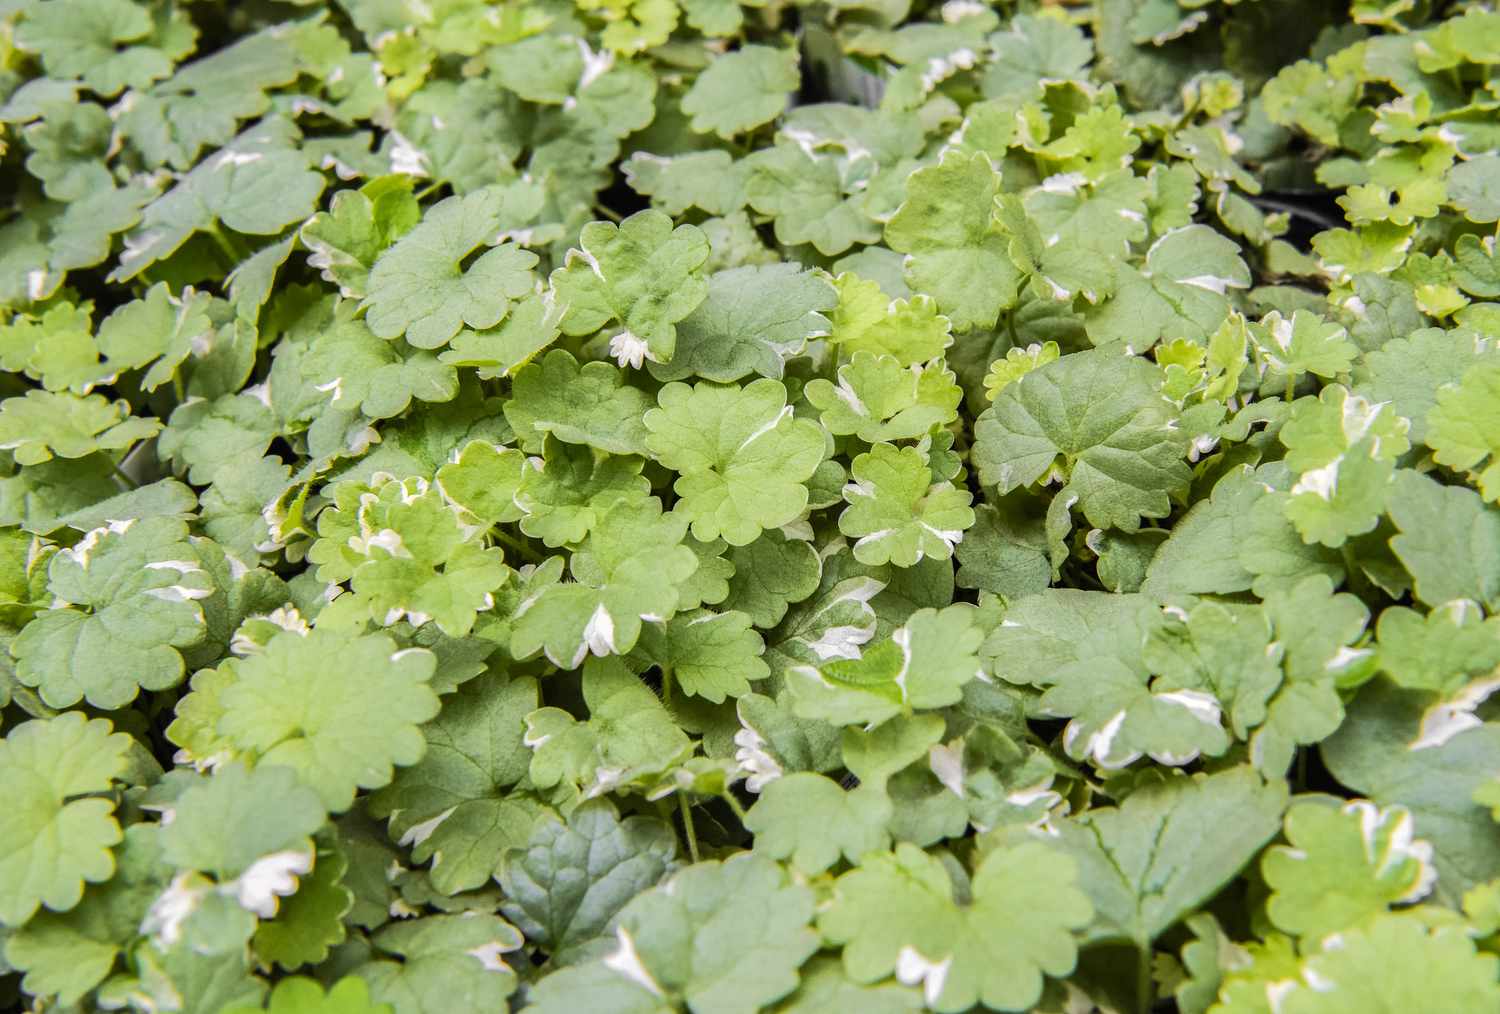
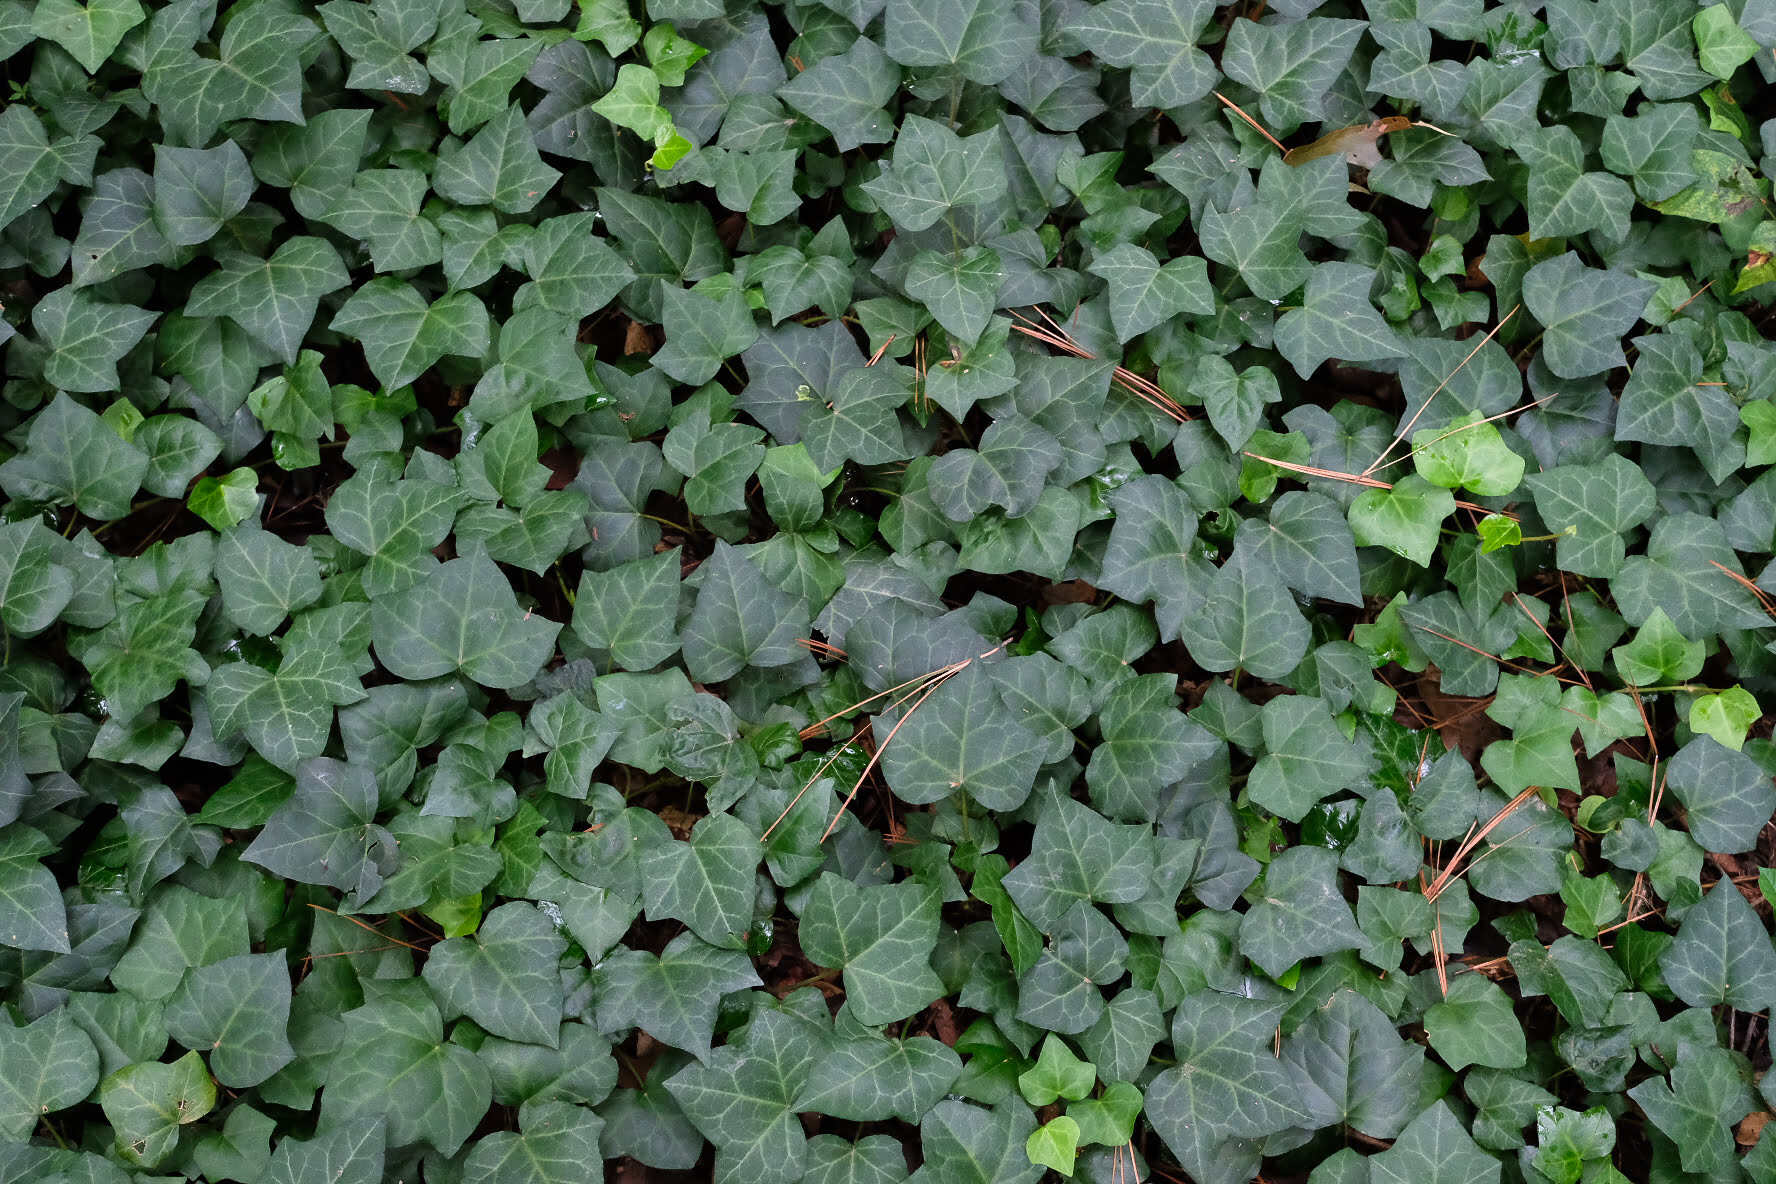
Consider using low-maintenance ground covers like clover or creeping thyme to replace your lawn. These options require less water and mowing, and can add visual interest to your yard.
Step 4: Remove the existing lawn
Now that the area is properly prepared, it’s time to remove the remaining grass and ensure a clean slate for the ground cover installation. This step may require some physical effort, but it is an essential part of the process.
Start by using a shovel, garden spade, or sod cutter to remove any remaining patches of grass that were not fully removed during the initial preparation. Be thorough in your removal, ensuring that all grass roots and rhizomes are completely eliminated.
If you have a large lawn, you may consider renting a sod cutter for more efficient and faster removal. A sod cutter is a machine that can easily lift and cut out sections of grass and soil, making the process less labor-intensive.
Once the grass is removed, inspect the area to ensure that no grass or weeds have been left behind. Even a small patch of grass can compete with the ground cover and affect its growth, so it’s important to be diligent in this step.
Consider disposing of the grass in an environmentally friendly manner. If the grass is free from pesticides or herbicides, you can compost it to create nutrient-rich organic matter for your garden. Alternatively, you can check with your local municipality for proper disposal methods.
After removing the grass, the area should be left bare and ready for the next step of installing the ground cover. Take a moment to appreciate the clean, clear space that will soon be transformed by the vibrant and low-maintenance ground cover you have selected.
By completely removing the existing lawn, you ensure that the ground cover has the best chance of thriving without competition or interference. This step sets the stage for a successful installation and establishes a solid foundation for your new ground cover.
Read more: What Can I Use To Kill Ground Cover In Lawn
Step 5: Install the ground cover
With the area prepared and the existing lawn removed, it’s time to install your chosen ground cover and transform your garden. This step involves careful planting and establishment techniques to ensure the ground cover takes root and grows successfully.
Begin by laying out the ground cover plants according to your desired pattern or design. Space them evenly, considering their growth habit and the recommended planting distance for the specific ground cover variety. This will create a visually appealing arrangement and allow the plants to fill in and spread effectively.
Using a garden trowel or shovel, dig individual holes for each ground cover plant. Ensure that the holes are deep and wide enough to accommodate the plant’s root ball. Gently loosen the root ball if it is tightly bound, allowing the roots to spread out and establish more easily.
Place each ground cover plant in its designated hole, making sure it is planted at the same level as it was in the nursery pot. Backfill the hole with soil, gently firming it around the plant to eliminate any air pockets. Water the newly planted ground cover thoroughly.
Repeat this process for each ground cover plant, working systematically across the entire area. Take care to ensure that the plants are evenly spaced and properly planted to create a uniform and well-established ground cover bed.
After planting, apply a layer of organic mulch around the ground cover plants. This will help retain moisture, suppress weed growth, and provide insulation for the plants’ roots. Use a mulch depth of around 2-3 inches, being careful not to mound it up against the stems or crowns of the ground cover plants.
Water the ground cover regularly, especially during the establishment period, to help the plants establish strong root systems. Follow the specific watering requirements of your chosen ground cover, taking into account the climate and rainfall in your area.
Monitor the ground cover’s growth and make adjustments as needed. Some ground cover varieties may spread quickly, requiring occasional thinning or trimming to prevent overcrowding. Stay proactive in maintaining the desired appearance and health of your ground cover bed.
By carefully installing the ground cover and providing proper care and maintenance, you can ensure that it establishes well and fills in the area beautifully. This step completes the transformation from a traditional lawn to a vibrant and low-maintenance ground cover garden.
Step 6: Maintain and care for the ground cover
Congratulations! Your ground cover is now planted and the transformation of your garden is well underway. However, the journey doesn’t end here. To ensure the long-term success and health of your ground cover, proper maintenance and care are essential.
Watering is crucial during the initial establishment phase of the ground cover. Provide regular watering to keep the soil moist but not waterlogged. As the ground cover matures, adjust the watering frequency and amount based on the specific requirements of the plant.
Weeding is an ongoing task when it comes to maintaining your ground cover. Regularly inspect the area for any weeds and promptly remove them to prevent them from competing with the ground cover for resources. Mulching can also help suppress weed growth.
Pruning and trimming may be necessary, depending on the growth habit of your ground cover. Trim back any overgrown or straggly branches to maintain a neat and tidy appearance. Additionally, remove any dead or damaged foliage to promote healthy growth.
Fertilizing your ground cover can help promote vigorous growth and overall health. Use a slow-release fertilizer specifically formulated for ground cover plants, following the instructions on the packaging. Avoid over-fertilizing, as this can lead to excessive growth and potential nutrient imbalances.
Keep an eye out for pests and diseases that may affect your ground cover. Regularly inspect the plants for any signs of damage or infestation. If necessary, take appropriate measures to control pests or diseases, using organic methods whenever possible.
Occasionally, your ground cover may benefit from rejuvenation or division. Some varieties can become dense and overcrowded over time. To revitalize their growth and promote better airflow, you can divide the plants and replant them in the desired areas.
Finally, continue to monitor the overall health and appearance of your ground cover. Make adjustments as needed, such as thinning out crowded areas or adding more plants to fill in gaps. Regular maintenance and attention will ensure that your ground cover remains attractive and flourishing for years to come.
By following these maintenance and care guidelines, you can enjoy a stunning and low-maintenance ground cover garden. Remember to stay proactive and address any issues promptly, allowing your ground cover to thrive and provide years of beauty and enjoyment in your garden.
Conclusion
Replacing your lawn with ground cover offers a sustainable and visually appealing alternative to traditional grass. Not only does ground cover reduce the need for constant mowing and watering, but it also adds texture, color, and diversity to your garden. By following the step-by-step process outlined in this article, you can successfully transition from a high-maintenance lawn to a low-maintenance ground cover garden.
Assessing your existing lawn helps you identify any underlying issues and select the appropriate ground cover that will thrive in your specific conditions. Choosing the right ground cover involves considering factors such as climate, sunlight exposure, soil type, and maintenance requirements.
Preparing the area for ground cover ensures that the plants have a suitable environment to grow and establish. This involves removing the existing lawn, addressing soil issues, and creating a clean and well-prepared bed for the ground cover.
Installing the ground cover requires careful planting and proper establishment techniques. By spacing the plants evenly, planting them at the correct depth, and providing adequate watering and mulching, you give the ground cover the best chance of success.
Maintaining and caring for your ground cover is essential for its long-term health and beauty. This involves regular watering, weeding, pruning, fertilizing, and monitoring for pests and diseases.
In conclusion, replacing your lawn with ground cover not only saves you time and effort but also creates an attractive and eco-friendly garden. By following the steps outlined in this article and providing proper care, you can enjoy a vibrant and low-maintenance ground cover garden for years to come.
Frequently Asked Questions about How To Replace Lawn With Ground Cover
Was this page helpful?
At Storables.com, we guarantee accurate and reliable information. Our content, validated by Expert Board Contributors, is crafted following stringent Editorial Policies. We're committed to providing you with well-researched, expert-backed insights for all your informational needs.


0 thoughts on “How To Replace Lawn With Ground Cover”