Home>Garden Essentials>How To Sear Ahi Tuna With Sesame Seeds
Garden Essentials
How To Sear Ahi Tuna With Sesame Seeds
Modified: March 16, 2024
Learn how to sear ahi tuna with sesame seeds in your garden and enjoy a delicious and healthy meal bursting with flavor. Follow our step-by-step guide now!
(Many of the links in this article redirect to a specific reviewed product. Your purchase of these products through affiliate links helps to generate commission for Storables.com, at no extra cost. Learn more)
Introduction
Welcome to the wonderful world of cooking! Today, we’re going to delve into the art of searing ahi tuna with sesame seeds. Ahi tuna, also known as yellowfin tuna, is a delicacy that is both flavorful and nutritious. With its vibrant red color and rich, meaty texture, a seared ahi tuna steak is an exquisite dish that is sure to impress your taste buds and your dinner guests.
Whether you’re an experienced home cook or a newbie in the kitchen, searing ahi tuna with sesame seeds is a fantastic way to elevate your culinary skills and create a restaurant-quality dish right in the comfort of your own home. In this article, we’ll guide you through the step-by-step process of preparing and cooking a mouthwatering seared ahi tuna using sesame seeds.
Before we dive into the recipe, let’s take a moment to understand the ingredients you’ll need to gather to ensure a successful and delicious outcome.
Key Takeaways:
- Searing ahi tuna with sesame seeds is a fun and flavorful way to impress your guests and elevate your cooking skills. Just follow the steps, and don’t forget to toast those sesame seeds for extra crunch!
- To achieve the perfect sear, remember to pat the tuna dry, use a hot pan, and allow the tuna to rest after cooking. With these tips, you’ll be a searing pro in no time!
Read more: How To Grind Sesame Seeds
Ingredients needed
Before you begin the process of searing ahi tuna with sesame seeds, make sure you have the following ingredients on hand:
- 2 ahi tuna steaks (about 1 inch thick)
- 3 tablespoons soy sauce
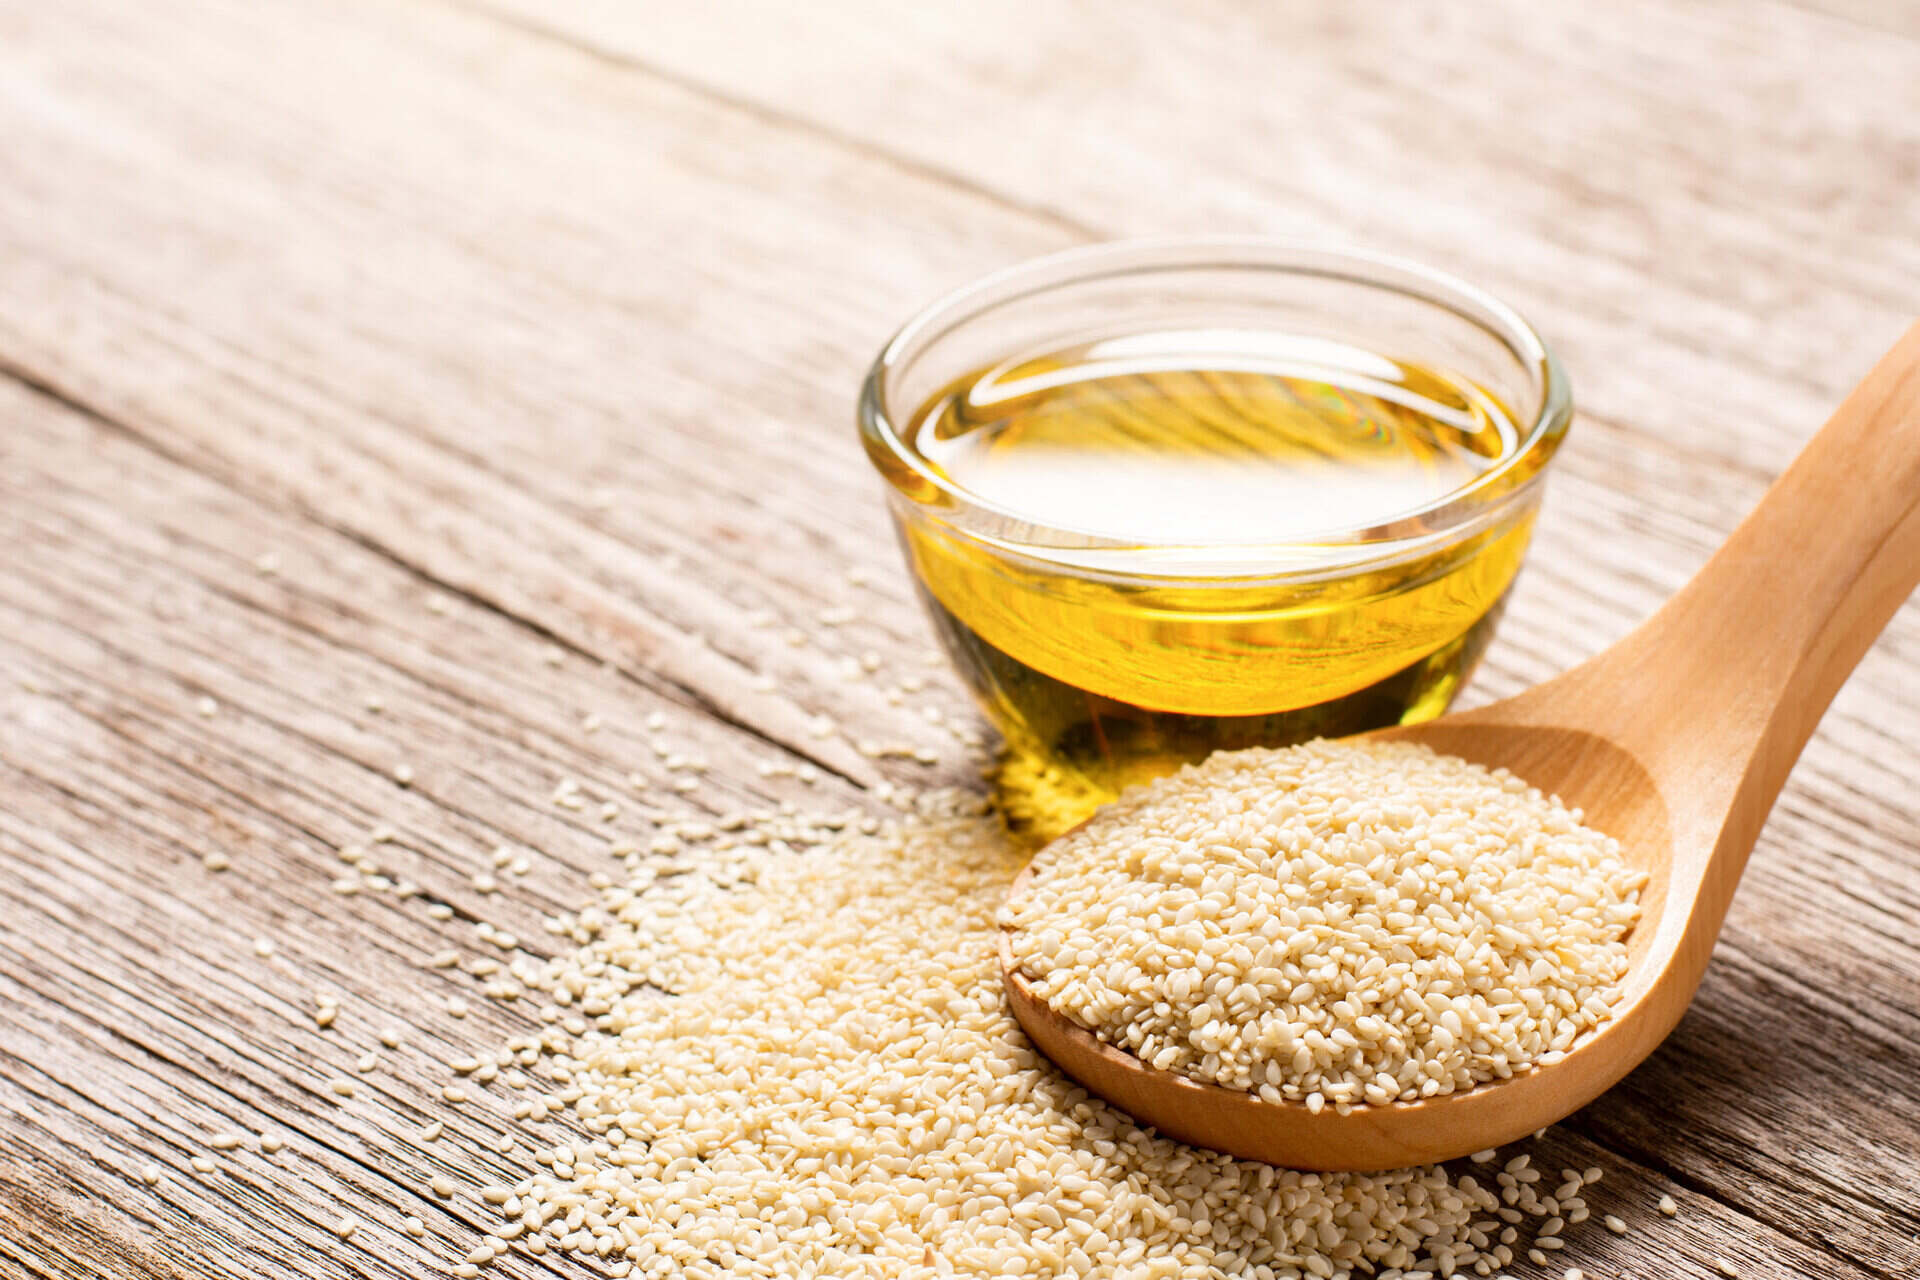
- 1 tablespoon sesame oil
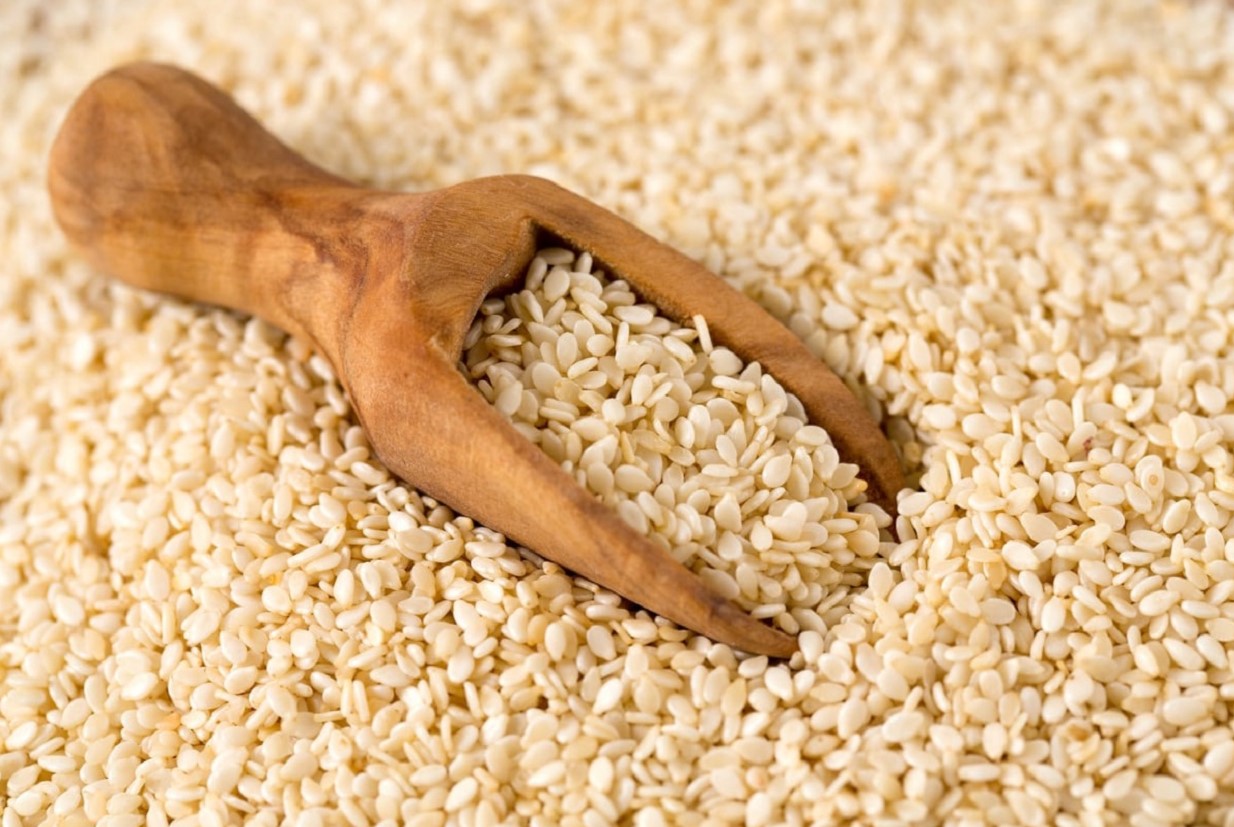
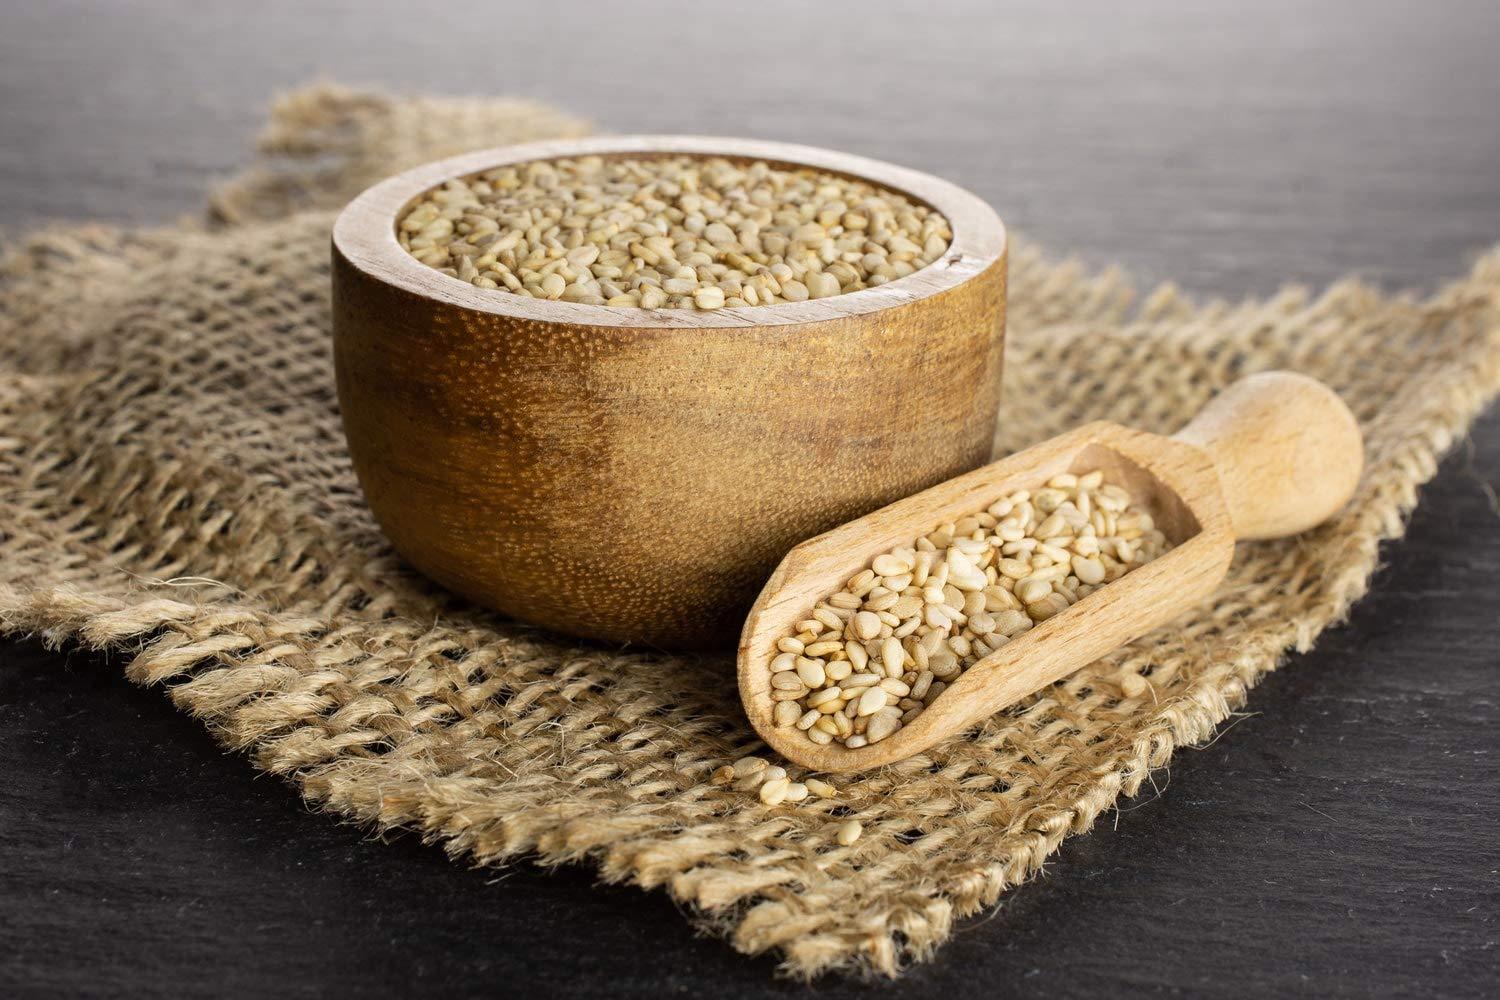
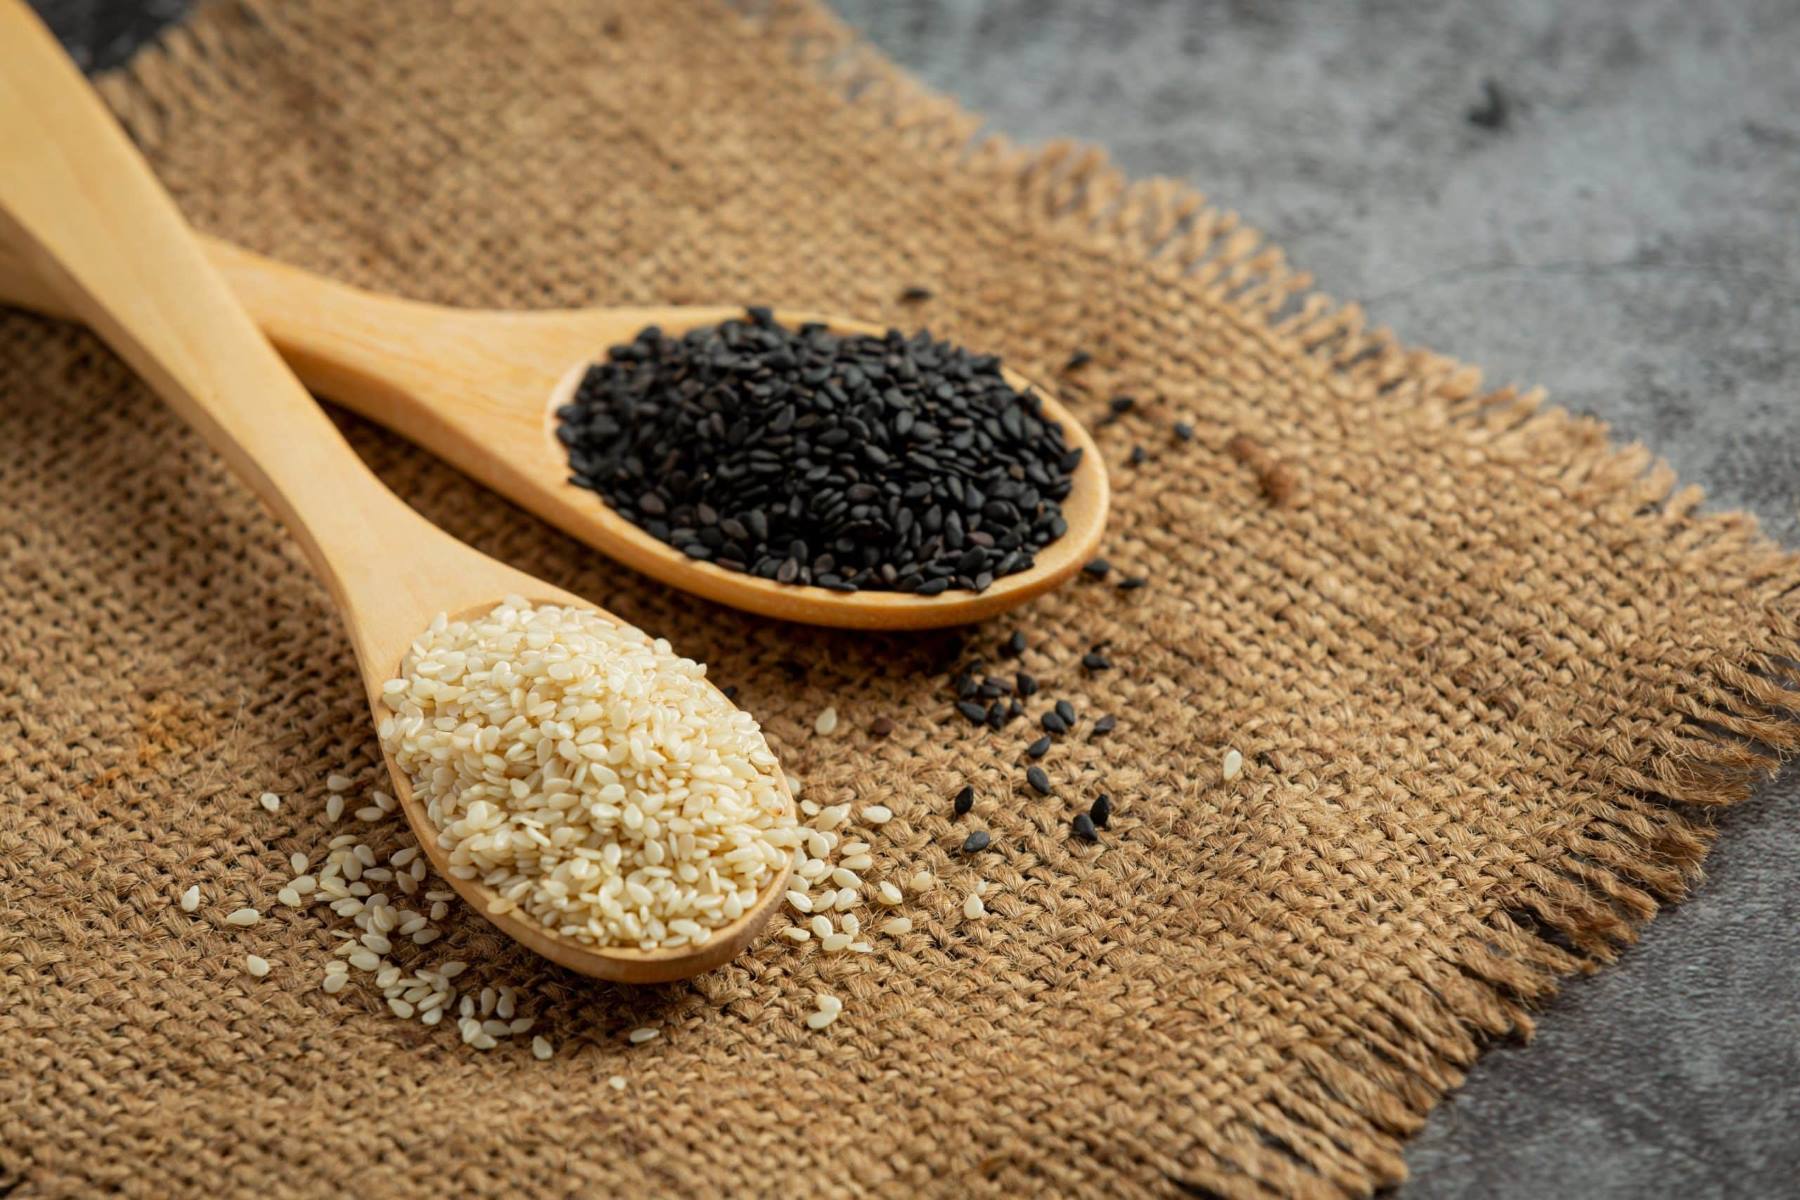
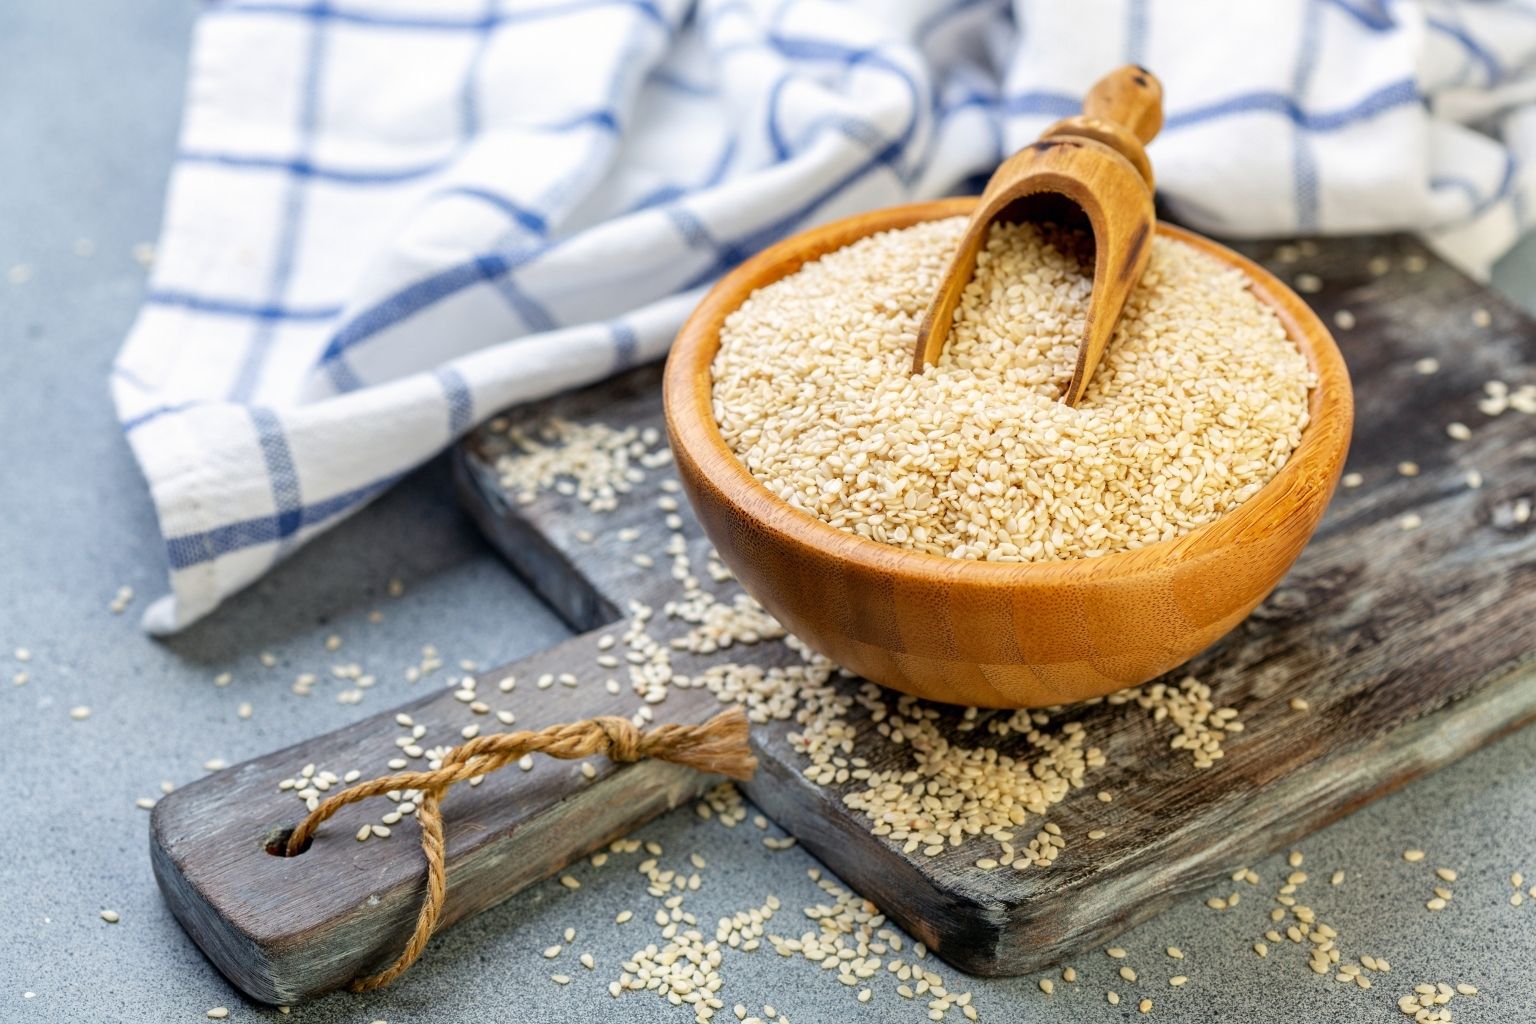
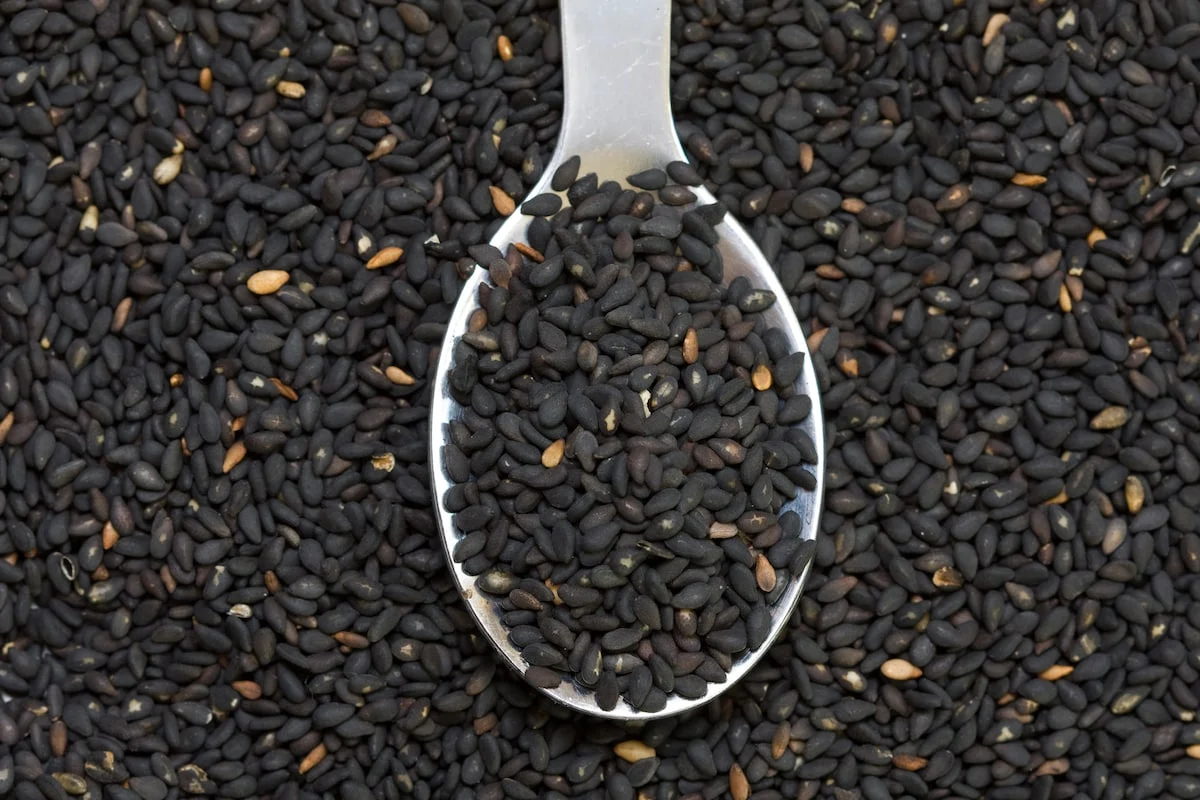
- 2 tablespoons sesame seeds
- 1 tablespoon vegetable oil
- Salt and pepper to taste
These simple yet flavorful ingredients are the key to achieving a beautifully seared ahi tuna. Now that you have everything you need, let’s dive into the step-by-step process of preparing and cooking this delectable dish.
Step 1: Preparing the Ahi Tuna
The first step in searing ahi tuna with sesame seeds is to properly prepare the tuna steaks. Start by patting the tuna steaks dry with paper towels to remove any excess moisture. This will help ensure a nice sear on the outside of the tuna.
Next, season the tuna steaks with salt and pepper on both sides. Be sure to evenly coat the steaks to enhance the flavor.
Once seasoned, set the tuna steaks aside and move on to the next step – seasoning the tuna with a delicious soy sauce and sesame oil marinade.
By taking the time to properly prepare the ahi tuna, you’ll not only enhance its natural flavors but also ensure that it cooks evenly and retains its tender and juicy texture. Remember, ahi tuna is at its best when it’s cooked medium-rare, so it’s important not to overcook it during the searing process.
Step 2: Seasoning the Tuna
Now that you have prepared the ahi tuna, it’s time to infuse it with even more flavor by seasoning it with a delightful marinade. In a small bowl, combine the soy sauce and sesame oil, and whisk them together until well blended.
Place the prepared tuna steaks in a shallow dish or a Ziploc bag, and pour the marinade over them. Make sure both sides of the tuna are evenly coated. Allow the tuna to marinate in the refrigerator for at least 30 minutes, or up to 2 hours if you have the time. This will allow the flavors to penetrate the tuna and enhance its taste.
While marinating the tuna is optional, it is highly recommended as it adds an extra layer of flavor to the final dish. The soy sauce brings a savory umami taste, while the sesame oil imparts a delightful nuttiness. Together, they create a mouthwatering marinade that complements the natural flavors of the ahi tuna.
Once the tuna has marinated, it’s time to move on to the next step – heating the pan and preparing for the searing process.
Step 3: Heating the Pan
Before you start searing the ahi tuna, it’s essential to properly heat the pan to ensure a perfect sear. Choose a heavy-bottomed skillet or a cast-iron pan, as they distribute heat evenly and help achieve a nice crust on the tuna.
Place the pan over medium-high heat and add the vegetable oil. Allow the oil to heat for a minute or two until it begins to shimmer. The shimmering oil indicates that the pan is hot enough to start searing the tuna.
Heating the pan properly is crucial because it creates a hot surface that sears the outside of the tuna quickly while keeping the inside moist and tender. A hot pan also helps to develop the flavors and create a pleasing caramelized crust on the ahi tuna.
Now that the pan is heated, it’s time to move on to the exciting part – searing the ahi tuna to perfection! But before we do that, let’s briefly discuss the searing process and some tips to make it even better.
Read more: What Is Sesame Seed
Step 4: Searing the Ahi Tuna
With the pan properly heated, it’s time to sear the ahi tuna to perfection. Carefully place the marinated tuna steaks into the hot pan, being cautious of any oil splatter.
Sear the tuna for about 1-2 minutes on each side, depending on the thickness of the steaks and your desired level of doneness. For medium-rare tuna, aim for a sear that results in a pink center.
While the tuna is searing, avoid the temptation to constantly flip or poke the steaks. You want to allow the heat to work its magic and develop a beautiful crust on each side.
Once the tuna steaks have achieved the desired sear, remove them from the pan and allow them to rest for a few minutes. This resting period allows the juices to redistribute throughout the fish, resulting in a more flavorful and tender bite.
Congratulations! You have successfully seared the ahi tuna, and it’s time to take it to the next level by coating it in delicious sesame seeds. Let’s move on to the next step of the process.
Make sure your Ahi tuna is patted dry before coating with sesame seeds. This will help the seeds stick better and create a nice crust when searing.
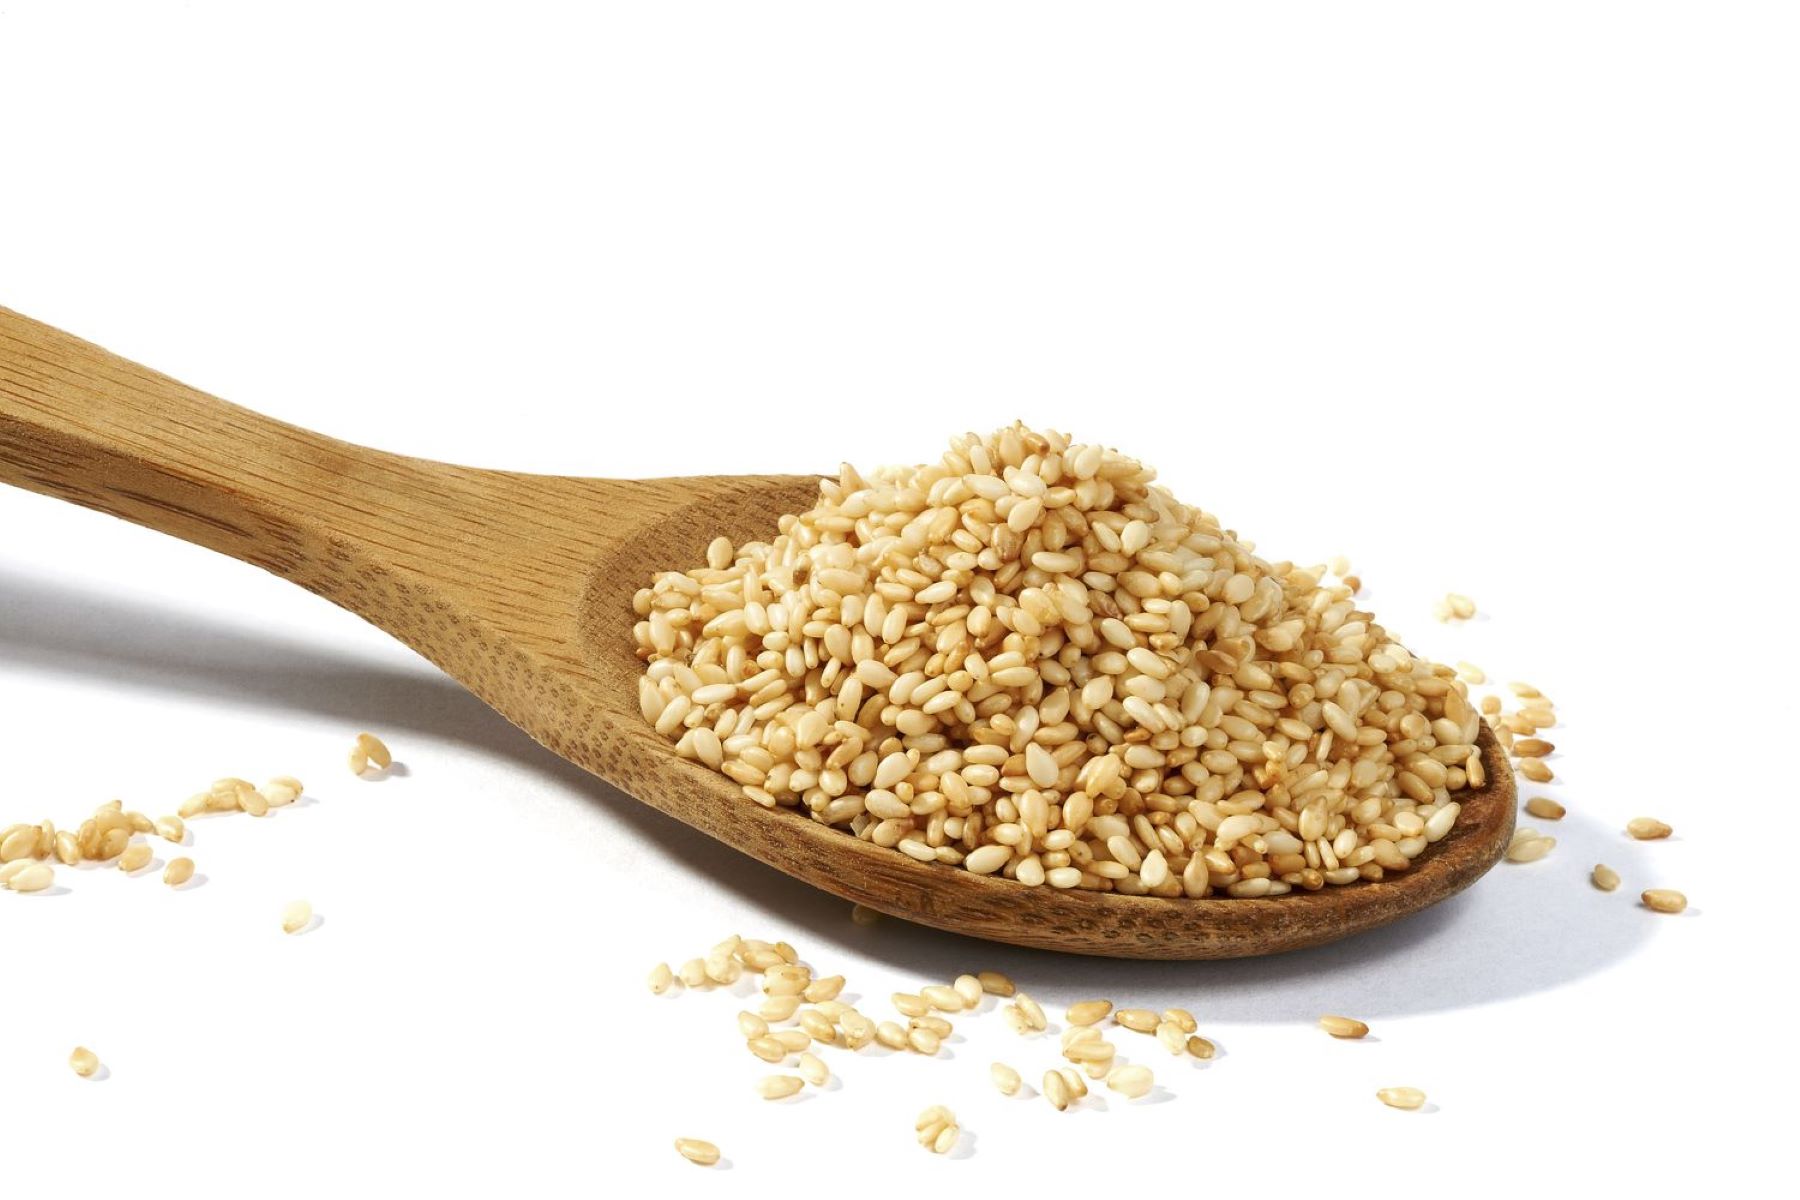
Step 5: Preparing the Sesame Seeds
Now that you have perfectly seared ahi tuna, it’s time to add an extra layer of flavor and texture by preparing the sesame seed coating. This step will take your dish to new heights and add a delightful nuttiness to each bite.
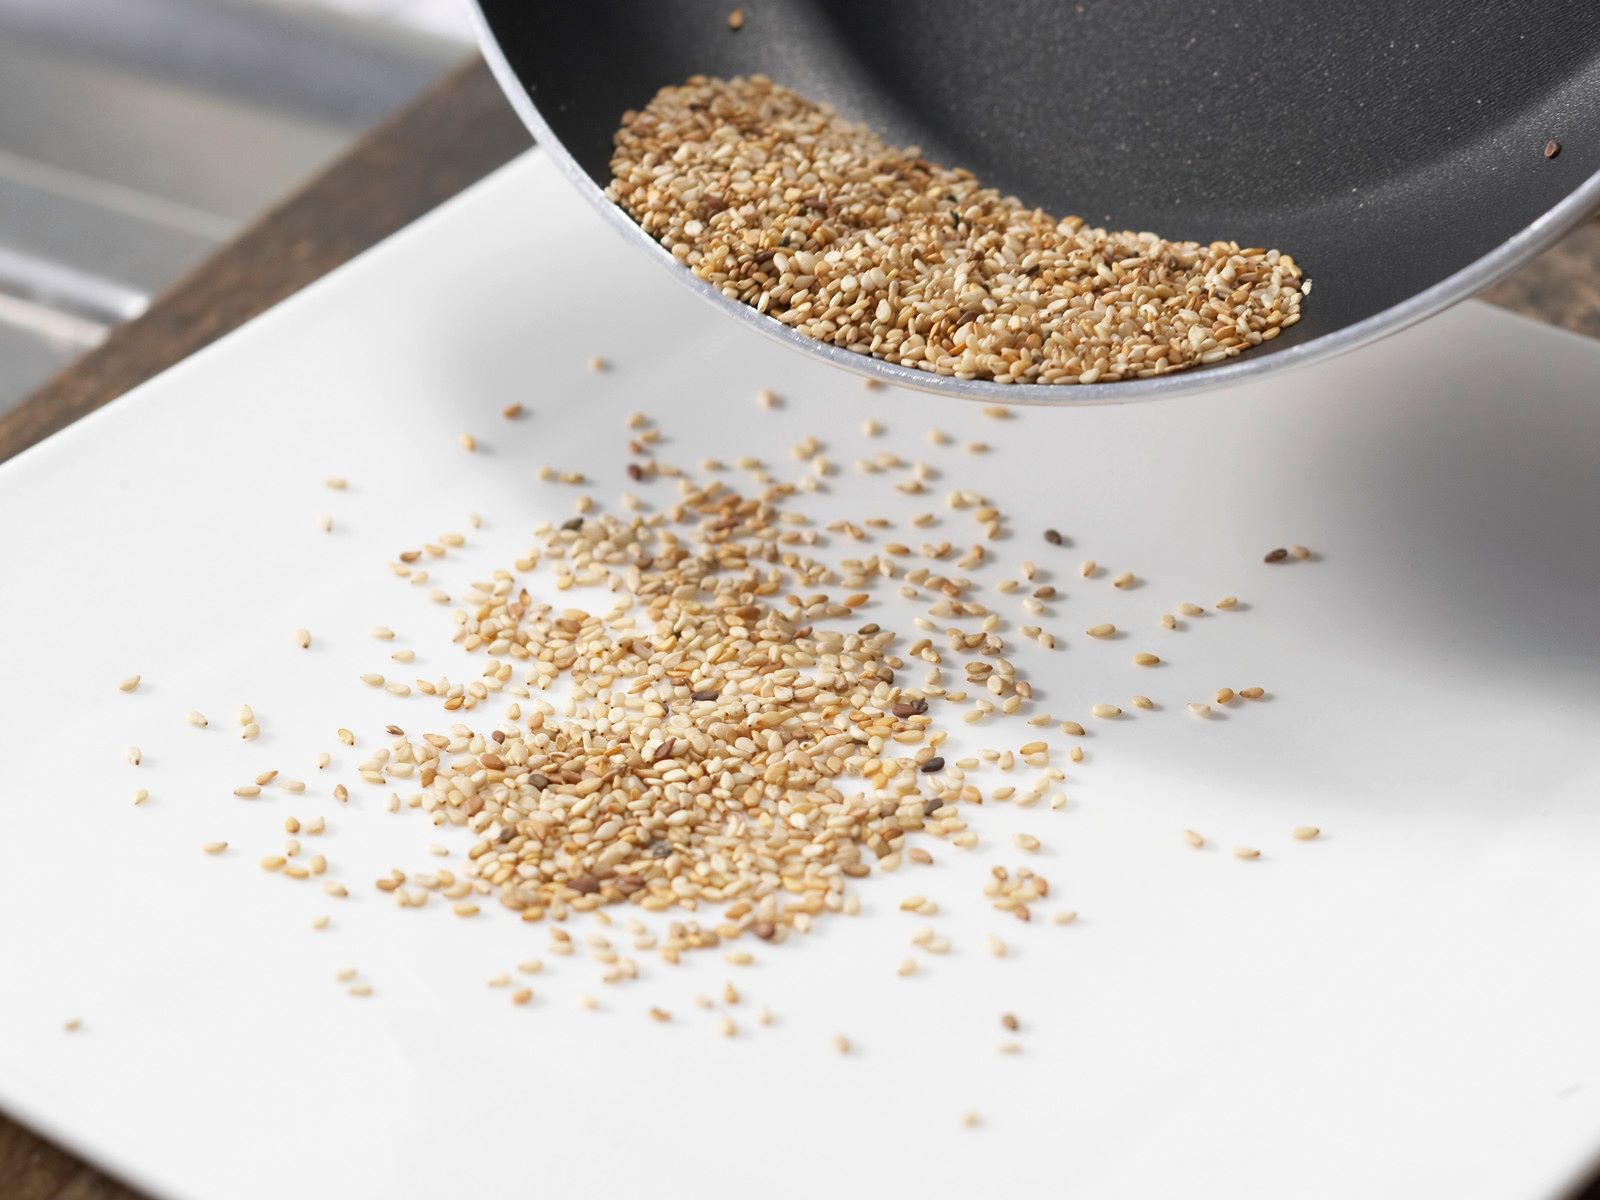
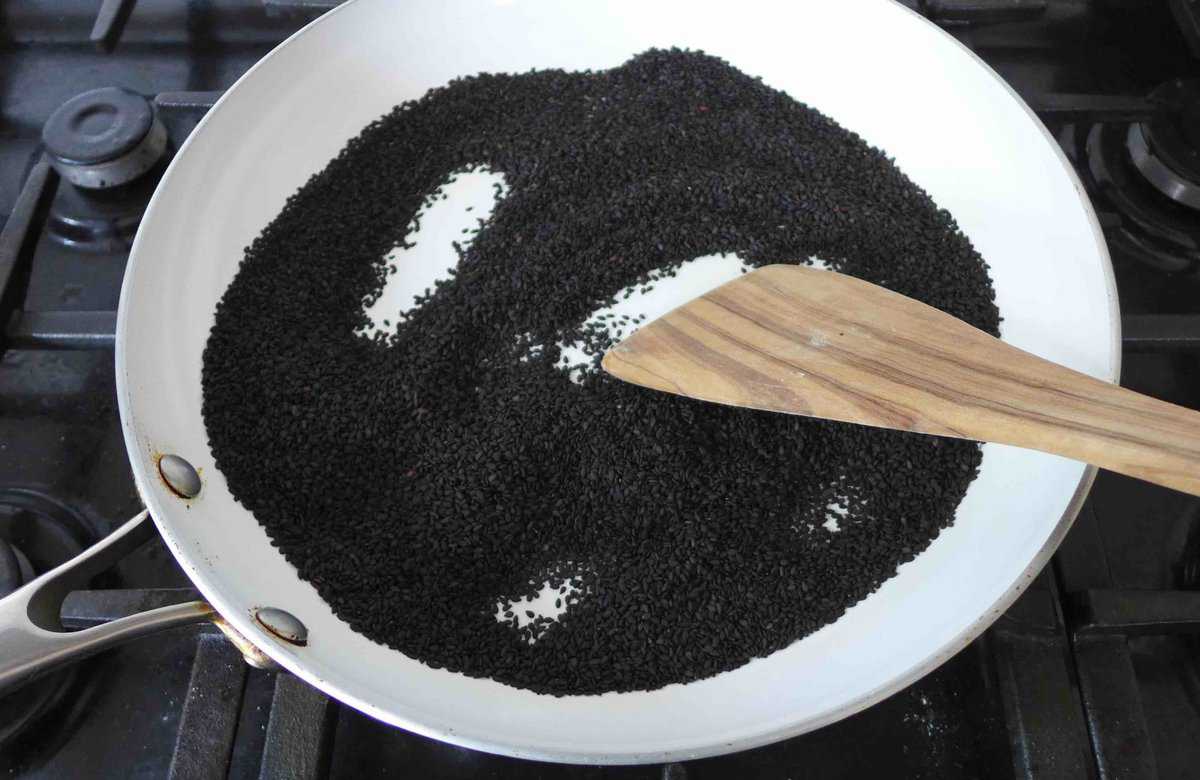
Start by toasting the sesame seeds in a dry skillet over medium heat. Gently stir the seeds with a wooden spoon or spatula to ensure they toast evenly.
Continue to cook the seeds for about 2-3 minutes, or until they turn a golden brown color and release a fragrant aroma. Be careful not to burn them, as they can quickly go from golden brown to black and become bitter.
Once the sesame seeds are toasted to perfection, transfer them to a plate or a shallow dish and allow them to cool for a few minutes. This will prevent them from clumping together and make the coating process easier.
The toasted sesame seeds will add a delightful crunch and a burst of flavor to the seared ahi tuna. It’s an essential step in creating a visually appealing and delicious dish that will leave your taste buds wanting more.
With the sesame seeds toasted and ready, let’s move on to the next step – coating the seared ahi tuna with these flavorful seeds.
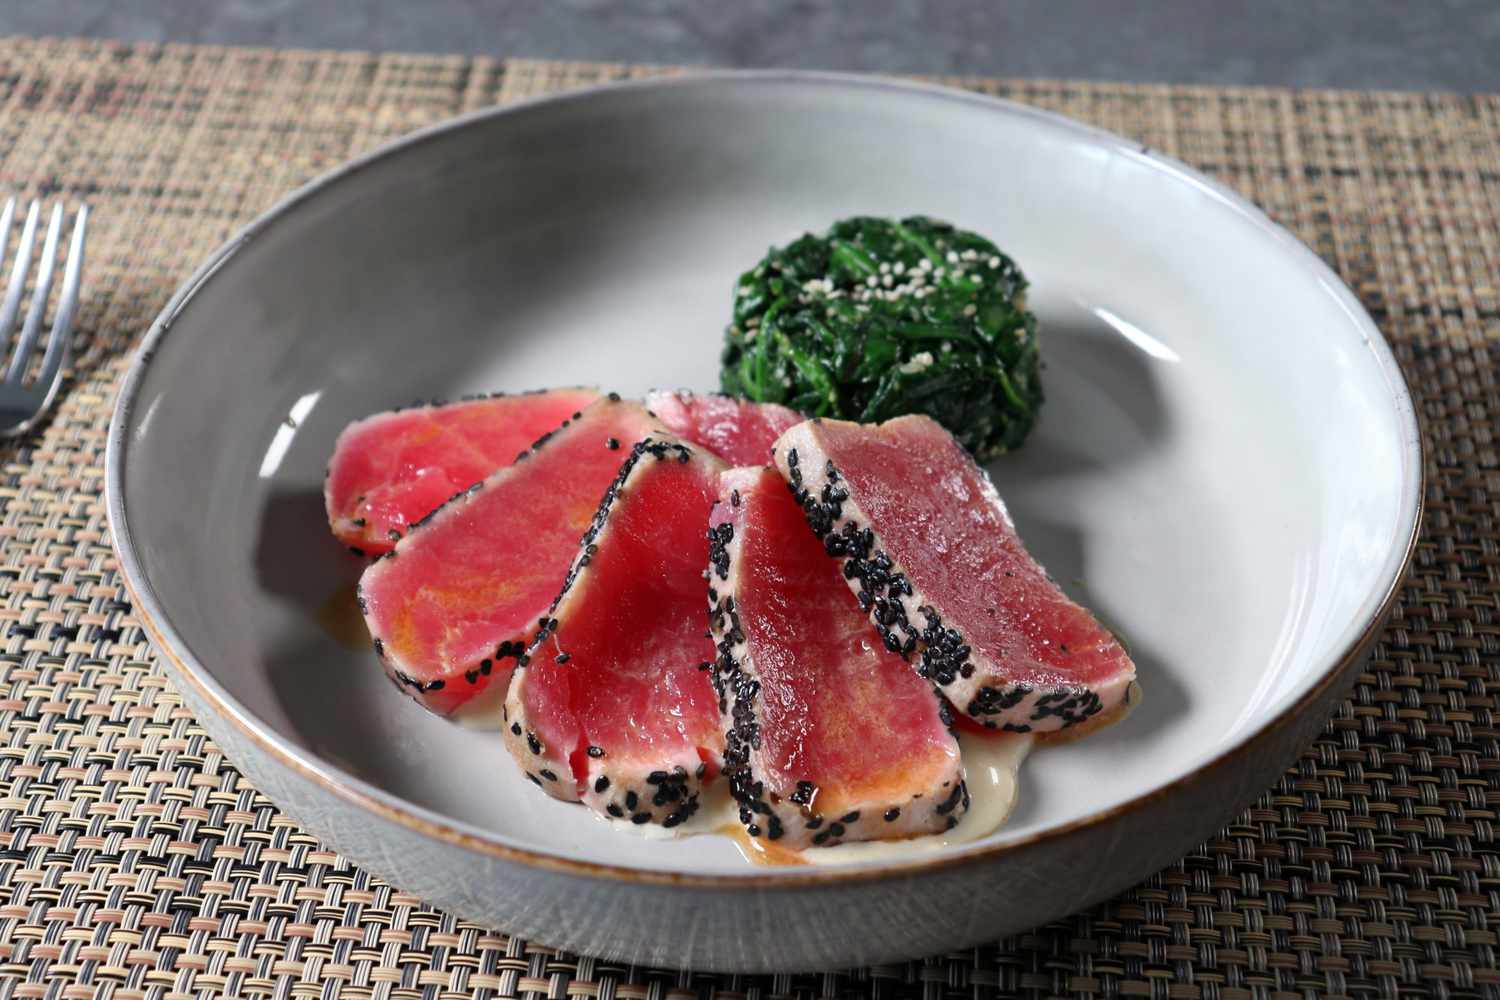
Step 6: Coating the Tuna with Sesame Seeds
Now comes the fun part – coating the seared ahi tuna with the enticing sesame seed crust. This step adds a beautiful visual appeal and a delightful crunch to each bite.
Take the cooled toasted sesame seeds and transfer them to a plate or a shallow dish. Carefully press each side of the seared tuna steaks into the sesame seeds, ensuring that the seeds adhere evenly to the surface.
Gently pat the sesame seeds onto the tuna to create a firm and even coating. The seeds will adhere to the slightly moist surface of the tuna, creating a flavorful and textural contrast to the tender flesh.
Once the tuna steaks are fully coated with the sesame seeds, set them aside on a clean plate and get ready to slice and serve the final masterpiece.
Coating the seared ahi tuna with sesame seeds not only adds a delightful crunch and flavor but also creates a stunning presentation. It’s a step that brings the dish to a whole new level of elegance and appetizing appeal.
With the tuna beautifully coated, it’s time to move on to the final step – slicing and serving the seared ahi tuna with sesame seeds.
Step 7: Slicing and Serving
Congratulations! You’ve reached the final step of preparing and cooking seared ahi tuna with sesame seeds. Now it’s time to showcase your culinary masterpiece by slicing and serving the flavorful dish.
Using a sharp knife, slice the seared ahi tuna into thin, even pieces. Aim for slices that are about 1/4 to 1/2 inch thick, as this will highlight the beautiful pink center and allow for easy, elegant bites.
Arrange the sliced ahi tuna on a serving platter or individual plates. You can create an eye-catching presentation by arranging the slices in a fan shape or a circular pattern.
Garnish the dish with fresh herbs, such as cilantro or green onions, to add a pop of color and freshness. Serve with a side of soy sauce for dipping, and perhaps some pickled ginger and wasabi for an extra kick of flavor.
The seared ahi tuna with sesame seeds is best enjoyed immediately after cooking while it is still warm and the flavors are at their peak. The combination of the tender and juicy tuna, the nutty sesame seed coating, and the savory marinade will delight your taste buds and impress your guests.
Now that you’ve mastered the art of searing ahi tuna with sesame seeds, you can confidently add this delicious and impressive dish to your culinary repertoire. Enjoy the fruits of your labor and savor each bite of this delectable creation!
Remember, cooking is not just about following recipes, but also about adding your own personal touch and experimenting with flavors. Feel free to customize this dish with your favorite seasonings or accompaniments to make it truly your own.
So go ahead, gather your ingredients, follow these steps, and prepare to wow your family and friends with a restaurant-quality seared ahi tuna with sesame seeds!
Read more: How Long Are Sesame Seeds Good For
Tips for Perfectly Searing Ahi Tuna
Searing ahi tuna with sesame seeds may seem intimidating at first, but with a few helpful tips, you’ll be able to achieve that perfect sear every time.
- Ensure your tuna is fresh: Start with high-quality ahi tuna steaks that are fresh and firm. Look for vibrant color and a clean smell.
- Pat the tuna dry: Before seasoning, make sure to pat the tuna steaks dry with paper towels. This removes any excess moisture, allowing for a better sear.
- Don’t overcook: Ahi tuna is best enjoyed medium-rare. Overcooking can result in a dry and tough texture. Aim for a searing time of 1-2 minutes on each side, depending on the thickness of the steaks.
- Properly season the tuna: Season the tuna with salt and pepper to enhance its natural flavors. Marinating the tuna in a soy sauce and sesame oil mixture adds extra depth of flavor.
- Use a hot pan: Ensure your pan is properly preheated before adding the tuna. A hot pan will create a beautiful sear on the outside while keeping the inside tender.
- Toast the sesame seeds: Toasting the sesame seeds before coating the tuna intensifies their flavor and adds an appealing crunch. Be careful not to burn them as they can turn bitter.
- Press the sesame seeds firmly: When coating the tuna with sesame seeds, press them firmly onto the surface to create a secure bond. This will prevent them from falling off during cooking.
- Allow the tuna to rest: After searing, allow the tuna to rest for a few minutes before slicing. This allows the juices to redistribute and ensures a moist and flavorful result.
- Thin, even slices: When slicing the seared ahi tuna, aim for thin and even slices. This not only enhances the visual presentation but also allows for a more enjoyable eating experience.
- Serve immediately: Seared ahi tuna is best enjoyed fresh and warm. Serve it immediately after cooking to fully appreciate its flavors and textures.
By following these tips, you’ll be able to create a perfectly seared ahi tuna with a delectable sesame seed crust. Don’t be afraid to experiment and make this dish your own by adding your favorite seasonings or accompaniments.
Now that you have the knowledge and tools, it’s time to get cooking! Enjoy the process and savor the delicious results of your efforts.
Conclusion
Congratulations! You’ve now mastered the art of searing ahi tuna with sesame seeds. With its vibrant colors, flavorful marinade, and irresistible crunchy crust, this dish is sure to impress your taste buds and your dinner guests.
By following the step-by-step guide and applying the helpful tips, you can confidently prepare restaurant-quality seared ahi tuna right in the comfort of your own kitchen. From properly seasoning the tuna to achieving the perfect sear, each step plays a crucial role in creating a dish that is both visually appealing and incredibly delicious.
Remember, cooking is not only about following a recipe, but also about infusing your own style and creativity into each dish. Feel free to experiment with additional seasonings, sauces, or accompaniments to suit your personal taste.
With its delicate flavor and meaty texture, seared ahi tuna is a versatile dish that can be served as an appetizer, the star of a main course, or even in a refreshing salad. Its elegant presentation and mouthwatering taste make it a favorite among seafood lovers.
So, the next time you’re in the mood for a culinary adventure, gather your ingredients, heat up that pan, and get ready to impress with your searing skills. Whether you’re hosting a dinner party or simply treating yourself to a special meal, seared ahi tuna with sesame seeds is certainly a dish worth mastering.
Now that you have the knowledge and the passion for seared ahi tuna, there’s no stopping you from exploring other flavors, techniques, and cuisines. Happy cooking and bon appétit!
Frequently Asked Questions about How To Sear Ahi Tuna With Sesame Seeds
Was this page helpful?
At Storables.com, we guarantee accurate and reliable information. Our content, validated by Expert Board Contributors, is crafted following stringent Editorial Policies. We're committed to providing you with well-researched, expert-backed insights for all your informational needs.


0 thoughts on “How To Sear Ahi Tuna With Sesame Seeds”