Home>Renovation & DIY>Home Renovation Guides>How To Organize A Whiteboard
Home Renovation Guides
How To Organize A Whiteboard
Published: March 3, 2024
Learn how to effectively organize a whiteboard for your home renovation projects with our comprehensive guides and tips. Streamline your planning and execution process today!
(Many of the links in this article redirect to a specific reviewed product. Your purchase of these products through affiliate links helps to generate commission for Storables.com, at no extra cost. Learn more)
Introduction
Are you tired of feeling overwhelmed by your to-do lists and project plans? A whiteboard can be a game-changer when it comes to organizing your tasks and ideas. Whether you're a student, a professional, or a busy parent, a well-organized whiteboard can help you keep track of important information, stay focused, and boost your productivity. In this article, we'll explore the best strategies for organizing a whiteboard effectively, so you can take control of your tasks and projects with ease. Let's dive in!
Key Takeaways:
- Get the right whiteboard: Choose a size that fits your space, a durable surface, and consider if you need a magnetic board. The right whiteboard sets the stage for effective organization.
- Plan, organize, and maintain: Plan your layout, organize sections, use color coding, and regularly update your whiteboard. A well-maintained whiteboard keeps your tasks and projects in order and helps you stay on top of things.
Choosing the Right Whiteboard
When it comes to choosing the right whiteboard for your organizational needs, there are several factors to consider. Here are some key points to keep in mind:
-
Size Matters: Consider the space where you plan to hang the whiteboard. If it's for personal use in a small office or bedroom, a smaller whiteboard may suffice. However, for a shared workspace or a busy household, a larger whiteboard provides more room for organizing and brainstorming.
-
Surface Type: Whiteboards come in various surface materials, such as melamine, porcelain, or glass. Porcelain and glass boards are more durable and easier to clean, making them ideal for heavy use. Melamine boards are more budget-friendly and suitable for light use.
-
Magnetic or Non-Magnetic: If you plan to use magnets to attach notes, photos, or other items to your whiteboard, consider choosing a magnetic surface. This feature adds versatility to your organizational setup.
-
Frame Style: Whiteboards come with different frame styles, such as aluminum, wood, or frameless. The frame should complement the aesthetics of the room where it will be placed.
By considering these factors, you can select a whiteboard that best suits your organizational needs and the space where it will be utilized.
Planning Your Layout
When it comes to planning the layout of your whiteboard, it's essential to create a structure that suits your organizational style and the type of information you need to manage. Here are some tips for planning an effective layout:
-
Identify Your Needs: Before you start sketching out your whiteboard layout, take some time to identify the specific information you want to organize. Whether it's daily tasks, project timelines, or creative brainstorming, understanding your needs will guide the layout design.
-
Create Sections: Divide your whiteboard into clear sections based on the types of information you want to display. For example, you might have sections for to-do lists, project timelines, inspirational quotes, or important reminders.
-
Prioritize Placement: Consider the frequency of use for each section and prioritize their placement on the whiteboard. The most frequently accessed sections should be easily reachable and at eye level.
-
Utilize the Grid: Using a grid layout can help you maintain a sense of order and consistency on your whiteboard. You can create a grid with horizontal and vertical lines to organize different types of information.
-
Leave Room for Flexibility: While planning your layout, leave some space for flexibility and spontaneous additions. This can be a designated area for new ideas, quick notes, or temporary information.
By carefully planning the layout of your whiteboard, you can create a visual structure that enhances your organizational efficiency and makes information easy to access and manage.
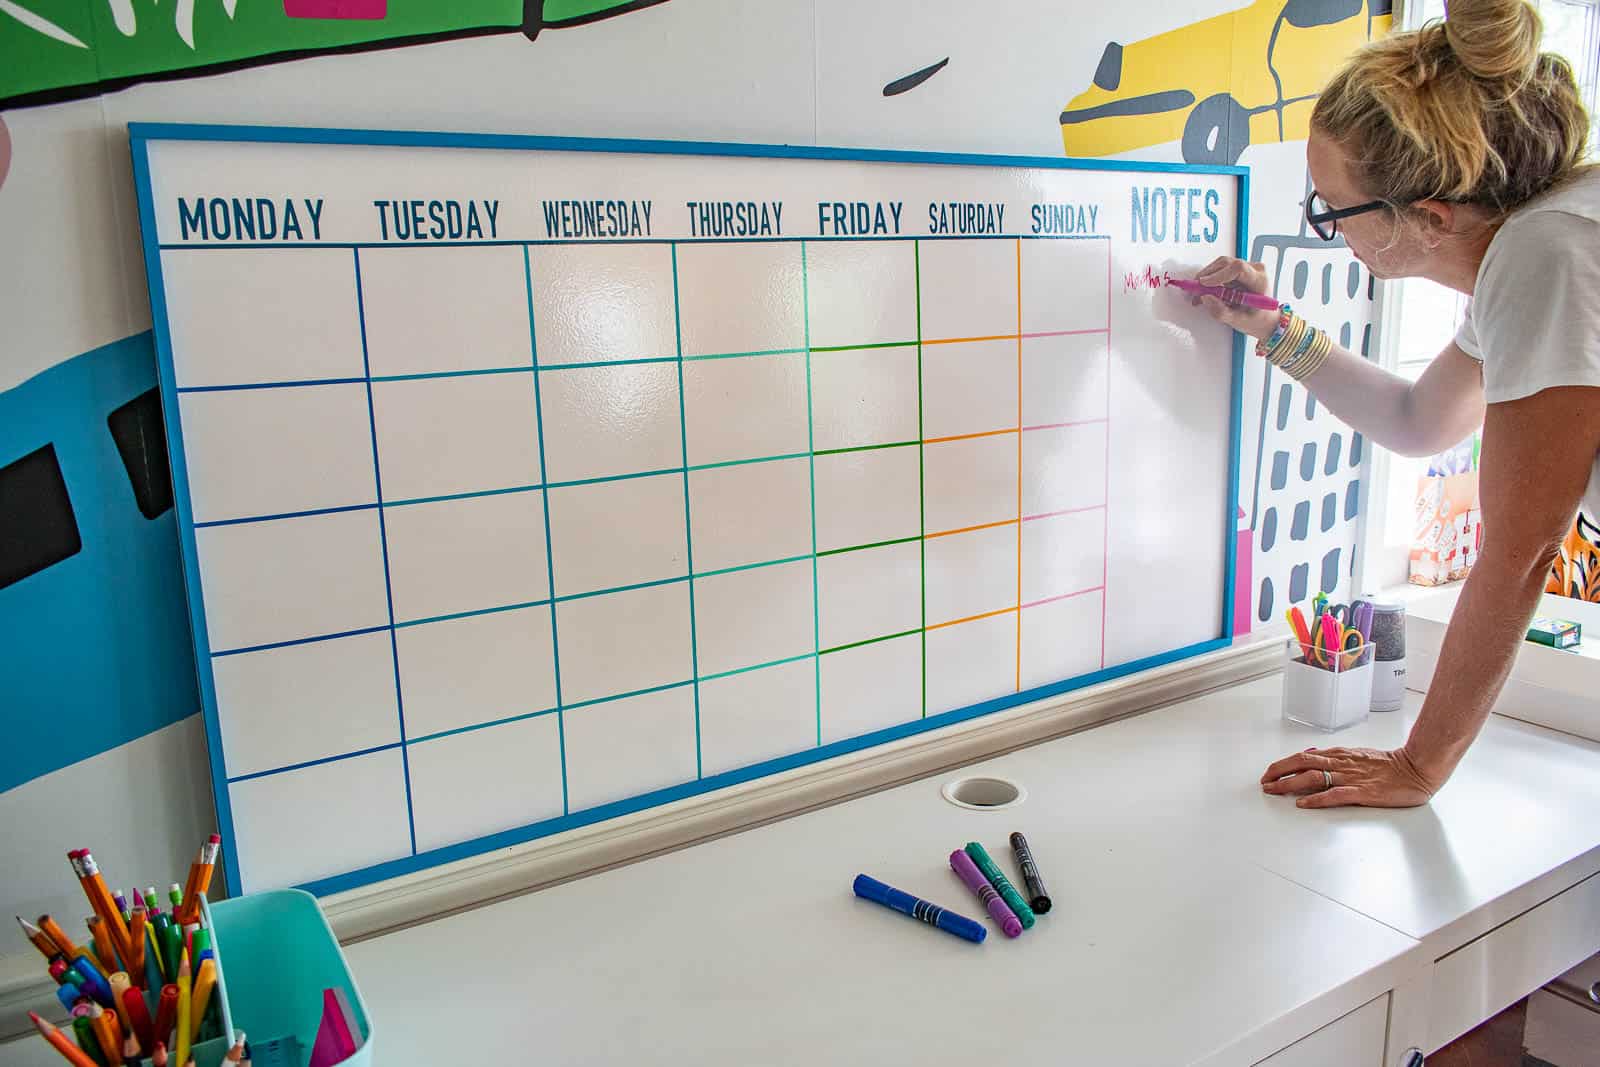
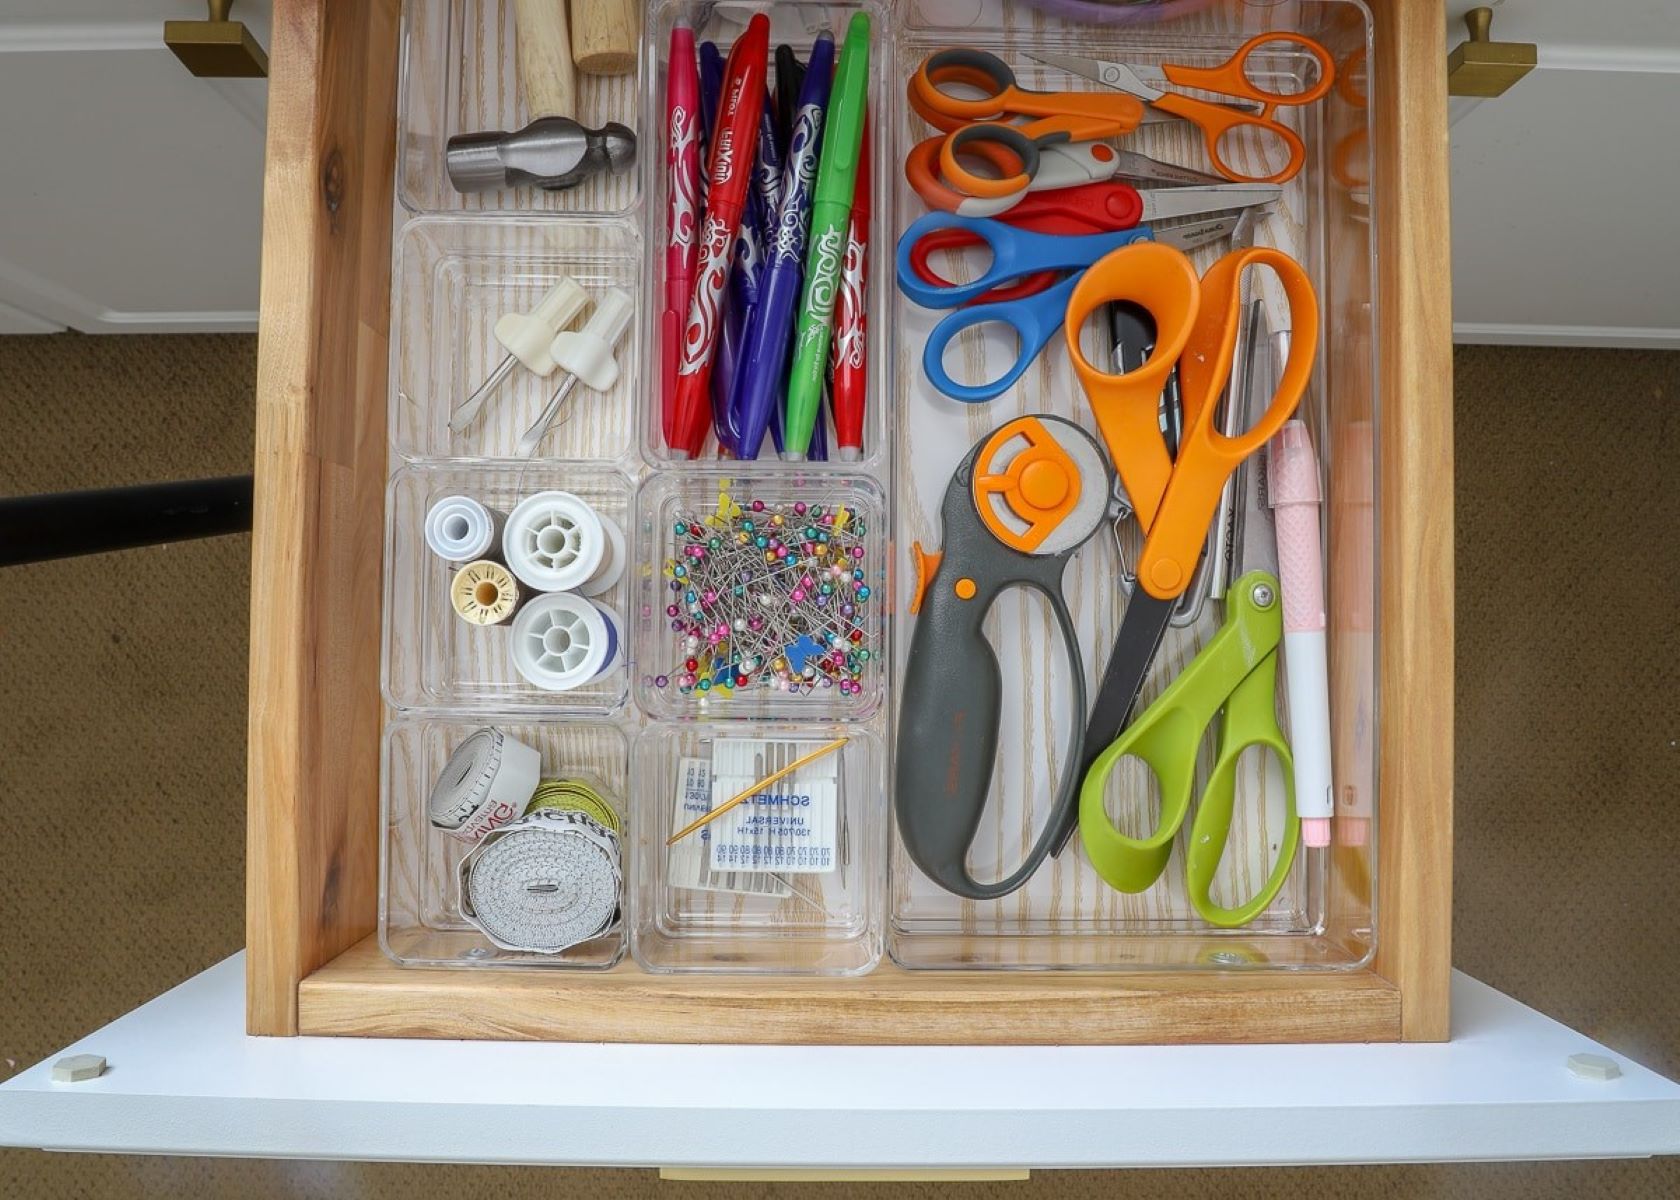
Use different colored markers to categorize information on the whiteboard. For example, use one color for tasks, another for deadlines, and another for important notes. This will make it easier to quickly identify and prioritize information.
Organizing Sections and Categories
Organizing the sections and categories on your whiteboard is crucial for maintaining a clear and efficient organizational system. Here's how to effectively structure and manage the content on your whiteboard:
-
Identify Key Categories: Start by identifying the main categories or themes that encompass the information you need to organize. This could include tasks, deadlines, project phases, personal goals, inspirational quotes, or any other relevant topics.
-
Allocate Dedicated Spaces: Once you've identified the key categories, allocate dedicated spaces on the whiteboard for each category. This could involve creating separate columns, rows, or sections for different types of information.
-
Use Headers and Labels: Clearly label each section or category using descriptive headers. This makes it easy to distinguish between different types of information at a glance. For example, if you have a section for project deadlines, use a bold header such as "Upcoming Deadlines" to clearly define the content within that area.
-
Utilize Visual Cues: Consider using visual cues such as borders, colors, or icons to visually differentiate between sections and categories. This can help create a visually appealing and easy-to-navigate whiteboard layout.
-
Prioritize and Order: Arrange the sections and categories in a logical order based on their importance or frequency of reference. For example, if you have a section for daily tasks, consider placing it at the top of the whiteboard for easy access and visibility.
-
Maintain Consistency: Ensure consistency in the layout and organization of sections and categories. This helps create a sense of coherence and makes it easier for you and others to understand and interact with the information displayed.
By effectively organizing sections and categories on your whiteboard, you can create a structured and visually appealing layout that enhances your ability to manage and access important information with ease.
Using Color Coding and Labels
Color coding and labels are powerful tools for enhancing the visual organization and accessibility of information on your whiteboard. By strategically incorporating colors and labels, you can create a system that quickly conveys important details and facilitates efficient information retrieval. Here's how to effectively utilize color coding and labels on your whiteboard:
-
Assign Meaningful Colors: Select a set of distinct and meaningful colors to represent different categories, priorities, or types of information. For example, you might use red for urgent tasks, green for completed items, and blue for upcoming deadlines. Consistently applying these colors across your whiteboard creates a visual shorthand that instantly communicates key details.
-
Create a Color Key: Develop a color key or legend that outlines the meanings associated with each color used on the whiteboard. This key can be placed in a prominent location, serving as a quick reference guide for anyone interacting with the whiteboard. By establishing a clear color code system, you ensure that everyone understands the significance of each color.
-
Use Labels Effectively: Alongside color coding, incorporate clear and descriptive labels to provide context and clarity to the information displayed. Whether it's labeling specific tasks, project phases, or deadlines, clear and concise labels help users quickly grasp the content without confusion.
-
Highlight Priorities: Utilize bold or vibrant colors to highlight priority items or urgent tasks. By drawing attention to critical information through color, you can ensure that essential details stand out and receive the necessary focus.
-
Employ Color Combinations: Experiment with color combinations to convey additional layers of information. For instance, you might use a combination of colors to represent the status of ongoing projects, such as red for delayed, yellow for in progress, and green for completed. This approach allows for nuanced representation of complex data.
-
Maintain Consistency: Consistency is key when using color coding and labels. Ensure that the chosen colors and labels are consistently applied throughout the whiteboard to avoid confusion and maintain a cohesive visual structure.
By incorporating strategic color coding and labels, you can transform your whiteboard into a dynamic and intuitive organizational tool, enabling quick comprehension and effective management of information.
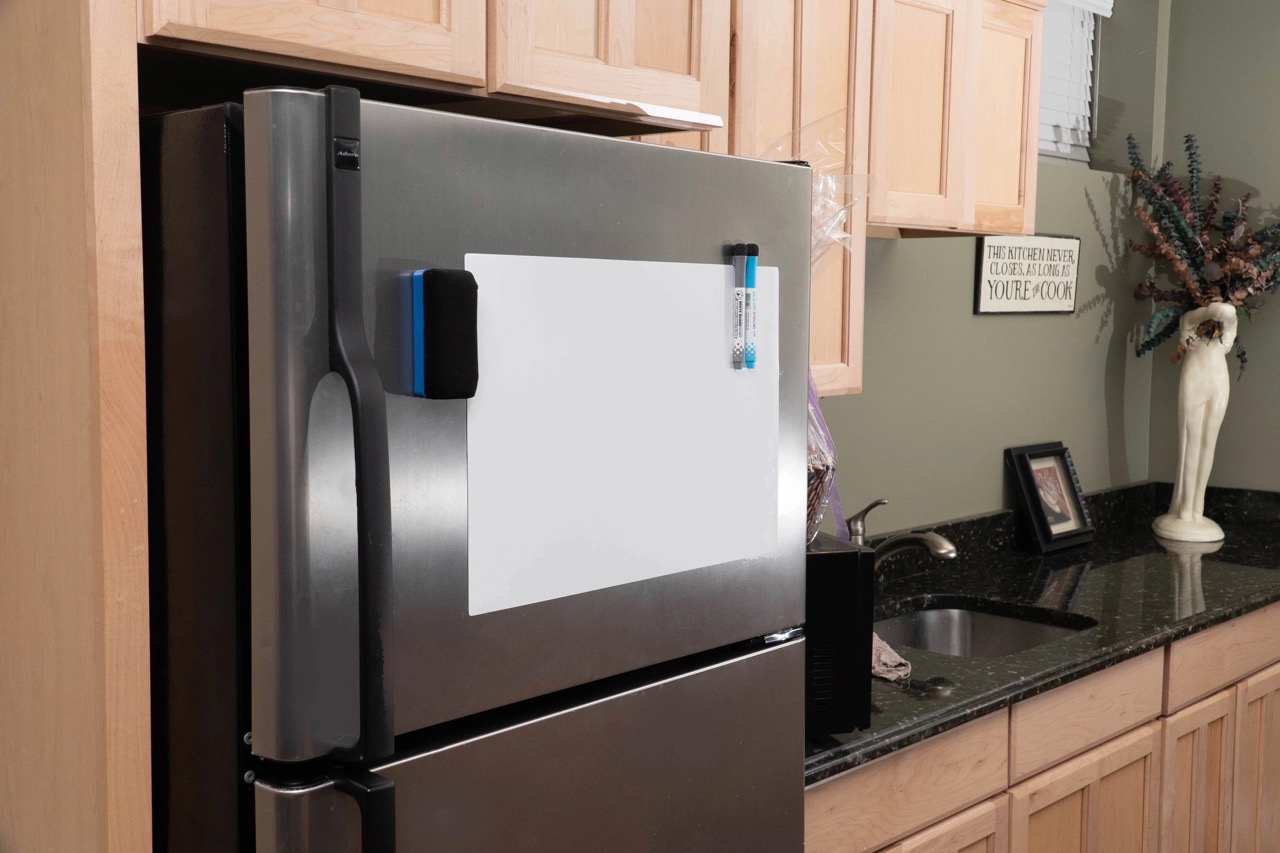
Read also: 6 Amazing Refrigerator Whiteboard for 2025
Maintaining and Updating the Whiteboard
Maintaining and updating your whiteboard is essential to ensure that it remains a functional and relevant organizational tool. Regular upkeep and timely updates help prevent clutter, maintain clarity, and reflect the current status of your tasks and projects. Here's how to effectively maintain and update your whiteboard:
-
Regular Cleaning: Schedule regular cleaning sessions to remove old notes, smudges, and residual marks from the whiteboard surface. Use a whiteboard eraser or a damp cloth with mild cleaning solution to keep the surface clean and free from ghosting.
-
Refresh Content: Periodically refresh the content on your whiteboard to reflect the latest information. Remove outdated notes, update project timelines, and add new tasks or ideas as they arise. This ensures that the whiteboard remains a current and reliable source of information.
-
Review and Reorganize: Take time to review the existing content on the whiteboard and reorganize as needed. Prioritize tasks, rearrange sections, and adjust categories based on changing priorities or project developments. This process helps maintain the relevance and effectiveness of the whiteboard layout.
-
Check and Update Deadlines: Regularly review and update deadlines, milestones, and important dates displayed on the whiteboard. Ensure that any changes or new deadlines are promptly added, and outdated dates are removed to avoid confusion.
-
Replace Markers and Accessories: Keep an eye on the condition of markers, erasers, and other accessories used with the whiteboard. Replace markers that are running low on ink, and ensure that erasers are clean and functional. Well-maintained accessories contribute to a seamless whiteboard experience.
-
Seek Feedback and Input: Encourage collaboration and input from others who interact with the whiteboard. Gather feedback on the effectiveness of the organizational system, the clarity of information, and any suggestions for improvement. This input can inform updates and enhancements to the whiteboard layout.
-
Adapt to Changing Needs: As your tasks and projects evolve, be prepared to adapt the whiteboard layout to accommodate changing needs. Whether it's adding new sections, modifying categories, or adjusting the color-coding system, flexibility is key to keeping the whiteboard relevant.
By implementing these maintenance and updating practices, you can ensure that your whiteboard remains a valuable and efficient tool for organizing tasks, managing projects, and facilitating clear communication within your workspace.
Frequently Asked Questions about How To Organize A Whiteboard
Was this page helpful?
At Storables.com, we guarantee accurate and reliable information. Our content, validated by Expert Board Contributors, is crafted following stringent Editorial Policies. We're committed to providing you with well-researched, expert-backed insights for all your informational needs.


0 thoughts on “How To Organize A Whiteboard”