Home>Garden Essentials>How To Trim Ivy Ground Cover
Garden Essentials
How To Trim Ivy Ground Cover
Modified: March 7, 2024
Discover the best techniques for trimming ivy ground cover in your garden. Enhance the beauty and health of your plants with expert tips and advice.
(Many of the links in this article redirect to a specific reviewed product. Your purchase of these products through affiliate links helps to generate commission for Storables.com, at no extra cost. Learn more)
Introduction
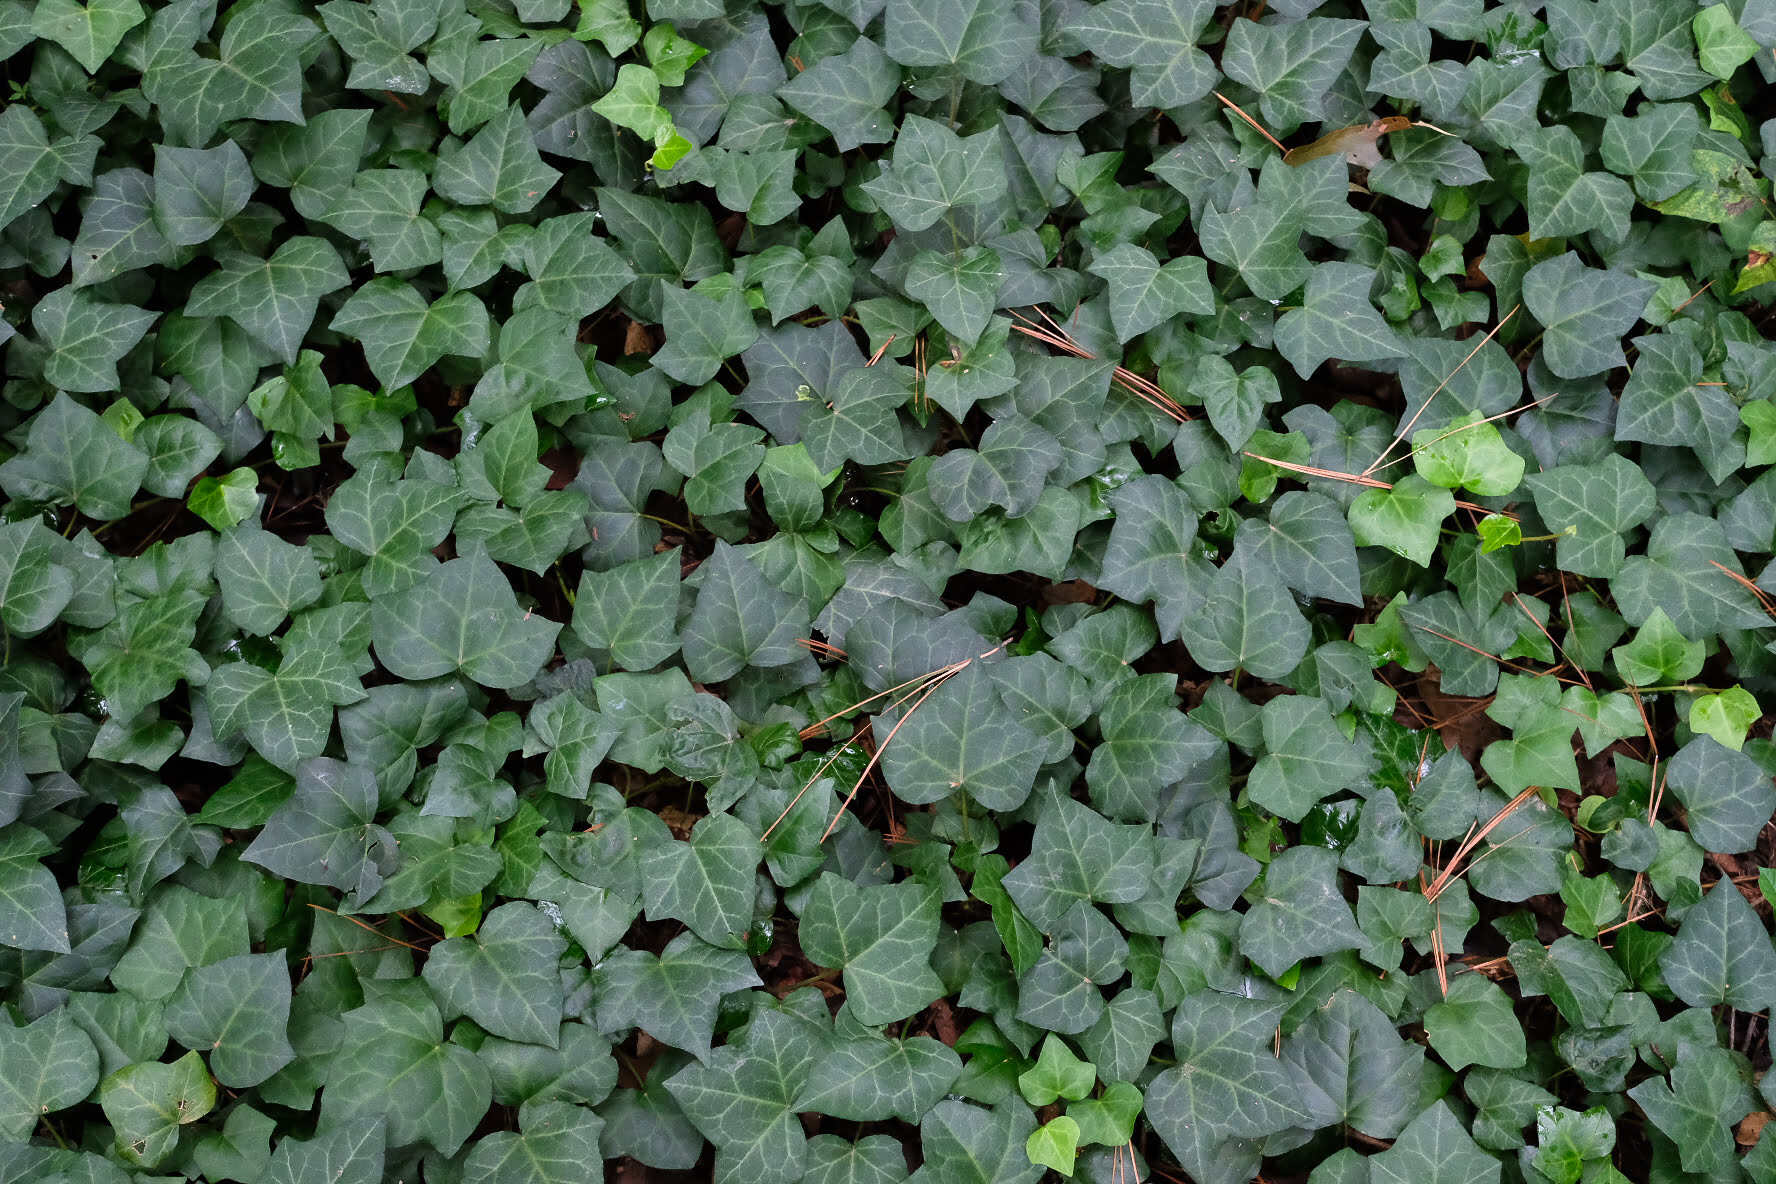
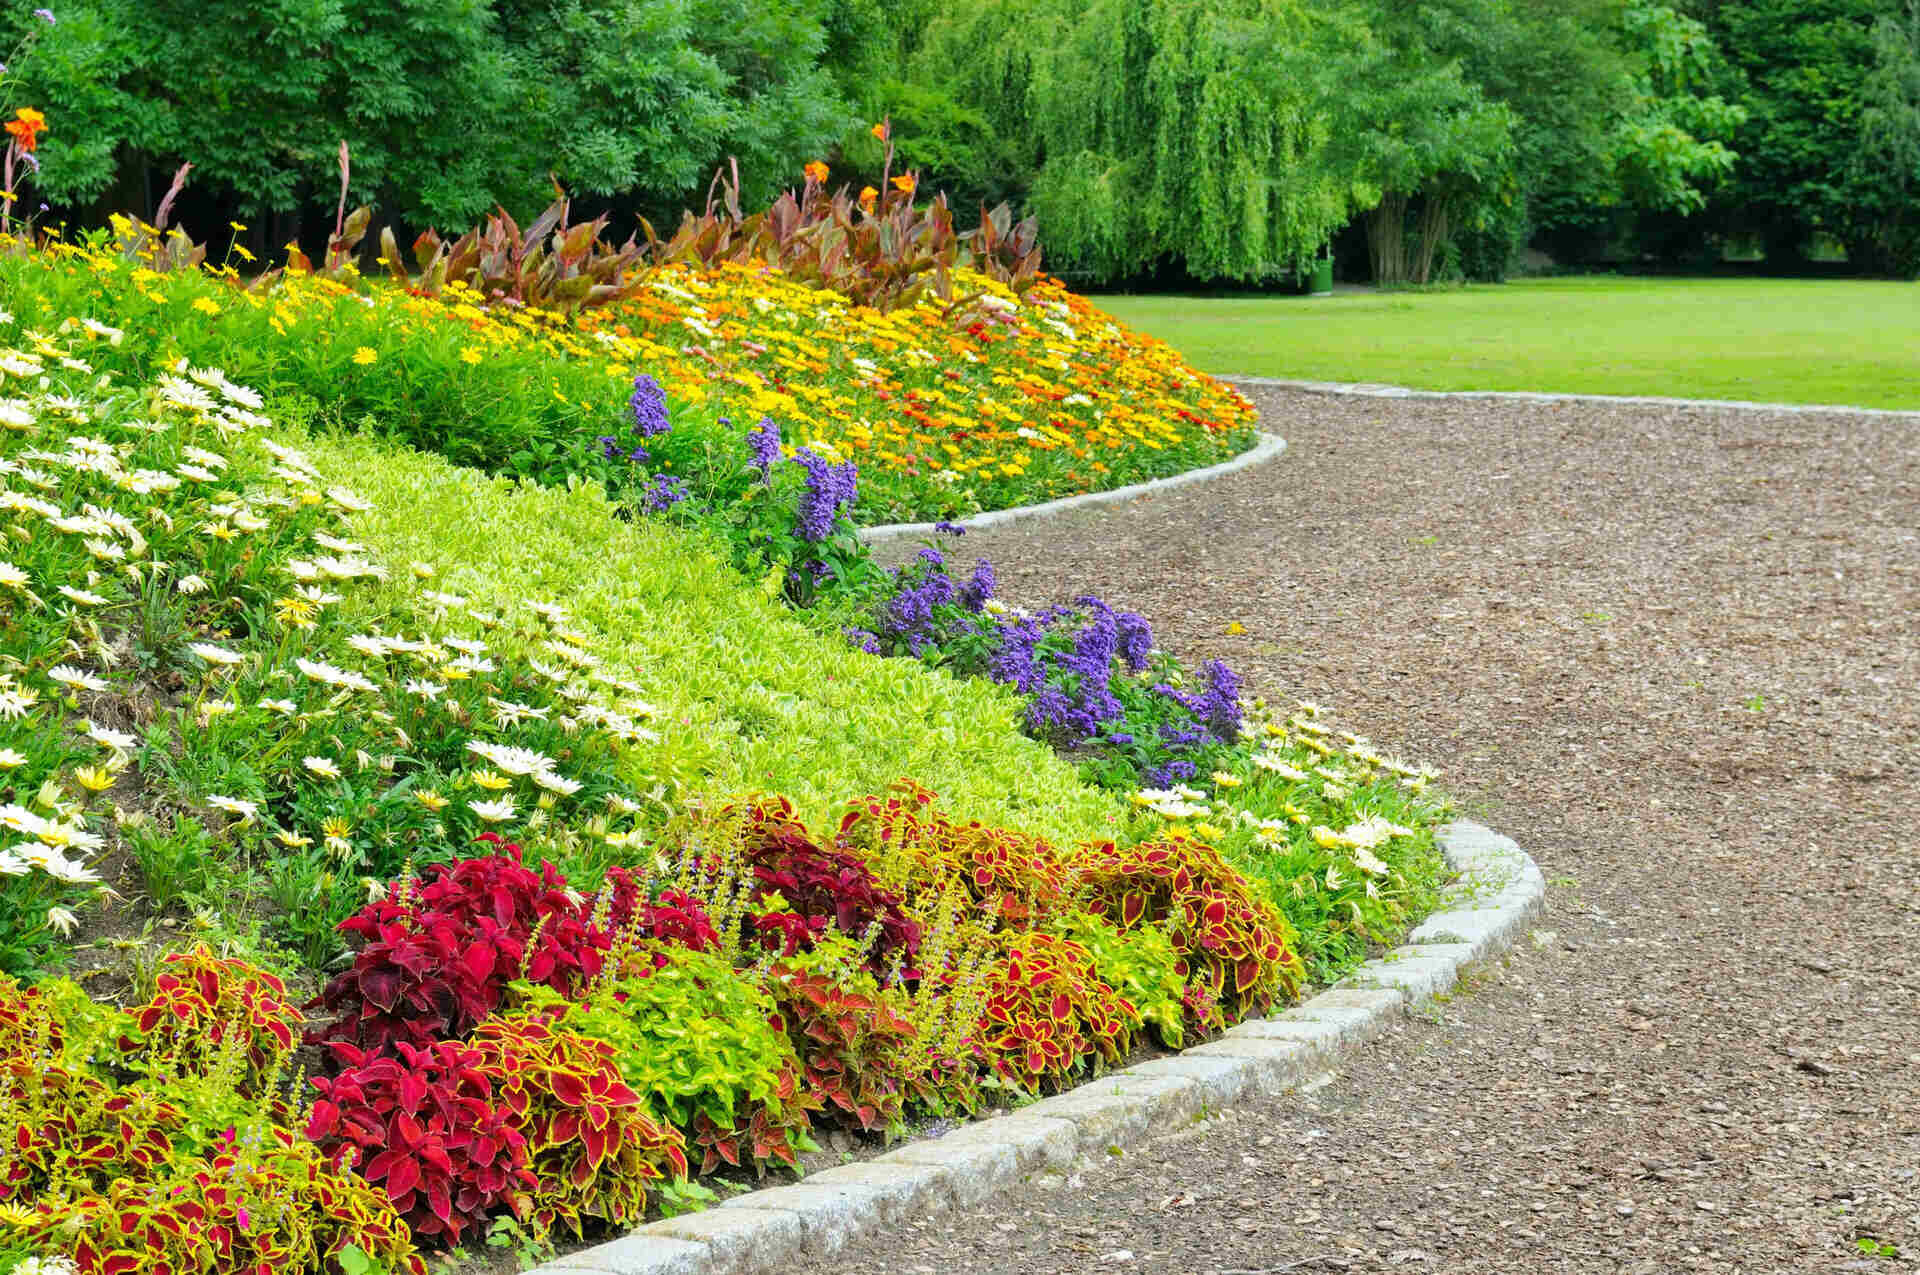
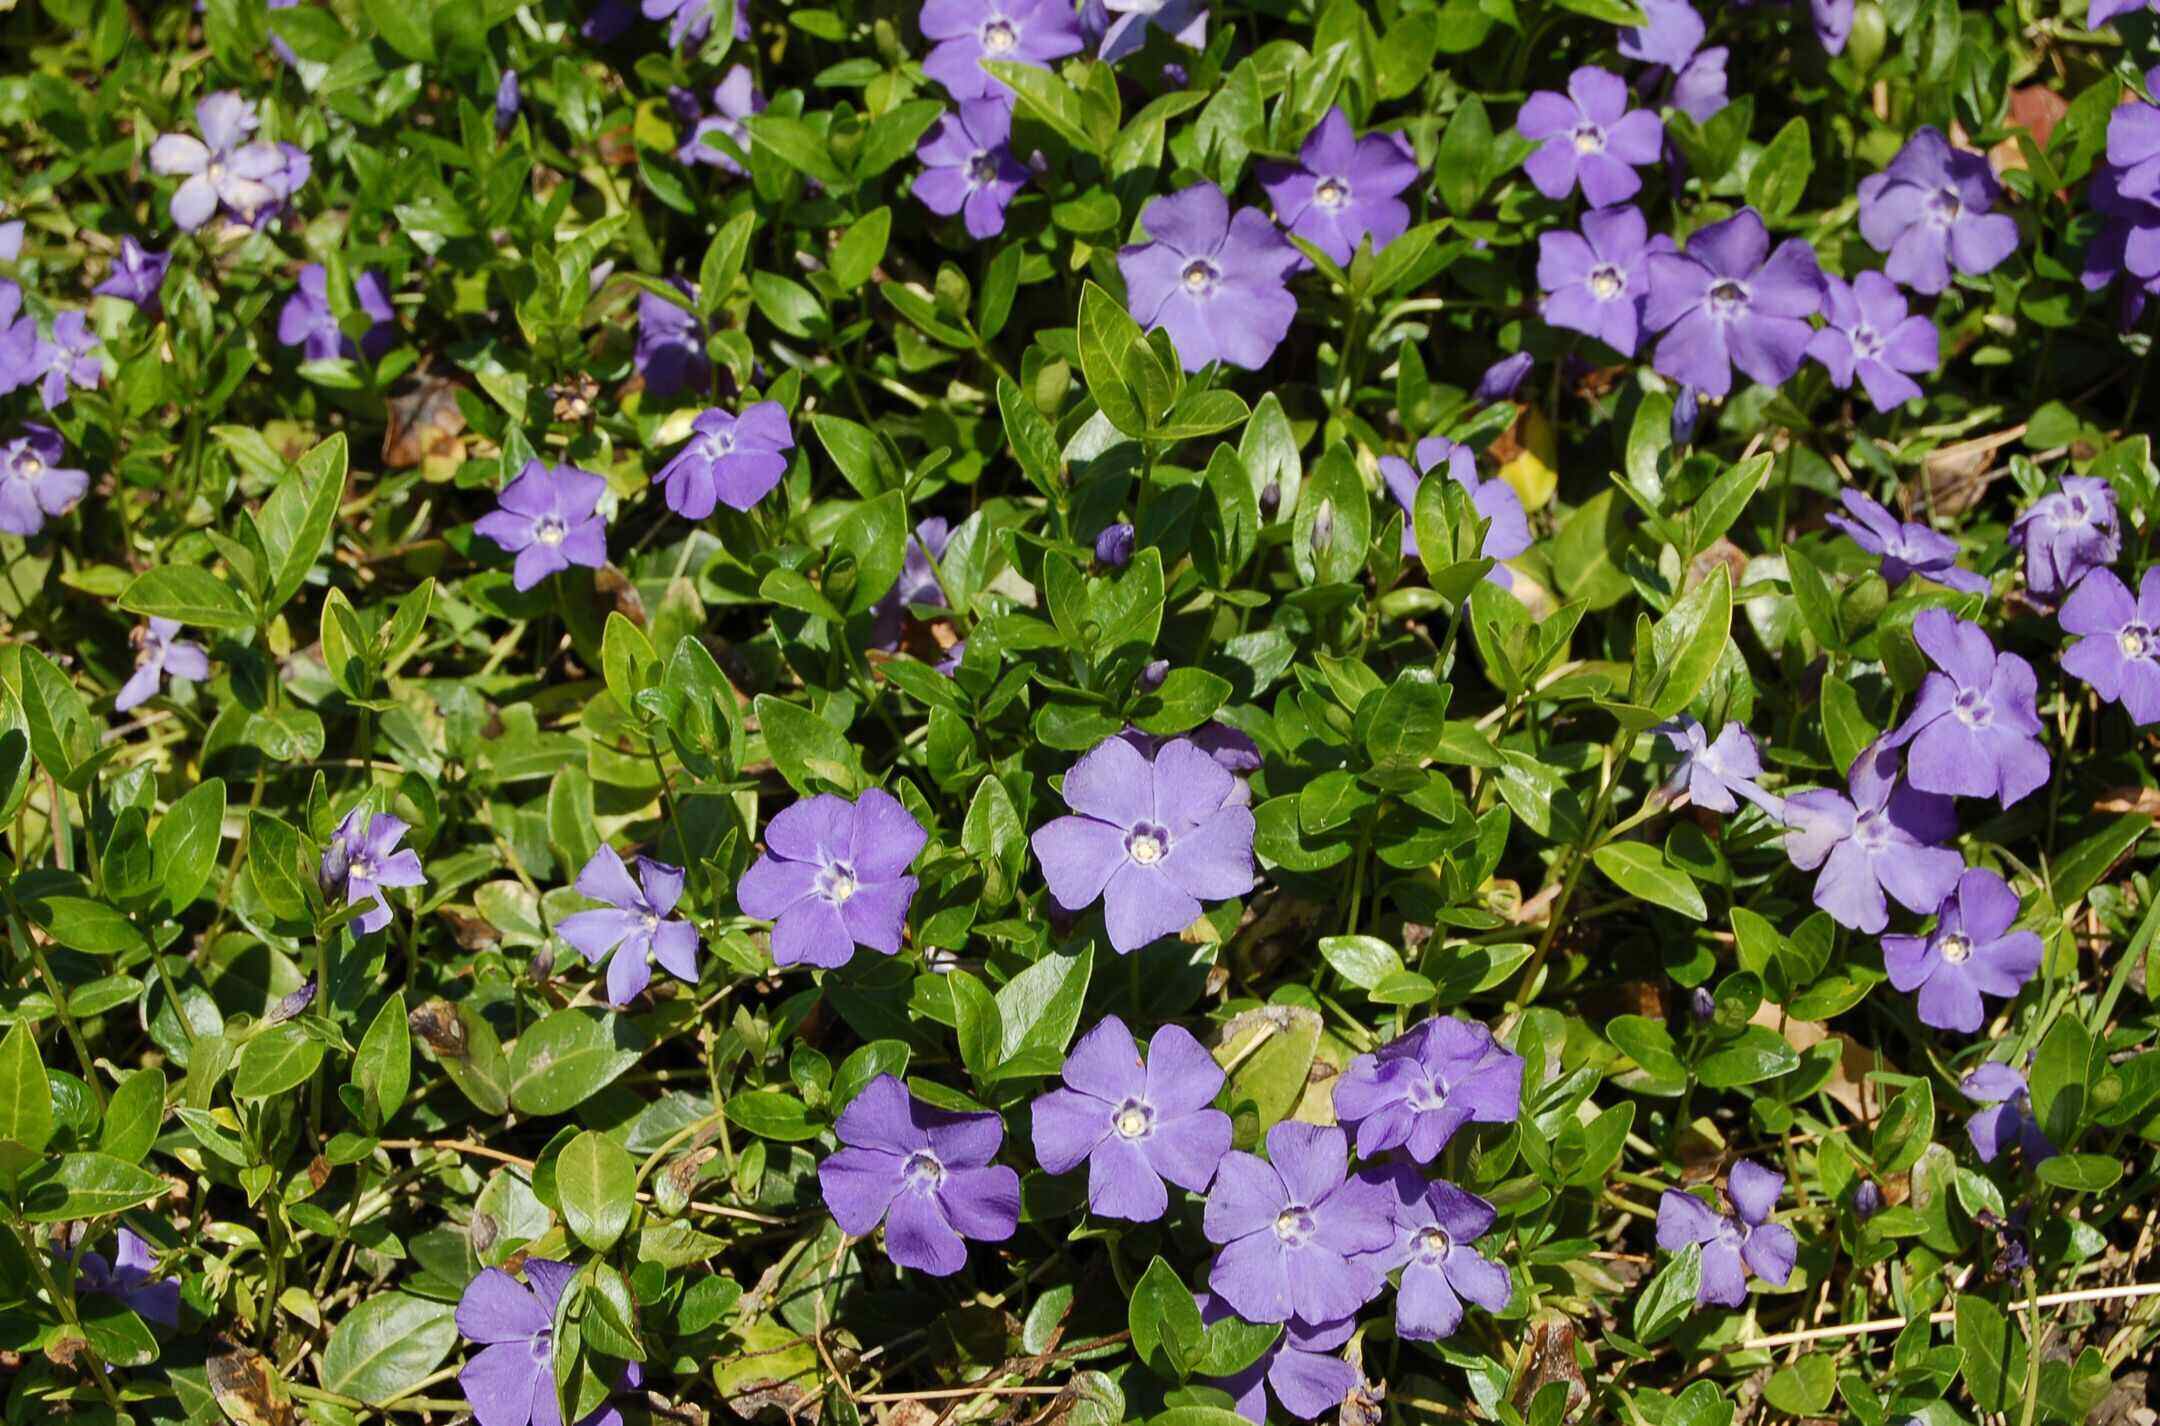
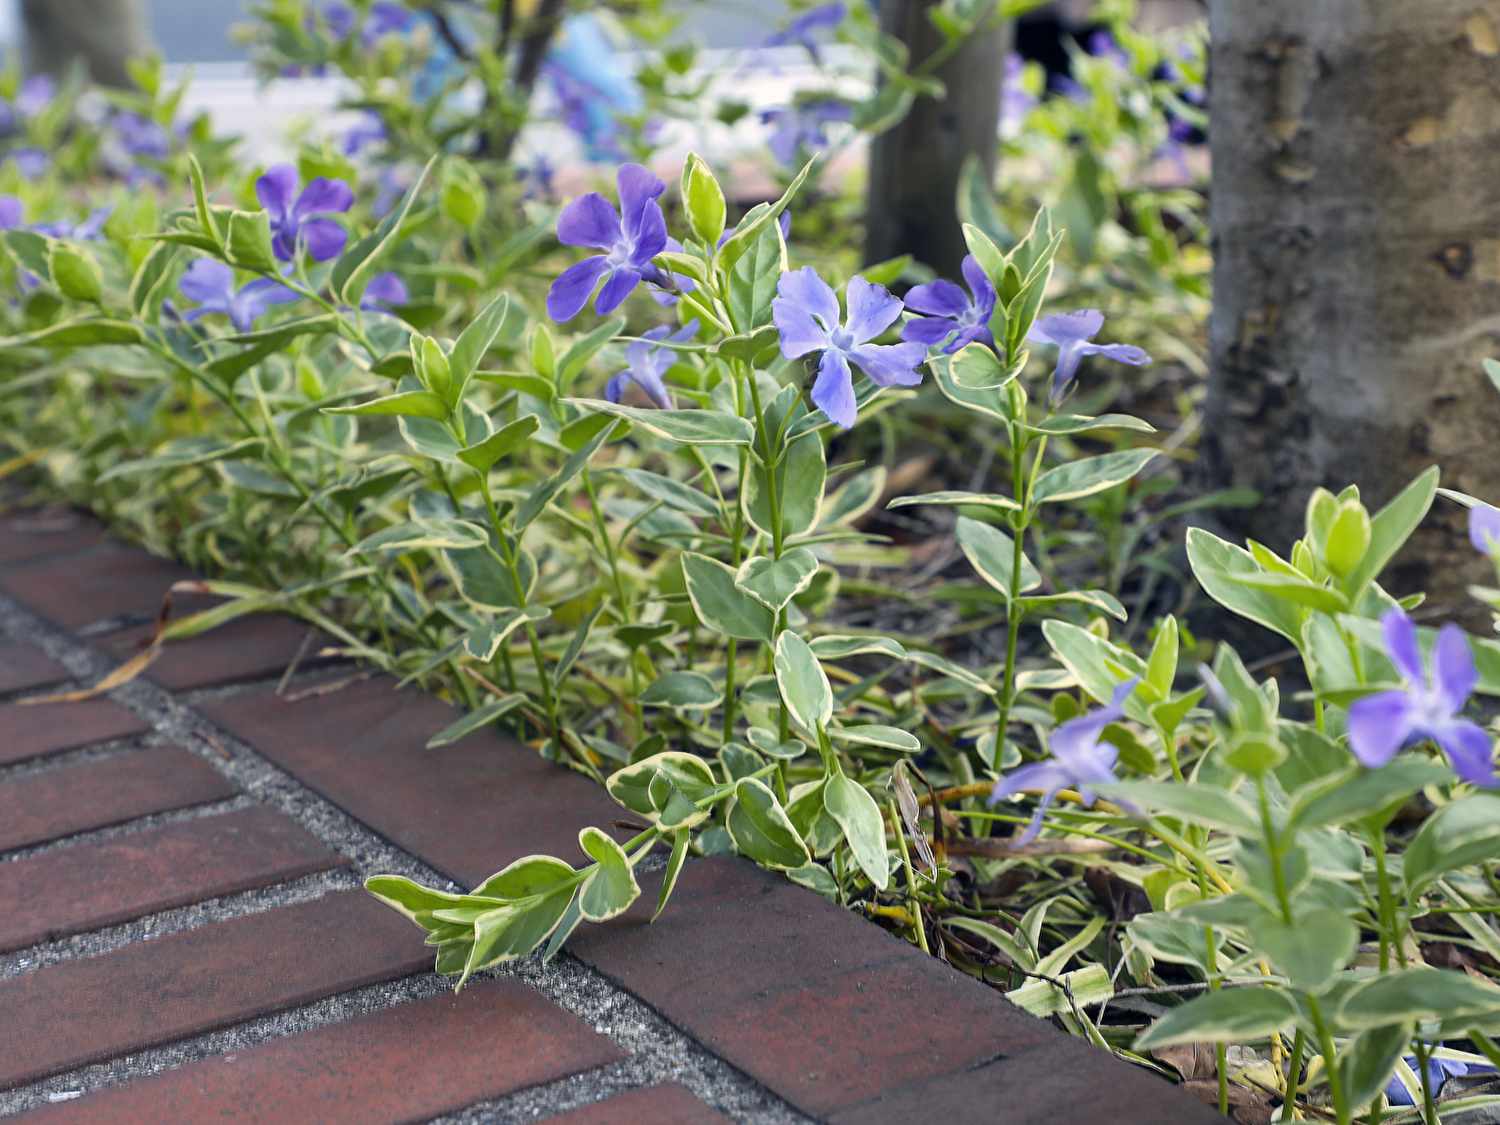
Welcome to the world of gardening! If you have ivy ground cover in your garden, you may already know that it can be a beautiful and versatile addition to your landscape. Ivy ground cover, also known as creeping ivy or ground ivy, is a hardy and fast-growing plant that can provide lush greenery and ground coverage in various areas of your garden.
However, like any plant, ivy ground cover requires regular maintenance to keep it looking its best. Trimming ivy not only helps control its growth but also promotes healthier and denser foliage. In this article, we will guide you through the process of trimming ivy ground cover, step by step.
Before we dive into the trimming process, it’s important to note that ivy ground cover can be invasive and aggressive if left unattended. It has a tendency to spread rapidly and can overtake other plants and structures. Therefore, regular trimming is essential to keep your ivy ground cover in check and prevent it from causing any unwanted damage.
Trimming your ivy ground cover will not only help maintain its appearance and control its growth but also allow you to shape it to your liking. Whether you prefer a neat and manicured look or a more natural and wild appearance, trimming is the key to achieving your desired aesthetic.
Now that we understand the importance of trimming ivy ground cover, let’s move on to the step-by-step process to help you get started. Remember, with a little time and effort, you can transform your ivy ground cover into a stunning feature of your garden.
Key Takeaways:
- Trimming ivy ground cover is essential for maintaining its health and appearance. By shaping and thinning the ivy, you can create a beautiful garden feature while preventing it from becoming invasive.
- Proper disposal of trimmed ivy is crucial to prevent regrowth and spread. Follow local guidelines for disposal, and be vigilant in monitoring for pests, diseases, and overgrowth to ensure a thriving ivy ground cover.
Read more: How To Kill Ivy Ground Cover
Step 1: Evaluate and Prepare
Before you begin trimming your ivy ground cover, it’s essential to evaluate the overall condition of the plant and prepare the area for the task at hand. Here are some important steps to follow:
- Inspect the Ivy: Take a close look at your ivy ground cover and assess its current state. Look for any damaged or diseased foliage, as well as any areas where the ivy may have overgrown or tangled with other plants or structures. This inspection will help you determine which parts need to be trimmed and give you an idea of the extent of the job.
- Set Clear Goals: Decide on the specific goals you have in mind for your ivy ground cover. Are you aiming for a more compact and controlled look? Do you want to shape the ivy into a specific form, such as a border or a trail along a wall? Clarifying your goals will help you make informed decisions about the trimming process.
- Choose the Right Time: Timing is crucial when it comes to trimming ivy ground cover. It’s best to avoid trimming during periods of extreme heat or cold, as this can stress the plant. Spring or early fall is generally considered the ideal time for trimming, as the plant is in its active growth phase and can recover more quickly from the pruning.
- Gather Tools and Safety Gear: Before you start trimming, ensure you have the necessary tools and safety gear. Some essential tools for trimming ivy ground cover include sharp pruning shears, hand pruners, and a sturdy pair of gloves to protect your hands from the sharp edges and potential irritants.
- Clear the Area: Remove any debris, rocks, or obstacles from the area where you will be working. This will provide you with a clear space and make the trimming process easier and more efficient.
By completing these preparatory steps, you’ll be ready to tackle the task of trimming your ivy ground cover with confidence. Remember, taking the time to evaluate and prepare will make the entire process smoother and lead to better results in the end.
Step 2: Gather Necessary Tools and Materials
Now that you have evaluated and prepared your ivy ground cover for trimming, it’s time to gather the necessary tools and materials. Having the right equipment on hand will ensure a safe and effective trimming process. Here are some essential tools and materials you will need:
- Pruning Shears: Invest in a pair of high-quality pruning shears or secateurs. These are designed to cut through small to medium-sized branches and stems without causing damage to the plant. Look for sharp blades and ergonomic handles for comfortable use.
- Hand Pruners: Hand pruners, also known as bypass pruners, are perfect for cutting through thicker branches and stems. They have a scissor-like design that allows for clean and precise cuts. Make sure to choose a pair with a cutting capacity that suits the size of your ivy ground cover.
- Gloves: It’s important to protect your hands while trimming ivy ground cover, as the plant may have sharp edges or irritating sap. Opt for a sturdy pair of gardening gloves that offer both dexterity and protection.
- Safety Glasses: While trimming, debris may fly into your eyes inadvertently. Wearing safety glasses will shield your eyes from any potential harm, such as small leaves or wood chips.
- Ladder or Step Stool: If your ivy ground cover has grown vertically on walls or structures, you may need a ladder or step stool to reach higher areas for trimming. Ensure the ladder is stable and secure before using it.
- Bucket or Tarp: Having a bucket or tarp nearby will come in handy when collecting the trimmed ivy. It will help keep your work area clean and make it easier to dispose of the waste later.
- Pruning Saw (optional): If you have any thicker branches that cannot be easily cut with pruning shears or hand pruners, a pruning saw may be necessary. Choose a saw with a blade suitable for cutting through wood.
- Disinfectant: It’s important to disinfect your tools after trimming to prevent the spread of any potential diseases. You can use a mild bleach solution or a specialized tool disinfectant.
Gathering these tools and materials before you start trimming will ensure that you have everything you need within reach. This will make the trimming process smoother and more efficient, allowing you to achieve the best results for your ivy ground cover.
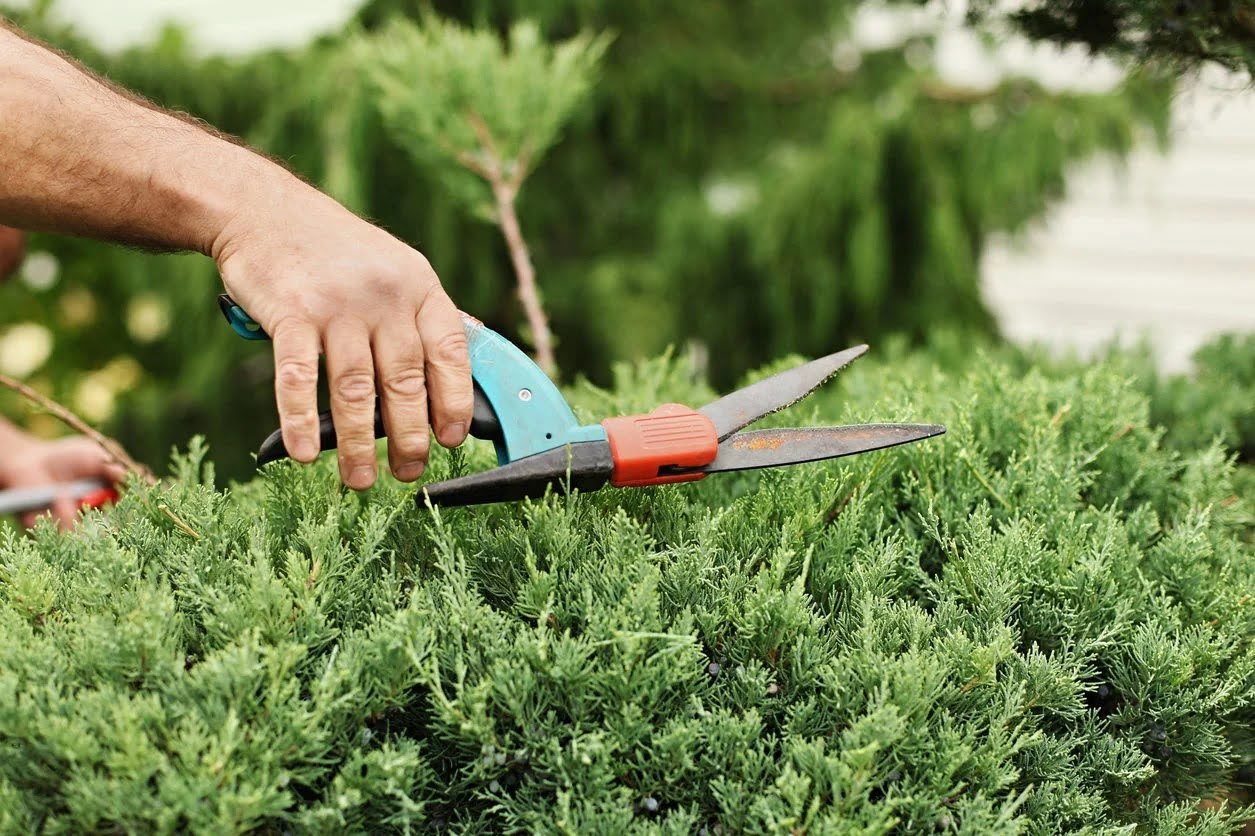
Step 3: Trim the Ivy Ground Cover
Now that you have assessed your ivy ground cover, prepared the area, and gathered the necessary tools, it’s time to start trimming! Follow these steps to trim your ivy ground cover effectively:
- Start with Dead or Diseased Foliage: Begin by identifying any dead or diseased foliage on your ivy ground cover. Dead leaves and branches not only detract from the overall appearance of the plant but can also attract pests and diseases. Use your pruning shears or hand pruners to carefully remove these damaged parts, cutting them as close to the base as possible.
- Shape the Ivy: Determine the desired shape or form you want for your ivy ground cover. Whether you want a well-defined border or a more natural-looking trail, gently prune the outer edges of the ivy to achieve the desired shape. Make sure to step back and assess your progress regularly to ensure you are achieving the desired effect.
- Trim Excess Growth: Ivy ground cover has a tendency to spread quickly and may start to overtake other plants or structures. Locate any areas where the ivy has outgrown its boundaries and trim back the excess growth. Cut just above a leaf node or stem junction, as this will encourage new growth and maintain the plant’s form.
- Thin out Dense Foliage: If your ivy ground cover has become too thick and dense, it’s essential to thin it out to allow better air circulation and sunlight penetration. Identify areas where the foliage is overcrowded and trim away some of the excess branches and leaves. This will not only improve the appearance of the ivy but also promote healthier growth.
- Consider the Growth Pattern: Ivy ground cover has a creeping growth habit, sending out runners or stems that root into the soil. Keep an eye out for these runners and trim them if they are extending beyond the desired area or causing congestion. By removing these runners, you can prevent the ivy from spreading too far and creating a tangled mess.
- Step back and Assess: Throughout the trimming process, take breaks to step back and assess your progress. This will allow you to see the overall effect of your trimming efforts and make any necessary adjustments. Don’t be afraid to make additional cuts or reshape the ivy as needed.
- Take Precautions: As you trim, be cautious not to damage any nearby plants or structures. Avoid cutting too close to the base of the ivy as it may cause harm to the plant. Take your time and work methodically to achieve the desired outcome.
Remember, trimming ivy ground cover is an ongoing process, as the plant will continue to grow and spread. Regularly inspect your ivy and perform maintenance trims to keep it in check and ensure its healthy and vibrant growth.
To trim ivy ground cover, use sharp shears to cut back any overgrown or unruly stems, making sure to leave some foliage on each stem. This will help promote new growth and keep the ivy looking tidy.
Step 4: Dispose of the Trimmed Ivy
After successfully trimming your ivy ground cover, it’s important to properly dispose of the trimmed vegetation. Here are some steps to help you dispose of the trimmed ivy effectively:
- Collect the Trimmed Ivy: Use a bucket or tarp to collect the trimmed ivy as you work. This will prevent spreading the plant debris and make cleanup easier.
- Bundle or Bag the Ivy: Once you have gathered the trimmed ivy, bundle it together using garden twine or place it in large garbage bags. Make sure to securely tie the bundles or bags to prevent them from coming apart during transportation.
- Check Local Disposal Guidelines: Before disposing of the trimmed ivy, check your local regulations and guidelines for green waste. Some areas have specific disposal methods, such as composting or curbside pickup, while others may require you to take it to a community green waste facility.
- Composting Option: If you have a compost pile or bin, consider adding the trimmed ivy to it. Ivy can decompose and provide valuable organic matter for your garden soil. However, be mindful that ivy can sometimes grow from the trimmings, so monitor your compost pile to prevent any potential regrowth.
- Curbside Pickup or Green Waste Facility: If your local regulations permit it, you may be able to dispose of the trimmed ivy through curbside pickup or by taking it to a green waste facility. Contact your waste management or local municipality to inquire about the appropriate disposal methods.
- Dispose of Invasive Ivy Properly: If you are dealing with invasive ivy species that are problematic in your area, it’s crucial to dispose of it properly. Some invasive ivy species can still propagate and spread, even from the trimmed cuttings. Seal the invasive ivy in plastic bags and dispose of it in the regular trash to prevent any potential regrowth.
- Sanitize Your Tools: After disposing of the trimmed ivy, don’t forget to sanitize your tools. Cleaning them with a disinfectant solution or wiping them with a cloth soaked in rubbing alcohol will help prevent the spread of any plant diseases or pests.
By following these steps, you can ensure that your trimmed ivy is disposed of in an appropriate and responsible manner. Proper disposal helps minimize the risk of regrowth or spreading unwanted invasive species, contributing to the overall health and preservation of your garden and local environment.
Read more: How To Plant Ivy For Ground Cover
Step 5: Maintain and Care for the Trimmed Ivy
Once you have successfully trimmed your ivy ground cover, it’s important to implement ongoing maintenance and care to ensure the health and vitality of the plant. Follow these steps to maintain and care for your trimmed ivy:
- Water Properly: Ivy ground cover generally requires regular watering, especially during dry spells or hot summer months. Water deeply but infrequently to encourage deep root growth. Avoid overwatering, as it can lead to root rot or waterlogged soil. The frequency of watering will depend on the specific needs of your ivy and the existing moisture levels in your garden.
- Monitor and Control Weeds: Keep an eye out for any weeds that may emerge within or around your ivy ground cover. Weeds can compete with ivy for nutrients and water, hindering its growth. Regularly inspect and manually remove any weeds to maintain a clean and healthy growing environment for the ivy.
- Fertilize as Needed: Ivy ground cover generally does not require heavy fertilization, as excessive nutrients can lead to excessive leaf growth and less dense foliage. However, if you notice poor growth or yellowing leaves, you can apply a balanced, slow-release fertilizer in spring or early summer. Follow the instructions on the fertilizer packaging for proper dosage and application methods.
- Monitor for Pests and Diseases: Keep a watchful eye for any signs of pests or diseases on your ivy ground cover. Common pests include aphids, spider mites, and scale insects. If you notice any infestations or disease symptoms, take appropriate measures, such as using insecticidal soaps or horticultural oils, to control the issue. Early detection and intervention can help prevent further damage and keep your ivy healthy.
- Regularly Inspect for Overgrowth: Ivy ground cover has a tendency to spread quickly and may start to encroach on surrounding plants or structures. Regularly inspect your trimmed ivy to ensure it is not overgrowing its boundaries. Trim back any new growth that is extending too far or causing congestion to maintain a tidy and well-managed appearance.
- Provide Adequate Support (if applicable): If your ivy ground cover is growing vertically on walls or structures, periodically check that the support systems, such as trellises or wires, are secure and provide ample support for the ivy. Adjust and tighten any loose connections to prevent sagging or damage to the ivy.
- Be Vigilant with New Shoots: Ivy ground cover can produce new shoots from trimmed areas or runners left in the ground. Keep an eye out for any regrowth and promptly remove and dispose of any new shoots that appear in unwanted areas. This will help prevent the ivy from spreading beyond its intended boundaries.
By implementing these maintenance and care practices, you can ensure the long-term health and vitality of your trimmed ivy ground cover. Regular monitoring and proactive measures will help keep the ivy in check, maintain its desired appearance, and prevent any potential issues from arising.
Conclusion
Congratulations! You’ve successfully learned how to trim ivy ground cover and maintain its health and appearance. By following the step-by-step process, evaluating the ivy, gathering the necessary tools, trimming strategically, and properly disposing of the trimmed foliage, you have taken important steps towards creating a beautiful and controlled ivy ground cover in your garden.
Remember, regular trimming is key to keeping your ivy ground cover in check and preventing it from becoming invasive or overpowering. By shaping and maintaining the ivy, you can create a visually appealing garden feature that enhances the overall aesthetics of your landscape.
Throughout the process, always keep an eye out for any signs of pests, diseases, or overgrowth. Early detection and intervention are crucial in ensuring the ongoing health and vitality of your ivy ground cover. Regular watering, monitoring for weeds, and providing adequate support, if needed, will contribute to the long-term success of your ivy.
By engaging in proper maintenance and care, you can enjoy a lush and well-maintained ivy ground cover that enhances the beauty of your garden. So grab your tools, put on your gloves, and embark on the journey of transforming your ivy ground cover into a thriving and picturesque feature!
Happy trimming!
Frequently Asked Questions about How To Trim Ivy Ground Cover
Was this page helpful?
At Storables.com, we guarantee accurate and reliable information. Our content, validated by Expert Board Contributors, is crafted following stringent Editorial Policies. We're committed to providing you with well-researched, expert-backed insights for all your informational needs.


0 thoughts on “How To Trim Ivy Ground Cover”