Home>Gardening & Outdoor>Landscaping Ideas>How To Make Grass With Acrylic Paint
Landscaping Ideas
How To Make Grass With Acrylic Paint
Modified: October 19, 2024
Learn how to create realistic grass with acrylic paint for your landscaping ideas. Follow our step-by-step tutorial for stunning results.
(Many of the links in this article redirect to a specific reviewed product. Your purchase of these products through affiliate links helps to generate commission for Storables.com, at no extra cost. Learn more)
**
Introduction
**
Creating a lush, vibrant landscape with acrylic paint is a gratifying and captivating endeavor. Whether you're an experienced artist or a budding enthusiast, mastering the art of painting grass can elevate your artwork to new heights. The process of bringing the verdant beauty of grass to life on canvas requires a blend of technique, creativity, and an understanding of color dynamics. Through this comprehensive guide, you will delve into the essential steps and techniques for painting realistic and captivating grass with acrylic paint.
Capturing the essence of grass in a painting not only adds depth and visual interest to your artwork but also enables you to convey a sense of tranquility and natural beauty. From the meticulous selection of materials to the intricacies of color mixing and brushwork, every aspect of this artistic endeavor contributes to the creation of a stunning and lifelike portrayal of grass. With the right guidance and a touch of creativity, you can infuse your artwork with the timeless allure of nature's verdant carpet.
Embarking on this artistic journey will allow you to explore the nuances of acrylic paint and discover the myriad ways in which it can be manipulated to convey the organic textures and hues of grass. By understanding the interplay of light and shadow, the subtle variations in color, and the distinctive characteristics of different grass species, you can breathe life into your paintings and evoke a sense of natural splendor.
As we delve into the intricacies of painting grass with acrylics, you will gain valuable insights into the techniques and methods that can bring your artistic vision to fruition. Whether you aspire to create a serene landscape, a vibrant meadow, or a pastoral scene, the art of painting grass with acrylics offers a myriad of possibilities for artistic expression. So, gather your paints, prepare your canvas, and let's embark on a journey to master the art of painting grass with acrylics.
Key Takeaways:
- Painting grass with acrylics is a creative journey that lets you explore nature’s beauty. By mixing colors and adding details, you can bring the tranquility of grass to life on canvas.
- Observing the nuances of grass and immersing yourself in the painting process can help you create realistic and captivating artwork. Embrace the meditative experience and let your creativity flourish.
Read more: How To Store Acrylic Paintings
Materials Needed
Before embarking on your artistic endeavor to paint grass with acrylics, it’s essential to gather the necessary materials to ensure a seamless and enjoyable painting process. Here’s a comprehensive list of the materials you’ll need:
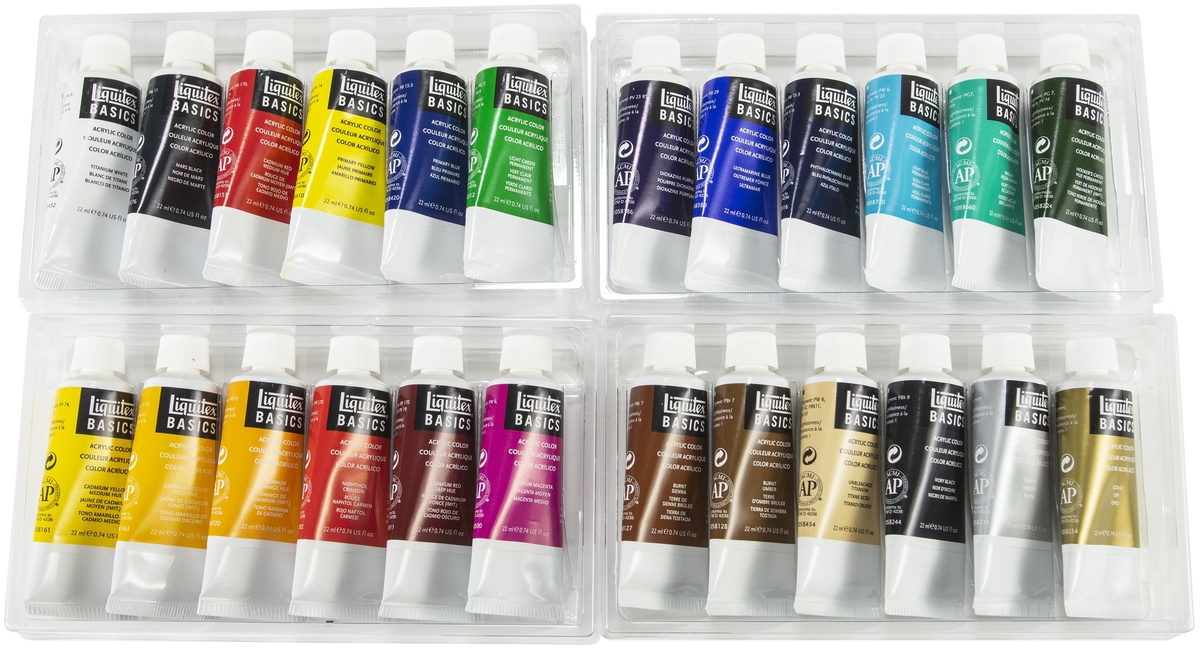
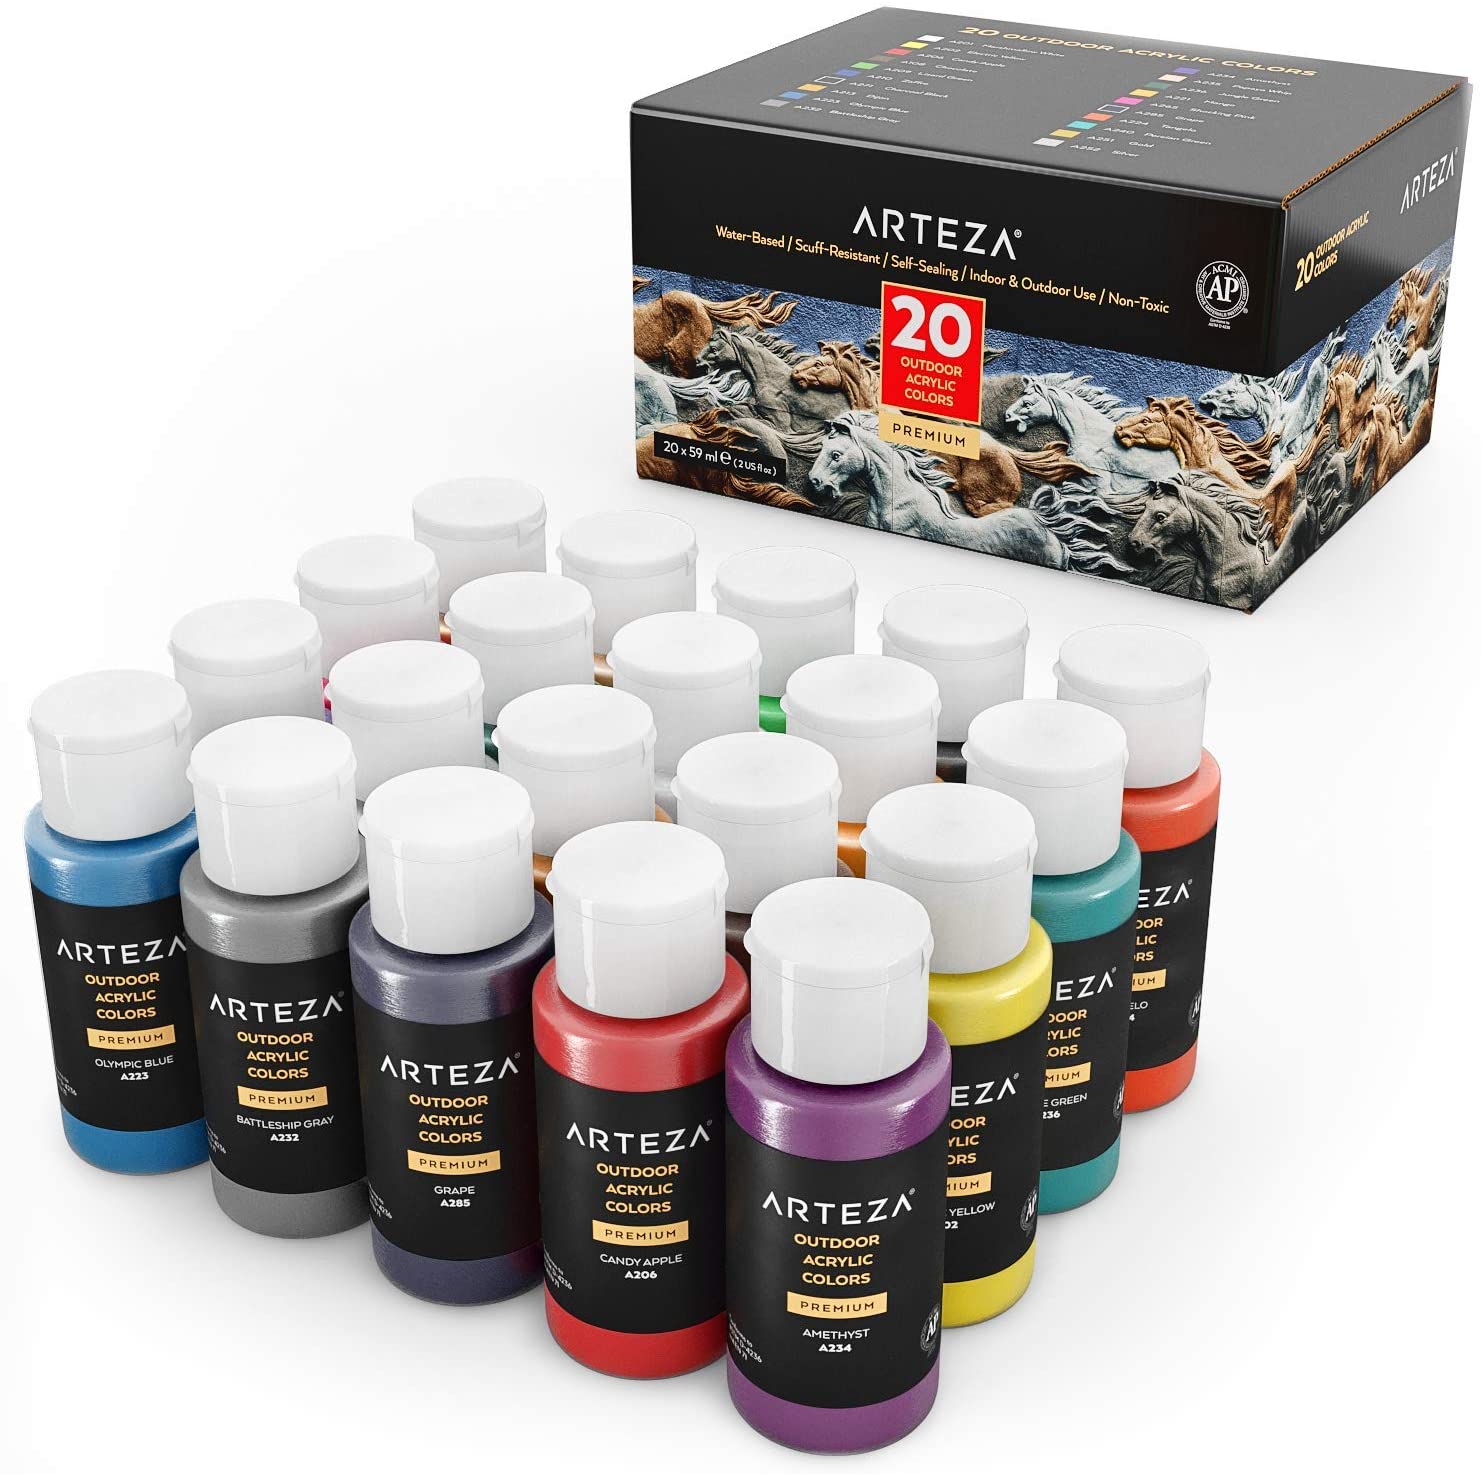
- Acrylic Paints: Select a range of green shades to capture the diverse hues of grass. Opt for colors such as sap green, hooker’s green, viridian, and olive green to create depth and variation in your grassy landscape.
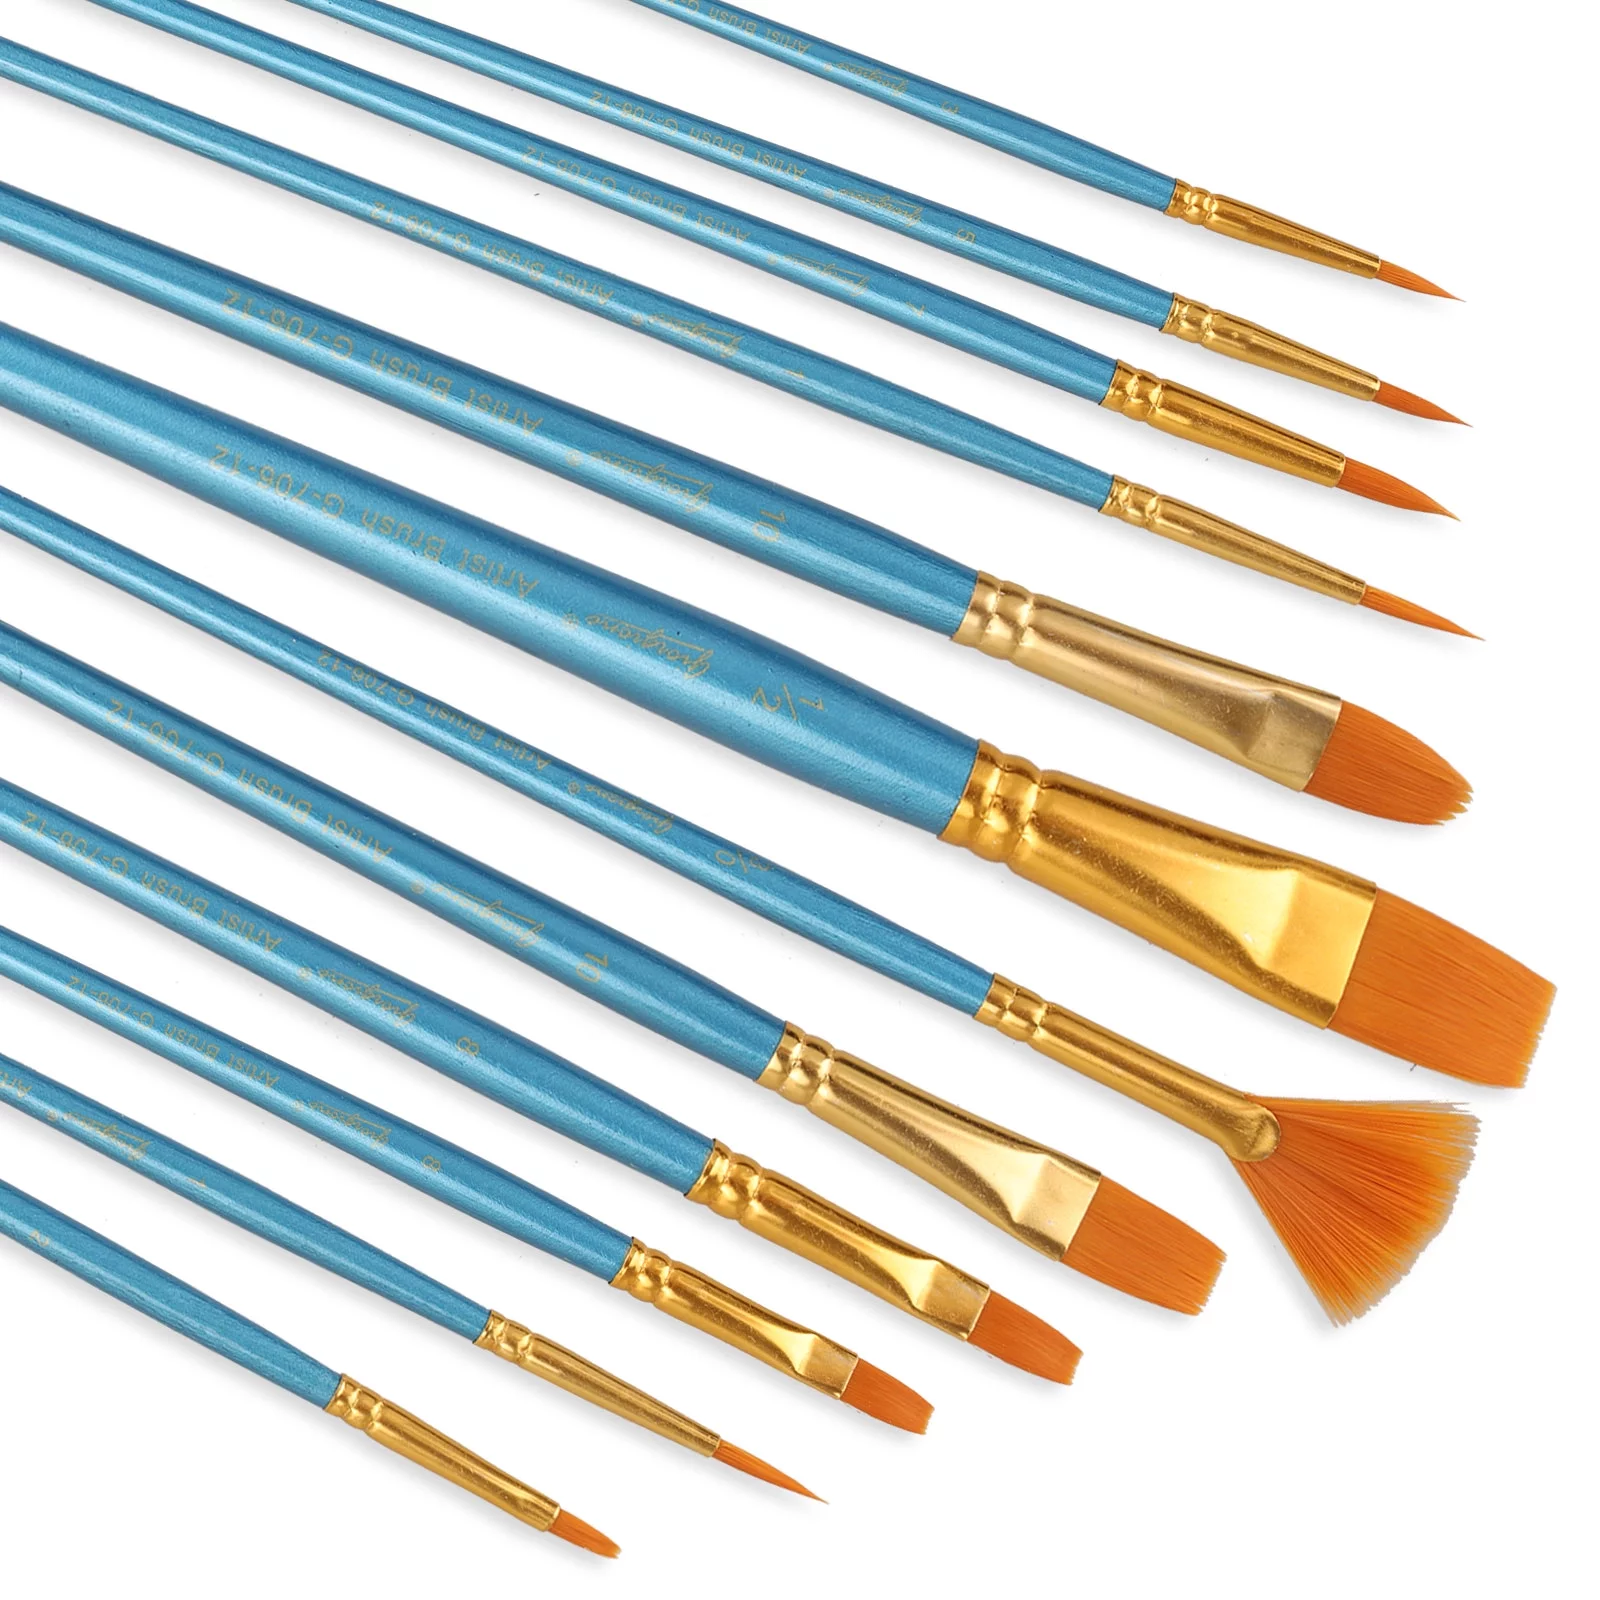
- Paintbrushes: Invest in a variety of brushes, including flat and round brushes of different sizes. These brushes will enable you to apply broad strokes for the grassy expanse and add intricate details to your painting.
- Canvas or Painting Surface: Choose a canvas or painting surface of your preferred size and texture. A primed canvas or canvas board provides a sturdy foundation for your artwork.
- Palette: Use a palette to mix and blend your acrylic paints. A traditional wooden palette or a disposable palette pad offers ample space for experimenting with color combinations.
- Palette Knife: A palette knife is useful for mixing paints and creating textured effects, such as applying thick impasto strokes to depict the lushness of grass.
- Water and Mixing Medium: Keep a container of water for rinsing your brushes and a mixing medium to adjust the consistency and transparency of your acrylic paints.
- Reference Images: Gather reference images of grassy landscapes to inspire and guide your painting. Observing the natural patterns and colors of grass will enhance the authenticity of your artwork.
- Pencil and Eraser: Sketching the initial outlines of your composition on the canvas requires a pencil and eraser for precision and adjustments.
- Protective Clothing: Wear a painting apron or old clothing to shield yourself from accidental paint splatters and spills during the creative process.
By assembling these essential materials, you’ll be well-equipped to embark on your artistic journey to paint realistic and captivating grass with acrylics. The interplay of these materials, coupled with your artistic vision and creativity, will pave the way for a rewarding and immersive painting experience.
Preparing the Canvas
Before delving into the intricate process of painting grass with acrylics, it’s crucial to prepare your canvas to ensure an optimal painting surface and to lay the groundwork for your artistic vision. Follow these essential steps to prepare your canvas for the vibrant portrayal of grass:
- Priming the Canvas: Begin by priming your canvas with gesso to create a smooth and uniform surface for painting. Apply an even layer of gesso using a wide brush, and let it dry completely before proceeding to the next step.
- Sketching the Composition: Use a pencil to lightly sketch the outline of your grassy landscape on the primed canvas. Consider the placement of the grassy expanse, the curvature of the terrain, and any focal points within the scene.
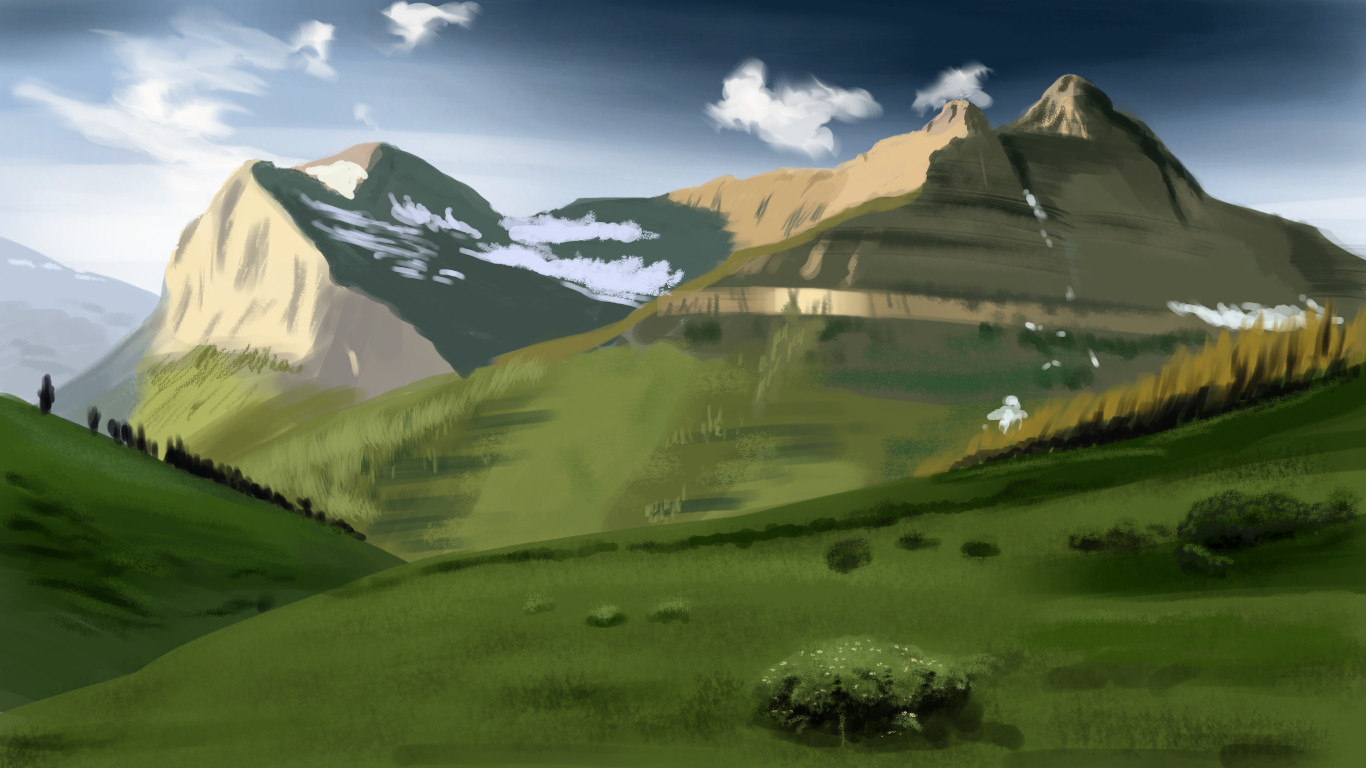
- Blocking Background Colors: If your grassy landscape encompasses a sky or distant elements, consider blocking in the background colors using diluted acrylic paints. This sets the tonal foundation for your painting and provides a backdrop for the lush grass.
- Creating a Gradient: For landscapes with a horizon, blend and layer acrylic paints to create a seamless gradient from the sky to the ground. Incorporate subtle shifts in color to evoke the atmospheric perspective and depth of the scene.
- Establishing Light and Shadow: Determine the direction of light in your composition and visualize the areas of light and shadow within the grassy expanse. This preliminary planning sets the stage for the nuanced portrayal of light effects on the grass.
By meticulously preparing your canvas, you establish a solid foundation for the subsequent stages of painting grass with acrylics. This preparatory phase not only sets the tone and composition of your artwork but also facilitates a seamless transition into the intricacies of color mixing and brushwork. With your canvas primed and the initial outlines sketched, you’re poised to infuse your painting with the organic allure of grass and bring your artistic vision to fruition.
Mixing the Green Colors
One of the pivotal aspects of painting realistic grass with acrylics lies in mastering the art of mixing green colors to capture the diverse and dynamic hues of grass blades. By understanding the interplay of primary colors and the nuances of tonal variation, you can infuse your grassy landscape with depth and visual richness. Here’s a step-by-step guide to expertly mixing green colors for your acrylic painting:
- Exploring Color Variations: Begin by familiarizing yourself with the multitude of green shades present in natural grass. Observe the subtle shifts from yellow-greens to deep, rich greens, and the occasional hints of blue or brown within the grass blades. This observation serves as a foundation for your color mixing endeavors.
- Primary Color Combination: Utilize a primary color palette comprising cadmium yellow, phthalo blue, and cadmium red to create a spectrum of green shades. Experiment with varying proportions of these primary colors to achieve a range of greens, from vibrant and sunny to muted and earthy.
- Adding White and Black: Introduce titanium white to lighten the green hues and imbue them with luminosity. Conversely, a touch of mars black can deepen the greens and introduce subtle cool undertones, adding dimension to your color palette.
- Mixing Complementary Colors: To create nuanced and realistic greens, consider mixing complementary colors such as red-violet or purple into your green mixtures. This imparts a harmonious balance and complexity to the greens, emulating the natural variations found in grassy landscapes.
- Layering and Blending: As you mix your green colors, envision the layers and depths within the grass. Experiment with layering translucent glazes of different green hues to convey the overlapping blades and the interplay of light and shadow within the grassy expanse.
By honing your skills in mixing an array of green colors, you lay the groundwork for infusing your acrylic painting with the organic vibrancy and lifelike textures of grass. Embrace the process of experimentation and observation, allowing the natural beauty of grass to guide your color mixing endeavors and elevate your artwork to new levels of realism and visual allure.
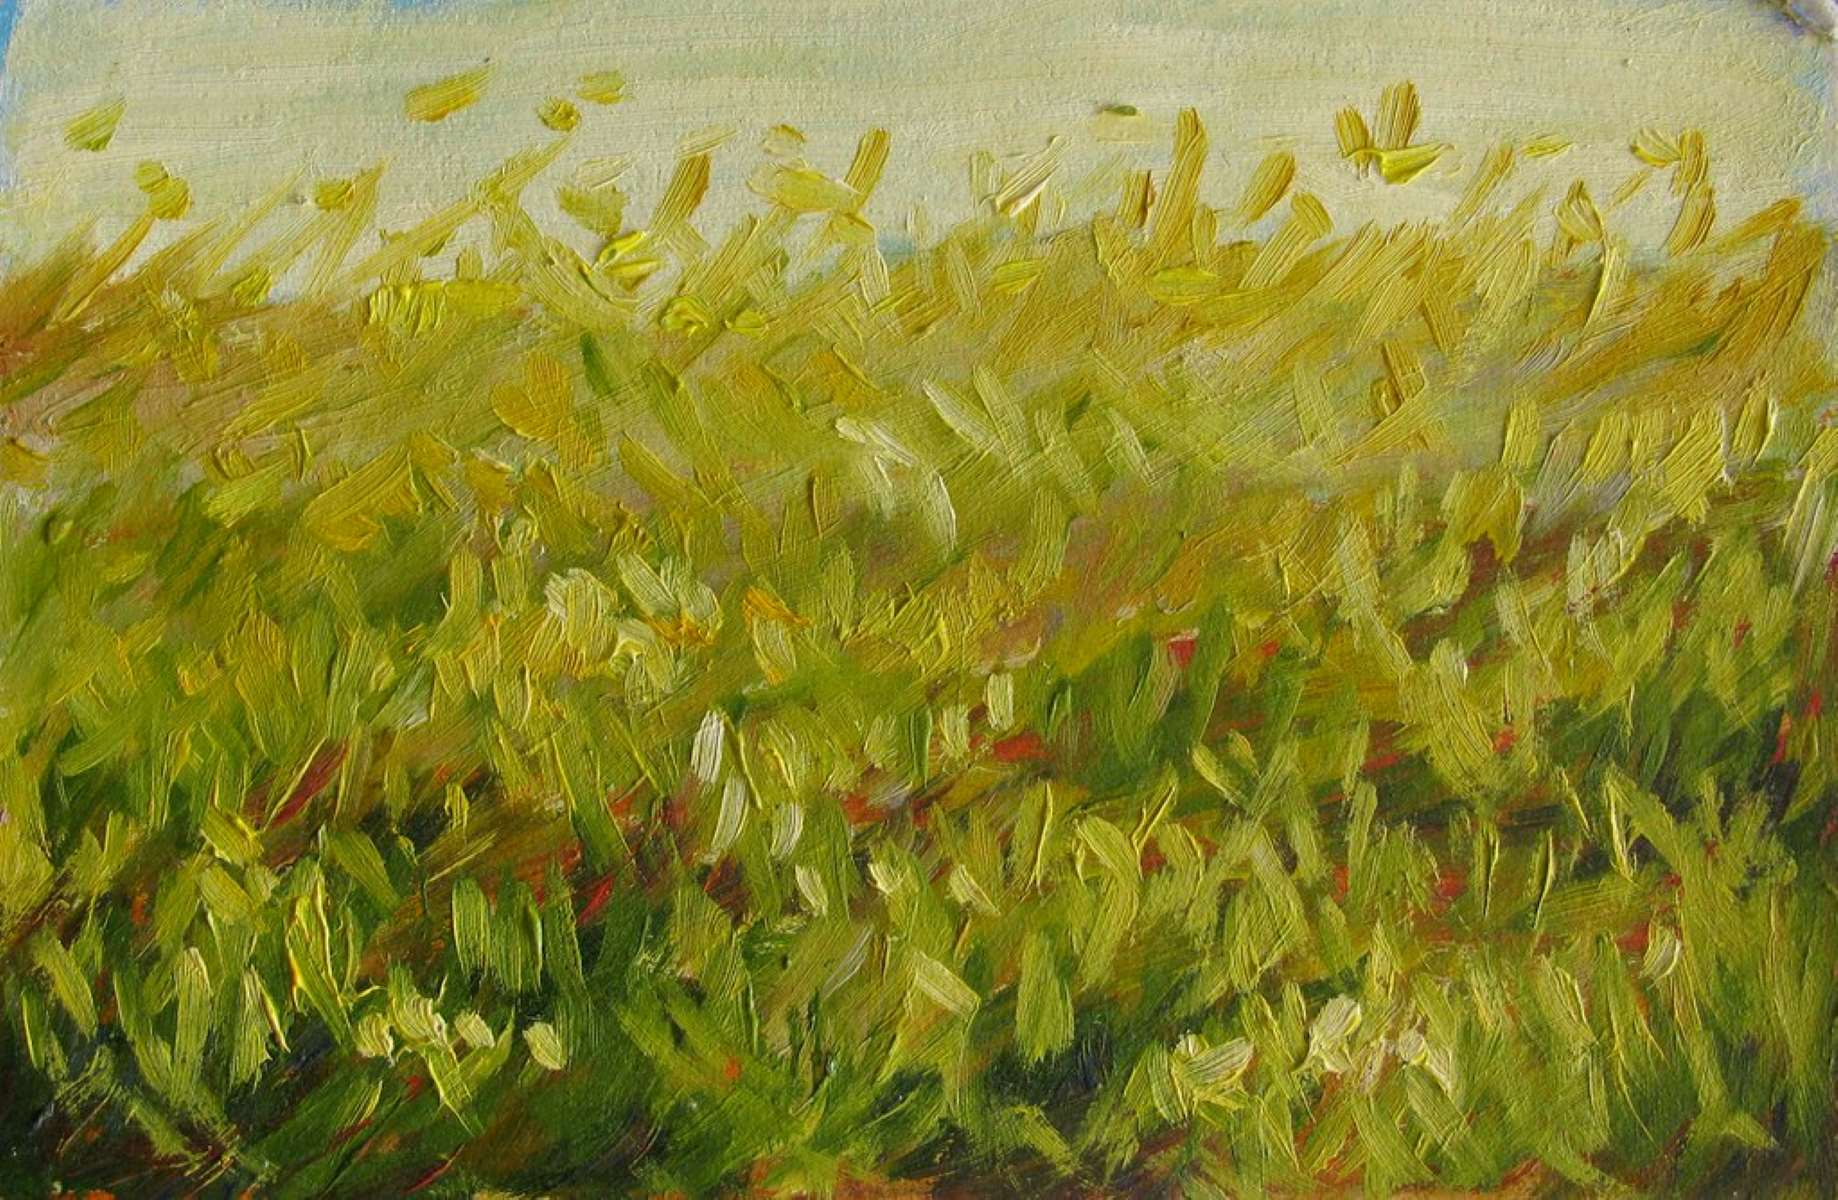
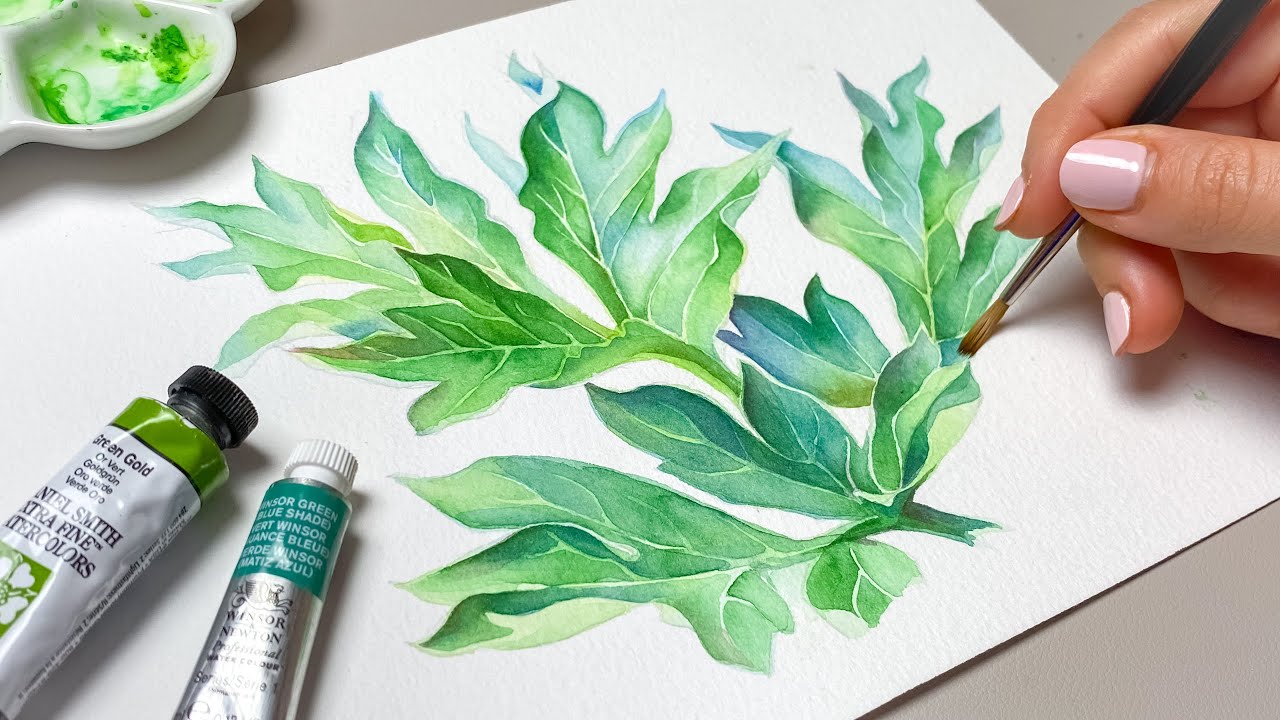
Mix different shades of green to create depth and texture in your grass. Start with a dark green base and add lighter shades for highlights. Use a thin brush to create fine lines for a realistic look.
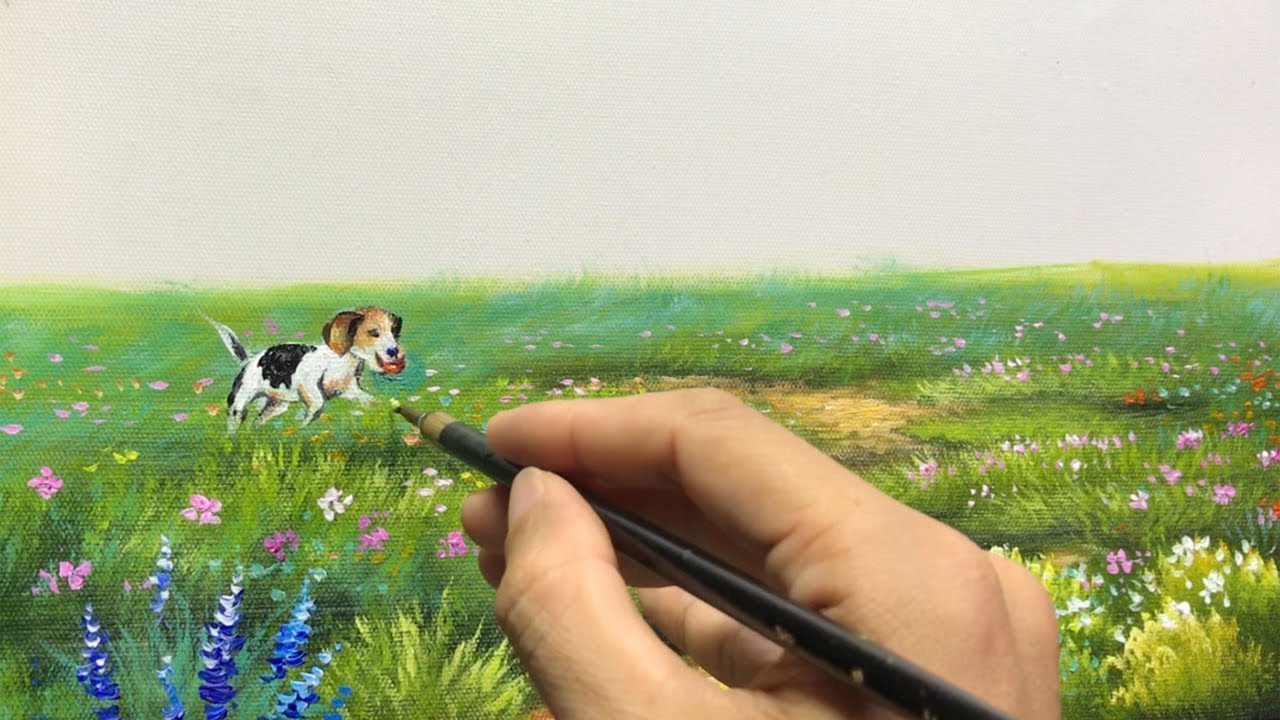
Painting the Grass
With a palette of meticulously mixed green hues at your disposal, you’re ready to embark on the captivating process of painting grass with acrylics. The following steps will guide you through the intricacies of applying vibrant and lifelike grassy textures to your canvas:
- Broad Brushstrokes: Begin by using a flat brush to apply broad, sweeping brushstrokes to delineate the general shape and contours of the grassy expanse. Vary the pressure and direction of your brushstrokes to evoke the natural flow and undulations of grass.
- Layering Techniques: Employ layering techniques to build depth and dimension within the grass. Apply translucent layers of varying green shades, allowing the underlying colors to subtly peek through and create a sense of lushness and intricacy.
- Textural Effects: Experiment with creating textural effects using a stippling or dabbing motion with a round brush or a bristle brush. This technique mimics the individual blades of grass and imparts a tactile quality to your painting.
- Foreground Details: Pay attention to the foreground of your grassy landscape, where intricate details and focal points may reside. Add heightened texture and definition to the grass in the foreground, capturing the viewer’s gaze and infusing the scene with captivating realism.
- Light and Shadow: Delicately integrate areas of light and shadow within the grass, reflecting the interplay of sunlight and the nuanced tonal variations of the grass blades. This adds a sense of luminosity and depth to your painting, enhancing its visual impact.
As you immerse yourself in the process of painting grass with acrylics, embrace the organic rhythm and textures of nature, allowing them to inform your brushwork and artistic expression. Each brushstroke contributes to the tapestry of grassy beauty, culminating in a captivating portrayal of natural splendor on your canvas.
Read more: How To Make Grass Color Paint
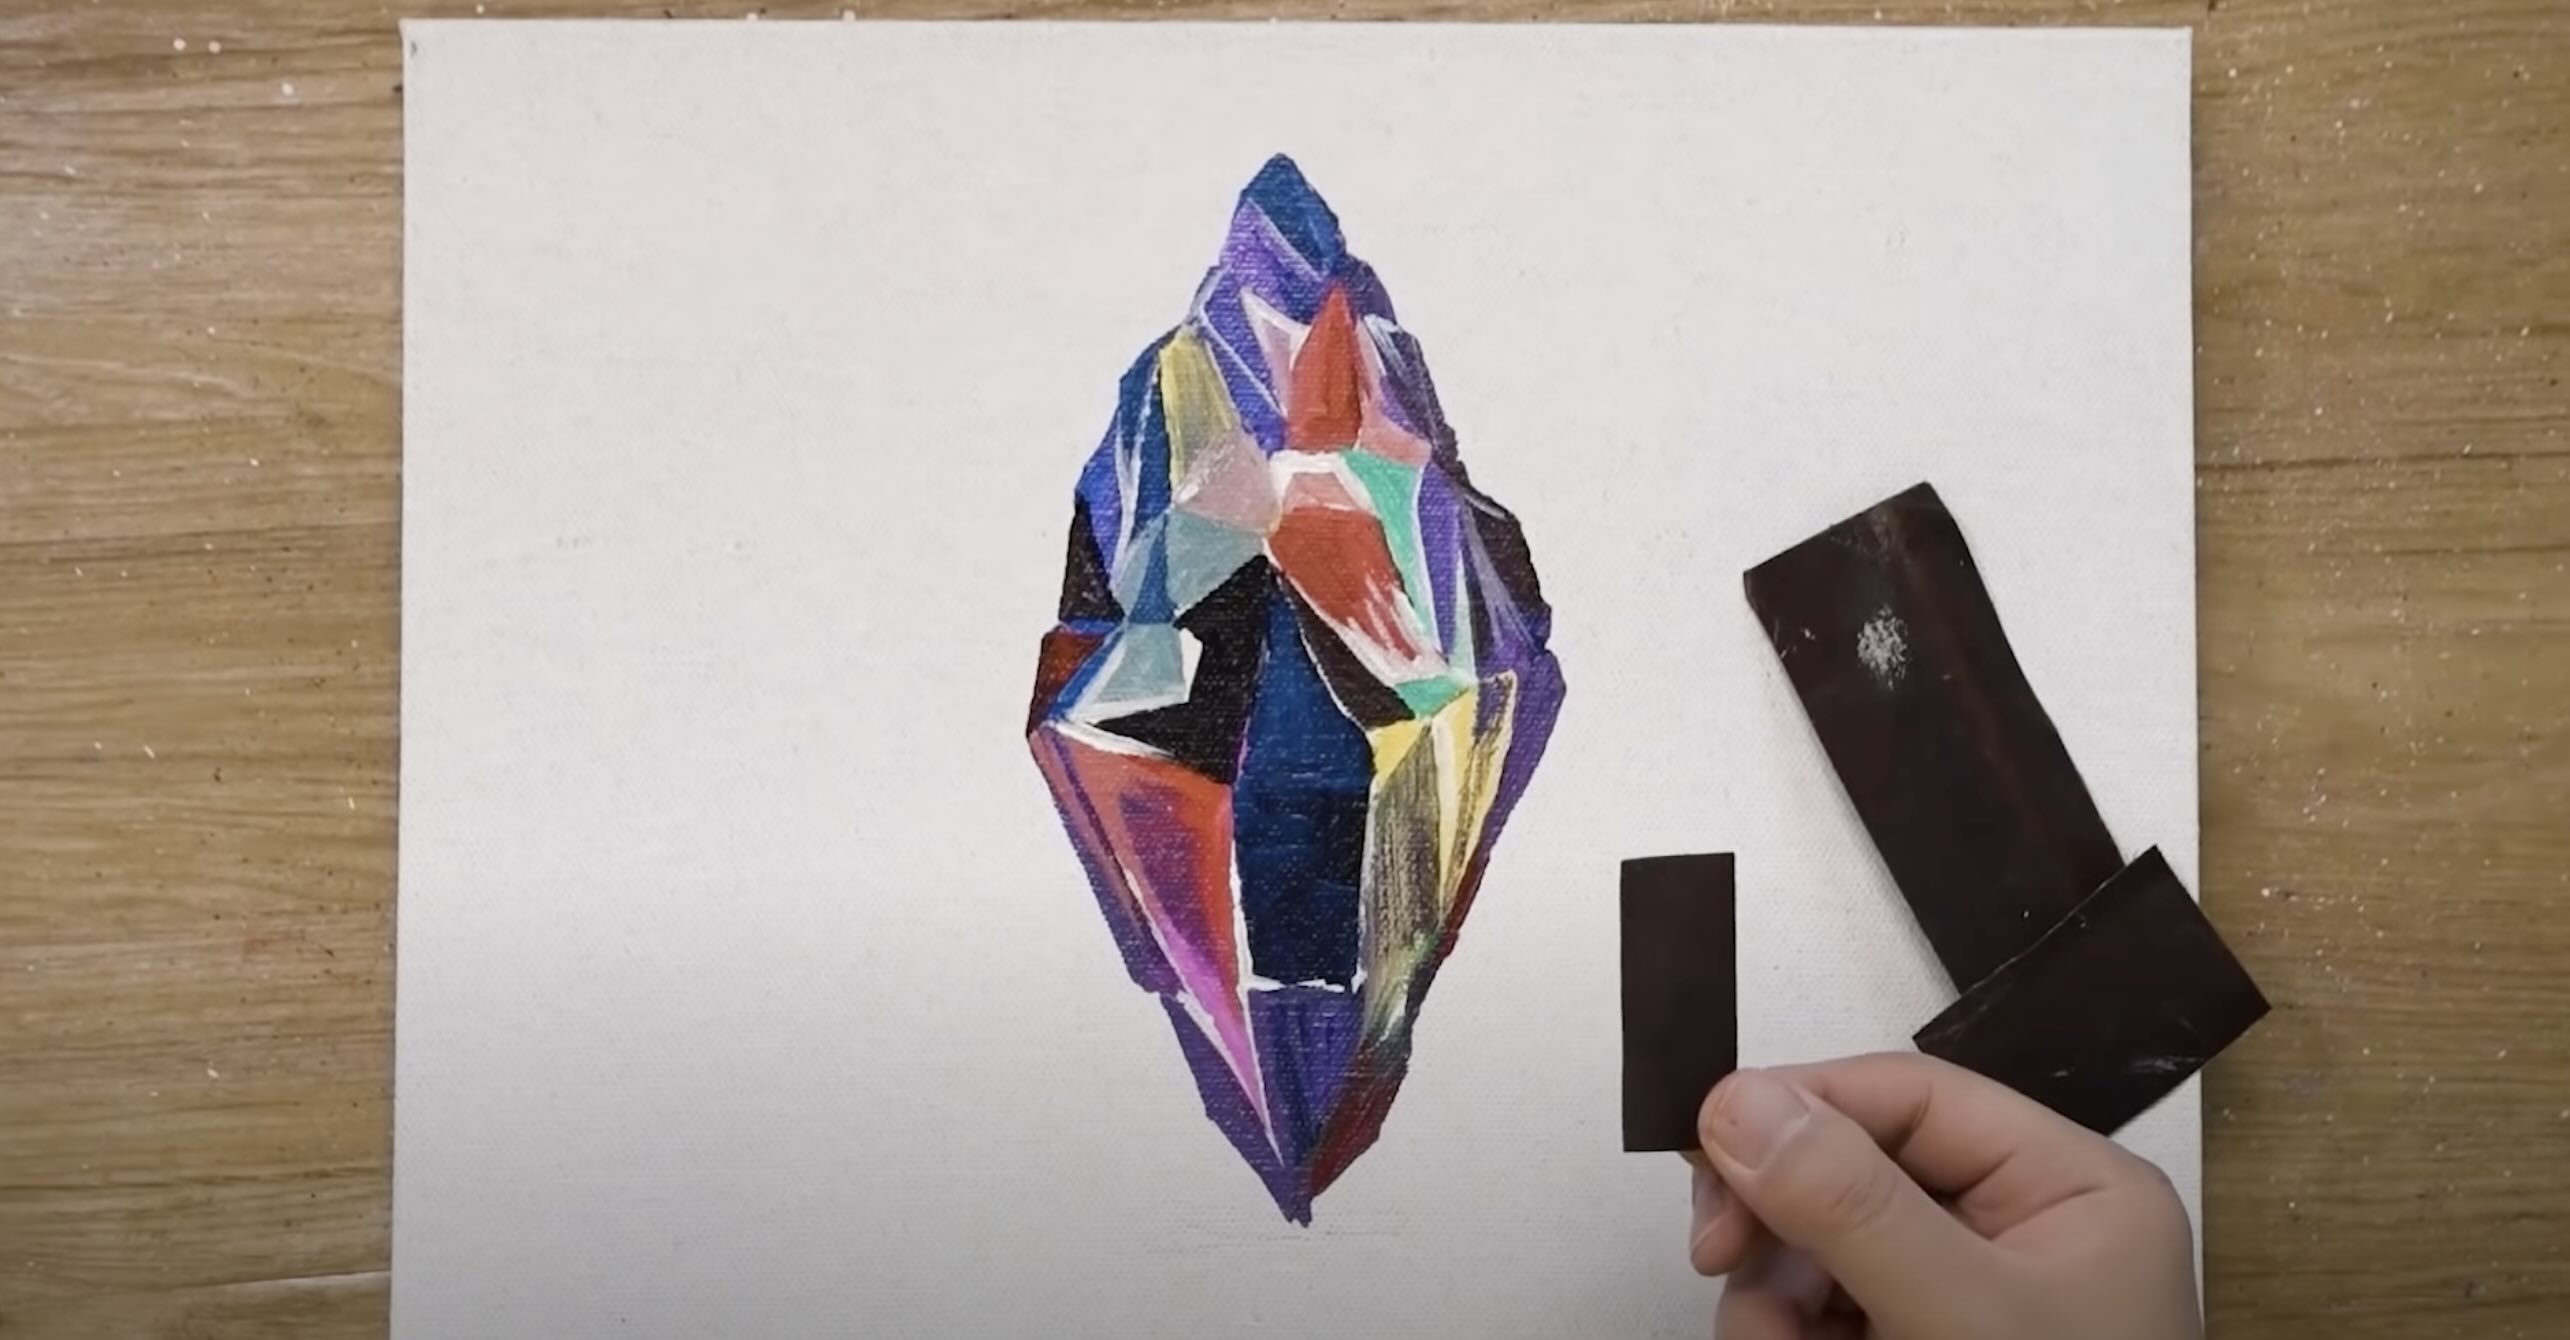
Adding Details
Adding intricate details to your grassy landscape enhances the depth, realism, and visual interest of your acrylic painting. By infusing your artwork with meticulous details, you can elevate the portrayal of grass to a new level of authenticity and captivate the viewer’s imagination. Here’s a guide to incorporating compelling details into your grass painting:
- Individual Grass Blades: Use a fine-tipped brush to delicately paint individual grass blades, varying the length, angle, and density of the blades to create a naturalistic and dynamic grassy texture. This meticulous approach adds a sense of realism and movement to your painting.
- Wildflowers and Flora: Introduce pops of color and visual interest by depicting wildflowers, dandelions, or other flora interspersed within the grass. Consider the vibrant hues and delicate shapes of these elements, which contrast with the verdant backdrop of the grassy landscape.
- Subtle Inhabitants: Depict subtle inhabitants of the grassy terrain, such as tiny insects, butterflies, or small creatures, nestled amidst the blades of grass. These whimsical details infuse your painting with a sense of vitality and a touch of narrative intrigue.
- Dew or Raindrops: For a touch of ethereal beauty, consider portraying dew or raindrops glistening on the grass blades. Utilize translucent whites and iridescent hues to capture the luminous quality of these delicate water droplets.
- Play of Light: Enhance the play of light within your grassy landscape by strategically highlighting areas where sunlight catches the tips of the grass blades. This subtle interplay of light and shadow adds a dynamic and luminous quality to your painting.
By infusing your grass painting with these intricate and evocative details, you breathe life into the natural splendor of the grassy terrain, inviting viewers to immerse themselves in the captivating world you’ve created on canvas. These details not only enrich the visual narrative of your artwork but also reflect your artistic finesse and dedication to portraying the timeless allure of nature.
Conclusion
Embarking on the artistic journey of painting grass with acrylics opens a gateway to the boundless beauty and tranquility of natural landscapes. Through the meticulous interplay of color, texture, and brushwork, you have the power to evoke the organic vibrancy and timeless allure of grass on canvas. As you conclude your artistic endeavor, reflect on the following key takeaways:
- Artistic Exploration: The process of painting grass with acrylics is a testament to the endless possibilities for artistic exploration and expression. Embrace the freedom to experiment with color, texture, and composition, allowing your creativity to flourish amidst the verdant tapestry of grass.
- Nuanced Observation: Cultivate a keen eye for the subtle nuances and textures present in natural grass. By observing the organic rhythms and hues of grassy landscapes, you enrich your artistic repertoire and infuse your paintings with authenticity.
- Immersive Experience: Painting grass with acrylics offers an immersive and meditative experience, allowing you to connect with the serenity and vitality of nature. Embrace the rhythmic brushstrokes and the tactile sensation of bringing grass to life on canvas.
- Captivating Realism: Through meticulous color mixing, brushwork, and the infusion of intricate details, you have the power to imbue your grass painting with captivating realism and evoke a sense of natural splendor that resonates with viewers.
As you conclude your artistic odyssey of painting grass with acrylics, take pride in the vibrant and lifelike portrayal of grass you’ve cultivated on canvas. Whether your artwork captures the tranquil sway of a meadow or the verdant expanse of a pastoral scene, it stands as a testament to your artistic vision and the timeless allure of nature’s verdant carpet.
With each brushstroke and nuanced detail, you’ve woven a tapestry of natural beauty that invites viewers to immerse themselves in the captivating world you’ve created. Embrace the art of painting grass with acrylics as an ongoing journey of discovery and artistic growth, where the lushness of grass becomes a timeless muse for your creative expression.
Frequently Asked Questions about How To Make Grass With Acrylic Paint
Was this page helpful?
At Storables.com, we guarantee accurate and reliable information. Our content, validated by Expert Board Contributors, is crafted following stringent Editorial Policies. We're committed to providing you with well-researched, expert-backed insights for all your informational needs.


0 thoughts on “How To Make Grass With Acrylic Paint”