Home>Gardening & Outdoor>Landscaping Ideas>How To Make A Grass Backdrop
Landscaping Ideas
How To Make A Grass Backdrop
Modified: August 17, 2024
Learn how to create a stunning grass backdrop for your landscaping project with our expert tips and ideas. Transform your outdoor space with our landscaping ideas today!
(Many of the links in this article redirect to a specific reviewed product. Your purchase of these products through affiliate links helps to generate commission for Storables.com, at no extra cost. Learn more)
Introduction
Welcome to the world of landscaping, where creativity meets nature to transform outdoor spaces into stunning works of art. One of the most captivating elements of landscaping is the use of grass backdrops, which can add depth, texture, and a touch of natural beauty to any setting. Whether you’re planning a wedding, creating a photo booth, or simply looking to enhance your outdoor space, a grass backdrop can serve as a versatile and visually appealing feature.
By learning how to make a grass backdrop, you can unleash your creativity and bring a touch of the outdoors into any environment. This comprehensive guide will walk you through the process, from gathering the necessary materials to adding the finishing touches that will make your grass backdrop truly stand out. So, roll up your sleeves and get ready to embark on a fun and rewarding landscaping adventure!
Key Takeaways:
- Create a stunning grass backdrop by securing artificial turf to a wooden frame. Add personal touches and lighting for a versatile and visually captivating feature in any setting.
- Unleash your creativity and transform basic materials into a work of art that brings the beauty of the outdoors into any environment. Embrace the opportunity to experiment with different materials and decorative elements to personalize and enhance your grass backdrop for various occasions.
Read more: How To Make A Greenery Wall Backdrop
Materials Needed
Before diving into the construction of your grass backdrop, it’s essential to gather all the necessary materials. Here’s a list of items you’ll need to bring your vision to life:
- Wooden frame or trellis: This will serve as the base for your grass backdrop. You can purchase a pre-made frame or build one to your desired dimensions using wooden slats or a trellis structure.
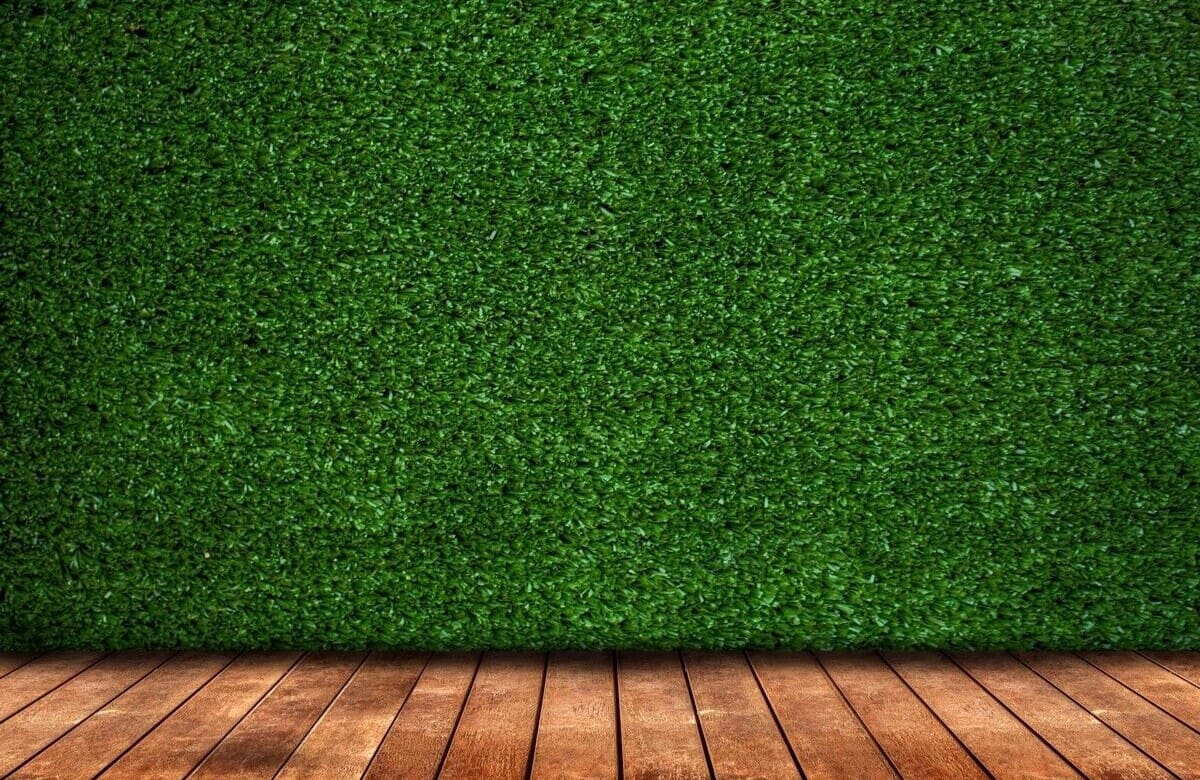
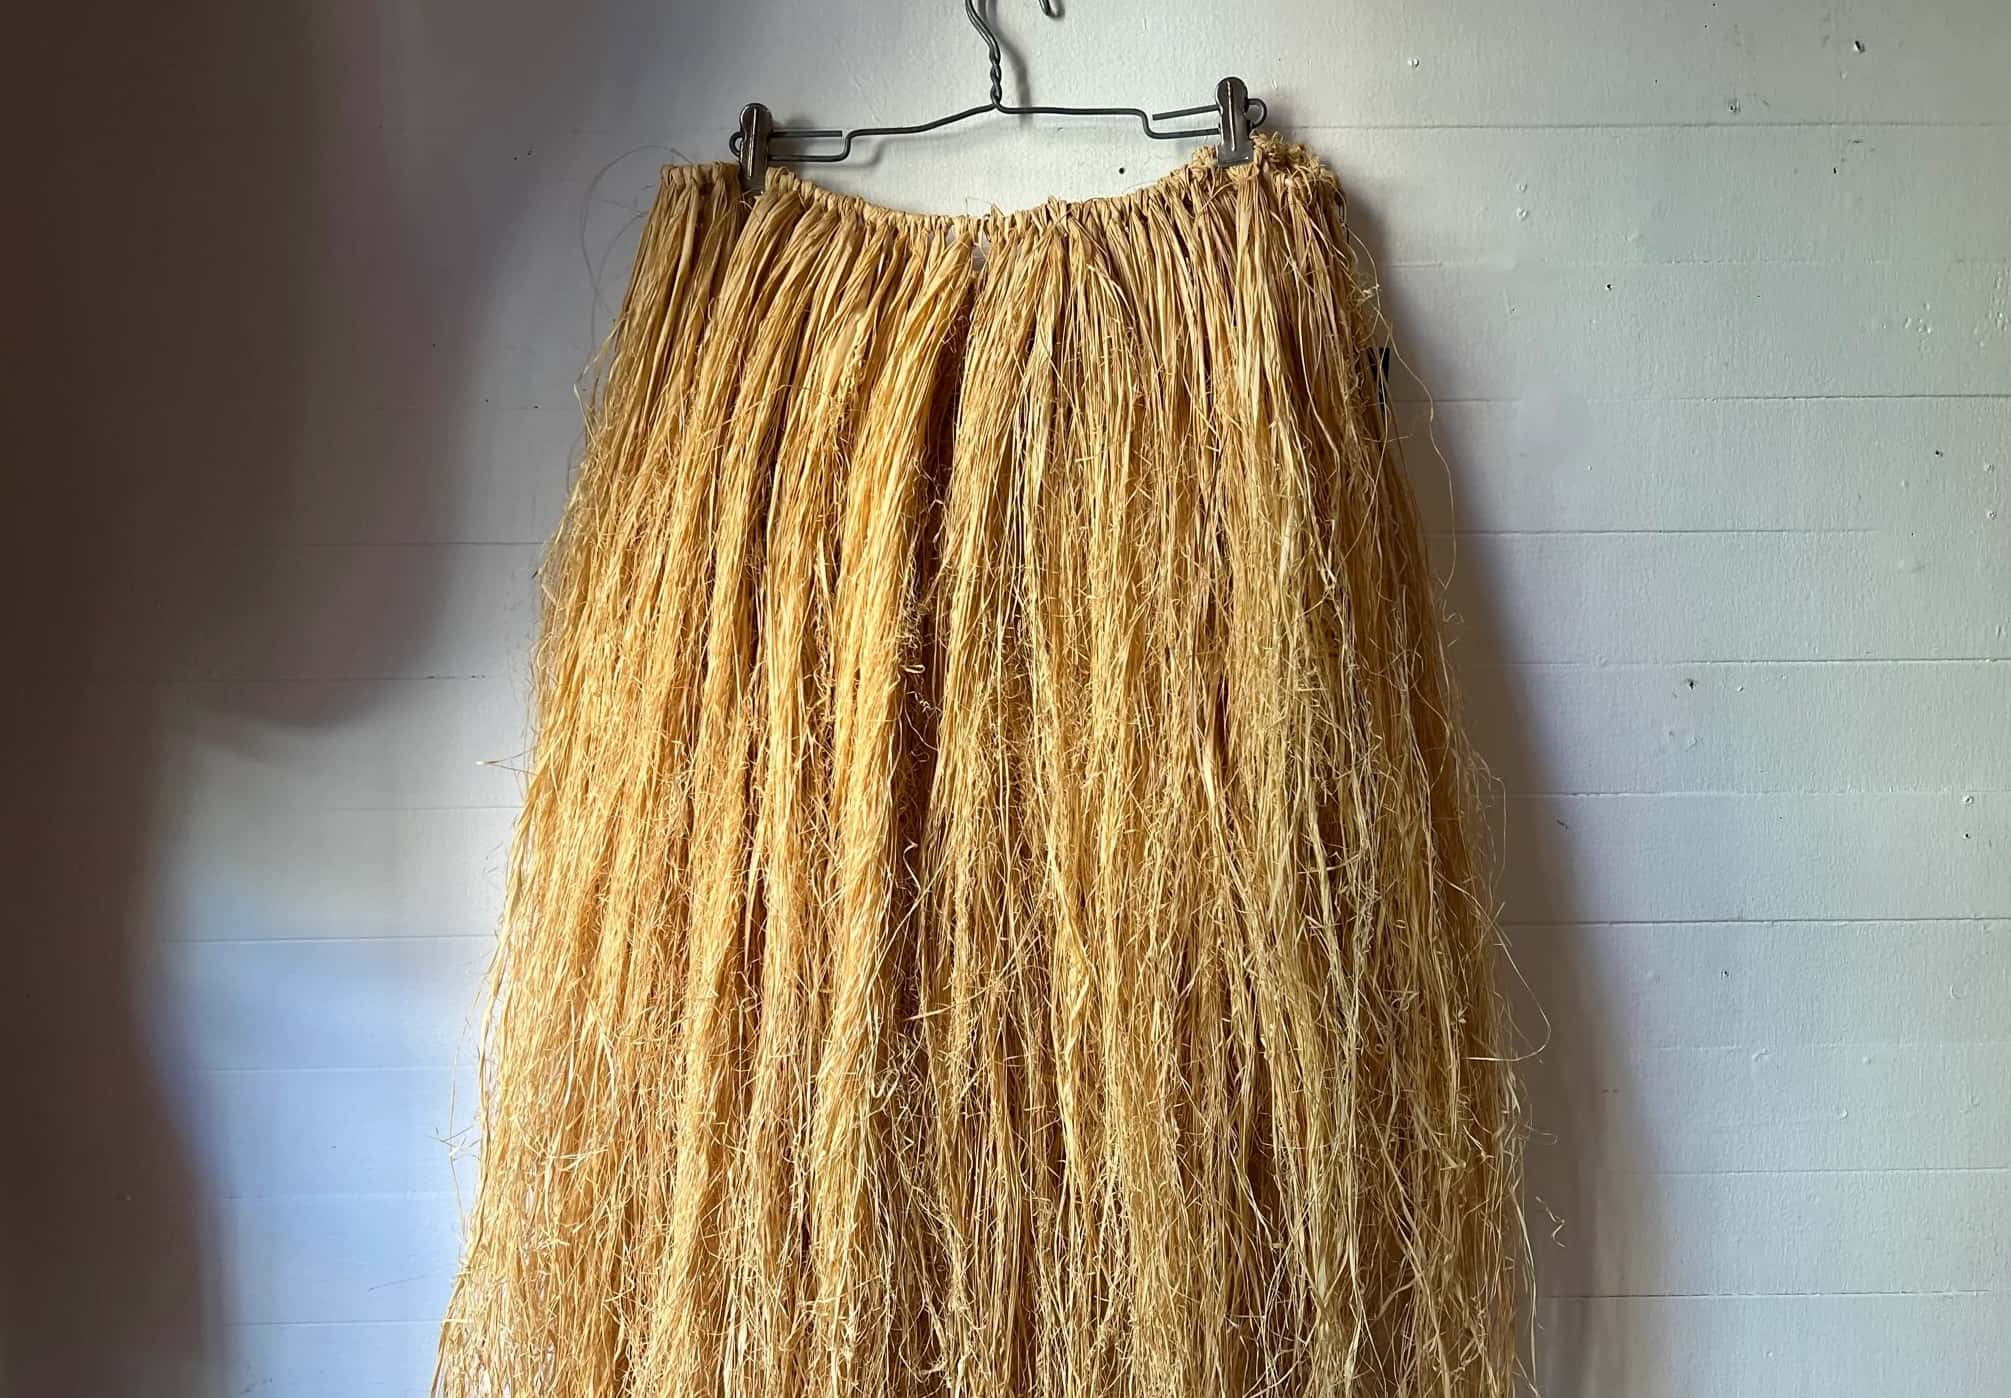
- Artificial grass or turf: Opt for high-quality artificial grass that closely resembles the appearance and texture of natural grass. Ensure that it’s sufficient to cover the entire surface of your frame with some extra for trimming.
- Staple gun and staples: These will be used to secure the artificial grass to the frame, ensuring a snug and uniform fit.
- Scissors or utility knife: You’ll need these tools to trim and shape the grass to fit the dimensions of your frame, as well as for any detailed cutting or adjustments.
- Measuring tape: Precision is key when creating a professional-looking grass backdrop, so a measuring tape will help you accurately size and align the materials.
- Decorative elements (optional): Depending on the intended use of your grass backdrop, you may want to incorporate decorative elements such as flowers, foliage, or lighting to enhance its visual appeal.
With these materials in hand, you’ll be well-equipped to move on to the next steps of constructing your grass backdrop. Now that you have everything you need, it’s time to roll up your sleeves and bring your vision to life!
Preparing the Frame
Now that you have all the necessary materials assembled, it’s time to prepare the frame for your grass backdrop. Whether you’re using a pre-made wooden frame or constructing one from scratch, this step sets the foundation for the visual impact of your backdrop. Here’s a step-by-step guide to get you started:
- Measure and cut the grass: Before attaching the grass to the frame, measure and cut the artificial turf to fit the dimensions of the frame. Ensure that the grass overlaps the edges slightly to allow for a secure attachment.
- Secure the frame: If you’re using a pre-made wooden frame, ensure that it’s stable and positioned where you want the backdrop to be displayed. If you’re building a frame, assemble the wooden slats or trellis structure securely to create a stable base.
- Align the grass: Lay the cut artificial grass over the frame, ensuring that it’s centered and positioned evenly. Smooth out any wrinkles or folds to create a uniform surface.
- Trim and shape: Use scissors or a utility knife to carefully trim and shape the grass to fit the frame precisely. Pay attention to corners and edges, ensuring a clean and professional look.
- Secure the grass: Once the grass is aligned and trimmed, use a staple gun to secure it to the frame. Start at one edge and work your way around, stapling the grass at regular intervals to ensure a secure and even attachment.
By following these steps, you’ll have a sturdy and well-prepared frame for your grass backdrop. With the frame in place and the grass securely attached, you’re ready to move on to the next exciting phase of the construction process: adding the finishing touches!
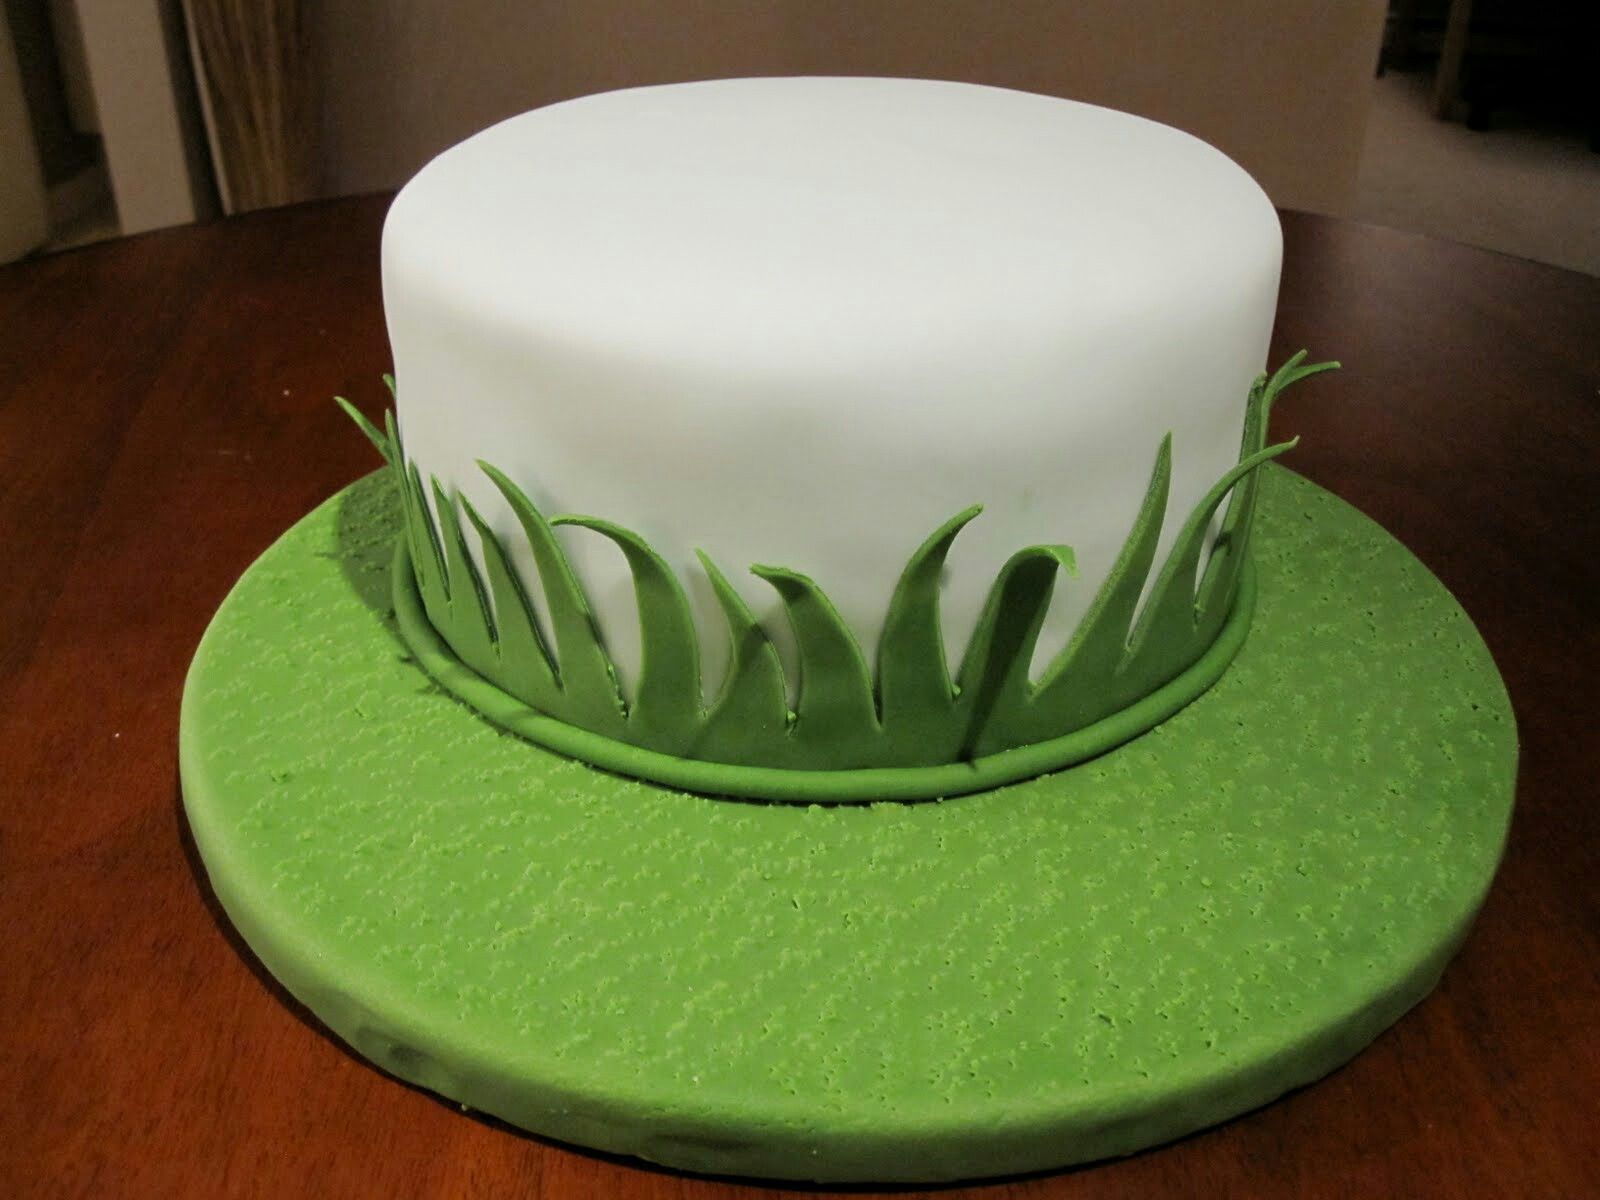
To make a grass backdrop, use a large piece of plywood or cardboard as a base. Then, attach artificial grass or green fabric to create the backdrop. Add some flowers or other decorations for a more realistic look.
Attaching the Grass
With the frame prepared and the artificial grass cut to size, it’s time to attach the grass to the frame. This step is crucial for creating a seamless and natural-looking backdrop that will serve as a stunning focal point in any setting. Here’s a detailed guide to help you through the process:
- Position the grass: Lay the cut artificial grass over the prepared frame, ensuring that it’s aligned and centered. Smooth out any remaining wrinkles or uneven areas to create a uniform surface.
- Secure the edges: Starting from one corner, use a staple gun to secure the edges of the grass to the frame. Place staples at regular intervals along the perimeter, ensuring a snug and secure fit.
- Work from the center: Once the edges are secured, continue to staple the grass to the frame, working from the center towards the edges. This will help maintain an even tension and prevent any bunching or unevenness.
- Trim excess grass: After securing the grass to the frame, use scissors or a utility knife to carefully trim any excess material along the edges. Pay attention to detail to achieve clean and precise cuts.
- Inspect and adjust: Once the grass is fully attached and trimmed, inspect the backdrop for any loose areas or imperfections. Make any necessary adjustments to ensure a smooth and flawless surface.
By following these steps, you’ll effectively attach the artificial grass to the frame, creating a professional-quality backdrop that exudes the natural beauty of lush greenery. With the grass securely in place, it’s time to move on to the final phase of the construction process: adding the finishing touches that will elevate your grass backdrop to a stunning visual centerpiece!
Adding Finishing Touches
With the grass securely attached to the frame, it’s time to elevate your backdrop by adding the finishing touches that will enhance its visual appeal and make it truly stand out. Whether you’re using the grass backdrop for a special event, photo backdrop, or outdoor decor, these final touches will add an extra layer of charm and sophistication. Here’s how to bring your grass backdrop to life:
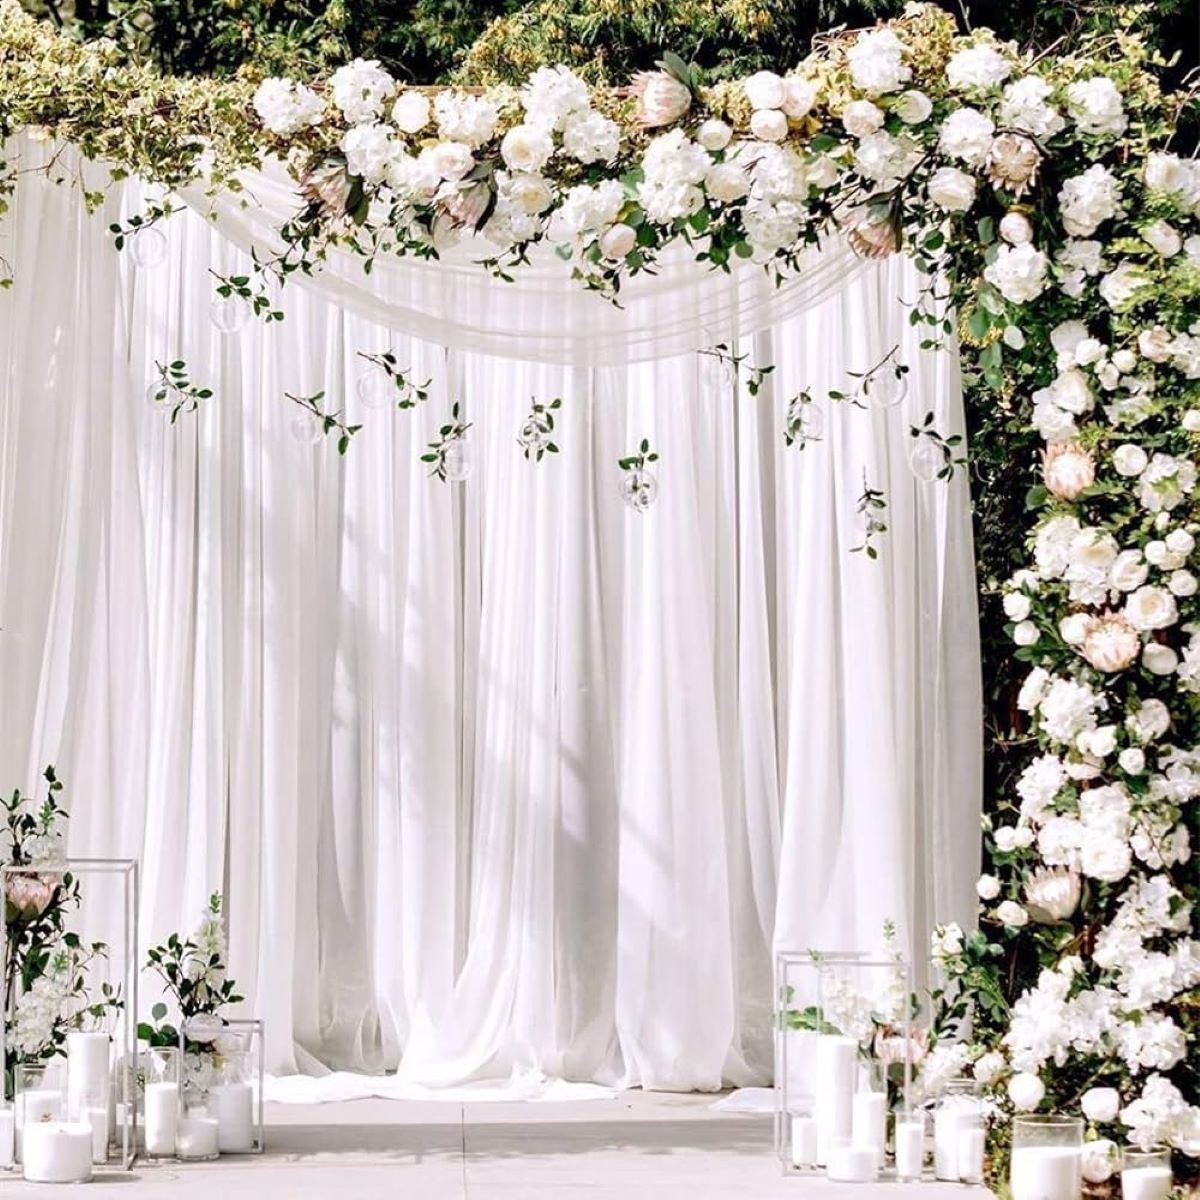
- Decorative elements: Depending on the intended use of your backdrop, consider incorporating decorative elements such as fresh flowers, foliage, or twinkling lights. These additions can complement the natural aesthetic of the grass backdrop and create a captivating visual impact.
- Lighting effects: If your grass backdrop will be used for evening events or outdoor gatherings, consider adding subtle lighting effects to highlight its beauty. String lights, lanterns, or softly glowing LED fixtures can create a magical ambiance and accentuate the texture of the grass.
- Personalized touches: For weddings, parties, or special occasions, consider adding personalized touches such as monograms, signage, or thematic decor elements. These details can infuse your grass backdrop with individuality and make it a memorable part of the event’s ambiance.
- Maintenance and care: To ensure that your grass backdrop remains vibrant and attractive, consider the maintenance requirements of the artificial grass. Regular brushing, cleaning, and minor touch-ups can keep the backdrop looking fresh and inviting for extended periods.
By adding these finishing touches, you’ll transform your grass backdrop into a captivating focal point that seamlessly blends natural beauty with artistic flair. Whether it’s for a wedding, a photo shoot, or simply to enhance your outdoor space, these enhancements will elevate the visual impact of your backdrop and leave a lasting impression on all who encounter it.
Read more: How To Make A Greenery Backdrop
Conclusion
Congratulations! You’ve successfully learned how to create a stunning grass backdrop that can serve as a versatile and visually captivating feature in a variety of settings. By following the steps outlined in this guide, you’ve harnessed your creativity and transformed basic materials into a work of art that brings the beauty of the outdoors into any environment.
As you reflect on the process of constructing your grass backdrop, remember that the possibilities for its use are as endless as your imagination. Whether it’s for a wedding, a themed event, a photography backdrop, or simply to enhance your outdoor space, your grass backdrop has the potential to elevate the ambiance and create a memorable visual impact.
Furthermore, the skills you’ve acquired in this process can be applied to future landscaping and creative projects, allowing you to continue exploring the intersection of nature and design. Embrace the opportunity to experiment with different materials, decorative elements, and lighting effects to further personalize and enhance your grass backdrop for various occasions.
By infusing your grass backdrop with your unique vision and style, you’ll create a captivating focal point that draws admiration and leaves a lasting impression. As you embark on future landscaping endeavors, remember the satisfaction and sense of accomplishment that comes with bringing your creative ideas to life.
Now, armed with the knowledge and skills to construct a remarkable grass backdrop, it’s time to unleash your creativity and make a lasting impression with your stunning creation. So, go ahead, step into the world of landscaping, and let your imagination flourish!
Frequently Asked Questions about How To Make A Grass Backdrop
Was this page helpful?
At Storables.com, we guarantee accurate and reliable information. Our content, validated by Expert Board Contributors, is crafted following stringent Editorial Policies. We're committed to providing you with well-researched, expert-backed insights for all your informational needs.


0 thoughts on “How To Make A Grass Backdrop”