Home>Gardening & Outdoor>Outdoor Entertaining>How To Make A Picnic Basket Liner
Outdoor Entertaining
How To Make A Picnic Basket Liner
Modified: March 26, 2024
Learn how to make a picnic basket liner for stylish outdoor entertaining. Follow our easy DIY guide for a perfect addition to your next picnic adventure. Ideal for outdoor-entertaining enthusiasts!
(Many of the links in this article redirect to a specific reviewed product. Your purchase of these products through affiliate links helps to generate commission for Storables.com, at no extra cost. Learn more)
Introduction
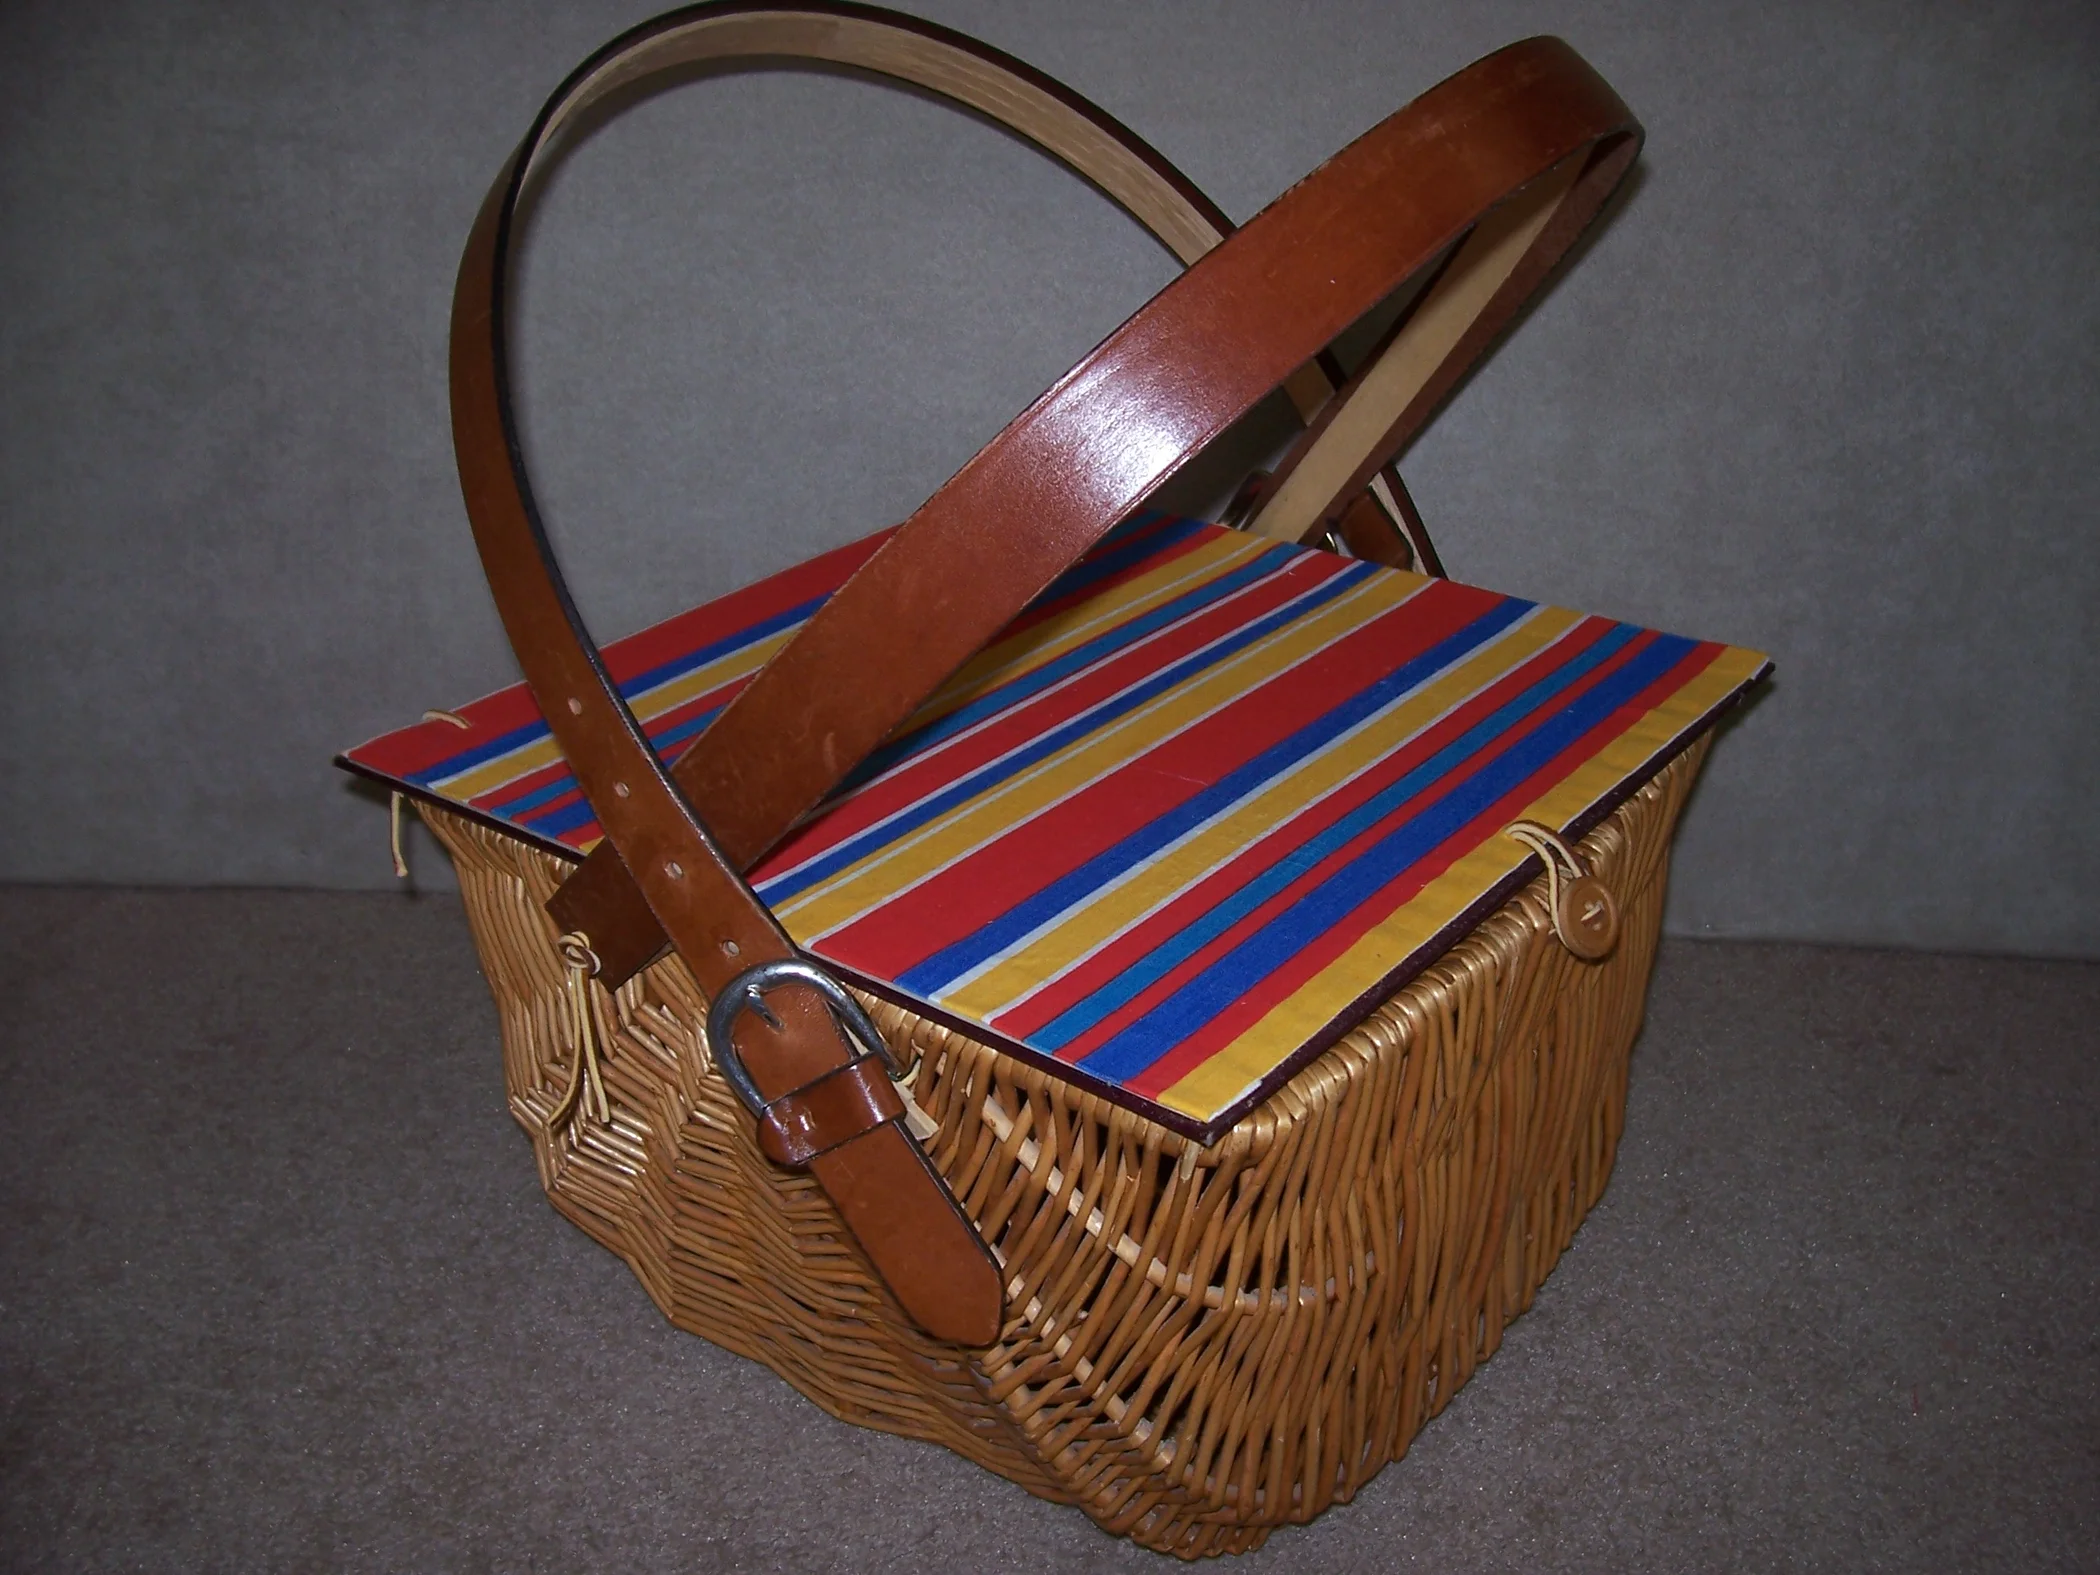
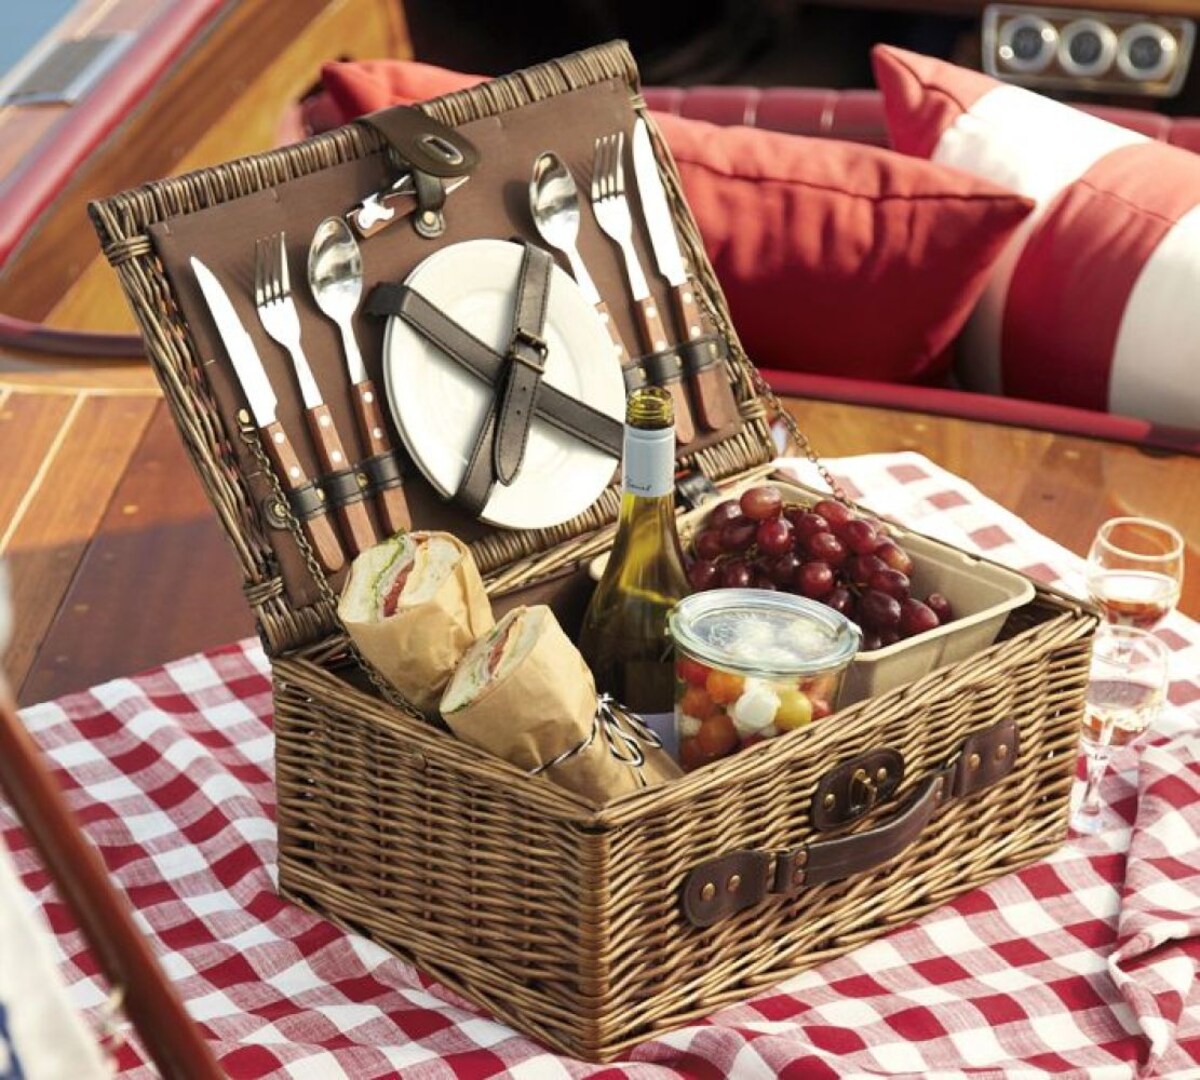
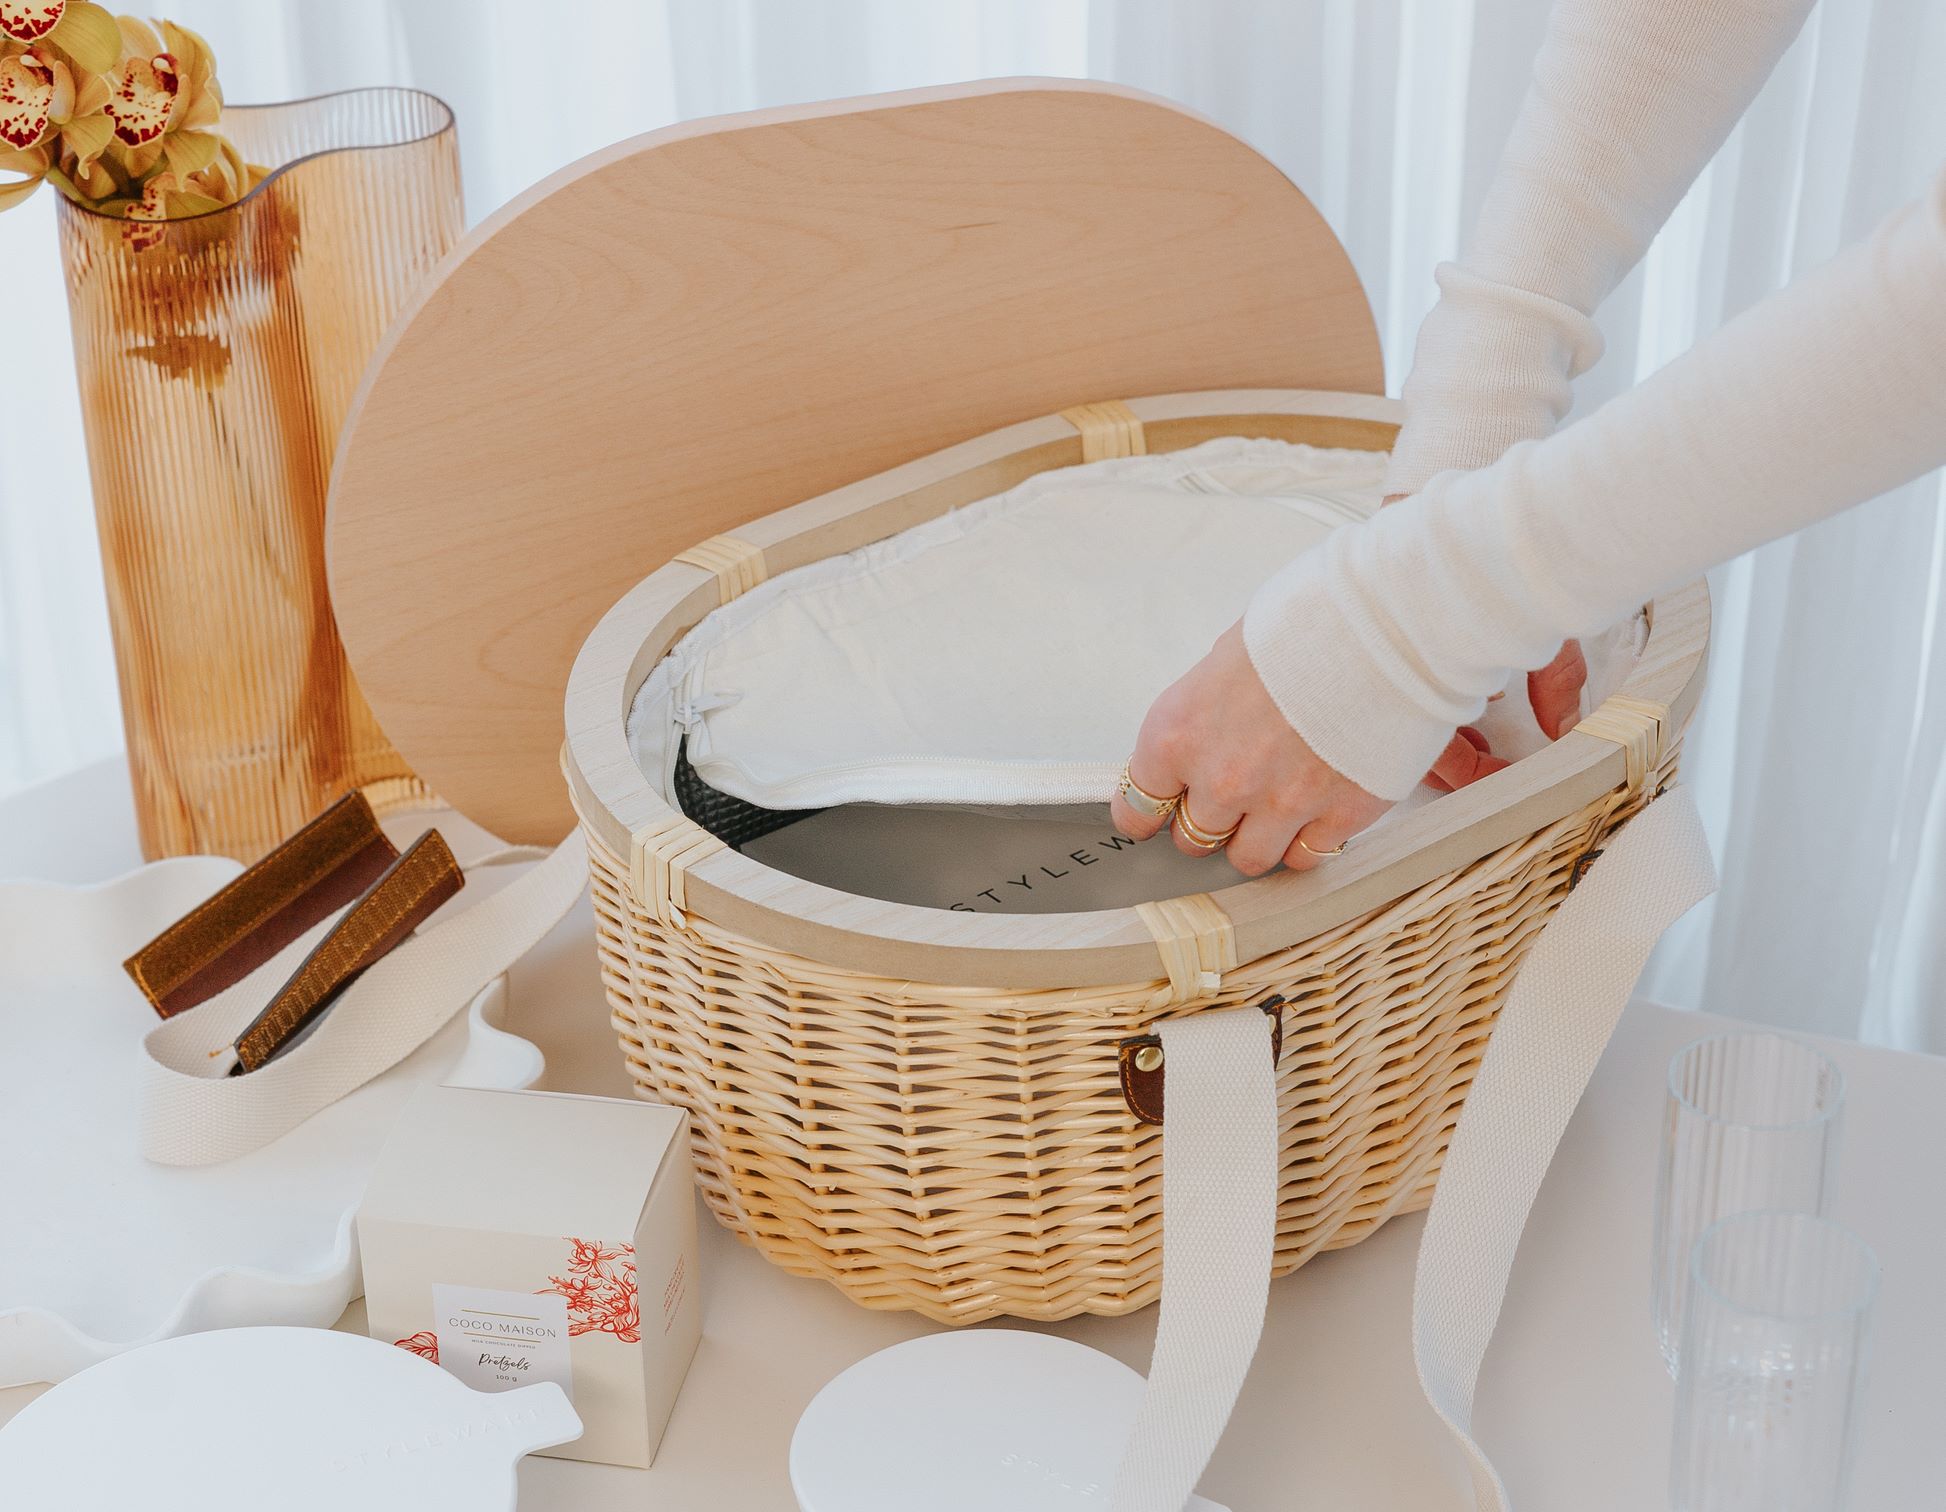
When the weather is warm and the sun is shining, there's nothing quite like packing a picnic basket and heading outdoors for a relaxing day of al fresco dining. Whether you're planning a romantic picnic for two or a fun-filled gathering with family and friends, having a well-prepared picnic basket can elevate the experience to a whole new level. One essential item that can enhance both the functionality and aesthetic appeal of your picnic basket is a custom-made liner. A thoughtfully crafted picnic basket liner not only adds a touch of charm and personality to your outdoor dining setup but also serves a practical purpose by protecting your food, dishes, and utensils during transportation.
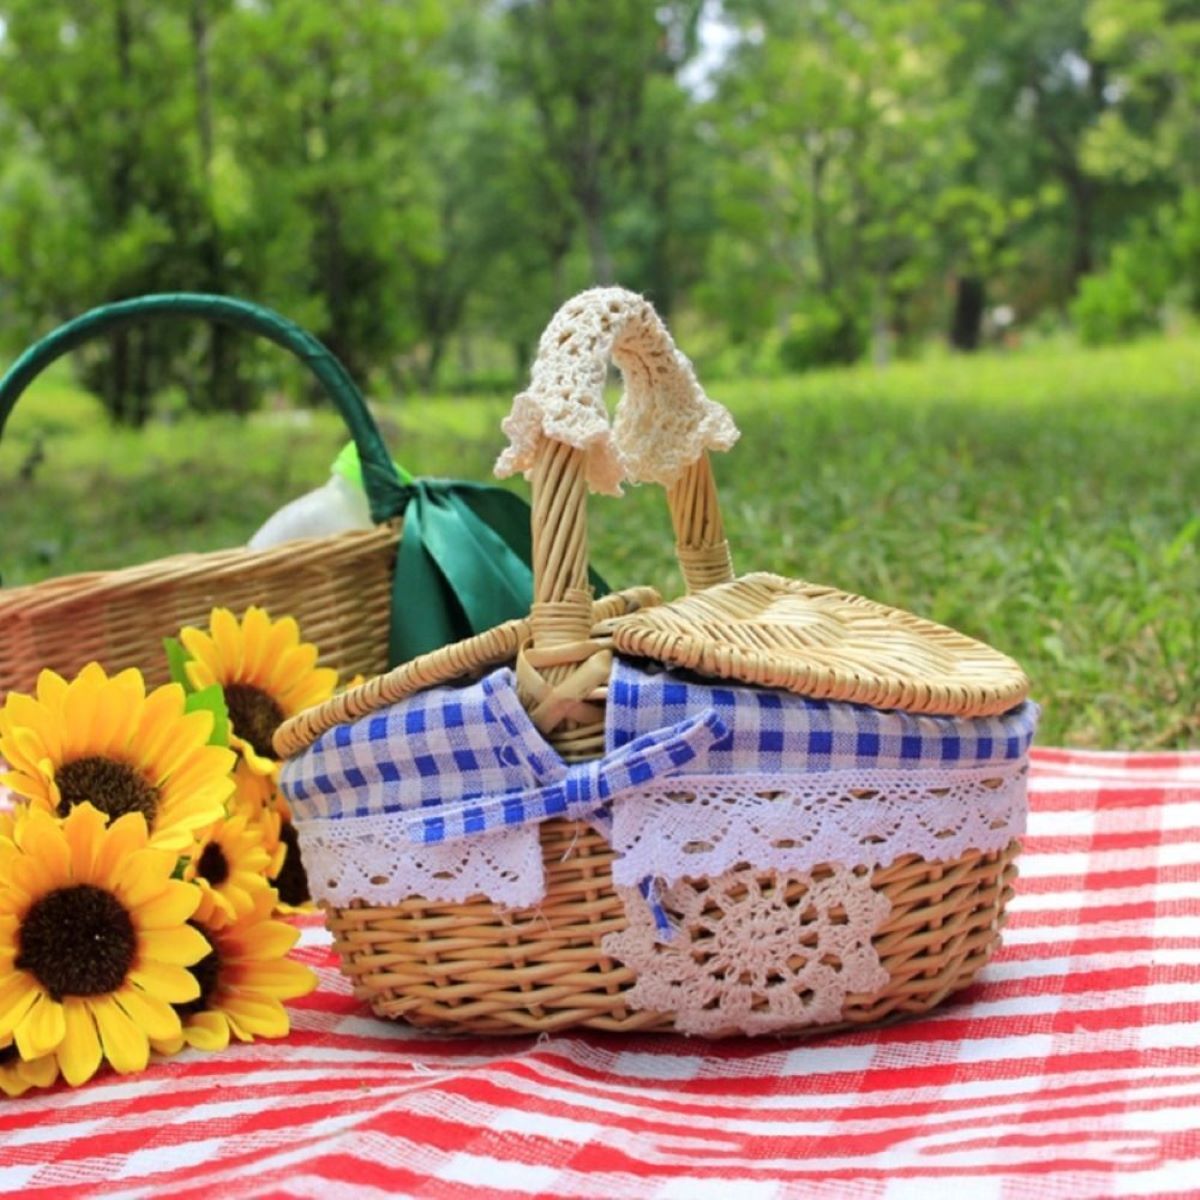
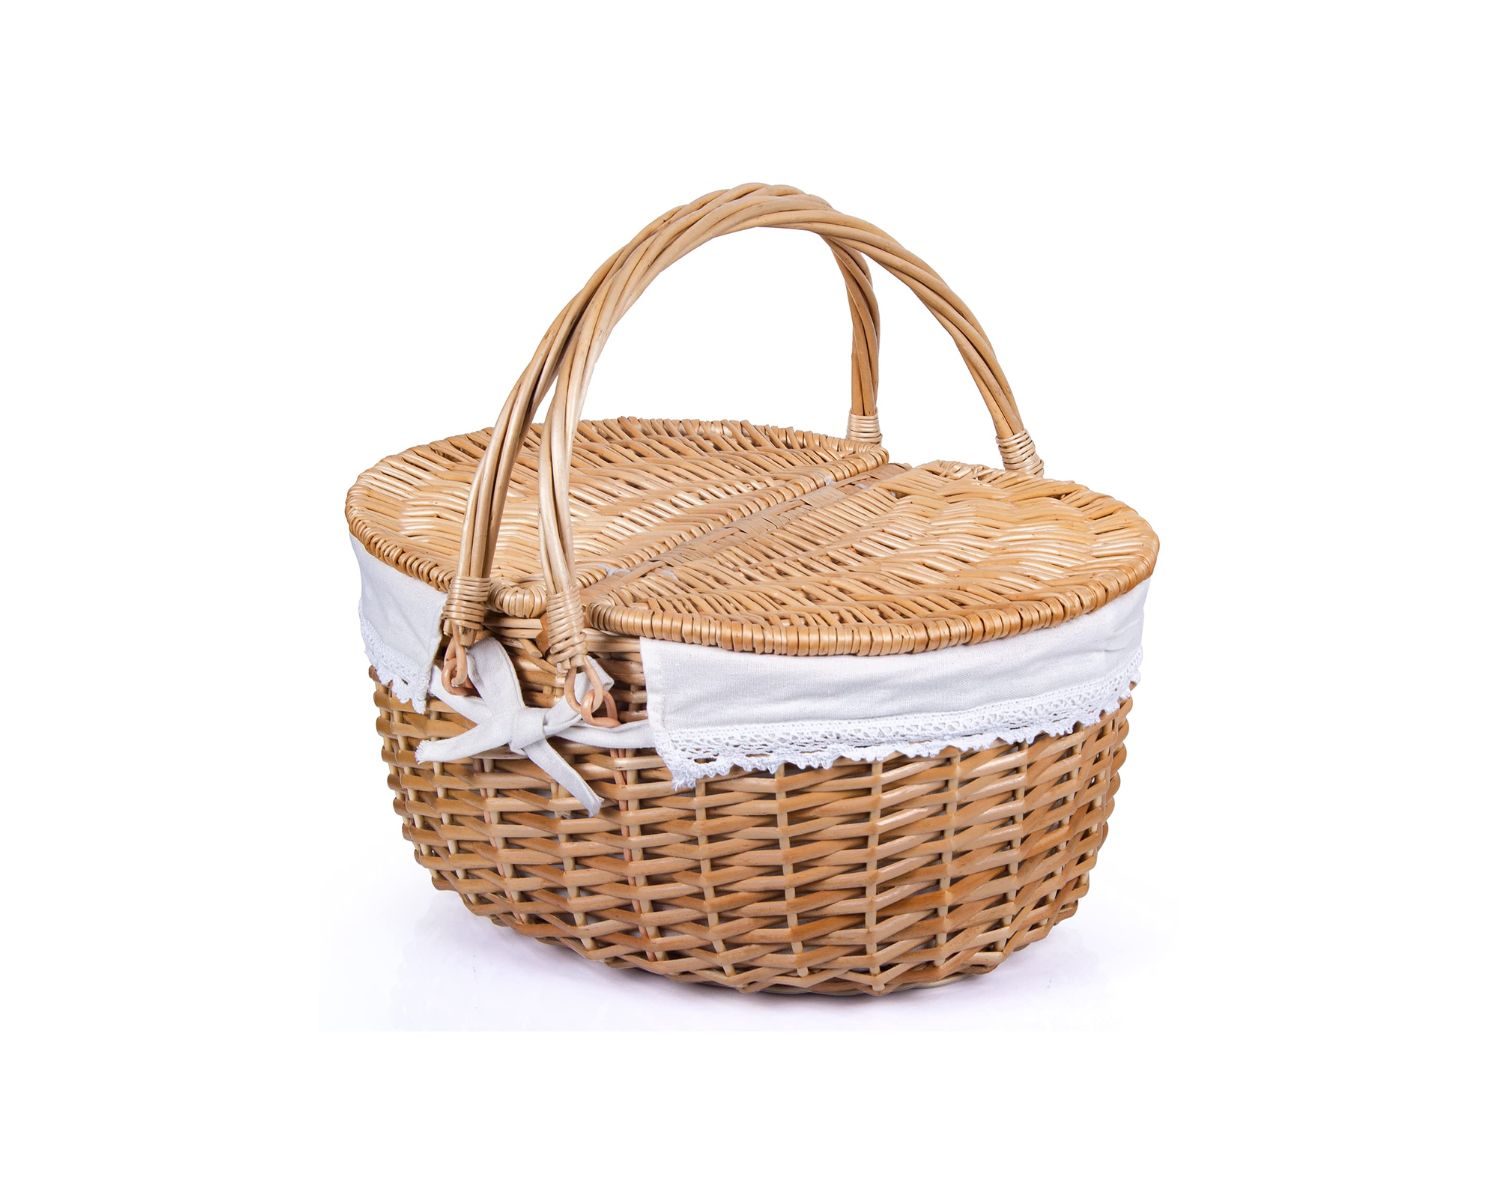
In this guide, we'll take you through the process of creating your very own picnic basket liner. With just a few materials, some basic sewing skills, and a sprinkle of creativity, you can customize a liner that perfectly fits your picnic basket and reflects your personal style. Whether you prefer a classic gingham pattern, a vibrant floral design, or a simple yet elegant solid color, making your own picnic basket liner allows you to tailor it to your preferences.
By the end of this tutorial, you'll not only have a beautiful and functional picnic basket liner but also a sense of accomplishment and pride in your crafting abilities. So, gather your materials, unleash your creativity, and get ready to embark on a delightful sewing adventure to elevate your outdoor dining experiences. Let's dive into the world of DIY picnic basket liners and discover how you can add a touch of handmade charm to your next picnic outing.
Key Takeaways:
- Create a personalized picnic basket liner using fabric, thread, and basic sewing skills to add charm and protect your outdoor dining essentials. Infuse your creativity and style into every al fresco dining experience!
- Crafting a custom picnic basket liner enhances functionality and adds a touch of handmade charm to outdoor gatherings. Enjoy the satisfaction of creating something beautiful and practical with your own hands.
Read more: How To Make A Picnic Basket
Materials Needed
Before embarking on the delightful journey of creating your own picnic basket liner, it’s important to gather all the necessary materials. Here’s a list of items you’ll need to bring your DIY picnic basket liner to life:
- Fabric: Choose a durable, washable fabric that suits your style and complements the aesthetic of your picnic basket. Consider cotton, linen, or a blend that offers both sturdiness and visual appeal.
- Thread: Select a high-quality thread that coordinates with the color of your chosen fabric. A sturdy thread will ensure the durability of your picnic basket liner, especially during outdoor adventures.
- Measuring Tape: An essential tool for accurately measuring the dimensions of your picnic basket and cutting the fabric to the appropriate size.
- Fabric Scissors: Sharp fabric scissors will make it easier to cut the fabric with precision, resulting in clean edges and a polished final product.
- Sewing Machine (optional): While hand-sewing is certainly an option, using a sewing machine can expedite the process and provide a professional finish to your picnic basket liner.
- Pins or Clips: These will help secure the fabric in place during the cutting and sewing stages, ensuring that your liner comes together seamlessly.
- Iron and Ironing Board: Preparing and pressing the fabric before sewing is crucial for achieving neat seams and a professional look.
- Embellishments (optional): If you wish to add decorative elements such as lace trim, ribbons, or embroidery to your picnic basket liner, gather these embellishments to personalize your creation.
- Pattern or Template: Depending on the shape and size of your picnic basket, you may want to create a pattern or template to ensure a precise fit for the liner.
With these materials in hand, you’re well-equipped to begin the exciting process of crafting a custom picnic basket liner that will enhance your outdoor dining experiences with its practicality and charm.
Measurements and Cutting
Now that you’ve gathered your materials, it’s time to take precise measurements and cut the fabric to create a perfectly fitting picnic basket liner. Follow these steps to ensure that your liner will snugly and securely accommodate all your picnic essentials:
- Measure Your Picnic Basket: Using a measuring tape, carefully determine the dimensions of the interior of your picnic basket. Measure the length, width, and depth, taking into account any curves or angles that may affect the fit of the liner.
- Create a Pattern: Based on the measurements you’ve taken, draft a pattern on paper or fabric to serve as a template for cutting the main body of the liner. Ensure that the pattern accounts for seam allowances to achieve the desired fit.
- Cut the Fabric: Place your fabric on a flat surface and use fabric scissors to cut out the main body of the liner according to the pattern you’ve created. Take your time to cut along the lines precisely, as accuracy in this step will contribute to a well-fitted and visually appealing final product.
- Consider Additional Pieces: Depending on the design of your picnic basket and your personal preferences, you may need to cut additional fabric pieces for pockets, dividers, or decorative elements within the liner. Take measurements and cut these pieces accordingly, ensuring that they complement the main body of the liner.
- Double-Check the Fit: Once all the fabric pieces are cut, place them inside the picnic basket to verify that they fit snugly and accommodate the contents of your typical picnic setup. Make any necessary adjustments to the dimensions or shapes to ensure a perfect fit.
By meticulously measuring and cutting the fabric, you’re setting the foundation for a picnic basket liner that not only looks visually appealing but also serves its practical purpose with precision and elegance. With the main body and any additional pieces cut to the appropriate dimensions, you’re ready to move on to the next stage of bringing your picnic basket liner to life through the art of sewing.
When making a picnic basket liner, choose a durable and washable fabric to ensure it can withstand outdoor use and be easily cleaned. Consider using a waterproof or stain-resistant material for added protection.
Sewing the Liner
With the fabric pieces cut to perfection, it’s time to bring them together through the art of sewing, transforming them into a cohesive and functional picnic basket liner. Whether you prefer hand-sewing for a personal touch or opt for the efficiency of a sewing machine, the following steps will guide you through the process of assembling the liner:
- Prepare the Edges: Before joining the fabric pieces, it’s essential to prepare the edges by folding them over and ironing them to create clean and polished seams. This step ensures that the raw edges are neatly concealed and adds a professional touch to your liner.
- Assemble the Main Body: If your liner consists of multiple fabric pieces, begin by carefully aligning them and pinning or clipping them together. Whether you’re sewing the pieces by hand or using a sewing machine, secure the edges and proceed to stitch them together, ensuring even and sturdy seams.
- Add Pockets or Dividers: If your design includes pockets or dividers within the liner, carefully attach these elements to the main body. Secure them in place and stitch along the edges to create functional compartments for organizing your picnic essentials.
- Embellish as Desired: If you’ve chosen to incorporate decorative elements such as lace trim, ribbons, or embroidery, now is the time to add these embellishments to personalize your picnic basket liner. Whether it’s a delicate trim along the edges or a charming embroidered detail, these touches will infuse your creation with character and charm.
- Reinforce the Seams: After assembling the components and adding any embellishments, reinforce the seams to ensure the durability of your picnic basket liner. This step is especially important for a well-used item that will accompany you on numerous outdoor adventures.
As you sew the fabric pieces together and add the finishing touches, envision the delightful picnics and outdoor gatherings where your custom-made liner will accompany you. With each stitch, you’re not only creating a practical and visually appealing accessory for your picnic basket but also infusing it with the warmth and creativity of your handmade craftsmanship.
Once the sewing process is complete, your picnic basket liner will be ready to enhance your outdoor dining experiences with its functional design and personalized flair.
Adding Finishing Touches
As you near the completion of your DIY picnic basket liner, it’s time to add the finishing touches that will elevate its visual appeal and functionality. These thoughtful details will not only enhance the aesthetics of your creation but also contribute to its practicality during your outdoor dining adventures. Consider the following steps to add those final, delightful elements to your picnic basket liner:
- Press the Liner: Before placing the liner inside your picnic basket, give it a final press with an iron to ensure that all seams are crisp and any wrinkles are smoothed out. This step adds a touch of refinement to your creation and ensures that it will sit neatly inside the basket.
- Test the Fit: Place the freshly pressed liner inside your picnic basket to confirm that it fits snugly and accommodates your dishes, utensils, and other picnic essentials. Adjust the positioning if necessary to achieve a perfect fit.
- Secure with Velcro or Snaps: To prevent the liner from shifting or bunching up inside the basket during transportation, consider adding small pieces of Velcro or snaps to secure it in place. This simple addition can make a significant difference in maintaining the neat and organized presentation of your picnic setup.
- Personalize with a Label: If you’re inclined to add a personalized touch to your creation, consider attaching a fabric label with your name, a meaningful quote, or a charming illustration. This label not only adds a touch of whimsy but also marks your handmade creation with a sense of pride and ownership.
- Inspect and Reinforce: Take a moment to inspect the liner for any loose threads or areas that may benefit from additional reinforcement. A thorough once-over ensures that your creation is not only visually appealing but also durable and ready for the adventures that lie ahead.
By attending to these finishing touches, you’re infusing your picnic basket liner with the care and attention to detail that characterize a handmade creation. Each step contributes to the functionality and charm of your liner, ensuring that it will accompany you on many delightful outdoor dining experiences, serving as a testament to your creativity and crafting prowess.
With the finishing touches complete, your custom picnic basket liner is now prepared to enhance your al fresco dining adventures with its personalized style and practical functionality.
Read more: How To Restore An Old Picnic Basket
Conclusion
Congratulations on crafting your very own picnic basket liner! Through the creative process of selecting materials, measuring, cutting, sewing, and adding those special finishing touches, you’ve brought to life a handmade accessory that will enrich your outdoor dining experiences for years to come. As you prepare to embark on picnics in the park, beach outings, or backyard gatherings, your custom-made liner stands as a testament to your crafting skills and adds a touch of personalized charm to your picnic setup.
By infusing your picnic basket with a thoughtfully crafted liner, you’ve not only enhanced its functionality by providing protection for your dishes and utensils but also added a delightful element of style and individuality. Whether you opted for a classic, timeless design or incorporated unique embellishments, your creation reflects your personal taste and creativity, making each outdoor dining occasion a truly special and memorable experience.
As you pack your favorite culinary delights and set out for a day of al fresco dining, your handmade picnic basket liner will serve as a reminder of the joy and satisfaction that comes from creating something beautiful and practical with your own hands. The unique character and personal touch of your creation will undoubtedly spark conversations and admiration during your outdoor gatherings, as others appreciate the care and craftsmanship that went into making your picnic setup truly one-of-a-kind.
With your newfound expertise in crafting a picnic basket liner, you may find yourself inspired to explore additional DIY projects to enhance your outdoor entertaining repertoire. Whether it’s creating coordinating accessories, sewing outdoor table linens, or crafting decorative elements for your outdoor space, your creativity and skills can continue to flourish, adding warmth and charm to every outdoor gathering.
As you revel in the beauty of nature, the company of loved ones, and the delectable treats within your picnic basket, take a moment to appreciate the artistry and care that went into creating your custom liner. With each use, it will serve as a reminder of the joy and fulfillment that comes from infusing everyday experiences with creativity and craftsmanship.
So, as you venture into the great outdoors with your exquisitely adorned picnic basket, may your handmade liner be a source of pride, delight, and inspiration, adding a touch of whimsy and elegance to your al fresco dining adventures.
Frequently Asked Questions about How To Make A Picnic Basket Liner
Was this page helpful?
At Storables.com, we guarantee accurate and reliable information. Our content, validated by Expert Board Contributors, is crafted following stringent Editorial Policies. We're committed to providing you with well-researched, expert-backed insights for all your informational needs.


0 thoughts on “How To Make A Picnic Basket Liner”