Home>Gardening & Outdoor>Outdoor Recreation & Activities>How To Build A Large Jenga Game
Outdoor Recreation & Activities
How To Build A Large Jenga Game
Modified: October 19, 2024
Learn how to build a large Jenga game for outdoor recreation and activities. Follow these simple steps to create your own giant Jenga set.
(Many of the links in this article redirect to a specific reviewed product. Your purchase of these products through affiliate links helps to generate commission for Storables.com, at no extra cost. Learn more)
Introduction
Welcome to the world of larger-than-life fun with a DIY project that will bring hours of entertainment to your backyard barbecues, picnics, and gatherings. Building a large Jenga game is a rewarding and enjoyable endeavor that combines woodworking skills with the thrill of creating a classic game on a grand scale.
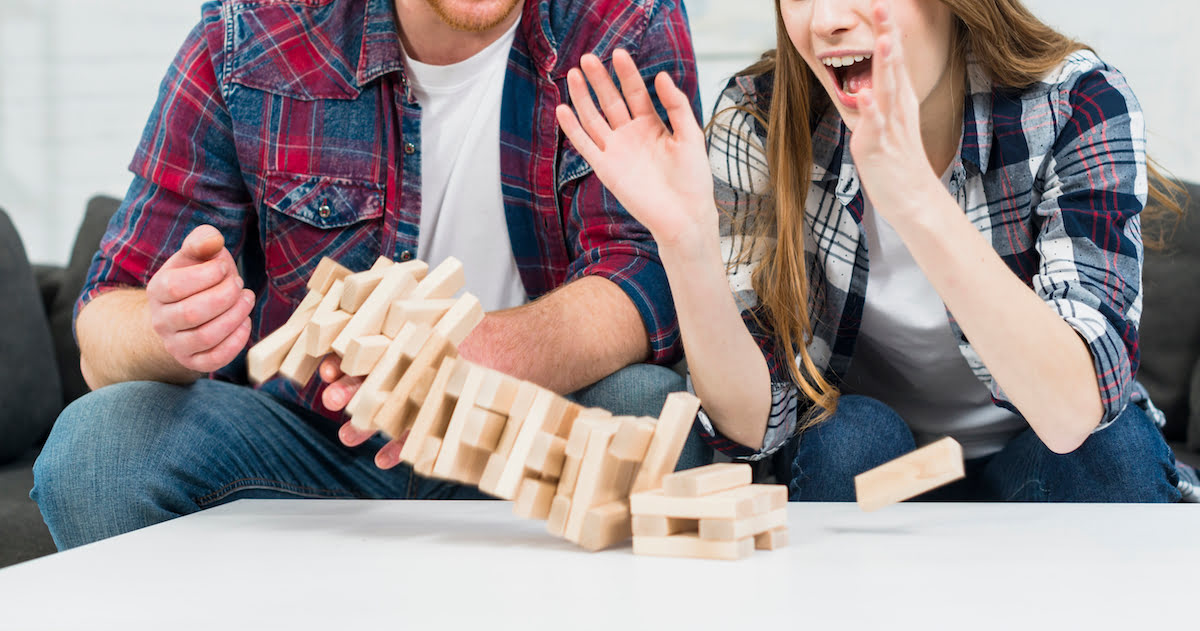
Imagine the excitement as players carefully remove wooden blocks, striving to keep the towering structure from toppling over. The laughter and friendly competition that ensue make this game a beloved addition to any social event. By crafting your own large Jenga game, you not only create cherished memories but also have the satisfaction of handcrafting a timeless game that will be enjoyed for years to come.
In this guide, we will walk you through the step-by-step process of constructing a large Jenga game, from gathering the materials and tools to cutting, sanding, and assembling the wooden blocks. Whether you are a seasoned woodworking enthusiast or a novice DIYer, this project is both achievable and rewarding. So, roll up your sleeves, unleash your creativity, and let's get started on this exciting journey to build a larger-than-life Jenga game!
Key Takeaways:
- Building a large Jenga game is a fun and rewarding DIY project that combines woodworking skills with the excitement of creating a classic game on a grand scale. It’s a great way to bring hours of entertainment to outdoor gatherings and create cherished memories.
- By following the step-by-step process outlined in the guide, you can craft a captivating and enduring source of entertainment. The large Jenga game not only stands tall and striking but also withstands the test of time, ready to be enjoyed in various outdoor settings.
Read more: How Many Rows In A Jenga Game
Materials Needed
Before diving into this engaging project, it’s essential to gather all the necessary materials. Here’s what you’ll need to bring your large Jenga game to life:
- Untreated 2×4 lumber: This will serve as the primary material for creating the wooden blocks. Make sure to select high-quality lumber that is free from warping or splitting.
- Wood glue: A reliable wood glue will be essential for securely bonding the wooden blocks, ensuring the stability of the towering structure.
- Sandpaper: To achieve smooth and splinter-free surfaces on the wooden blocks, various grits of sandpaper, such as coarse, medium, and fine, will be required.
- Wood finish or sealant: Applying a protective finish or sealant will not only enhance the visual appeal of the wooden blocks but also safeguard them from the elements, allowing for outdoor gameplay.
- Measuring tape: Accurate measurements are crucial for crafting uniform wooden blocks, making a measuring tape an indispensable tool for this project.
- Pencil: Marking the lumber before cutting is essential to ensure precision, making a pencil a simple yet vital tool in the construction process.
- Sawhorses or workbench: A stable and elevated surface for cutting and assembling the wooden blocks will facilitate a smoother and more ergonomic workflow.
- Saw: Depending on your preference and available tools, a circular saw, miter saw, or handsaw can be used to cut the lumber into individual blocks.
- Paintbrushes: If you plan to add a pop of color or decorative elements to your large Jenga game, a set of paintbrushes will be necessary for applying paint or other creative finishes.
Gathering these materials will set the stage for a seamless and enjoyable construction process, ensuring that you have everything you need to bring your large Jenga game to fruition.
Tools Required
Equipping yourself with the right tools is essential for successfully constructing a large Jenga game. Here’s a list of the tools you’ll need to bring this exciting project to life:
- Clamps: These will come in handy for securing the lumber in place during cutting and assembly, ensuring precision and safety.
- Work gloves: Protect your hands from splinters and rough surfaces while handling the lumber and during the sanding process.
- Safety goggles: Safeguard your eyes from sawdust and wood particles, especially during cutting and sanding.
- Paint and painting supplies (optional): If you plan to add a personal touch to your large Jenga game with colorful designs or patterns, gather the necessary paints and accessories.
- Protective tarp or drop cloth: To create a designated work area and minimize cleanup, lay down a protective tarp or drop cloth to catch sawdust and debris.
- Level: Ensuring that the playing surface is even and stable is essential for an enjoyable and fair game, making a level a valuable tool for this project.
- Brushes and rags: These will be useful for applying wood finish or sealant to the wooden blocks, protecting them from wear and tear.
- Bucket for cleaning: Keeping a bucket of water and a sponge or rag nearby will allow for quick cleanup during and after the construction process.
- Timer (optional): If you want to add an extra element of challenge to your large Jenga games, a timer can be a fun addition for creating time-limited rounds.
By having these tools at your disposal, you’ll be well-prepared to embark on the construction journey, ensuring a smooth and enjoyable experience as you bring your large Jenga game to life.
Step 1: Cutting the Wooden Blocks
The first and crucial step in creating a large Jenga game is cutting the untreated 2×4 lumber into uniform wooden blocks. Precision and accuracy are paramount to ensure that the blocks are consistent in size, promoting a stable and balanced tower during gameplay. Here’s a detailed guide to help you navigate this essential phase of the construction process:
- Measure and mark: Using a measuring tape and pencil, carefully measure and mark the lumber at the desired length for the wooden blocks. The standard Jenga block size is 2.5 inches by 1.5 inches by 7.5 inches, but you can adjust the dimensions to suit your preferences.
- Cut the lumber: With the marked measurements in place, use a saw—such as a circular saw, miter saw, or handsaw—to cut the lumber into individual blocks. Exercise caution and precision during this step to ensure clean and straight cuts.
- Inspect for consistency: After cutting the wooden blocks, inspect each piece to ensure uniformity in size. Consistency is key to maintaining the structural integrity of the Jenga tower during gameplay.
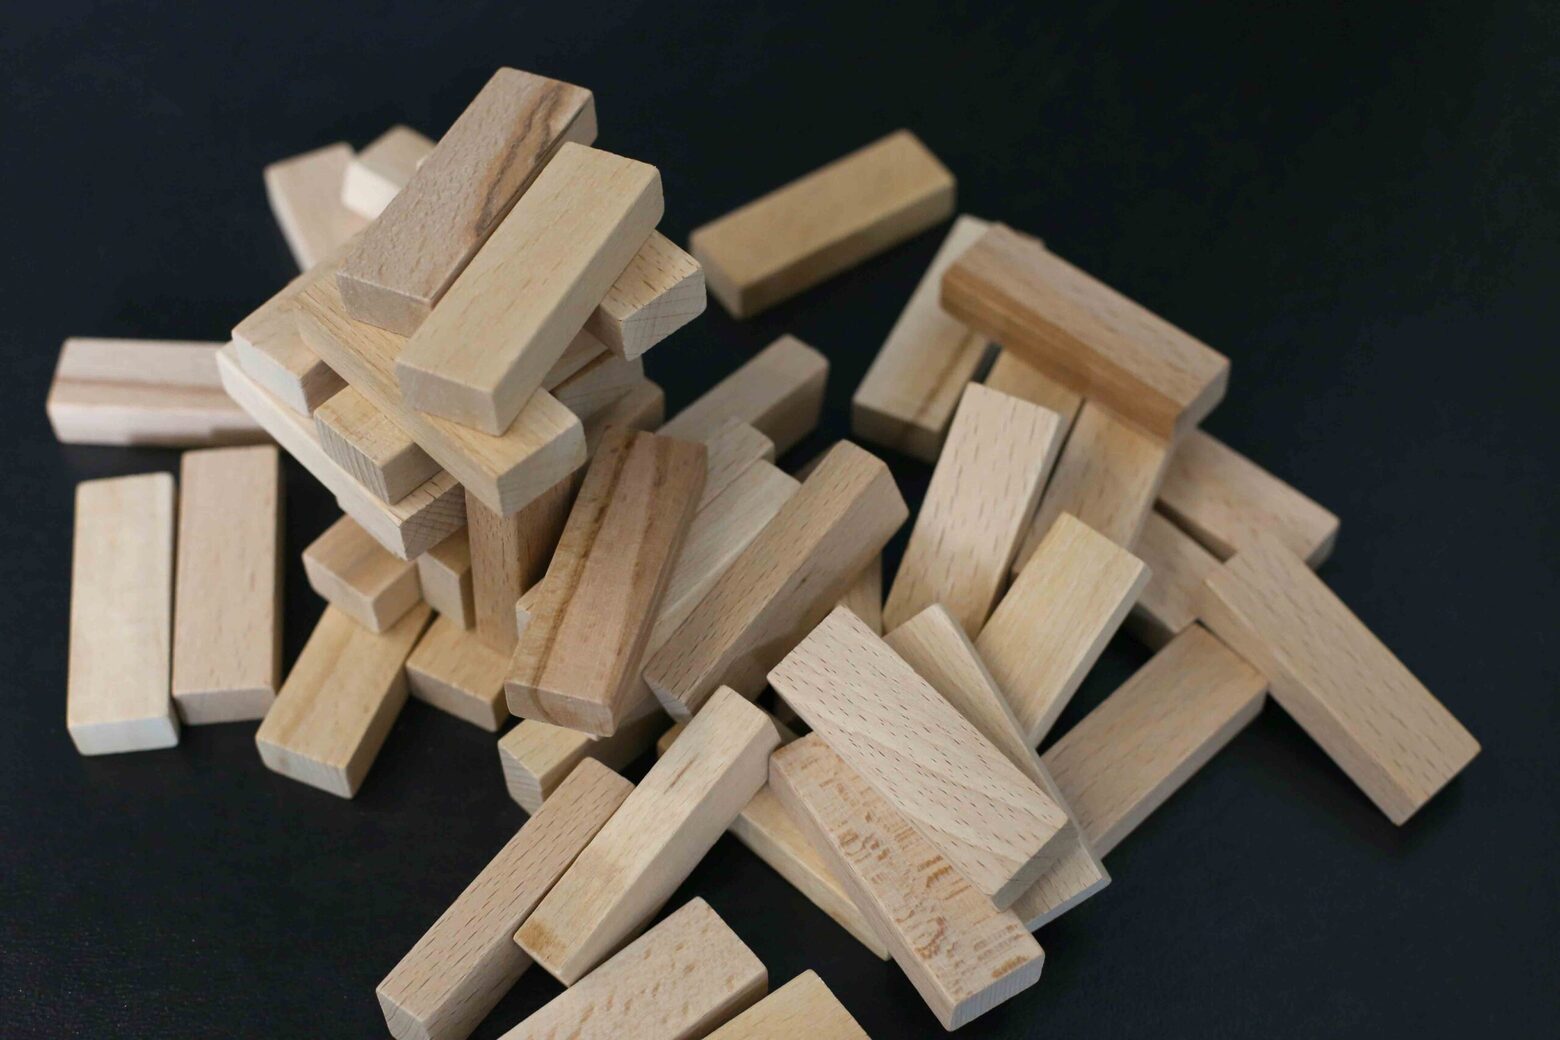
- Organize the blocks: Once all the blocks are cut and confirmed to be uniform in size, organize them neatly in preparation for the next phase of the construction process. Keeping the blocks organized will streamline the subsequent steps and contribute to an efficient assembly process.
By following these steps with precision and care, you’ll successfully complete the crucial task of cutting the wooden blocks, setting the stage for the next phases of sanding, assembling, and adding the finishing touches to your large Jenga game.
When building a large Jenga game, make sure to use high-quality, smooth wooden blocks to ensure they slide out easily. Sand the edges to prevent splinters and always stack the blocks carefully to keep the tower stable.
Step 2: Sanding the Blocks
After cutting the untreated 2×4 lumber into individual wooden blocks, the next essential step in crafting a large Jenga game is sanding the blocks to achieve smooth and splinter-free surfaces. This process not only enhances the tactile appeal of the blocks but also ensures a safe and enjoyable gameplay experience. Here’s a comprehensive guide to help you navigate this crucial phase of the construction process:
- Prepare your workspace: Set up a designated area for sanding, ideally outdoors or in a well-ventilated space. Lay down a protective tarp or drop cloth to contain sawdust and debris, minimizing cleanup.
- Use coarse sandpaper: Begin the sanding process with coarse-grit sandpaper to smooth out any rough edges and uneven surfaces on the wooden blocks. Work methodically, applying even pressure to achieve consistent results.
- Transition to medium-grit sandpaper: Once the rough surfaces have been smoothed out, switch to medium-grit sandpaper to further refine the surfaces of the wooden blocks, gradually reducing any visible imperfections.
- Finish with fine-grit sandpaper: To achieve a polished and splinter-free finish, use fine-grit sandpaper to meticulously sand each block, ensuring that the surfaces are velvety-smooth to the touch.
- Inspect for quality: After sanding each block with varying grits of sandpaper, inspect them to ensure that the surfaces are uniformly smooth and free from splinters or rough patches.
- Clean the blocks: Using a brush or cloth, remove any residual sawdust from the sanded blocks, ensuring that they are clean and ready for the next phase of the construction process.
By following these steps and paying attention to detail during the sanding process, you’ll elevate the tactile and visual quality of the wooden blocks, setting the stage for the subsequent phase of assembling the large Jenga game with precision and finesse.
Read more: How Many Blocks In A Jenga Game
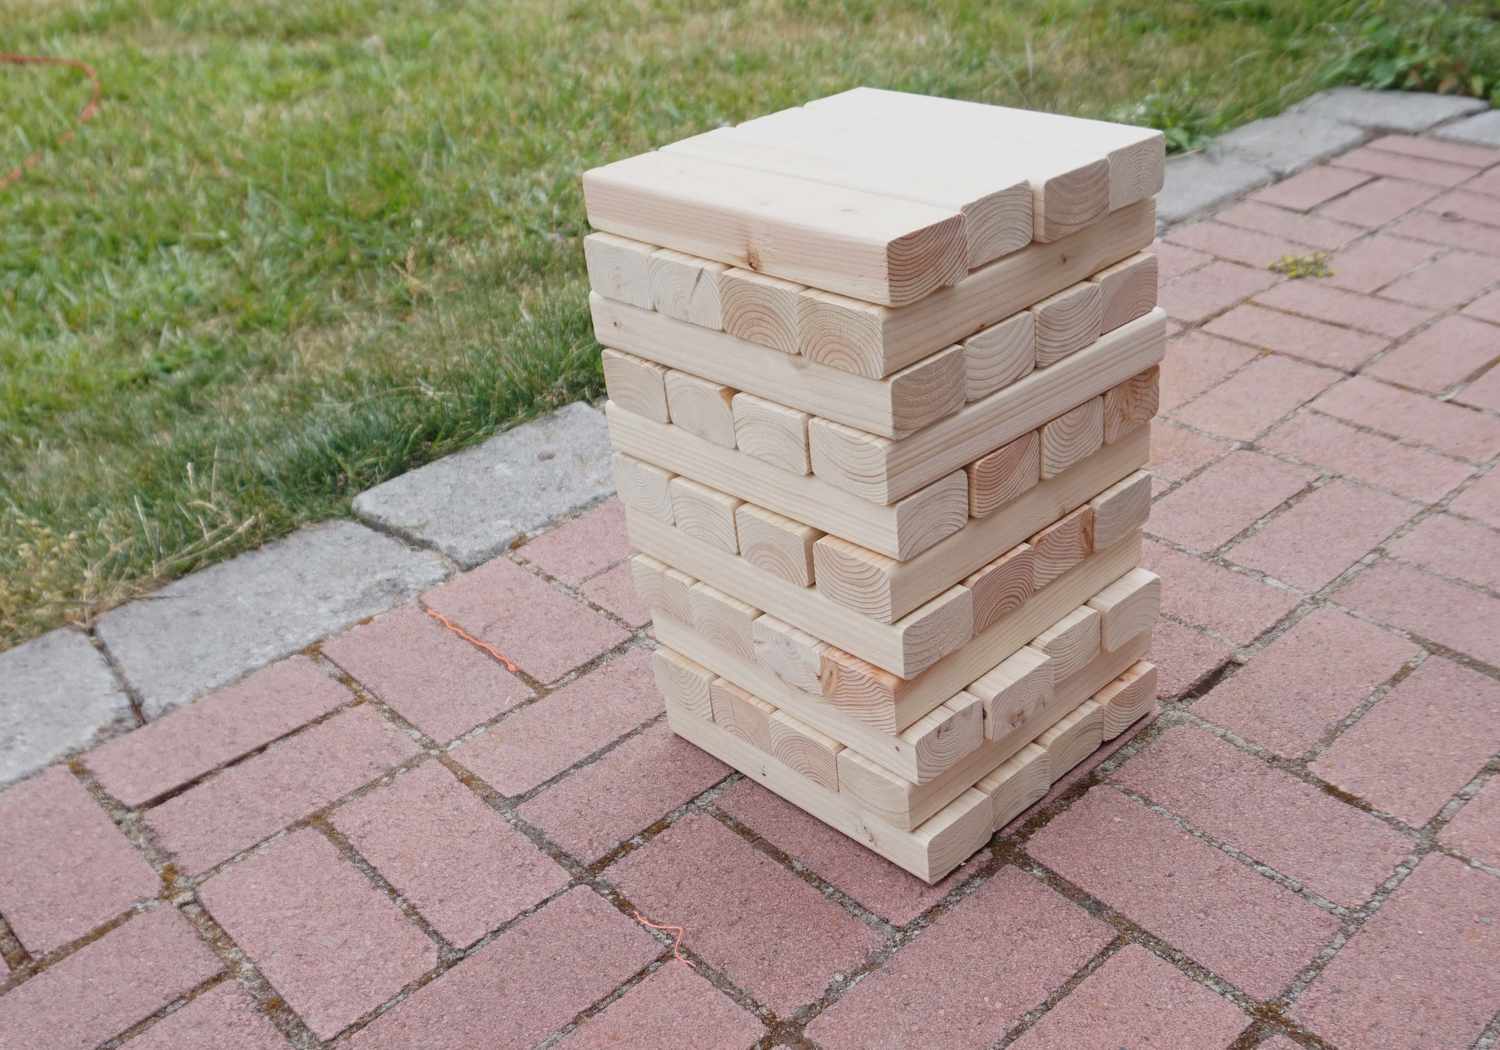
Step 3: Assembling the Game
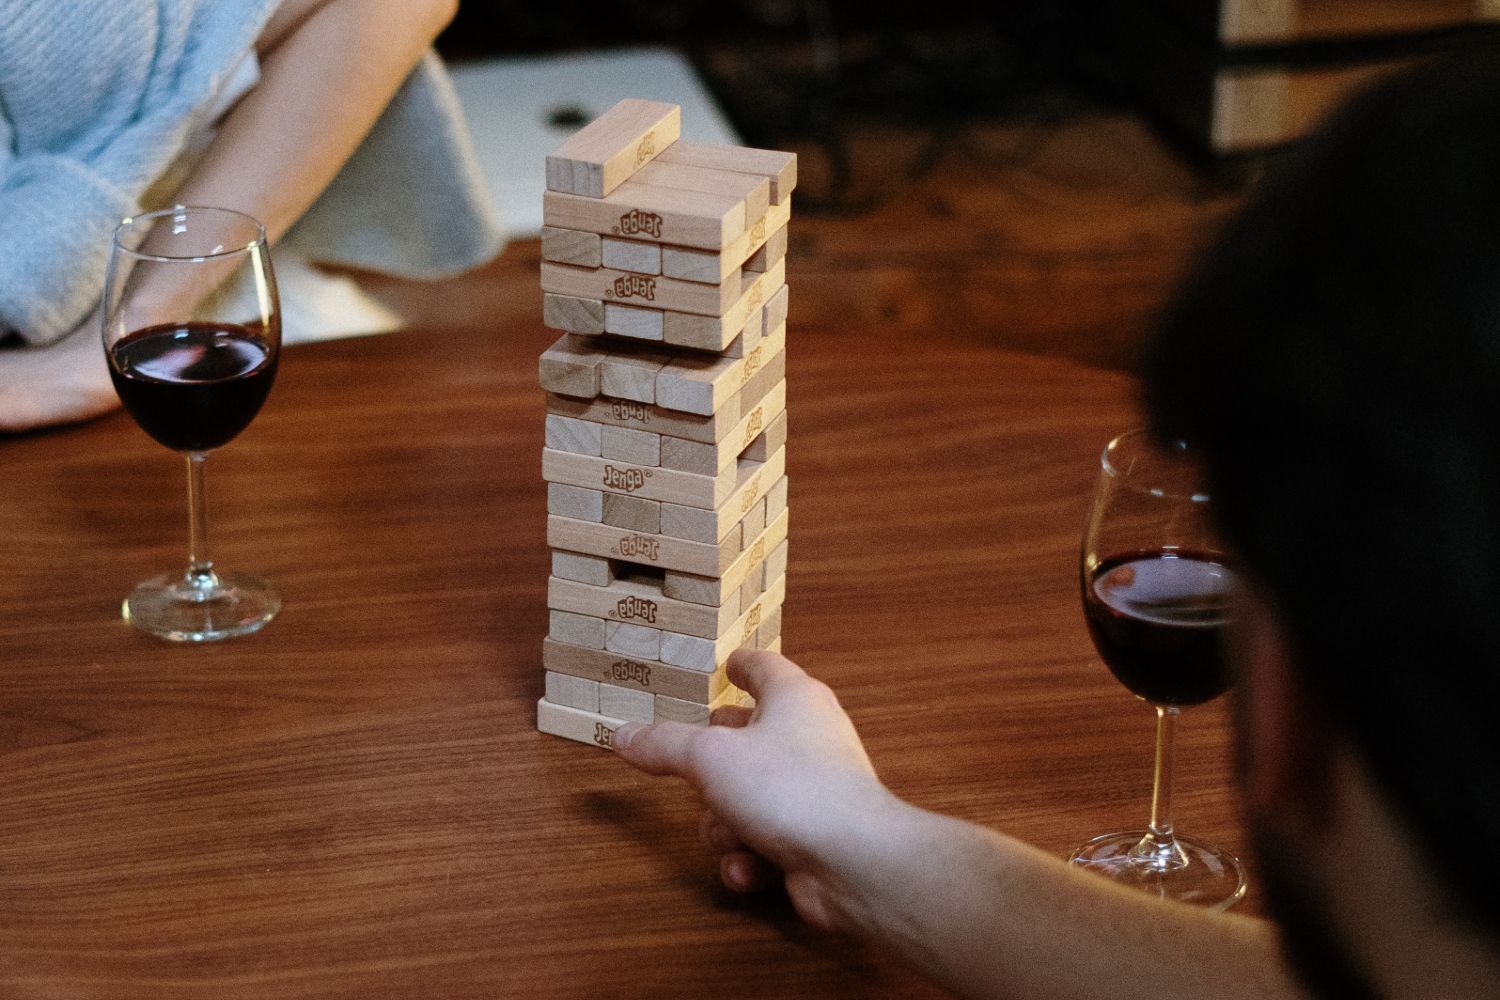
With the wooden blocks cut to size and meticulously sanded, the exhilarating phase of assembling the large Jenga game commences. This step brings the individual components together, transforming them into a towering and captivating structure that will be the centerpiece of countless gatherings and celebrations. Here’s a comprehensive guide to help you navigate this pivotal phase of the construction process:
- Prepare the work area: Set up a stable and spacious work surface, such as sawhorses or a workbench, to facilitate the assembly process. Ensure that the area is clear of debris and clutter for a smooth workflow.
- Arrange the first layer: Begin by arranging three wooden blocks parallel to each other, ensuring that they are evenly spaced and aligned. This forms the base layer of the Jenga tower.
- Add the second layer: Place three wooden blocks perpendicular to the base layer, creating a crisscross pattern. Ensure that the blocks are positioned securely and evenly to maintain stability.
- Continue stacking: Alternate the orientation of the wooden blocks with each successive layer, steadily building the Jenga tower with precision and care. Take your time to ensure that each block is positioned securely and perfectly aligned.
- Verify stability: As the tower grows taller, periodically check for stability and alignment, making any necessary adjustments to maintain a straight and secure structure.
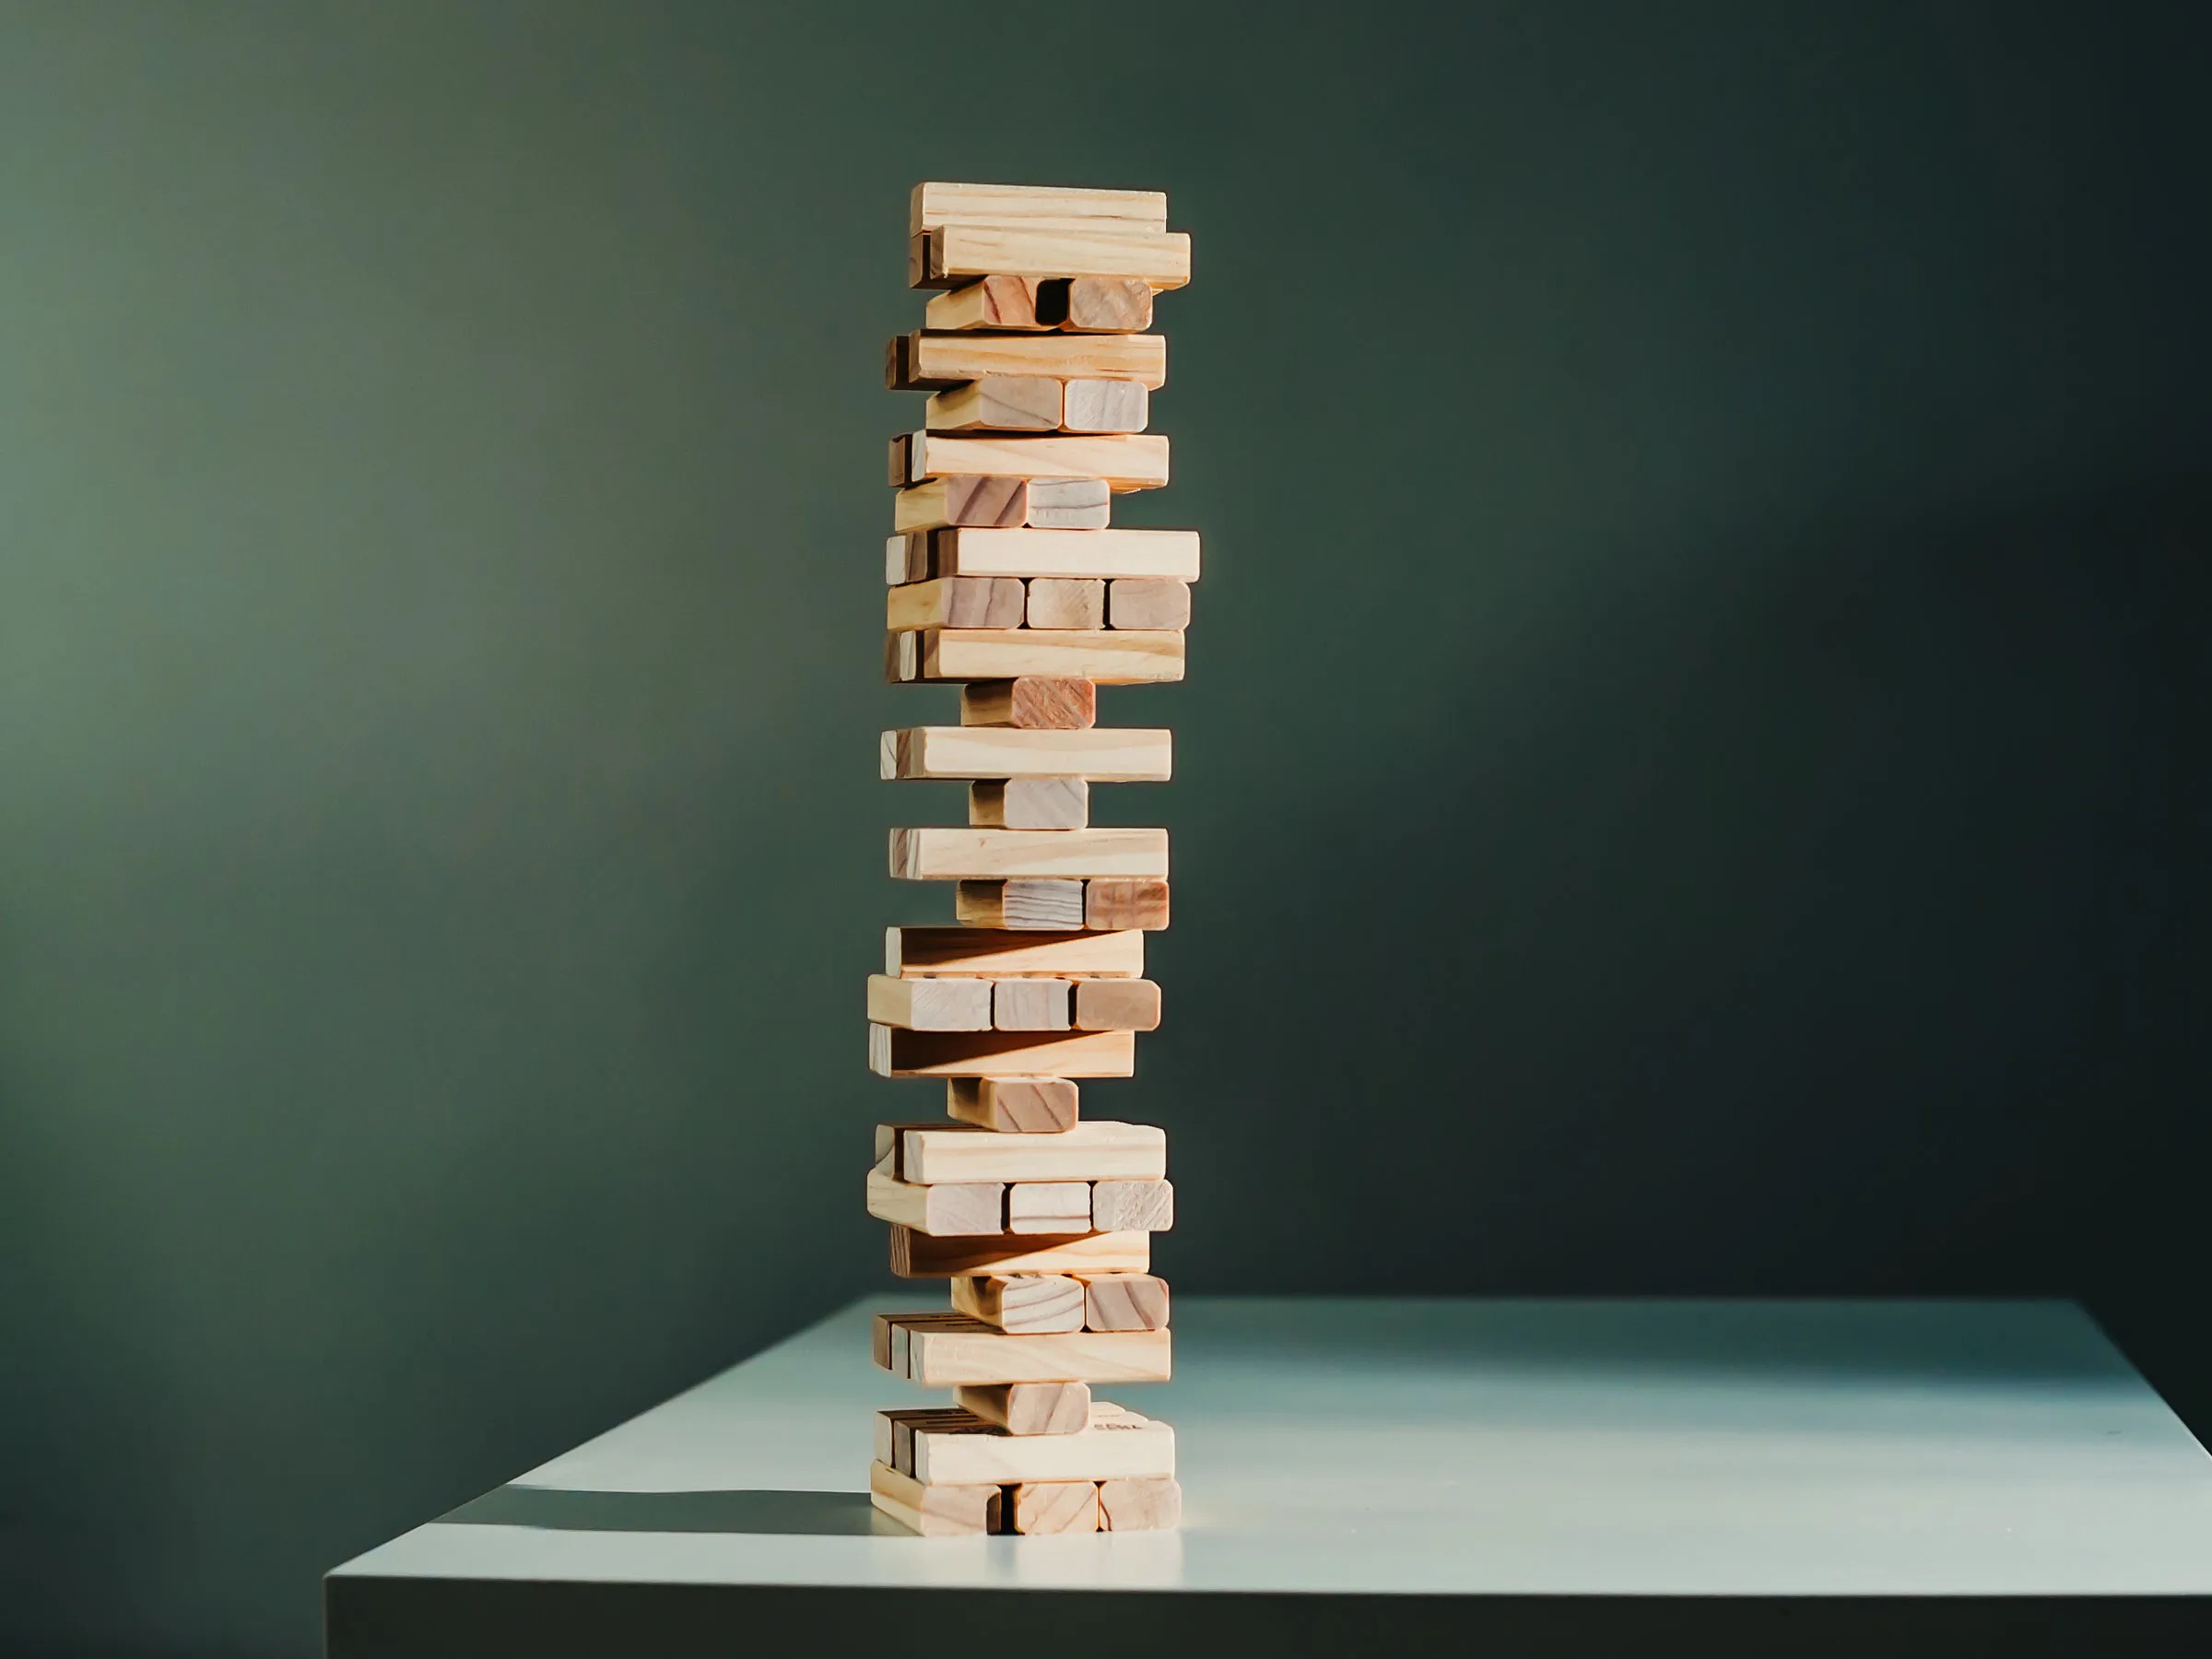
- Complete the assembly: Continue stacking the wooden blocks until the towering Jenga structure reaches its impressive height, ready to offer hours of entertainment and friendly competition.
By following these steps with patience and attention to detail, you’ll successfully assemble the large Jenga game, creating a striking and stable tower that embodies the spirit of fun and camaraderie. With the assembly phase complete, the final touches and finishing details will bring your creation to its full potential, ready to delight players of all ages.
Step 4: Finishing Touches
As the assembly of the large Jenga game nears completion, the addition of finishing touches elevates the visual appeal and durability of the wooden blocks, ensuring that the game is not only captivating but also resilient against wear and tear. This phase involves applying a protective finish or sealant to the wooden blocks, enhancing their aesthetic charm and safeguarding them for countless rounds of gameplay. Here’s a detailed guide to help you navigate this essential phase of the construction process:
- Select a finish or sealant: Choose a high-quality wood finish or sealant that is suitable for outdoor use, providing protection against moisture and environmental elements. Consider options such as clear varnish, polyurethane, or outdoor-rated wood sealant.
- Apply the finish: Using a clean paintbrush, apply a generous coat of the selected finish or sealant to the surfaces of the wooden blocks. Ensure thorough coverage, paying attention to the edges and corners for comprehensive protection.
- Allow for drying and curing: After applying the finish, allow the wooden blocks to dry and cure according to the manufacturer’s recommendations. This ensures that the finish forms a durable and protective layer on the surfaces of the blocks.
- Apply additional coats (optional): For enhanced protection and longevity, consider applying additional coats of the finish or sealant as recommended by the product instructions. This further fortifies the wooden blocks against outdoor conditions.
- Inspect the finished blocks: Once the finish has fully cured, inspect the wooden blocks to ensure that they exhibit a lustrous and well-protected finish. Any touch-ups or refinements can be made at this stage to achieve the desired visual and protective qualities.
By following these steps and investing care and attention into the finishing touches, you’ll enhance the aesthetic allure and durability of the wooden blocks, ensuring that your large Jenga game is not only a captivating centerpiece but also a steadfast and enduring source of entertainment for years to come.
Conclusion
Congratulations on embarking on the exhilarating journey of building a larger-than-life Jenga game! By following the step-by-step process outlined in this guide, you have gained the knowledge and skills to craft a captivating and enduring source of entertainment that will enliven gatherings and create cherished memories. As you reflect on the construction process and the care invested in each phase, you can take pride in the creation of a timeless game that will bring joy to players of all ages.
From gathering the essential materials and tools to cutting, sanding, assembling, and adding the finishing touches to the wooden blocks, you have demonstrated dedication and craftsmanship in bringing your large Jenga game to fruition. The attention to detail and precision applied throughout the construction process will ensure that the game not only stands tall and striking but also withstands the test of time, ready to be enjoyed in various outdoor settings.
As you envision the towering Jenga structure ready for spirited gameplay, you have not only cultivated woodworking skills but also nurtured the spirit of creativity and communal enjoyment. The large Jenga game you have created is more than a recreational activity; it is a testament to your ingenuity and a focal point for laughter, friendly competition, and shared experiences.
With the completion of this project, you have unlocked the potential for countless hours of outdoor fun, fostering connections and camaraderie among friends, family, and guests. The towering Jenga structure you have crafted stands as a symbol of your dedication to creating memorable moments and fostering a lively and engaging atmosphere in any social gathering.
As you prepare to introduce your large Jenga game to its inaugural gameplay session, you can anticipate the laughter, suspense, and friendly rivalries that will unfold around this captivating creation. Embrace the joy of witnessing players carefully remove wooden blocks, striving to maintain the towering structure, and relish the camaraderie and excitement that this timeless game inspires.
So, as you stand before the impressive and meticulously crafted large Jenga game, take a moment to appreciate the craftsmanship, creativity, and dedication that have culminated in this remarkable achievement. Your creation is a testament to the joy of hands-on construction and the enduring appeal of classic games, and it is poised to become a beloved centerpiece of outdoor entertainment for years to come.
Frequently Asked Questions about How To Build A Large Jenga Game
Was this page helpful?
At Storables.com, we guarantee accurate and reliable information. Our content, validated by Expert Board Contributors, is crafted following stringent Editorial Policies. We're committed to providing you with well-researched, expert-backed insights for all your informational needs.


0 thoughts on “How To Build A Large Jenga Game”