Home>Gardening & Outdoor>Outdoor Recreation & Activities>How To Build A Bimini Ring Toss Game
Outdoor Recreation & Activities
How To Build A Bimini Ring Toss Game
Published: January 20, 2024
Learn how to build a fun and engaging Bimini ring toss game for outdoor recreation and activities. Step-by-step guide for a DIY project. Ideal for family and friends!
(Many of the links in this article redirect to a specific reviewed product. Your purchase of these products through affiliate links helps to generate commission for Storables.com, at no extra cost. Learn more)
Introduction
Are you looking for a fun and engaging outdoor game to add to your backyard or beachside entertainment? Building a Bimini ring toss game might be just the project for you. This classic game, also known as the Ring and Hook game, is not only enjoyable for players of all ages, but it also provides an excellent opportunity for a DIY project that can be customized to suit your preferences.
In this article, we will guide you through the step-by-step process of creating your very own Bimini ring toss game. From gathering the necessary materials to assembling the game and enjoying it with friends and family, we will cover everything you need to know to bring this entertaining and interactive activity to life.
Whether you are a woodworking enthusiast seeking a new project or simply someone who loves to add a personal touch to their recreational activities, building a Bimini ring toss game can be a rewarding and enjoyable endeavor. So, gather your tools and let's embark on this exciting journey of crafting and playing a timeless game that promises hours of entertainment and bonding with your loved ones.
Key Takeaways:
- Building a Bimini ring toss game is a fun DIY project that brings people together for hours of entertainment and bonding. It’s a rewarding way to add a personal touch to outdoor activities.
- Playing the Bimini ring toss game fosters friendly competition, camaraderie, and hand-eye coordination. It’s a timeless activity that creates cherished memories and lasting connections.
Read more: How To Make Rings For A Ring Toss Game
Materials Needed
Before diving into the construction of your Bimini ring toss game, it’s essential to gather all the necessary materials and tools. Here’s what you’ll need to get started:
- Wooden board or plank: Select a sturdy and durable piece of wood that is at least 2 feet long and 1 foot wide. This will serve as the base of your game.
- Wooden dowel: You’ll need a wooden dowel that is around 1 inch in diameter and at least 3 feet long. This will be used to create the upright post for the game.
- Wood screws: Ensure you have a variety of wood screws in different sizes to secure the components of the game together.
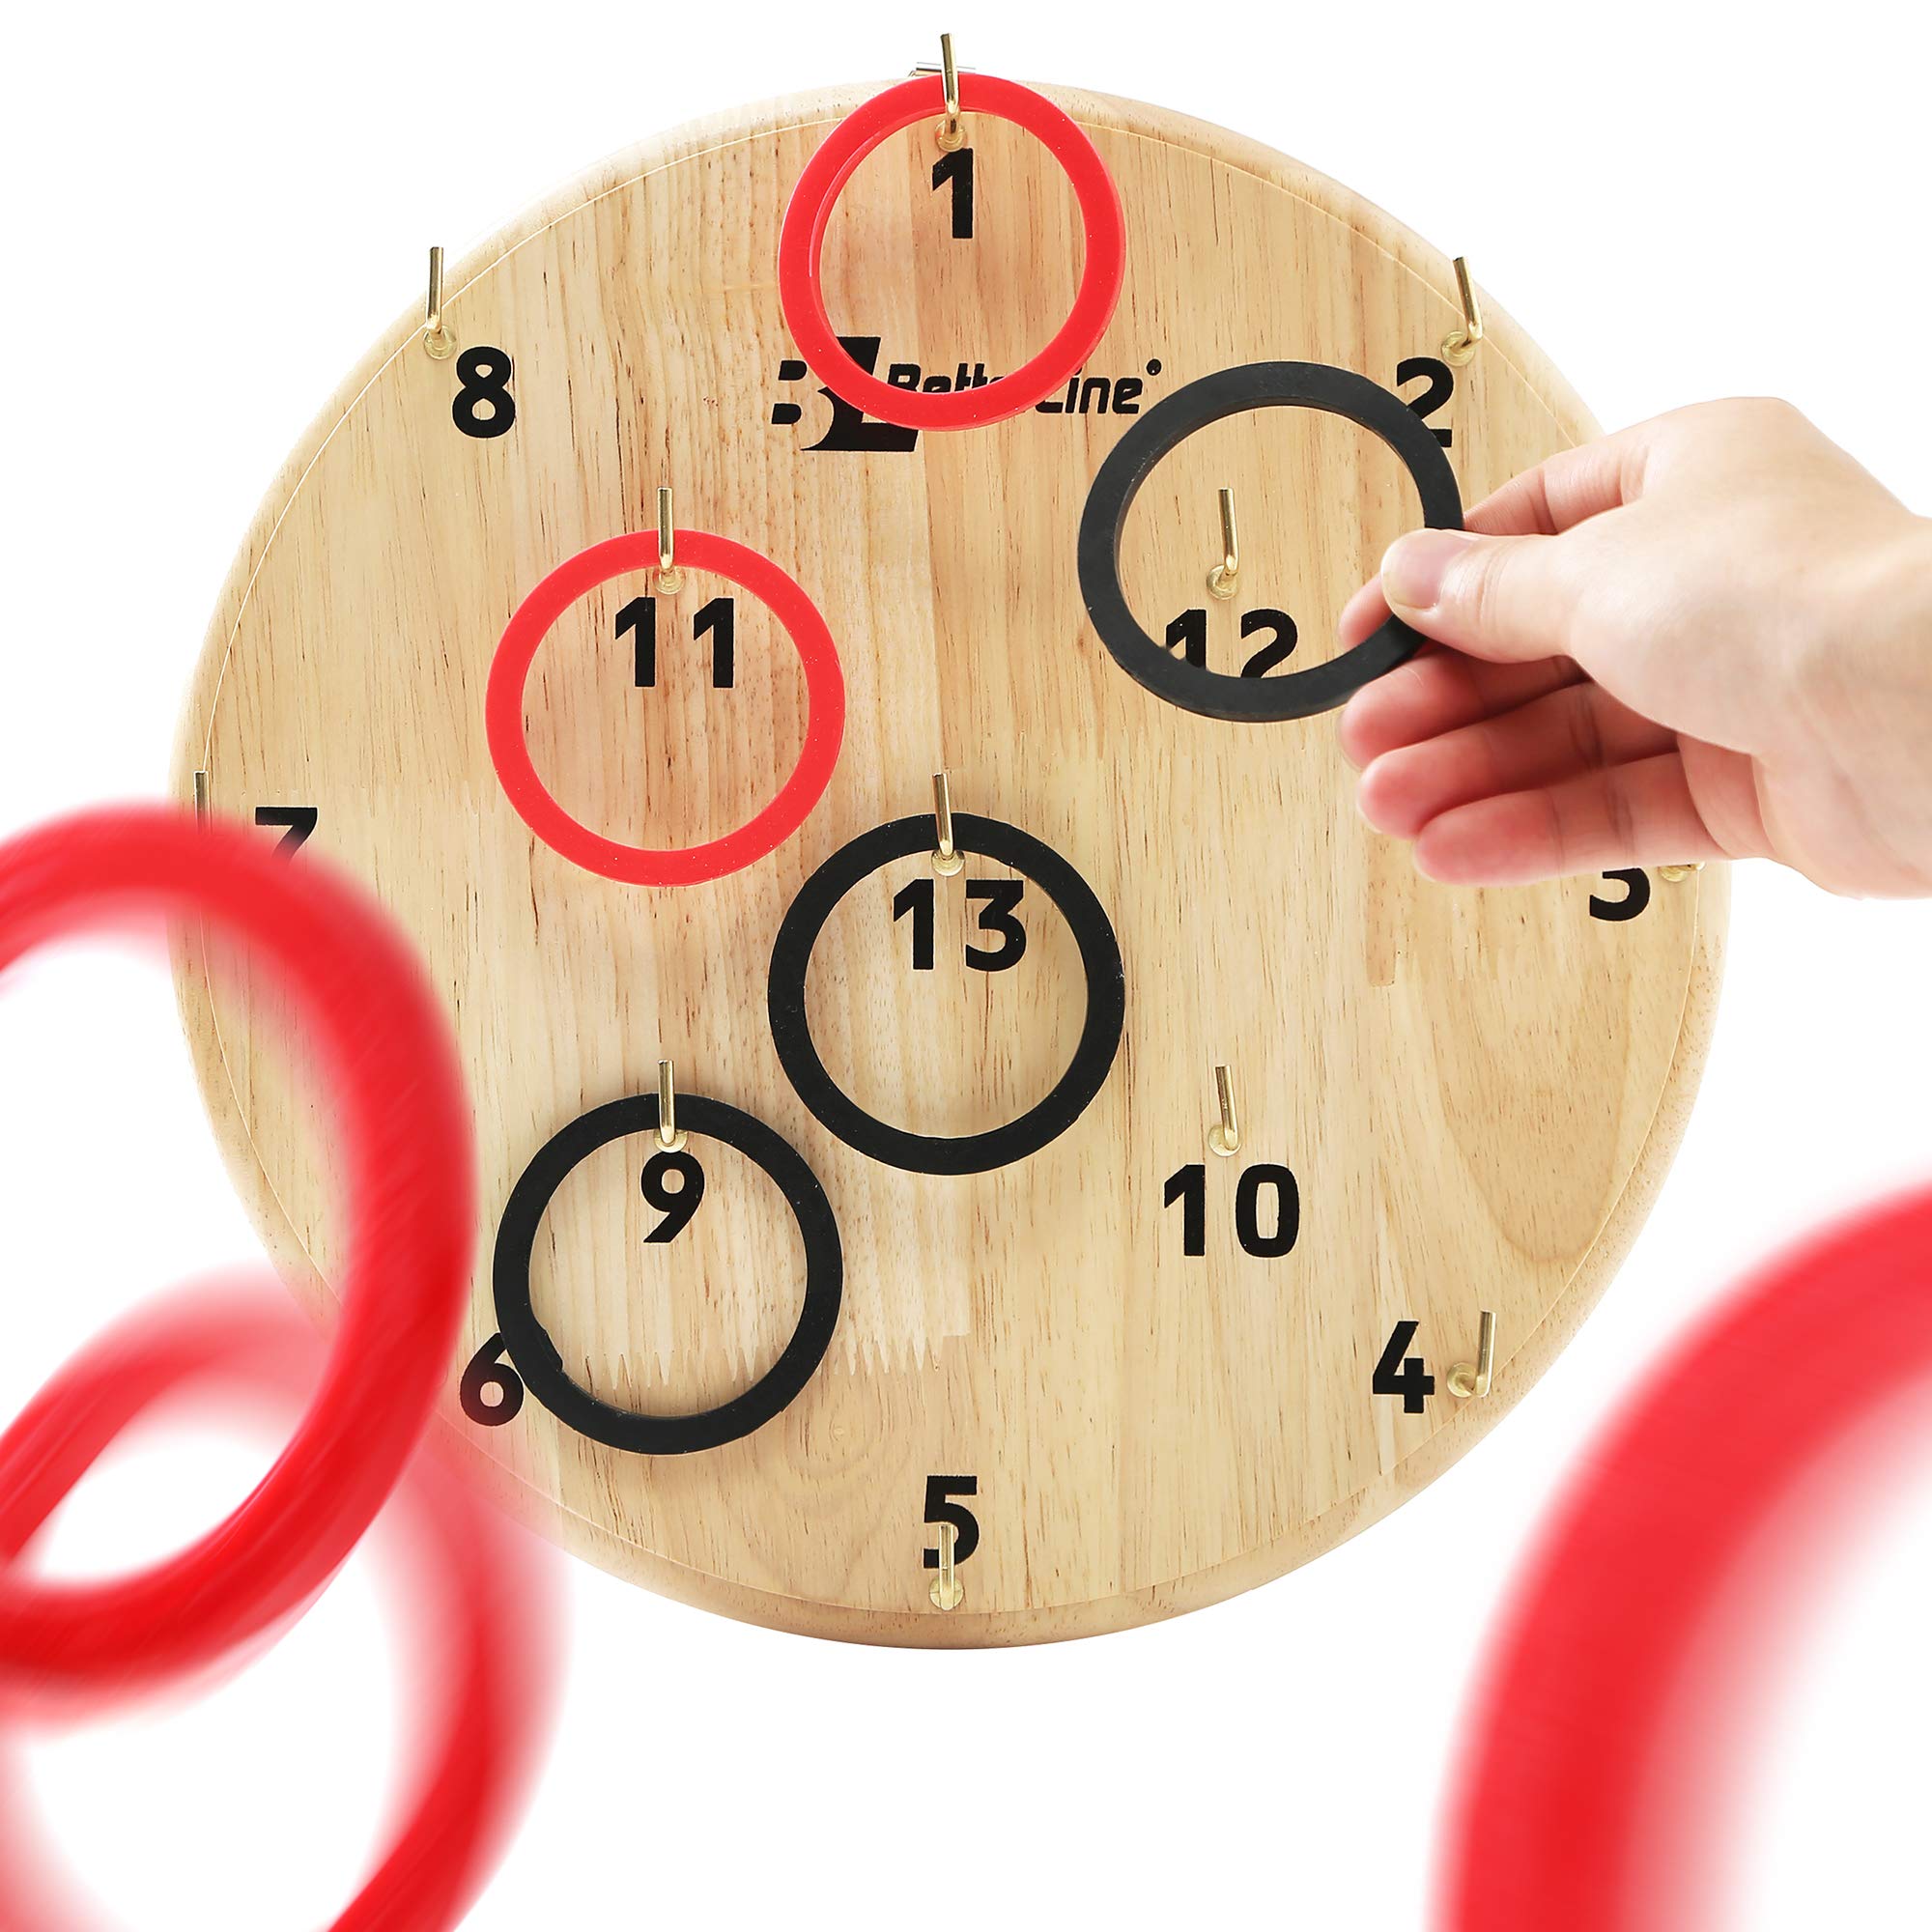
- Eye hooks: Purchase a set of eye hooks in the appropriate size to attach to the wooden board. These will hold the rings used in the game.
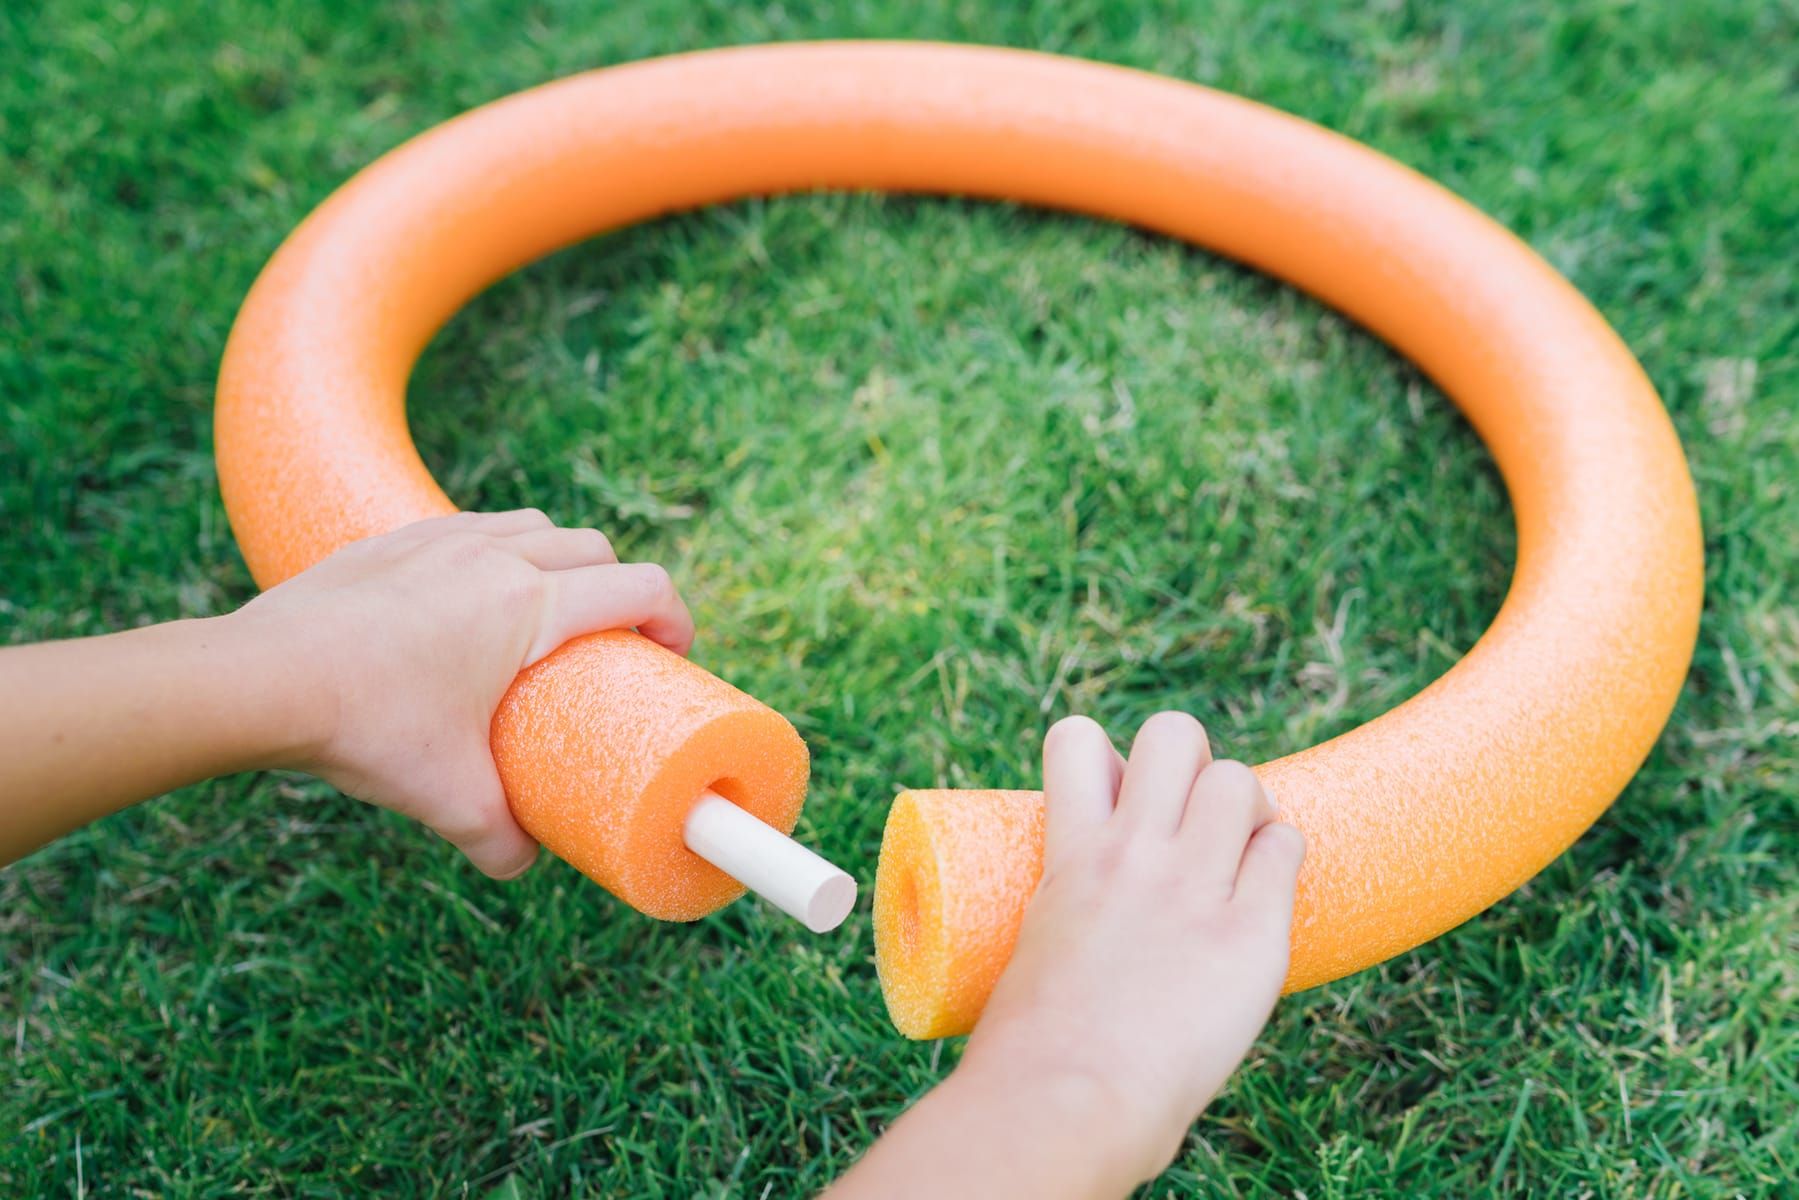
- Steel rings: Acquire a set of steel rings, typically around 3 inches in diameter, which will be tossed onto the hooks during gameplay.
- Drill and drill bits: Have a drill and a selection of drill bits on hand to create holes in the wood for assembly.
- Sandpaper: To ensure a smooth and polished finish, have sandpaper or a sanding block available for refining the wood surfaces.
- Measuring tape and pencil: These tools will be essential for marking and measuring the wood for accurate cuts and hole placements.
- Protective gear: Safety goggles and work gloves are crucial for protecting your eyes and hands during the construction process.
- Paint or wood stain (optional): If desired, you can add a personal touch to your game by applying paint or wood stain to the wooden components.
By gathering these materials, you’ll be well-prepared to move on to the next steps of constructing your Bimini ring toss game. With everything in place, you can look forward to creating a delightful and entertaining addition to your outdoor recreational activities.
Step 1: Cutting the Wood
The first step in creating your Bimini ring toss game is to prepare the wooden components. Start by measuring and marking the wooden board for the base of the game. Using a measuring tape and pencil, mark a rectangular shape that is approximately 2 feet long and 1 foot wide. Once marked, carefully use a saw to cut along the lines, creating the base of your game.
Next, it’s time to work on the wooden dowel that will serve as the upright post. Measure and mark the dowel to a length of around 3 feet, ensuring that it is tall enough to provide a challenging yet achievable height for the ring toss. Use a saw to cut the dowel to the desired length, and if necessary, sand the edges to remove any roughness.
After cutting the wood to the appropriate dimensions, take a moment to sand the surfaces of both the wooden board and the dowel. This step is crucial for achieving a smooth and splinter-free finish, enhancing the overall appearance and safety of the game. Once sanded, wipe away any sawdust or debris to prepare the wood for the next stage of construction.
By carefully cutting and preparing the wooden components, you are laying the foundation for a well-constructed and visually appealing Bimini ring toss game. With the base and upright post now prepared, you are ready to move on to the next step of drilling holes to assemble the frame of the game.
Step 2: Drilling Holes
With the wooden components cut to size, the next crucial step in building your Bimini ring toss game is to drill the necessary holes for assembly. Begin by placing the wooden board on a stable surface and using a pencil and measuring tape to mark the locations for the holes. For the classic Bimini ring toss game, you will typically need to create three evenly spaced holes along the top edge of the board to attach the eye hooks.
Using a drill bit that matches the diameter of the eye hooks, carefully drill the marked holes into the wooden board. It’s important to maintain precision and consistency when drilling to ensure that the eye hooks fit securely and align properly for the game to function effectively. Once the holes are drilled, gently twist the eye hooks into place, ensuring that they are firmly anchored in the wood.
For the upright post, drill a single hole in the center of the wooden dowel, approximately 6 inches from the top. This hole will serve as the attachment point for the string that holds the steel rings during gameplay. Use a drill bit slightly larger than the diameter of the string to create a snug fit for secure attachment.
After drilling the necessary holes, take a moment to inspect the wooden components and ensure that the eye hooks and the hole in the dowel are properly aligned and securely in place. This attention to detail during the drilling process will contribute to the stability and functionality of your Bimini ring toss game.
With the holes drilled and the eye hooks and dowel in position, you are now ready to proceed to the next step of assembling the frame of the game, bringing you one step closer to completing your own custom Bimini ring toss game.
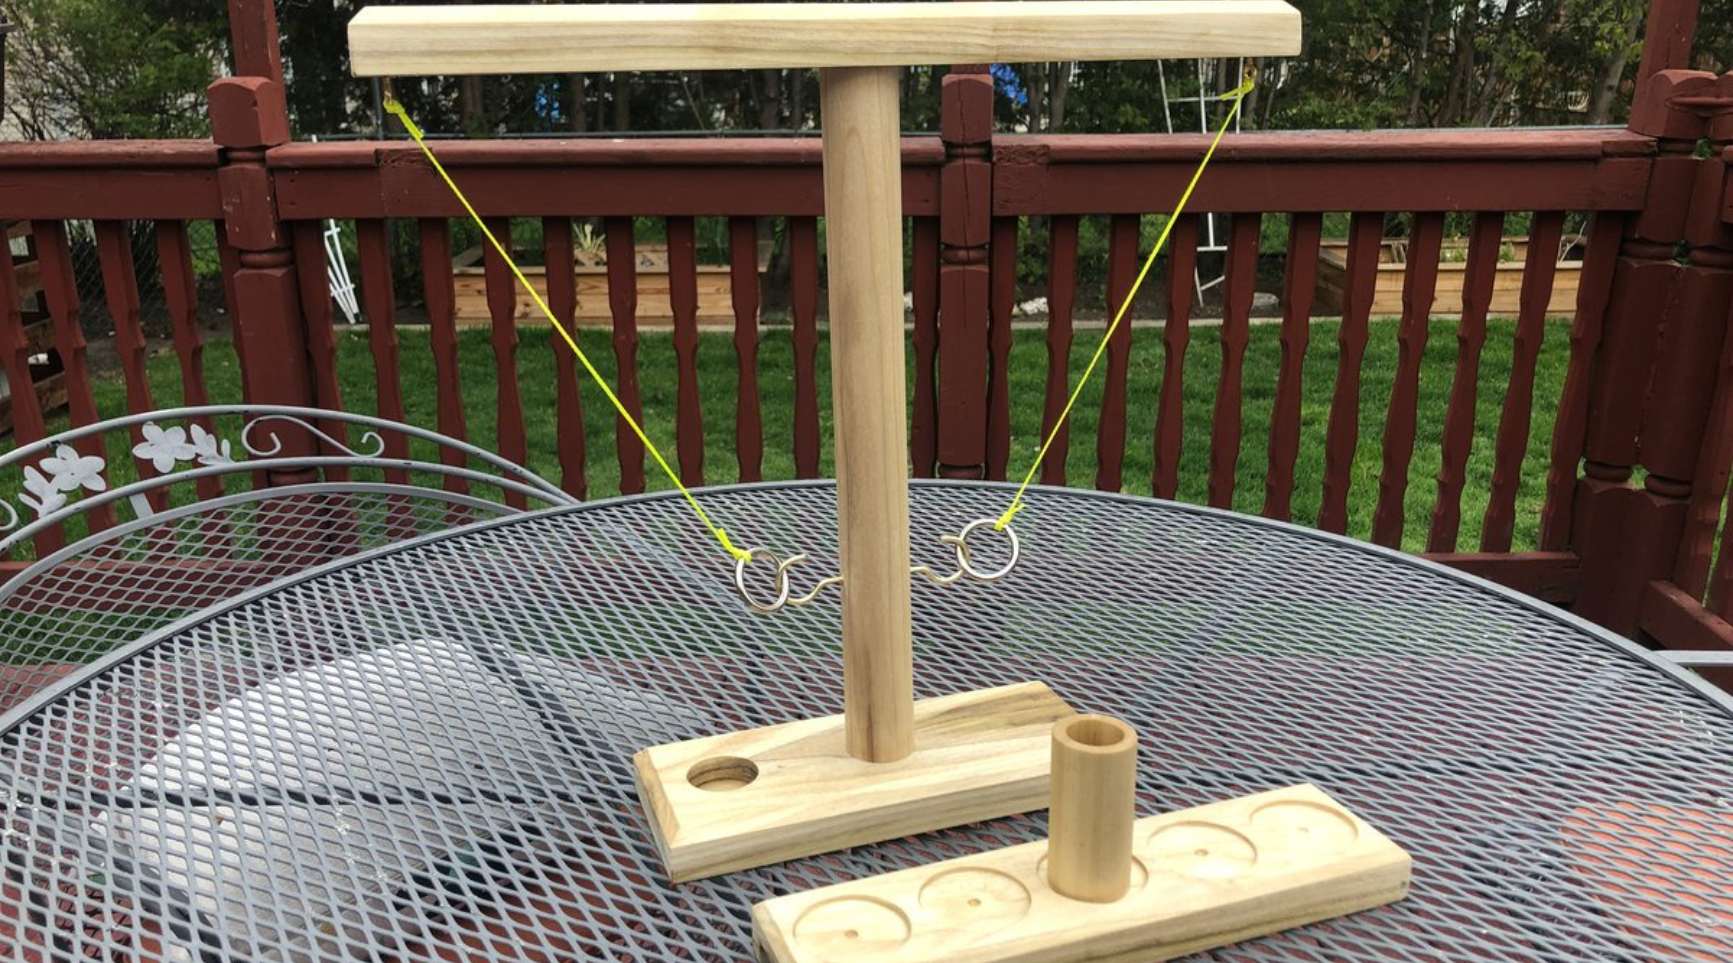
Step 3: Assembling the Frame
As you progress in building your Bimini ring toss game, the assembly of the frame marks a pivotal stage in bringing the components together to form the game structure. Begin by positioning the wooden dowel, which serves as the upright post, at the center of the wooden board. Align the hole in the dowel with the top edge of the board, ensuring that it stands upright and perpendicular to the base.
Once the dowel is in position, use wood screws to firmly attach it to the wooden board. Secure the dowel by driving the screws through the base and into the bottom of the dowel, creating a stable and robust connection between the two components. This step is essential for establishing the structural integrity of the game and ensuring that the upright post remains securely in place during gameplay.
With the upright post securely attached, the next focus is on the eye hooks. Position the eye hooks that were previously installed into the drilled holes along the top edge of the wooden board. Ensure that they are evenly spaced and firmly screwed into place, providing sturdy anchor points for the steel rings used in the game.
As you assemble the frame, take a moment to inspect the connections and ensure that all components are securely fastened. This careful attention to detail during assembly will contribute to the stability and durability of your Bimini ring toss game, enhancing its longevity and performance during gameplay.
By completing the assembly of the frame, you have now established the fundamental structure of your Bimini ring toss game. With the base, upright post, and eye hooks securely assembled, you are ready to proceed to the next step of adding the hooks, bringing you closer to the completion of your DIY ring toss game.
When building a Bimini Ring Toss game, make sure to use durable materials like wood or metal for the base and poles to ensure the game lasts a long time. Also, consider adding adjustable height options for different skill levels.
Read more: How To Make A Ring Toss Game
Step 4: Adding the Hooks
As you advance in the construction of your Bimini ring toss game, the addition of hooks is a crucial step that enhances the gameplay experience. With the frame of the game assembled, it’s time to focus on attaching the steel hooks to the eye hooks on the wooden board. These hooks will serve as the targets for the ring toss, adding an element of skill and precision to the game.
Begin by taking the steel rings and threading them onto the eye hooks. Ensure that the rings are evenly spaced and hang freely from the eye hooks, creating a visually appealing and functional arrangement for gameplay. This step allows you to assess the positioning of the rings and make any necessary adjustments to achieve a balanced and engaging setup.
Once the rings are in place, it’s time to test the stability and alignment of the hooks. Gently tug on each ring to ensure that it is securely attached to the eye hooks and does not wobble excessively. This step is essential for verifying that the hooks are firmly anchored and will withstand the impact of the tossed rings during gameplay.
As you add the hooks and test their stability, take the opportunity to step back and assess the visual and functional aspects of the game. Ensure that the rings are positioned at an appropriate height and distance from the throwing line, providing a challenging yet achievable target for players of all skill levels.
By adding the hooks to the eye hooks and testing their stability, you have enhanced the visual appeal and interactive nature of your Bimini ring toss game. With the hooks in place, you are now ready to move on to the next step of attaching the string, bringing you closer to completing this engaging and entertaining DIY project.
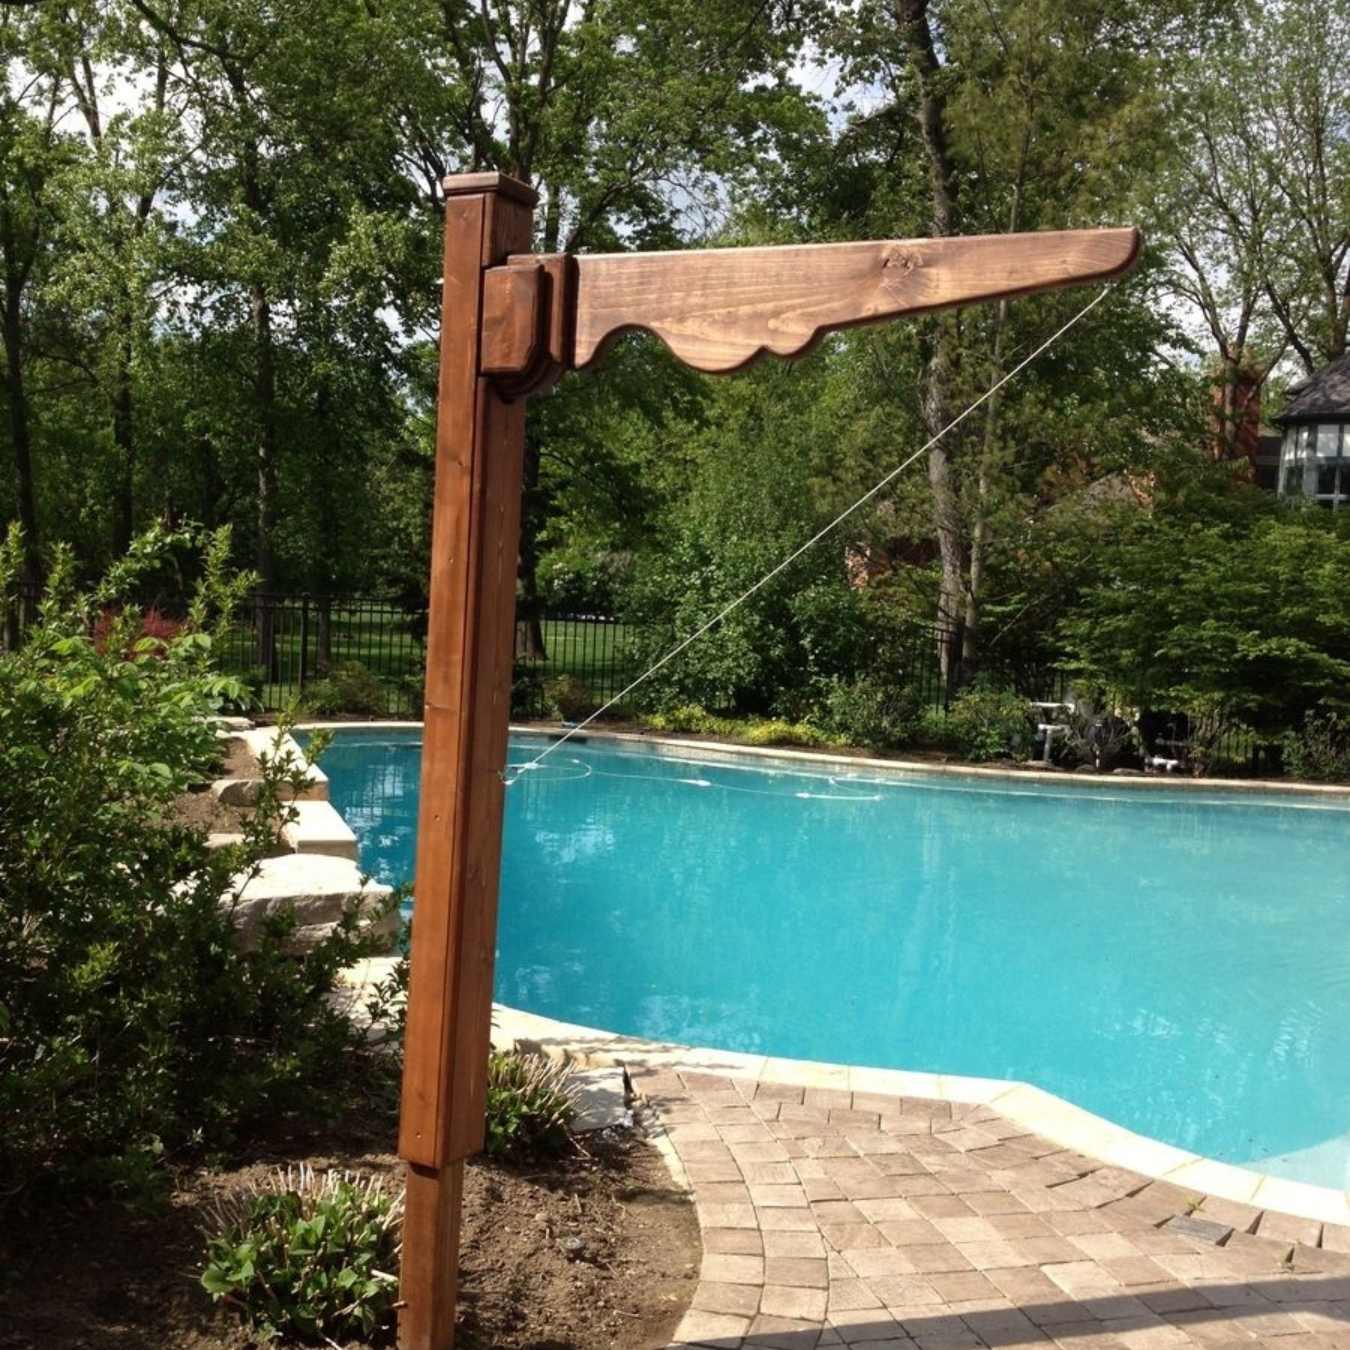
Step 5: Attaching the String
As you approach the final stages of constructing your Bimini ring toss game, attaching the string is a critical step that adds an essential element to the gameplay. The string serves as the line from which players will toss the rings, and its proper installation is crucial for ensuring fair and enjoyable gameplay.
Begin by selecting a durable and weather-resistant string that is approximately 6-8 feet in length. This length provides ample space for players to stand at a comfortable distance from the game while maintaining an appropriate challenge level for the ring toss. Secure one end of the string to the hole in the wooden dowel, ensuring that it is tightly knotted and will withstand the tension of the tossed rings.
With the string anchored to the dowel, extend it across the playing area to the front of the wooden board. Secure the opposite end of the string to a fixed point, such as a small hook or eyelet, ensuring that it is taut and straight, creating a clear throwing line for the players. This step is crucial for establishing a consistent and fair playing field for all participants.
As you attach the string, take a moment to assess its alignment and tension. Ensure that it is straight and level, providing an even challenge for players aiming to land the rings on the hooks. Additionally, check that the string is securely fastened at both ends, minimizing any potential movement during gameplay.
By attaching the string to the dowel and securing it to a fixed point, you have completed a vital aspect of your Bimini ring toss game, setting the stage for engaging and competitive play. With the string in place, you are now ready to move on to the final step of playing the game, bringing your DIY project to fruition and enjoying the entertaining and interactive experience it offers.
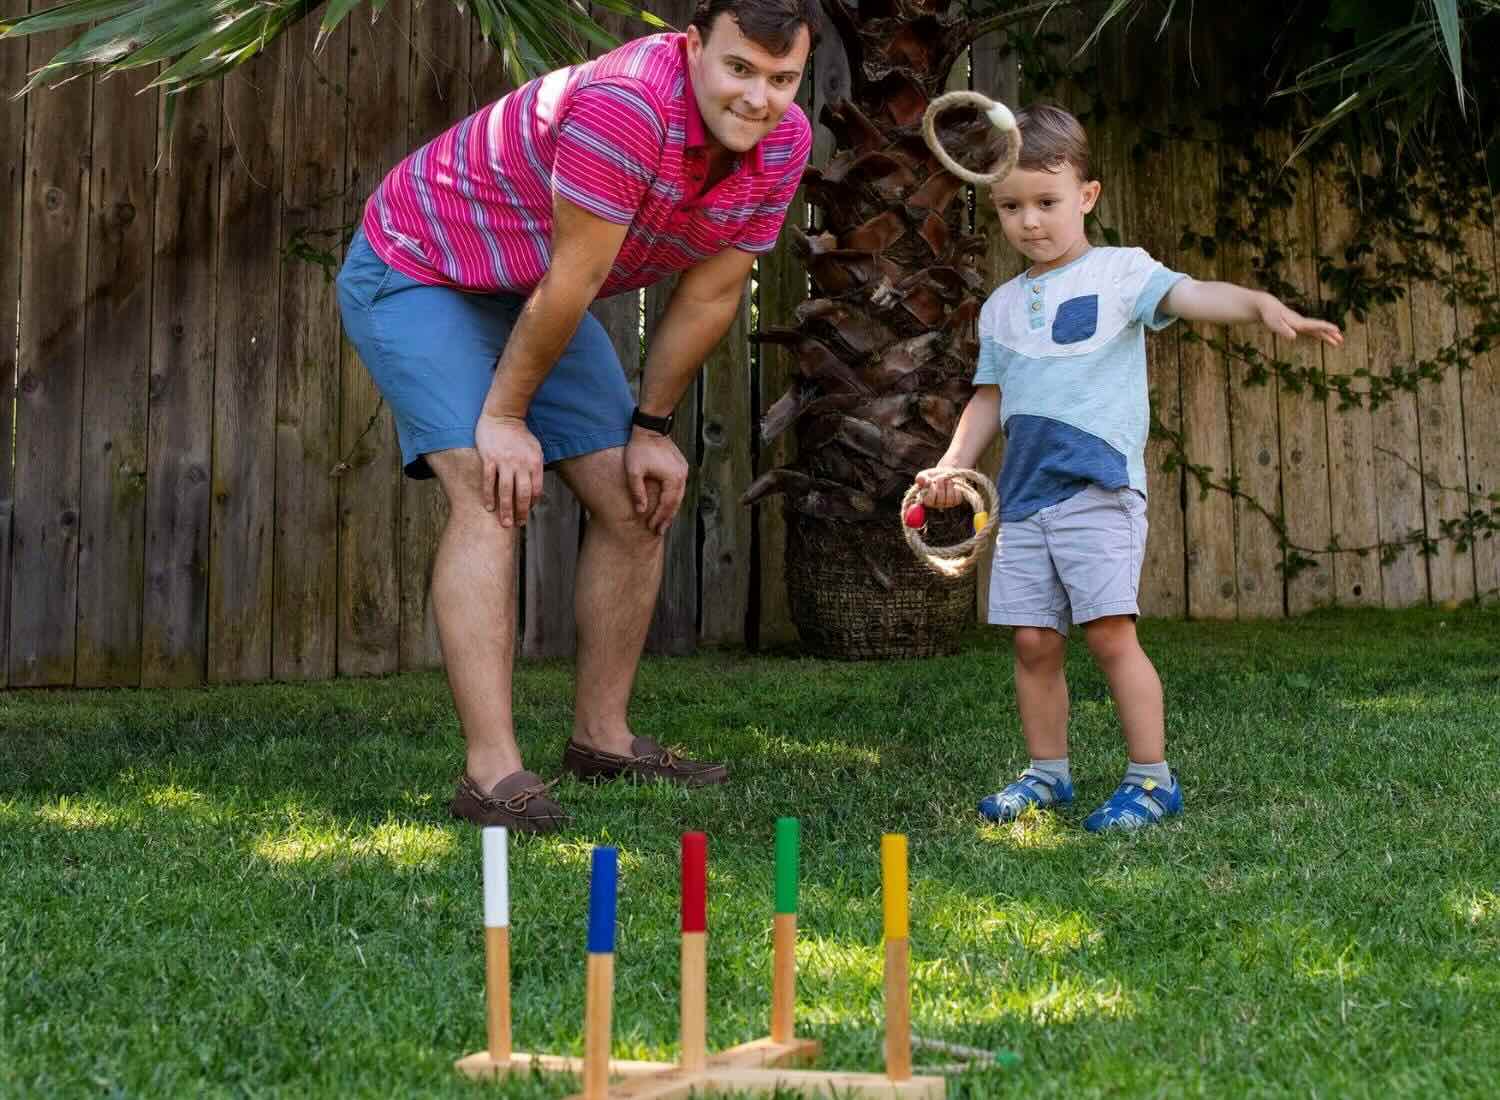
Step 6: Playing the Game
After meticulously crafting and assembling your Bimini ring toss game, it’s time to gather friends and family and engage in a lively round of gameplay. This classic and entertaining activity offers a perfect blend of skill, competition, and enjoyment for participants of all ages.
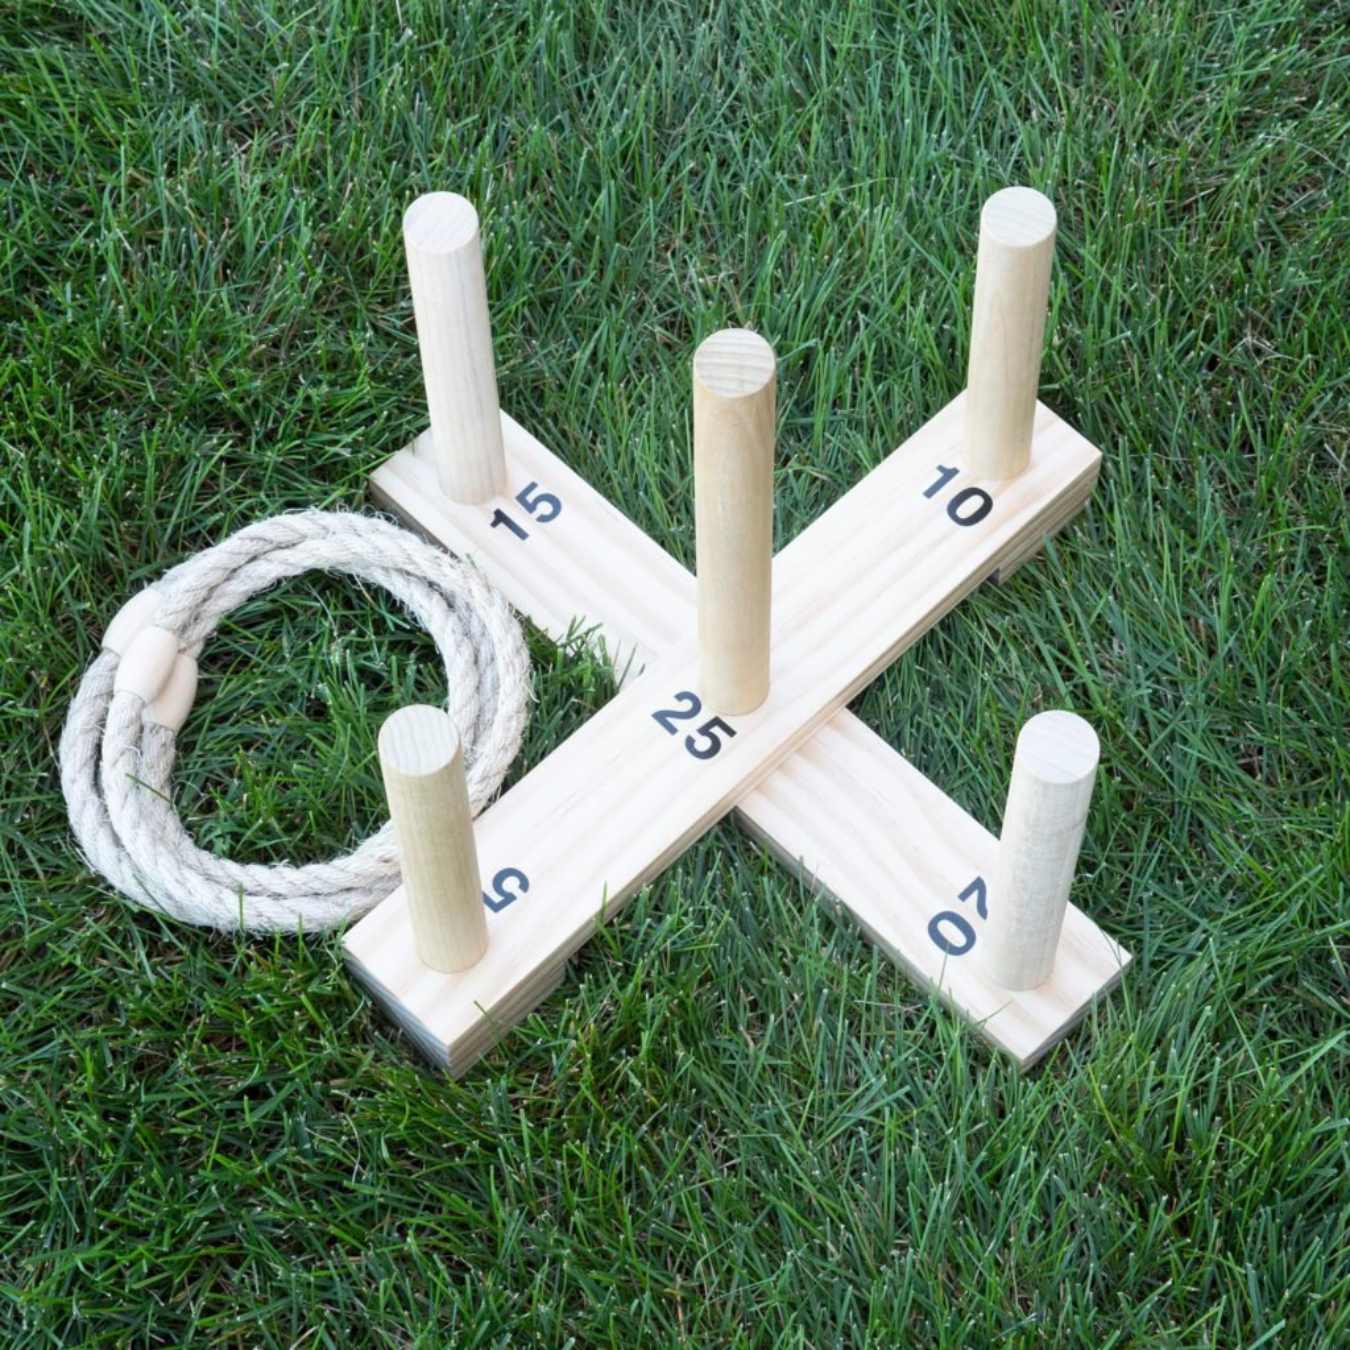
To begin, designate a starting point a few feet away from the game board, where players will stand to toss the rings. Each player takes turns aiming to land the steel rings onto the hooks, earning points based on the level of difficulty of each hook. For example, the innermost hook may yield the highest points, while the outer hooks offer fewer points.
Players take turns tossing the rings, aiming for precision and accuracy to secure the highest point values. The game continues until each player has had an equal number of turns, at which point the points are tallied to determine the winner. This friendly competition fosters a lively and engaging atmosphere, encouraging players to showcase their throwing skills while enjoying the thrill of the game.
As players engage in the ring toss, the game fosters camaraderie and friendly rivalry, creating memorable moments and bonding opportunities. Whether played in a backyard, at a beach gathering, or during a leisurely afternoon, the Bimini ring toss game offers a delightful and interactive experience for all participants.
By participating in the game, players not only enjoy the thrill of competition but also sharpen their hand-eye coordination and strategic thinking. The game’s accessibility and inclusive nature make it an ideal choice for social gatherings and outdoor events, adding a touch of nostalgic fun to any occasion.
As you embark on the exciting adventure of playing the Bimini ring toss game, relish the laughter, friendly banter, and shared enjoyment that this timeless activity brings. Embrace the spirit of competition, celebrate each successful toss, and savor the delightful moments that arise from engaging in this classic and beloved game.
Conclusion
Congratulations on successfully creating your own Bimini ring toss game! As you reflect on the journey from gathering the materials to engaging in lively gameplay, you have undoubtedly experienced the joy of crafting a classic and entertaining outdoor activity. The process of constructing the game has not only provided an opportunity for creative expression but has also paved the way for memorable moments of fun and laughter with friends and family.
By embarking on this DIY project, you have not only built a delightful game but have also contributed to the creation of a shared experience that brings people together. The Bimini ring toss game offers a perfect blend of skill, competition, and camaraderie, making it a cherished addition to any outdoor gathering or recreational event.
As you witness the excitement and engagement of players as they aim for the hooks, you’ll find that the game fosters a sense of lighthearted competition and shared enjoyment. The simple yet captivating nature of the Bimini ring toss game transcends generations, making it a timeless activity that appeals to individuals of all ages.
As you bask in the satisfaction of completing this DIY project, take pride in the craftsmanship and personal touch you have added to the game. Whether it’s the smooth finish of the wooden components, the strategic placement of the hooks, or the tautness of the string, your attention to detail has resulted in a game that promises hours of entertainment and bonding with loved ones.
As you witness the joy and laughter that emanate from playing the Bimini ring toss game, you’ll find that the effort and dedication invested in its creation have yielded immeasurable rewards. The game stands as a testament to your craftsmanship and creativity, serving as a centerpiece for memorable gatherings and shared experiences for years to come.
So, as you revel in the thrill of gameplay and the shared moments of delight, remember that the Bimini ring toss game is more than just a DIY project – it’s a conduit for creating cherished memories and fostering connections that endure far beyond the bounds of the game board. Embrace the joy, camaraderie, and lasting impact of this timeless activity, and relish the countless moments of laughter and bonding it brings to your outdoor adventures.
Frequently Asked Questions about How To Build A Bimini Ring Toss Game
Was this page helpful?
At Storables.com, we guarantee accurate and reliable information. Our content, validated by Expert Board Contributors, is crafted following stringent Editorial Policies. We're committed to providing you with well-researched, expert-backed insights for all your informational needs.


0 thoughts on “How To Build A Bimini Ring Toss Game”