Home>Gardening & Outdoor>Outdoor Recreation & Activities>How To Clean Tile Grout In A Swimming Pool
Outdoor Recreation & Activities
How To Clean Tile Grout In A Swimming Pool
Modified: August 26, 2024
Learn how to effectively clean tile grout in your swimming pool with our outdoor recreation and activities guide. Keep your pool looking pristine and inviting.
(Many of the links in this article redirect to a specific reviewed product. Your purchase of these products through affiliate links helps to generate commission for Storables.com, at no extra cost. Learn more)
Introduction
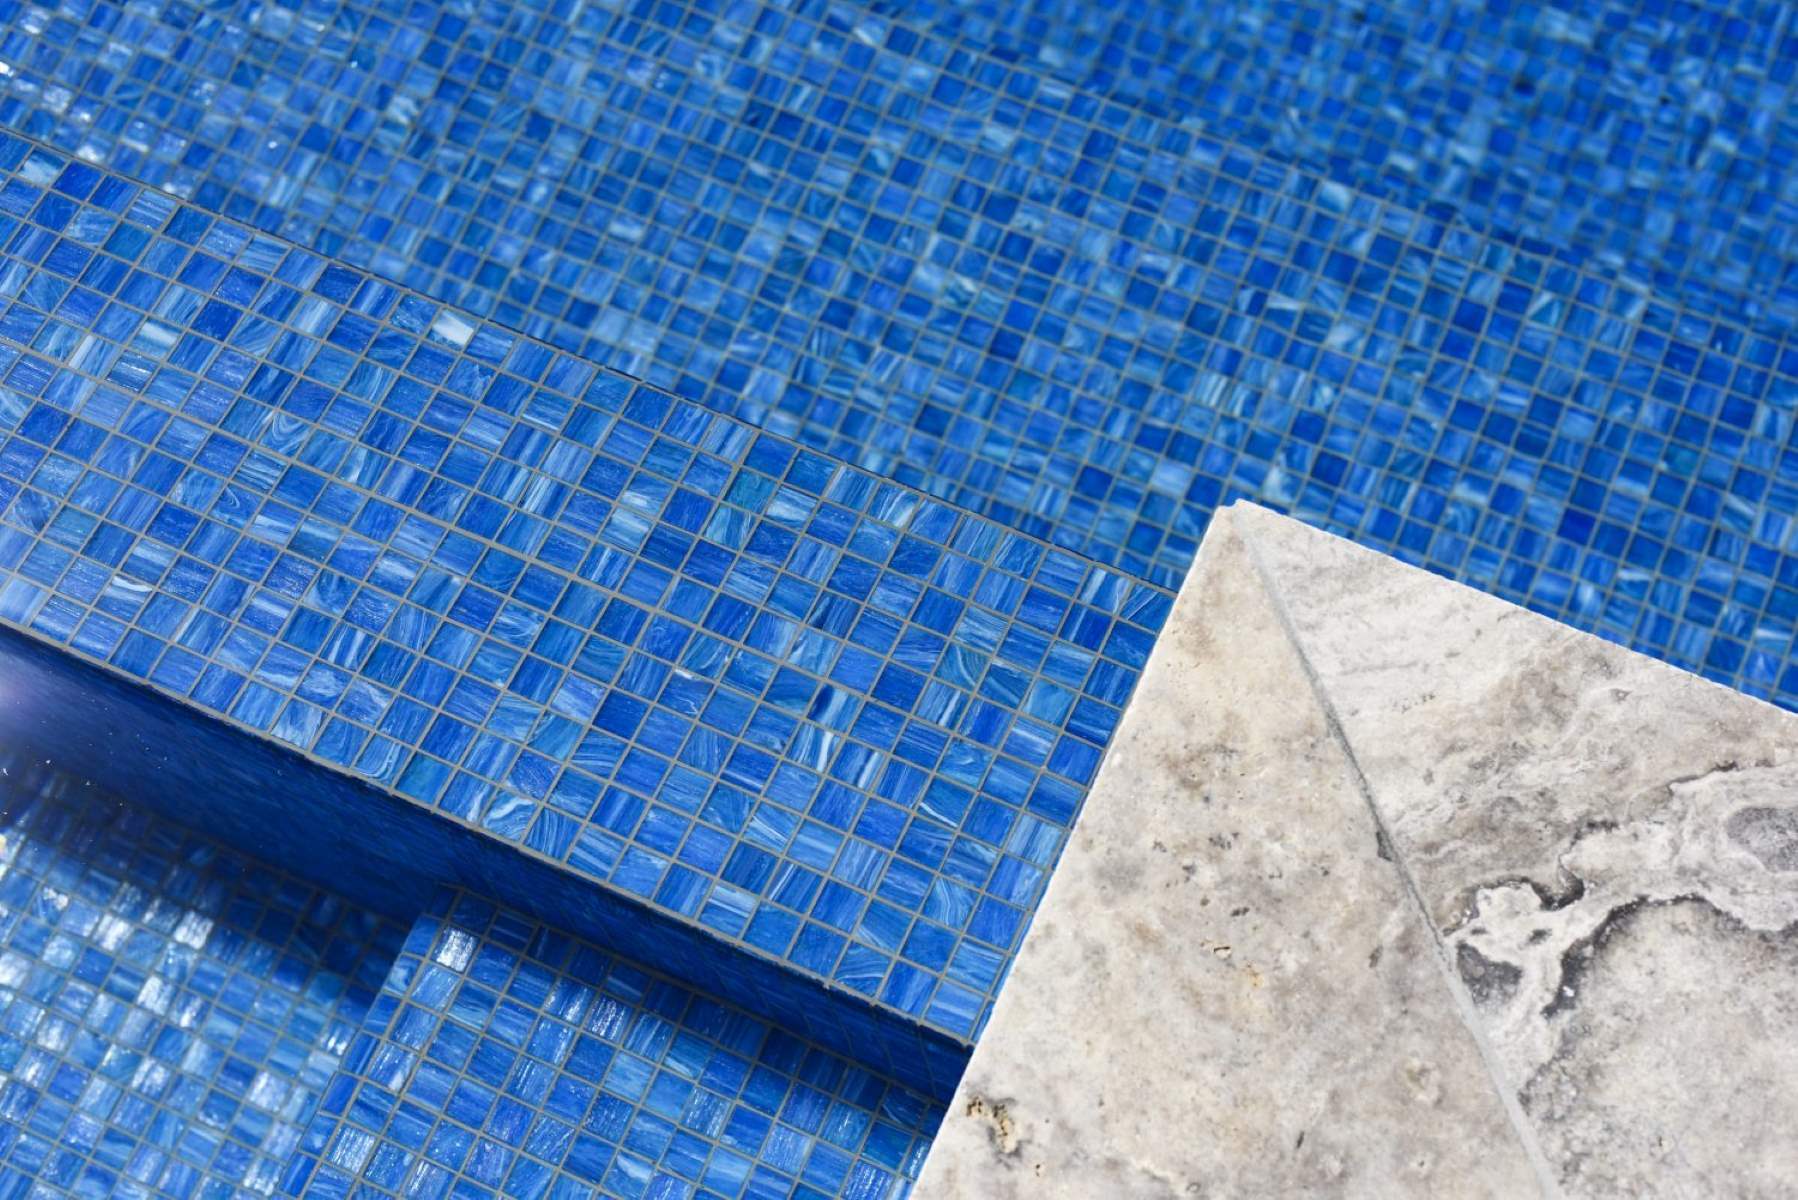
Maintaining a sparkling and inviting swimming pool is a source of pride for any homeowner or facility manager. However, the beauty of a pool can be marred by dirty or discolored tile grout. Over time, grime, algae, and mineral deposits can accumulate in the grout lines, detracting from the overall aesthetic appeal of the pool area. Fortunately, with the right tools, materials, and techniques, it's possible to restore the tile grout to its original luster and keep the pool looking its best.
Properly cleaning the tile grout in a swimming pool is not only about aesthetics; it also plays a crucial role in maintaining the pool's hygiene. Neglected grout can become a breeding ground for bacteria and mold, posing health risks to swimmers. Additionally, dirty grout can compromise the structural integrity of the tiles, leading to potential damage and costly repairs. Therefore, regular maintenance and cleaning of the tile grout are essential for both the visual appeal and the safety of the pool environment.
In this comprehensive guide, we will delve into the step-by-step process of cleaning tile grout in a swimming pool, providing valuable insights and practical tips to achieve optimal results. From preparing the pool area to applying the cleaning solution, scrubbing the grout, and ensuring thorough rinsing and drying, each stage of the cleaning process will be thoroughly explored. Furthermore, we will discuss essential maintenance tips to help prolong the cleanliness and integrity of the tile grout, ensuring a pristine and inviting pool environment for years to come.
By following the techniques outlined in this guide, pool owners and maintenance professionals can take proactive measures to preserve the beauty and cleanliness of their swimming pools. With a commitment to regular maintenance and proper cleaning practices, it is possible to enjoy a pool that not only looks stunning but also upholds the highest standards of hygiene and safety. Let's embark on this journey to discover the art of revitalizing and maintaining tile grout in a swimming pool, ensuring that every dip in the water is a refreshing and delightful experience.
Key Takeaways:
- Regularly cleaning tile grout in a swimming pool is crucial for maintaining a clean and safe environment, preventing bacteria and mold buildup, and preserving the pool’s visual appeal and structural integrity.
- To clean tile grout in a swimming pool, gather the right tools and materials, prepare the pool area, apply a cleaning solution, scrub the grout, and thoroughly rinse and dry the surfaces for a revitalized and inviting pool environment.
Read more: How To Clean Floor Tile Grout
Importance of Clean Tile Grout in a Swimming Pool
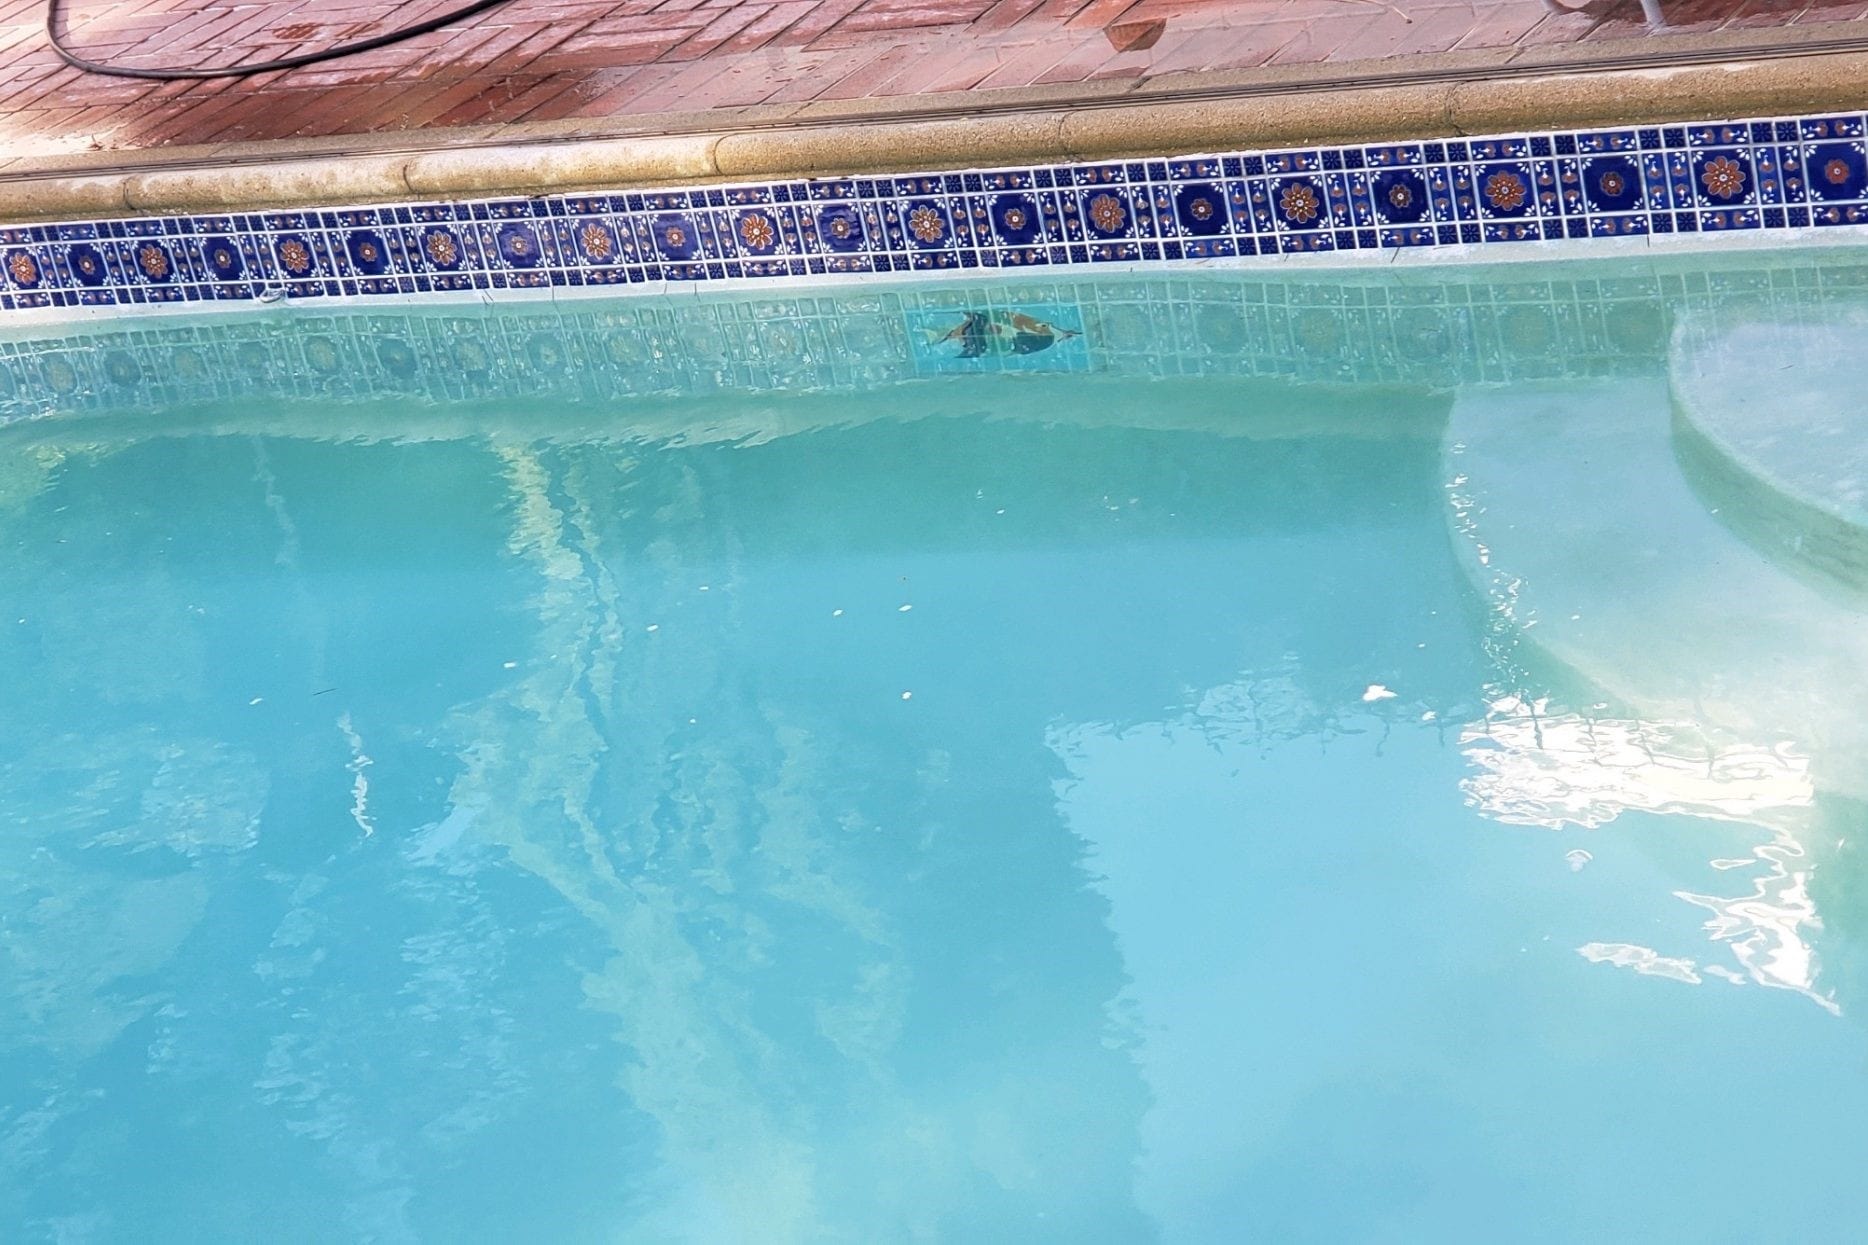
The cleanliness of tile grout in a swimming pool holds significant importance, extending beyond mere aesthetics. Clean and well-maintained grout not only enhances the visual appeal of the pool area but also plays a pivotal role in ensuring the overall hygiene and safety of the swimming environment.
First and foremost, the appearance of the tile grout significantly impacts the overall impression of the pool. Stained, discolored, or grimy grout can detract from the beauty of the pool, creating an unsightly and unwelcoming atmosphere. By contrast, clean and pristine grout lines contribute to a visually appealing and inviting pool area, elevating the overall ambiance and creating a positive experience for swimmers and onlookers alike.
Beyond aesthetics, the cleanliness of tile grout directly influences the hygiene of the pool environment. Neglected grout can become a breeding ground for bacteria, mold, and algae, posing potential health risks to swimmers. The accumulation of organic matter and debris in the grout lines can compromise the water quality, leading to unsanitary conditions and potential health hazards. Therefore, regular cleaning and maintenance of the tile grout are essential for upholding the highest standards of cleanliness and hygiene in the pool area.
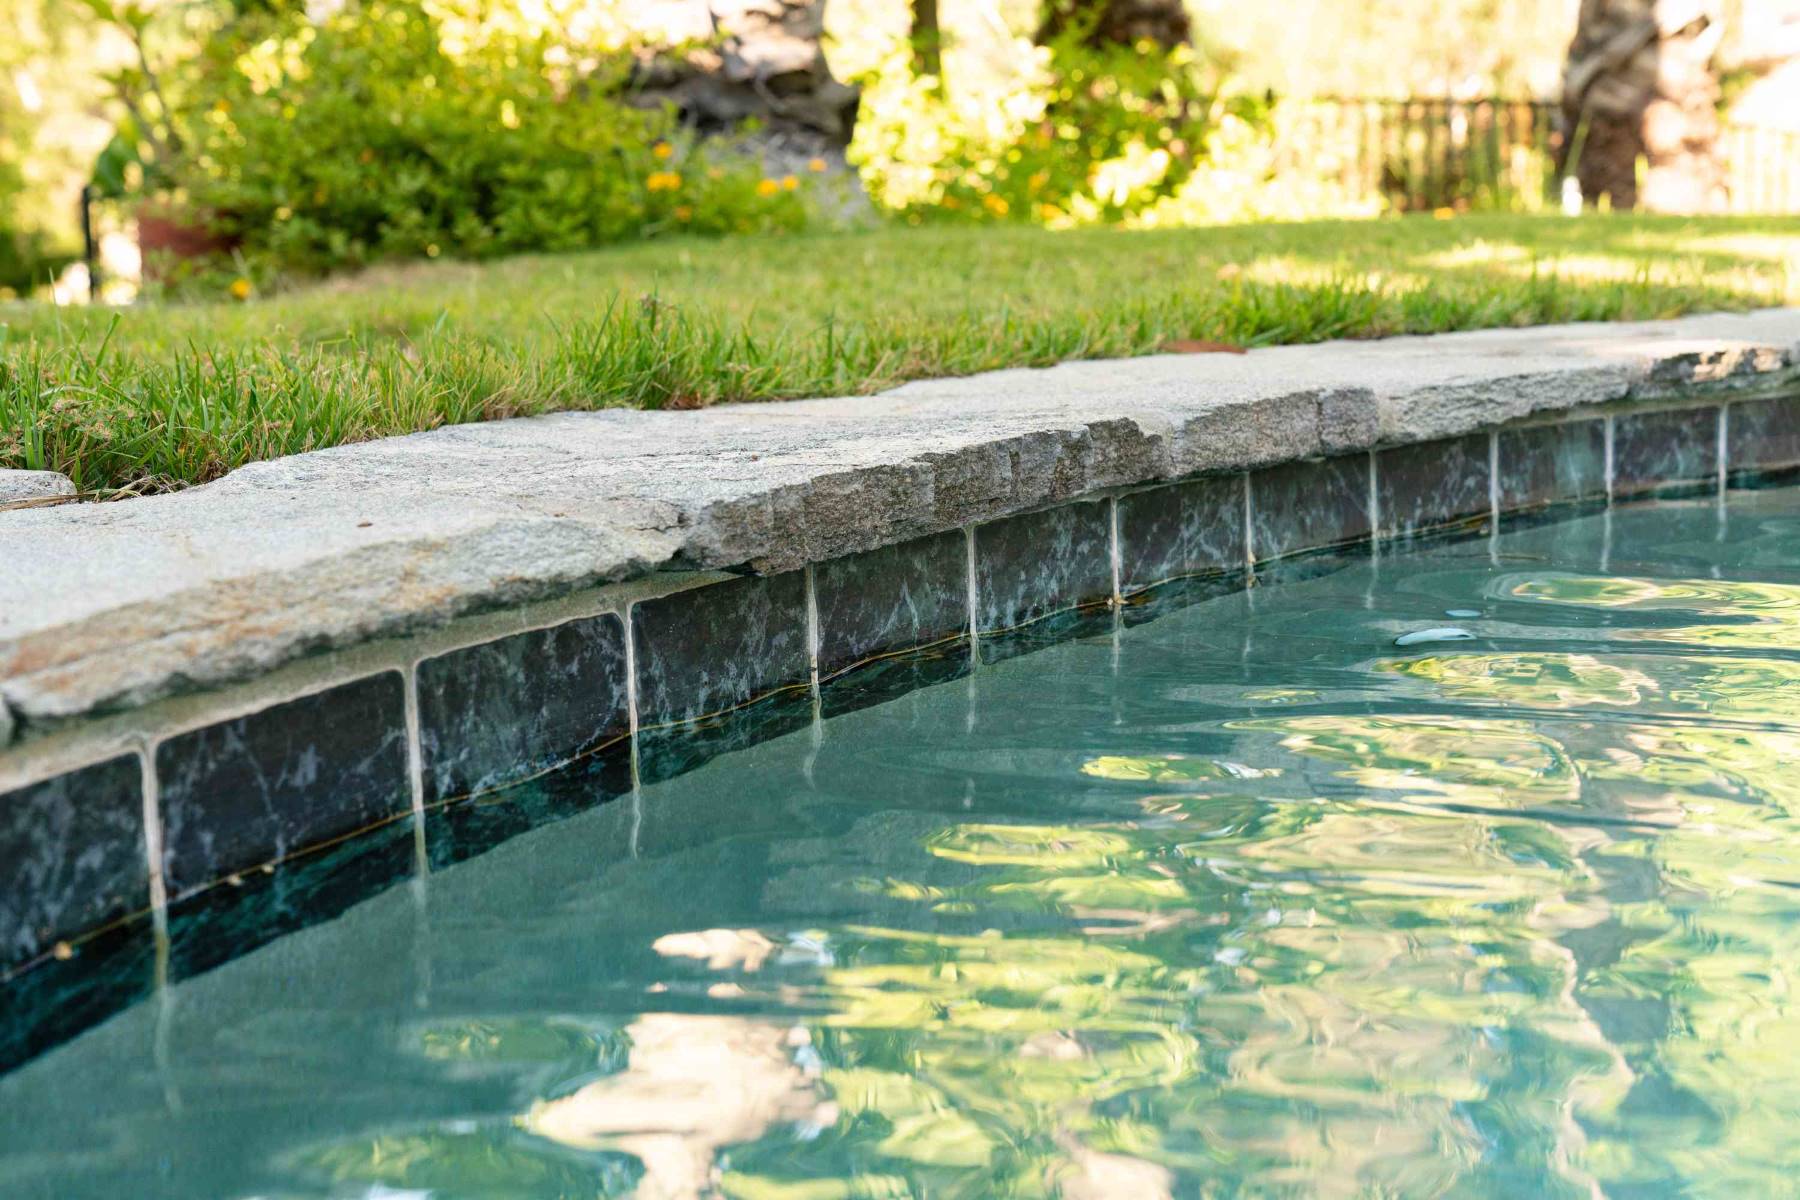
Moreover, the structural integrity of the pool tiles is closely linked to the condition of the grout. Over time, dirt, mineral deposits, and other contaminants can infiltrate the grout, potentially causing damage to the tiles. This can lead to issues such as loosened or cracked tiles, which not only detract from the visual appeal of the pool but also pose safety concerns for swimmers. By keeping the grout clean and free from debris, the longevity and durability of the pool tiles can be preserved, minimizing the need for costly repairs and ensuring a safe and enjoyable swimming environment.
In essence, the importance of clean tile grout in a swimming pool cannot be overstated. It is a fundamental aspect of pool maintenance that directly impacts the visual appeal, hygiene, and structural integrity of the pool area. By prioritizing the cleanliness and maintenance of the tile grout, pool owners and facility managers can create a welcoming and safe environment for swimmers while preserving the longevity and beauty of their pool investment.
Tools and Materials Needed
To embark on the journey of revitalizing and maintaining tile grout in a swimming pool, it is essential to gather the necessary tools and materials. Equipping yourself with the right supplies will ensure a smooth and effective cleaning process, allowing you to achieve optimal results. Here's a comprehensive list of the tools and materials needed to undertake the task of cleaning tile grout in a swimming pool:
Tools:
-
Grout Brush: A sturdy grout brush with stiff bristles is essential for effectively scrubbing the grout lines and dislodging stubborn dirt and grime. Look for a brush with an ergonomic handle to facilitate comfortable and efficient cleaning.
-
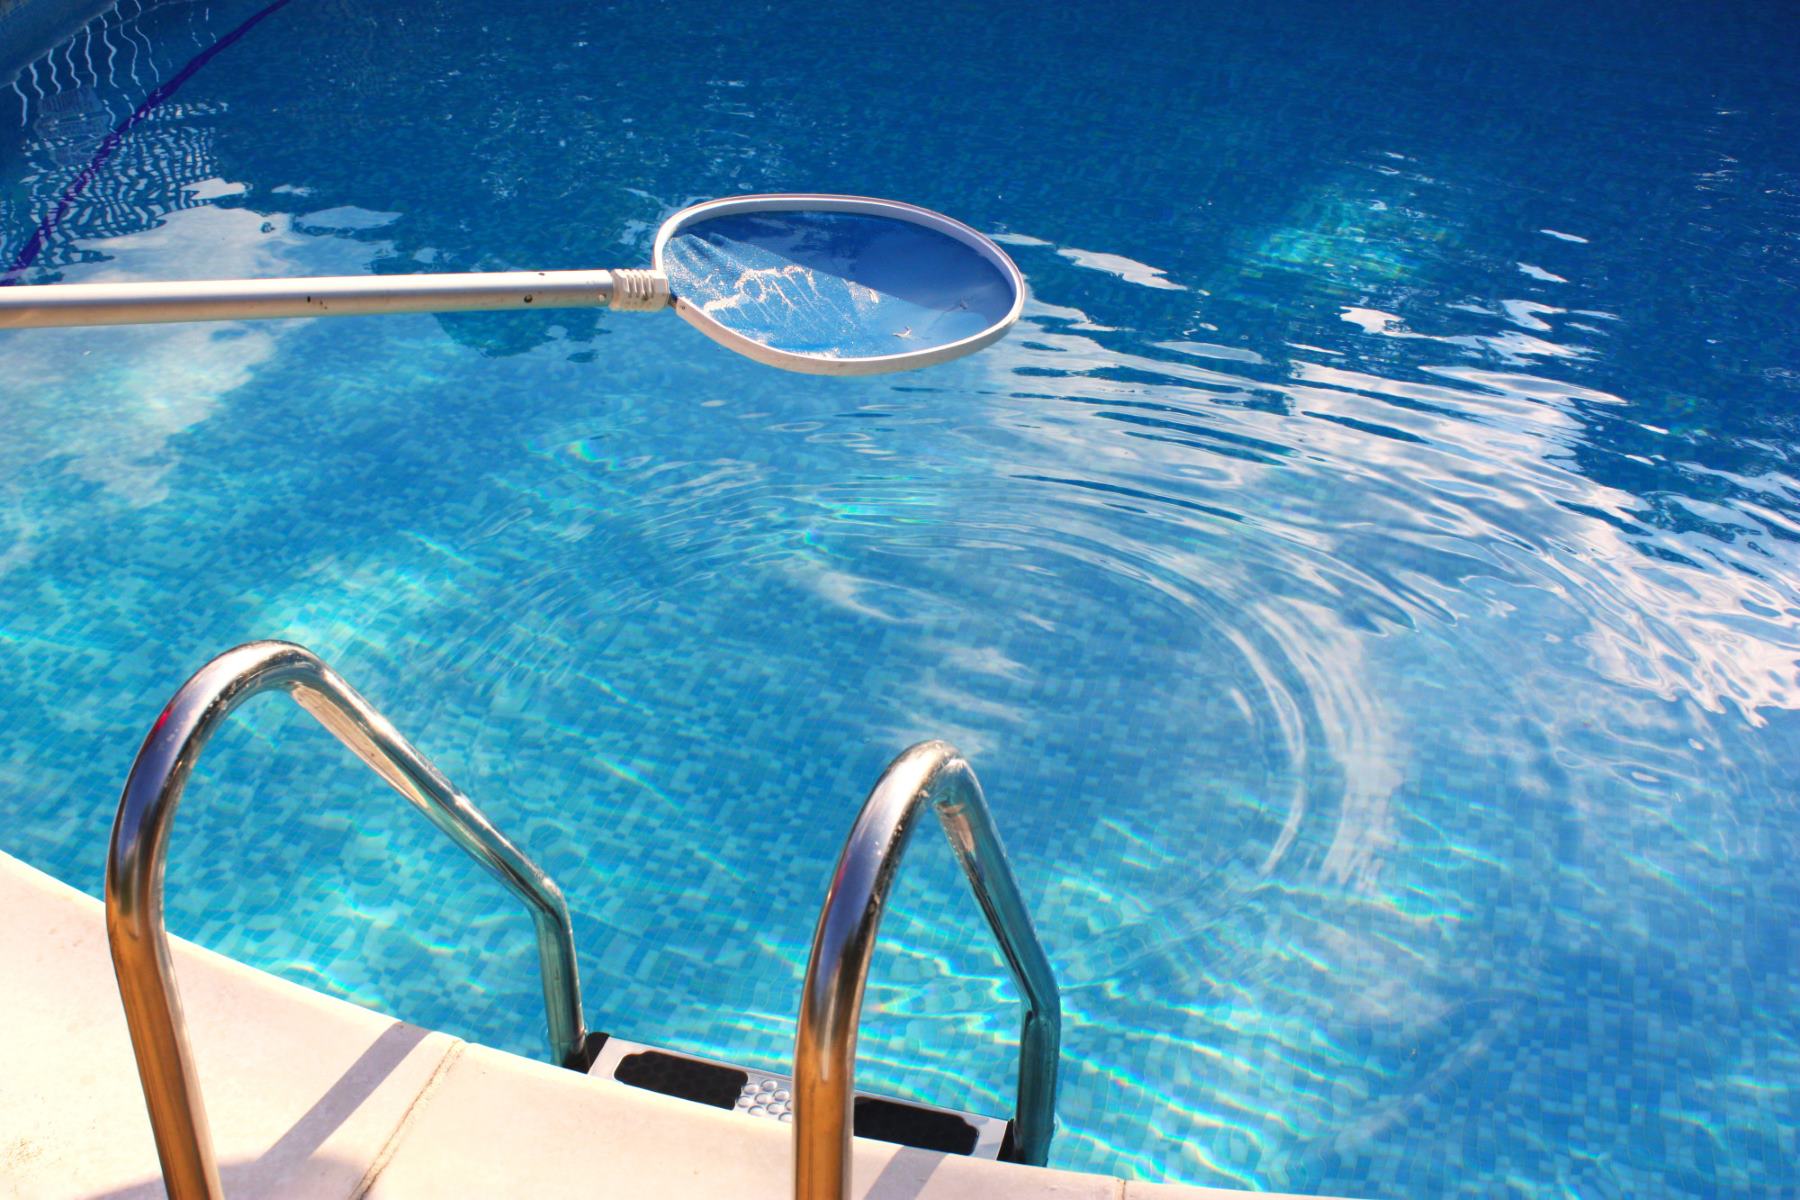
Pool Skimmer or Net: Before initiating the cleaning process, it's important to remove any debris or floating particles from the pool surface. A pool skimmer or net will help in clearing leaves, insects, and other debris, preventing them from settling back onto the grout during cleaning.
-
Rubber Gloves: Protect your hands from cleaning solutions and potential irritants by wearing durable rubber gloves. Opt for gloves that provide a snug fit and ample dexterity to facilitate precise cleaning movements.
-
Safety Goggles: When working with cleaning solutions, particularly those containing chemicals, safeguard your eyes with a pair of safety goggles. This precautionary measure is crucial for preventing accidental splashes or exposure to harsh substances.
-
Sponge or Cleaning Cloth: A soft sponge or cleaning cloth will be used for applying the cleaning solution to the grout lines and for wiping away excess solution during the rinsing process.
-
Extension Pole: If the pool area features expansive or hard-to-reach grout lines, an extension pole can be attached to the grout brush to facilitate extended reach and efficient cleaning.
Materials:
-
Grout Cleaner or Solution: Select a high-quality grout cleaner specifically formulated for use in swimming pools. Look for a cleaner that effectively targets algae, mineral deposits, and grime while being safe for pool surfaces and the surrounding environment.
-
Bucket: A large bucket will be needed for mixing the cleaning solution and for carrying water to rinse the grout lines.
-
Water Hose: Ensure access to a water hose with a nozzle for convenient rinsing of the grout lines after scrubbing. The hose should provide a steady and controlled stream of water for thorough cleaning.
-
Protective Tarp or Plastic Sheet: Lay down a protective tarp or plastic sheet around the pool area to prevent the cleaning solution and debris from spreading to other surfaces. This precaution will help contain the cleaning process and minimize cleanup efforts afterward.
By assembling these essential tools and materials, you will be well-prepared to initiate the process of cleaning tile grout in a swimming pool. With the right supplies at your disposal, you can approach the task with confidence and efficiency, ensuring that the cleaning process unfolds seamlessly and yields exceptional results.
Read more: How To Clean A Swimming Pool Filter
Step 1: Preparing the Pool Area
Before diving into the task of cleaning the tile grout in a swimming pool, it is crucial to prepare the pool area to facilitate a smooth and effective cleaning process. Proper preparation not only ensures the safety of the cleaning operation but also minimizes the potential for mess and damage to surrounding surfaces. Here's a detailed guide on how to prepare the pool area for the grout cleaning endeavor:
-
Clear the Pool Surface: Begin by using a pool skimmer or net to remove any debris, leaves, or floating particles from the pool water. Clearing the surface of the pool prevents contaminants from settling back onto the grout lines during the cleaning process.
-
Protect Surrounding Surfaces: Lay down a protective tarp or plastic sheet around the perimeter of the pool area. This precautionary measure helps contain the cleaning process, preventing the cleaning solution and debris from spreading to other surfaces such as the pool deck or landscaping.
-
Secure Pool Fixtures and Accessories: If the pool area features fixtures such as ladders, handrails, or decorative elements, take the time to secure or cover them to prevent accidental contact with cleaning solutions. Additionally, if there are any delicate plants or landscaping near the pool, consider covering or relocating them to safeguard against potential exposure to cleaning agents.
-
Ventilate the Area: Ensure adequate ventilation in the pool area by opening windows, doors, or using fans if available. Proper ventilation helps disperse fumes from cleaning solutions and promotes a comfortable environment for the cleaning process.
-
Gather Cleaning Supplies: Organize the cleaning tools and materials in close proximity to the pool area for easy access during the cleaning process. Having the supplies readily available streamlines the cleaning operation and minimizes interruptions.
By meticulously preparing the pool area before commencing the grout cleaning process, you set the stage for a successful and efficient endeavor. These preparatory measures create a safe, contained, and organized environment, laying the groundwork for the subsequent steps in the tile grout cleaning process. With the pool area primed and ready, you can proceed with confidence, knowing that the cleaning process will unfold seamlessly and yield exceptional results.
Step 2: Applying the Cleaning Solution
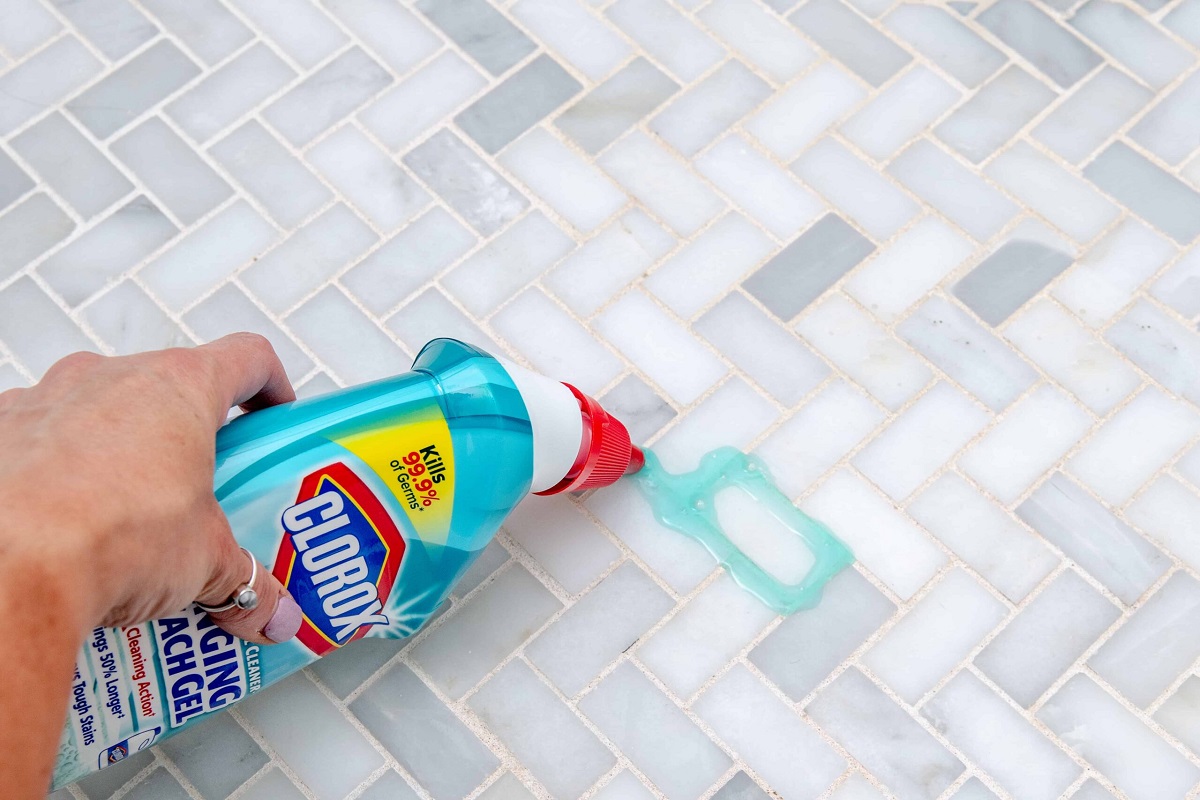
Once the pool area is meticulously prepared, the next crucial step in the process of cleaning tile grout in a swimming pool is the application of the cleaning solution. This pivotal stage involves the strategic application of a high-quality grout cleaner to effectively target and eliminate dirt, algae, and mineral deposits from the grout lines. The following detailed guide outlines the step-by-step process of applying the cleaning solution, ensuring thorough coverage and optimal efficacy:
-
Dilute the Cleaning Solution: Begin by diluting the grout cleaner according to the manufacturer's instructions. Typically, the cleaner is mixed with water in a designated ratio to achieve the desired potency for effective cleaning. Use a large bucket to prepare the cleaning solution, ensuring that it is thoroughly mixed and ready for application.
-
Apply the Solution to the Grout Lines: Using a sponge or cleaning cloth, apply the diluted cleaning solution directly onto the grout lines. Work methodically, starting from one end of the pool and progressing systematically to ensure comprehensive coverage of the grout. The solution should be generously applied to ensure that it penetrates the grout and effectively targets embedded dirt and contaminants.
-
Allow Dwell Time: After applying the cleaning solution, allow it to dwell on the grout lines for the specified duration recommended by the manufacturer. This dwell time is crucial for the cleaner to effectively break down and loosen dirt, algae, and mineral deposits, preparing them for removal during the subsequent scrubbing stage.
-
Monitor and Reapply as Needed: During the dwell time, periodically inspect the grout lines to ensure that the cleaning solution remains adequately saturated. If the solution begins to dry or absorb into the grout quickly, consider reapplying it to maintain consistent coverage and efficacy. Monitoring the application ensures that the cleaning solution can work optimally to dislodge and dissolve stubborn grime and contaminants.
By meticulously following these steps, the application of the cleaning solution can be executed with precision and effectiveness, setting the stage for the subsequent stage of scrubbing the grout. This meticulous approach ensures that the grout receives thorough and targeted treatment, paving the way for exceptional cleaning results and a revitalized pool environment.
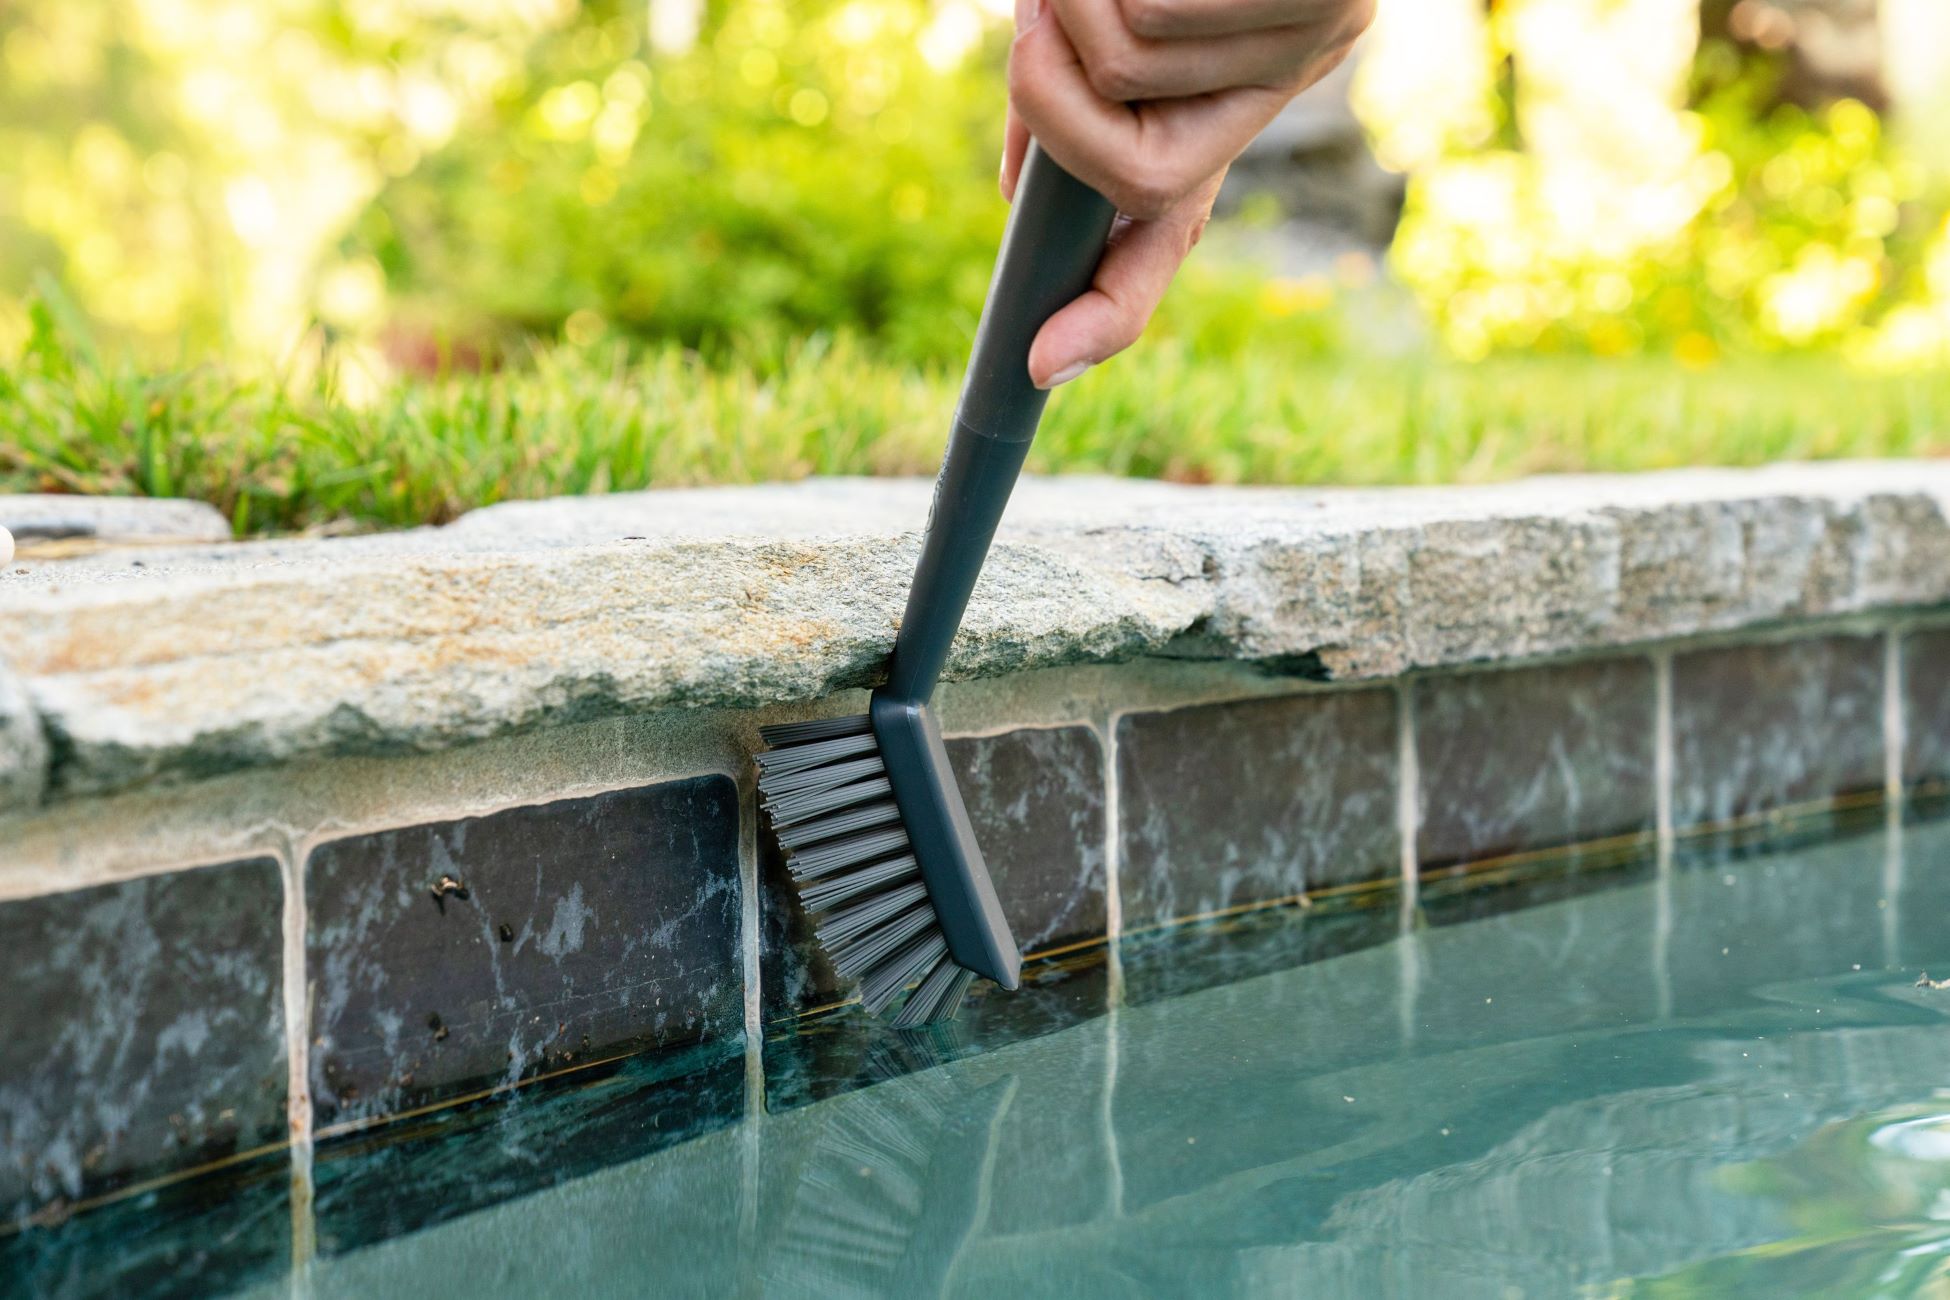
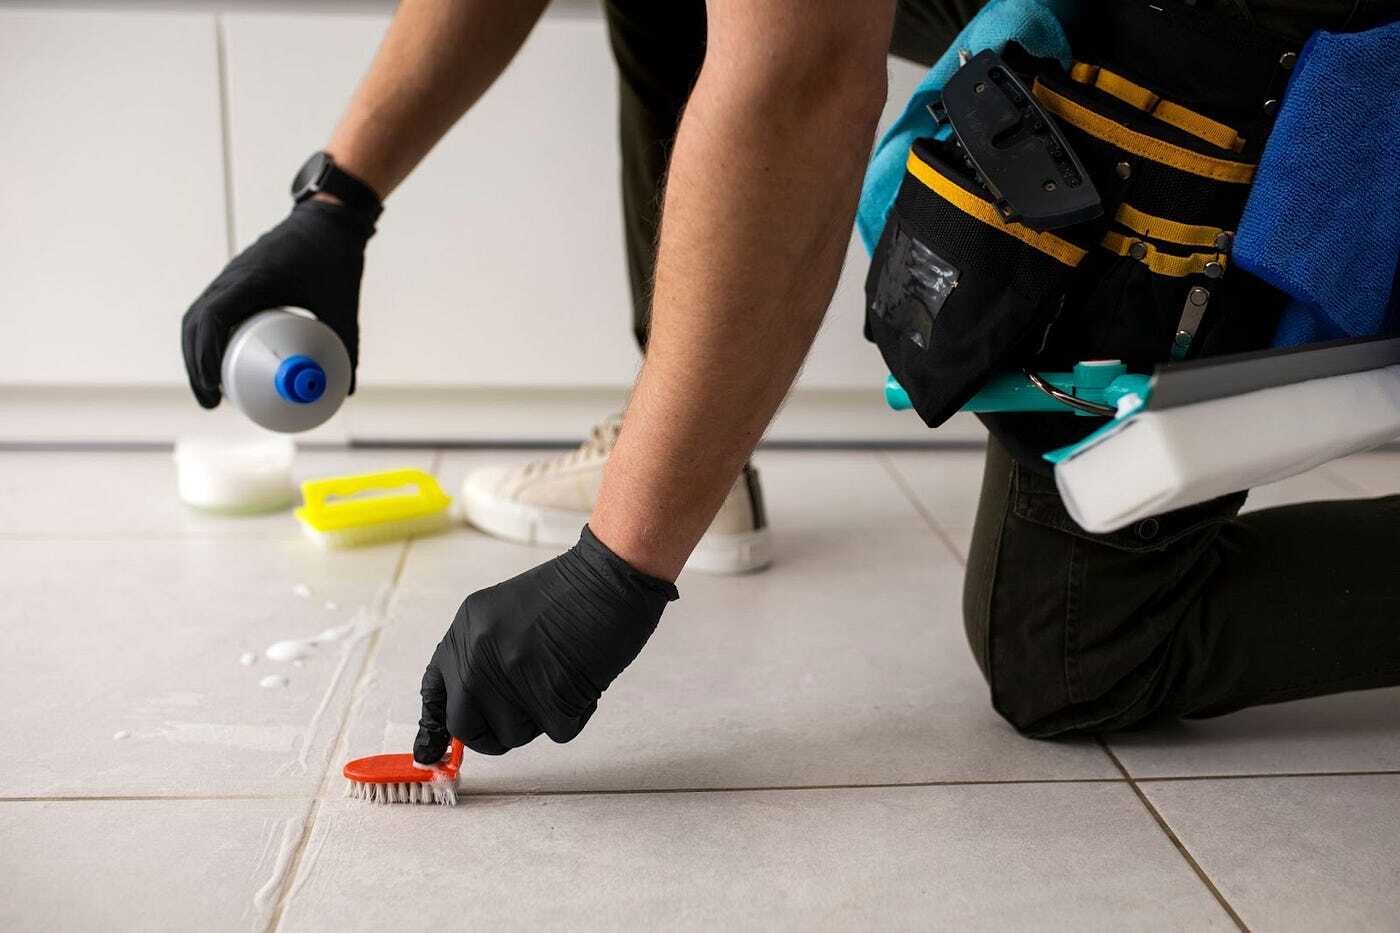
Step 3: Scrubbing the Grout
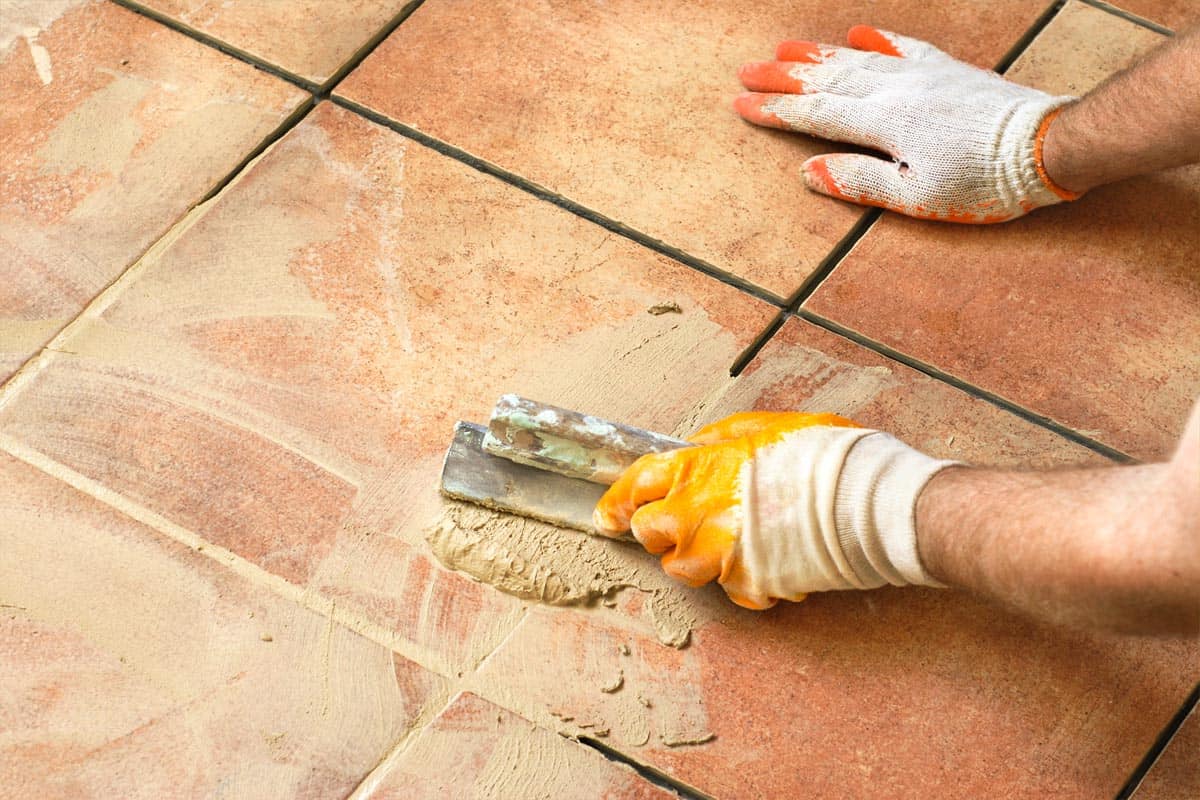
With the cleaning solution effectively applied and given ample dwell time to penetrate the grout lines, the next critical step in the process of cleaning tile grout in a swimming pool is the meticulous scrubbing of the grout. This stage involves the physical removal of dirt, algae, and mineral deposits from the grout lines, requiring precision, patience, and thoroughness to achieve optimal results.
To initiate the scrubbing process, equip yourself with a sturdy grout brush featuring stiff bristles designed to dislodge stubborn grime and contaminants. The ergonomic handle of the brush facilitates a comfortable grip, allowing for precise and controlled movements during the scrubbing process. If the pool area features expansive or hard-to-reach grout lines, consider attaching the grout brush to an extension pole to facilitate extended reach and efficient cleaning.
Begin scrubbing the grout lines methodically, starting from one end of the pool and progressing systematically to ensure comprehensive coverage. Apply firm but controlled pressure to the grout brush, focusing on areas with visible dirt, discoloration, or stubborn deposits. Employ back-and-forth and circular motions to dislodge and agitate the contaminants, allowing the cleaning solution to effectively lift and suspend them for subsequent removal.
As you scrub the grout, periodically inspect the progress to gauge the effectiveness of the cleaning process. Pay close attention to areas with pronounced staining or buildup, dedicating additional effort to ensure thorough cleaning. If certain areas prove particularly resistant to cleaning, consider reapplying the cleaning solution and focusing the scrubbing efforts to achieve the desired results.
Throughout the scrubbing process, maintain a steady and deliberate pace, ensuring that each grout line receives meticulous attention and treatment. Take care to avoid rushing through the scrubbing stage, as thoroughness and attention to detail are essential for achieving a revitalized and pristine appearance of the grout.
By meticulously scrubbing the grout lines, you are actively removing accumulated dirt, algae, and mineral deposits, restoring the grout to its original luster and cleanliness. This diligent and focused approach sets the stage for the final stages of rinsing and drying, ensuring that the grout emerges revitalized and free from contaminants, contributing to a visually appealing and hygienic pool environment.
Use a stiff brush and a mixture of water and chlorine to scrub the grout lines in your pool. Rinse thoroughly with clean water to remove any residue.
Step 4: Rinsing and Drying
After the meticulous scrubbing of the grout lines, the next crucial step in the process of cleaning tile grout in a swimming pool is the thorough rinsing and drying of the treated surfaces. This pivotal stage is essential for removing residual cleaning solution, dislodged contaminants, and ensuring that the grout emerges revitalized and free from any remaining debris. The following detailed guide outlines the step-by-step process of rinsing and drying the grout, ensuring comprehensive cleansing and optimal results:
-
Rinse the Grout Lines: Using a water hose with a controlled nozzle, thoroughly rinse the grout lines, starting from one end of the pool and progressing systematically. The steady stream of water should be directed along the grout lines, effectively flushing out the dislodged dirt, algae, and residual cleaning solution. Ensure that the rinsing process is methodical, covering all areas that have undergone scrubbing to guarantee complete removal of contaminants.
-
Inspect for Residual Debris: As you rinse the grout lines, visually inspect the surfaces for any residual debris or lingering contaminants. Pay close attention to areas that were particularly stained or soiled, ensuring that the rinsing process effectively eliminates all traces of dirt and grime. If necessary, consider using a grout brush or sponge to gently agitate stubborn residues while continuing the rinsing process.
-
Wipe and Dry the Grout: Once the rinsing process is complete, use a clean sponge or cloth to gently wipe the grout lines, removing any excess water and promoting faster drying. Take care to avoid applying excessive pressure that could potentially dislodge the freshly cleaned grout. Following the initial wiping, allow the grout lines to air-dry naturally, facilitating the complete evaporation of moisture and ensuring a pristine finish.
-
Monitor the Drying Process: As the grout lines dry, periodically inspect the surfaces to ensure that no residual moisture or streaks remain. Adequate drying is essential for revealing the true cleanliness and revitalized appearance of the grout. If necessary, use a dry cloth to gently blot any remaining moisture, promoting a uniform and immaculate finish.
By meticulously following these steps, the rinsing and drying process can be executed with precision and thoroughness, ensuring that the grout emerges revitalized and free from contaminants. This meticulous approach sets the stage for the final outcome, unveiling impeccably clean and visually appealing grout lines that contribute to a pristine and inviting pool environment.
Read more: How To Clean Grout For A Perfect Tile Lines
Maintenance Tips
Maintaining the cleanliness and integrity of the tile grout in a swimming pool is an ongoing endeavor that requires consistent attention and proactive measures. By implementing effective maintenance strategies, pool owners and facility managers can prolong the pristine appearance of the grout lines and uphold the highest standards of hygiene and safety in the pool environment. Here are essential maintenance tips to preserve the cleanliness and integrity of tile grout in a swimming pool:
-
Regular Inspection and Cleaning: Schedule routine inspections of the grout lines to identify any signs of discoloration, staining, or accumulation of debris. Promptly address any areas requiring attention by spot-cleaning or applying targeted grout maintenance solutions to prevent the escalation of grime and contaminants.
-
Preventative Measures: Implement preventative measures to minimize the accumulation of dirt and algae in the grout lines. This can include the use of pool covers when the pool is not in use, regular skimming and cleaning of the pool water, and proactive maintenance of surrounding landscaping to prevent debris from entering the pool.
-
Appropriate Cleaning Products: Select high-quality and pool-safe cleaning products specifically formulated for tile grout in swimming pools. Avoid harsh or abrasive cleaners that can damage the grout or compromise the pool environment. Additionally, consider using environmentally friendly or biodegradable cleaning solutions to minimize the impact on the surrounding ecosystem.
-
Grout Sealing: Periodically assess the condition of the grout and consider applying a quality grout sealer to enhance its resistance to staining and moisture penetration. Properly sealed grout is less susceptible to discoloration and is easier to clean, contributing to prolonged cleanliness and durability.
-
Regular Maintenance Schedule: Establish a regular maintenance schedule for comprehensive cleaning and upkeep of the tile grout. Consistent attention to the grout lines ensures that any emerging issues are promptly addressed, preventing the accumulation of stubborn grime and preserving the overall cleanliness of the pool area.
-
Professional Maintenance Services: Consider engaging professional pool maintenance services to conduct periodic deep cleaning and maintenance of the tile grout. Professional technicians have the expertise and specialized equipment to perform thorough grout cleaning, addressing hard-to-reach areas and ensuring a comprehensive revitalization of the grout lines.
By integrating these maintenance tips into the ongoing care of the tile grout in a swimming pool, pool owners and facility managers can uphold a pristine and inviting pool environment. Through proactive maintenance and regular attention to the cleanliness and integrity of the grout, the pool area can continue to exude beauty, hygiene, and safety, providing a delightful and refreshing experience for swimmers and onlookers alike.
Conclusion
In conclusion, the process of cleaning tile grout in a swimming pool is a multifaceted endeavor that encompasses meticulous preparation, strategic application of cleaning solutions, thorough scrubbing, and comprehensive rinsing and drying. By following the step-by-step guide outlined in this comprehensive resource, pool owners and maintenance professionals can achieve exceptional results, revitalizing the grout lines and preserving the pristine appearance of the pool environment.
The importance of clean tile grout in a swimming pool extends beyond mere aesthetics, encompassing crucial aspects of hygiene, safety, and structural integrity. Neglected grout can become a breeding ground for bacteria and mold, compromising the water quality and posing potential health risks to swimmers. Additionally, stained or discolored grout detracts from the visual appeal of the pool, creating an unwelcoming atmosphere. By prioritizing the cleanliness and maintenance of the tile grout, pool owners and facility managers can create a welcoming and safe environment for swimmers while preserving the longevity and beauty of their pool investment.
Furthermore, the maintenance tips provided offer valuable insights into sustaining the cleanliness and integrity of the grout lines over time. By implementing regular inspections, preventative measures, appropriate cleaning products, grout sealing, and a consistent maintenance schedule, pool owners can proactively address emerging issues and prevent the accumulation of stubborn grime and contaminants.
Ultimately, the journey of revitalizing and maintaining tile grout in a swimming pool is a commitment to upholding the highest standards of cleanliness, hygiene, and visual appeal. By embracing the techniques and maintenance strategies outlined in this guide, pool owners and maintenance professionals can take proactive measures to preserve the beauty and cleanliness of their swimming pools. With a commitment to regular maintenance and proper cleaning practices, it is possible to enjoy a pool that not only looks stunning but also upholds the highest standards of hygiene and safety, ensuring that every dip in the water is a refreshing and delightful experience.
Frequently Asked Questions about How To Clean Tile Grout In A Swimming Pool
Was this page helpful?
At Storables.com, we guarantee accurate and reliable information. Our content, validated by Expert Board Contributors, is crafted following stringent Editorial Policies. We're committed to providing you with well-researched, expert-backed insights for all your informational needs.


0 thoughts on “How To Clean Tile Grout In A Swimming Pool”