Home>Gardening & Outdoor>Outdoor Recreation & Activities>How To Paint A Swimming Pool
Outdoor Recreation & Activities
How To Paint A Swimming Pool
Published: February 18, 2024
Learn how to paint your swimming pool with our expert tips and techniques. Enhance your outdoor recreation and activities with a fresh and vibrant pool.
(Many of the links in this article redirect to a specific reviewed product. Your purchase of these products through affiliate links helps to generate commission for Storables.com, at no extra cost. Learn more)
Introduction
Painting a swimming pool is a crucial aspect of pool maintenance and can significantly enhance its aesthetic appeal. Whether you're looking to freshen up the pool's appearance or protect its surface, a fresh coat of paint can work wonders. However, the process requires careful planning, the right materials, and proper execution to achieve a flawless finish.
A well-painted pool not only looks inviting but also provides a protective barrier against the elements, preventing cracks and leaks. Before diving into this project, it's essential to understand the step-by-step process involved in painting a swimming pool. From preparation to selecting the appropriate paint and application techniques, each stage plays a vital role in ensuring a successful outcome.
In this comprehensive guide, we will walk you through the entire process, providing valuable insights and expert tips to help you achieve professional results. By following these steps, you can transform your pool into a stunning oasis that beckons with its sparkling, rejuvenated allure. So, let's dive in and explore the art of painting a swimming pool, turning your vision of a pristine aquatic paradise into a reality.
Key Takeaways:
- Properly preparing the pool, choosing the right paint, and meticulous application are crucial for a stunning and enduring pool finish. Attention to detail and careful execution are essential for a successful pool painting project.
- The process of painting a swimming pool involves thorough preparation, precise application, and thoughtful filling. Each step, from cleaning to selecting the right paint, contributes to creating a captivating and long-lasting aquatic oasis.
Read more: What Paint To Use On Swimming Pool Walls
Step 1: Prepare the Pool
Before embarking on the painting process, thorough preparation of the pool is essential to ensure a smooth and durable finish. Here's a detailed breakdown of the crucial steps involved in preparing the pool for painting:
-
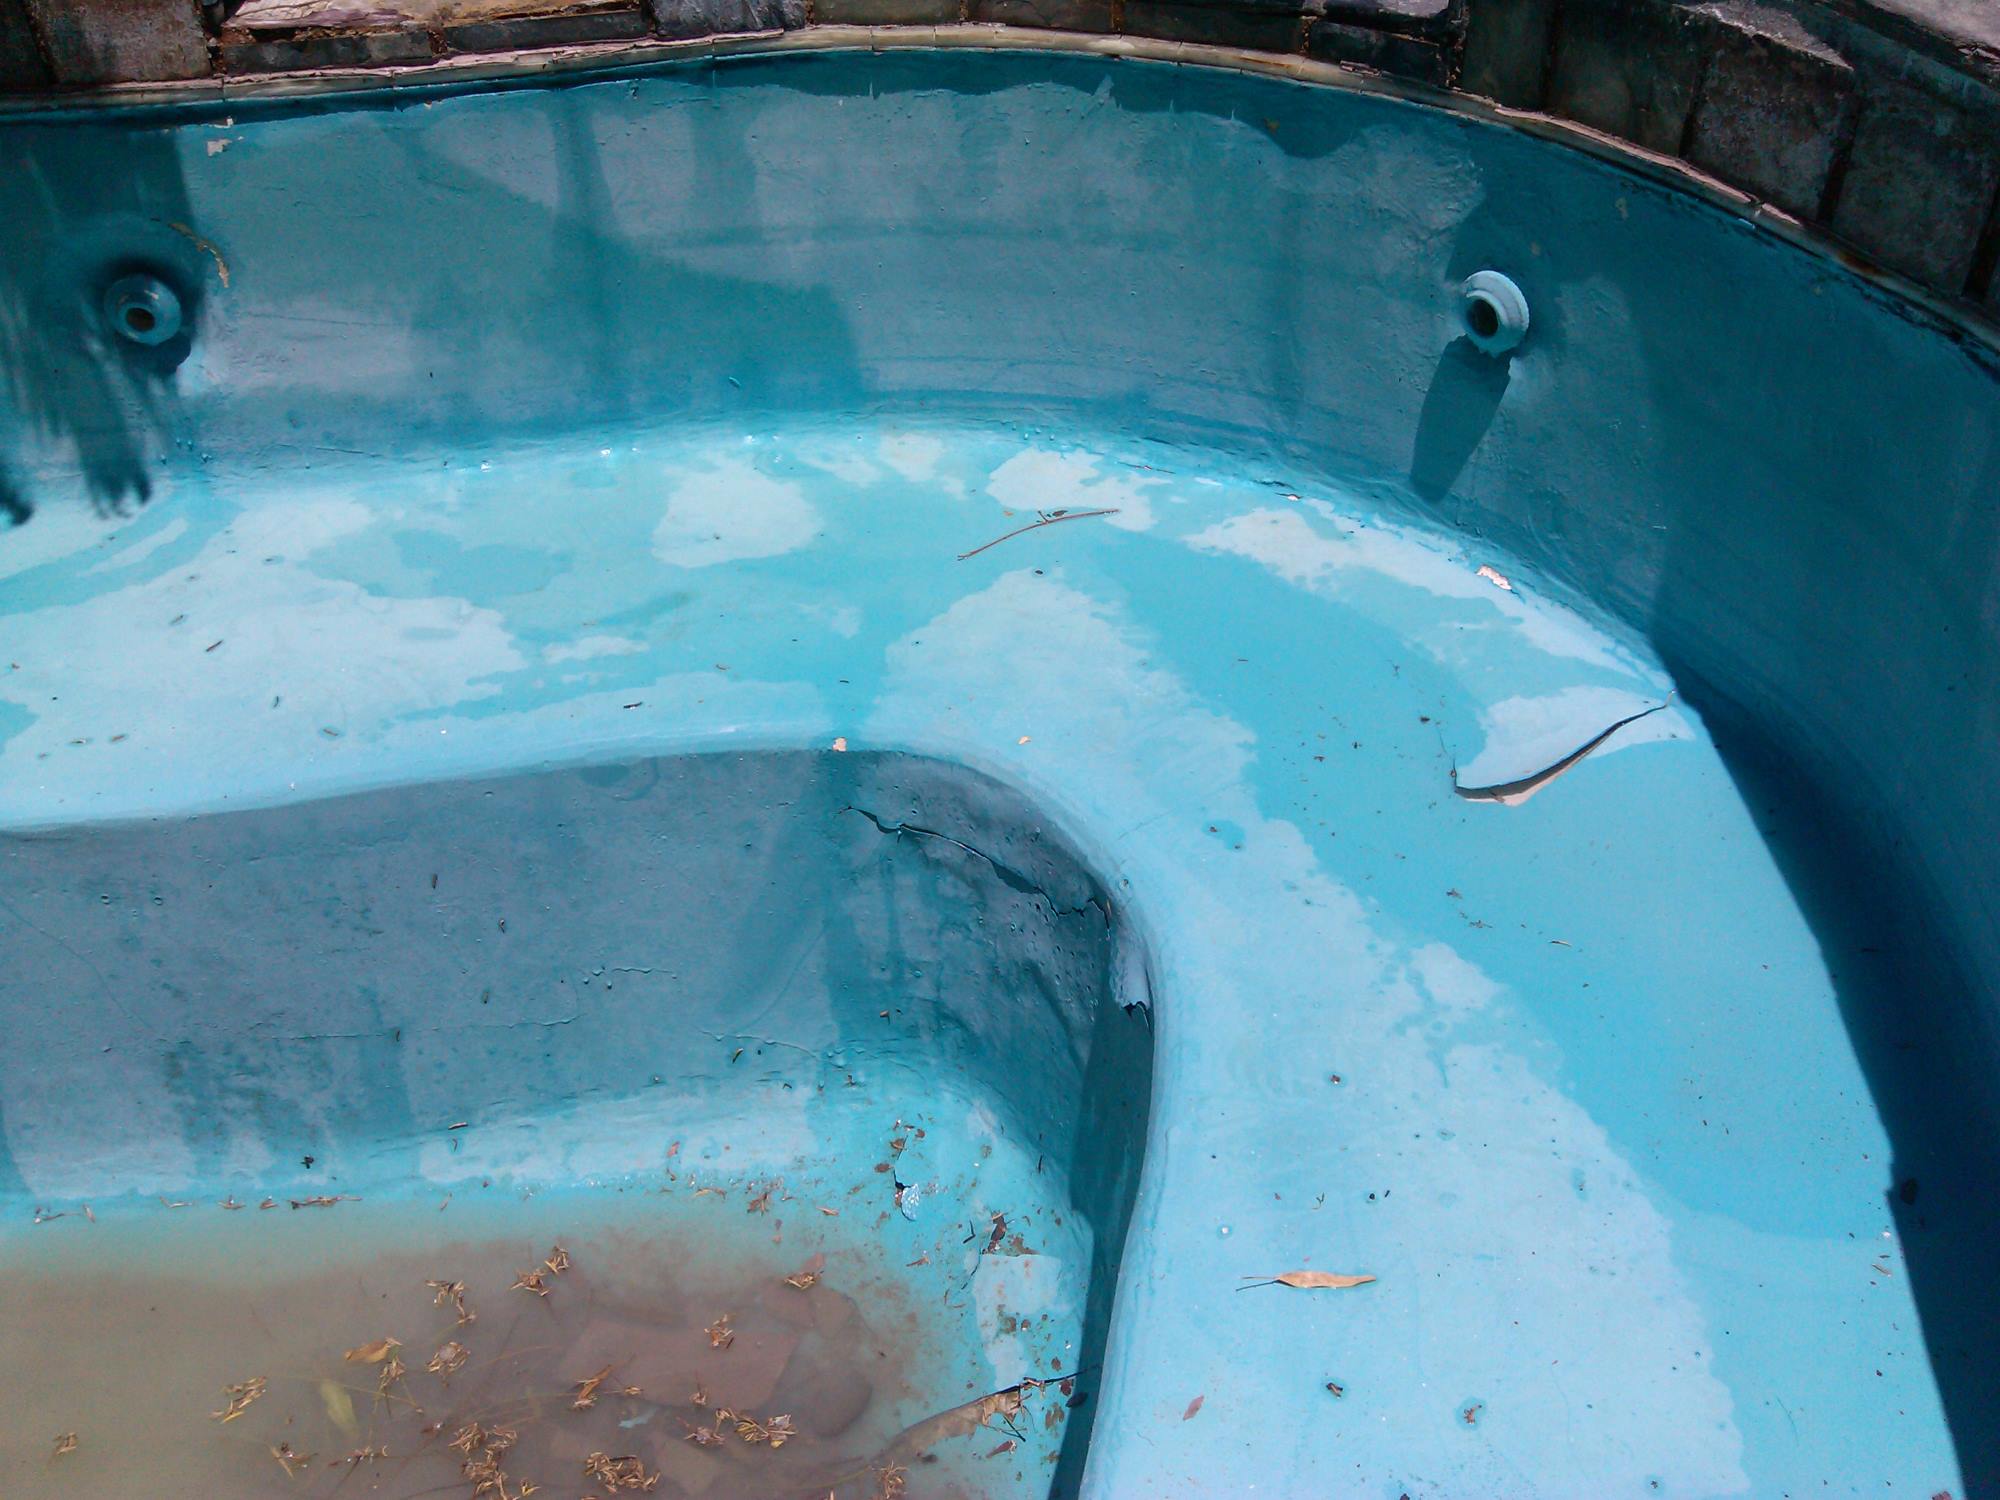
Drain the Pool: Begin by draining the pool completely, ensuring that no water remains. This step is vital as it allows for a comprehensive inspection of the pool's surface, enabling you to identify any cracks, chips, or areas in need of repair.
-
Inspect and Repair: Once the pool is drained, carefully inspect the entire surface for any signs of damage, such as cracks, peeling paint, or rough patches. Addressing these issues before painting is crucial to prevent them from worsening and to ensure a flawless end result.
-
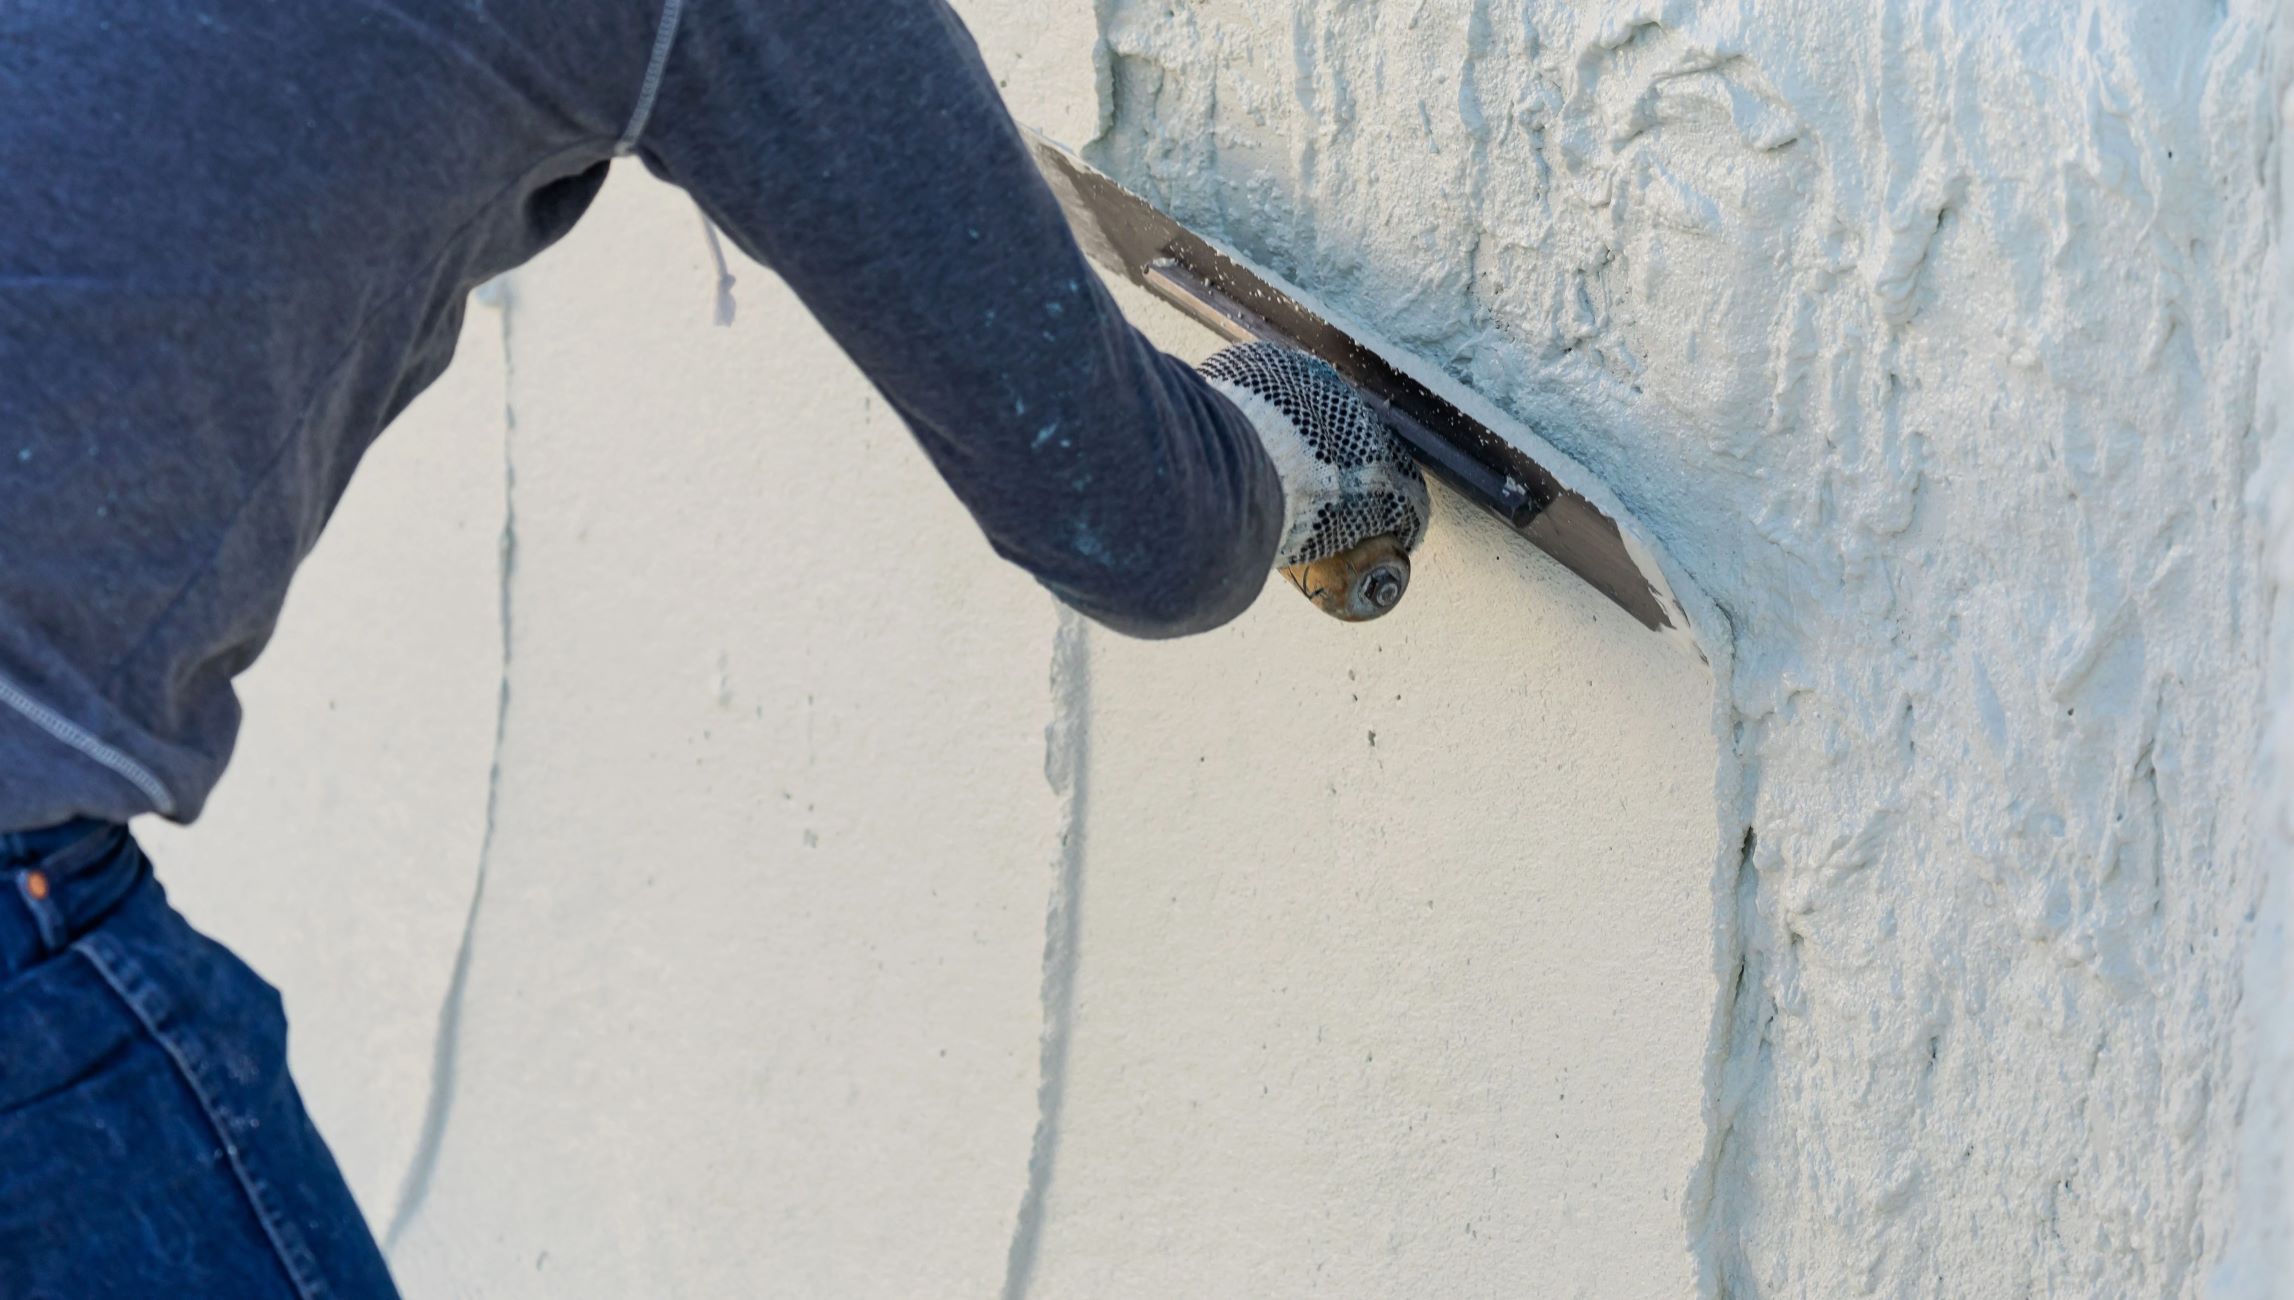
Clean the Surface: Thoroughly clean the pool's interior using a pressure washer to remove any dirt, debris, or algae. It's essential to achieve a clean and smooth surface for the new paint to adhere properly.
-
Remove Existing Paint: If the pool has been previously painted, it's important to remove any loose or flaking paint using a scraper or wire brush. This step is crucial to create a uniform surface for the new paint and prevent adhesion issues.
-
Repair Imperfections: Fill any cracks or imperfections with a high-quality pool patching compound, following the manufacturer's instructions. Smooth out the patched areas to ensure a level surface, as this will contribute to the overall finish of the paint job.
-
Protect Surrounding Areas: Cover any surrounding surfaces, such as tiles, coping, or other non-paintable areas, with painter's tape and plastic sheeting to prevent accidental paint splatter or overspray.
By meticulously preparing the pool in this manner, you set the stage for a successful painting process, laying the foundation for a beautifully rejuvenated swimming pool that will stand the test of time.
Step 2: Choose the Right Paint
Selecting the appropriate paint for your swimming pool is a critical decision that directly impacts the longevity and visual appeal of the finished product. When choosing pool paint, several factors must be considered to ensure optimal results.
Consider the Pool Surface
The first consideration when choosing pool paint is the type of pool surface. Pools are typically constructed with either concrete, plaster, or fiberglass, and each surface requires a specific type of paint for optimal adhesion and durability. For instance, epoxy-based paints are suitable for concrete and gunite pools, while acrylic-based paints are ideal for plaster and fiberglass surfaces. Understanding the compatibility of the paint with the pool surface is essential to achieve a long-lasting finish.
Evaluate Environmental Conditions
Another crucial factor to consider is the local climate and environmental conditions. If your pool is exposed to constant sunlight, harsh UV rays, or fluctuating temperatures, it's imperative to select a paint that offers UV resistance and thermal stability. Additionally, if the pool is frequently exposed to chemicals or saltwater, choosing a paint designed to withstand these conditions is paramount for maintaining the paint's integrity over time.
Read more: How To Cover A Swimming Pool
Determine the Desired Finish
The aesthetic outcome of the pool is also an important consideration. Pool paints are available in a variety of finishes, including standard, premium, and epoxy options. Each type of paint finish offers distinct visual characteristics, such as gloss, satin, or matte, and selecting the right finish is essential to achieve the desired look for your pool.
Consult with Professionals
Seeking guidance from pool maintenance professionals or paint suppliers can provide valuable insights into the best paint options for your specific pool and environmental conditions. These experts can offer recommendations based on their experience and knowledge, ensuring that you make an informed decision when choosing the right paint for your swimming pool.
By carefully considering the pool surface, environmental factors, desired finish, and seeking expert advice, you can confidently select the ideal paint for your swimming pool. This thoughtful approach sets the stage for a successful painting process and ensures that your pool remains a stunning focal point for years to come.
Step 3: Clean the Pool Surface
Cleaning the pool surface is a crucial step in the pool painting process, as it directly impacts the adhesion and longevity of the new paint. A clean surface ensures that the paint adheres properly, providing a smooth and durable finish. Here's a detailed breakdown of the essential steps involved in cleaning the pool surface:
Pressure Washing
Using a high-pressure washer is an effective method to remove dirt, debris, algae, and other contaminants from the pool's interior surface. The force of the water helps dislodge stubborn particles and prepares the surface for the new paint application. It's important to start from the top of the pool and work downward, ensuring thorough coverage and meticulous cleaning.
Read more: How To Empty A Swimming Pool
Scrubbing and Cleaning Agents
For areas that require additional attention, such as stubborn stains or algae buildup, scrubbing with a pool brush and using specialized cleaning agents can be highly effective. These cleaning agents are designed to break down and remove organic and mineral deposits, ensuring that the surface is pristine and ready for painting.
Acid Washing (If Necessary)
In cases where the pool surface exhibits significant staining, mineral deposits, or discoloration, acid washing may be necessary. This process involves applying a diluted acid solution to the pool surface to remove stubborn stains and restore the surface to its original condition. It's important to follow safety protocols and manufacturer guidelines when performing acid washing to ensure proper application and neutralization.
Rinse and Dry
After the cleaning process is complete, thoroughly rinse the pool surface to remove any residual cleaning agents or debris. Allow the pool to dry completely before proceeding to the next steps. A dry surface is essential for the primer and paint to adhere properly, preventing issues such as blistering or peeling.
By meticulously cleaning the pool surface, you create an optimal foundation for the subsequent steps in the painting process. A clean and well-prepared surface sets the stage for a successful paint application, ensuring that the new paint adheres flawlessly and delivers a stunning, long-lasting finish.
Step 4: Apply the Primer
Applying the primer is a critical step in the pool painting process, as it serves as the foundation for the paint and significantly impacts the adhesion and durability of the final finish. The primer creates a bond between the pool surface and the paint, ensuring a seamless and long-lasting coating. Here's a detailed guide on the essential aspects of applying the primer to achieve professional results.
Read more: How To Design A Swimming Pool
Selecting the Right Primer
Choosing the appropriate primer is crucial to ensure compatibility with the selected pool paint and the pool surface material. Epoxy-based primers are commonly used for concrete and gunite pools, while acrylic-based primers are suitable for plaster and fiberglass surfaces. It's essential to consult with a pool paint specialist or supplier to determine the most suitable primer for your specific pool type and paint selection.
Surface Preparation
Before applying the primer, it's imperative to ensure that the pool surface is clean, dry, and free of any contaminants. Any residual debris, oils, or moisture can compromise the adhesion of the primer and the subsequent paint layers. Thoroughly inspect the surface to verify that it is in optimal condition for primer application.
Application Techniques
When applying the primer, follow the manufacturer's instructions meticulously. Use a high-quality roller or brush designed for pool coatings to achieve even coverage and consistent thickness. Begin by cutting in the edges and corners of the pool with a brush, then proceed to roll the primer onto the larger surface areas. Ensure that the primer is applied evenly, avoiding drips or pooling, to create a uniform base for the paint.
Drying and Curing
Allow the primer to dry and cure according to the manufacturer's recommended time frame. Proper drying and curing are essential to ensure that the primer forms a strong bond with the pool surface, providing a solid foundation for the paint. Avoid rushing this step, as inadequate drying time can compromise the effectiveness of the primer.
Read more: How Long Is A Swimming Pool
Inspection and Touch-Ups
Once the primer has dried, inspect the surface for any imperfections or areas that may require additional touch-ups. Address any uneven coverage or missed spots to ensure that the entire pool surface is uniformly primed and ready for the paint application.
By meticulously applying the primer and adhering to best practices, you establish a solid base for the subsequent paint layers, setting the stage for a flawless and enduring pool finish. The primer plays a pivotal role in the overall quality and longevity of the paint job, making it a crucial step in the pool painting process.
Step 5: Apply the Paint
Applying the paint is the pivotal stage in the pool painting process, where the transformation from a clean, primed surface to a stunning, rejuvenated pool takes place. This step requires precision, attention to detail, and adherence to best practices to achieve a flawless and enduring finish. Here's a comprehensive guide to the essential aspects of applying the paint to your swimming pool.
Mixing the Paint
Before starting the application process, thoroughly mix the pool paint according to the manufacturer's instructions. Proper mixing ensures that the pigments and additives are uniformly distributed, resulting in consistent color and performance throughout the paint application.
Application Techniques
When applying the paint, use a high-quality roller or sprayer designed specifically for pool coatings. Begin by cutting in the edges and corners of the pool with a brush to ensure precise coverage in hard-to-reach areas. Then, proceed to roll or spray the paint onto the larger surface areas, working methodically to achieve even and uniform coverage. It's crucial to maintain a wet edge while applying the paint to avoid lap marks and ensure a seamless finish.
Read more: How To Draw A Swimming Pool
Multiple Coats
In most cases, applying multiple coats of paint is necessary to achieve the desired color depth and durability. Follow the manufacturer's recommendations regarding the number of coats required for optimal performance. Allow each coat to dry according to the specified drying time before applying the subsequent coat. This incremental approach ensures thorough coverage and enhances the paint's resilience.
Drying Time and Conditions
After applying the final coat of paint, allow sufficient time for the paint to dry and cure. Proper drying and curing are essential to ensure that the paint forms a strong, resilient layer that can withstand the rigors of pool usage and environmental factors. It's important to protect the freshly painted pool from exposure to water, debris, and foot traffic during the drying process to prevent damage to the newly applied paint.
Read more: How Long Is A Swimming Pool
Inspection and Touch-Ups
Once the paint has dried, inspect the pool surface for any imperfections, missed spots, or areas that may require touch-ups. Address any inconsistencies or blemishes promptly to achieve a uniform and flawless finish. This meticulous attention to detail ensures that the painted pool surface meets the highest standards of quality and visual appeal.
By meticulously following these steps and best practices, you can achieve a professional-quality finish that revitalizes your pool, creating an inviting and visually stunning aquatic oasis. The application of the paint is the culmination of careful preparation and precise execution, resulting in a beautifully transformed swimming pool that beckons with its renewed allure.
Step 6: Let the Paint Dry
After the meticulous application of paint to the pool surface, allowing sufficient time for the paint to dry and cure is crucial to ensure a durable and long-lasting finish. The drying process is a critical stage that directly impacts the resilience and visual appeal of the painted pool surface. Here's a detailed exploration of the essential aspects involved in letting the paint dry, ensuring that the rejuvenated pool achieves its full potential.
Read more: How To Shock A Swimming Pool
Drying Time
The drying time for pool paint varies depending on the type of paint used, environmental conditions, and the number of coats applied. It's imperative to adhere to the manufacturer's recommended drying time for each coat to allow the paint to cure properly. Typically, pool paint requires at least 24 to 48 hours of drying time between coats to achieve optimal adhesion and durability. Additionally, the ambient temperature and humidity levels can influence the drying process, so it's essential to consider these factors when planning the paint application.
Protecting the Painted Surface
During the drying period, it's crucial to protect the freshly painted pool surface from exposure to water, debris, and physical contact. Preventing premature contact with water is particularly important, as it can compromise the integrity of the paint and result in uneven curing. Additionally, shielding the painted surface from dust, leaves, or other airborne particles helps maintain the smoothness and pristine appearance of the paint as it dries.
Ideal Drying Conditions
Creating an optimal drying environment is essential to facilitate the curing of the paint. Adequate ventilation, moderate temperatures, and low humidity levels contribute to a more efficient drying process. If possible, maintaining a controlled environment by covering the pool area or using fans to promote air circulation can expedite the drying time and enhance the overall finish of the paint.
Curing Period
While the paint may appear dry to the touch after the recommended drying time, it's important to note that curing, the process by which the paint fully hardens and reaches its maximum durability, takes longer. The curing period for pool paint typically ranges from 5 to 7 days, during which the painted surface continues to strengthen and solidify. It's essential to avoid exposing the pool to water or heavy use during this curing period to allow the paint to achieve its full resilience.
Read more: How To Float In A Swimming Pool
Inspection and Final Assessment
Once the paint has completed the drying and curing process, a thorough inspection of the painted surface is necessary to ensure that the finish meets the highest standards of quality. Check for any imperfections, uneven areas, or touch-ups that may be required to achieve a uniform and flawless appearance. This meticulous assessment ensures that the painted pool surface is ready to fulfill its role as a stunning and enduring focal point of your outdoor oasis.
By allowing the paint to dry and cure under optimal conditions and conducting a comprehensive assessment of the finished surface, you set the stage for a beautifully rejuvenated swimming pool that exudes timeless allure and durability. The careful attention to the drying process ensures that the painted pool surface achieves its full potential, providing a captivating and enduring centerpiece for leisure and relaxation.
Step 7: Fill the Pool
After the meticulous process of preparing, priming, and painting the pool, the final step involves filling the pool with water to complete the rejuvenation process. This stage is crucial as it not only brings the pool back to its functional state but also plays a significant role in ensuring the longevity and integrity of the newly painted surface.
When filling the pool, it's essential to consider several key factors to optimize the outcome and preserve the quality of the paint job. Here's a detailed exploration of the essential aspects involved in filling the pool, culminating in the realization of a stunning and enduring aquatic oasis.
Water Source and Quality
The source of water used to fill the pool can impact the overall quality of the pool water and the painted surface. It's advisable to use filtered or treated water to minimize the introduction of impurities, minerals, or chemicals that could affect the clarity and balance of the pool water. Additionally, ensuring that the water is free from sediment and debris helps maintain the pristine appearance of the newly painted pool surface.
Gradual Filling
When filling the pool, it's recommended to do so gradually to minimize the impact of water pressure on the freshly painted surface. A controlled and gradual filling process reduces the risk of stress on the paint and allows for proper settling of the water. This approach contributes to the long-term integrity of the paint job and helps prevent potential issues such as blistering or delamination.
Read more: How To Dive In A Swimming Pool
Monitoring Water Chemistry
As the pool fills, it's essential to monitor the water chemistry and balance to ensure that the newly painted surface is not compromised. Testing the water for pH levels, alkalinity, and sanitizer concentration is crucial to maintain a healthy and stable aquatic environment. Proper water chemistry not only preserves the integrity of the paint but also contributes to the overall longevity of the pool and equipment.
Final Inspection
Once the pool is filled to the appropriate level, a final inspection of the painted surface is necessary to verify the integrity and uniformity of the finish. Carefully assess the entire pool interior for any signs of imperfections, discoloration, or irregularities. Addressing any issues promptly ensures that the painted surface meets the highest standards of quality and visual appeal.
By meticulously following these steps and best practices when filling the pool, you complete the transformation of your swimming pool into a stunning and enduring centerpiece of leisure and relaxation. The careful attention to the filling process ensures that the newly painted pool surface achieves its full potential, providing a captivating and enduring aquatic oasis for years to come.
Conclusion
In conclusion, the process of painting a swimming pool is a meticulous and rewarding endeavor that yields a rejuvenated and enduring aquatic oasis. From the initial stages of preparation and surface cleaning to the careful selection of the right paint and the precise application techniques, each step plays a pivotal role in transforming a weathered pool into a stunning focal point of leisure and relaxation.
The thorough preparation of the pool, including draining, inspecting, and cleaning the surface, sets the stage for a successful paint application. Addressing any imperfections and ensuring a smooth, clean surface is essential to achieve optimal adhesion and longevity of the paint. Additionally, the selection of the appropriate paint based on the pool surface, environmental conditions, and desired finish is crucial to ensure a durable and visually appealing outcome.
The meticulous application of the primer and paint, following best practices and manufacturer guidelines, is fundamental to achieving a flawless and enduring finish. Each coat of paint contributes to the depth of color and resilience of the surface, while the drying and curing process ensures that the paint reaches its full potential in terms of durability and visual appeal.
The final step of filling the pool with water, when approached with care and attention to detail, completes the rejuvenation process, bringing the pool back to its functional state while preserving the quality of the paint job. By considering the source and quality of water, monitoring the filling process, and maintaining proper water chemistry, the newly painted pool surface is safeguarded for long-term enjoyment.
In essence, the art of painting a swimming pool encompasses a series of deliberate and precise steps that culminate in the transformation of a tired and worn pool into a captivating and enduring aquatic oasis. The careful attention to each stage of the process, from preparation to filling, ensures that the painted pool surface not only exudes timeless allure but also withstands the rigors of regular use and environmental factors.
By following the comprehensive guide outlined in this article and infusing the process with dedication and meticulous care, individuals can achieve professional-quality results, turning their vision of a pristine and inviting swimming pool into a stunning reality.
Frequently Asked Questions about How To Paint A Swimming Pool
Was this page helpful?
At Storables.com, we guarantee accurate and reliable information. Our content, validated by Expert Board Contributors, is crafted following stringent Editorial Policies. We're committed to providing you with well-researched, expert-backed insights for all your informational needs.
0 thoughts on “How To Paint A Swimming Pool”