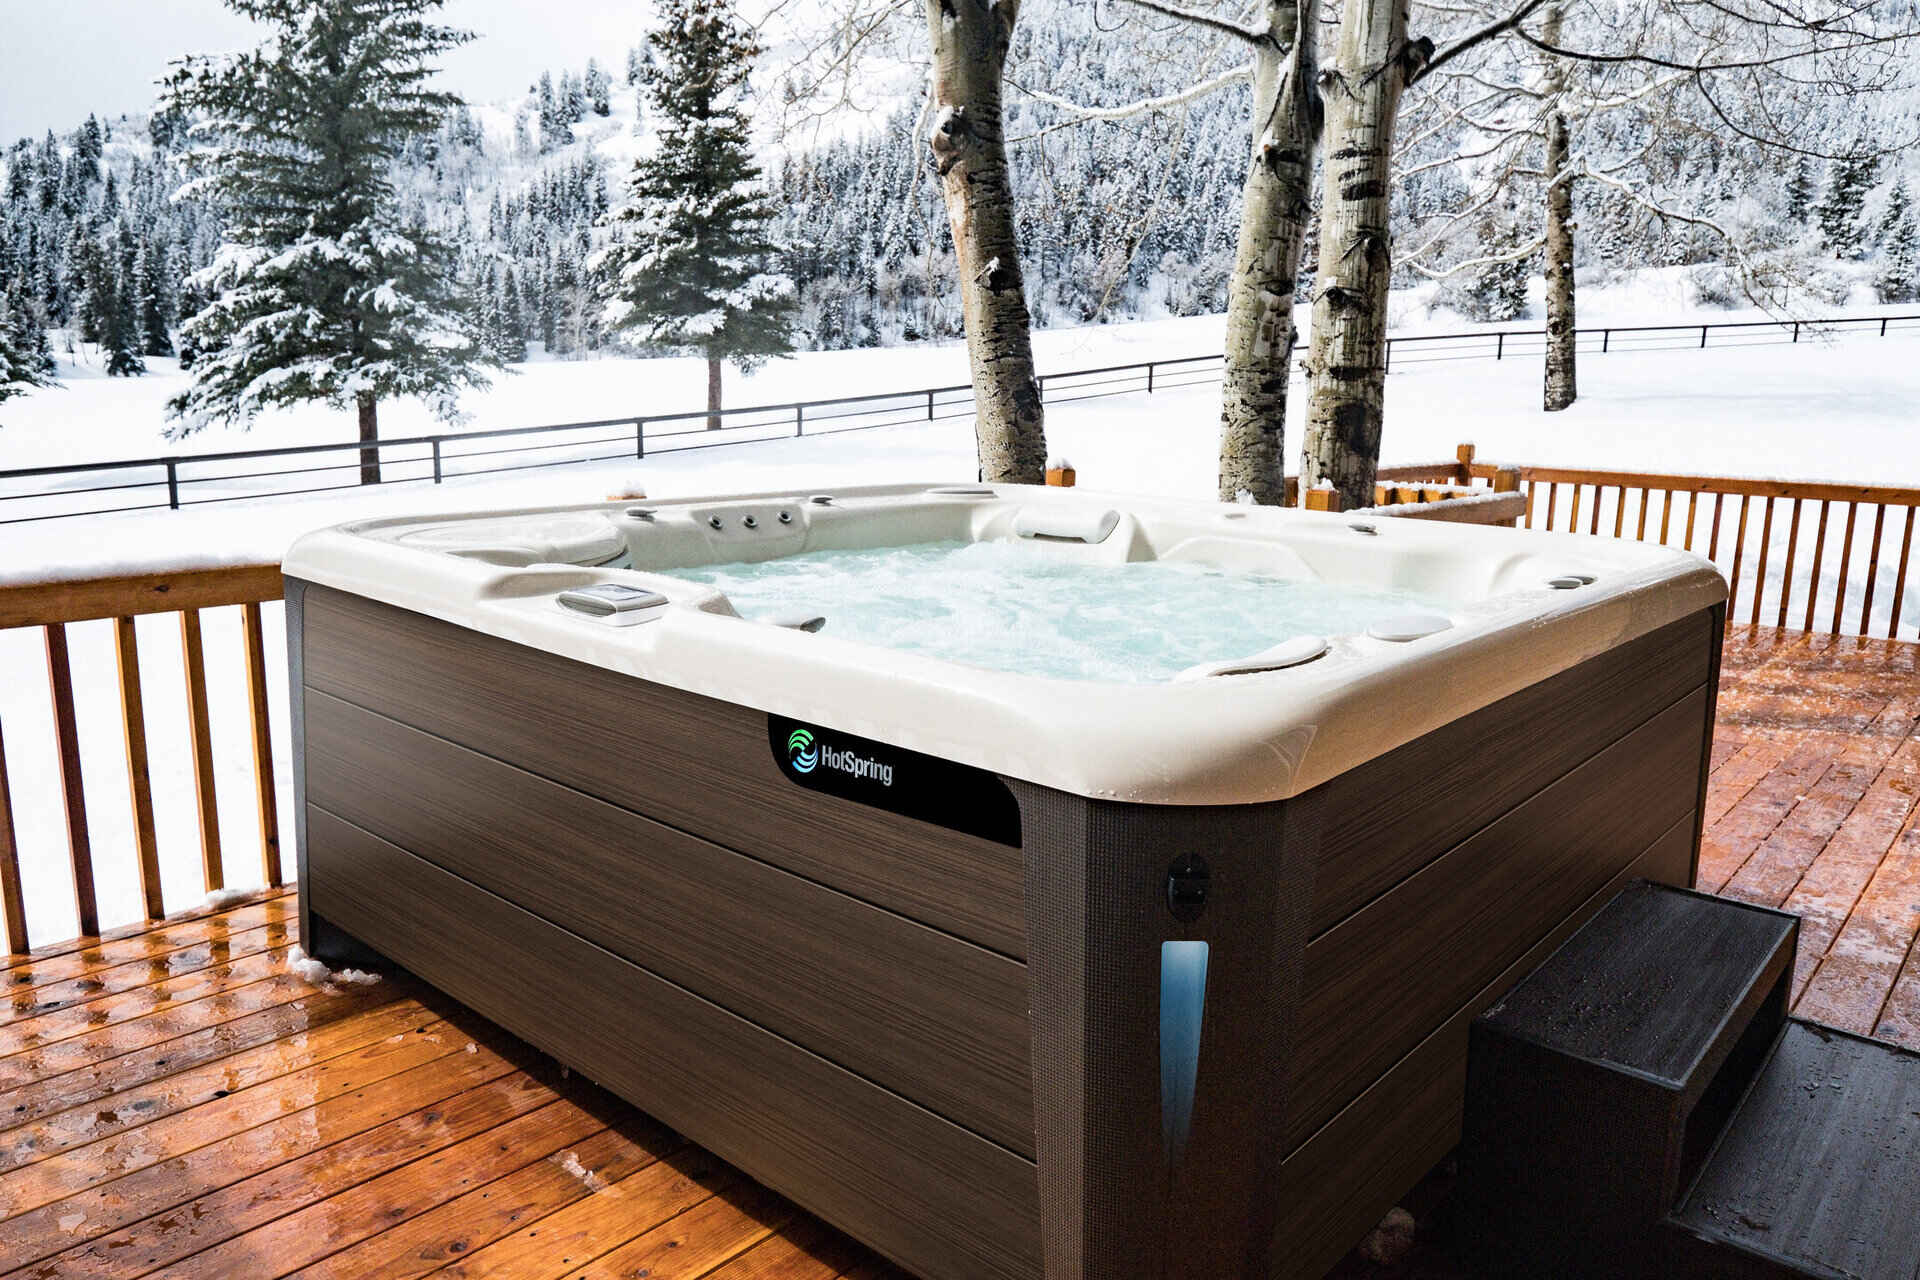
Home>Gardening & Outdoor>Pool & Spa Care>How To Replace Hot Tub Pump
Pool & Spa Care
How To Replace Hot Tub Pump
Modified: October 20, 2024
Learn how to replace a hot tub pump with our expert pool and spa care guide. Follow our step-by-step instructions for a smooth and hassle-free pump replacement.
(Many of the links in this article redirect to a specific reviewed product. Your purchase of these products through affiliate links helps to generate commission for Storables.com, at no extra cost. Learn more)
Introduction
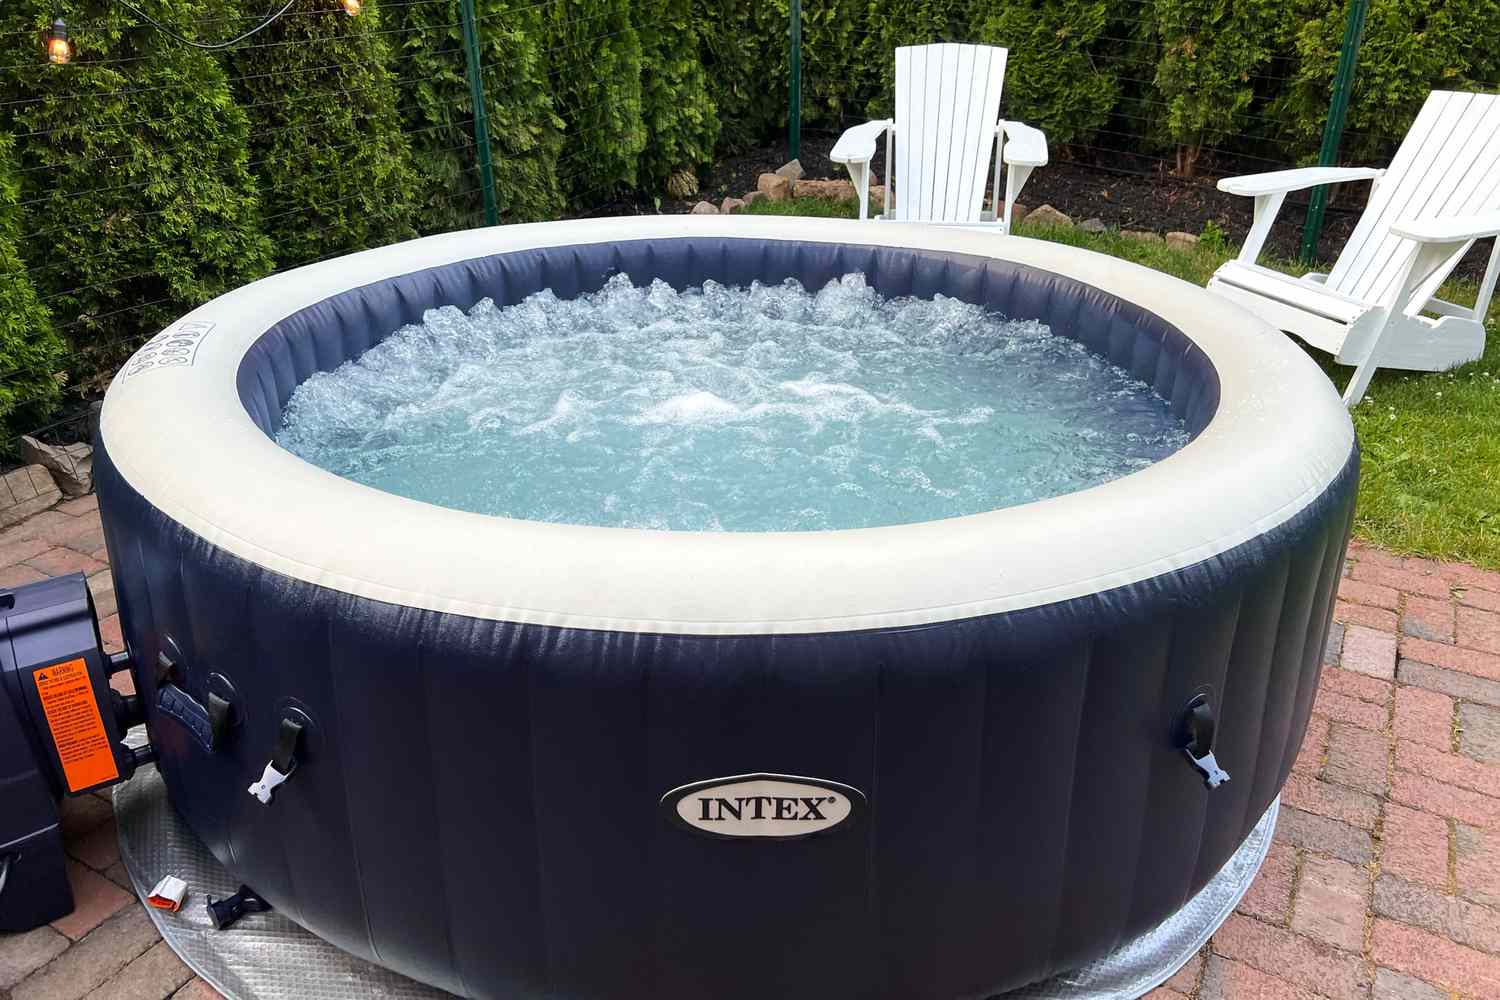
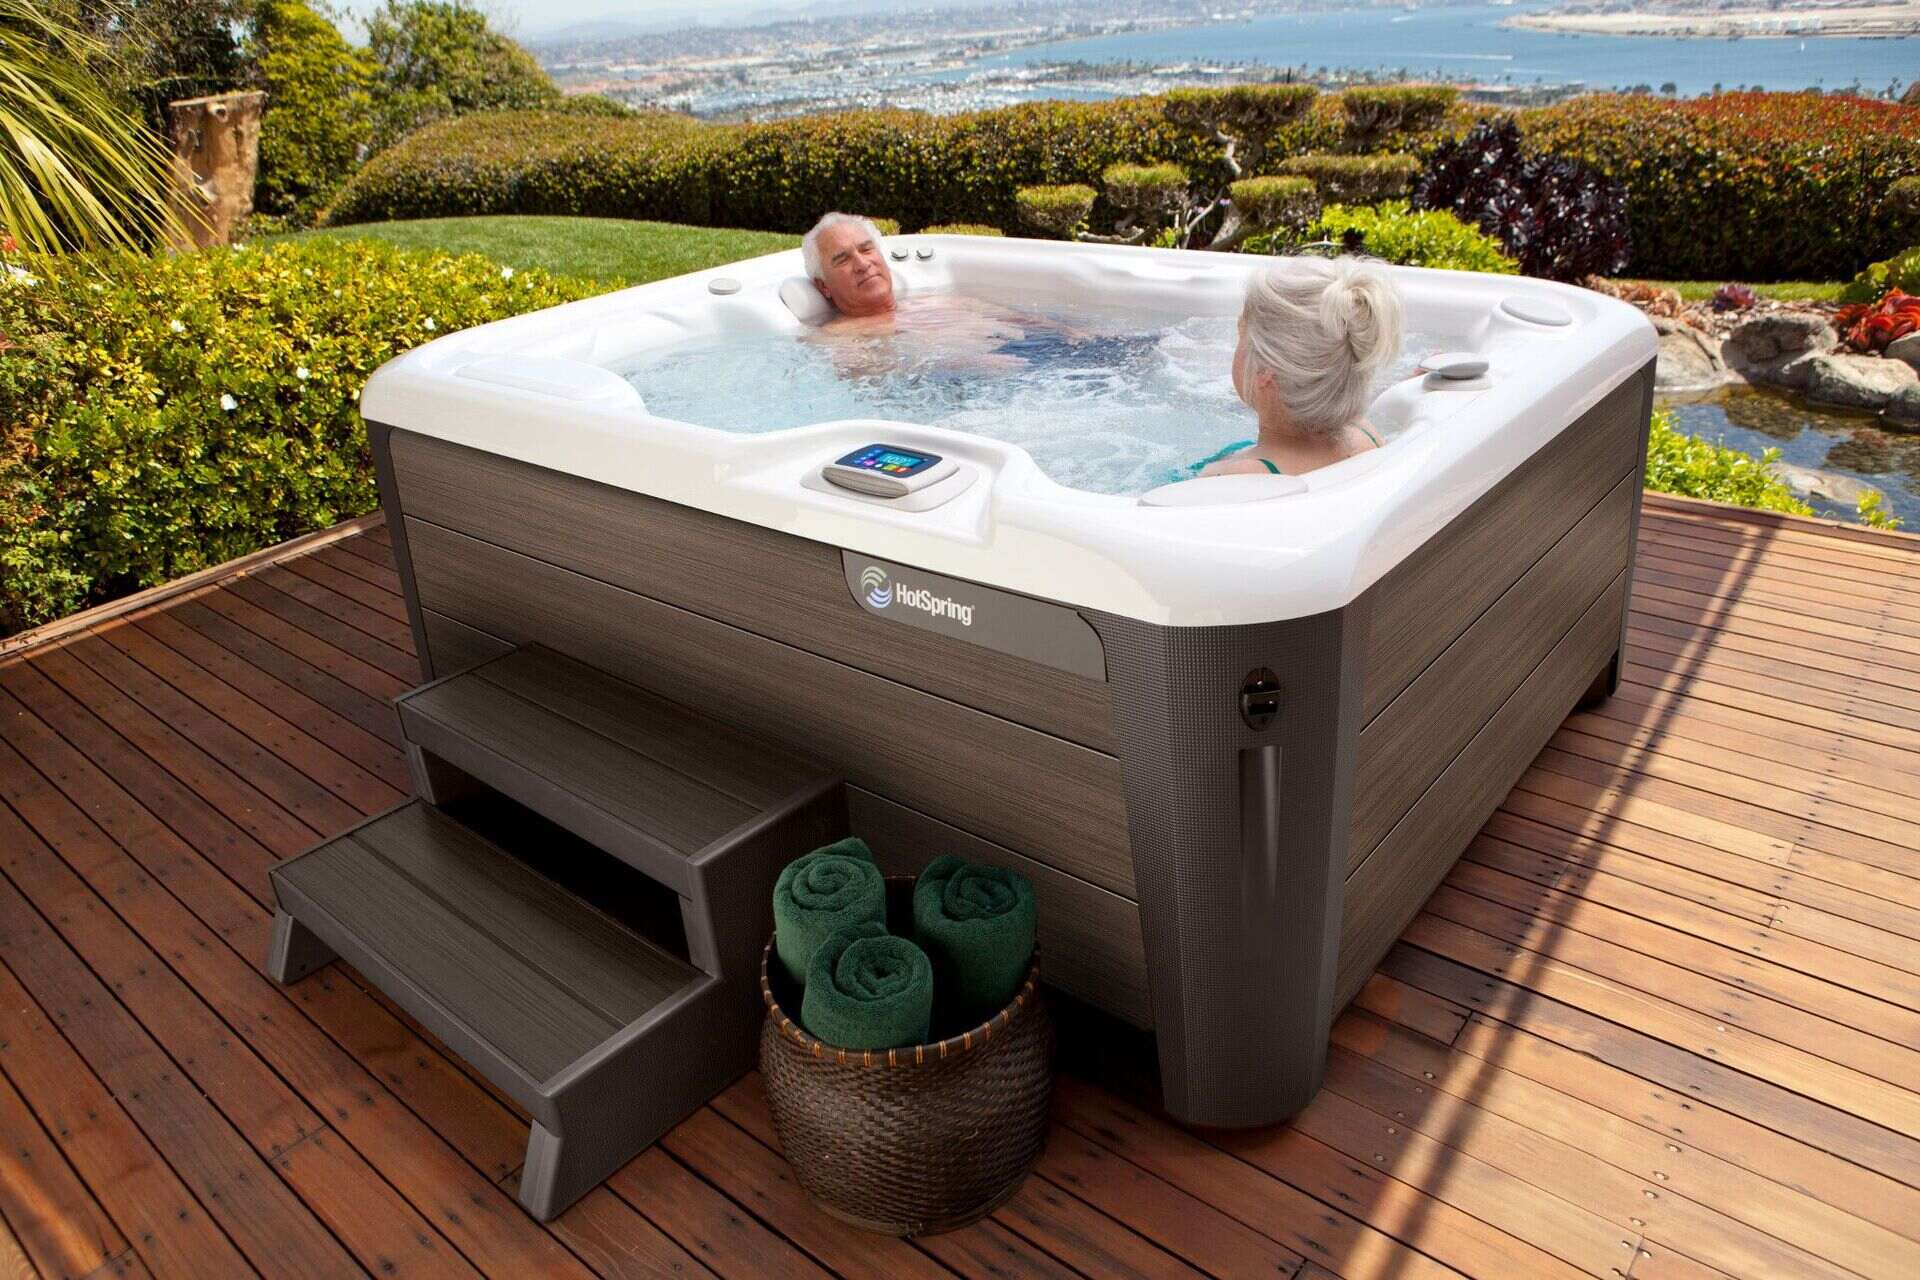
So, your hot tub pump has decided to call it quits. Don't worry, it happens to the best of them. Whether it's making strange noises, failing to circulate water effectively, or simply refusing to turn on, a malfunctioning hot tub pump can put a damper on your relaxation time. But fear not! With a little know-how and some elbow grease, you can replace the pump and have your hot tub up and running again in no time.
In this guide, we'll walk you through the step-by-step process of replacing your hot tub pump. From assessing the problem to gathering the necessary tools and materials, draining the hot tub, removing the old pump, installing the new pump, testing it, and finally refilling the hot tub, we've got you covered. By following these instructions, you'll be able to tackle this task with confidence, even if you're not a seasoned DIY expert.
So, roll up your sleeves, put on your handyman (or handywoman) hat, and let's get that hot tub pump back in action!
Key Takeaways:
- Replacing a hot tub pump involves assessing the problem, gathering tools, draining the tub, removing the old pump, installing the new one, testing it, and refilling the tub. It’s a DIY project that can be tackled with confidence.
- After successfully replacing the pump, it’s important to monitor the new pump’s operation, refill the tub with clean water, and ensure the water quality meets recommended standards. This ensures a rejuvenating and relaxing hot tub experience.
Read more: How To Replace A Hot Tub Heater
Assessing the Problem
Before diving into the pump replacement process, it’s crucial to assess the issue at hand. Start by observing the pump’s behavior. Is it making unusual noises, such as grinding or squealing? Is the water not circulating properly, or is the pump failing to turn on altogether? These observations can provide valuable clues about the nature of the problem.
Next, inspect the pump and its components for any visible signs of damage or wear. Check for leaks, cracks, or corrosion in the pump housing, impeller, or seals. Additionally, ensure that the electrical connections and wiring are intact and free from damage.
If you’re comfortable doing so, you can perform some basic diagnostic tests to further pinpoint the issue. Use a multimeter to check the pump’s electrical connections and verify that power is reaching the motor. If the pump is receiving power but not functioning, it’s likely that the motor has failed and needs replacement.
Keep in mind that while some pump issues are easily identifiable, others may require the expertise of a professional. If you’re uncertain about the nature of the problem or uncomfortable with diagnosing it yourself, it’s best to seek assistance from a qualified technician. They can provide a more thorough assessment and recommend the appropriate course of action.
By thoroughly assessing the problem, you’ll gain a clearer understanding of the issues affecting your hot tub pump. This knowledge will guide you in the subsequent steps of gathering the necessary tools and materials and executing the pump replacement process with confidence.
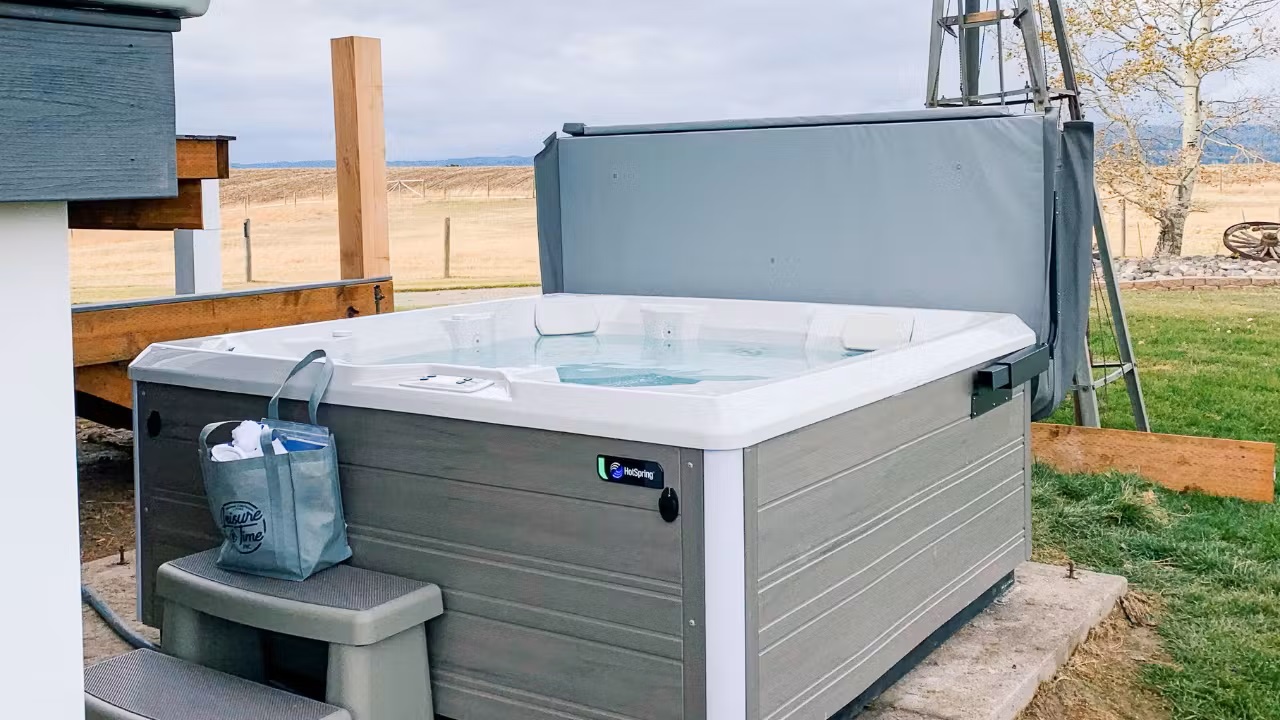
Gathering Necessary Tools and Materials
With the problem assessed, it’s time to gather the essential tools and materials required for replacing the hot tub pump. Having the right equipment at your disposal will streamline the process and ensure a smooth transition from the old pump to the new one.
Here’s a list of the tools and materials you’ll need:
- Replacement Pump: Ensure that you have the correct replacement pump that matches the specifications of your hot tub. This includes the motor voltage, horsepower, and plumbing connections.
- Adjustable Wrench: A versatile tool for loosening and tightening various fittings and connections.
- Screwdrivers: Both flathead and Phillips head screwdrivers may be required for accessing and removing components of the hot tub.
- Pliers: Useful for gripping and manipulating small components and securing hose clamps.
- Teflon Tape: Essential for creating watertight seals when reassembling plumbing connections.
- Shop Vacuum or Sump Pump: To efficiently drain the hot tub before removing the pump.
- Bucket or Hose: For further assisting in draining water from the hot tub.
- Clean Cloth or Towels: Handy for wiping down components and cleaning up any spills.
- Sealant: Depending on the type of pump and connections, you may need a suitable sealant for certain fittings.
- Owner’s Manual: If available, refer to the hot tub’s owner’s manual for specific instructions related to pump replacement and safety precautions.
Before embarking on the replacement process, ensure that you have all the necessary tools and materials organized and within reach. This proactive approach will help prevent interruptions and unnecessary delays as you work through each step of the pump replacement procedure.
By gathering these tools and materials, you’re setting the stage for a successful pump replacement endeavor. With everything in place, you’re ready to proceed to the next phase: draining the hot tub.
Draining the Hot Tub
Before removing the old pump, it’s essential to drain the hot tub to prevent water from spilling and causing a mess during the replacement process. Follow these steps to efficiently drain the hot tub:
- Turn Off Power: Prior to draining the hot tub, ensure that the power to the tub and the pump is completely turned off. This step is crucial for safety and to prevent any electrical mishaps during the draining process.
- Locate Drain Valve or Plug: Identify the drain valve or plug on the hot tub. This may be located near the bottom of the tub or in a designated drainage area. If the hot tub does not have a built-in drain, you may need to use a submersible pump or siphon to remove the water.
- Attach Hose (If Applicable): If the hot tub has a drain valve with a hose connection, attach a garden hose to the valve to direct the water to a suitable drainage area. If no hose connection is available, use a bucket or submersible pump to remove the water.
- Open Drain Valve or Remove Plug: Once the hose is securely attached, open the drain valve or remove the plug to initiate the water drainage process. If using a submersible pump, follow the manufacturer’s instructions for proper operation.
- Monitor and Redirect Water: As the hot tub drains, monitor the water level and ensure that it is directed away from the immediate vicinity of the hot tub to prevent flooding. If using a submersible pump, periodically check the pump’s progress and adjust the hose as needed.
- Allow Complete Drainage: Once the draining process is underway, allow the hot tub to completely empty. This may take some time depending on the tub’s size and the drainage method used. Be patient and ensure that all water is expelled from the tub.
By carefully following these steps, you’ll effectively drain the hot tub, preparing it for the next phase of the pump replacement process. With the water removed and the area around the hot tub clear, you’re ready to proceed with removing the old pump and making way for the new one.
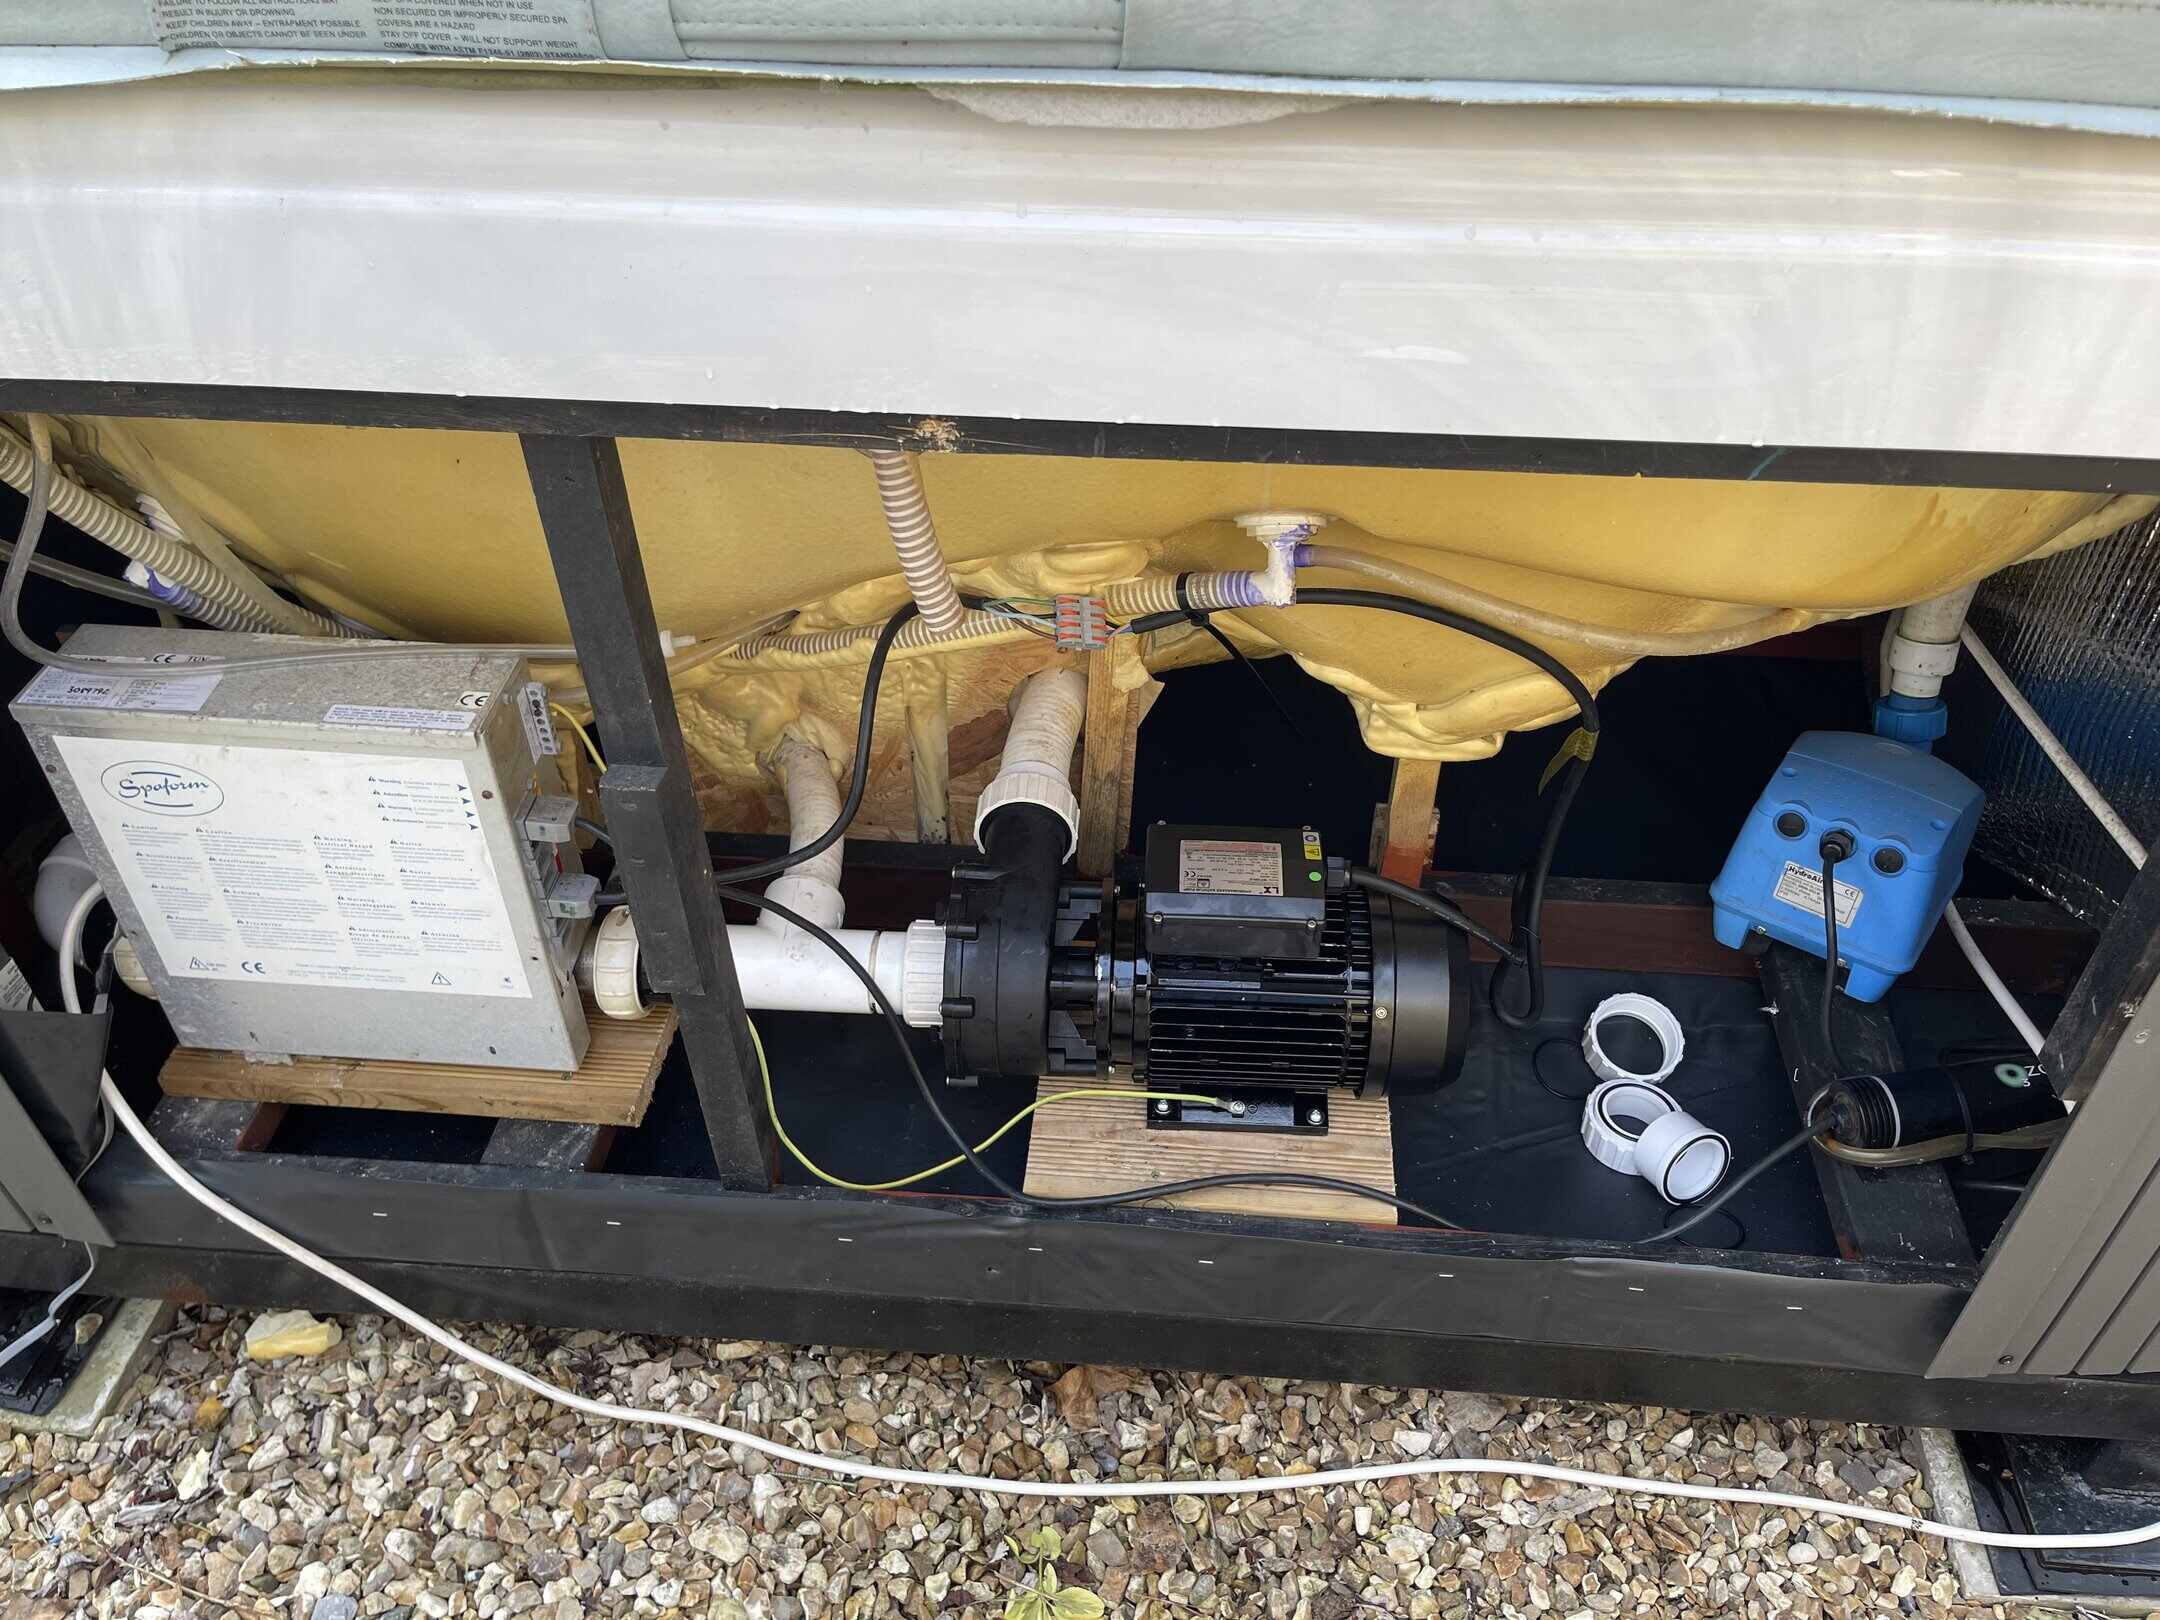
Removing the Old Pump
With the hot tub drained and the necessary tools at the ready, it’s time to tackle the removal of the old pump. This process involves disconnecting the pump from the hot tub’s plumbing and electrical systems, as well as freeing it from its mounting position. Follow these steps to safely and effectively remove the old pump:
- Disconnect Power: Ensure that the power to the hot tub is turned off at the circuit breaker. This precaution is crucial to prevent any electrical hazards during the pump removal process.
- Access the Pump: Depending on the hot tub’s design, you may need to remove access panels or covers to reach the pump. Use the appropriate tools to carefully remove any obstructions and gain access to the pump and its connections.
- Label and Disconnect Wiring: If the pump is connected to electrical wiring, label the wires to indicate their respective connections. Once labeled, carefully disconnect the wiring from the pump, ensuring that the wires are separated and insulated to prevent accidental contact.
- Disconnect Plumbing Connections: Identify the inlet and outlet plumbing connections on the pump. Use an adjustable wrench to loosen and disconnect the plumbing fittings, taking care to catch any residual water that may drain from the connections.
- Remove Mounting Hardware: The pump is typically secured to the hot tub’s frame or base with mounting hardware. Remove any screws, bolts, or brackets that secure the pump in place, allowing you to free it from its mounting position.
- Extract the Pump: With the electrical and plumbing connections detached and the mounting hardware removed, carefully extract the old pump from its location. Exercise caution to avoid damaging surrounding components or causing any unnecessary strain on the hot tub’s structure.
- Inspect for Damage: Once the pump is removed, take a moment to inspect the surrounding area for any signs of damage or wear. Address any issues as needed before proceeding with the installation of the new pump.
By methodically following these steps, you’ll successfully remove the old pump, paving the way for the installation of the new pump. With the old pump out of the way, it’s time to transition to the exciting phase of installing the replacement pump and restoring your hot tub to its relaxing glory.
Before replacing a hot tub pump, make sure to turn off the power to the tub. Drain the water and disconnect the old pump. Install the new pump following the manufacturer’s instructions to ensure proper function and safety.
Read more: How To Replace Hot Tub Jets
Installing the New Pump
With the old pump removed, it’s time to usher in the new pump and begin the installation process. Installing the replacement pump involves connecting it to the hot tub’s plumbing and electrical systems, securing it in place, and ensuring proper alignment for optimal performance. Follow these steps to seamlessly install the new pump:
- Prepare the Pump: Before installation, ensure that the new pump is compatible with your hot tub’s specifications, including motor voltage, horsepower, and plumbing connections. Familiarize yourself with the pump’s orientation and the location of its inlet and outlet connections.
- Position the Pump: Carefully position the new pump in the designated mounting area, aligning it with the plumbing connections and ensuring that it is oriented correctly for efficient water circulation.
- Secure Mounting Hardware: If provided, use the appropriate mounting hardware to secure the pump in place. This may involve screws, bolts, or brackets to ensure the pump is firmly anchored to the hot tub’s frame or base.
- Connect Plumbing Fittings: Attach the plumbing fittings to the pump’s inlet and outlet ports, ensuring a secure and watertight connection. Use an adjustable wrench to tighten the fittings, taking care not to overtighten and risk damaging the connections.
- Reconnect Electrical Wiring: If the new pump requires electrical connection, refer to the labeled wiring from the old pump and reconnect the corresponding wires to the new pump. Double-check the connections to ensure they are secure and properly insulated.
- Apply Sealant (If Necessary): Depending on the type of pump and plumbing connections, apply a suitable sealant, such as Teflon tape or pipe dope, to create watertight seals and prevent leaks at the plumbing fittings.
- Refer to Manufacturer’s Instructions: Consult the manufacturer’s instructions accompanying the new pump for any specific installation guidelines or recommendations. Adhering to these instructions will help ensure a proper and safe installation.
By meticulously following these steps, you’ll successfully install the new pump, bringing your hot tub one step closer to rejuvenation. With the replacement pump securely in place and properly connected, you’re ready to move on to the critical phase of testing the new pump to verify its functionality and performance.
Testing the New Pump
With the new pump installed, it’s time to put it to the test to ensure that it operates as intended and effectively circulates water through your hot tub. Testing the new pump involves verifying its functionality, checking for leaks, and confirming that it delivers the desired water flow. Follow these steps to methodically test the new pump:
- Restore Power: Turn the power back on at the hot tub’s circuit breaker to supply electricity to the new pump. Exercise caution and be mindful of safety protocols when restoring power to the hot tub.
- Observe Pump Operation: Once power is restored, observe the new pump to ensure that it activates and begins circulating water. Listen for any unusual noises or vibrations that may indicate potential issues with the pump’s operation.
- Check for Leaks: Inspect the plumbing connections and the pump housing for any signs of leaks. Look for water seepage or drips around the fittings and connections, and address any leaks promptly to prevent water loss and potential damage to the hot tub’s components.
- Verify Water Flow: Confirm that the new pump effectively circulates water through the hot tub. Check the flow rate and ensure that water is evenly distributed throughout the tub, reaching all areas and jet outlets.
- Monitor for Irregularities: Continuously monitor the new pump’s operation for any irregularities or performance issues. Pay attention to changes in water flow, unusual sounds, or any indicators that may suggest the pump is not functioning optimally.
- Refer to Manufacturer’s Guidelines: Consult the manufacturer’s instructions for the new pump to review any specific testing procedures or recommendations. Adhering to the manufacturer’s guidelines will help ensure that the pump is tested in accordance with the intended protocols.
By diligently carrying out these testing procedures, you’ll ascertain the reliability and effectiveness of the new pump. Identifying and addressing any potential issues during the testing phase will help safeguard the longevity and performance of your hot tub’s circulation system. Once the new pump has been thoroughly tested and proven to operate seamlessly, you’re ready to progress to the final phase of refilling the hot tub and restoring it to its tranquil oasis state.
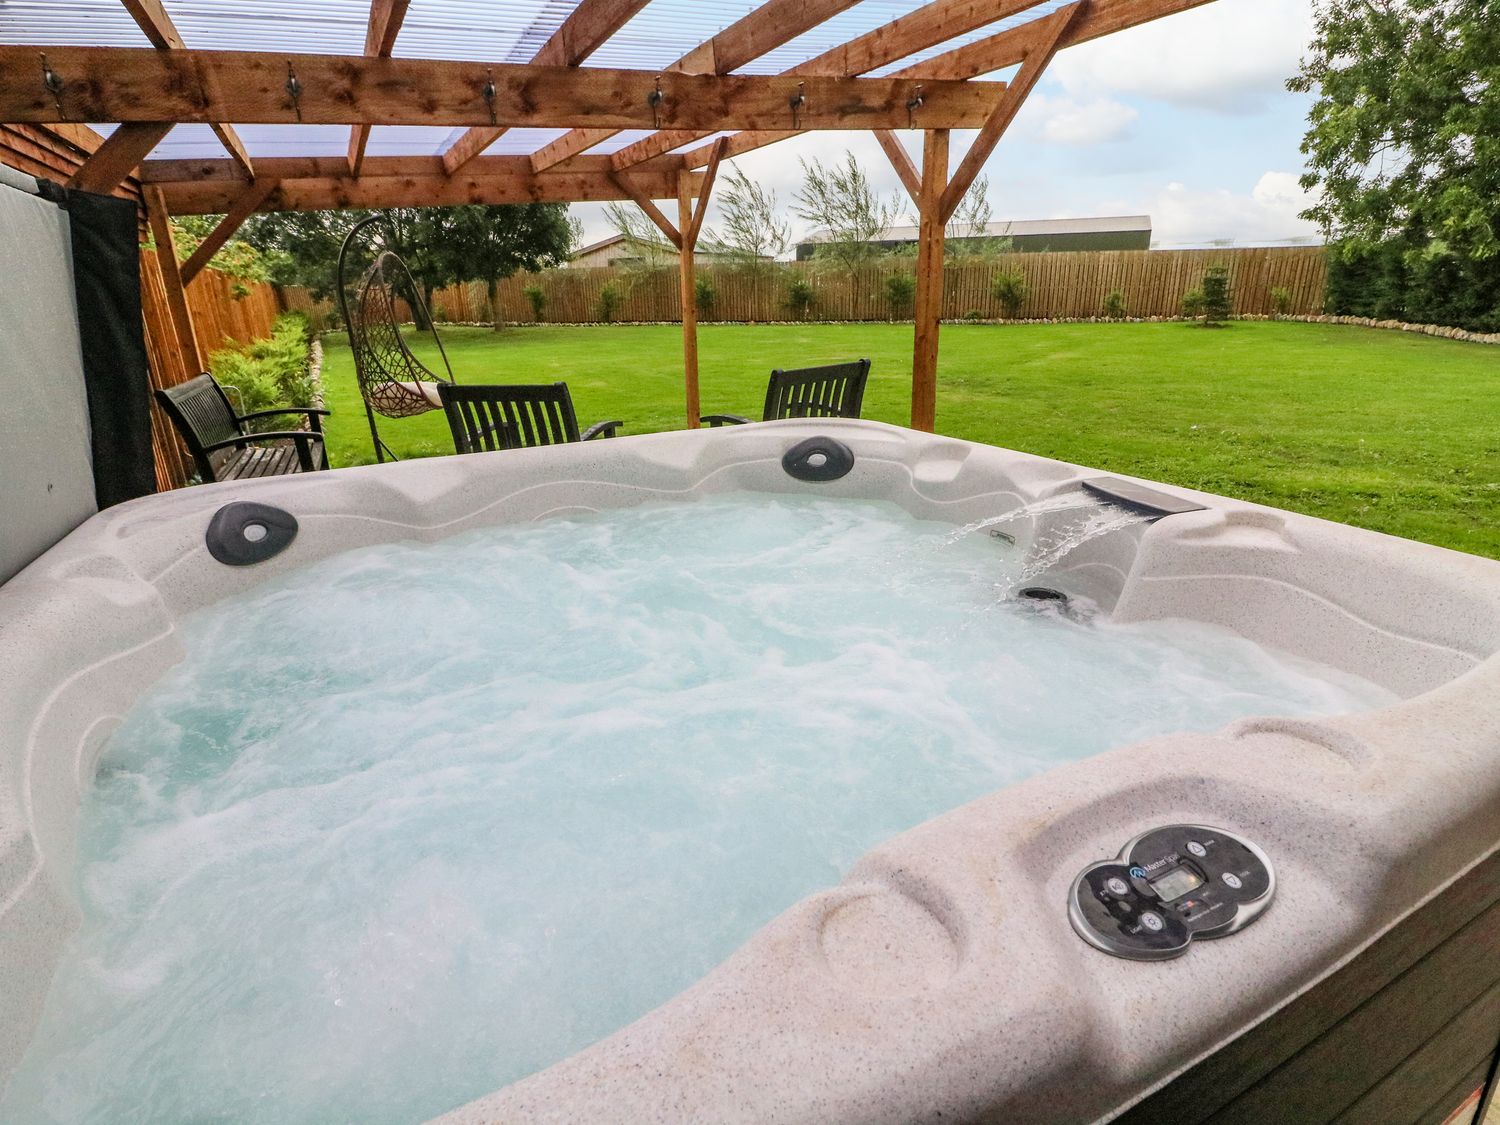
Refilling the Hot Tub
With the new pump successfully installed and tested, it’s time to replenish your hot tub with fresh, clean water. Refilling the hot tub is a vital step in the pump replacement process, and it requires attention to detail to ensure that the tub is filled properly and ready for use. Follow these steps to effectively refill your hot tub:
- Prepare the Water Source: If using a garden hose to refill the hot tub, ensure that the hose is clean and free from debris. Attach the hose securely to the water source and position it for easy access to the hot tub.
- Turn On the Water: Gradually turn on the water supply to begin filling the hot tub. Monitor the filling process to prevent overfilling and ensure that the water level reaches the desired height within the tub.
- Check for Airlocks: As the hot tub fills, watch for any airlocks that may form in the plumbing lines. Airlocks can impede water flow and affect the performance of the pump. If airlocks are detected, consult the hot tub’s manual for guidance on releasing them.
- Test Water Quality: Prior to using the hot tub, test the water quality to ensure that it meets the recommended standards for pH, alkalinity, and sanitizer levels. Adjust the water chemistry as needed to achieve a balanced and safe environment for soaking.
- Restore Additional Components: If any additional components, such as filters or covers, were removed during the pump replacement process, reinstall them once the hot tub is refilled and the water quality is verified.
- Prime the Pump (If Necessary): Depending on the pump type, you may need to prime it to ensure proper water circulation. Follow the manufacturer’s instructions for priming the pump to optimize its performance.
- Monitor Water Level: As the hot tub refills, monitor the water level to prevent overflow and ensure that it reaches the appropriate height for optimal functionality and enjoyment.
By meticulously following these steps, you’ll effectively refill your hot tub, setting the stage for a rejuvenating and relaxing experience. With the hot tub replenished and the water quality verified, you’re ready to bask in the soothing warmth and therapeutic benefits of your revitalized oasis.
Conclusion
Congratulations! You’ve successfully navigated the process of replacing your hot tub pump, revitalizing your beloved relaxation haven. By methodically assessing the problem, gathering the necessary tools and materials, draining the hot tub, removing the old pump, installing the new pump, testing its functionality, and refilling the hot tub, you’ve demonstrated resourcefulness and determination in restoring your hot tub to its optimal state.
Throughout this journey, you’ve embraced the challenges of DIY hot tub maintenance and emerged victorious, equipped with newfound knowledge and a rejuvenated oasis awaiting your enjoyment. Your dedication to maintaining your hot tub ensures that it will continue to be a source of relaxation and rejuvenation for years to come.
As you embark on future maintenance endeavors, remember the valuable lessons learned during this process. Whether it’s troubleshooting other components, conducting routine maintenance, or exploring new upgrades, your proactive approach and willingness to tackle challenges will serve you well in preserving the tranquility of your hot tub.
So, take a moment to revel in your accomplishment, and immerse yourself in the blissful warmth of your revitalized hot tub. Your dedication and perseverance have transformed a potential setback into a triumph, and your oasis awaits, ready to envelop you in soothing comfort and well-deserved relaxation.
May your hot tub continue to be a sanctuary of serenity, providing respite from the demands of daily life and nurturing your well-being. As you savor the rejuvenating embrace of your hot tub, know that your efforts have not only restored a vital component but have also reaffirmed your ability to conquer challenges and create a haven of tranquility within your home.
Frequently Asked Questions about How To Replace Hot Tub Pump
Was this page helpful?
At Storables.com, we guarantee accurate and reliable information. Our content, validated by Expert Board Contributors, is crafted following stringent Editorial Policies. We're committed to providing you with well-researched, expert-backed insights for all your informational needs.
0 thoughts on “How To Replace Hot Tub Pump”