Home>Gardening & Outdoor>Pool & Spa Care>How To Replace Hot Tub Jets
Pool & Spa Care
How To Replace Hot Tub Jets
Modified: February 25, 2024
Learn how to replace hot tub jets with our expert pool and spa care tips. Keep your hot tub in top condition with our step-by-step guide.
(Many of the links in this article redirect to a specific reviewed product. Your purchase of these products through affiliate links helps to generate commission for Storables.com, at no extra cost. Learn more)
Introduction
Welcome to the world of luxurious relaxation and hydrotherapy! Your hot tub or spa is a haven of rejuvenation, and ensuring that it functions at its best is essential for an optimal experience. Over time, hot tub jets may become worn or damaged, affecting the performance and comfort of your spa. Fortunately, replacing hot tub jets is a manageable task that can be accomplished with the right tools and a little know-how.
In this comprehensive guide, we will walk through the step-by-step process of replacing hot tub jets. Whether you’re a seasoned DIY enthusiast or new to hot tub maintenance, this guide will equip you with the knowledge and confidence to tackle this project effectively. By following these instructions, you can restore your hot tub to its former glory, ensuring a soothing and invigorating hydrotherapy experience for years to come.
So, let’s dive in and learn how to replace hot tub jets, revitalizing your spa and enhancing the relaxation it provides.
Key Takeaways:
- Replacing hot tub jets is a manageable DIY task that requires the right tools and careful steps. By following the process, you can restore your spa’s performance and enjoy a rejuvenating hydrotherapy experience.
- After replacing the jets, test their functionality and ensure a steady water flow. With the new jets in place, your hot tub is ready to provide a blissful and customized hydrotherapy experience for years to come.
Step 1: Gather the Necessary Tools and Materials
Before embarking on the journey of replacing your hot tub jets, it’s essential to gather all the required tools and materials. Having everything on hand will streamline the process and prevent unnecessary interruptions. Here’s a list of the items you’ll need:
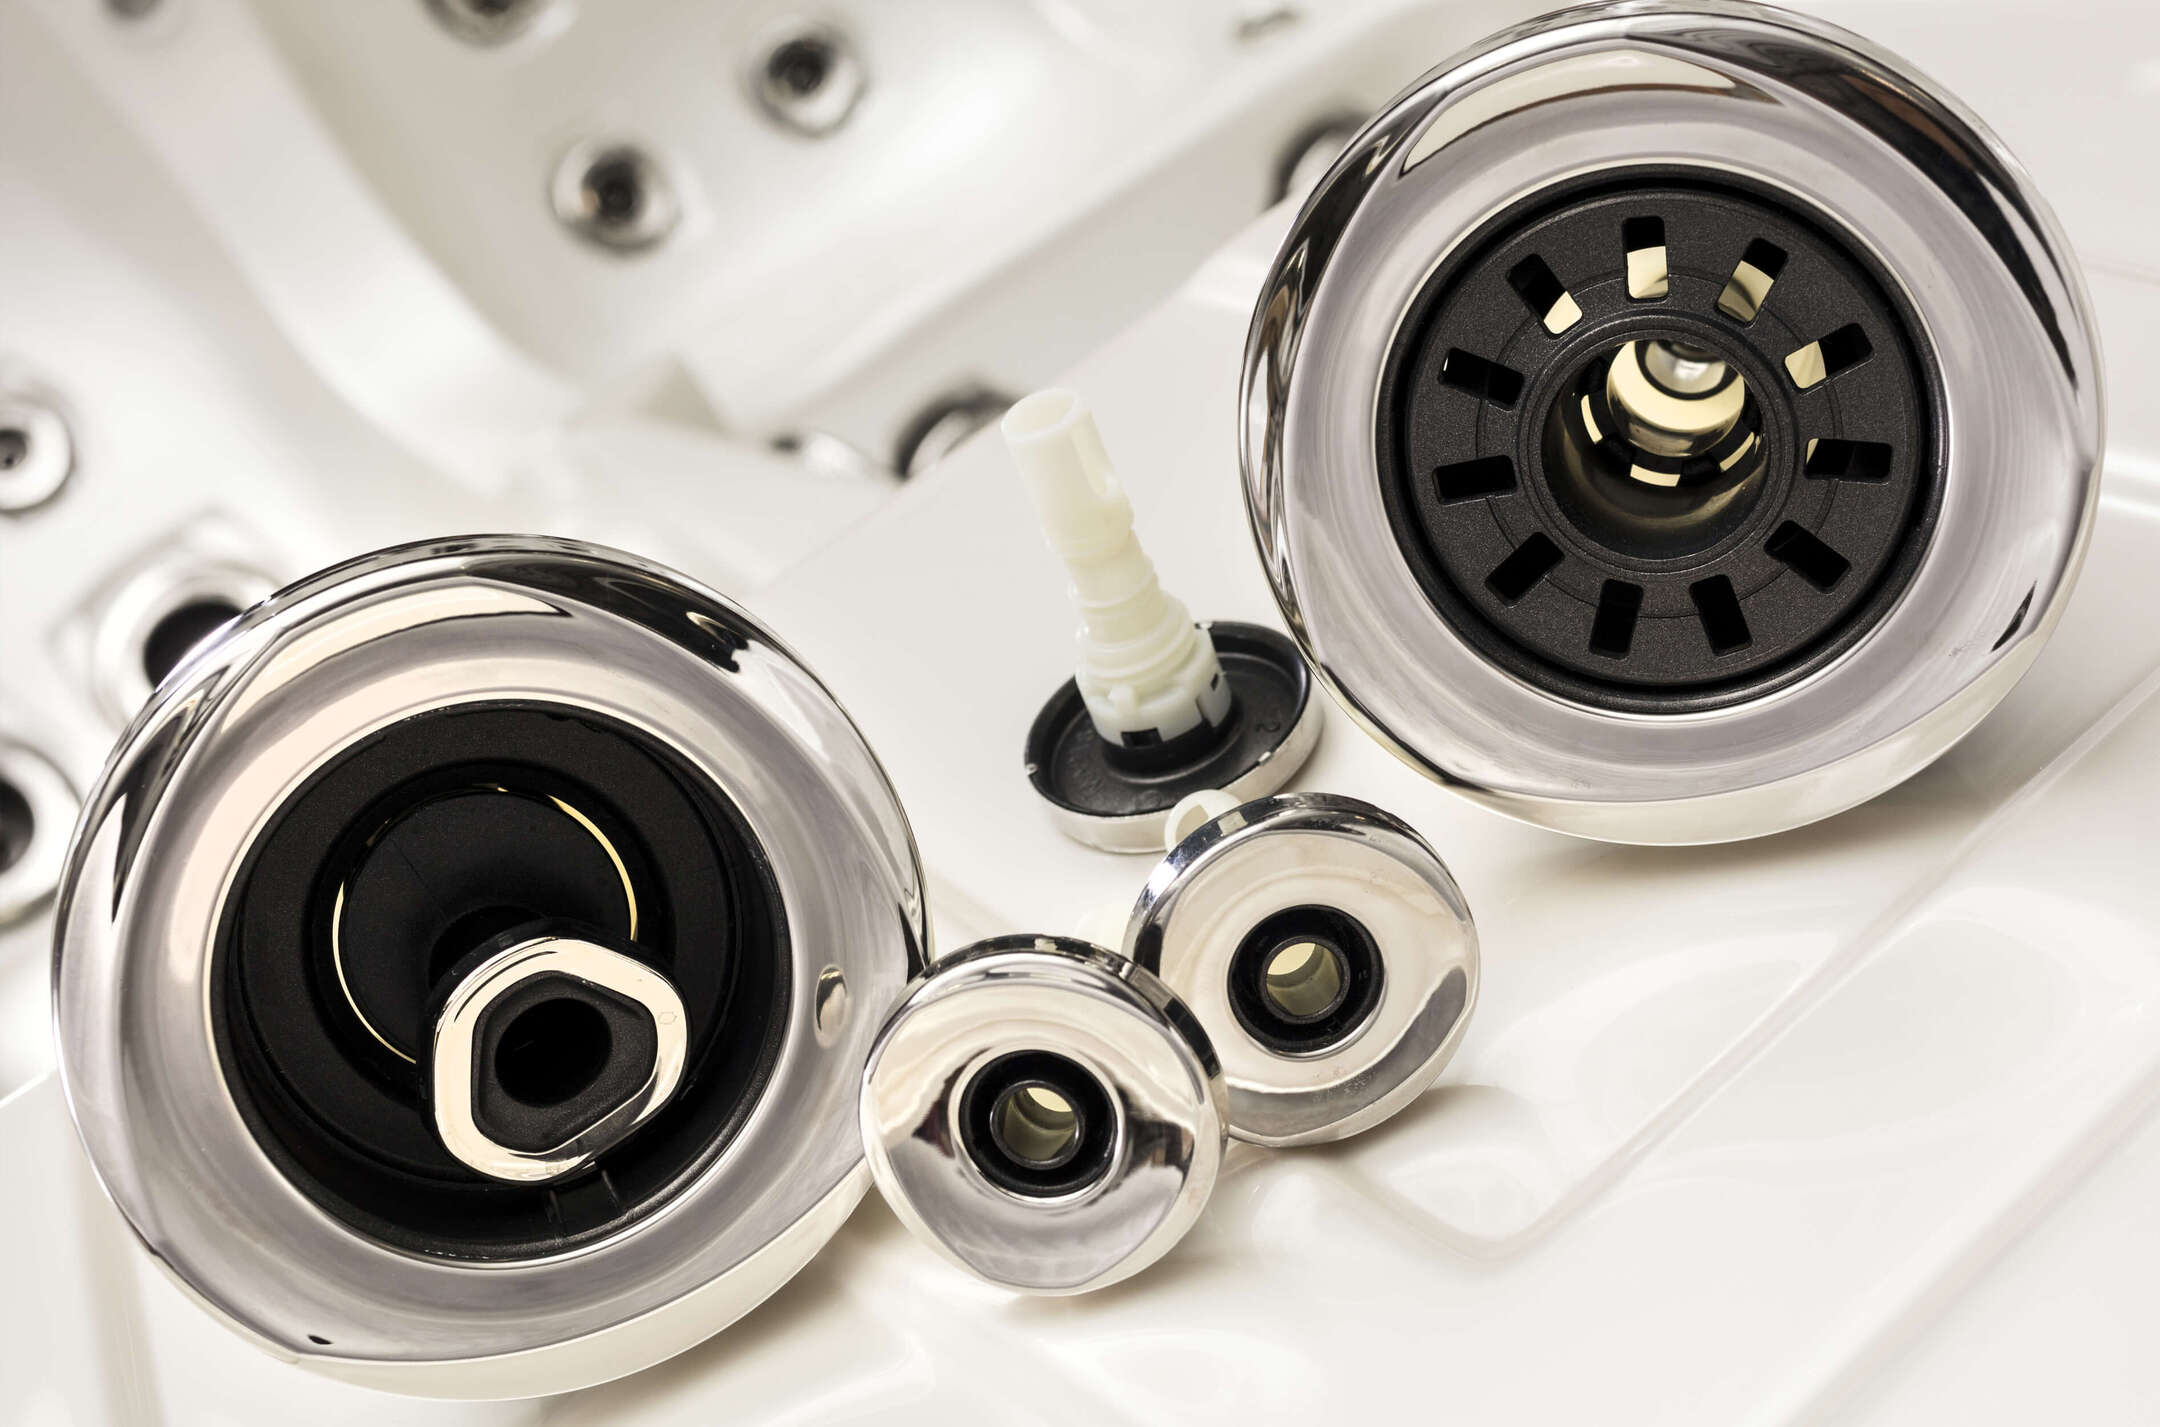
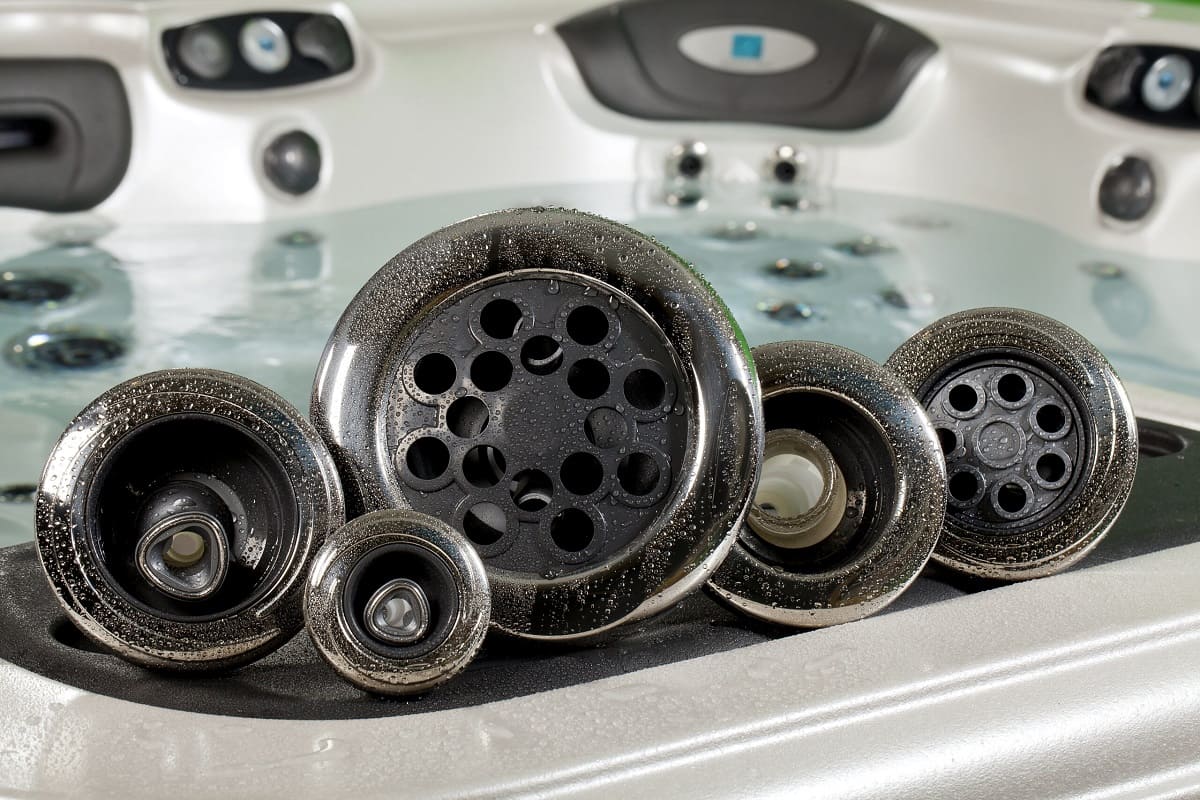
- New Jets: Ensure that you have the correct replacement jets for your specific hot tub model. Jets come in various types and sizes, so it’s crucial to match them precisely to your existing ones.
- Owner’s Manual: This invaluable resource provides essential information about your hot tub, including the type of jets it uses and any specific instructions for maintenance and repairs.
- Protective Eyewear and Gloves: Safety first! When working on your hot tub, protecting your eyes and hands is vital. Ensure you have suitable eyewear and gloves to shield yourself from debris and chemicals.
- Adjustable Wrench: A versatile tool that will come in handy for loosening and tightening various components during the jet replacement process.
- Pliers: Useful for gripping and maneuvering small parts and fittings within the hot tub.
- Silicone Sealant: This waterproof sealant is essential for ensuring a watertight connection when installing the new jets.
- Cleaning Supplies: It’s a good idea to have some cleaning supplies on hand to tidy up the area around the jets and remove any accumulated grime or debris.
- Towels: Keep a few towels nearby to wipe up any water that may escape during the jet replacement process.
With these tools and materials at your disposal, you’ll be well-prepared to proceed with confidence as we move on to the next steps in the hot tub jet replacement process.
Step 2: Remove the Old Jets
Now that you’ve assembled the necessary tools and materials, it’s time to begin the process of removing the old, worn-out jets from your hot tub. This step requires a methodical approach to ensure that the jets are extracted safely and efficiently. Here’s a detailed guide to help you through this stage:
- Turn Off the Power: Safety is paramount. Before starting any work on your hot tub, make sure to turn off the power at the circuit breaker to prevent any electrical mishaps.
- Refer to the Owner’s Manual: Your hot tub’s owner’s manual is a valuable resource for understanding the specific configuration of your jets and any manufacturer recommendations for removal.
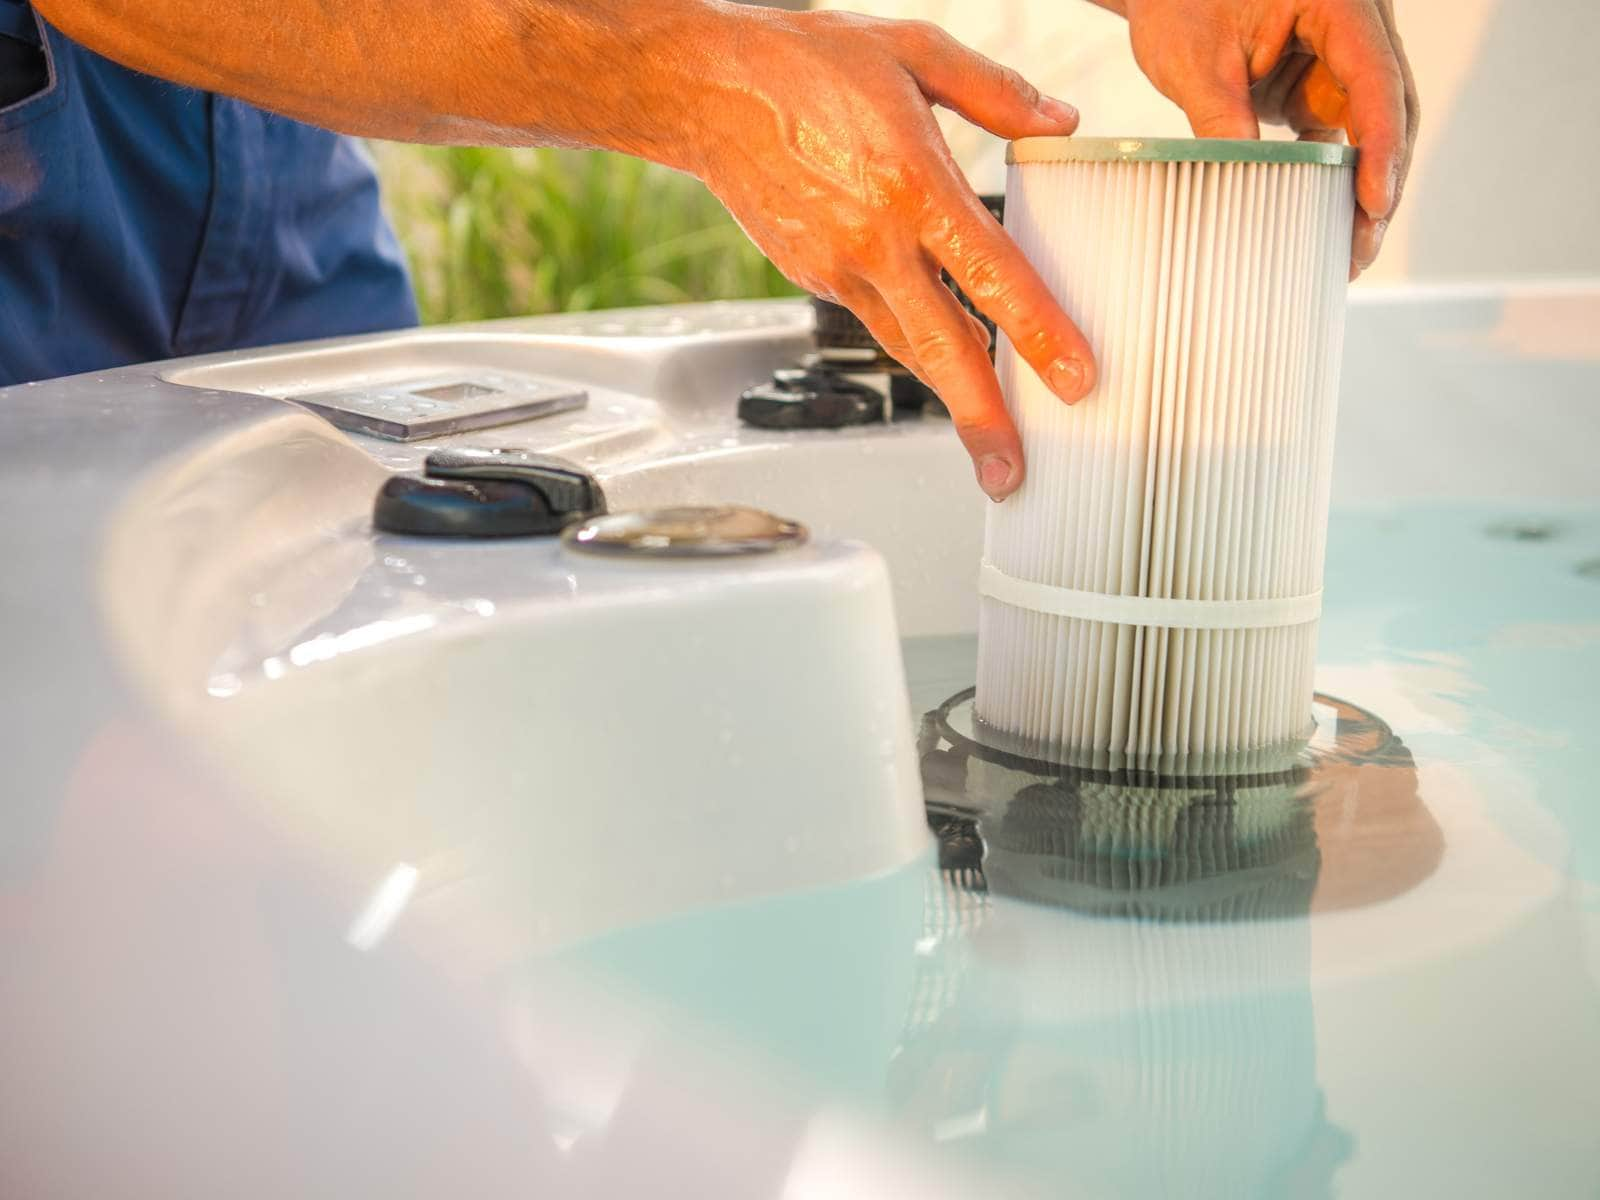
- Access the Jets: Depending on your hot tub’s design, you may need to remove a panel or access door to reach the jets. Carefully follow the instructions in the manual to gain access to the jet assemblies.
- Inspect the Fittings: Take a moment to inspect the fittings and connections around the old jets. Look for any signs of damage or corrosion that may require attention before proceeding.
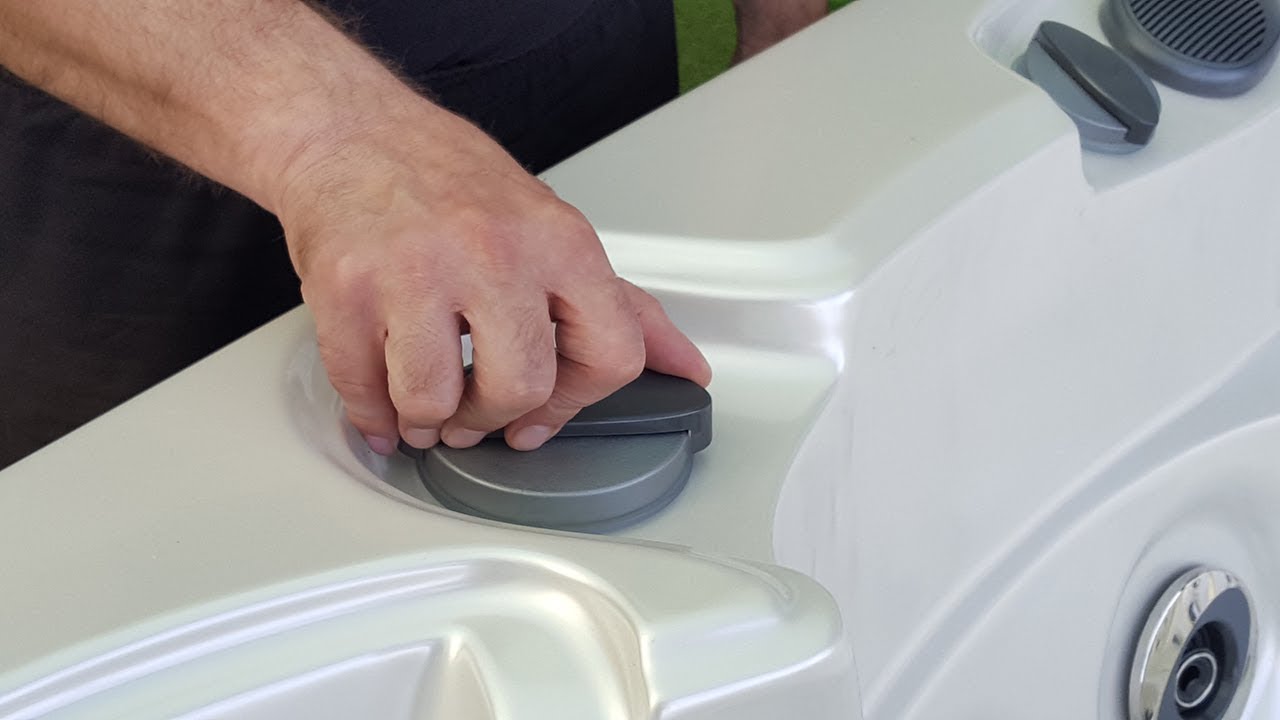
- Loosen the Jets: Using an adjustable wrench or pliers, carefully loosen the old jets by turning them counterclockwise. Apply steady, gentle pressure to avoid damaging the surrounding components.
- Remove the Jets: Once loosened, carefully remove the old jets from their housings. Be mindful of any rubber gaskets or seals that may come away with the jets, as these will need to be replaced with the new jets.
- Clean the Area: With the old jets removed, take the opportunity to clean the surrounding area. Wipe away any debris, and inspect the jet housings for any buildup or damage that may need attention.
By following these steps meticulously, you can safely and effectively remove the old jets from your hot tub, setting the stage for the installation of the new jets. With this crucial stage completed, you’re ready to move on to the next phase of the jet replacement process.
When replacing hot tub jets, make sure to turn off the power and drain the tub before starting. Use a wrench to unscrew the old jet and apply Teflon tape to the threads of the new jet before installing.
Step 3: Install the New Jets
With the old jets successfully removed, it’s time to usher in the new era of comfort and hydrotherapy by installing the replacement jets in your hot tub. This step requires precision and attention to detail to ensure that the new jets are securely and properly fitted. Follow these guidelines to navigate the installation process smoothly:
- Prepare the New Jets: Before installing the new jets, ensure that they are clean and free of any debris or manufacturing residues. Inspect the rubber gaskets or seals that will create a watertight connection and replace them if necessary.
- Apply Silicone Sealant: To create a secure seal, apply a thin bead of silicone sealant around the outer edge of each new jet. This will help prevent water from seeping into the surrounding area once the jets are installed.
- Insert the New Jets: Carefully place the new jets into their designated positions, aligning them with the jet housings. Apply gentle pressure and twist the jets clockwise to secure them in place, ensuring a snug fit.
- Check for Proper Alignment: As you install each new jet, double-check that it is sitting flush and level with the surface of the hot tub. Proper alignment is essential for both aesthetics and functionality.
- Tighten the Jets: Using an adjustable wrench or pliers, gently tighten the new jets to create a secure connection. Exercise caution to avoid over-tightening, which could potentially damage the jet or its housing.
- Wipe Away Excess Sealant: After the new jets are installed, carefully wipe away any excess silicone sealant to ensure a clean and polished appearance.
By following these steps diligently, you can effectively install the new jets in your hot tub, setting the stage for an enhanced hydrotherapy experience. The meticulous attention to detail in this phase will ensure that your hot tub is primed for optimal performance and comfort.
Step 4: Test the New Jets
With the new jets securely installed, it’s time to put them to the test and ensure that they are functioning as intended. This critical step allows you to verify the proper operation of the jets and make any necessary adjustments before completing the replacement process. Follow these steps to test the new jets and confirm their performance:
- Restore Power to the Hot Tub: If you turned off the power at the circuit breaker during the jet replacement process, now is the time to restore it. Ensure that the electrical supply to the hot tub is back on, allowing the jets to be powered.
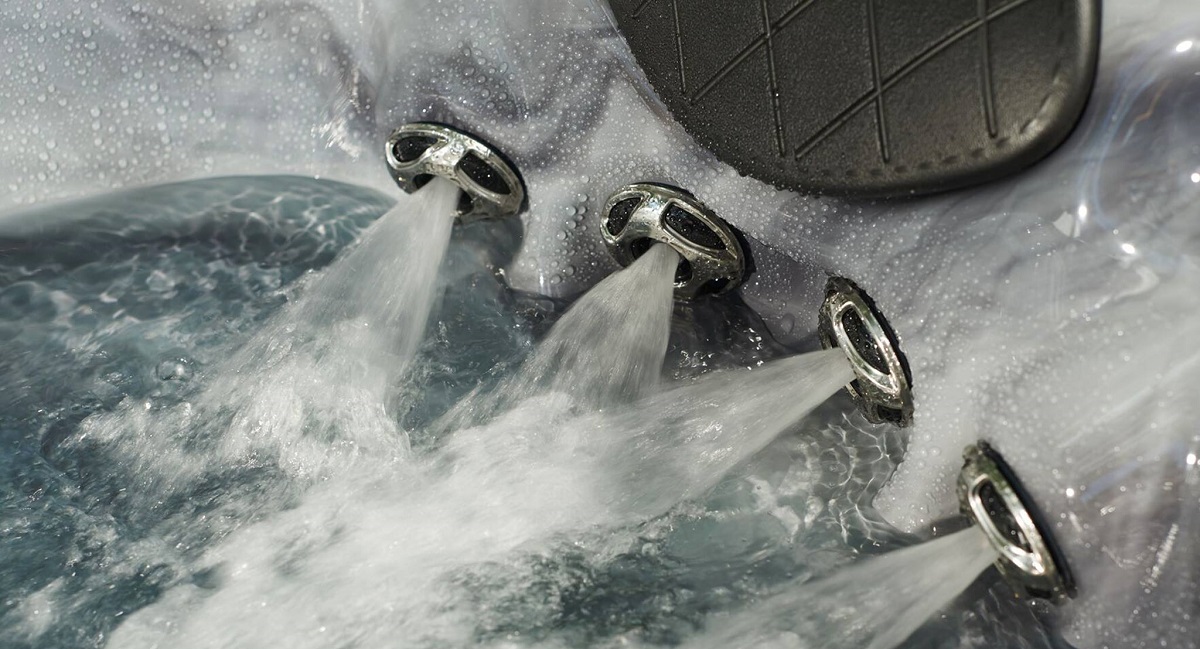
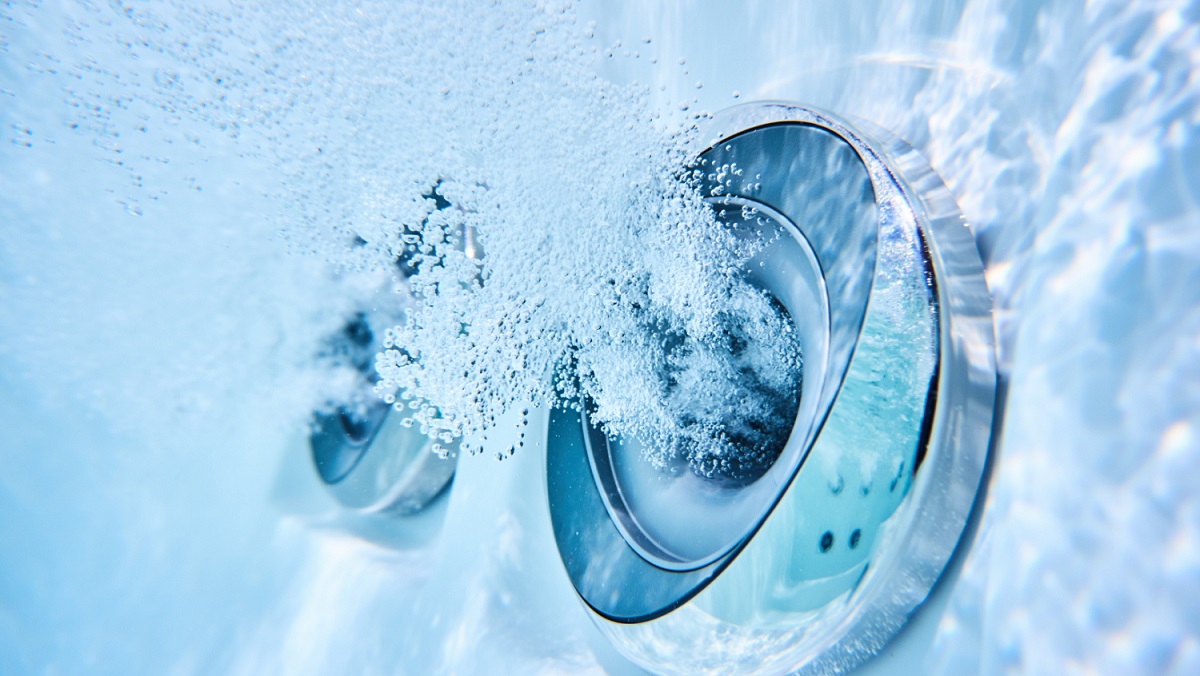
- Activate the Jets: Turn on the hot tub’s pump and activate the new jets. Observe each jet carefully to ensure that it is producing a steady, consistent flow of water. Listen for any unusual noises or vibrations that may indicate an issue.
- Adjust the Jets: Many hot tubs feature adjustable jets that allow you to control the direction and intensity of the water flow. Test each jet’s adjustability to ensure that you can customize the hydrotherapy experience to your preference.
- Inspect for Leaks: As the new jets operate, carefully inspect the area around each jet for any signs of leaking or seepage. Check the sealant and connections to ensure that they are watertight and secure.
- Assess Comfort and Performance: Sit back, relax, and experience the rejuvenating effects of the new jets. Pay attention to the comfort and performance of each jet, noting any areas that may require further adjustment or fine-tuning.
By systematically testing the new jets in this manner, you can confirm their functionality and address any potential issues before concluding the replacement process. This thorough evaluation ensures that your hot tub is primed for optimal performance and provides a blissful hydrotherapy experience.
Read more: How To Remove A Jet From A Hot Tub
Conclusion
Congratulations on successfully replacing the jets in your hot tub! By following the step-by-step process outlined in this guide, you’ve taken a proactive approach to maintaining and enhancing your spa’s performance. The revitalized jets are poised to deliver a rejuvenating hydrotherapy experience, ensuring that your hot tub remains a cherished oasis of relaxation and comfort.
As you reflect on the journey of replacing your hot tub jets, consider the transformative impact it will have on your overall spa experience. The meticulous attention to detail and precision in installing the new jets exemplify your commitment to preserving the optimal functionality of your hot tub.
With the new jets in place, take the time to revel in the soothing embrace of your revitalized hot tub. Immerse yourself in the therapeutic waters and savor the rejuvenating effects of the freshly installed jets. Whether you seek relief from everyday stress or a rejuvenating escape, your hot tub is now primed to deliver an unparalleled hydrotherapy experience.
Remember to refer to your hot tub’s owner’s manual for any specific maintenance recommendations or guidelines. Regular upkeep and care will ensure that your hot tub continues to provide years of blissful relaxation and rejuvenation.
Thank you for embarking on this journey to enhance your hot tub experience. By replacing the jets, you’ve not only revitalized your spa but also reaffirmed your dedication to creating a haven of wellness and tranquility within your own home.
Frequently Asked Questions about How To Replace Hot Tub Jets
Was this page helpful?
At Storables.com, we guarantee accurate and reliable information. Our content, validated by Expert Board Contributors, is crafted following stringent Editorial Policies. We're committed to providing you with well-researched, expert-backed insights for all your informational needs.


0 thoughts on “How To Replace Hot Tub Jets”