Articles
How To Loosen Plumbing Fittings
Modified: January 23, 2024
Discover step-by-step articles on how to effortlessly loosen plumbing fittings and tackle your DIY plumbing projects. Gain expert tips and tricks for success.
(Many of the links in this article redirect to a specific reviewed product. Your purchase of these products through affiliate links helps to generate commission for Storables.com, at no extra cost. Learn more)
Introduction
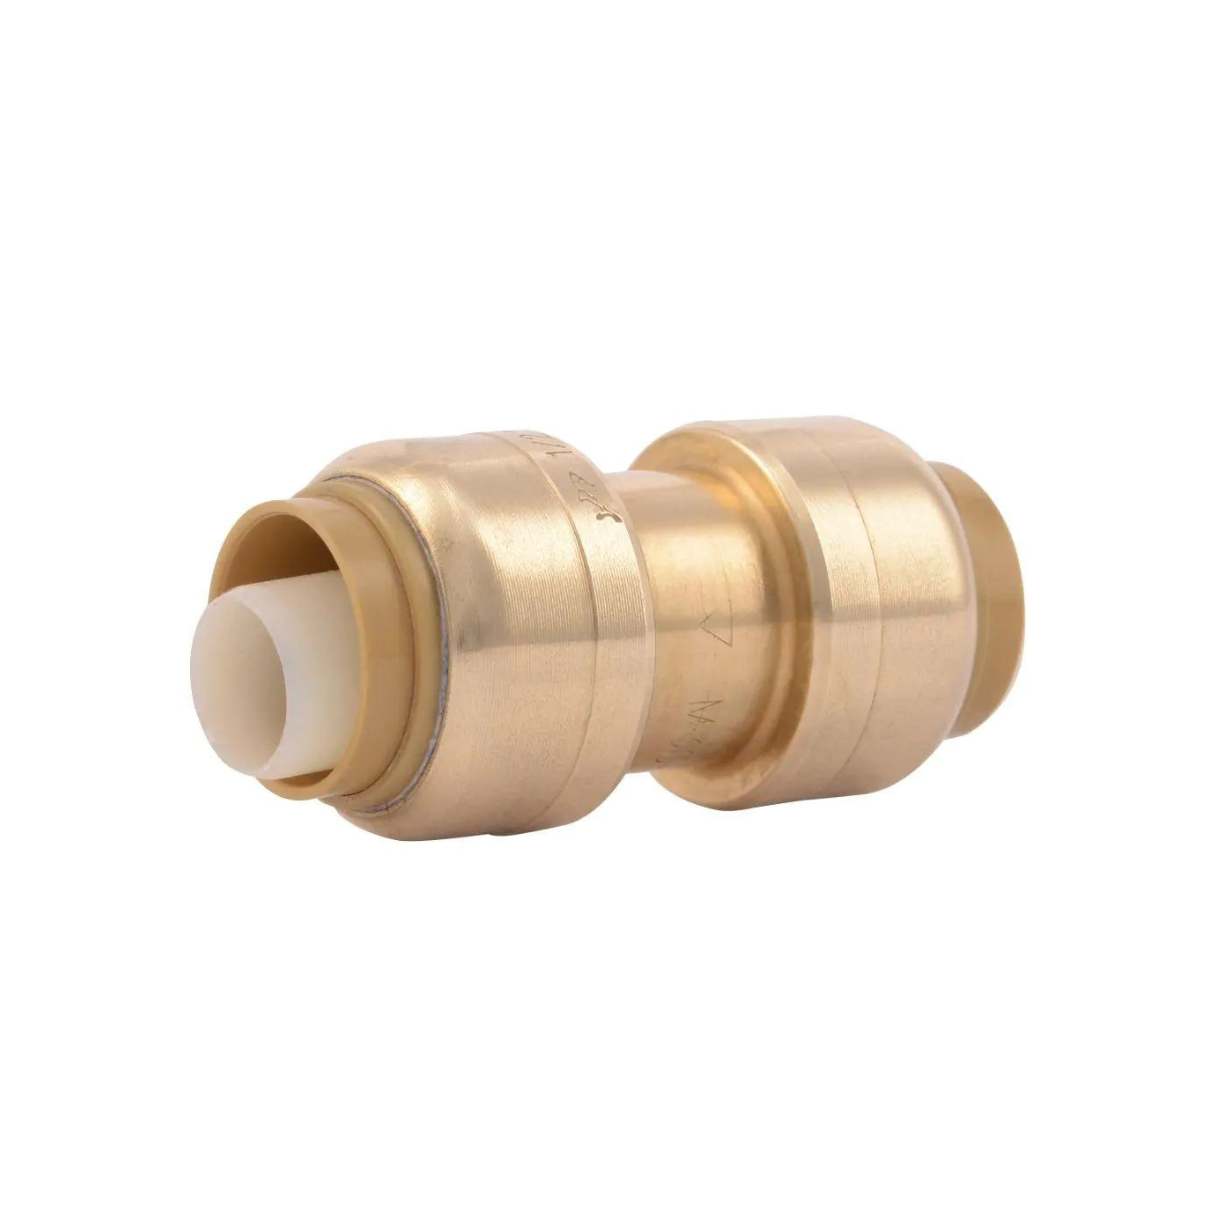
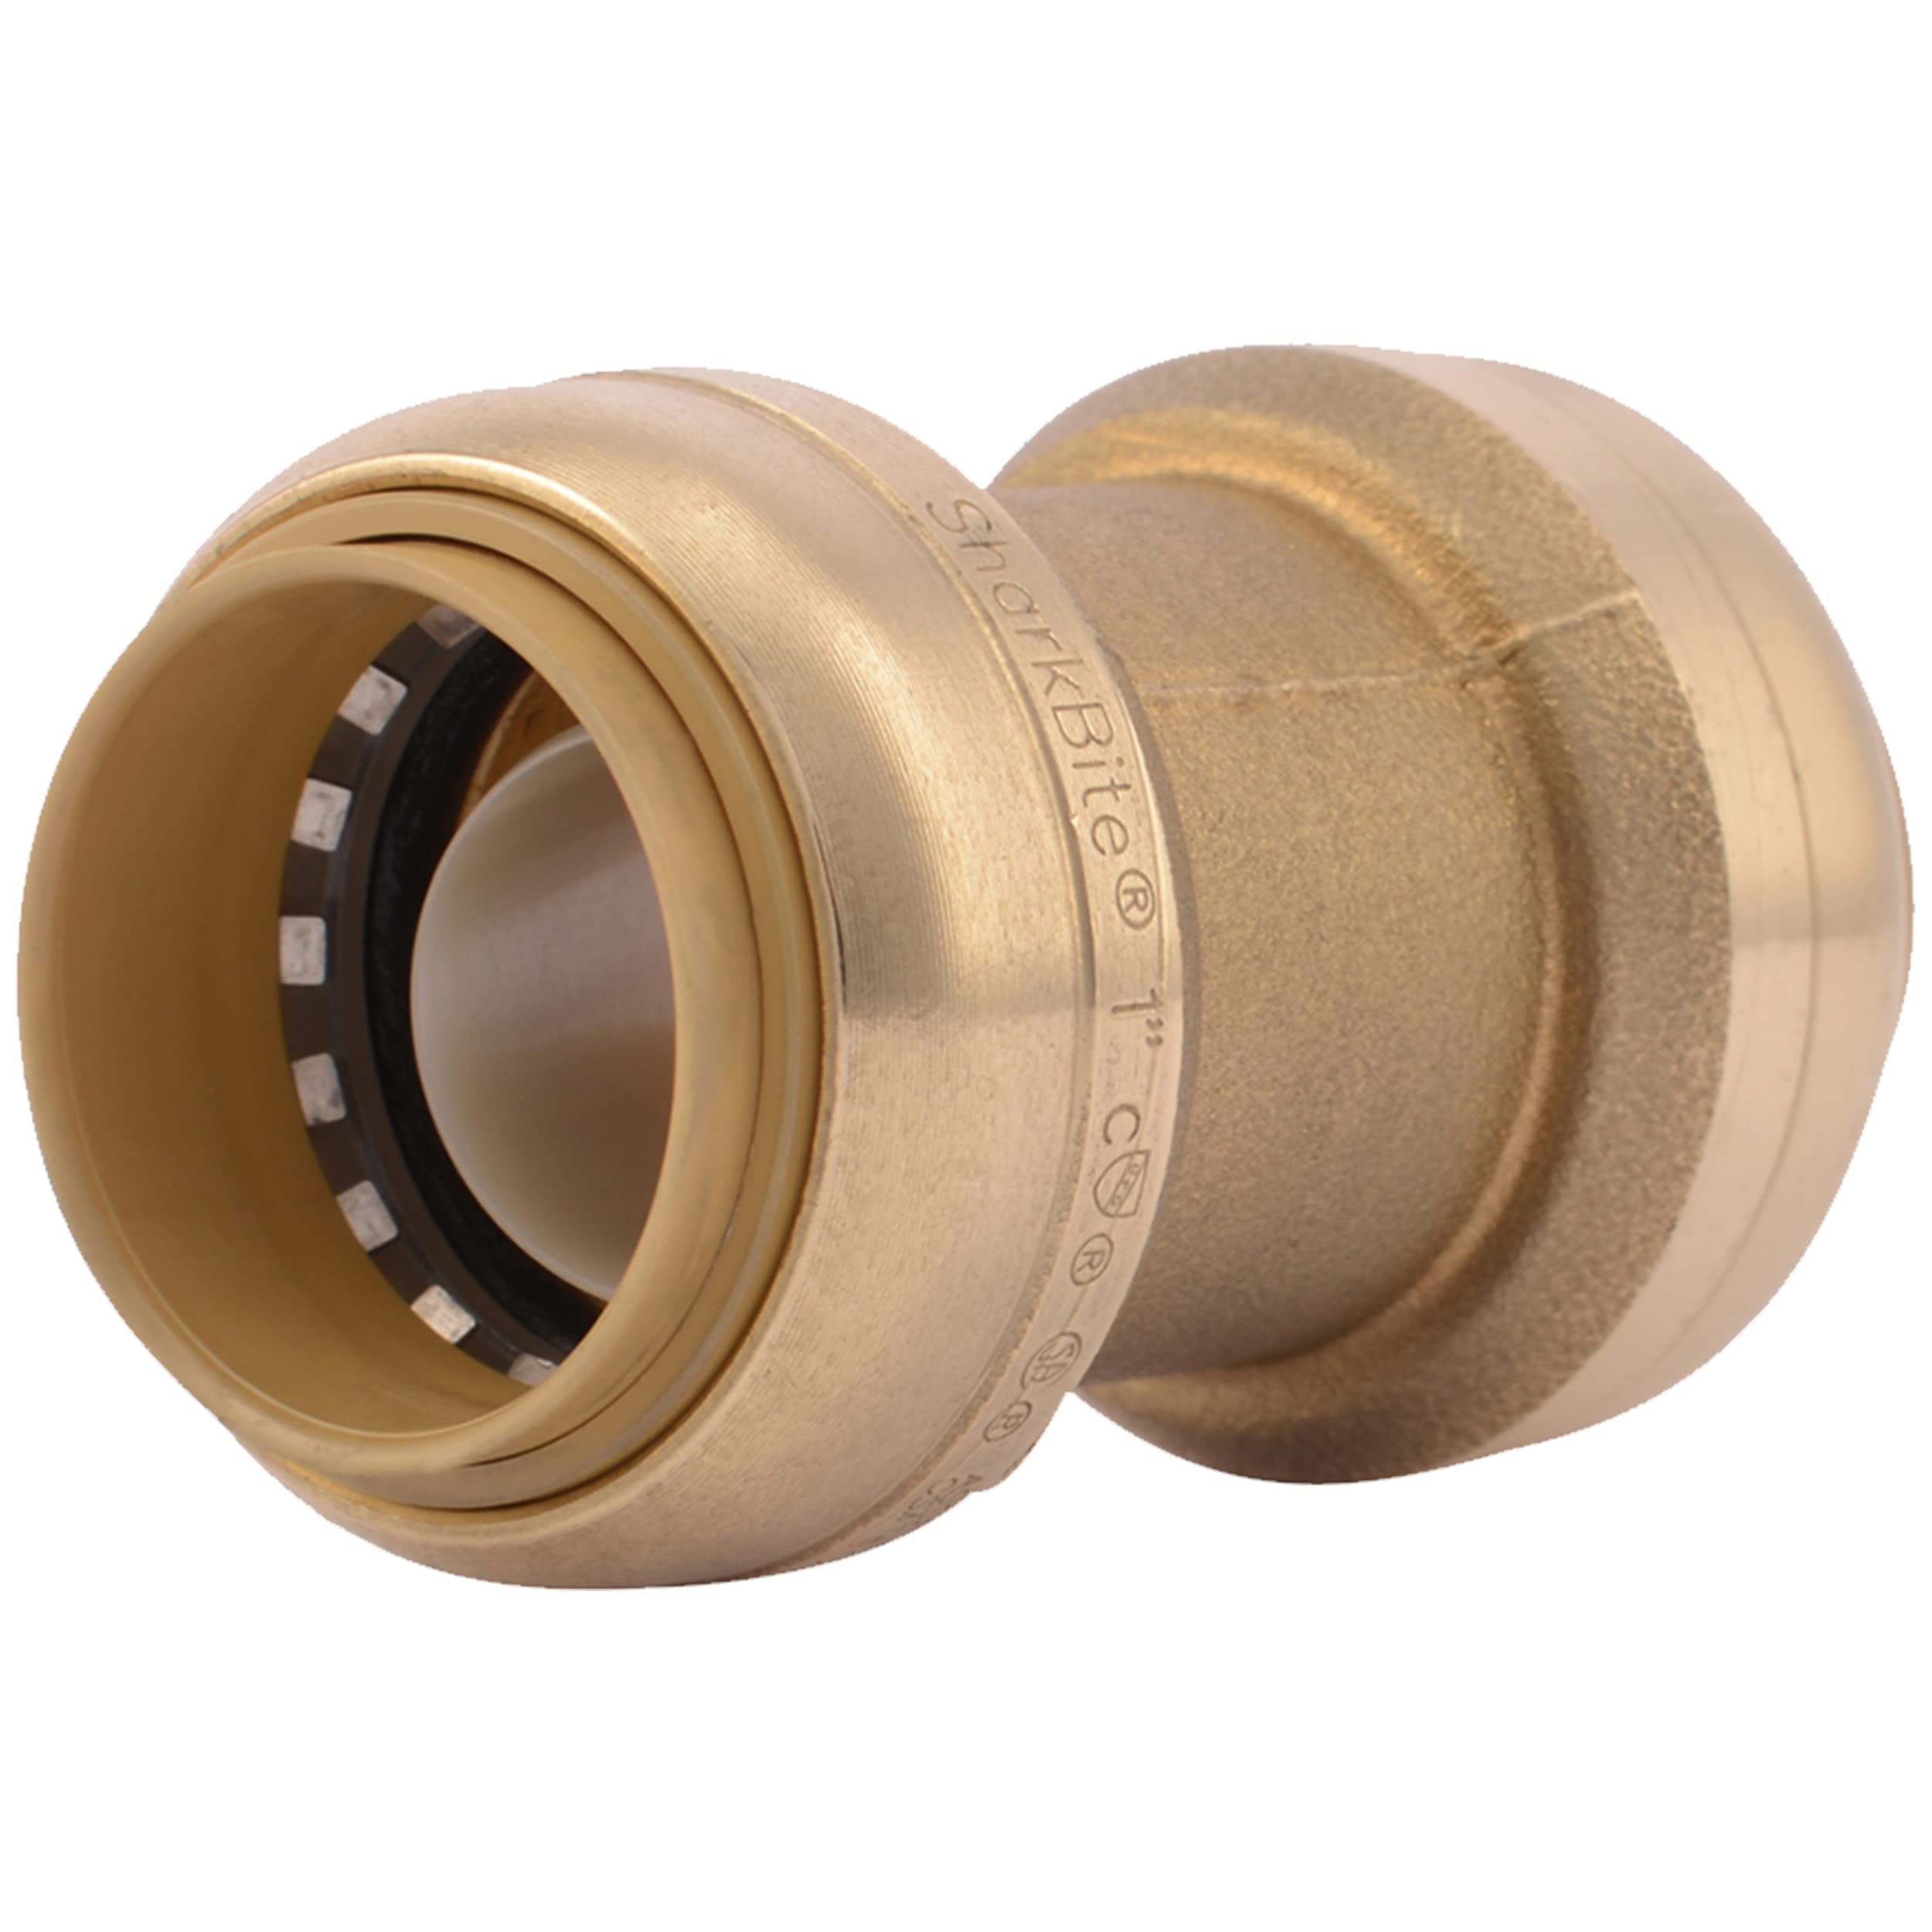
In plumbing, fittings are essential components that connect pipes together and ensure a proper flow of water or other liquids. Over time, these fittings can become tight and difficult to loosen, making repairs or replacements a challenging task. Fortunately, there are several techniques and tools available to help loosen plumbing fittings and make your plumbing projects a breeze.
This article will guide you through the process of loosening plumbing fittings, step by step, while highlighting the tools and materials you will need along the way. Whether you are a DIY enthusiast or a professional plumber, these tips will empower you to tackle any plumbing job with confidence.
Before we dive into the techniques, let’s take a look at some common tools and materials that will come in handy:
Key Takeaways:
- Proper preparation, including turning off the water supply, cleaning the fittings, and applying lubricant, is crucial for effectively loosening plumbing fittings. Utilize the right tools and techniques to ensure a smooth and successful process.
- When dealing with stubborn plumbing fittings, the combination of penetrating lubricant, heat application, and the use of an adjustable wrench can help break the grip and facilitate loosening. Prioritize safety, patience, and proper installation for a successful plumbing project.
Read more: What Are Fittings In Plumbing
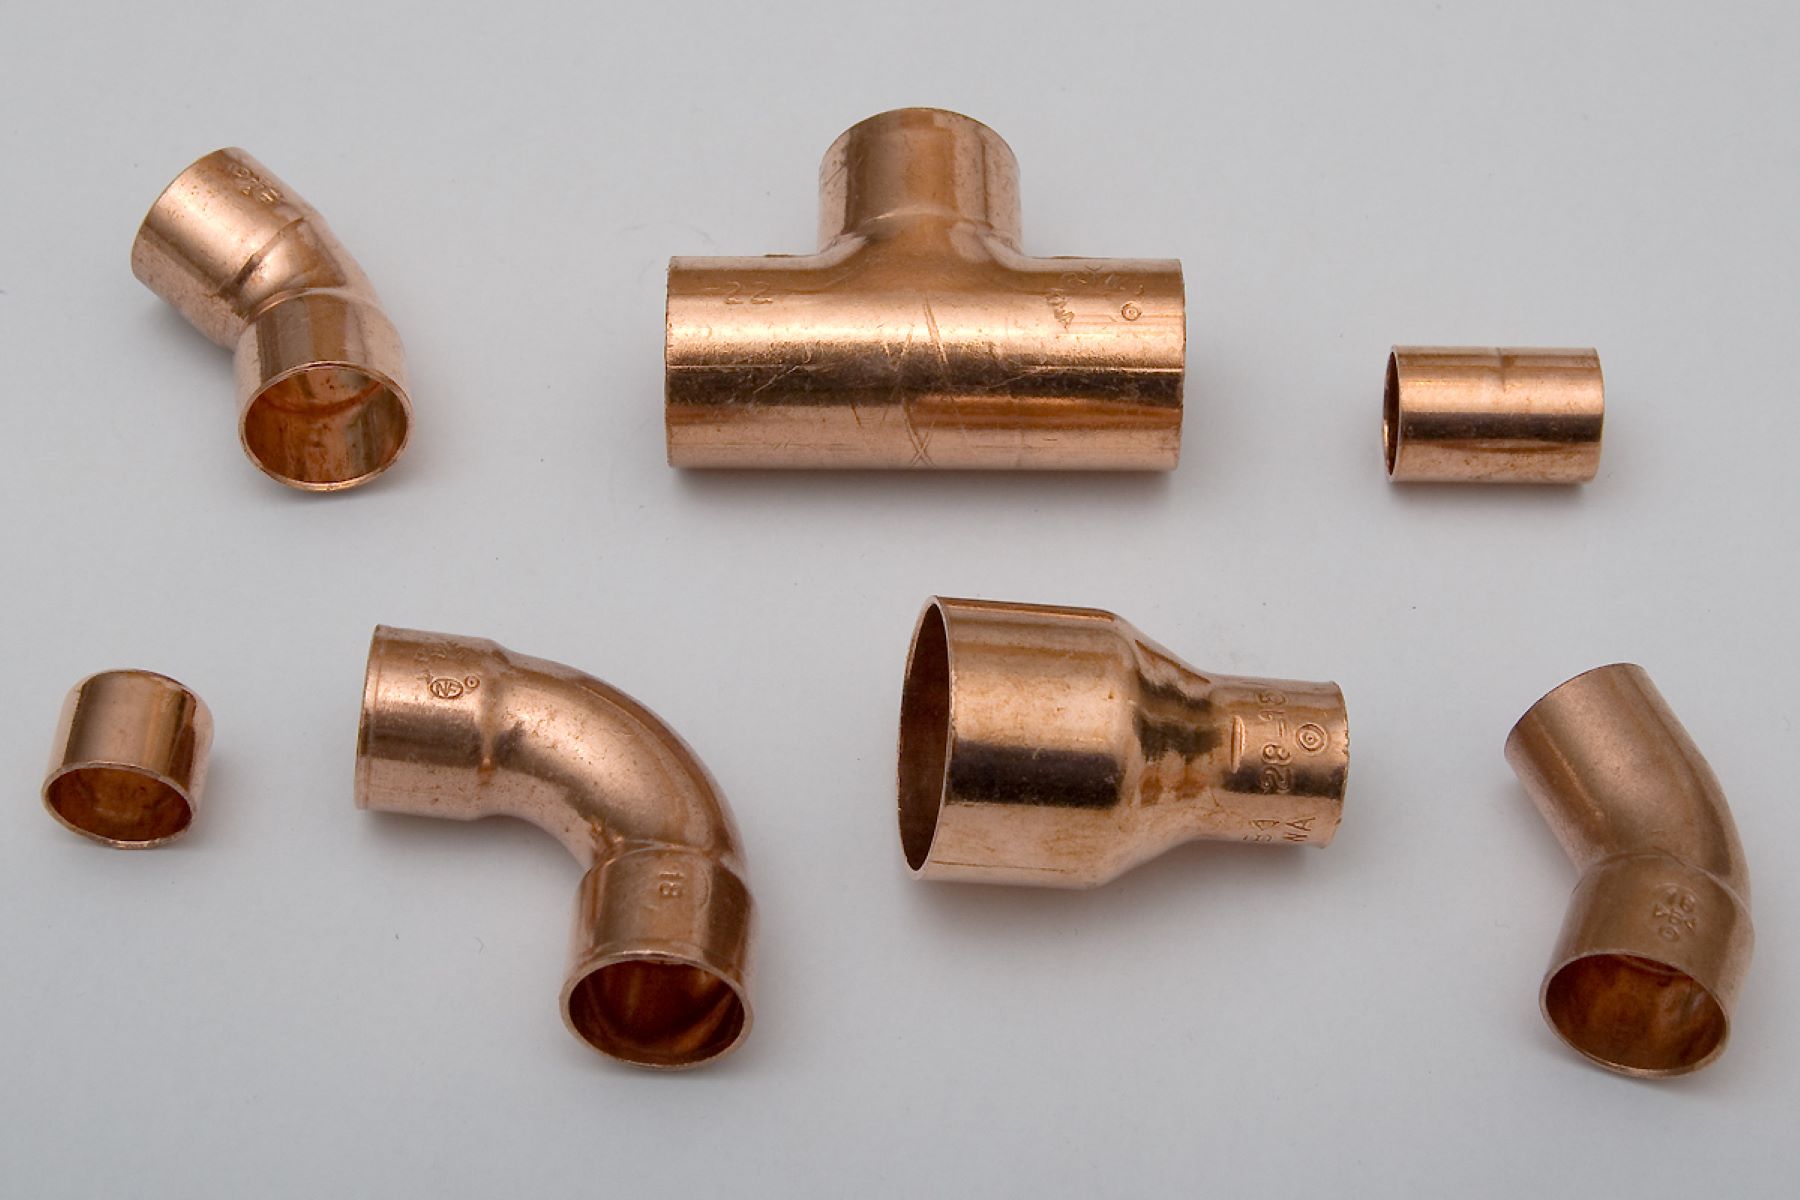
Tools and Materials Needed
- Adjustable wrench
- Penetrating lubricant (such as WD-40)
- Heat source (such as a hairdryer or a blowtorch)
- Protective gloves
Key Takeaways:
- Proper preparation, including turning off the water supply, cleaning the fittings, and applying lubricant, is crucial for effectively loosening plumbing fittings. Utilize the right tools and techniques to ensure a smooth and successful process.
- When dealing with stubborn plumbing fittings, the combination of penetrating lubricant, heat application, and the use of an adjustable wrench can help break the grip and facilitate loosening. Prioritize safety, patience, and proper installation for a successful plumbing project.
Read more: What Are Fittings In Plumbing
Tools and Materials Needed
Before you begin loosening plumbing fittings, it’s important to gather the necessary tools and materials. Having these items on hand will make the process smoother and more efficient. Here are the essential tools and materials you’ll need:
- Adjustable Wrench: An adjustable wrench is a versatile tool that allows you to tighten or loosen various sizes of plumbing fittings. It’s crucial to have a properly-sized wrench to ensure a secure grip on the fittings.
- Penetrating Lubricant (such as WD-40): A penetrating lubricant like WD-40 is invaluable when dealing with stubborn plumbing fittings. It helps to loosen rust, corrosion, and debris, making it easier to turn and loosen the fittings.
- Heat Source: In some cases, heat can be used to expand metal pipes and fittings, facilitating the loosening process. You can use a hairdryer for smaller fittings or a blowtorch for larger fittings. Note that extreme caution should be exercised when using heat near plumbing components to avoid any accidents or damage.
- Protective Gloves: When working with plumbing fittings, it’s vital to protect your hands from sharp edges, hot surfaces, or any potential chemical contact. Wearing protective gloves will ensure your safety throughout the process.
These tools and materials will provide you with a solid foundation for loosening plumbing fittings effectively. With everything ready, let’s move on to the step-by-step process.
Step 1: Preparation
Before you start loosening plumbing fittings, it’s important to prepare the area and ensure you have a clear workspace. This will help you work efficiently and minimize any potential damage or accidents. Follow these steps to prepare for loosening plumbing fittings:
- Turn Off the Water Supply: Before you begin any plumbing work, always turn off the water supply to the affected area. This will prevent any leaks or unwanted water flow while you’re working on the fittings.
- Clean the Fittings: Use a cloth or a brush to clean the area around the fittings. Dust, debris, or buildup can make it more difficult to grip and turn the fittings. Cleaning the fittings will provide a better grip and make the loosening process easier.
- Apply Penetrating Lubricant: Spray a generous amount of penetrating lubricant, such as WD-40, on the fittings. Allow the lubricant to sit for a few minutes, as it will help to loosen any rust or corrosion that may have built up over time. This will make it easier to turn and loosen the fittings.
- Gather the Necessary Tools: Ensure you have all the tools and materials mentioned earlier, including an adjustable wrench and appropriate heat source if needed. Having everything ready will save you time and prevent any interruption or delay during the process.
By following these steps, you’ll create an optimal environment for loosening plumbing fittings. Once you’ve completed the preparation stage, you’ll be ready to move on to the next step: applying the lubricant.
Step 2: Applying WD-40
Now that you have prepared the area and gathered your tools, it’s time to apply the penetrating lubricant, such as WD-40, to the plumbing fittings. This lubricant will help to loosen any rust, corrosion, or debris that may be causing the fittings to be tight. Follow these steps to apply the lubricant effectively:
- Shake the Can: Before using WD-40, give the can a good shake to ensure the contents are mixed properly. This will optimize the performance of the lubricant.
- Spray the Fittings: Holding the can about 6-8 inches away from the fittings, spray the WD-40 directly onto the fittings. Make sure to cover all sides of the fitting, applying a generous amount of lubricant.
- Let it Sit: Allow the WD-40 to penetrate the fittings for several minutes. This will give the lubricant enough time to work its magic and loosen any stubborn buildup.
- Repeat if Necessary: In some cases, especially if the fittings are highly corroded or tight, you may need to repeat the process of spraying the fittings and allowing the lubricant to sit. This will ensure maximum effectiveness in loosening the fittings.
By applying WD-40 to the plumbing fittings, you are providing lubrication and breaking down any barrier that may be hindering their movement. Once you have allowed the lubricant to penetrate, you can move on to the next step: using heat.
Use a penetrating oil or lubricant to help loosen stubborn plumbing fittings. Apply the oil and let it sit for a few minutes before attempting to loosen the fittings with a wrench.
Read more: How To Tighten Plumbing Fittings
Step 3: Using Heat
If the plumbing fittings are still stubborn and difficult to loosen after applying WD-40, using heat can be an effective method to expand the metal and make the fittings more pliable. However, it’s important to exercise caution when using heat near plumbing components to prevent any accidents or damage. Follow these steps to safely use heat to loosen plumbing fittings:
- Determine the Proper Heat Source: Depending on the size of the fittings and the area you’re working in, choose a suitable heat source. For smaller fittings, a hairdryer with a high heat setting may be sufficient. Larger fittings may require a blowtorch or heat gun. Ensure that you have the appropriate equipment for the job.
- Direct the Heat: Aim the heat source directly at the plumbing fittings. Move the heat source in a back-and-forth motion to evenly distribute the heat across the fittings. Be mindful of not overheating any surrounding components or materials.
- Apply Gradual Heat: Begin by applying gentle heat to the fittings. Gradually increase the intensity of the heat if necessary. The goal is to expand the metal slightly, not to warp or damage it. Take your time and monitor the temperature carefully.
- Use Protective Gear: When working with heat, it’s crucial to protect yourself. Wear protective gloves to shield your hands from the heat and use a heat-resistant mat or cloth to handle hot tools or fittings.
- Attempt to Loosen the Fittings: After heating the fittings, immediately attempt to loosen them using the adjustable wrench. The expansion caused by the heat should make it easier to turn the fittings. If the fittings are still tight, repeat the heating process and try again.
By utilizing heat, you can effectively loosen stubborn plumbing fittings that are resistant to other methods. However, always prioritize safety and proceed with caution when using heat near plumbing components. Once you’ve successfully loosened the fittings, you can move on to the next step: utilizing a wrench.
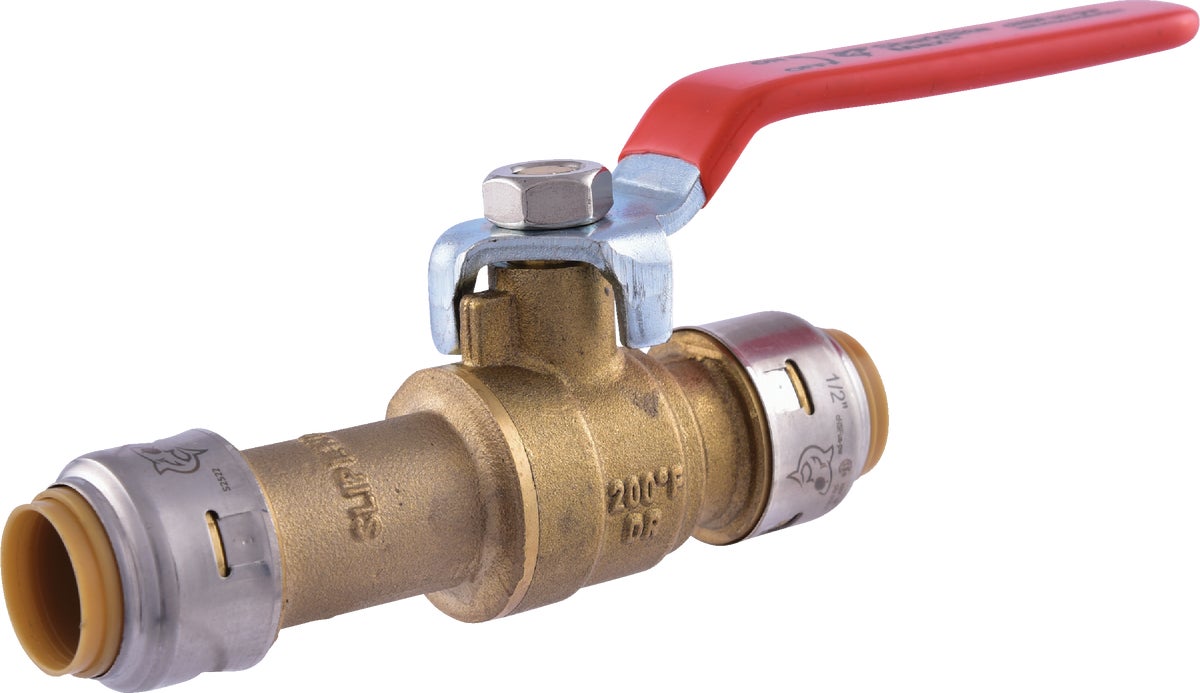
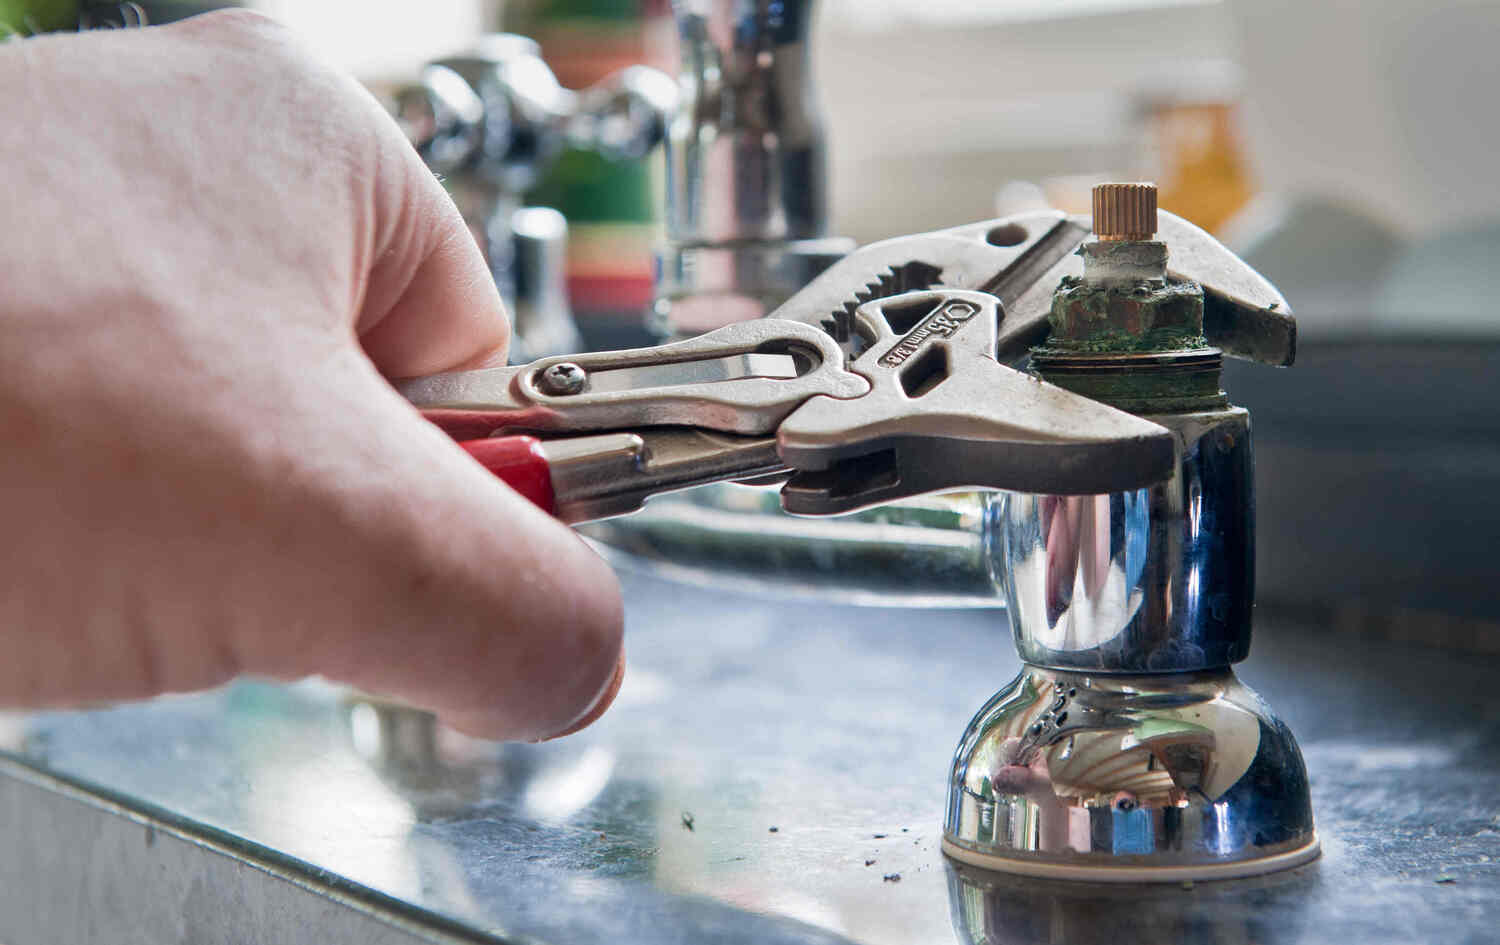
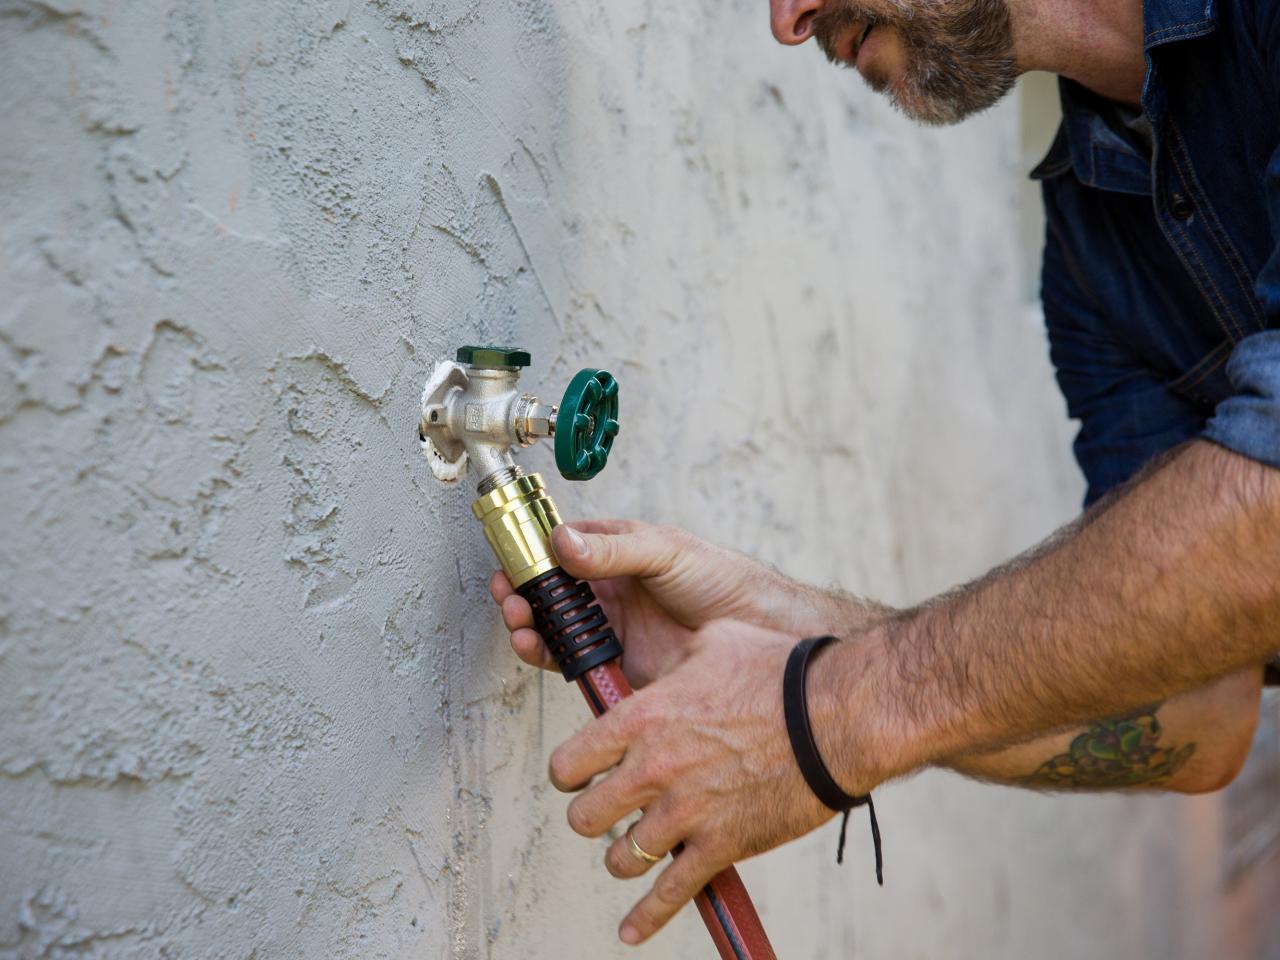
Step 4: Utilizing a Wrench
Once you have applied lubricant and/or heat to the plumbing fittings, it’s time to utilize an adjustable wrench to loosen them further. This step allows you to leverage the mechanical advantage of the wrench to apply torque and break the grip of the fittings. Follow these steps to effectively use a wrench:
- Select the Correct Size Wrench: Choose an adjustable wrench that fits snugly around the fittings. A wrench that is too small may slip and cause damage, while a wrench that is too large may not provide enough leverage. Adjust the width of the wrench jaws to fit the fittings securely.
- Position the Wrench: Place the jaws of the wrench around the flat sides of the fitting that you want to loosen. Ensure a firm grip without causing any damage to the fitting or surrounding components.
- Apply Steady Pressure: With the wrench in position, apply steady pressure in the direction you want to turn the fitting. If it doesn’t budge, you can tap the end of the wrench gently with a hammer to provide additional force.
- Turn the Fitting: Once you have a secure grip on the fitting and sufficient pressure applied, turn the wrench in a counter-clockwise direction to loosen the fitting. If necessary, use short bursts of force rather than continuous pressure to avoid shock loading the fitting.
- Repeat if Required: If the fitting is still tight, repeat the process of applying lubricant, heat, and using the wrench. Sometimes multiple attempts are needed to break the grip of stubborn fittings.
By utilizing an adjustable wrench and applying deliberate torque, you can effectively loosen plumbing fittings that were initially difficult to move. Remember to exercise patience and avoid excessive force to prevent damage to the fittings or other components. Once the fittings are loosened, you can proceed to the next step: installing new fittings if necessary.
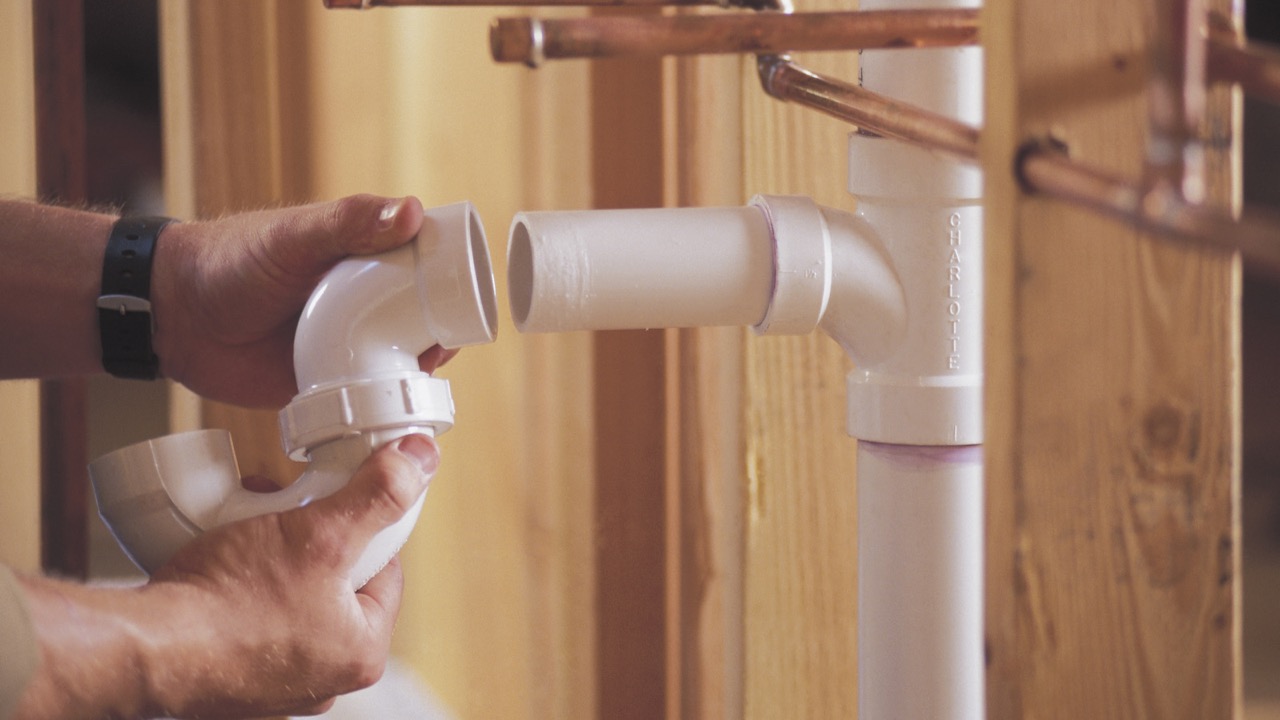
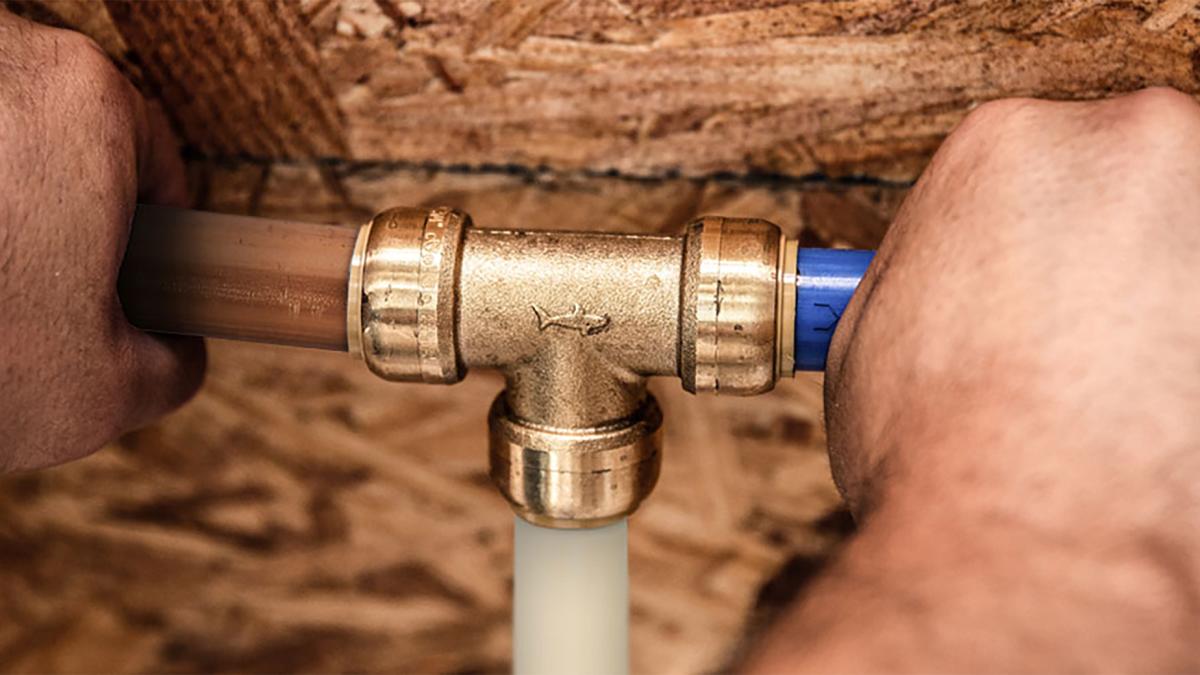
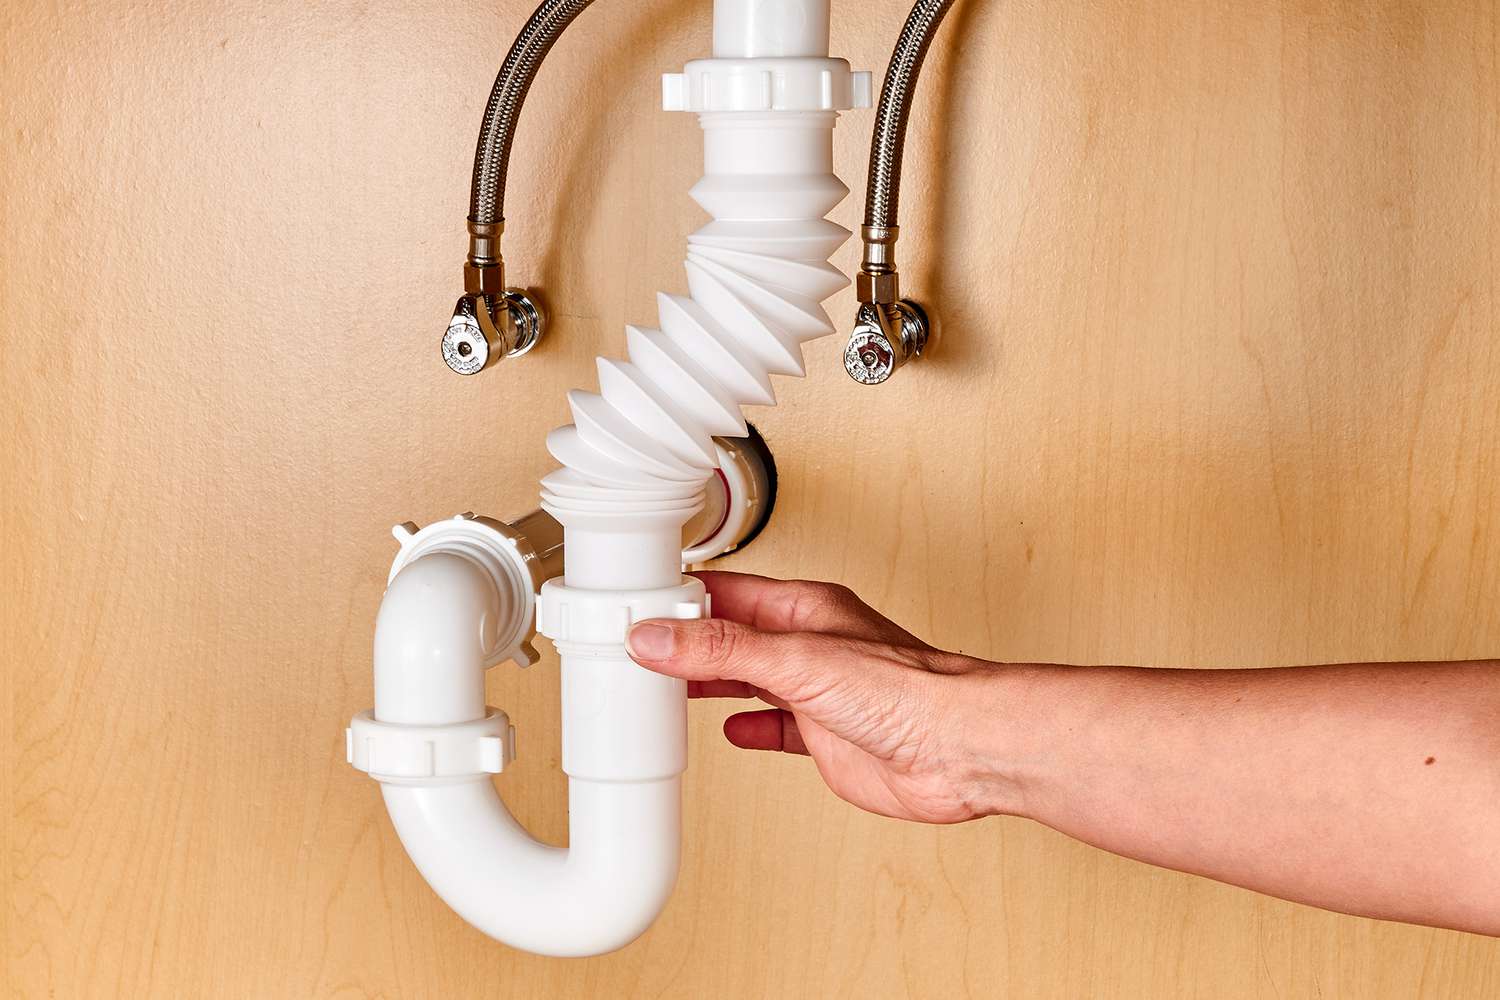
Step 5: Installing New Fittings
After successfully loosening the plumbing fittings, you may need to replace them with new ones. This step is essential for repairs or upgrades in your plumbing system. Follow these steps to install new fittings:
- Turn Off the Water Supply: Before removing the old fittings and installing new ones, ensure that the water supply to the affected area is turned off. This will prevent any leaks or water flow during the installation process.
- Remove the Old Fittings: Use the adjustable wrench to fully remove the old fittings. Turn them counterclockwise until they are completely detached from the pipes.
- Clean the Pipe Ends: Once the old fittings are removed, use a cloth or brush to clean the pipe ends. Remove any debris, old sealant, or corrosion to ensure a clean surface for the new fittings to be installed.
- Apply Teflon Tape or Pipe Compound: To ensure a watertight seal, apply Teflon tape or pipe compound to the threaded ends of the pipes. This will prevent leaks and provide a secure connection with the new fittings.
- Install the New Fittings: Take the new fittings and thread them onto the pipe ends. Use the adjustable wrench to tighten them clockwise until they are firmly in place. Be cautious not to overtighten and risk damaging the fittings or pipes.
- Check for Leaks: Once the new fittings are installed, turn on the water supply and check for any leaks. Inspect the connections carefully and make any necessary adjustments or tightening to eliminate leaks.
By following these steps, you can install new plumbing fittings after successfully loosening the old ones. Proper installation is crucial for a functional and leak-free plumbing system. If you don’t have experience in plumbing, consider consulting a professional to ensure the fittings are installed correctly.
With the new fittings in place and any leaks addressed, you can now enjoy the benefits of a properly functioning plumbing system. Congratulate yourself on a job well done!
Conclusion
Loosening plumbing fittings can be a challenging task, but with the right techniques and tools, it becomes much more manageable. Whether you’re a DIY enthusiast or a professional plumber, these steps will guide you through the process of loosening plumbing fittings effectively.
By preparing the area, applying lubricant such as WD-40, using heat as needed, utilizing an adjustable wrench, and installing new fittings when necessary, you can ensure smooth and successful plumbing repairs or upgrades.
Remember to prioritize safety throughout the process by wearing protective gear and exercising caution when using heat or applying force. Always turn off the water supply before working on the fittings to prevent any accidents or leaks.
If you’re unsure about any step or encounter difficulties, don’t hesitate to seek guidance from a professional plumber. They have the expertise and experience to handle complex plumbing tasks and ensure a proper and lasting solution.
Now that you have a comprehensive understanding of how to loosen plumbing fittings, you can confidently tackle your next plumbing project. With determination and the right tools, you’ll be able to successfully complete any plumbing repair or improvement that comes your way.
Happy plumbing!
Frequently Asked Questions about How To Loosen Plumbing Fittings
Was this page helpful?
At Storables.com, we guarantee accurate and reliable information. Our content, validated by Expert Board Contributors, is crafted following stringent Editorial Policies. We're committed to providing you with well-researched, expert-backed insights for all your informational needs.


0 thoughts on “How To Loosen Plumbing Fittings”