Home>Health & Lifestyle>Air Quality & Filtration>How To Fix Air Freshener Spray
Air Quality & Filtration
How To Fix Air Freshener Spray
Modified: February 21, 2024
Improve your indoor air quality with our air freshener spray. Discover how to fix common issues and enhance filtration for a healthier and fresher home.
(Many of the links in this article redirect to a specific reviewed product. Your purchase of these products through affiliate links helps to generate commission for Storables.com, at no extra cost. Learn more)
Introduction
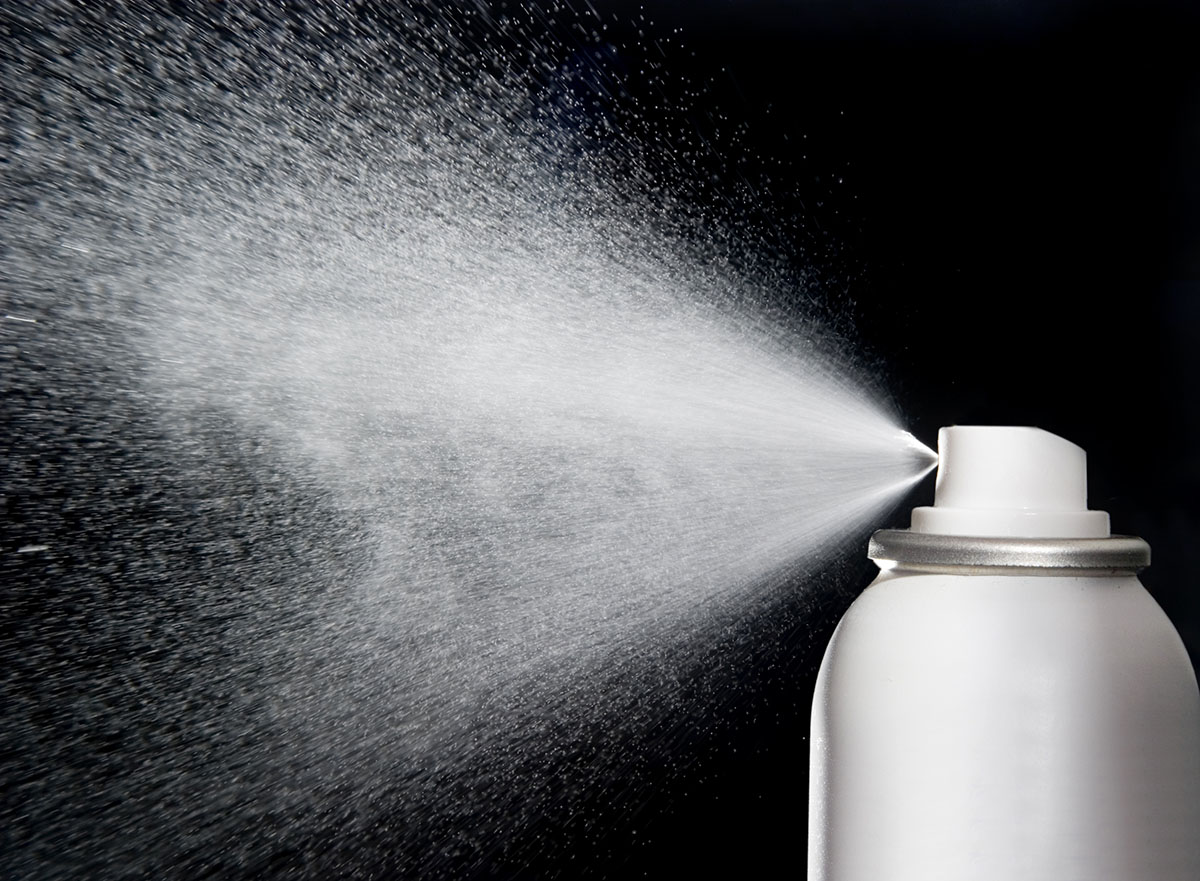
Welcome to this guide on how to fix air freshener spray! Air freshener sprays are an excellent way to eliminate odors and create a pleasant and refreshing ambiance in your home or office. However, like any other device, air freshener sprays can encounter issues over time. Perhaps the nozzle is clogged, the trigger mechanism is not working correctly, or you need to refill the spray. Whatever the problem may be, don’t worry – we’ve got you covered.
In this article, we will walk you through the step-by-step process of fixing common issues with air freshener sprays. You don’t need to be an expert to troubleshoot and repair your spray – with just a few tools and materials, you can have it working like new again. So, let’s dive in and learn how to fix your air freshener spray!
Please note: The specific steps and techniques mentioned in this guide may vary depending on the brand and model of your air freshener spray. It’s always a good idea to refer to the manufacturer’s instructions or consult a professional if you’re unsure about any aspect of the repair process.
Key Takeaways:
- Easily troubleshoot and repair common air freshener spray issues at home using simple tools and materials, saving time and money on professional repairs.
- Proper maintenance and storage practices can extend the lifespan of your air freshener spray, ensuring a consistently fresh and inviting environment in your home or office.
Common Issues with Air Freshener Spray
Before we jump into the troubleshooting and repair process, let’s familiarize ourselves with some of the common issues you may encounter with your air freshener spray:
- Clogged Nozzle: Over time, residue and debris can build up in the nozzle, causing it to become clogged. This can result in a weak or inconsistent spray.
- Trigger Mechanism Issues: The trigger mechanism, responsible for releasing the spray, can sometimes get stuck or become loose, making it difficult or impossible to spray the freshener.
- Empty or Low on Freshener: If you’ve run out of freshener or if the spray bottle is nearly empty, you won’t be able to enjoy the benefits of a properly functioning air freshener.
- Inadequate Spraying Coverage: Sometimes, the spray may not disperse evenly or provide sufficient coverage, resulting in underwhelming air freshening results.
- Leaky Spray Bottle: In some cases, the spray bottle may leak, causing liquid to drip or spray uncontrollably, leading to wastage and potential damage to surrounding surfaces.
By identifying the specific issue with your air freshener spray, you can focus your troubleshooting efforts on the appropriate areas and resolve the problem effectively.
Now that we have a better understanding of potential issues, let’s move on to the tools and materials you’ll need for the repair process.
Tools and Materials Needed
Before you begin fixing your air freshener spray, it’s essential to gather the necessary tools and materials. Here’s what you’ll need:
- Screwdriver: Depending on the design of your air freshener spray, you may need a screwdriver to access the internal components. Make sure to have a variety of screwdriver types (flathead, Phillips, etc.) on hand to accommodate different screw sizes.
- Needle or Pin: For unclogging the nozzle, a thin needle or pin is handy. This will help you remove any obstructions and restore proper spray functionality.
- Freshener Refill: If you’ve determined that your air freshener spray is low or empty on freshener, make sure to have a suitable refill available. Check the packaging or refer to the manufacturer’s instructions for the appropriate refill type for your specific air freshener model.
- Clean Cloth or Tissue: You’ll need a clean cloth or tissue to wipe away any residue or excess freshener during the repair process. This will help keep the internal components and exterior surfaces clean.
- Water: In some cases, rinsing the nozzle or certain parts of the spray bottle with water can help remove stubborn residue or unclog blockages. Make sure to use clean and preferably distilled or filtered water.
Having these tools and materials readily available will streamline the repair process and ensure that you can address the specific issues with your air freshener spray effectively.
Now that we’re prepared, let’s move on to the step-by-step process of inspecting and troubleshooting your air freshener spray.
Step 1: Inspection and Troubleshooting
The first step in fixing your air freshener spray is to inspect and troubleshoot the device. This will help identify the underlying issue and determine the appropriate course of action. Here’s what you need to do:
- Check the Freshener Level: Verify if the spray bottle is empty or running low on freshener. If it’s empty, proceed to Step 4: Refilling the Air Freshener Spray. If the level is low, ensure you have a suitable refill on hand.
- Examine the Nozzle: Inspect the nozzle for any visible blockages or debris. If you notice any obstructions, move on to Step 2: Unclogging the Nozzle.
- Test the Trigger Mechanism: Press the trigger to check if it functions properly. If the trigger is not working or gets stuck, proceed to Step 3: Checking the Trigger Mechanism.
- Observe the Spraying Coverage: Spray the freshener in a well-ventilated area and observe if the spray disperses evenly and provides adequate coverage. If not, consider adjusting the nozzle or seek further troubleshooting steps.
- Check for Leaks: Inspect the spray bottle for any leaks or excessive liquid buildup. If you notice leaks, make sure to tighten the cap or address any damaged components.
By carefully inspecting and troubleshooting your air freshener spray, you’ll be able to identify the specific issue and determine the appropriate steps to fix it. Now, let’s move on to Step 2: Unclogging the Nozzle.
Step 2: Unclogging the Nozzle
A clogged nozzle is a common issue that can affect the performance of your air freshener spray. To clear the blockage and restore proper functionality, follow these steps:
- Remove the Nozzle Cap: Start by removing the cap covering the nozzle. This will give you better access to the clogged area.
- Inspect the Nozzle: Use a needle or pin to carefully examine the nozzle for any visible debris or blockages. Gently poke through the clogged area to dislodge and remove any obstructions.
- Rinse the Nozzle: If the blockage is stubborn, you can rinse the nozzle with water. Hold the nozzle under a faucet and allow water to flow through it, flushing out any remaining debris. Alternatively, you can soak the nozzle in a small cup of water for a few minutes to dissolve the clog.
- Dry and Reassemble: After clearing the nozzle, make sure to dry it thoroughly using a clean cloth or tissue. Reassemble the nozzle cap, ensuring it fits securely.
Once you’ve completed these steps, test the spray by pressing the trigger. The unclogged nozzle should deliver a strong and consistent spray. If you continue to experience issues, proceed to Step 3: Checking the Trigger Mechanism.
Now that you’ve successfully unclogged the nozzle, let’s move on to troubleshooting the trigger mechanism in Step 3.
Check the nozzle for clogs and clean it with warm water. If the spray is still not working, try replacing the nozzle or the entire spray mechanism.
Read more: How To Make Air Freshener Spray Last Longer
Step 3: Checking the Trigger Mechanism
If your air freshener spray’s trigger mechanism is not functioning correctly, it can prevent you from effectively spraying the freshener. Follow these steps to troubleshoot and fix any issues with the trigger mechanism:
- Remove the Spray Mechanism: Depending on the design of your air freshener spray, you may need to unscrew or detach the spray mechanism from the bottle. Refer to the manufacturer’s instructions to ensure you perform this step correctly.
- Inspect the Trigger and Sprayer: Examine the trigger and sprayer assembly for any visible damage, loose parts, or misalignment. Look out for broken pieces, disconnected components, or excessive wear and tear.
- Ensure Proper Alignment: If the trigger or sprayer appears misaligned, gently adjust it to its correct position. Make sure all components fit snugly together without any obstructions.
- Lubricate Moving Parts: Apply a small amount of lubricant, such as silicone spray, to the moving parts of the trigger mechanism. This can help reduce friction and improve the trigger’s smooth operation.
- Reassemble and Test: After inspecting and making any necessary adjustments, reassemble the trigger mechanism onto the spray bottle. Press the trigger to check if it functions smoothly and sprays the freshener properly.
If the trigger mechanism still does not function correctly or if you encounter any significant damage, you may need to contact the manufacturer for a replacement part or consider seeking professional assistance.
Now that you’ve checked and fixed the trigger mechanism, if necessary, we can move on to Step 4: Refilling the Air Freshener Spray.
Step 4: Refilling the Air Freshener Spray
If you’ve determined that your air freshener spray is low on freshener or completely empty, it’s time to refill it. Follow these steps to refill your spray bottle:
- Choose the Right Refill: Refer to the manufacturer’s instructions or the label on your air freshener spray to find out the appropriate type of refill to use. Different brands and models may have specific refill requirements.
- Remove the Spray Mechanism: Depending on the design of your spray bottle, you may need to unscrew or detach the spray mechanism from the bottle. This will allow you to access the reservoir for the refill.
- Fill the Reservoir: Carefully pour the freshener refill into the reservoir of the spray bottle. Pay attention to any fill level indicators or markings to avoid overfilling.
- Maintain Proper Sealing: Ensure that the spray bottle’s reservoir is sealed tightly to prevent leakage. Double-check all connections and components to make sure everything is secure.
- Reassemble and Test: Once you’ve refilled the air freshener spray, reattach the spray mechanism onto the bottle. Press the trigger to test the spray and confirm that it dispenses the freshener properly.
With these simple steps, you can easily refill your air freshener spray and continue enjoying a fresh and pleasant environment in your home or office.
Now that you’ve successfully refilled your spray bottle, let’s move on to Step 5: Proper Storage and Maintenance to ensure the longevity of your air freshener.
Step 5: Proper Storage and Maintenance
To keep your air freshener spray in excellent working condition and prolong its lifespan, it’s crucial to follow proper storage and maintenance practices. Here are some tips to help you:
- Store in a Cool, Dry Place: Store your air freshener spray in a cool and dry location away from direct sunlight and extreme temperatures. Exposure to heat or cold can potentially impact the effectiveness and quality of the freshener.
- Avoid Overexposure: While it’s tempting to continuously spray the freshener, avoid excessive use. Overexposure to the freshener may lead to strong odors or irritate sensitive individuals.
- Keep Away from Children and Pets: Ensure that the air freshener spray is stored safely out of reach of children and pets who may accidentally ingest or misuse it, leading to potential harm.
- Check Expiry Dates: If you’re using commercially packaged freshener refills, check the expiry dates to ensure their efficacy. Expired refills may not provide the desired freshness or fragrance.
- Regularly Clean the Nozzle: To prevent clogs or buildup, periodically clean the nozzle of your air freshener spray. Gently wipe it with a clean cloth or tissue, ensuring it remains clear and free from residue.
- Test and Maintain Trigger Mechanism: Periodically perform a trigger check to ensure smooth operation. If you notice any issues, promptly address them as previously outlined in Step 3.
By following these storage and maintenance practices, you can extend the lifespan of your air freshener spray and maintain its optimal functionality. Regular cleaning and proper usage will help ensure a pleasant and refreshing experience whenever you need to eliminate unwanted odors.
Congratulations! You’ve now learned how to fix air freshener spray and keep it in excellent working condition. By following the steps outlined in this guide and applying proper maintenance, you can enjoy a fresh and inviting environment in your home or office.
Remember, if you encounter significant issues or require further assistance, it’s advisable to consult the manufacturer or seek professional help.
Happy freshening!
Conclusion
Air freshener sprays are a convenient and effective way to eliminate odors and create a pleasant ambiance in your living space or workspace. However, encountering issues with your air freshener spray can be frustrating. The good news is that many common problems can be easily fixed, allowing you to continue enjoying a fresh and inviting atmosphere.
In this comprehensive guide, we’ve walked you through the step-by-step process of fixing common issues with air freshener sprays. From unclogging the nozzle to checking the trigger mechanism, refilling the freshener, and implementing proper storage and maintenance practices, you now have the knowledge and tools to troubleshoot and repair your spray.
Remember, it’s essential to inspect and troubleshoot your air freshener spray to identify the specific issue before proceeding with the appropriate fix. Always refer to the manufacturer’s instructions or seek professional assistance if you’re unsure or encounter complex issues.
By following the tips outlined in this guide, you can ensure that your air freshener spray remains in excellent working condition, providing you with a fresh and pleasant environment whenever you need it.
Thank you for taking the time to read this guide on how to fix air freshener spray. May your living and working spaces always be filled with delightful scents and inviting atmospheres!
Frequently Asked Questions about How To Fix Air Freshener Spray
Was this page helpful?
At Storables.com, we guarantee accurate and reliable information. Our content, validated by Expert Board Contributors, is crafted following stringent Editorial Policies. We're committed to providing you with well-researched, expert-backed insights for all your informational needs.


0 thoughts on “How To Fix Air Freshener Spray”