Home>Health & Lifestyle>Air Quality & Filtration>How To Open A Timemist Air Freshener Dispenser
Air Quality & Filtration
How To Open A Timemist Air Freshener Dispenser
Modified: October 28, 2024
Improve your air quality and filtration with our step-by-step guide on how to open a Timemist Air Freshener Dispenser.
(Many of the links in this article redirect to a specific reviewed product. Your purchase of these products through affiliate links helps to generate commission for Storables.com, at no extra cost. Learn more)
Introduction
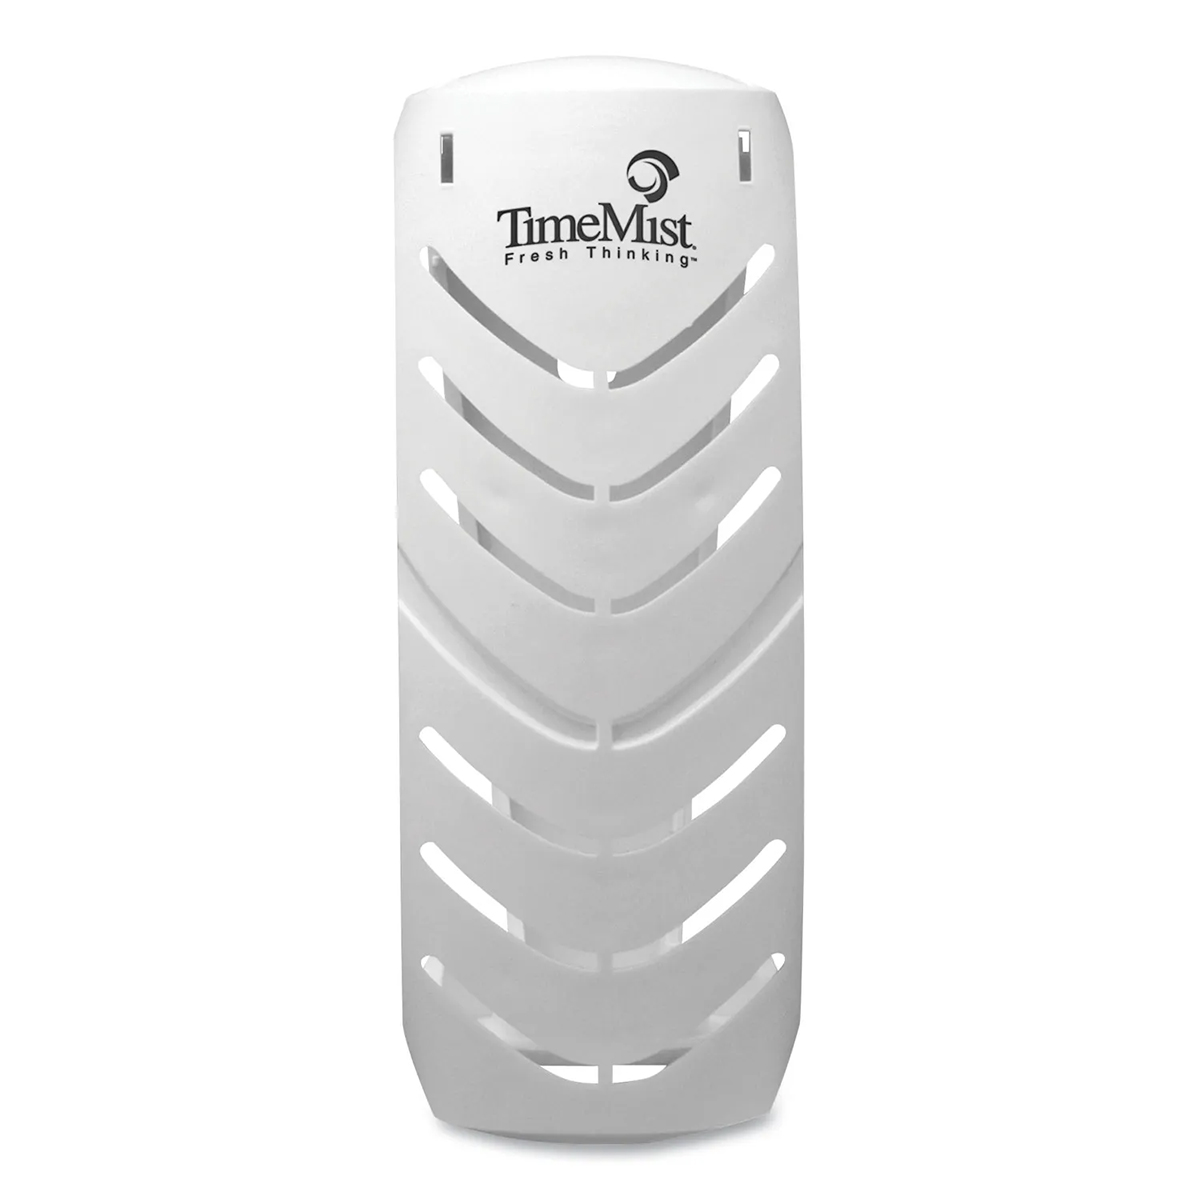
Welcome to this step-by-step guide on how to open a Timemist air freshener dispenser. If you’ve recently purchased a Timemist air freshener dispenser or are curious about how to properly open and use one, you’ve come to the right place. Timemist air freshener dispensers are designed to keep your indoor spaces smelling fresh and clean by automatically releasing bursts of pleasant fragrance at regular intervals.
One of the first steps in using a Timemist air freshener dispenser is to open it properly. While the process may seem a bit tricky at first, with the right guidance and a little practice, you will be able to open your dispenser with ease. In this guide, we will walk you through the steps to successfully open your Timemist air freshener dispenser and start enjoying a delightful and refreshing atmosphere in your home or office.
Before we dive into the step-by-step instructions, it’s important to gather the necessary materials. You will need the Timemist air freshener dispenser itself, an air freshener cartridge, and any additional accessories that may have come with the dispenser. Ensure that you have all these items on hand before proceeding to the next steps.
Key Takeaways:
- Easily open and set up your Timemist air freshener dispenser by following simple steps, from gathering materials to testing functionality. Enjoy a consistently delightful fragrance in your home or office.
- Create a pleasant and inviting atmosphere with a Timemist air freshener dispenser. Follow the step-by-step guide to open, prepare, and enjoy the automatic release of refreshing scents.
Read more: How To Open A Soap Dispenser On The Wall
Step 1: Gather the necessary materials
Before opening your Timemist air freshener dispenser, it’s essential to gather all the necessary materials to ensure a smooth and hassle-free process. Here’s what you’ll need:
- The Timemist air freshener dispenser – This is the main device that will dispense the fragrance.
- An air freshener cartridge – This cartridge contains the fragrance that will be released into the air. Make sure it is compatible with your Timemist dispenser.
- Additional accessories (optional) – Some Timemist dispensers come with extra features, such as timers or programmable settings. If your dispenser has any additional accessories, gather them as well.
Once you have gathered all the necessary materials, you can proceed to the next step, where we will prepare the dispenser for use.
Step 2: Preparing the dispenser
Now that you have all the necessary materials, it’s time to prepare the Timemist air freshener dispenser for use. Follow these steps:
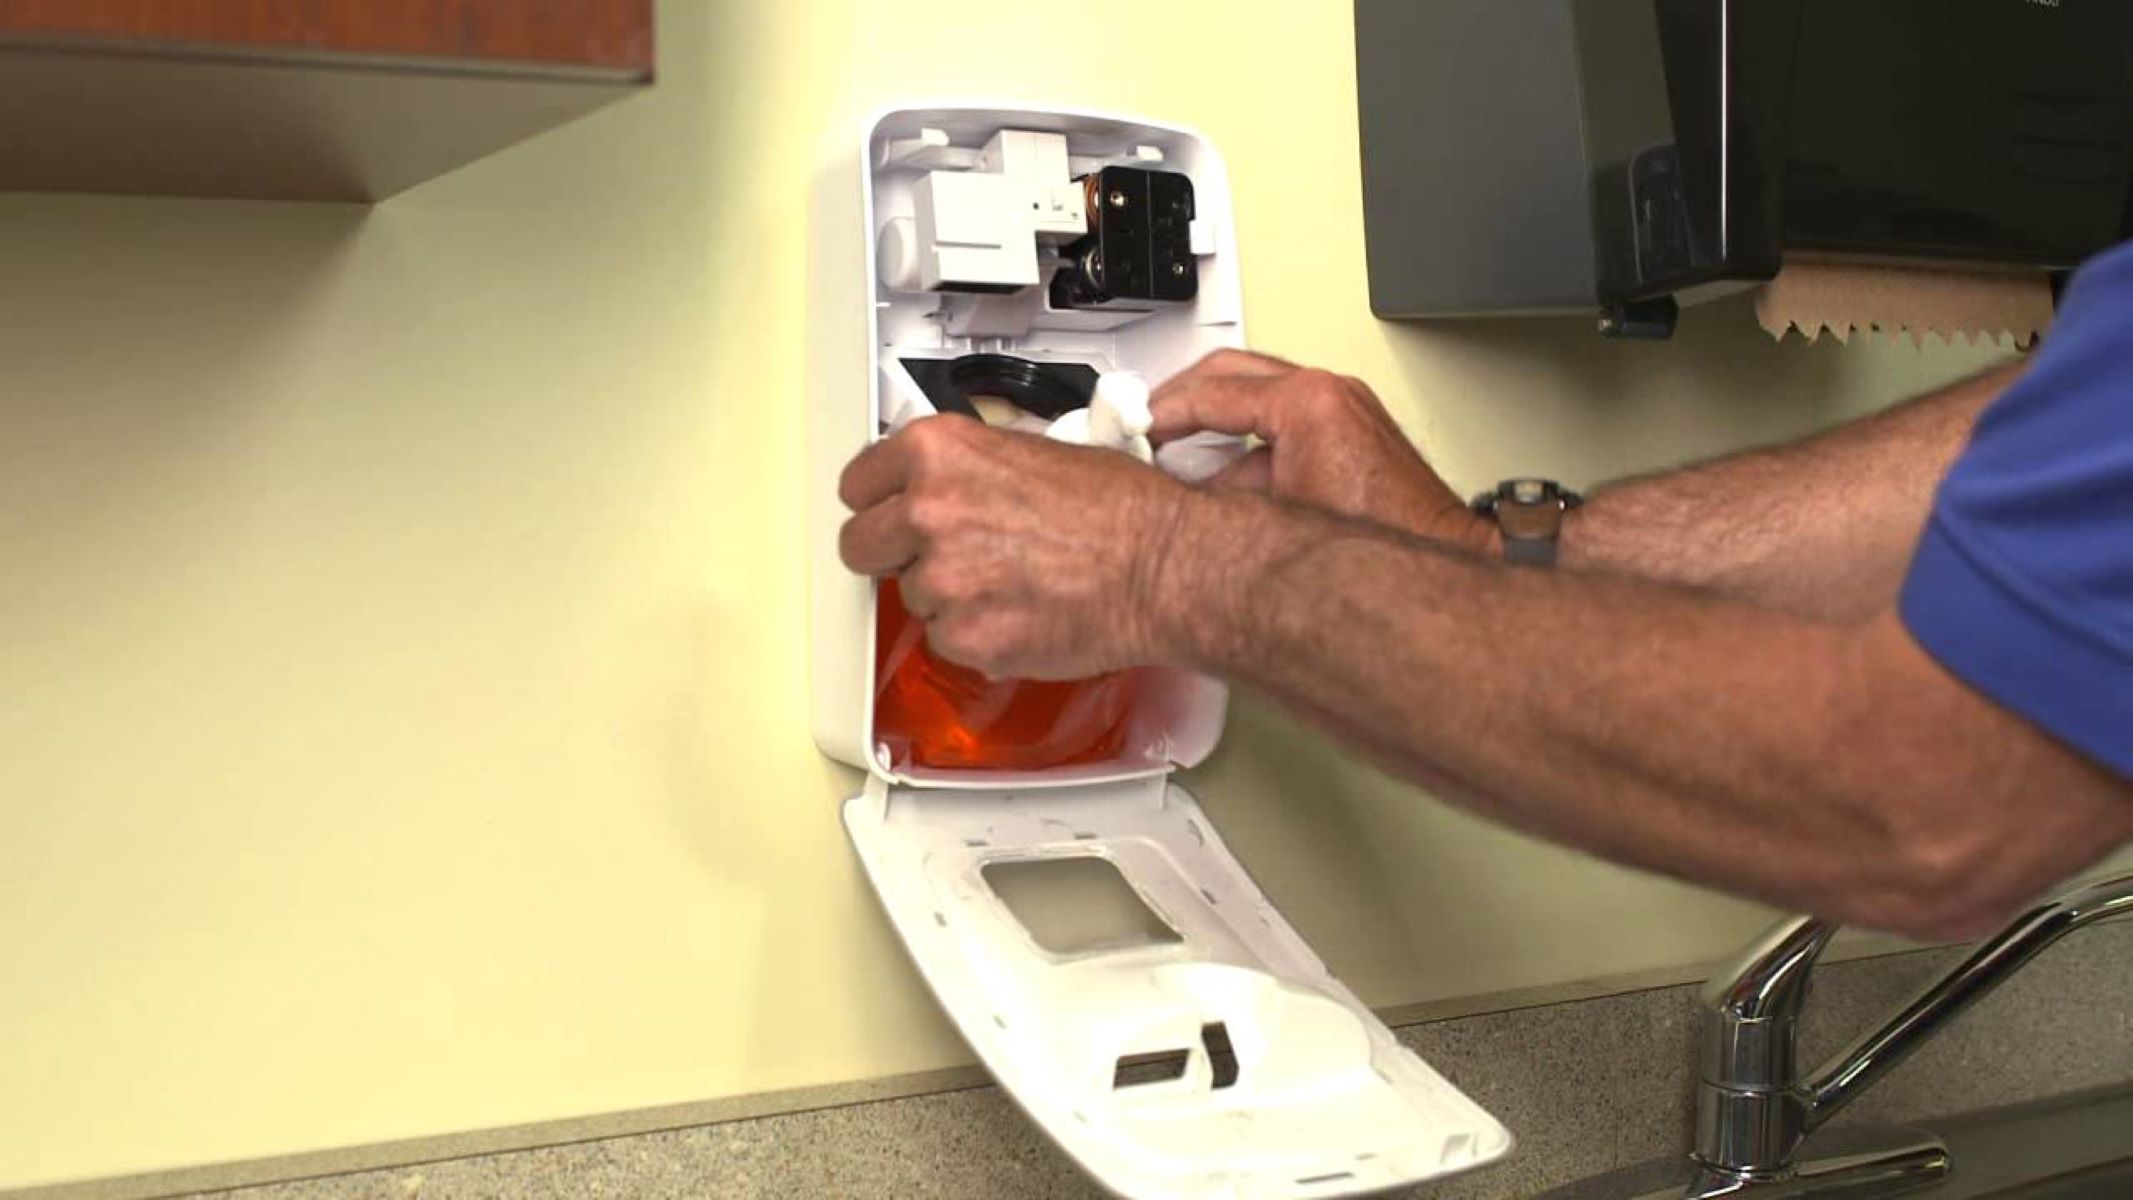
- Locate the battery compartment – Depending on the model of your Timemist dispenser, the battery compartment may be located on the bottom or the back of the device. Remove the cover to access the compartment.
- Insert the batteries – Insert the required batteries into the compartment, ensuring they are positioned correctly according to the polarity indicated. Close the battery compartment cover securely.
- Set the fragrance intensity – Some Timemist dispensers have adjustable fragrance intensity settings. If your dispenser has this feature, use the provided buttons or dials to set your desired level of fragrance.
Once you have completed these steps, your Timemist air freshener dispenser is now prepared for the next stage – inserting the air freshener cartridge.
Step 3: Inserting the air freshener cartridge
Now that you have prepared your Timemist air freshener dispenser, it’s time to insert the air freshener cartridge. Follow these simple steps:
- Locate the air freshener cartridge compartment – This compartment is usually located at the front or top of the dispenser.
- Open the cartridge compartment – Depending on the dispenser model, you may need to press a release button or slide a cover to open the compartment.
- Remove the protective seal – Before inserting the cartridge, make sure to remove any protective seals or caps from the cartridge itself.
- Insert the cartridge – Carefully insert the air freshener cartridge into the compartment, making sure it is securely in place. Follow any directional arrows or indicators on the cartridge or compartment to ensure proper alignment.
- Close the cartridge compartment – Once the cartridge is properly inserted, close the compartment securely. You should hear a click or feel it lock into place.
With the air freshener cartridge successfully inserted, your Timemist dispenser is ready for the next step – adjusting the settings.
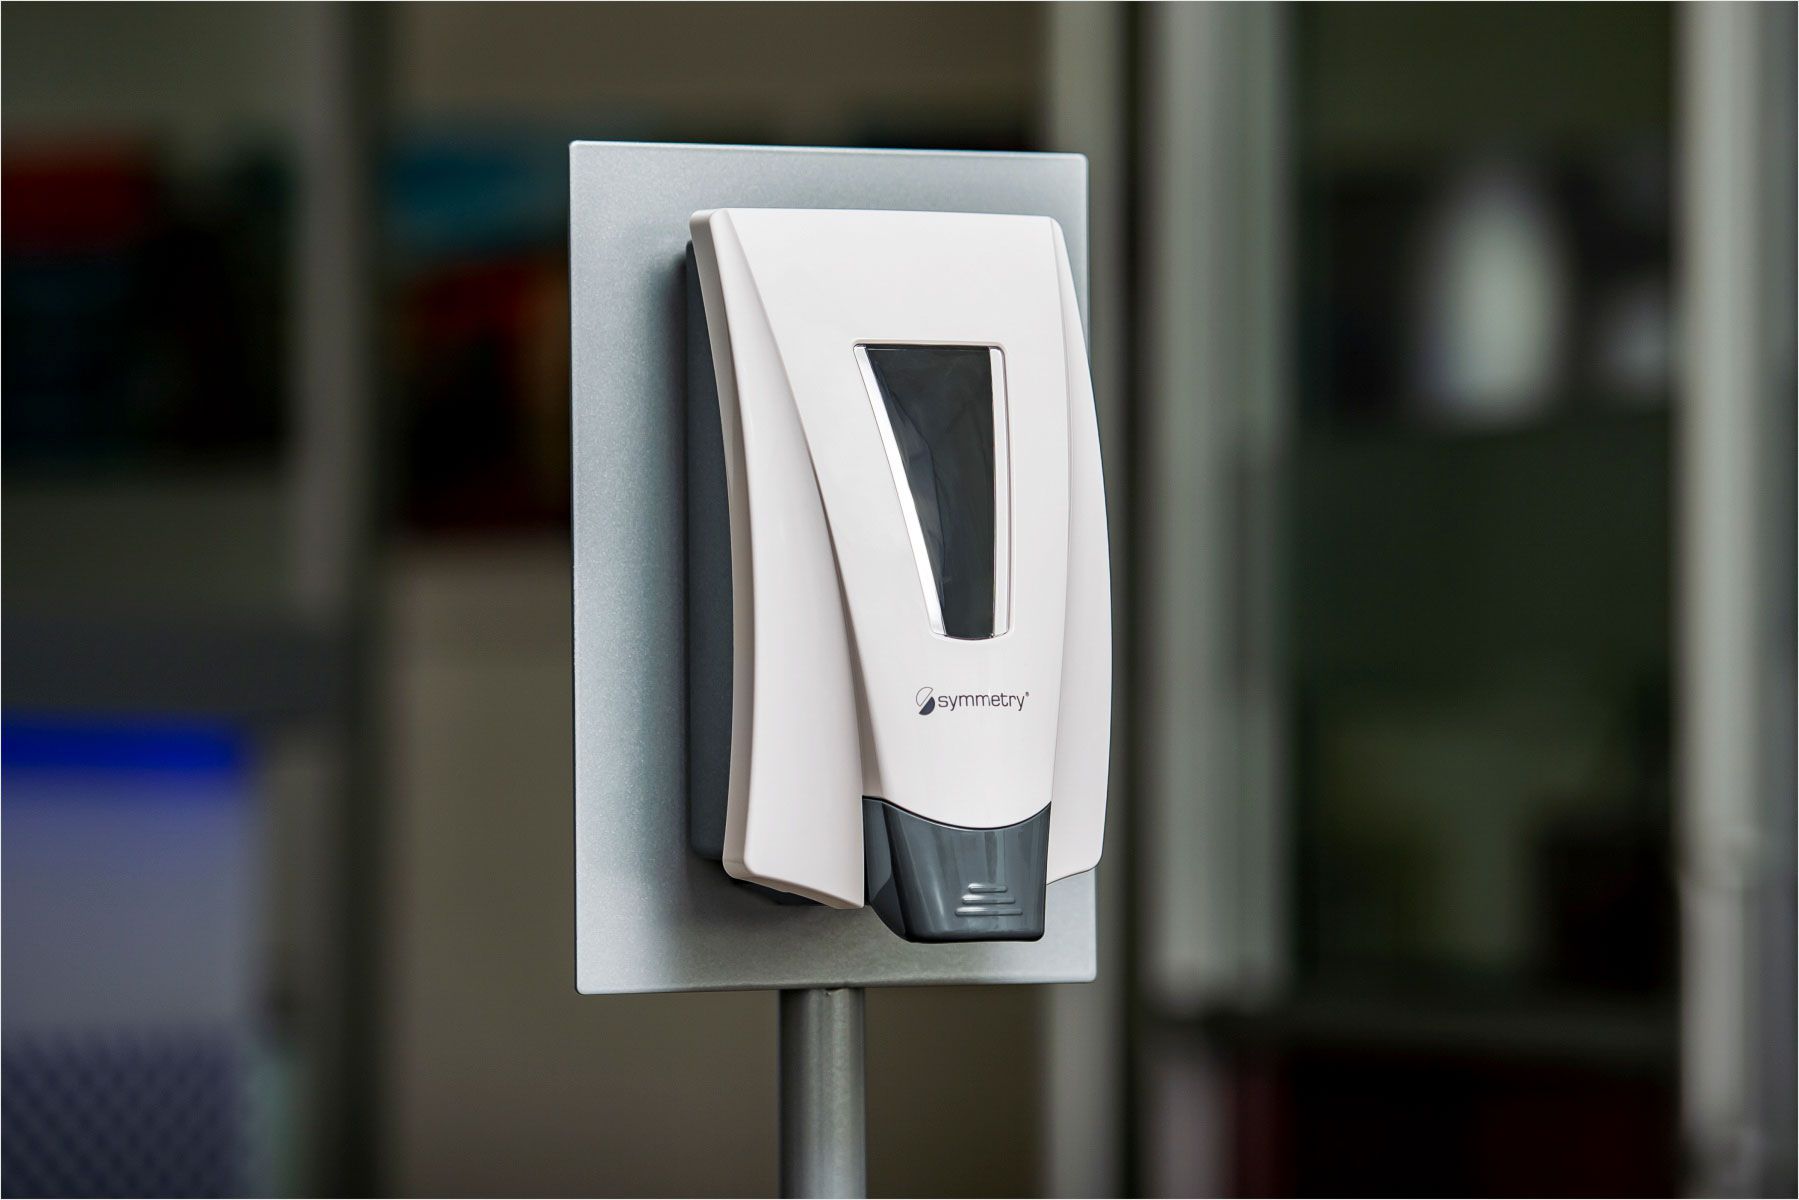
To open a Timemist air freshener dispenser, locate the small tab or button on the bottom of the unit and press or slide it to release the cover. Then, carefully lift the cover off to access the refill and batteries.
Step 4: Adjusting the settings
After inserting the air freshener cartridge, it’s time to adjust the settings on your Timemist air freshener dispenser. This step allows you to customize the frequency and duration of fragrance release. Follow these instructions to adjust the settings:
- Locate the setting controls – Depending on your Timemist dispenser model, the controls may be located on the front, top, or sides of the device. Look for buttons, switches, or dials.
- Select the desired fragrance interval – Most dispensers offer options for fragrance release intervals, such as every 7, 15, or 30 minutes. Choose the interval that suits your preferences.
- Set the duration of fragrance release – You can also adjust how long the fragrance is released each time. This can range from a few seconds to several minutes. Choose the duration that provides the desired strength of fragrance.
- Additional settings – Some Timemist dispensers may have additional settings, such as specific days of the week or specific hours for fragrance release. If your dispenser offers these options, customize them to suit your needs.
Once you have adjusted the settings to your liking, move on to the next step – mounting the dispenser.
Read more: How To Open A Toilet Paper Dispenser
Step 5: Mounting the dispenser
Now that your Timemist air freshener dispenser is ready, it’s time to mount it in the desired location. Follow these steps to ensure a secure and convenient installation:
- Select a suitable location – Choose a location that is central to the area you want to freshen up. It should be easily accessible and away from direct sunlight or heat sources.
- Clean the mounting surface – Before mounting the dispenser, clean the surface using a mild detergent or cleaning solution. Ensure it is dry and free from any dust or debris.
- Attach mounting hardware (if provided) – Some Timemist dispensers come with mounting hardware, such as screws or adhesive pads. Use the provided hardware to secure the dispenser to the wall or other surfaces, following the manufacturer’s instructions.
- Mount the dispenser – Place the dispenser onto the mounting hardware or adhesive pad, ensuring it is level and securely attached. Apply gentle pressure to ensure it is firmly in place.
Congratulations! You have successfully mounted your Timemist air freshener dispenser. Now, it’s time for the final step – testing the dispenser to ensure it is functioning properly.
Step 6: Testing the dispenser
Now that your Timemist air freshener dispenser is installed, it’s important to test it to ensure everything is working correctly. Follow these steps to test the dispenser:
- Activate the dispenser – Depending on your Timemist dispenser model, there may be a manual button or an automatic sensor to activate the fragrance release. Follow the instructions provided to activate the dispenser.
- Observe the fragrance release – Pay attention to the dispenser to see if it releases fragrance as expected. You should notice a pleasant scent being released into the air at the desired intervals and duration.
- Adjust settings if necessary – If the fragrance release is too strong or not frequent enough, you can adjust the settings accordingly to achieve your desired level of scent.
If everything is functioning properly during the test, congratulations! You can now enjoy a fresh and pleasant aroma in your space. If you encounter any issues during the test, refer to the user manual or contact the Timemist customer support for assistance.
Remember to regularly check the air freshener cartridge and replace it when empty to maintain a consistent fragrance experience. Refer to the manufacturer’s guidelines for the recommended cartridge replacement interval.
With the dispenser successfully tested and functioning, you have completed the steps to open, prepare, insert a cartridge, adjust settings, mount, and test your Timemist air freshener dispenser. Enjoy the delightful fragrance it provides and enjoy a fresh and inviting atmosphere in your home or office.
Conclusion
Congratulations on successfully opening and setting up your Timemist air freshener dispenser! By following the step-by-step guide outlined in this article, you have learned how to gather the necessary materials, prepare the dispenser, insert the air freshener cartridge, adjust the settings, mount the dispenser, and test it for proper functionality.
Having a Timemist air freshener dispenser in your home or office can greatly improve the ambiance and create a pleasant and inviting atmosphere. The automatic fragrance release ensures a consistent and refreshing scent throughout the day, leaving your space smelling clean and fresh.
Remember to regularly replace the air freshener cartridge as needed to maintain optimal freshness. Refer to the manufacturer’s guidelines for the recommended replacement schedule and enjoy a continuous fragrance experience.
With your Timemist air freshener dispenser properly set up and functioning, you can now enjoy the benefits of a delightfully scented environment. Sit back, relax, and relish the fresh and inviting aroma that fills your space.
Thank you for choosing Timemist and for following this guide. We hope you enjoy the pleasant fragrance and the enhanced ambiance in your living or working space.
Frequently Asked Questions about How To Open A Timemist Air Freshener Dispenser
Was this page helpful?
At Storables.com, we guarantee accurate and reliable information. Our content, validated by Expert Board Contributors, is crafted following stringent Editorial Policies. We're committed to providing you with well-researched, expert-backed insights for all your informational needs.


0 thoughts on “How To Open A Timemist Air Freshener Dispenser”