Articles
How To Open A Soft Soap Dispenser
Modified: August 27, 2024
Learn how to open a soft soap dispenser easily with these helpful articles.
(Many of the links in this article redirect to a specific reviewed product. Your purchase of these products through affiliate links helps to generate commission for Storables.com, at no extra cost. Learn more)
Introduction
Opening a soft soap dispenser might seem like a simple task, but it can sometimes be a bit tricky if you are unfamiliar with the process. Whether you have a new dispenser or need to refill an existing one, knowing how to properly open it will ensure a smooth and hassle-free experience.
In this article, we will guide you through the step-by-step process of opening a soft soap dispenser. By following these instructions, you will be able to access the inner workings of the dispenser and get it ready for use in no time.
So, let’s dive in and discover how to effortlessly open a soft soap dispenser!
Key Takeaways:
- Opening a soft soap dispenser involves gathering necessary materials, locating the pump, examining and removing the pump, priming it, reattaching it, and testing the dispenser for smooth soap dispensing.
- Understanding the pump type, safety features, and proper removal and reattachment techniques are essential for successfully opening and preparing a soft soap dispenser for use.
Read more: How To Open A Soap Dispenser On The Wall
Step 1: Gather Necessary Materials
Before you begin opening a soft soap dispenser, it is essential to gather all the necessary materials. By having everything prepared and within reach, you can ensure a smoother and more efficient process. Here is a list of the items you will need:
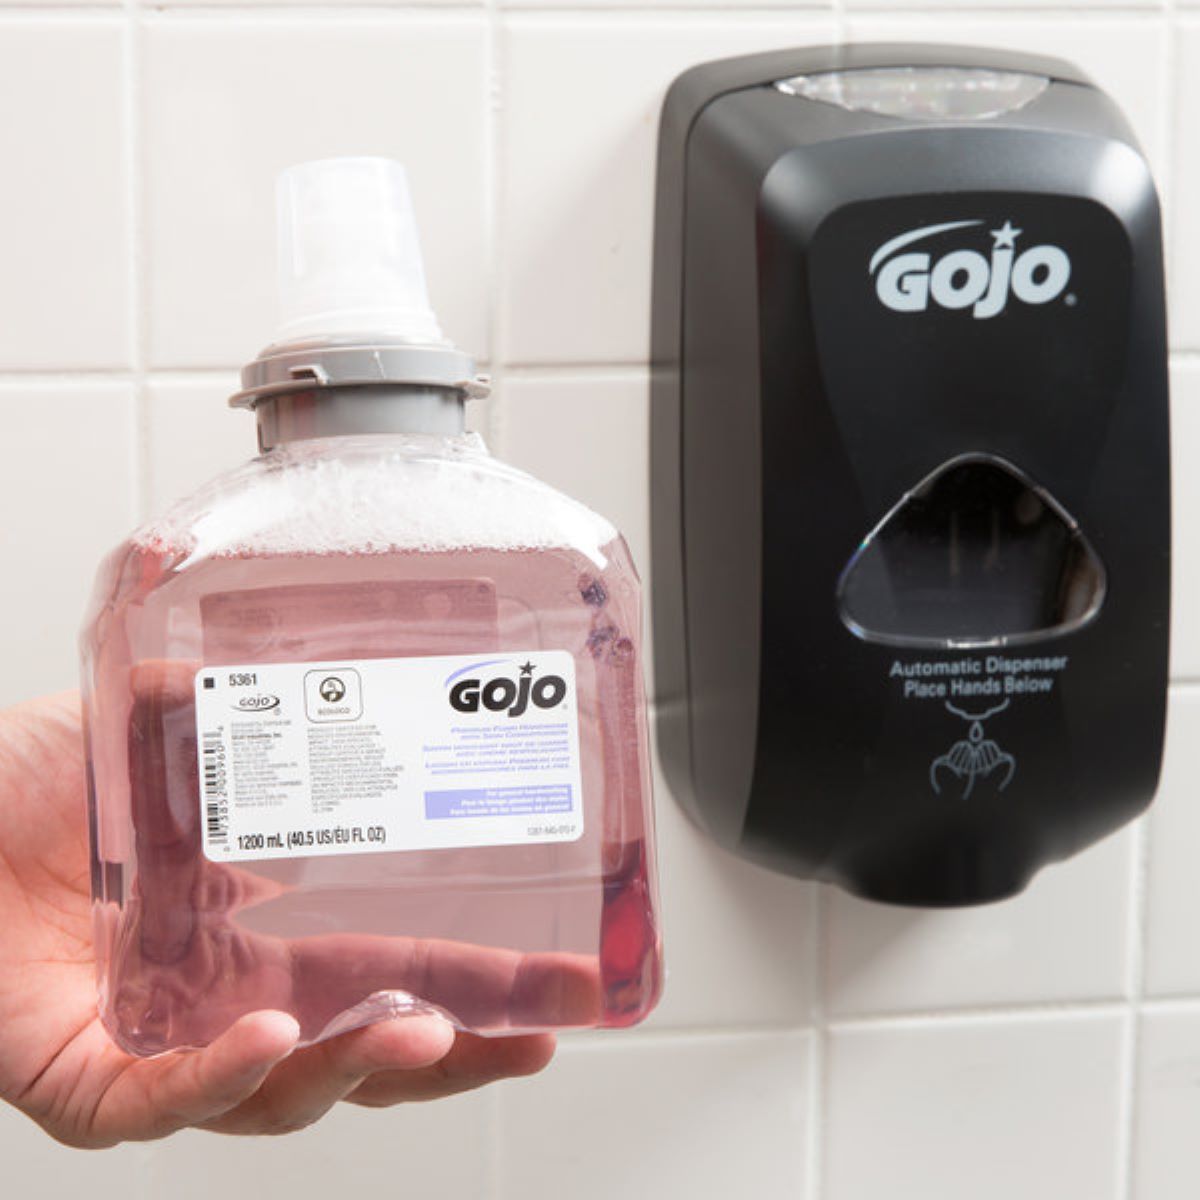
- A soft soap dispenser – This can be a new dispenser or an existing one that needs to be refilled.
- A clean and dry surface – Find a suitable area where you can comfortably work on opening the dispenser.
- A soft cloth or towel – This will come in handy to wipe any excess soap or water.
- A pair of disposable gloves – Optional, but recommended if you prefer to keep your hands clean.
- Replacement soap cartridge (if applicable) – If you are refilling the dispenser, make sure you have a compatible soap cartridge on hand.
Once you have gathered all these materials, ensure that you have enough space to work comfortably without any obstructions. It’s always a good idea to lay out the items in front of you, so you have a clear visual of everything you need.
Now that you have gathered the necessary materials, we can move on to the next step: locating the soap dispenser pump.
Step 2: Locate the Soap Dispenser Pump
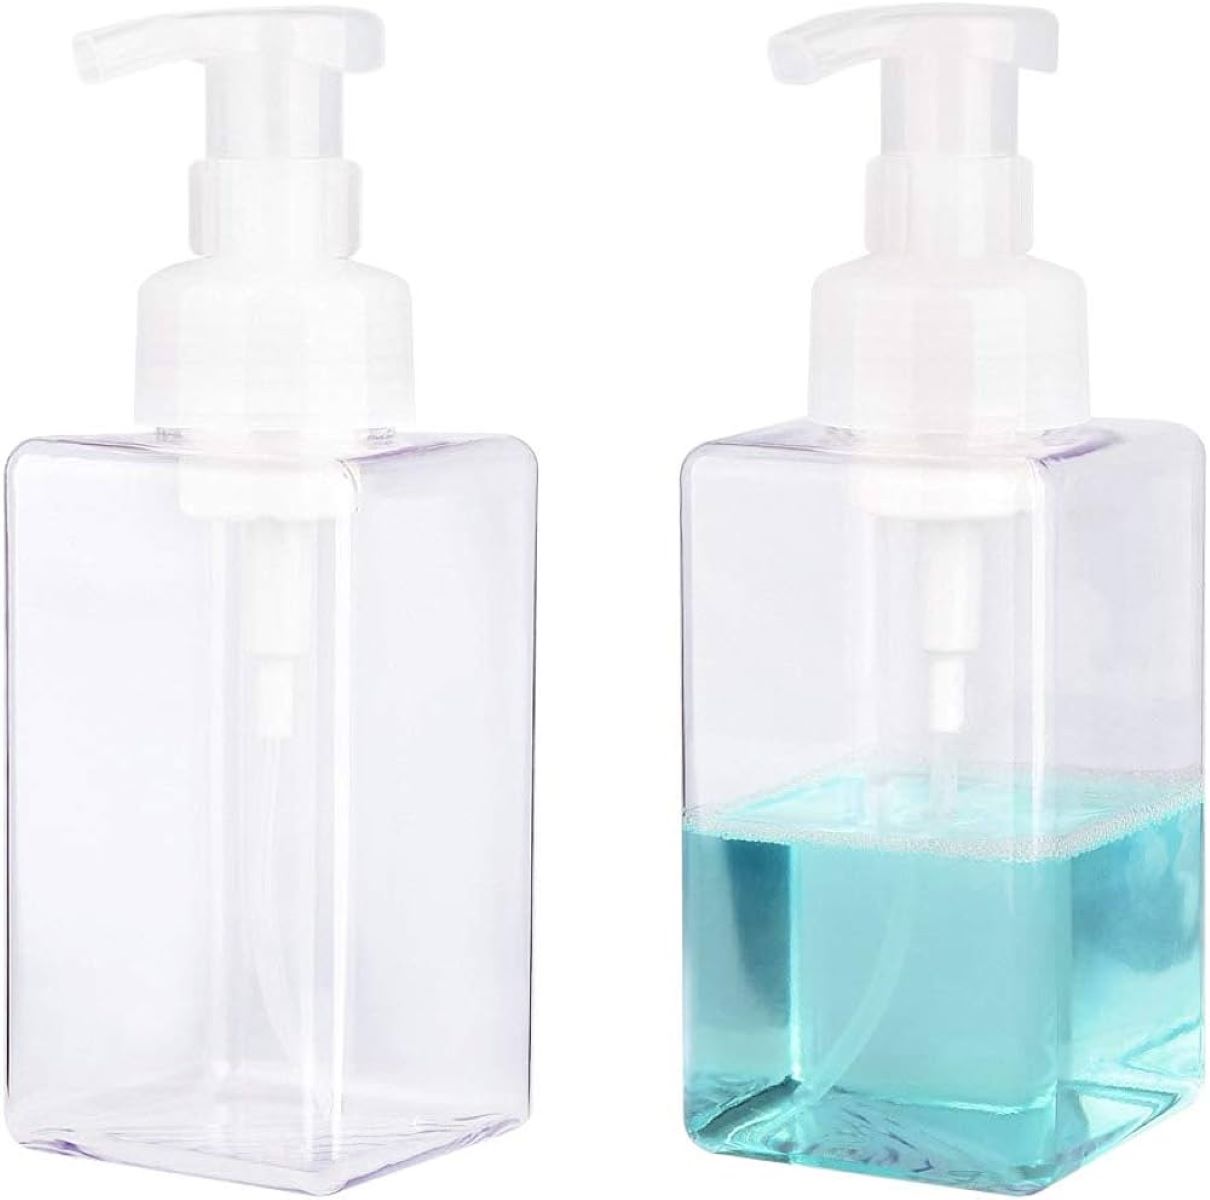
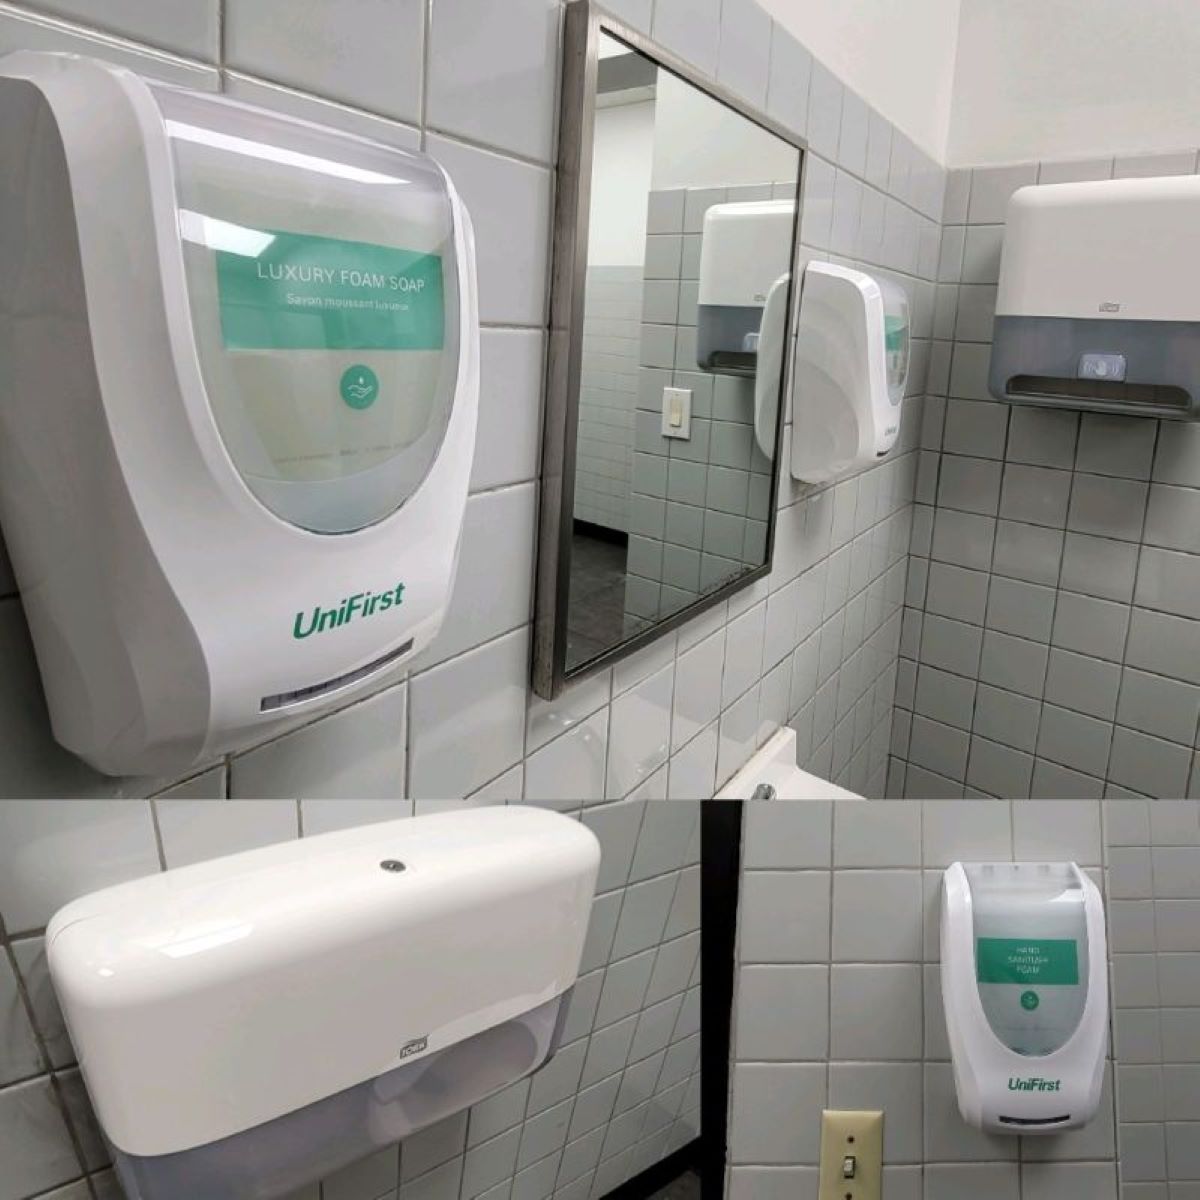
Locating the soap dispenser pump is the next crucial step in the process of opening a soft soap dispenser. The pump is responsible for dispensing the soap, and it is usually located at the top or bottom of the dispenser.
Here are some common places where you can find the soap dispenser pump:
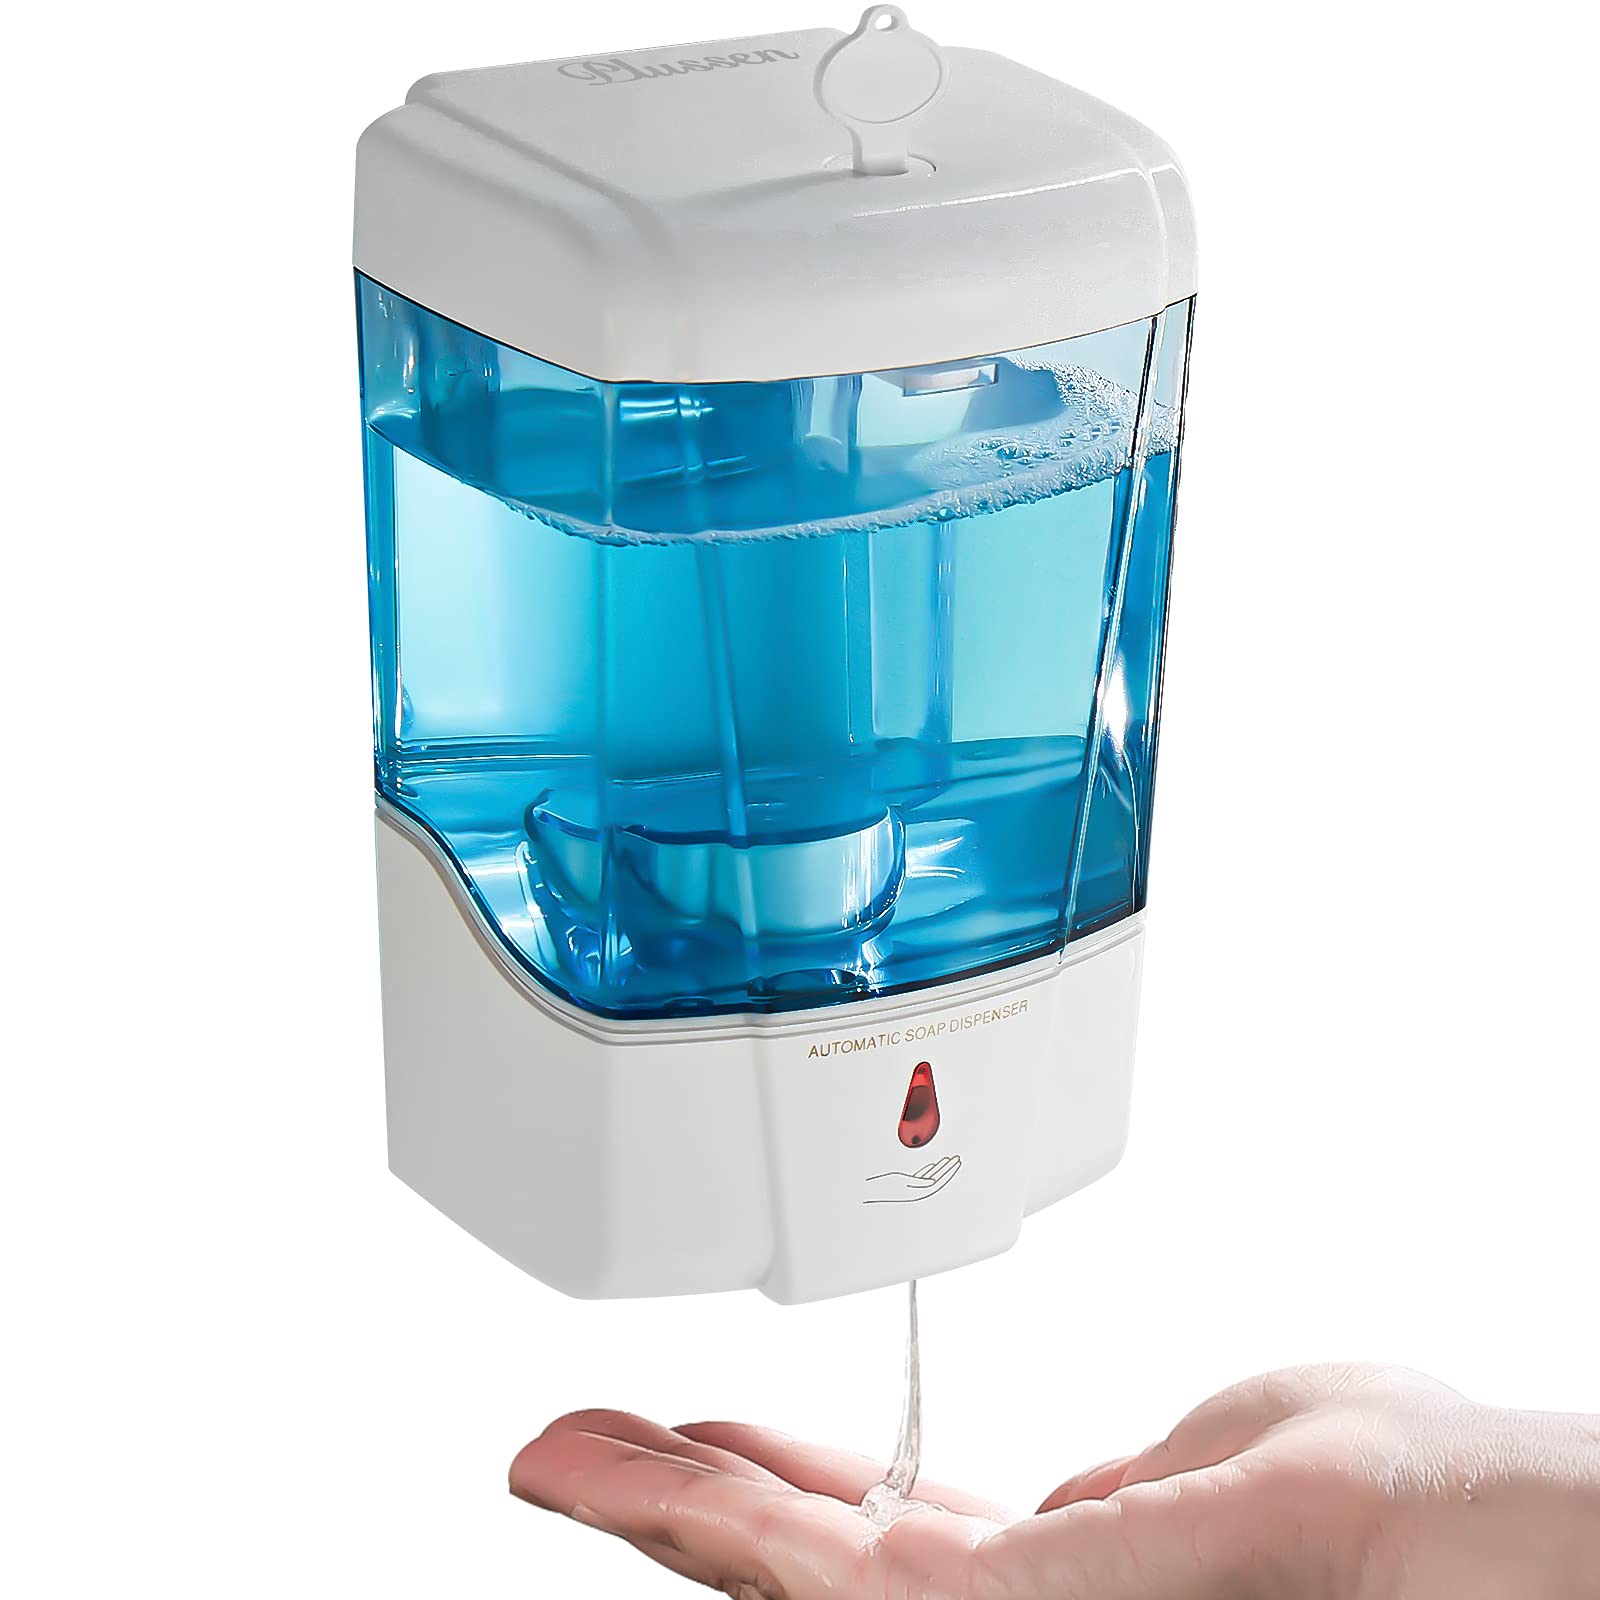
- Top of the dispenser – In many soft soap dispensers, the pump is situated on the top of the container. It could be a push-down or twist mechanism.
- Bottom of the dispenser – Some dispensers have the pump located at the bottom. You might need to turn the dispenser upside down to access the pump.
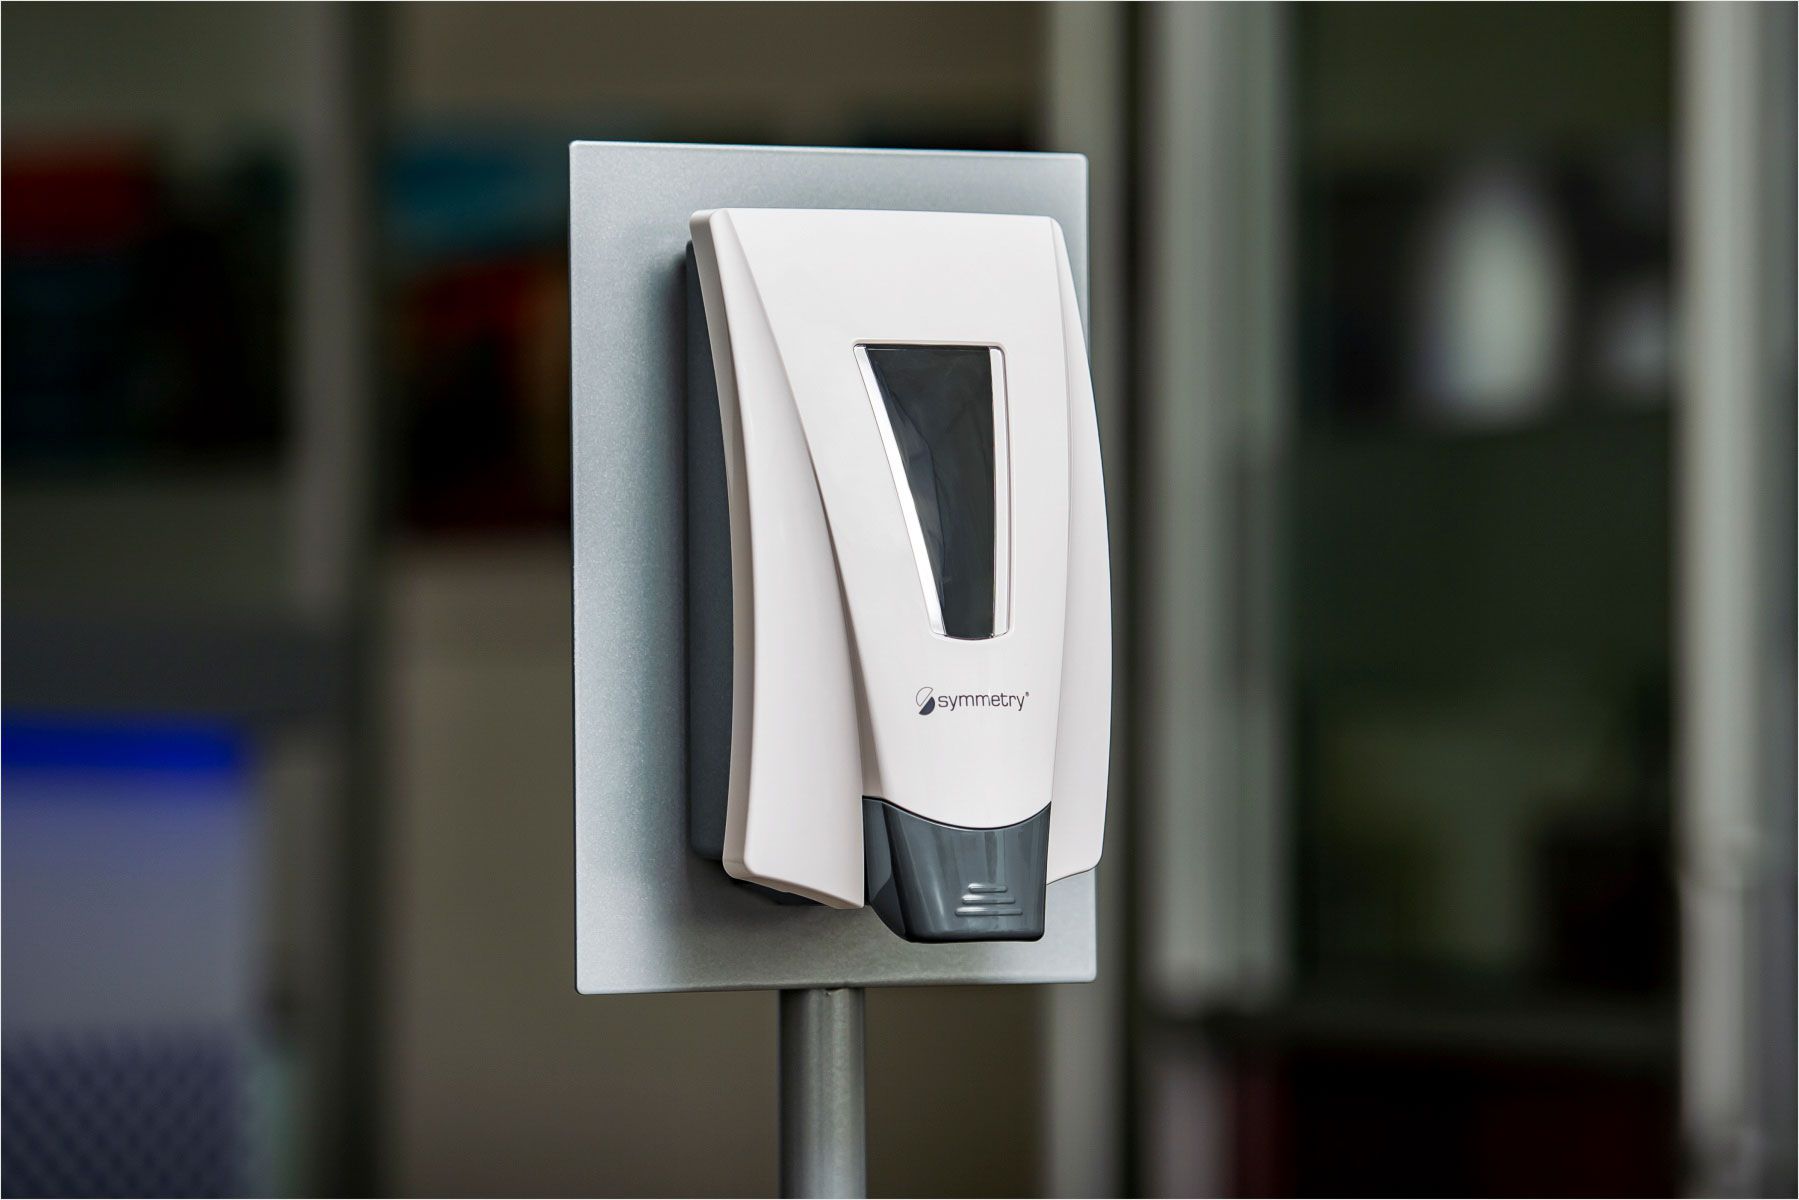
- Hidden compartment – In certain models, the soap dispenser pump is concealed within a hidden compartment. Look for any buttons, levers, or locks that may reveal access to the pump.
If you are unsure about the location of the soap dispenser pump, refer to the manufacturer’s instructions or inspect the dispenser for any markings or indications.
Once you have identified the location of the pump, you are ready to move on to the next step: examining the dispenser pump.
Step 3: Examine the Dispenser Pump
After locating the soap dispenser pump, the next step is to carefully examine it. Understanding how the pump operates will help you in successfully opening the soft soap dispenser.
Here are some key points to consider while examining the dispenser pump:
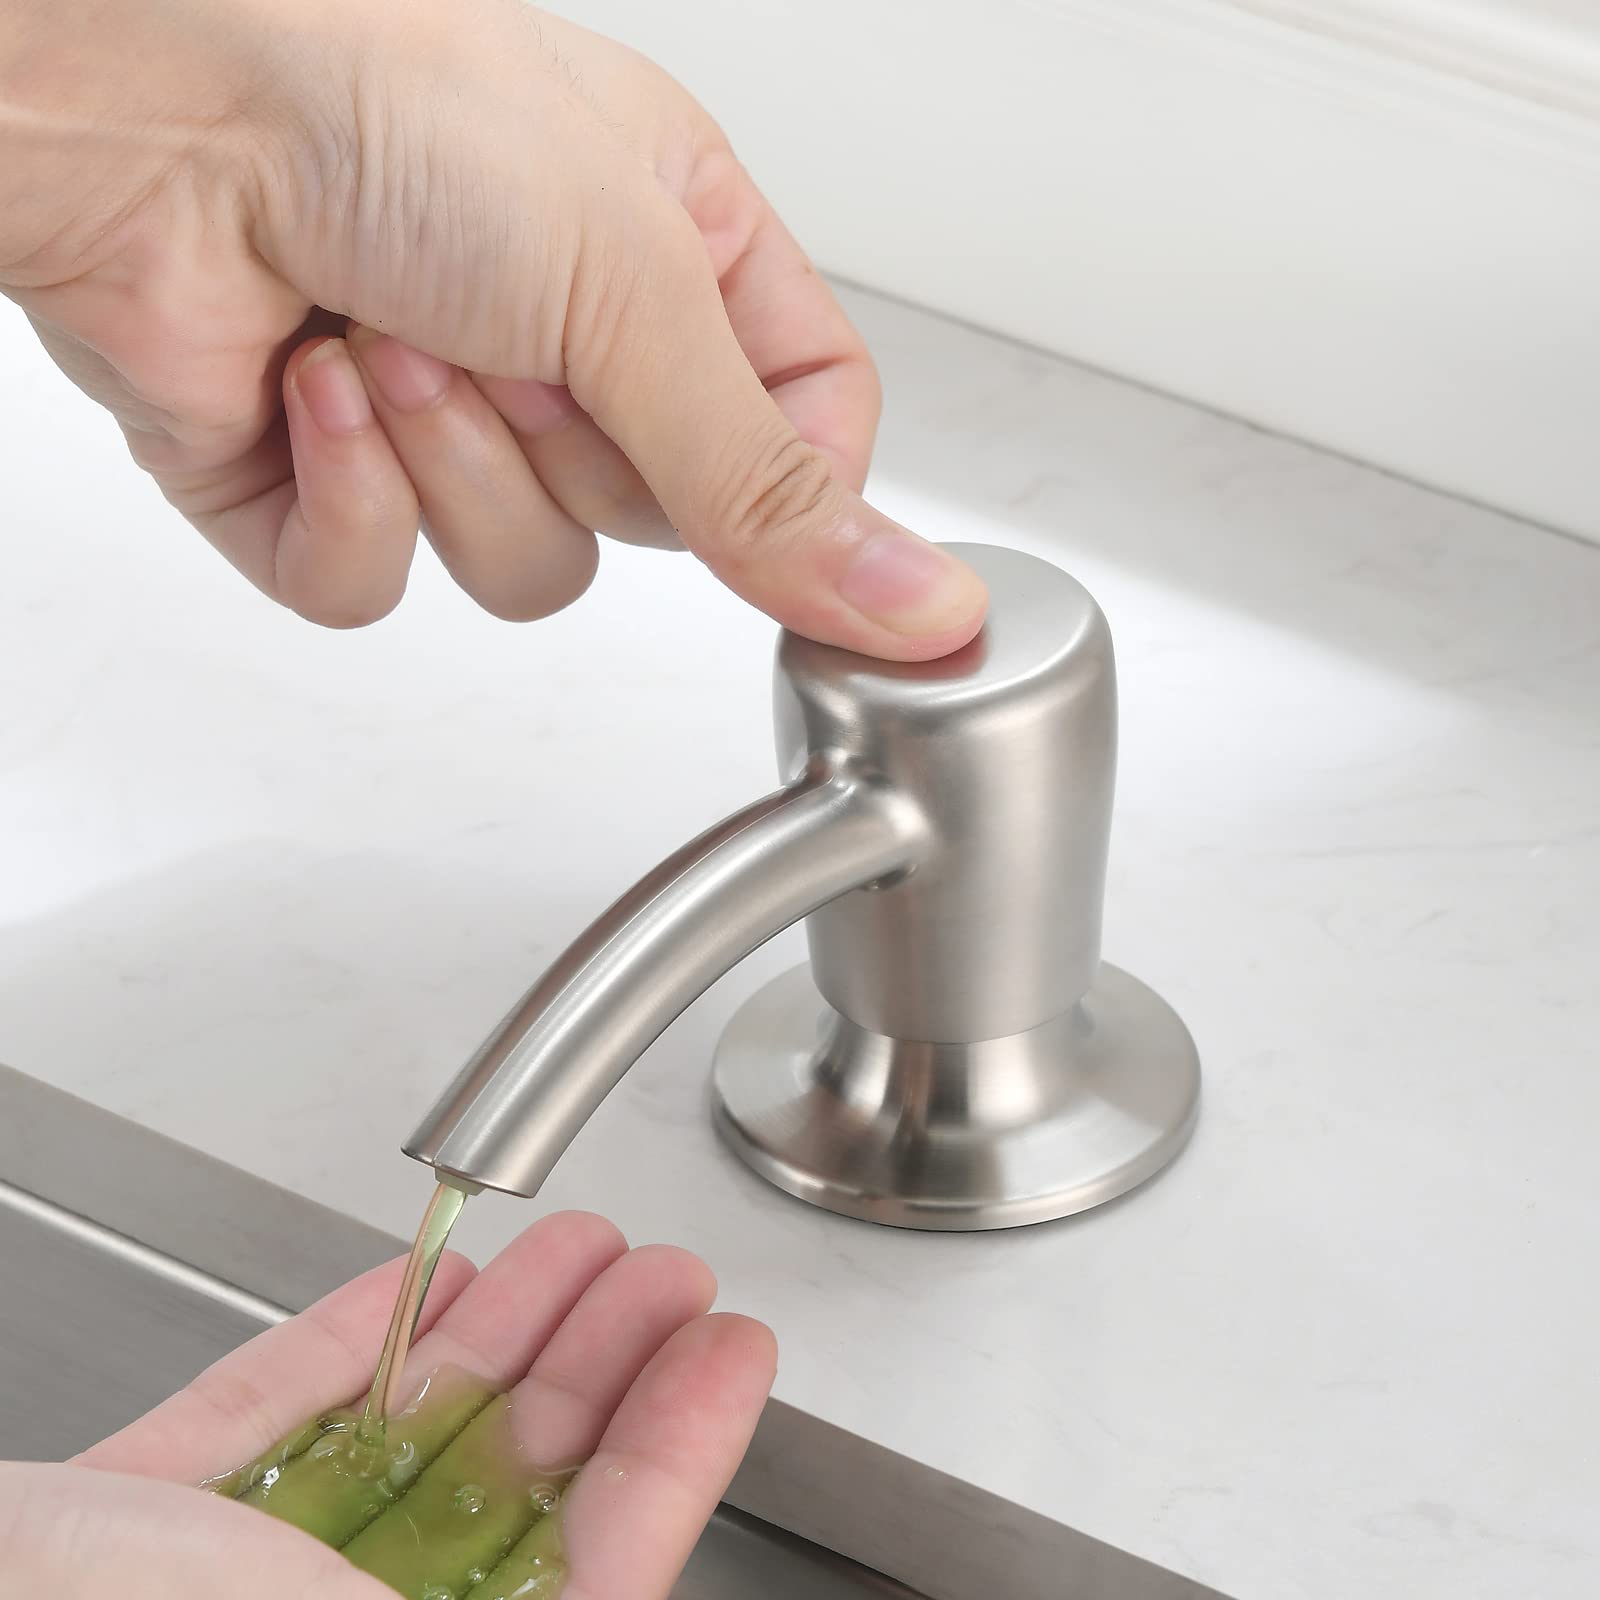
- Identify the pump type – Soap dispenser pumps come in various types, including push-down, twist, or pull mechanisms. Take note of the specific type of pump you have to determine the correct method for opening it.
- Inspect for any locks or safety features – Some dispenser pumps might have built-in locks or safety features to prevent accidental opening. Look for any buttons, sliders, or markings that indicate a lock and figure out how to disengage it.
- Check for any obstructions – Sometimes, the pump might get blocked or clogged due to dried soap residue. Look for any visible obstructions and gently clean or remove them before proceeding.
- Ensure the pump is in the closed position – Before attempting to open the dispenser, check that the pump is in the closed position. This will prevent any accidental spills or leaks during the opening process.
By thoroughly examining the dispenser pump, you will gain a better understanding of its functionality and be better prepared to open it. Once you have completed this step, you can move on to the next one: removing the dispenser pump.
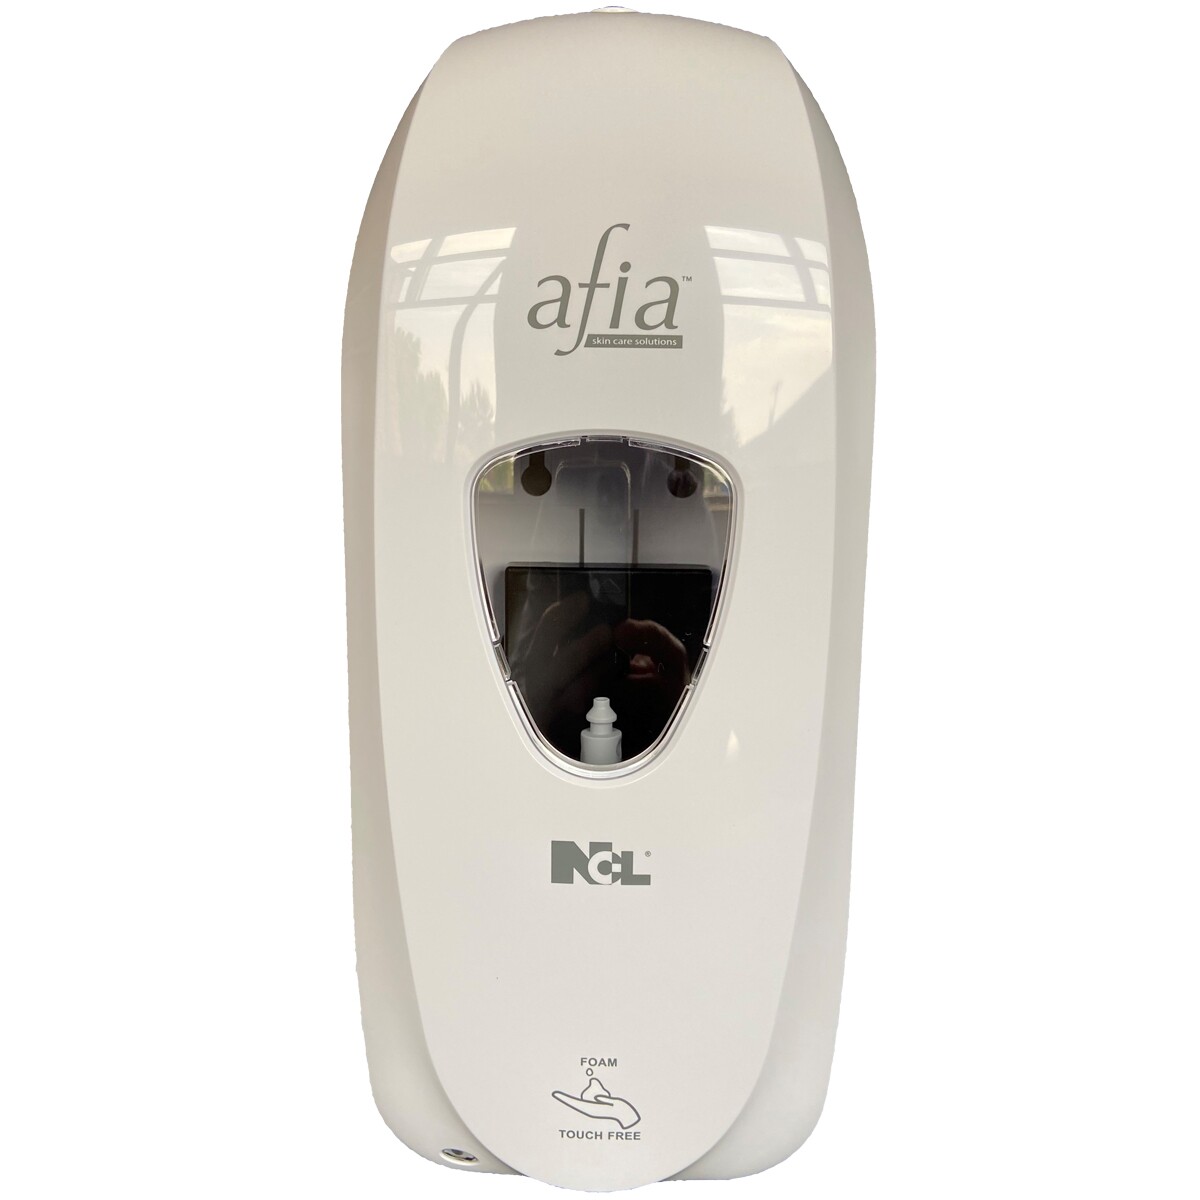
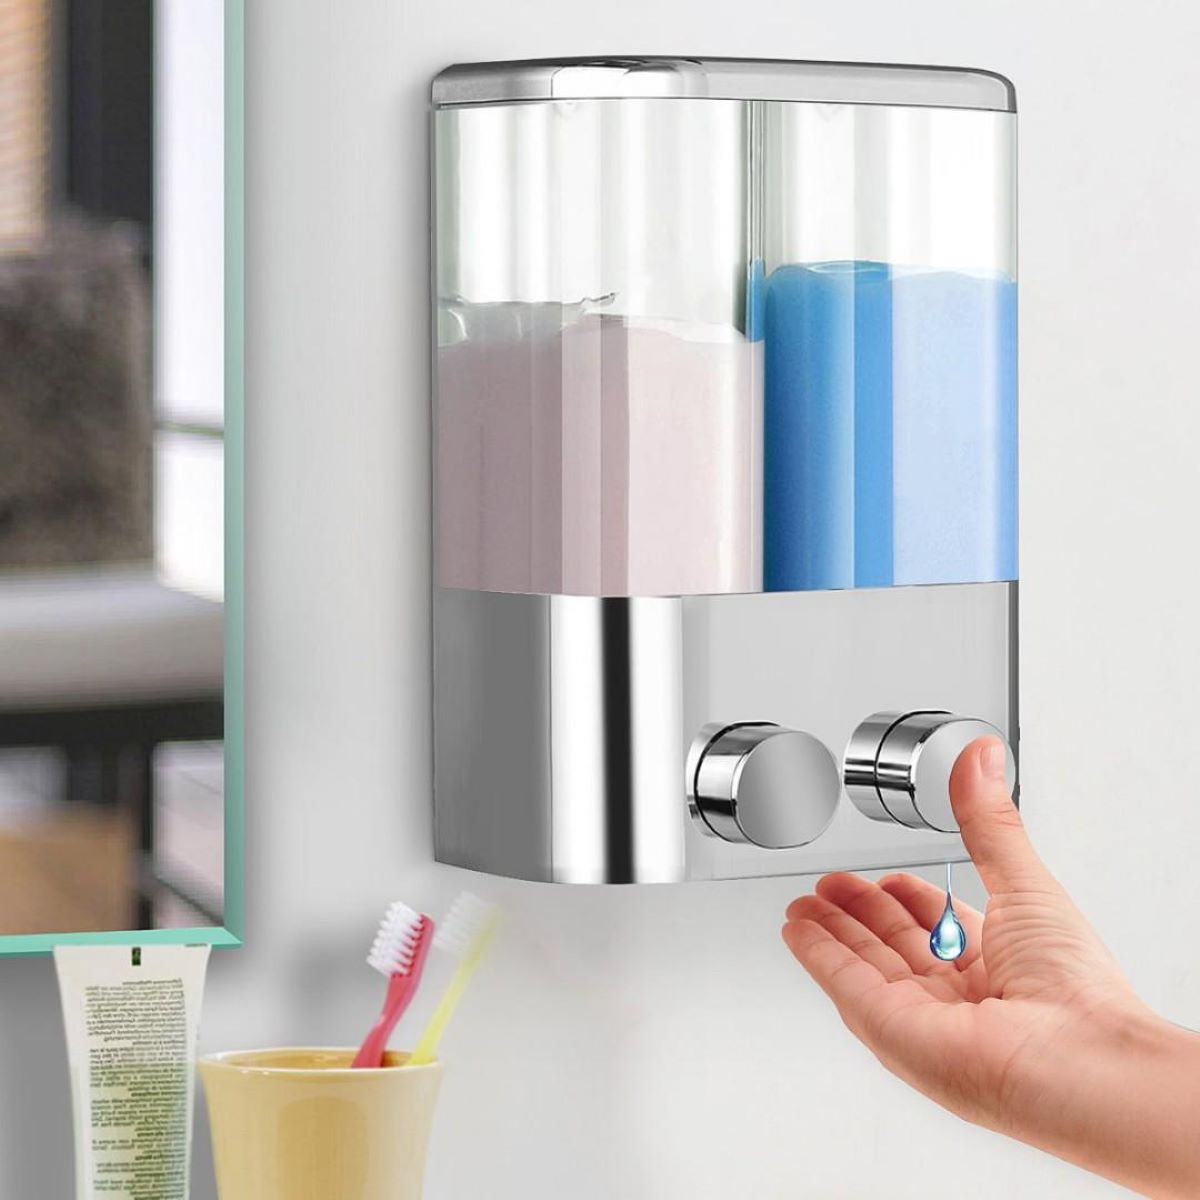
To open a soft soap dispenser, look for a small tab or button on the top or bottom of the dispenser. Press or slide it to release the top and access the soap reservoir.
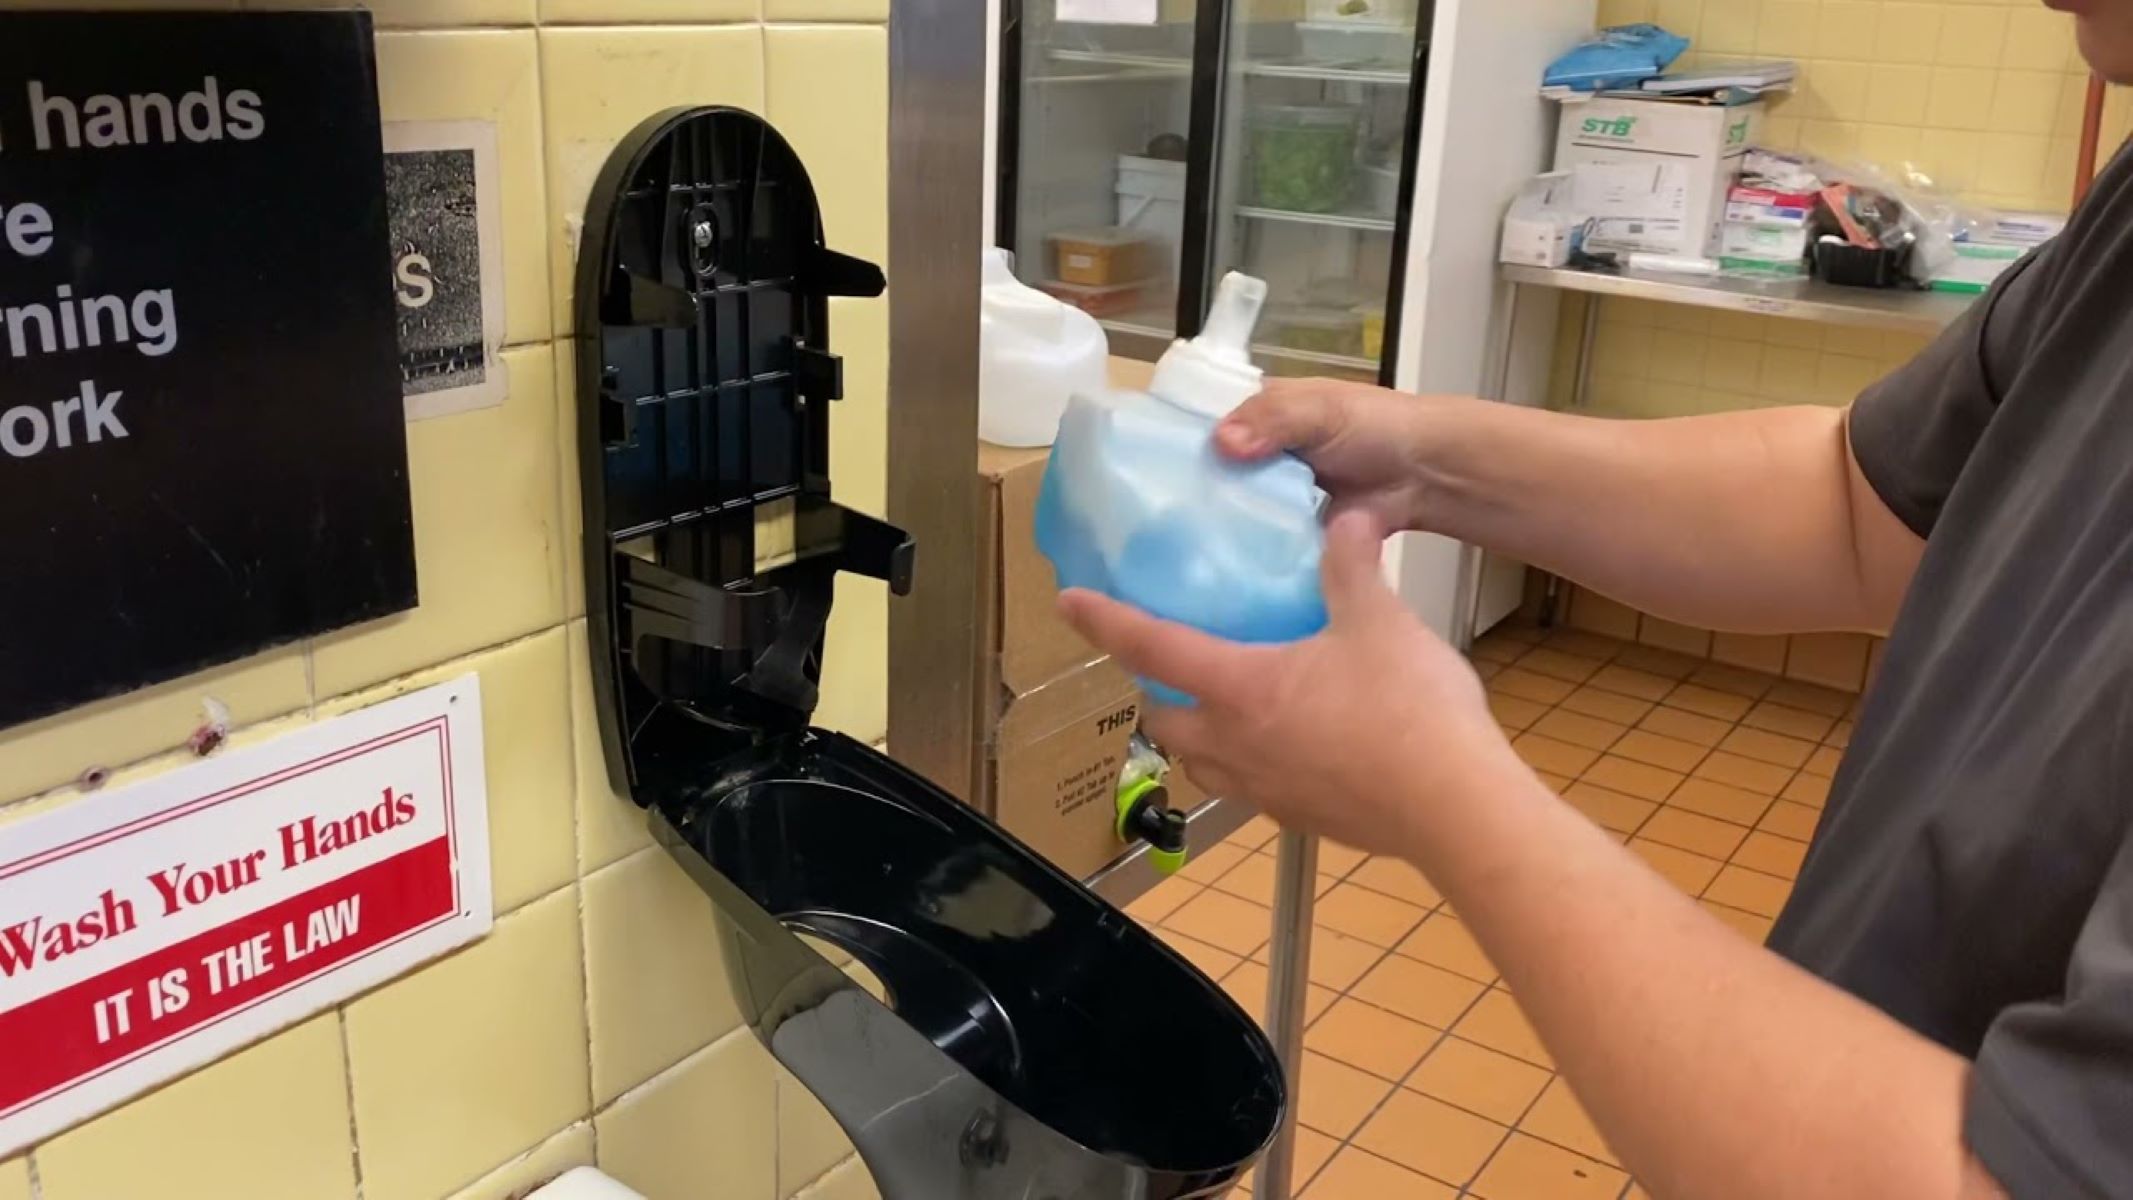
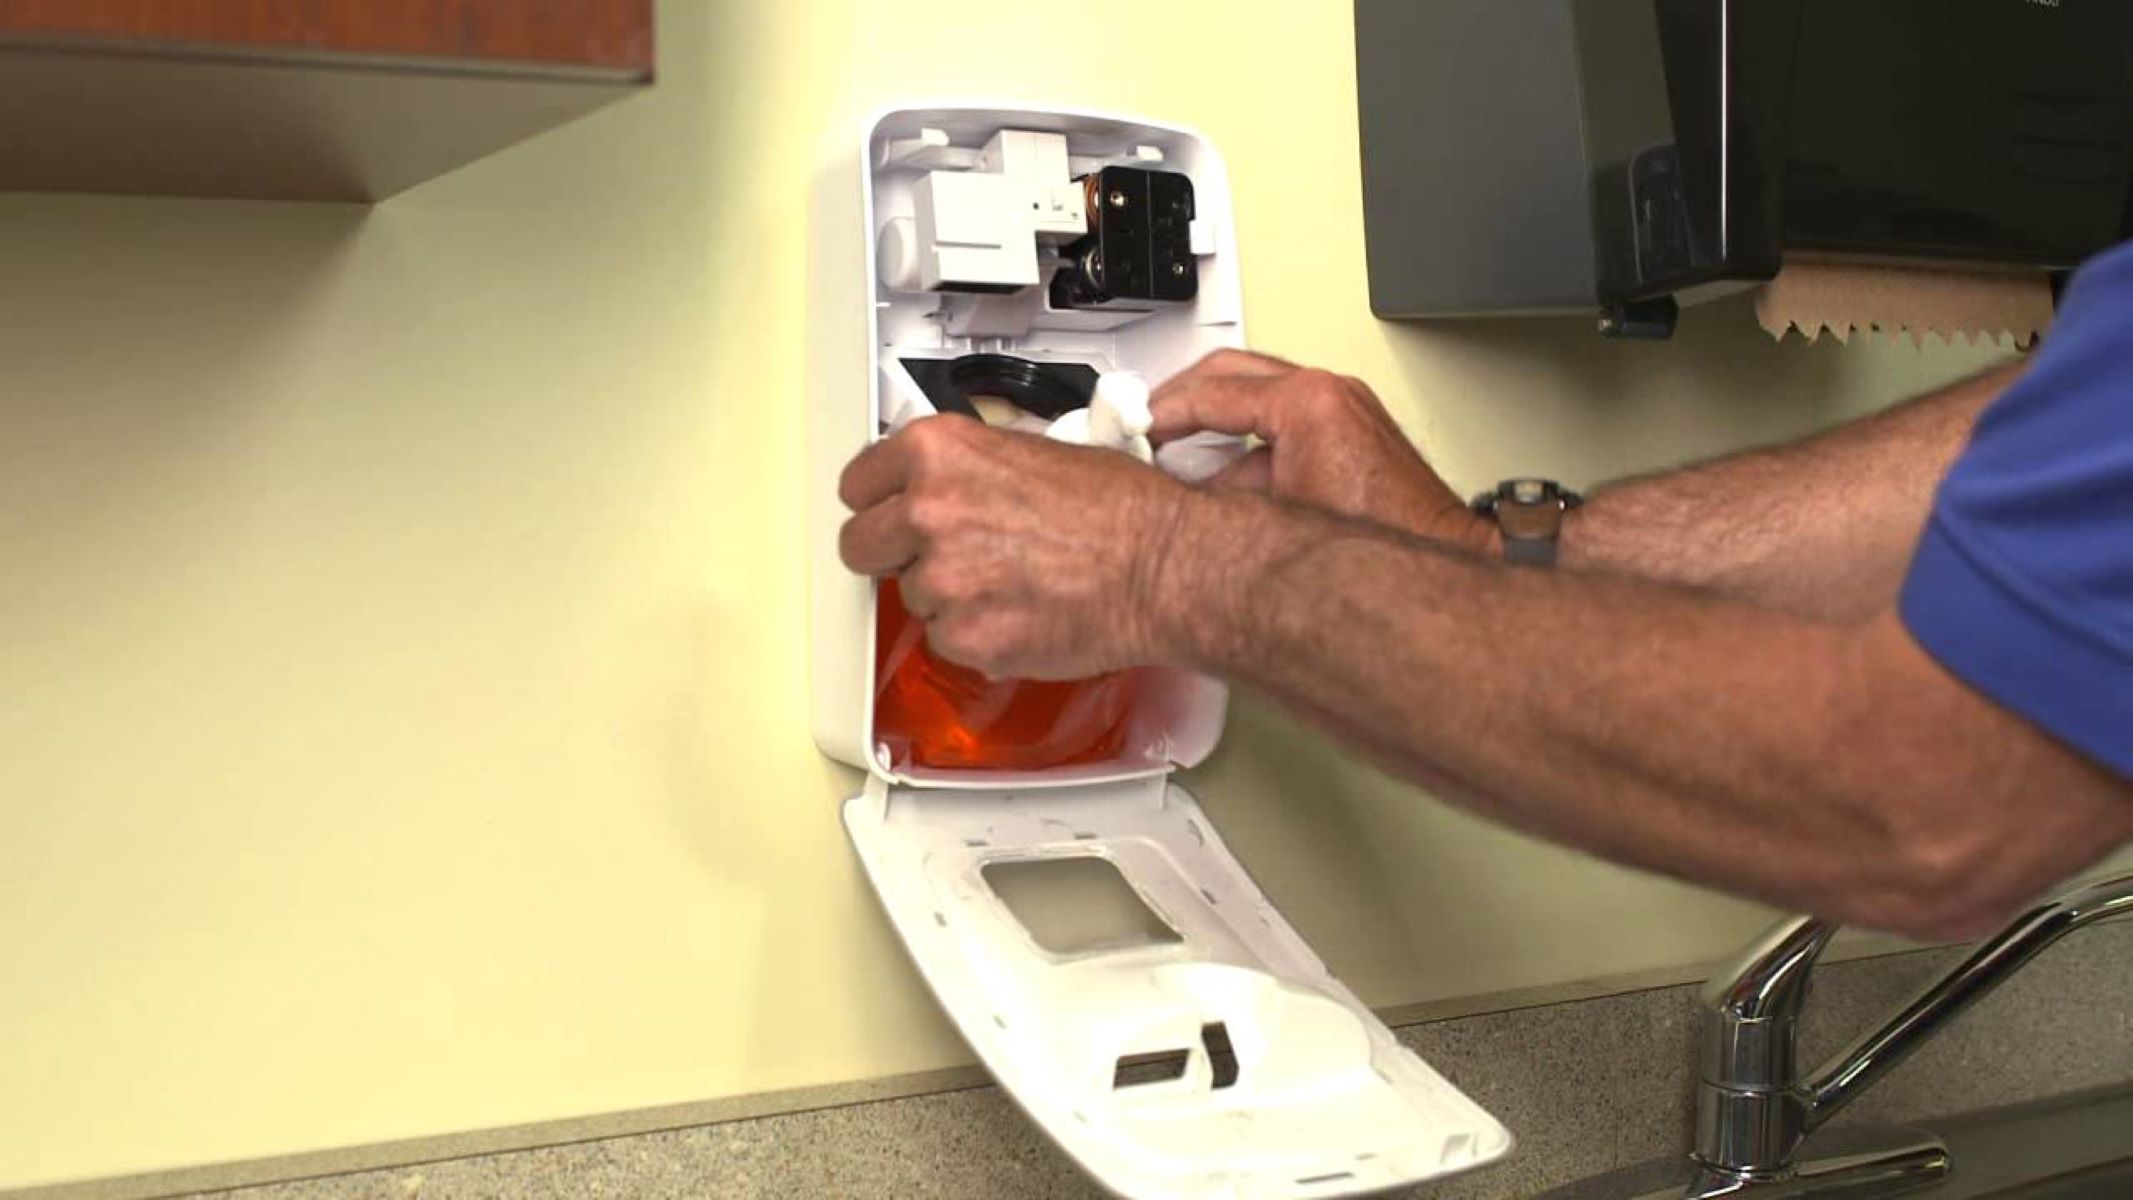
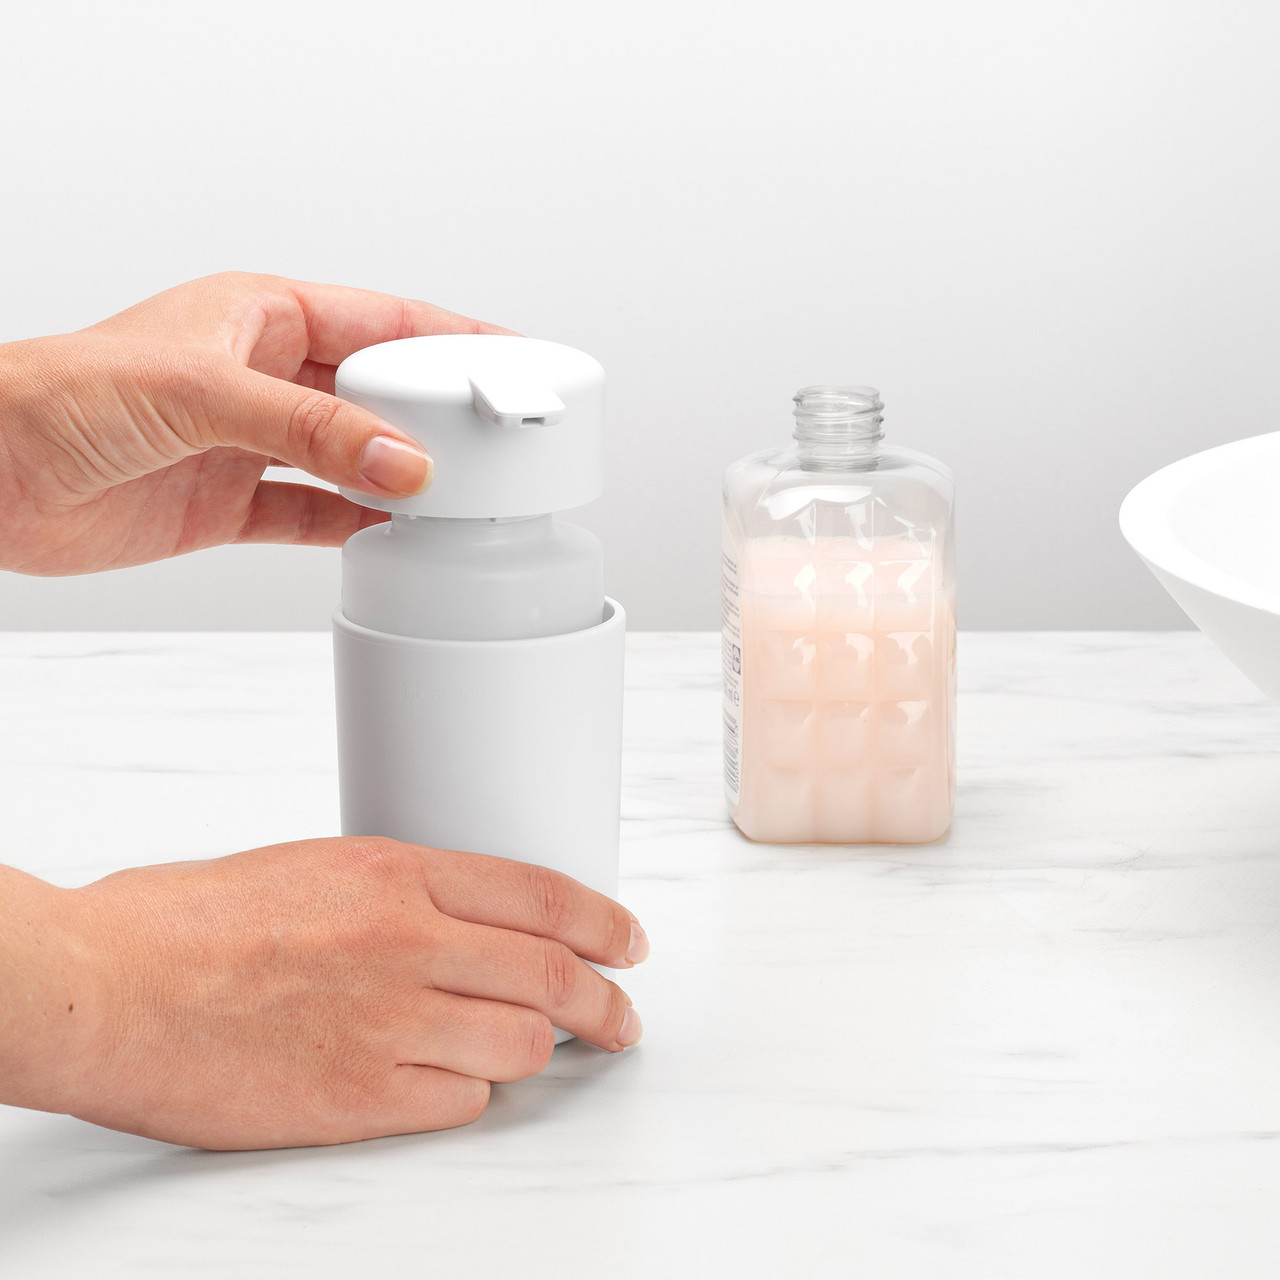
Step 4: Remove the Dispenser Pump
Now that you have examined the dispenser pump, it’s time to proceed with removing it. This step is crucial as it allows you to access the soap container for refilling or cleaning purposes.
Follow these steps to remove the dispenser pump:
- If there is a lock or safety feature, disengage it according to the instructions or markings on the pump.
- Gently grip the pump head or base and twist or pull it towards you, depending on the pump type. Apply steady and even pressure to avoid any damage.
- As you remove the pump, be prepared for some resistance or slight popping sounds due to suction or pressure release. This is normal and should not cause concern.
- Continue to remove the pump until it is completely detached from the dispenser.
Once the dispenser pump is removed, set it aside on a clean and dry surface. Take this opportunity to inspect and clean the pump if necessary. Remove any leftover soap residue or debris, and rinse it with warm water if required.
With the dispenser pump removed, we can now move on to the next step: priming the dispenser pump.
Read more: How To Open A Provon Soap Dispenser
Step 5: Prime the Dispenser Pump
After removing the dispenser pump, it’s crucial to prime it before reattaching it to the soft soap dispenser. Priming helps remove any air bubbles and ensures smooth and consistent soap dispensing.
Follow these steps to prime the dispenser pump:
- Fill a small container or bowl with warm water.
- Submerge the pump into the warm water, making sure the entire pump mechanism is covered.
- Press the pump head a few times to allow the warm water to flow through the pump and clear any air bubbles or blockages.
- Continue pressing and releasing the pump until the water runs clear, indicating that the pump is primed.
Once the pump is primed, remove it from the warm water and give it a gentle shake to remove any excess water. Use a clean towel or cloth to wipe the pump dry.
Now that the dispenser pump is primed and ready to be reattached, let’s move on to the next step: reattaching the dispenser pump.
Step 6: Reattach the Dispenser Pump
With the dispenser pump primed and cleaned, it’s time to reattach it to the soft soap dispenser. This step will secure the pump in place and ensure proper functioning of the dispenser.
Follow these steps to reattach the dispenser pump:
- Align the pump with the opening of the dispenser, making sure it fits securely.
- Gently push or twist the pump into place, depending on the type of pump mechanism.
- Apply slight pressure to ensure a tight seal and proper attachment of the pump.
- If there is a lock or safety feature, engage it according to the instructions or markings on the pump.
Once the dispenser pump is securely reattached, give it a gentle press or pump to check if it dispenses the soap smoothly. If there is any resistance or abnormal behavior, double-check the attachment and ensure it is properly aligned.
Now that the dispenser pump is back in place, we can move on to the final step: testing the soap dispenser.
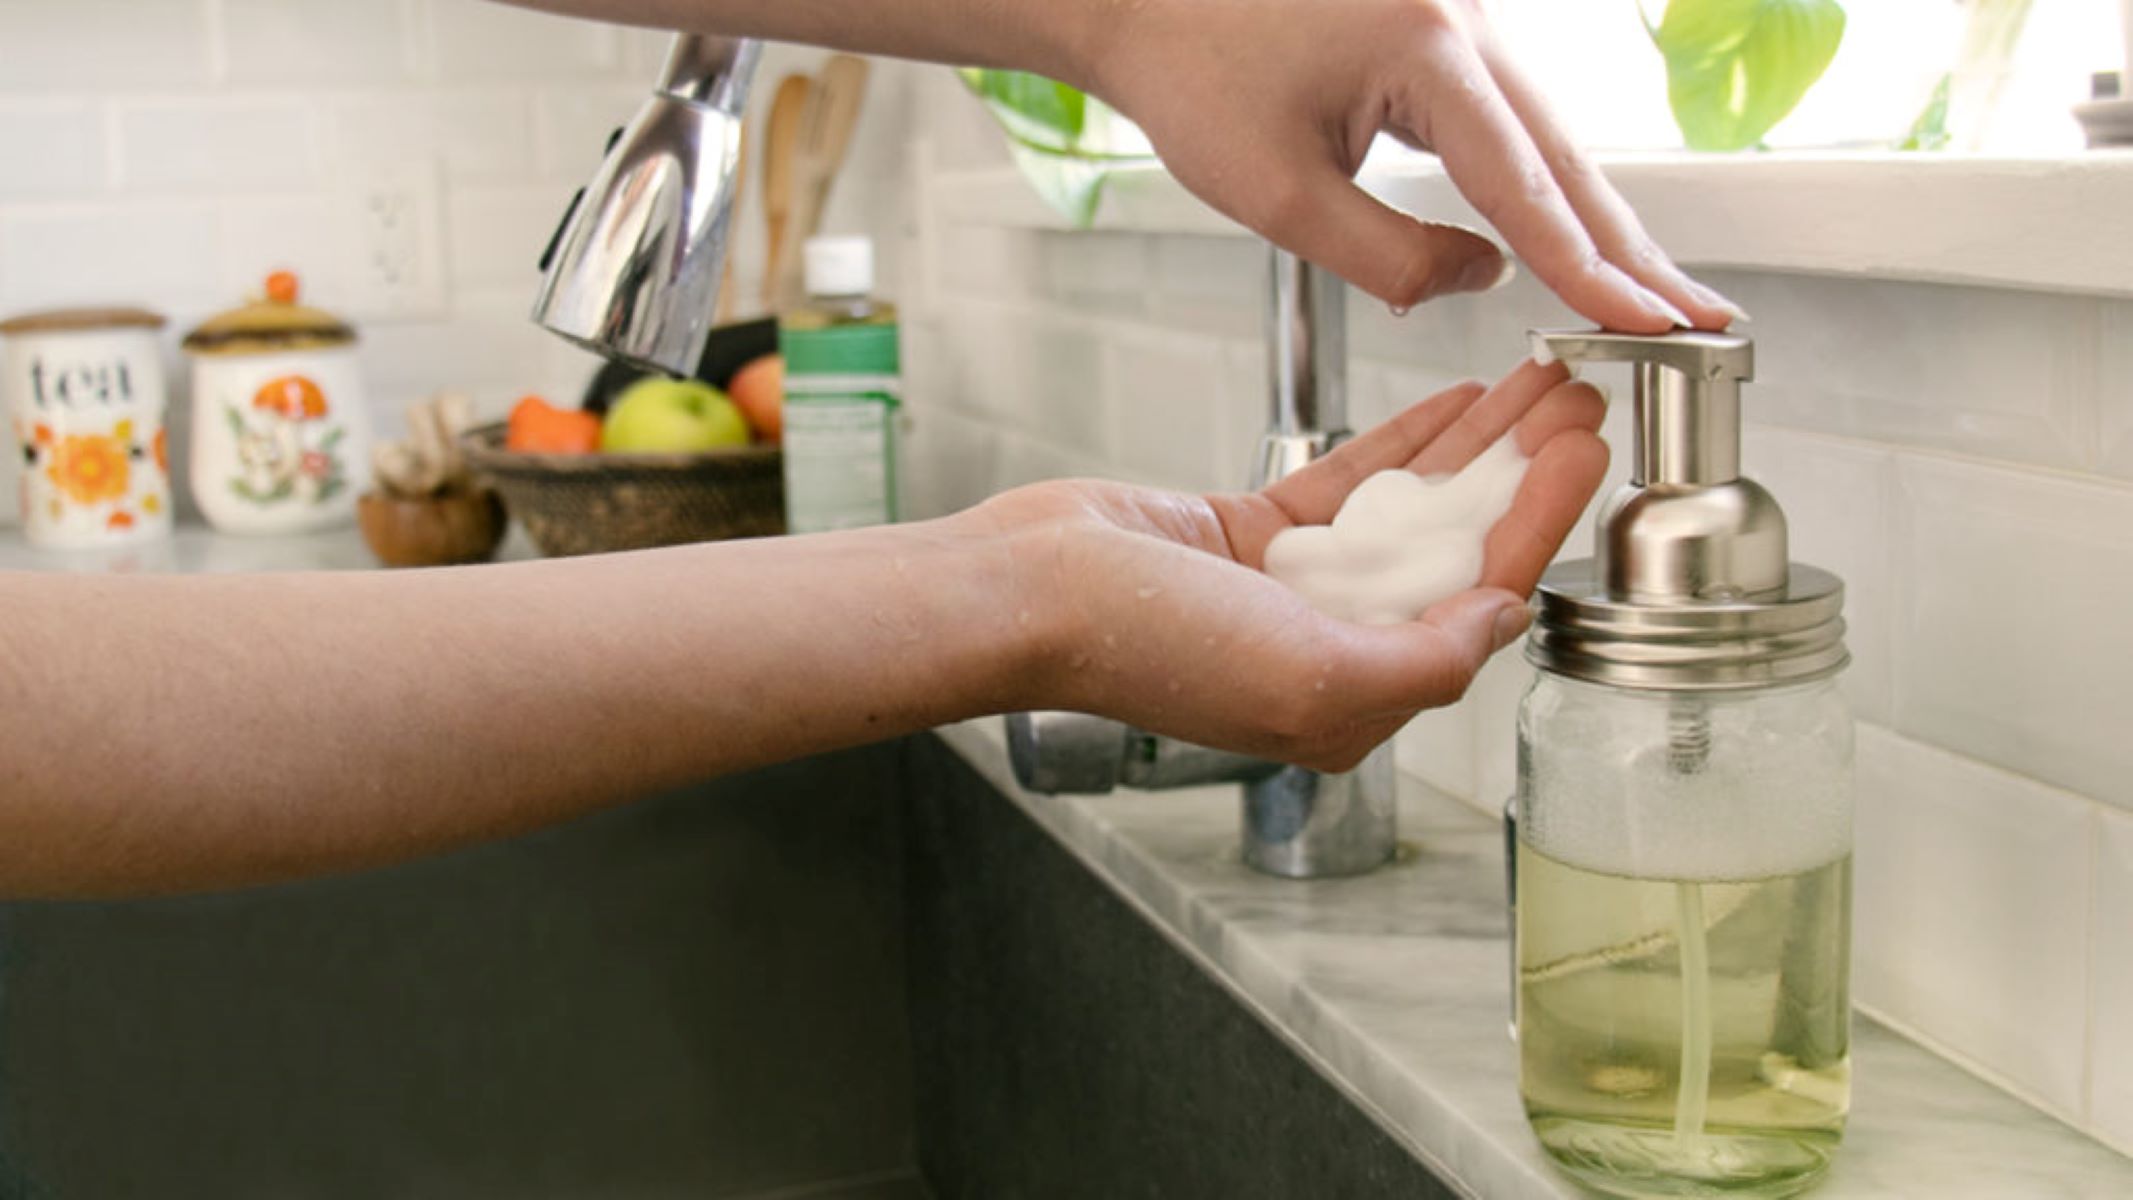
Step 7: Test the Soap Dispenser
The final step in opening a soft soap dispenser is to test its functionality and ensure that it is dispensing soap properly. This step will verify that the dispenser is ready for use.
Follow these steps to test the soap dispenser:
- Ensure that the soap container is securely closed and sealed.
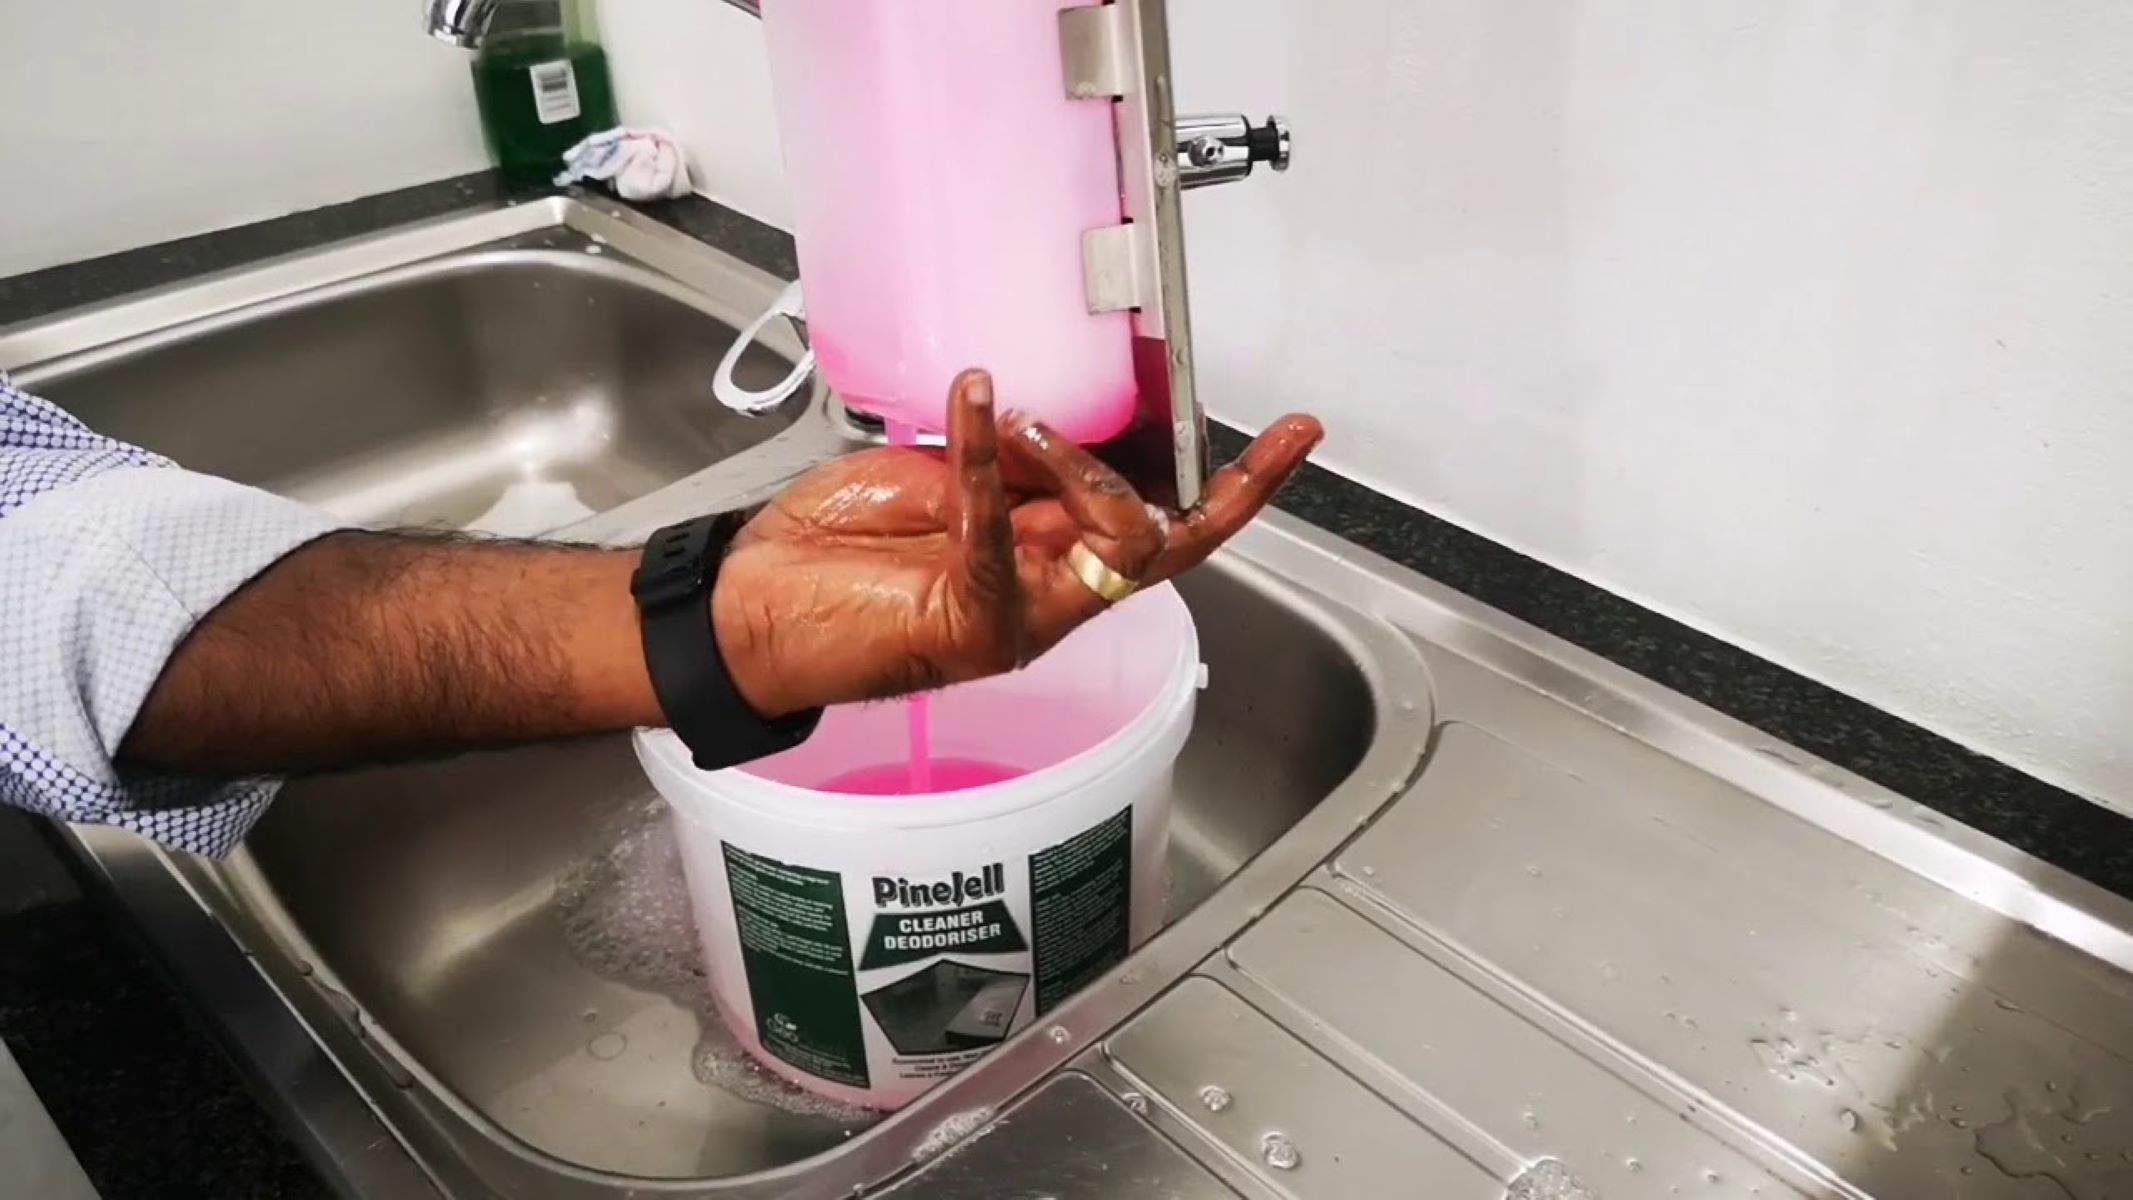
- Place your hand under the dispenser pump, positioning it in a way that allows the soap to dispense into your palm.
- Gently press or pump the dispenser to release a small amount of soap.
- Observe if the soap is dispensed smoothly and consistently. Ensure there are no leaks or excessive dripping.
- If the soap is not dispensing properly, recheck the attachment of the pump and make any necessary adjustments.
If the soap dispenser is functioning correctly, congratulations! You have successfully opened the soft soap dispenser and it is now ready for use. If you encounter any issues during the testing process, go back and retrace the previous steps to ensure everything is done correctly.
Remember to regularly clean and refill the soap dispenser as needed to maintain optimal hygiene and functionality.
By following these steps, you can confidently open a soft soap dispenser and enjoy the convenience of easy soap dispensing.
Frequently Asked Questions about How To Open A Soft Soap Dispenser
Was this page helpful?
At Storables.com, we guarantee accurate and reliable information. Our content, validated by Expert Board Contributors, is crafted following stringent Editorial Policies. We're committed to providing you with well-researched, expert-backed insights for all your informational needs.

0 thoughts on “How To Open A Soft Soap Dispenser”