Articles
How To Open A Soap Dispenser On The Wall
Modified: August 27, 2024
Learn how to open a wall-mounted soap dispenser with our helpful articles. Discover the right techniques and tools to efficiently access and refill your soap dispenser on the wall.
(Many of the links in this article redirect to a specific reviewed product. Your purchase of these products through affiliate links helps to generate commission for Storables.com, at no extra cost. Learn more)
Introduction
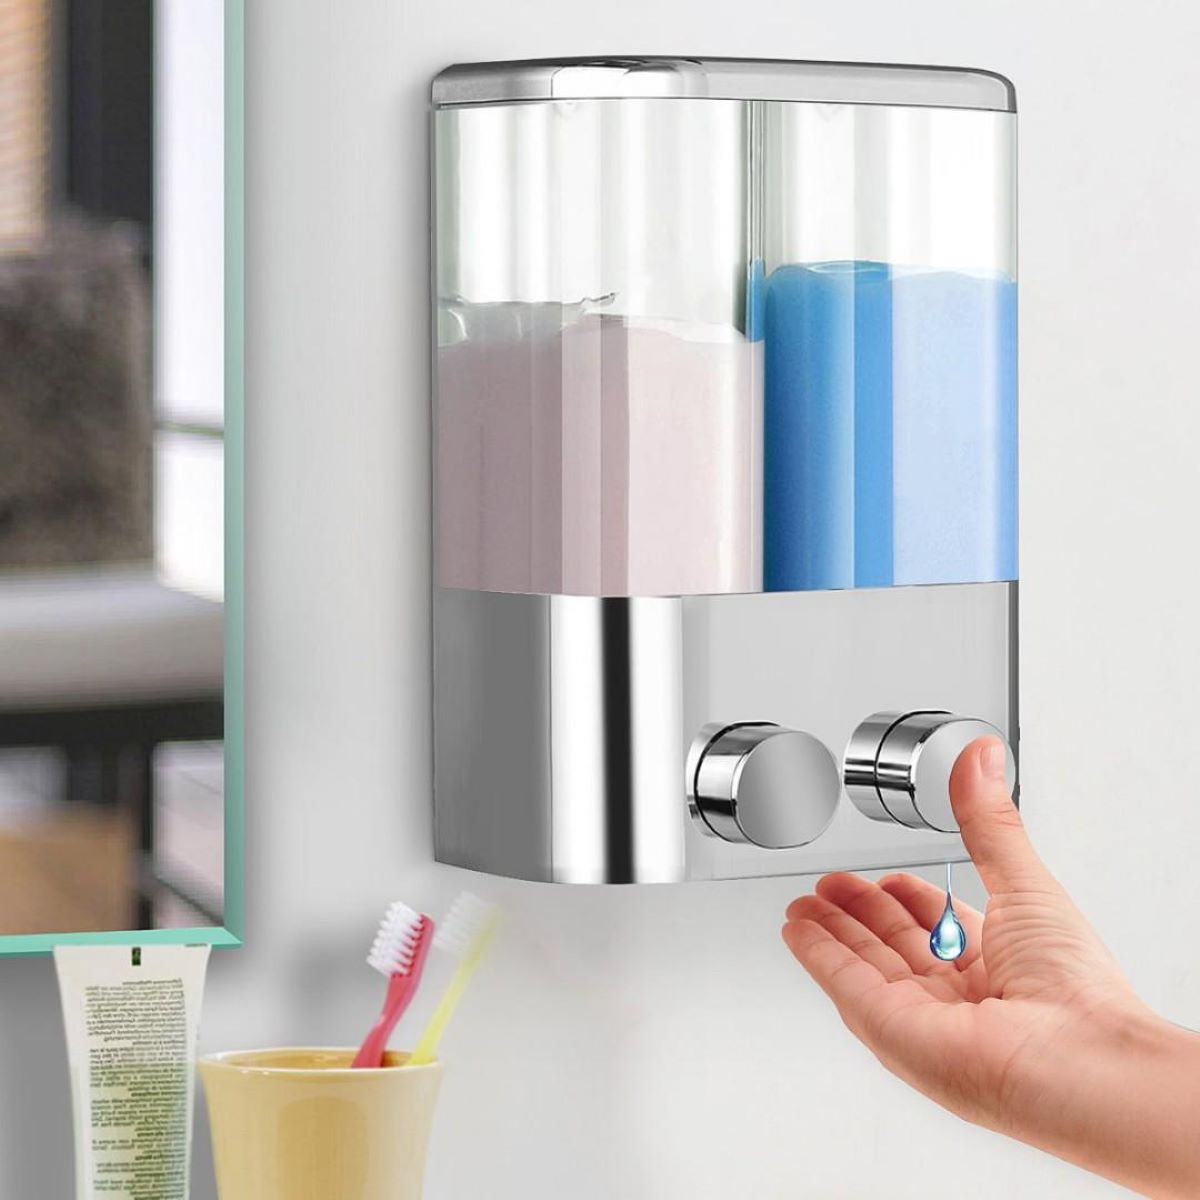
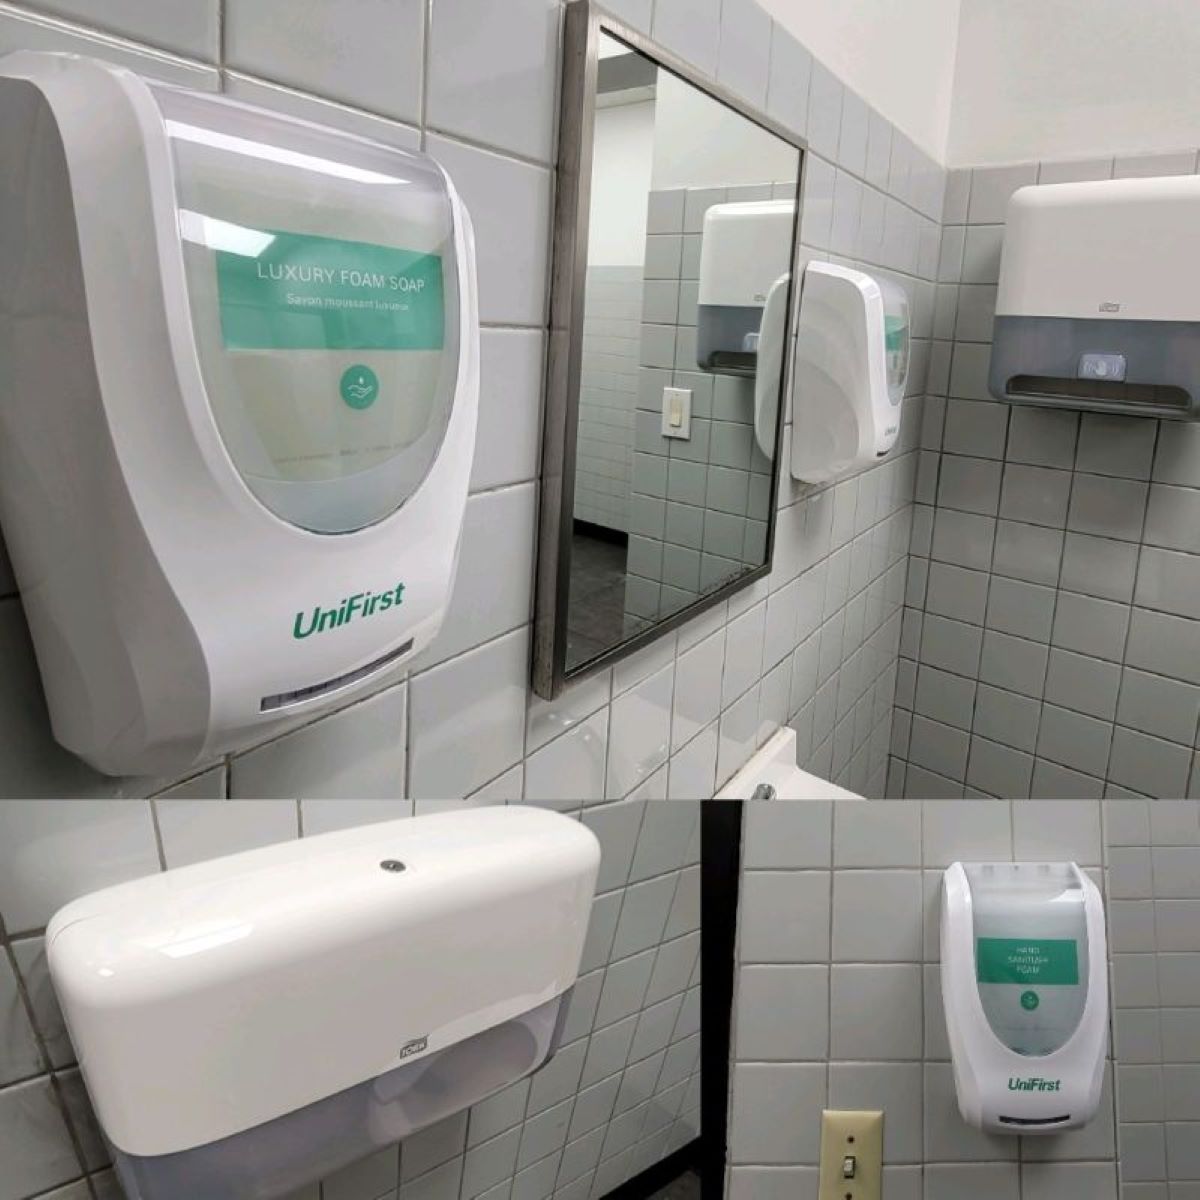
Welcome to our guide on how to open a soap dispenser on the wall. Soap dispensers are a convenient and hygienic way to provide hand hygiene in various settings, such as homes, offices, restaurants, and public restrooms. However, there may come a time when you need to open the soap dispenser to replace the empty soap container or perform routine maintenance. Understanding how to properly open and refill a wall-mounted soap dispenser will ensure a smooth and efficient process.
In this article, we will walk you through the step-by-step process of opening a soap dispenser mounted on the wall. We will cover everything from assessing the dispenser to identifying the locking mechanism and gathering the necessary tools. By the end, you will have the knowledge and confidence to successfully open and refill a wall-mounted soap dispenser.
So, let’s dive right in and learn how to open a soap dispenser on the wall!
Key Takeaways:
- Master the art of opening a wall-mounted soap dispenser by assessing the locking mechanism, gathering the right tools, and following a step-by-step process to ensure efficient maintenance and refill, promoting hand hygiene in various settings.
- Properly securing the soap dispenser cover is crucial to maintain its functionality and aesthetic appeal, ensuring a continuous supply of soap for effective hand hygiene and promoting a clean and hygienic environment.
Read more: How To Open A Soft Soap Dispenser
Step 1: Assessing the Soap Dispenser
Before attempting to open a soap dispenser on the wall, it is important to assess the dispenser’s design and understand its functionality. This will help you determine the appropriate method to access the interior and refill or maintain the dispenser effectively.
Begin by inspecting the soap dispenser to identify any visible locks or fastening mechanisms. Look for any screws, latches, or levers that may be securing the dispenser’s cover or casing. Take note of the dispenser’s make and model, as this information can be useful when searching for specific instructions or replacement parts.
Additionally, try to locate any release buttons or indicators that may indicate a need for battery replacement or other maintenance tasks. Some soap dispensers have electronic components that require periodic attention, such as changing batteries or resetting the dispenser’s settings.
Once you have thoroughly assessed the soap dispenser, you will have a better understanding of the type of locking mechanism used and the steps required to open it. This initial assessment is crucial in order to proceed with confidence and avoid causing any damage to the dispenser.
In the next step, we will delve deeper into identifying the locking mechanism of the soap dispenser.
Step 2: Identifying the Locking Mechanism
After assessing the soap dispenser, the next step is to identify the locking mechanism that is keeping the dispenser closed. There are several common types of locking mechanisms used in soap dispensers, and understanding which one you are dealing with will help you determine the appropriate method to open it.
One of the most common locking mechanisms is a key-operated lock. This type of lock requires a specific key that fits into a slot or keyhole on the dispenser. Look for a small keyhole or slot near the bottom or back of the dispenser. If you have the key, insert it into the slot and turn it to unlock and open the dispenser. If you don’t have the key, you may need to contact the manufacturer or supplier to obtain a replacement key.
Another type of locking mechanism is a screw or latch system. Examine the dispenser closely and search for any screws or latches that may be holding the cover or casing in place. These screws or latches are usually located on the bottom or side of the dispenser. Use a screwdriver or a suitable tool to unscrew or unlatch the locking mechanism, allowing you to remove the cover and access the interior of the dispenser.
Some soap dispensers have a simple push-button or sliding mechanism to open the dispenser. Look for any buttons or levers on the dispenser that might release the cover or casing. Press the button or slide the lever in the indicated direction to unlock and open the dispenser.
It is essential to carefully examine the soap dispenser and its locking mechanism to avoid causing any damage or mishaps during the opening process. If you are unsure about the type of locking mechanism or how to proceed, consult the dispenser’s manual or seek assistance from a professional.
Now that you have successfully identified the locking mechanism, it’s time to gather the necessary tools for opening the soap dispenser.
Step 3: Gathering the Necessary Tools
Before you can proceed with opening the soap dispenser, it is important to gather the necessary tools that will assist you in the process. Having the right tools on hand will make the task easier and help avoid any unnecessary damage to the dispenser or its components.
The specific tools required may vary depending on the type of locking mechanism and the design of the soap dispenser. However, here are some commonly used tools that you may need:
- Screwdriver: A screwdriver is a versatile tool that can be used for various types of soap dispensers. It is especially useful when dealing with screw or latch-based locking mechanisms. Make sure to have a screwdriver with the appropriate head size and style to fit the screws or latches on the dispenser.
- Key: If your soap dispenser uses a key-operated lock, ensure that you have the correct key that fits into the slot or keyhole on the dispenser.
- Pliers: Pliers can come in handy when dealing with certain types of soap dispensers that have unconventional locking mechanisms. They can provide additional grip and leverage to turn, pull, or pry open the dispenser.
- Allen wrench: Some soap dispensers use Allen screws as their locking mechanism. Having an Allen wrench set with the appropriate sizes can help you loosen or remove these screws.
- Replacement Parts: Depending on your intentions, it can be beneficial to have any necessary replacement parts on hand. This could include a new soap container, a refill cartridge, or any other component that requires replacement during the process.
Ensure that you have all the necessary tools readily available before proceeding to open the soap dispenser. Having the appropriate tools at hand will save you time and frustration during the process.
Once you have gathered the necessary tools, you can move on to the next step of removing the soap dispenser cover.
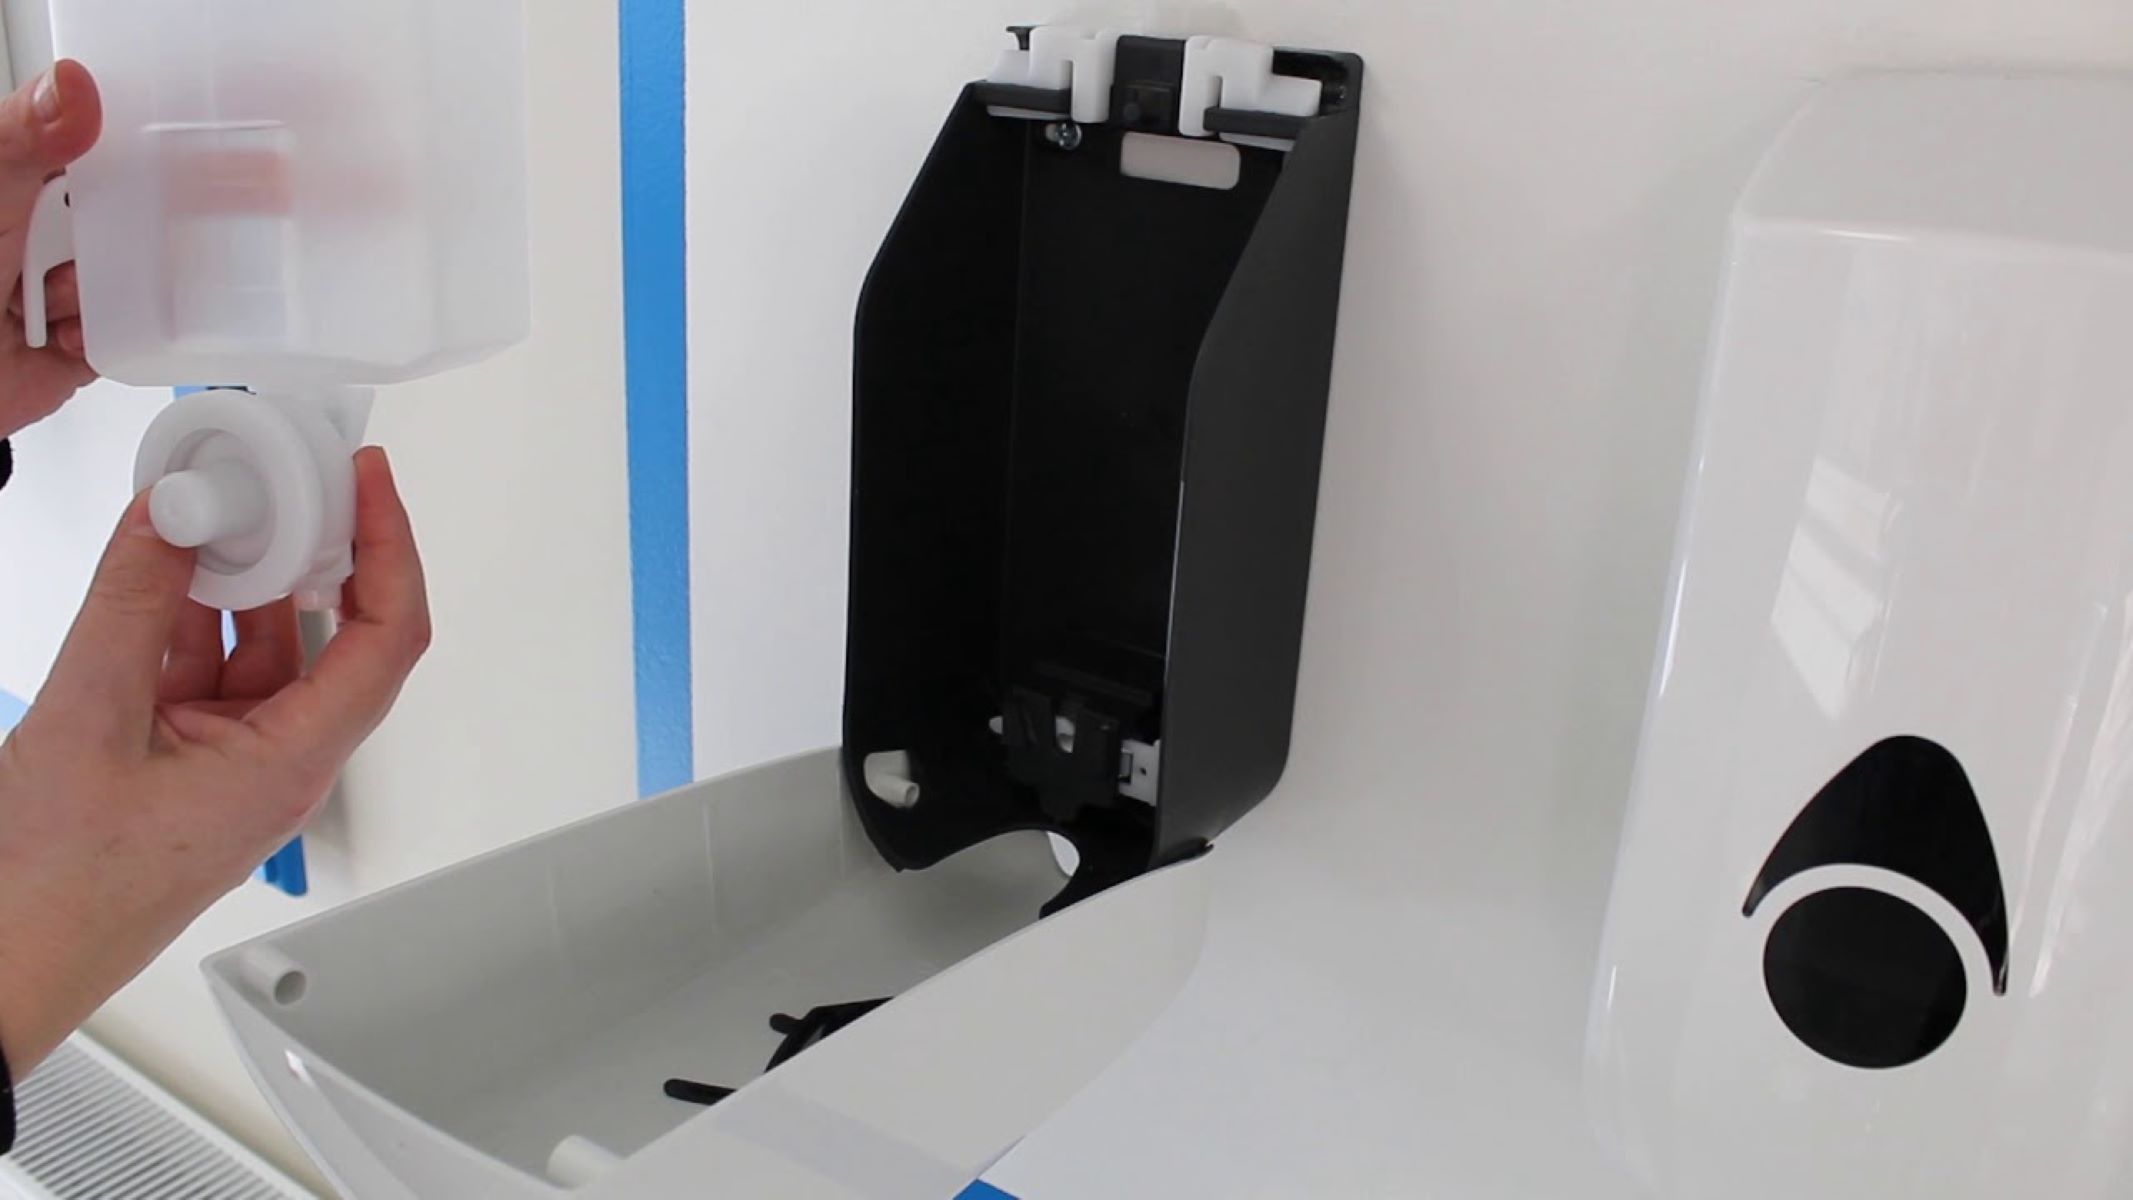
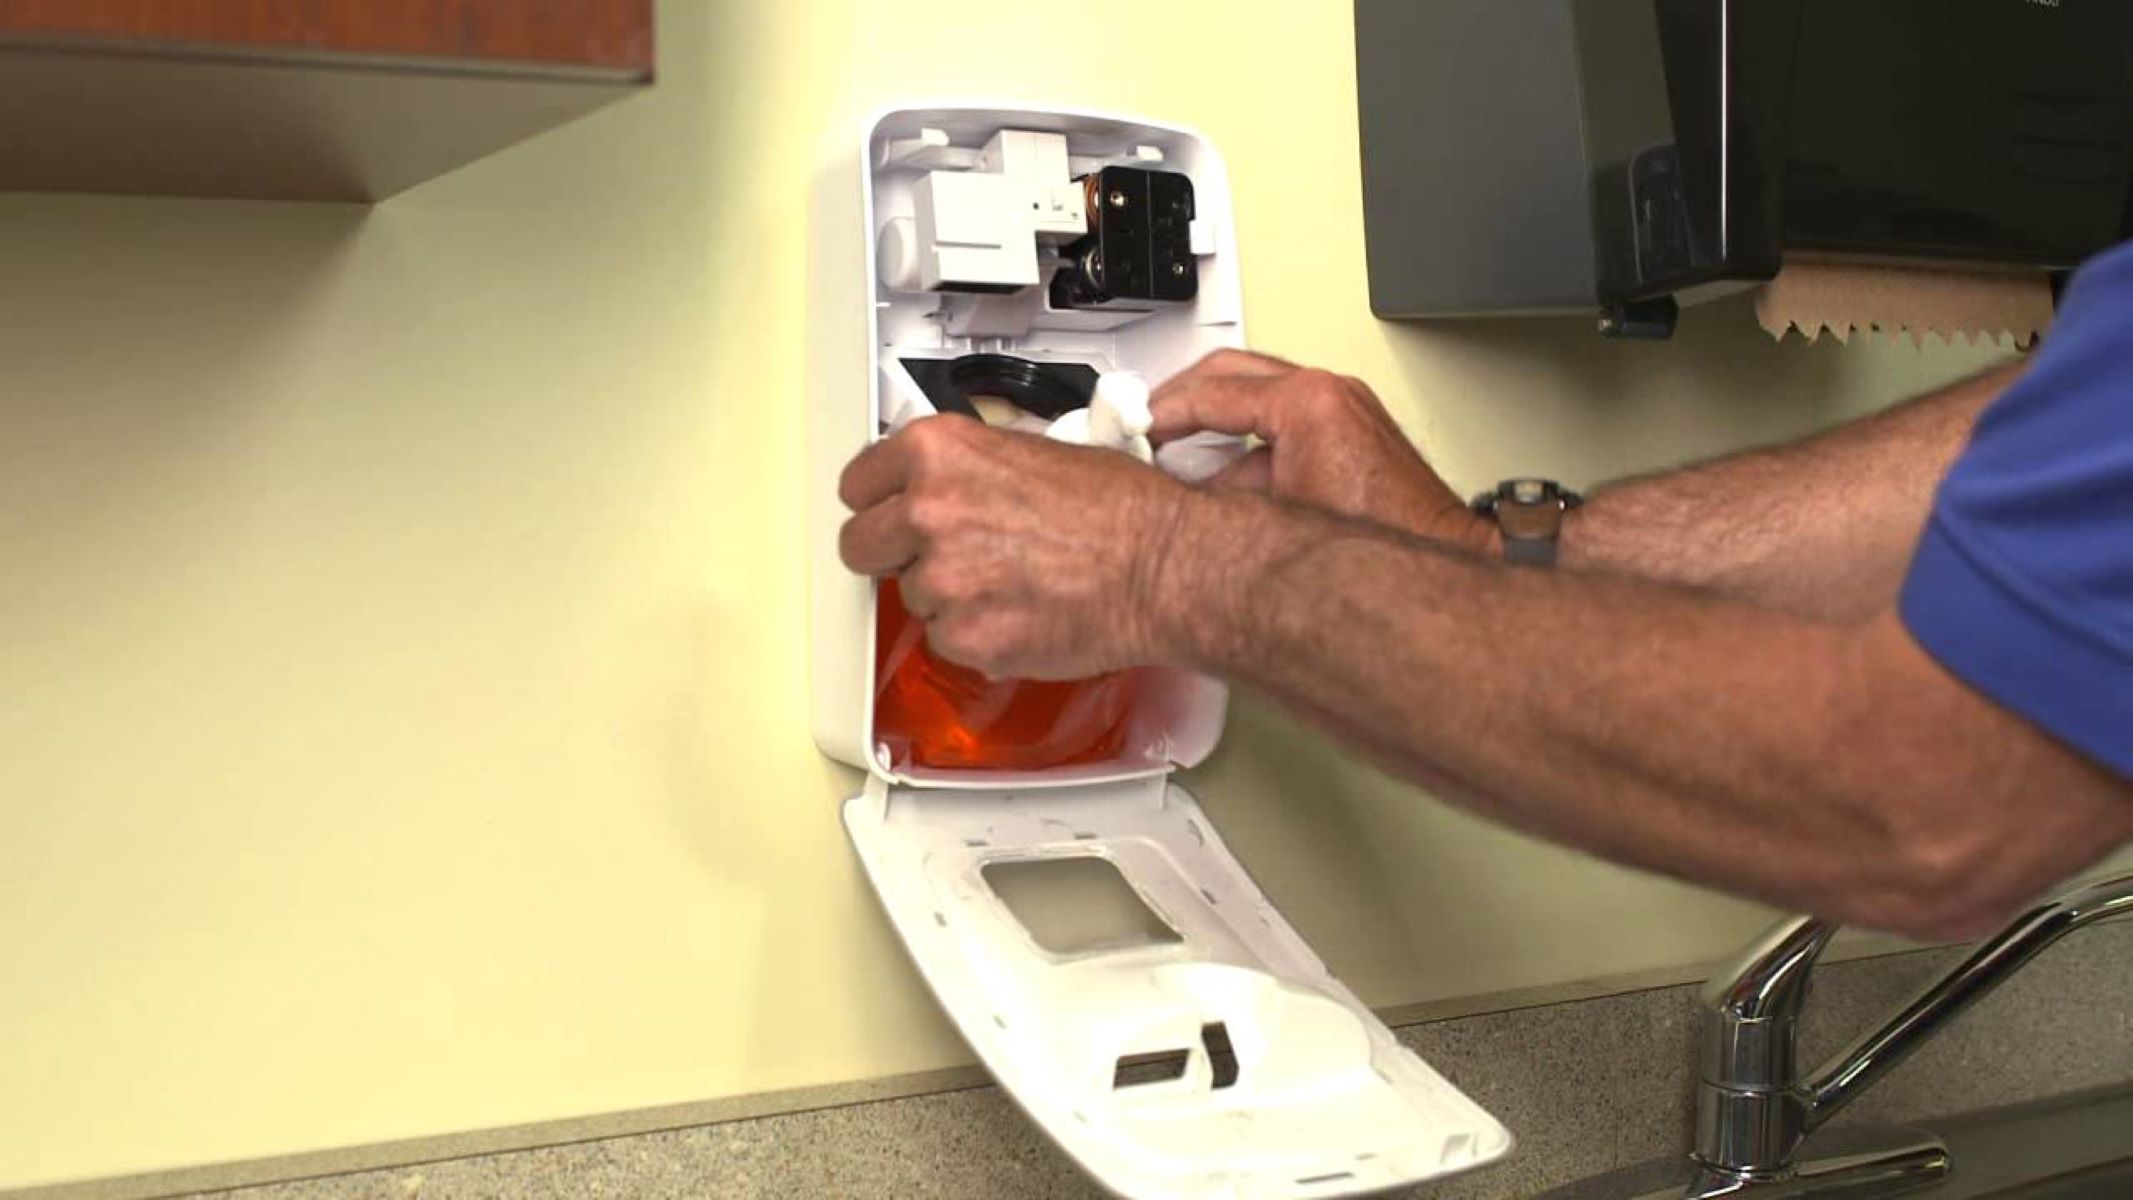
Step 4: Removing the Soap Dispenser Cover
With the necessary tools in hand, you are ready to move on to the next step of removing the soap dispenser cover. The cover is the external casing that encloses the soap container and is responsible for keeping it secure within the dispenser.
The process of removing the soap dispenser cover will vary depending on the design and locking mechanism of the dispenser. Here are some general steps that can guide you through this process:
- Refer to the dispenser’s manual: The manufacturer’s manual often provides specific instructions on how to remove the cover safely. Check the manual for any guidance or precautions before proceeding.
- Locate any screws or latches: Inspect the dispenser closely to identify any screws or latches that may be securing the cover in place. These screws or latches are typically positioned on the bottom or sides of the dispenser.
- Use the appropriate tool: If screws are present, use a screwdriver with the appropriate head size to unscrew them. If latches are present, use pliers or a suitable tool to unlatch and release them.
- Apply gentle pressure: Once the screws or latches are loosened or released, apply gentle pressure to the cover to separate it from the dispenser. Be cautious and avoid using excessive force to prevent any damage to the dispenser or cover.
- Remove the cover: Once the cover is loose, carefully lift or slide it off the dispenser. Set the cover aside in a secure location where it won’t get damaged.
It is important to note that some soap dispensers may have additional clips, tabs, or snaps that hold the cover in place. If you encounter any of these, exercise caution and use your judgment to release them without causing any damage.
By successfully removing the soap dispenser cover, you have gained access to the interior of the dispenser. In the next step, we will explore how to open the soap dispenser itself.
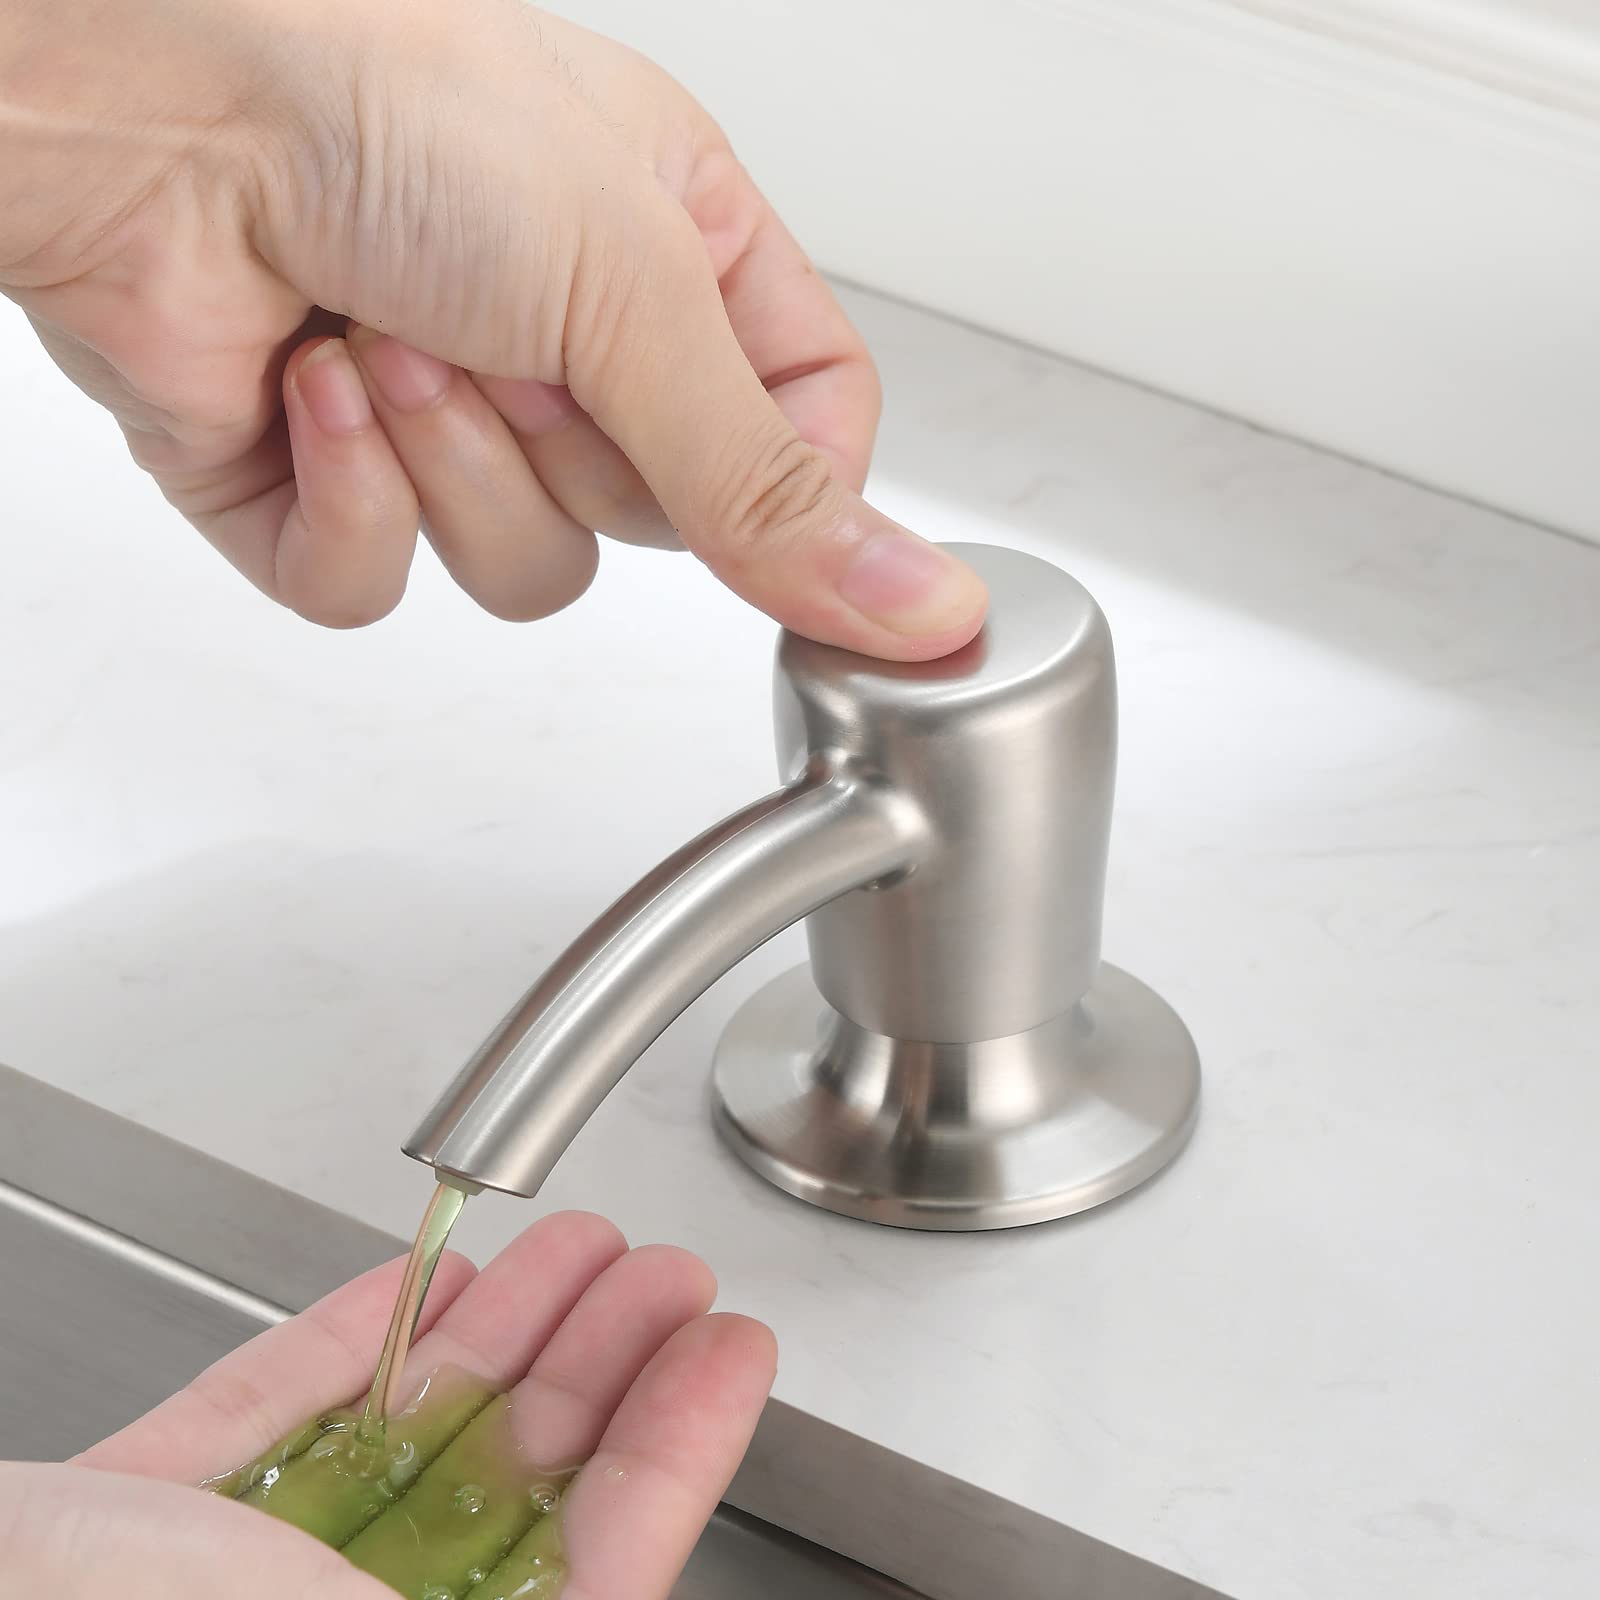
To open a soap dispenser on the wall, look for a small keyhole or latch near the bottom of the dispenser. Use a small key or flathead screwdriver to unlock and open the dispenser for refilling.
Read more: How To Open A Provon Soap Dispenser
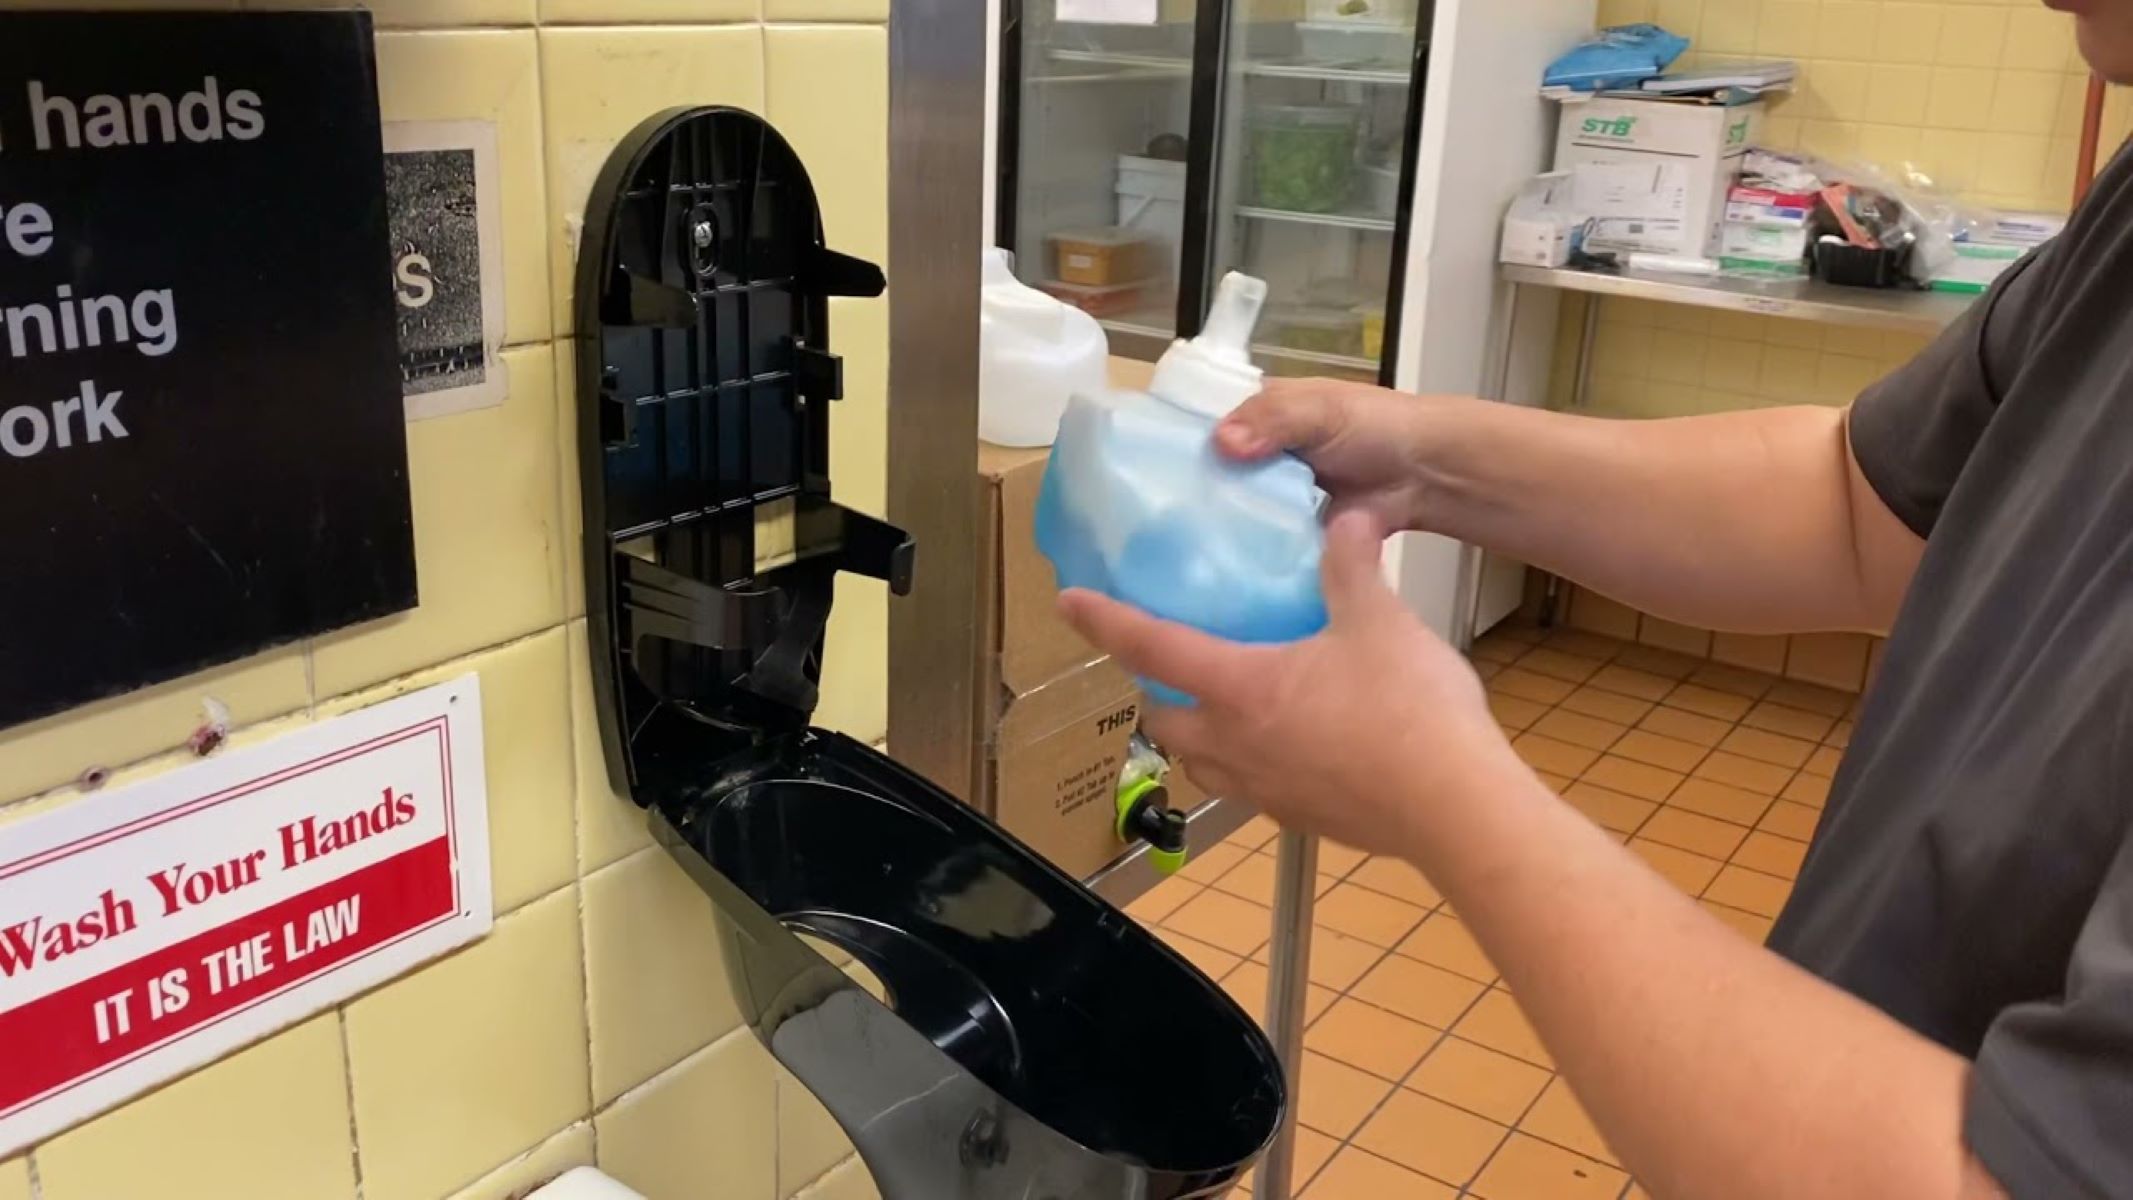
Step 5: Opening the Soap Dispenser
Now that you have removed the soap dispenser cover, you are ready to open the soap dispenser itself and access the soap container or cartridge inside. Opening the soap dispenser will allow you to refill the soap or perform any necessary maintenance.
Here are the steps to follow to open the soap dispenser:
- Inspect the interior: Take a moment to assess the interior of the soap dispenser. Look for any visible tabs, clips, or release buttons that may be holding the soap container or cartridge in place.
- Release the locking mechanism: If there are any tabs or clips, gently press or release them to unlock the soap container or cartridge. If there is a release button, press it as indicated to unlock the dispenser.
- Remove the soap container: Once the locking mechanism is released, carefully lift or slide out the soap container or cartridge from the dispenser. Set it aside in a safe place.
It is important to handle the soap container or cartridge with care to avoid any spills or damage. Ensure that you have a clean and stable surface to place the soap container on while you work on refilling or maintaining it.
If you are unsure of how to remove the soap container or cartridge, consult the dispenser’s manual or reach out to the manufacturer for specific instructions. Each soap dispenser may have its unique method for removing the soap container.
With the soap dispenser opened and the soap container or cartridge removed, you can move on to the next step of refilling the dispenser.
Note: If you are only looking to perform maintenance or replace specific parts inside the dispenser, skip the process of removing the soap container and proceed to perform the necessary tasks inside the dispenser.
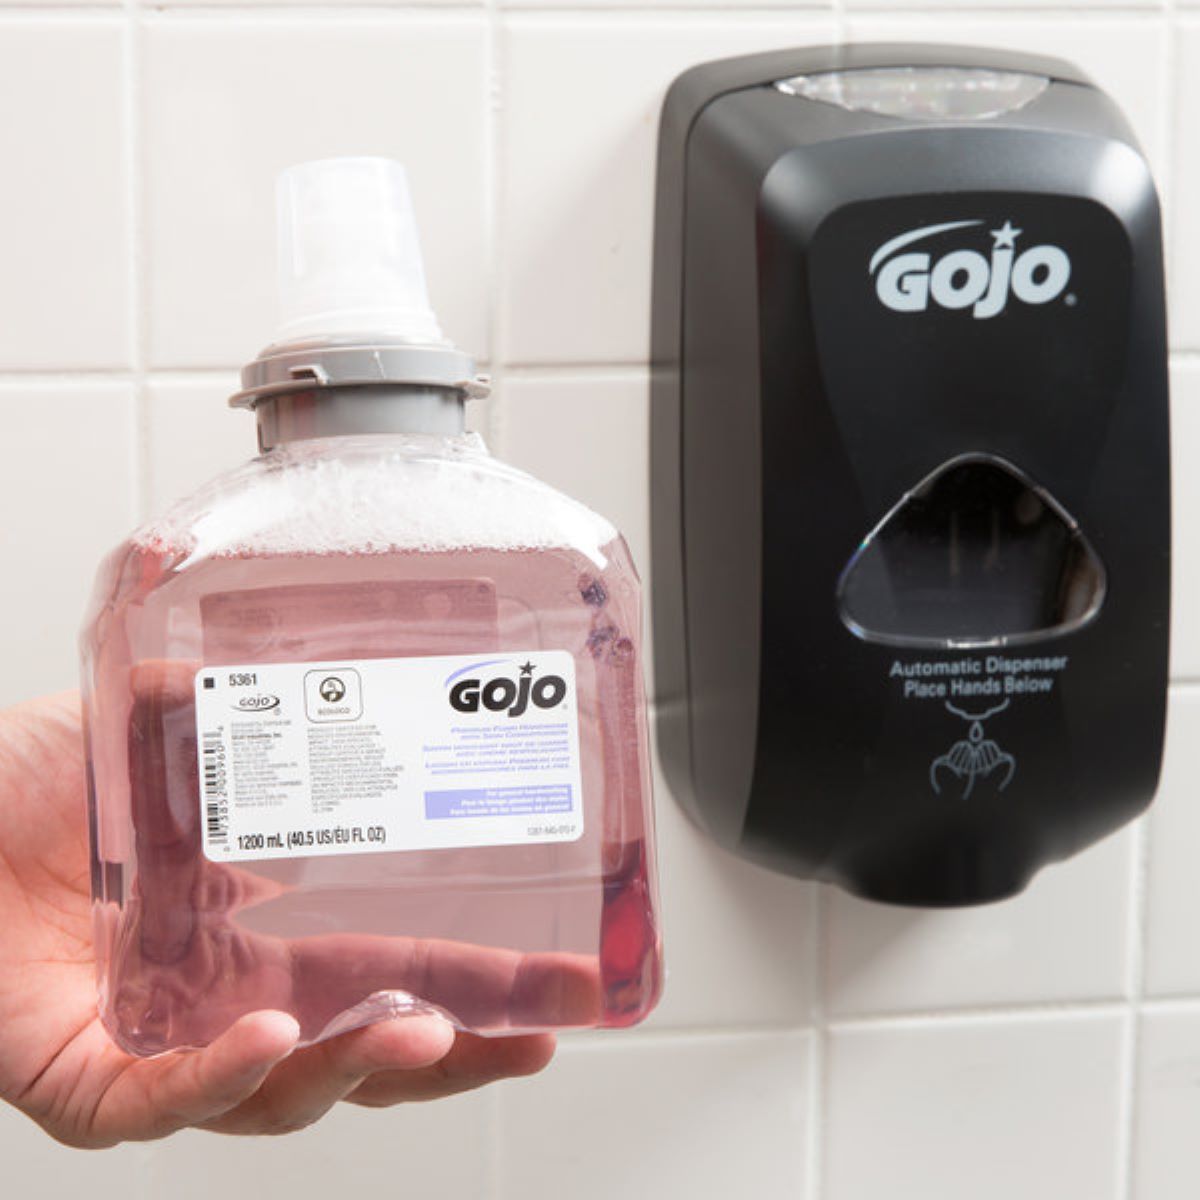
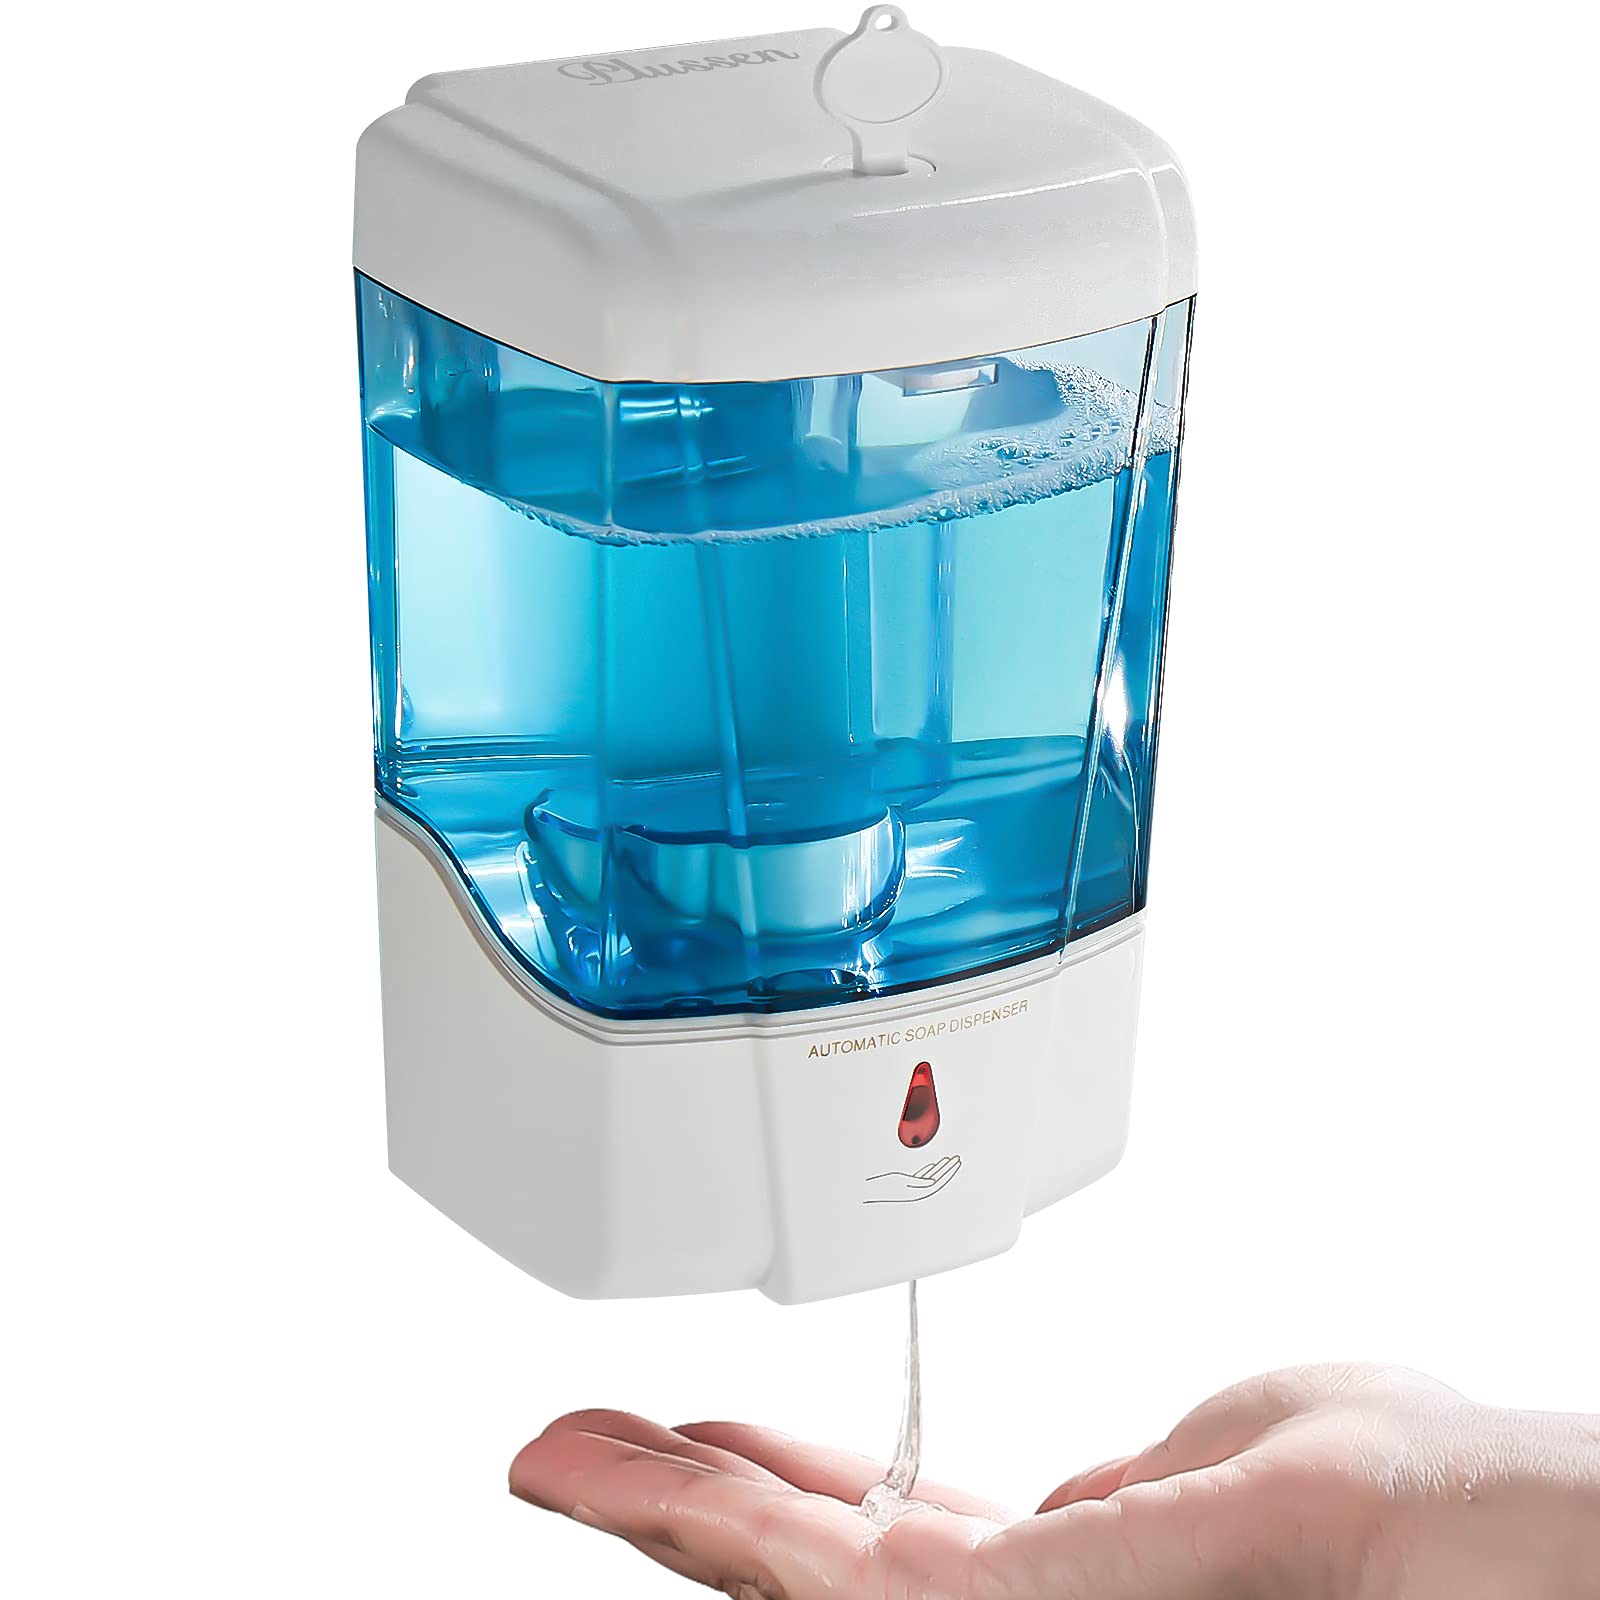
Step 6: Refilling the Soap Dispenser
Now that you have opened the soap dispenser and removed the soap container or cartridge, it’s time to refill the dispenser with fresh soap. Refilling the soap dispenser will ensure a continuous supply of soap for hand hygiene purposes.
Here is the step-by-step process of refilling the soap dispenser:
- Clean the soap container or cartridge: Before refilling, take a moment to clean the soap container or cartridge to remove any residue or build-up. Use warm water and mild soap to gently scrub the container inside and out. Rinse thoroughly and allow it to dry completely before continuing.
- Check the soap level: If you are using a refillable soap container, check the soap level to determine how much soap needs to be added. If you are using a cartridge, ensure you have a replacement cartridge ready for installation.
- Pour or insert the soap: Slowly pour the liquid soap into the soap container, ensuring not to overfill it. If you are using a cartridge, carefully insert it into the dispenser until it clicks or locks into place.
- Avoid spills: Take care to avoid any spills or drips during the refilling process. Use a funnel to pour the soap if necessary, or wipe up any spills immediately to prevent slipping hazards.
- Secure the soap container or cartridge: Once the soap is added, secure the soap container or cartridge back into the dispenser. Follow the reverse process of what was required to remove it, such as sliding it back into place, locking it with tabs or clips, or pressing a release button to secure it.
It is important to use the appropriate soap for your specific soap dispenser. Different dispensers may require different types or viscosities of soap. Consult the dispenser’s manual or check with the manufacturer to ensure you are using the correct soap for optimal dispenser performance.
By carefully following these steps, you will successfully refill the soap dispenser and ensure a continuous supply of soap for hand hygiene.
Once the soap dispenser is refilled, you can proceed to the final step of securing the soap dispenser cover.
Step 7: Securing the Soap Dispenser Cover
After refilling the soap dispenser, the final step is to secure the soap dispenser cover back into place. Properly securing the cover will not only protect the internal components but also ensure the dispenser functions correctly and maintains its aesthetic appeal.
Let’s explore the process of securing the soap dispenser cover:
- Align the cover: Position the soap dispenser cover in alignment with the dispenser body. Make sure all edges and corners are properly aligned to ensure a snug fit.
- Engage the locking mechanism: Depending on the type of locking mechanism in your soap dispenser, proceed to activate it. If screws were used, use a screwdriver to tighten them securely. If the cover has latches, engage them until they click into place. For push-button or sliding mechanisms, ensure they are securely locked.
- Test the cover: Once the cover is secured, gently apply pressure to test its stability. Ensure that it doesn’t wiggle or move easily. If you notice any looseness, double-check the locking mechanism and make any necessary adjustments.
- Clean the exterior: Take a moment to wipe down the exterior of the soap dispenser cover and the surrounding area. Use a damp cloth to remove any fingerprints, smudges, or soap residue that may have accumulated during the opening and refilling process.
It is important to secure the soap dispenser cover properly to prevent any accidental spills or tampering. A securely closed cover will also maintain the overall cleanliness and appearance of the soap dispenser.
With the soap dispenser cover securely in place, you have completed the process of opening, refilling, and securing the soap dispenser on the wall. Take a moment to admire your work and ensure that the soap dispenser is functioning properly.
Remember to keep the soap dispenser clean and maintain it regularly for optimal performance and hygiene. Follow the manufacturer’s instructions and guidelines for further maintenance or troubleshooting.
Thank you for following this step-by-step guide on how to open a soap dispenser on the wall. We hope this article has been helpful in accomplishing your task efficiently.
Happy hand hygiene and soap dispensing!
Conclusion
Congratulations! You have reached the end of our comprehensive guide on how to open a soap dispenser on the wall. By following the step-by-step process outlined in this article, you have gained the knowledge and confidence to successfully open, refill, and secure a soap dispenser.
Opening a soap dispenser on the wall may seem like a daunting task, but with the right approach and understanding of the locking mechanism, it can be a straightforward process. Assessment of the dispenser, identification of the locking mechanism, gathering the necessary tools, removing the cover, opening the dispenser, refilling it, and securing the cover are the essential steps to follow.
Remember to exercise caution and handle the dispenser and its components with care to avoid any damage. If you encounter any difficulties, consult the dispenser’s manual or reach out to the manufacturer for guidance.
Proper hand hygiene is essential for maintaining good health and preventing the spread of germs. Soap dispensers on the wall play a crucial role in providing convenient access to soap. By regularly refilling and maintaining these dispensers, you can ensure a continuous supply of soap for effective handwashing.
We hope this article has equipped you with the necessary knowledge to confidently open soap dispensers on the wall, allowing you to maintain a clean and hygienic environment. Remember, proper hand hygiene is vital in promoting the health and well-being of yourself and those around you.
Thank you for reading, and happy soap dispensing!
Once you've mastered opening your soap dispenser, why not revamp that home office too? Space can be scarce, but efficient setups like wall-mounted desks provide much-needed relief. Check out our guide on floating desks that not only save space but also keep your workspace stylish and functional. Perfect for those looking to maximize their home office layout!
Frequently Asked Questions about How To Open A Soap Dispenser On The Wall
Was this page helpful?
At Storables.com, we guarantee accurate and reliable information. Our content, validated by Expert Board Contributors, is crafted following stringent Editorial Policies. We're committed to providing you with well-researched, expert-backed insights for all your informational needs.

0 thoughts on “How To Open A Soap Dispenser On The Wall”