Home>Health & Lifestyle>Home Fitness Equipment>How To Organize A Workbench
Home Fitness Equipment
How To Organize A Workbench
Published: March 2, 2024
Learn how to efficiently organize your workbench and store your home fitness equipment with these practical tips and ideas. Create a clutter-free and functional workspace today!
(Many of the links in this article redirect to a specific reviewed product. Your purchase of these products through affiliate links helps to generate commission for Storables.com, at no extra cost. Learn more)
Introduction
So, you've got a workbench that's become a chaotic mess, and you're tired of wasting time searching for tools and supplies. Fear not! Organizing your workbench is easier than you think. In this guide, we'll walk you through the steps to transform your cluttered work area into a well-organized and efficient space. Whether you're a seasoned DIY enthusiast or just getting started with home improvement projects, having an organized workbench can make your tasks more manageable and enjoyable. Let's dive in and get your workbench in tip-top shape!
Key Takeaways:
- Transform your chaotic workbench into an efficient space by assessing needs, decluttering, establishing zones, and utilizing effective storage solutions. Enjoy stress-free DIY projects with a well-organized workbench!
- Keep your workbench organized with clear labeling and regular maintenance. Prioritize tool upkeep and make adjustments as needed to maintain a functional and enjoyable DIY workspace.
Assessing Your Workbench Needs
Before diving into the organization process, take a moment to assess your workbench and its surroundings. Consider the types of projects you typically work on and the tools and materials you use most frequently. Are you a woodworking enthusiast, a DIY mechanic, or a crafty creator? Understanding your specific needs will guide the organization process and help you create a functional workbench tailored to your activities.
-
Evaluate Your Workspace: Take a good look at your workbench and the area around it. Is the surface cluttered with tools, hardware, and unfinished projects? Are there any unnecessary items taking up valuable space? Assessing the current state of your workbench will give you a clear picture of what needs to be addressed.
-
Identify Commonly Used Tools: Make a list of the tools you use most often. These could include hammers, screwdrivers, pliers, wrenches, or any specialized tools related to your specific projects. Knowing which tools are essential will help you prioritize their accessibility and storage.
-
Consider Storage Constraints: Take note of any limitations in your workspace, such as limited wall space for hanging storage or a lack of built-in shelving. Understanding these constraints will influence the types of storage solutions you can implement.
By assessing your workbench needs, you'll be better equipped to create an organized and efficient workspace that caters to your specific DIY and home improvement activities.
Sorting and Decluttering
Now that you've assessed your workbench needs, it's time to roll up your sleeves and tackle the sorting and decluttering process. This step is crucial for creating a clean and organized workbench that maximizes efficiency and productivity.
Steps to Follow:
-
Clear the Surface: Start by clearing off your workbench surface completely. Remove all tools, materials, and any items that don't belong there. This blank canvas will allow you to assess the space and determine the best layout for your tools and supplies.
-
Sort and Group Items: Sort through the items you've removed from the workbench and group them by category. For example, gather all your hand tools in one pile, electrical supplies in another, and hardware in a separate pile. This step will help you visualize the quantity of each category and plan for their storage.
-
Declutter and Purge: As you sort through your items, take the opportunity to declutter. Identify any tools or materials that are damaged, obsolete, or no longer needed. Consider donating, recycling, or disposing of these items responsibly. By reducing unnecessary clutter, you'll free up space for the items that truly belong on your workbench.
-
Evaluate Storage Solutions: While sorting and decluttering, consider the storage solutions that will best accommodate your grouped items. Do you need small bins for hardware, pegboards for hanging tools, or drawer organizers for small parts? Assessing your storage needs during this phase will streamline the organization process.
By following these sorting and decluttering steps, you'll lay the foundation for an organized workbench that reflects your specific DIY and home improvement activities.
Establishing Zones
Creating distinct zones on your workbench is a game-changer when it comes to maintaining organization and efficiency. By designating specific areas for different types of tools and supplies, you can streamline your workflow and minimize the time spent searching for items. Here's how to establish zones on your workbench:
-
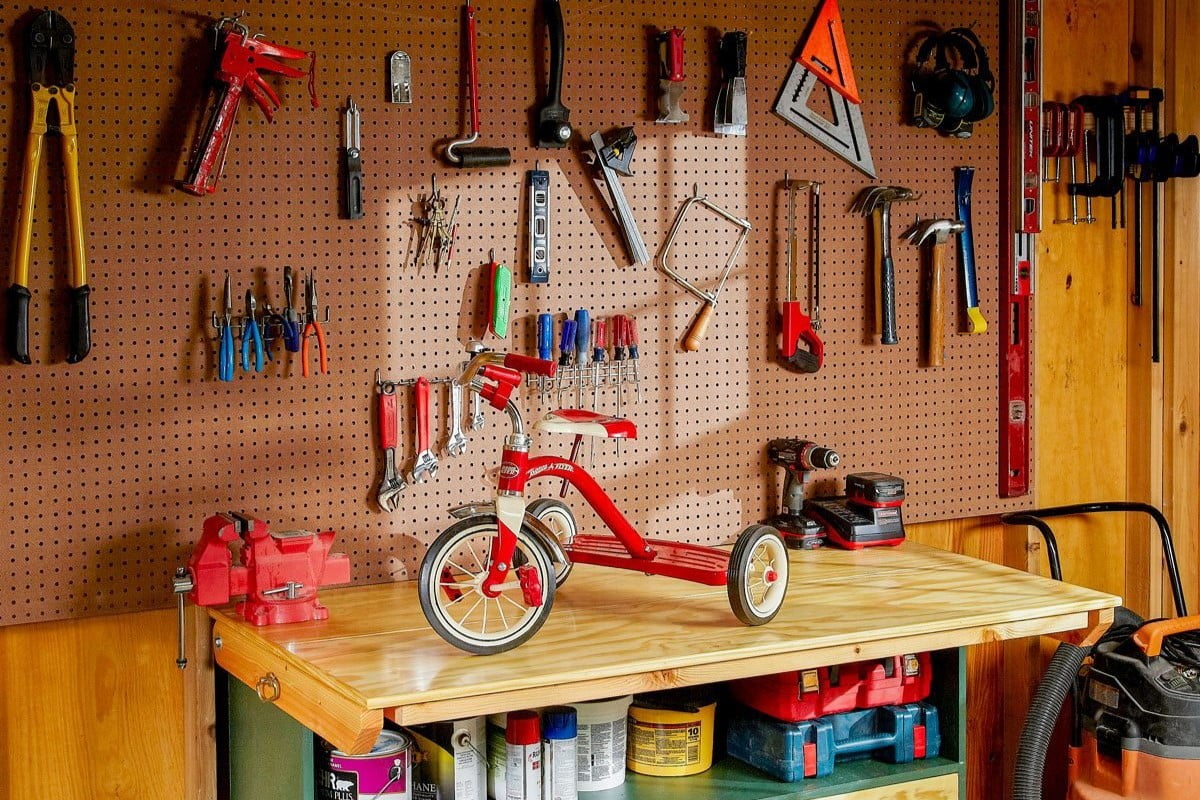
Primary Tool Zone: Designate a prominent area on your workbench for frequently used hand tools such as screwdrivers, pliers, wrenches, and hammers. Consider using a tool rack or a designated section of a pegboard to keep these essential tools within easy reach.
-
Power Tool Zone: If you frequently use power tools for your projects, create a dedicated zone for these items. This could include a shelf or drawer specifically for cordless drills, circular saws, sanders, and other power tools. Keep the cords neatly coiled and stored to prevent tangles.
-
Hardware and Fasteners Zone: Organize your screws, nails, bolts, and other fasteners in labeled bins or drawers. Having a designated zone for hardware makes it easier to locate the right fastener for your projects and prevents small items from getting mixed up or lost.
-
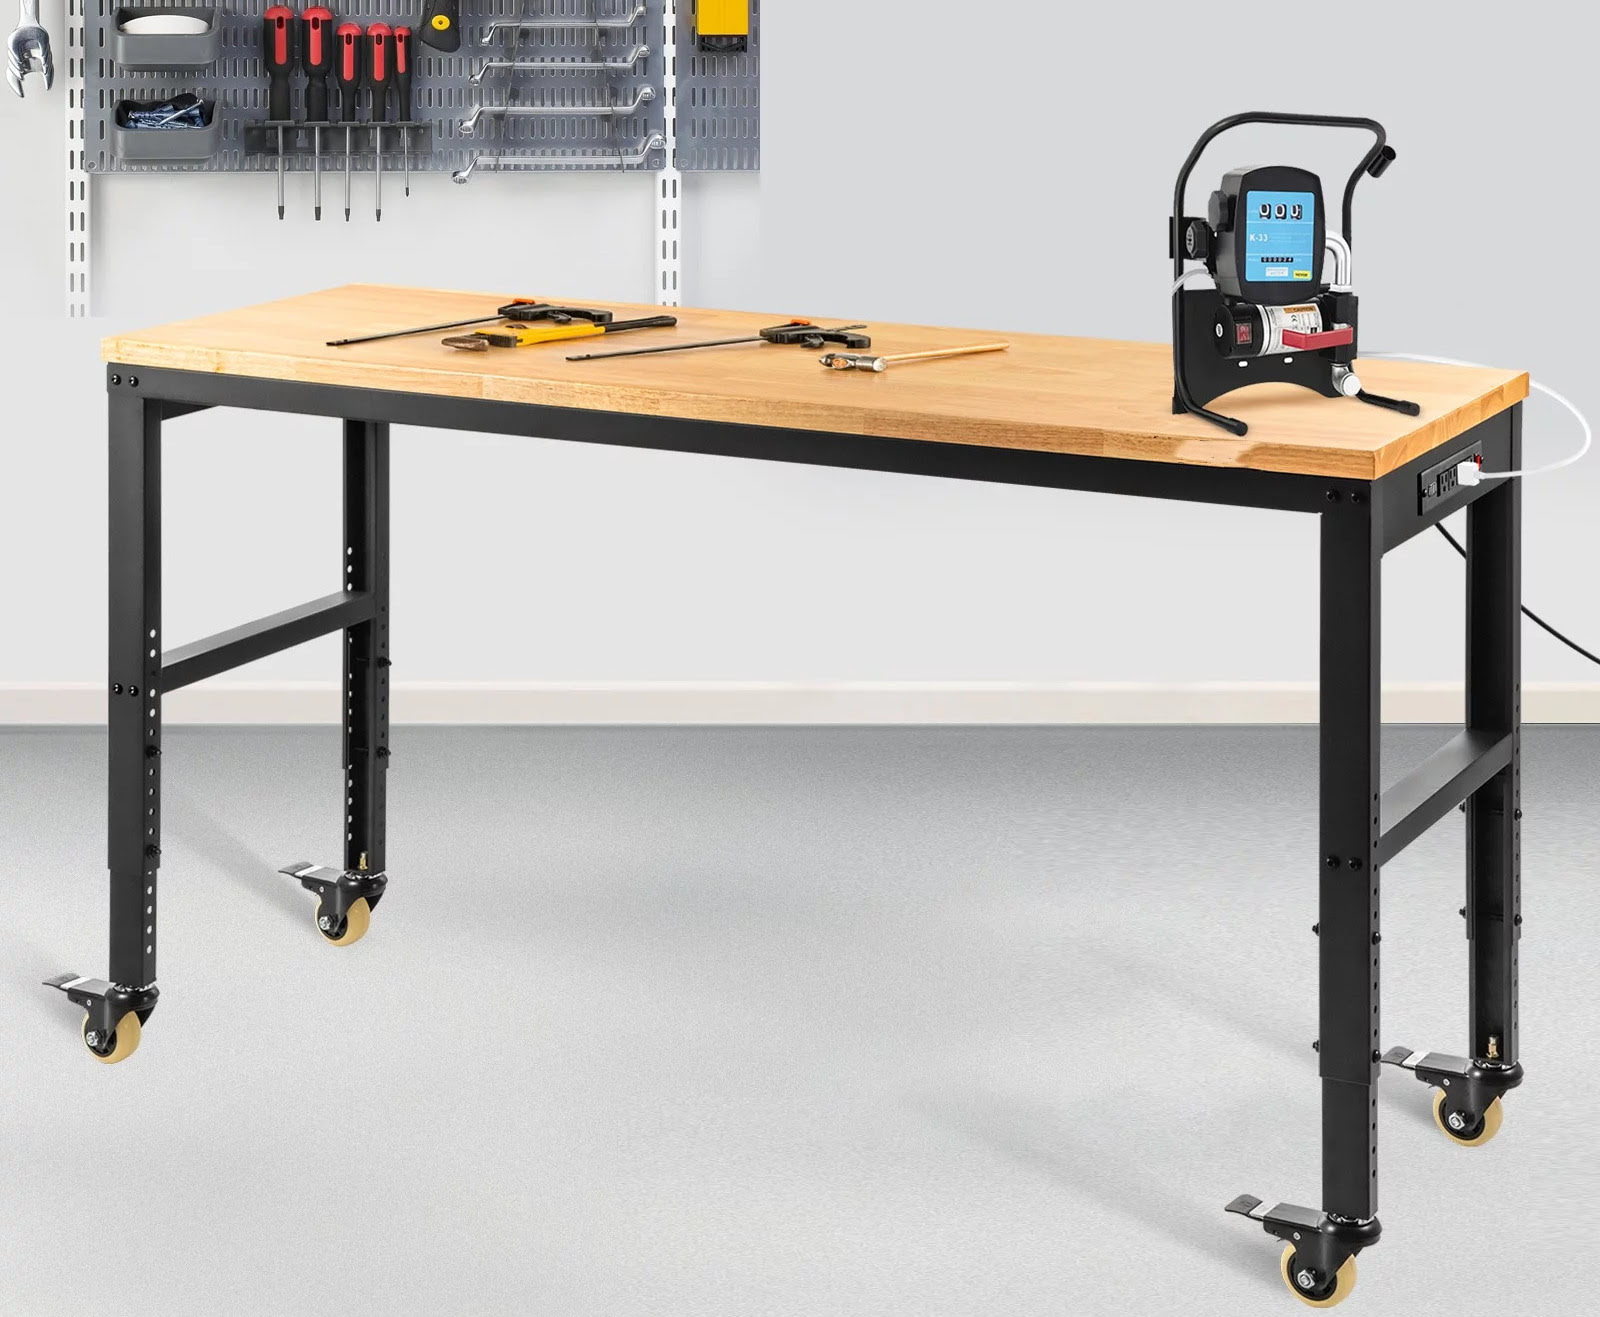
Workspace Zone: Ensure that a clear and spacious area on your workbench is designated as your primary workspace. This zone should be free of clutter and reserved for assembling, measuring, and other project-related tasks. Keeping this area clear will enhance your productivity and prevent accidental damage to delicate materials.
-
Materials Zone: If you frequently work with specific materials such as wood, metal, or plastic, consider allocating separate areas or containers for each material type. This segregation helps prevent cross-contamination and makes it easier to access the materials you need without rummaging through unrelated items.
By establishing these distinct zones on your workbench, you'll create a well-organized and functional workspace that supports your DIY and home improvement endeavors. Each zone serves a specific purpose, contributing to a more efficient and enjoyable working environment.
Read more: How To Build A Workbench With Hand Tools
Utilizing Storage Solutions
Efficient storage solutions are the backbone of a well-organized workbench. By utilizing the right storage options, you can keep your tools and supplies easily accessible while maximizing the use of your workspace. Here are some effective storage solutions to consider for your workbench:
-
Pegboards: Installing a pegboard on the wall behind your workbench provides a versatile and customizable storage solution. Use hooks, bins, and shelves to organize and display your frequently used tools. Pegboards not only keep your tools within arm's reach but also serve as a visual reminder of each tool's proper place, making it easier to maintain organization.
-
Tool Chests and Cabinets: For larger tools and items you don't use as frequently, consider investing in a tool chest or cabinet. These storage units provide ample space for storing power tools, bulky equipment, and items that you want to keep out of sight when not in use. Look for options with drawers, shelves, and compartments to accommodate a variety of tools and supplies.
-
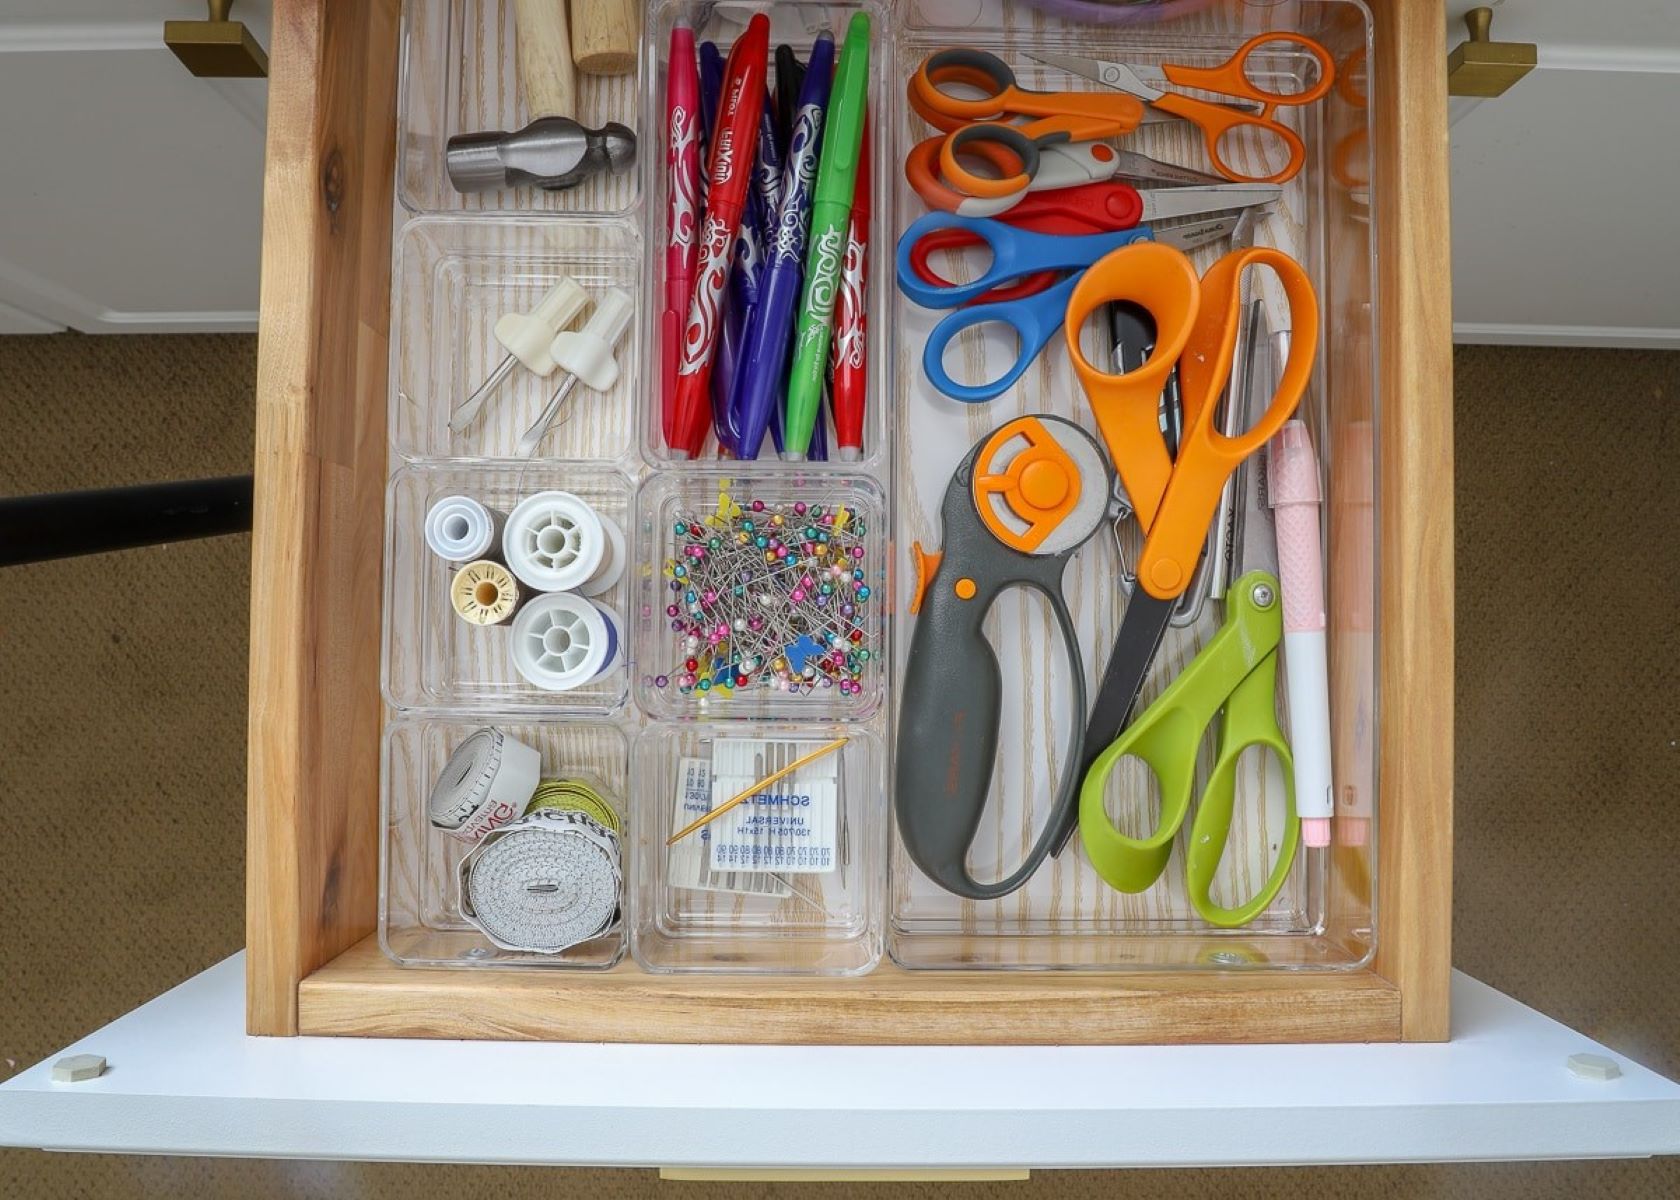
Drawer Organizers: Utilize drawer organizers to keep small parts, fasteners, and hand tools neatly arranged. These organizers come in various configurations, allowing you to customize the compartments to suit your specific needs. Sorting screws, nails, nuts, and bolts into separate sections not only keeps them organized but also makes it easier to find the right fastener when needed.
-
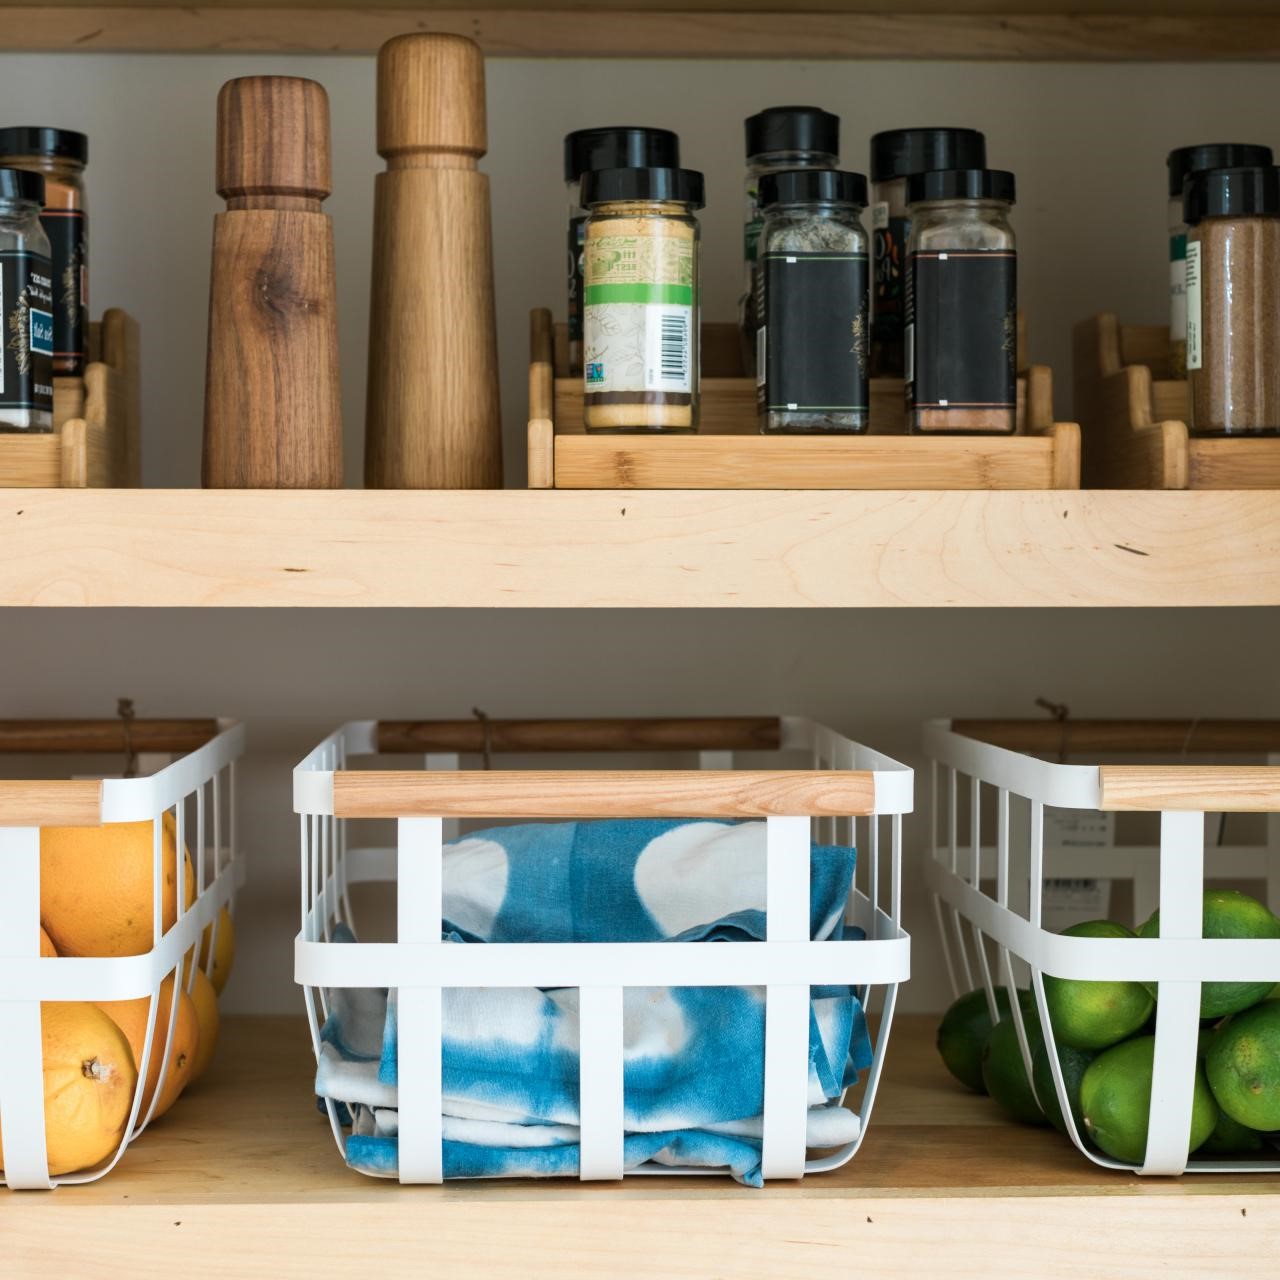
Wall-Mounted Shelves: If your workbench area has available wall space, consider installing wall-mounted shelves. These shelves are ideal for storing containers of adhesives, finishes, and other frequently used supplies. By keeping these items off the workbench surface, you free up valuable space for active projects while still maintaining easy access.
-
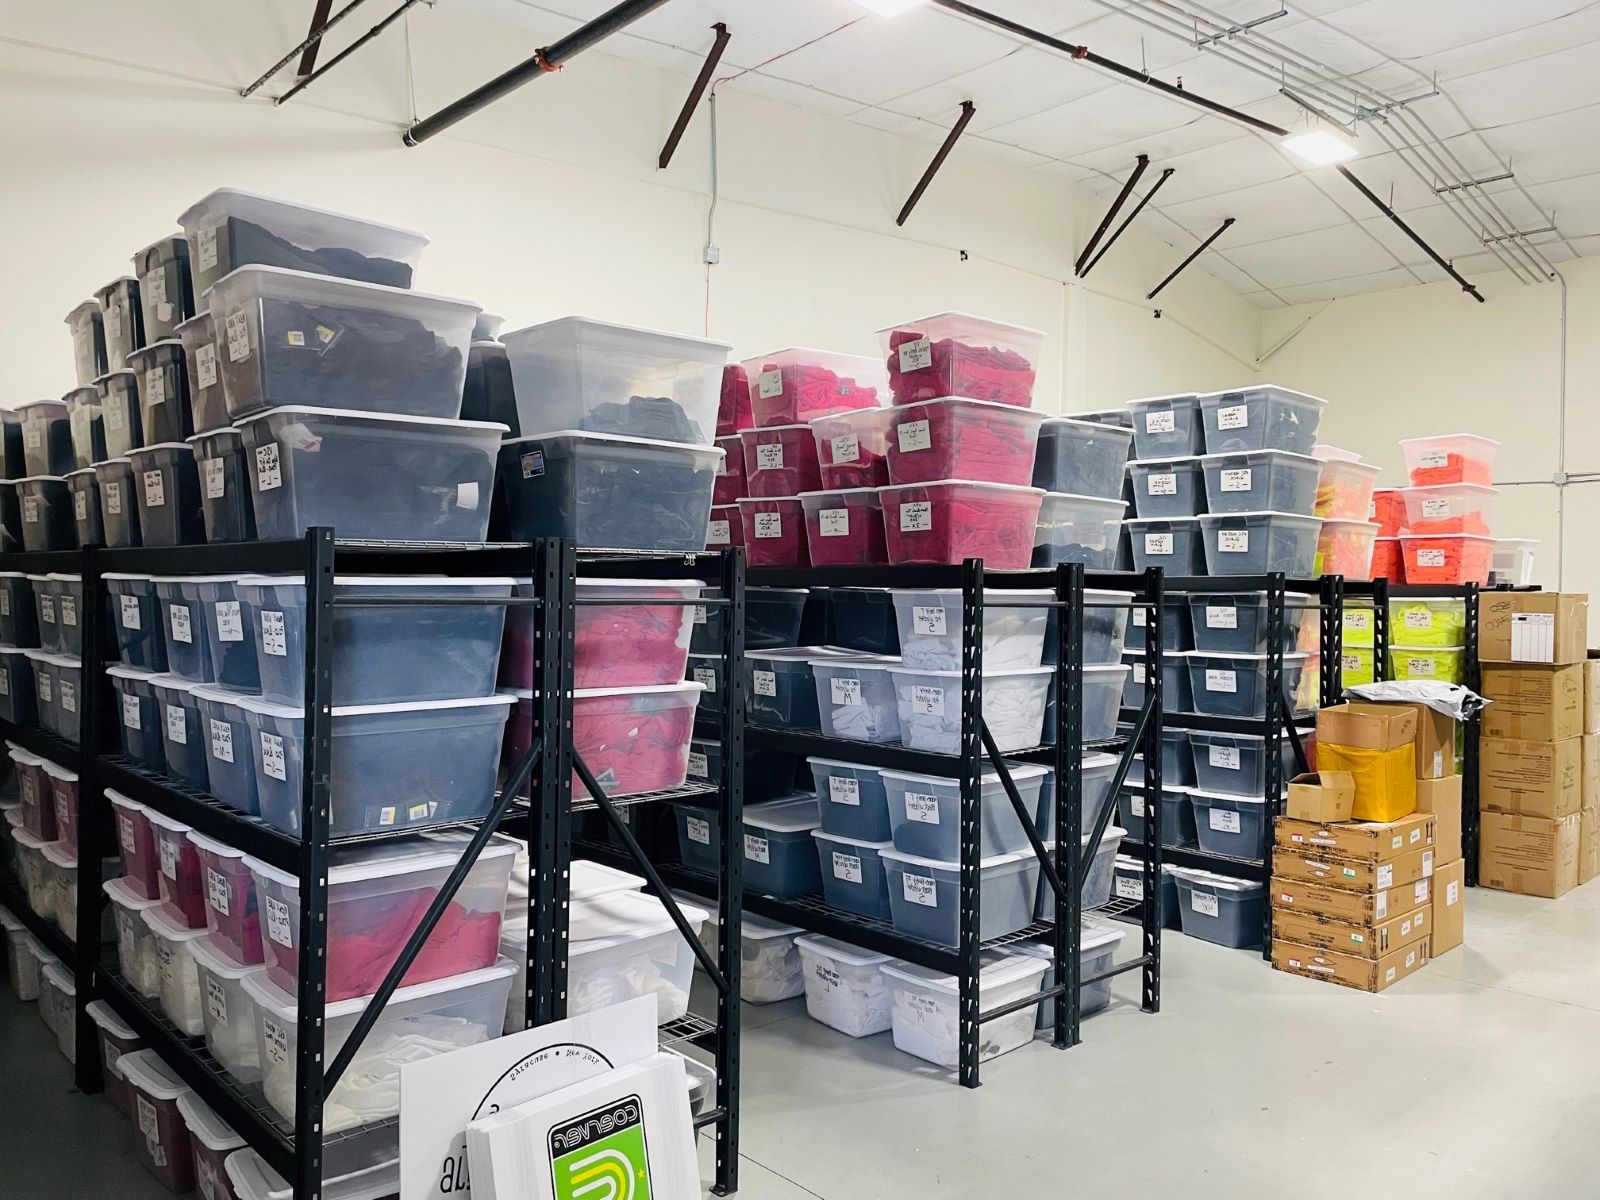
Clear Bins and Containers: Transparent bins and containers are excellent for storing items that you want to keep visible and easily identifiable. Use these containers to store items such as safety gear, protective eyewear, and project-specific materials. Labeling the bins further enhances organization and ensures that you can quickly locate what you need.
-
Overhead Storage: If floor and wall space is limited, consider utilizing overhead storage options. This could include ceiling-mounted racks or shelves for storing less frequently used items, such as seasonal tools or bulky materials. Overhead storage helps free up valuable workspace while keeping items accessible when needed.
By incorporating these storage solutions into your workbench organization, you can create a tidy and efficient workspace that supports your DIY and home improvement projects. Each storage option serves a specific purpose, contributing to a well-rounded and organized workbench setup.
Use pegboards and shelves to keep tools and supplies off the work surface. Group similar items together and label storage containers for easy access.
Labeling and Maintenance
Maintaining the organization of your workbench is an ongoing process, and proper labeling and maintenance practices play a crucial role in sustaining an orderly workspace. By implementing clear labeling and establishing regular maintenance routines, you can ensure that your organized workbench remains functional and efficient over time.
Steps to Follow:
-
Labeling Systems: Invest in a labeling system that suits your storage containers and shelves. Use durable, easy-to-read labels to identify the contents of drawers, bins, and containers. Clear labeling not only helps you quickly locate items but also encourages consistent storage habits, ensuring that tools and supplies are returned to their designated spots after use.
-
Maintenance Schedule: Establish a regular maintenance schedule for your workbench organization. Set aside time at the end of each project or work session to tidy up the workbench, return tools to their designated zones, and address any clutter that may have accumulated. Consistent maintenance prevents small issues from snowballing into disorganization and chaos.
-
Tool Maintenance: In addition to organizing your workbench, prioritize the maintenance of your tools. Keep your hand tools clean, sharp, and in good working condition. Regularly inspect power tools for any signs of wear or damage, and address any issues promptly. Well-maintained tools not only function better but also contribute to a safer and more efficient work environment.
-
Review and Adjust: Periodically review the layout and organization of your workbench to ensure that it continues to meet your evolving needs. As your projects and tool collection expand, you may need to adjust the placement of zones and storage solutions. Stay flexible and make adjustments as necessary to optimize your workspace.
-
Preventative Measures: Implement preventative measures to maintain the cleanliness and functionality of your workbench. This could include using protective mats or trays to catch spills and debris, regularly dusting and cleaning the workbench surface, and addressing any storage issues before they escalate.
By incorporating clear labeling practices and establishing regular maintenance routines, you can uphold the organization and functionality of your workbench. These practices contribute to a seamless and enjoyable DIY and home improvement experience, allowing you to focus on your projects without the distraction of disorganization.
Conclusion
In conclusion, organizing a workbench is a transformative process that enhances the efficiency, functionality, and overall enjoyment of DIY and home improvement projects. By assessing your specific workbench needs, sorting and decluttering your tools and supplies, establishing distinct zones, utilizing effective storage solutions, and implementing labeling and maintenance practices, you can create a well-organized workspace tailored to your activities. Whether you're a woodworking enthusiast, a DIY mechanic, or a crafty creator, a well-organized workbench sets the stage for successful and stress-free project experiences. Embrace the opportunity to transform your workbench into a space that not only reflects your passion for DIY endeavors but also supports your creativity and productivity. With a well-organized workbench at your disposal, you're ready to tackle your next project with confidence and ease.
Frequently Asked Questions about How To Organize A Workbench
Was this page helpful?
At Storables.com, we guarantee accurate and reliable information. Our content, validated by Expert Board Contributors, is crafted following stringent Editorial Policies. We're committed to providing you with well-researched, expert-backed insights for all your informational needs.


0 thoughts on “How To Organize A Workbench”