Home>Health & Lifestyle>Mindfulness & Relaxation Spaces>How To Clean An Oil Diffuser
Mindfulness & Relaxation Spaces
How To Clean An Oil Diffuser
Modified: January 4, 2024
Discover the best techniques for cleaning your oil diffuser to maintain a peaceful and relaxing atmosphere in your mindfulness and relaxation spaces. Explore our step-by-step guide now!
(Many of the links in this article redirect to a specific reviewed product. Your purchase of these products through affiliate links helps to generate commission for Storables.com, at no extra cost. Learn more)
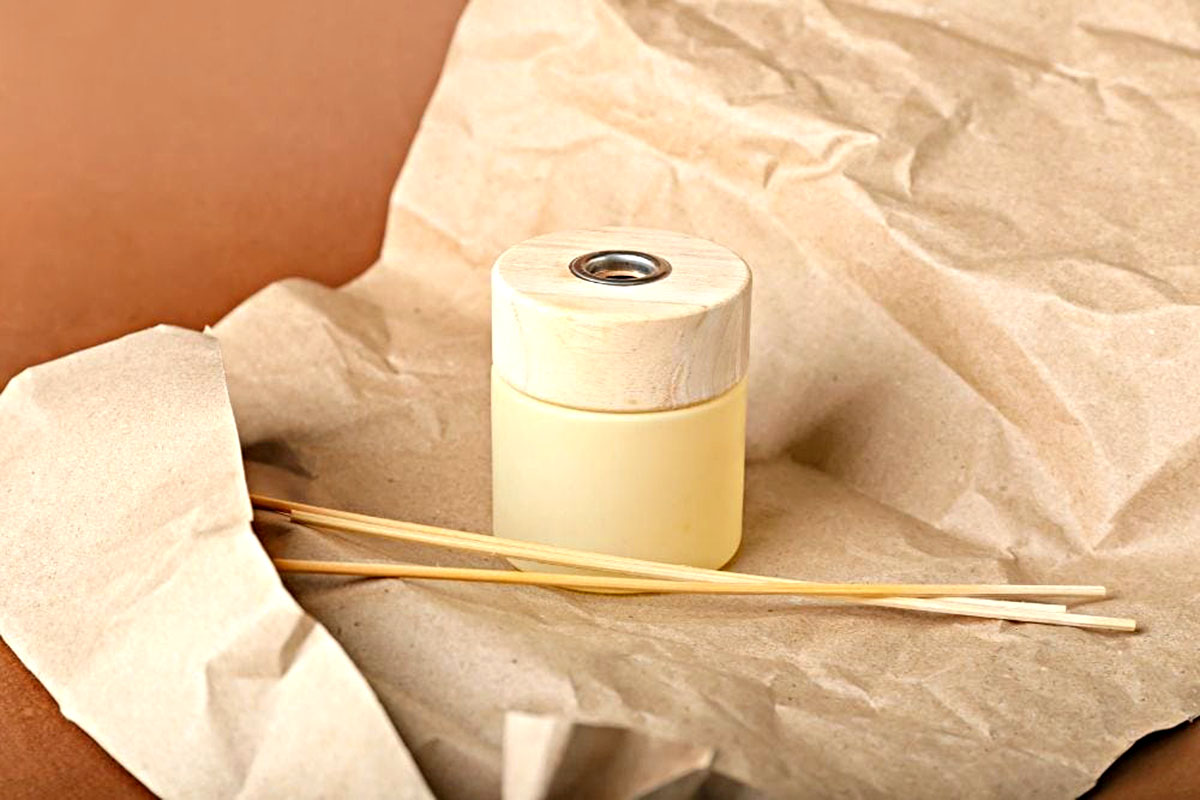
Introduction
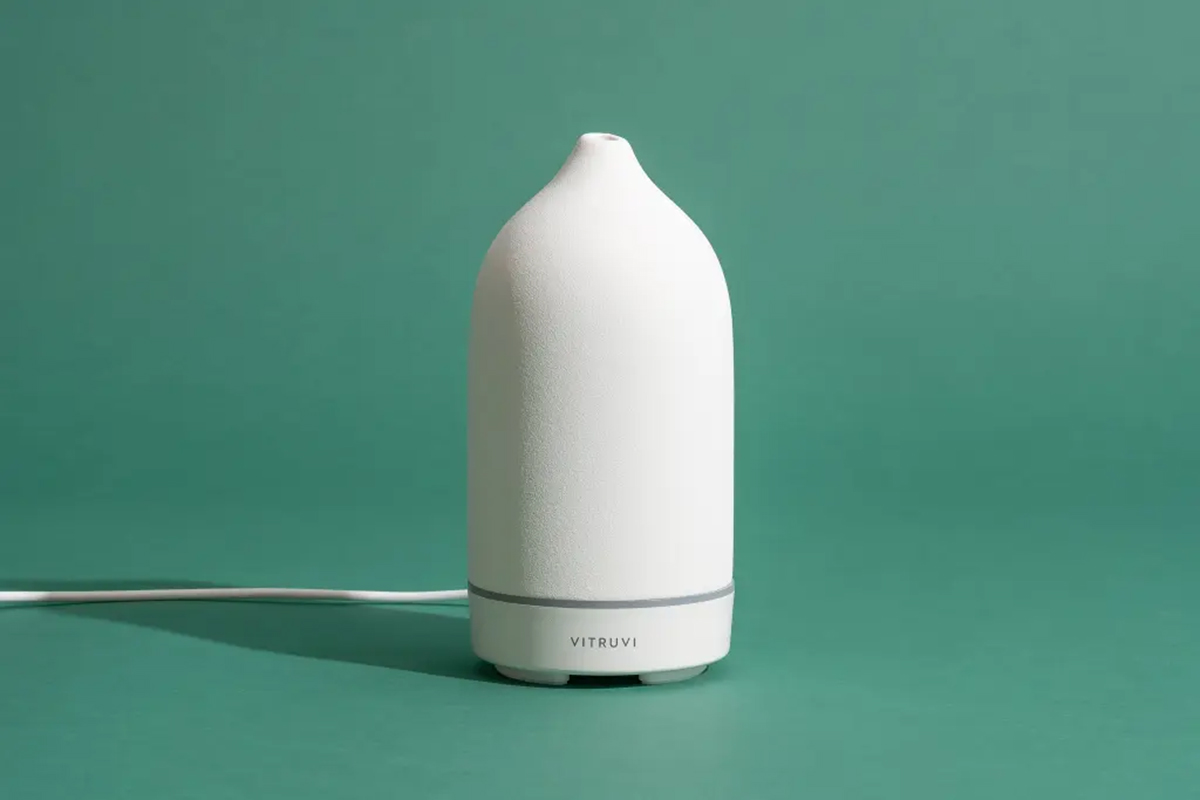
Welcome to the serene world of oil diffusers, where the gentle hum of aromatic mist fills the air, creating a tranquil oasis in your home. Oil diffusers are not only delightful for their soothing scents but also for their ability to promote relaxation and mindfulness. However, to maintain their effectiveness and extend their lifespan, it's crucial to keep them clean.
In this comprehensive guide, we'll explore the step-by-step process of cleaning an oil diffuser, ensuring that it continues to disperse your favorite essential oils with optimal efficiency. By following these simple yet effective cleaning techniques, you'll preserve the purity of your essential oils and the functionality of your diffuser, ultimately enhancing the ambiance of your living space. So, let's embark on this cleansing journey and rejuvenate your beloved oil diffuser to its pristine state!
Key Takeaways:
- Keep your oil diffuser clean for optimal performance and longevity. Regular maintenance ensures a delightful aromatic experience and promotes relaxation in your home.
- A clean oil diffuser not only disperses scents effectively but also contributes to a serene living space, uplifting your mood and promoting mindfulness.
Read more: How To Clean Up Spilled Diffuser Oil
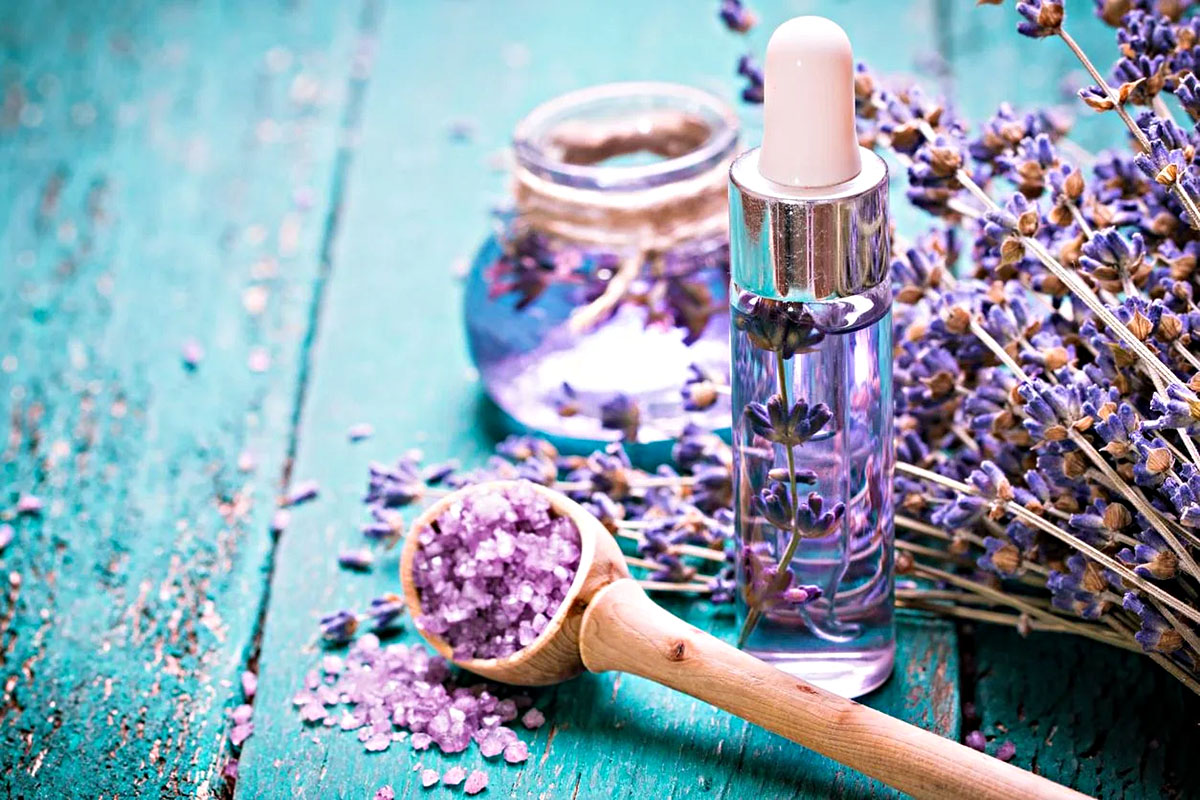
Step 1: Gather Your Supplies
Before diving into the cleaning process, it’s essential to assemble the necessary supplies. Having the right tools at your disposal will streamline the cleaning procedure and ensure thorough maintenance of your oil diffuser. Here’s a list of supplies you’ll need:
- Water: Distilled water is preferable for cleaning to prevent mineral buildup.
- Vinegar or Rubbing Alcohol: Both are effective for breaking down oil residue and disinfecting the diffuser.
- Cotton Swabs or Soft Cloth: These are handy for reaching and wiping intricate parts of the diffuser.
- Warm, Soapy Water: A mild soap solution can be used to cleanse the exterior of the diffuser.
- Soft-bristled Brush: Ideal for scrubbing hard-to-reach areas, such as the ultrasonic plate.
- Towel or Paper Towels: These are necessary for drying the diffuser components after cleaning.
By gathering these supplies beforehand, you’ll be fully equipped to embark on the cleaning process without interruptions, ensuring a seamless and efficient experience.
Step 2: Empty and Wipe Down the Oil Reservoir
The first crucial step in cleaning your oil diffuser is to empty and thoroughly wipe down the oil reservoir. This ensures the removal of any residual oils and impurities that may have accumulated over time. Here’s a detailed guide on how to accomplish this:
- Unplug the Diffuser: Before beginning the cleaning process, it’s important to unplug the diffuser from its power source to ensure safety.
- Empty the Reservoir: Carefully pour out any remaining water and essential oil from the reservoir. Dispose of the water and oil appropriately.
- Wipe the Reservoir: Using a soft, lint-free cloth dampened with warm, soapy water, gently wipe the interior of the reservoir to remove any oil residue or buildup. Take care to avoid getting water into the vent or other openings.
- Rinse and Dry: After wiping down the reservoir, rinse it with clean water and dry it thoroughly with a towel or paper towels. Ensuring that the reservoir is completely dry is essential before moving on to the next cleaning steps.
By diligently emptying and wiping down the oil reservoir, you’re effectively preparing the diffuser for a more comprehensive cleaning process, setting the stage for a refreshed and revitalized appliance.
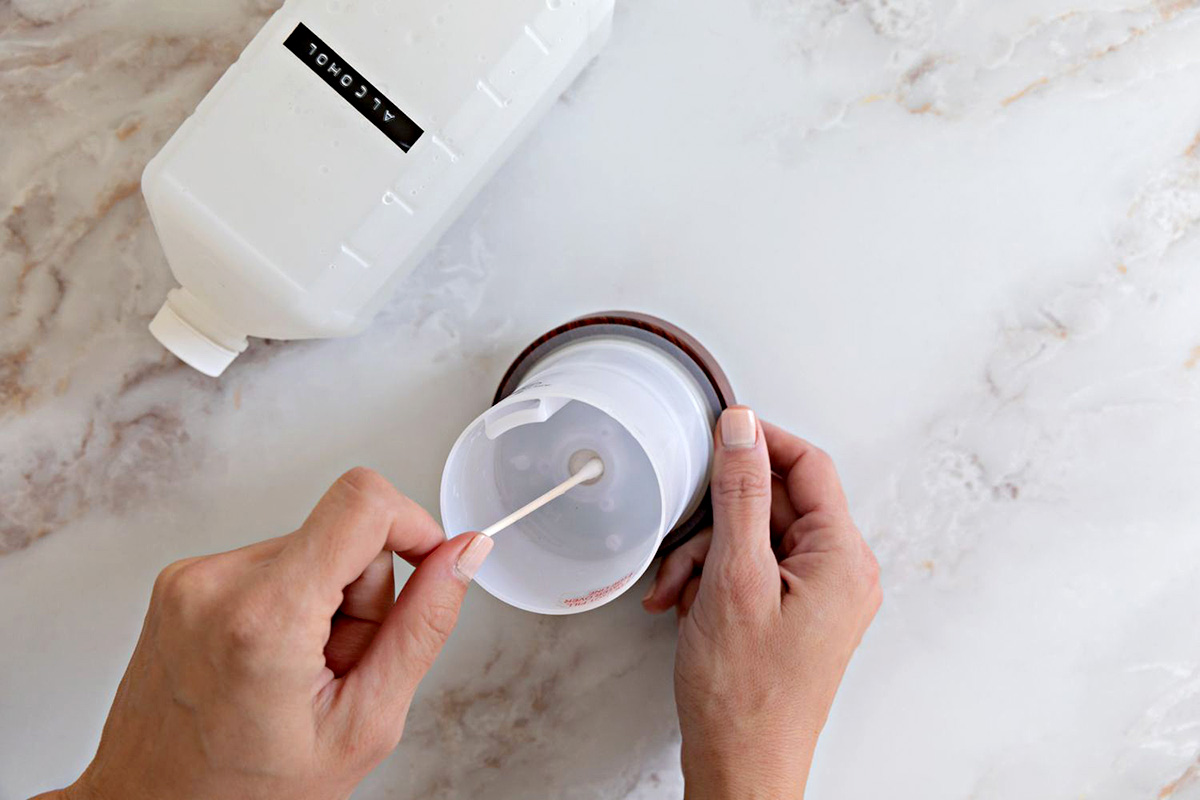
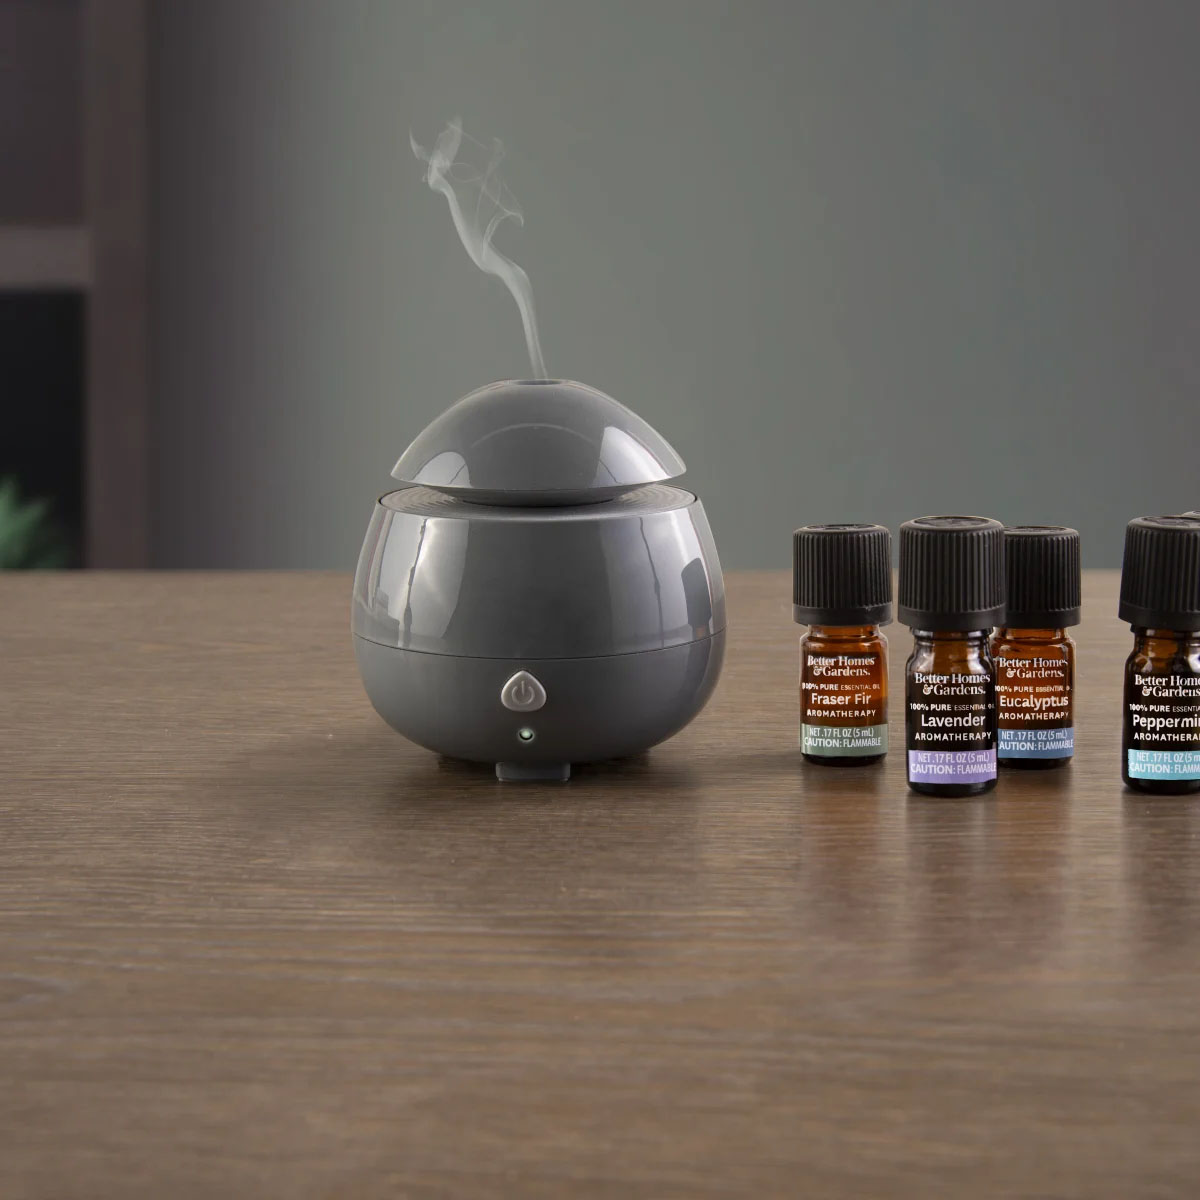
Step 3: Clean the Ultrasonic Plate
The ultrasonic plate is a vital component of your oil diffuser, responsible for creating the fine mist that disperses the essential oils into the air. Over time, this plate can accumulate mineral deposits and oil residue, affecting the diffuser’s performance. Cleaning the ultrasonic plate is essential to maintain the efficiency and longevity of your oil diffuser. Here’s how to effectively clean this crucial component:
- Access the Ultrasonic Plate: Depending on your diffuser model, you may need to remove a cover or access panel to reach the ultrasonic plate.
- Inspect for Residue: Carefully examine the ultrasonic plate for any buildup or residue. Mineral deposits and oil residue may appear as white or cloudy film on the plate.
- Clean with Vinegar or Rubbing Alcohol: Dampen a cotton swab or soft cloth with white vinegar or rubbing alcohol and gently wipe the ultrasonic plate to dissolve and remove any deposits. Take care not to apply excessive pressure or scratch the plate.
- Rinse and Dry: After cleaning, lightly dampen a fresh cloth with water and wipe the ultrasonic plate to remove any remaining vinegar or alcohol. Ensure the plate is completely dry before reassembling the diffuser.
- Reassemble the Diffuser: Once the ultrasonic plate is clean and dry, carefully reassemble the diffuser, ensuring all components are securely in place.
By diligently cleaning the ultrasonic plate, you’re optimizing the performance of your oil diffuser, allowing it to continue diffusing essential oils with maximum effectiveness. This proactive maintenance ensures that your diffuser operates at its best, providing you with a consistent and delightful aromatic experience.
To clean an oil diffuser, mix equal parts water and white vinegar, then use a cotton swab to clean the inside. Wipe the outside with a damp cloth.
Step 4: Clean the Exterior
While the interior components of your oil diffuser are essential for its functionality, maintaining the exterior cleanliness is equally important for both aesthetic and practical reasons. Cleaning the exterior not only enhances the visual appeal of the diffuser but also ensures that no dirt or grime compromises its operation. Here’s how to effectively clean the exterior of your oil diffuser:
- Unplug the Diffuser: As a safety precaution, ensure that the diffuser is unplugged from the power source before proceeding with the exterior cleaning.
- Use a Soft Cloth and Soapy Water: Dampen a soft cloth with warm, soapy water and gently wipe the entire exterior of the diffuser. Pay attention to any areas with visible dirt, fingerprints, or oil residue.
- Utilize a Soft-bristled Brush: For textured or intricate exteriors, such as decorative patterns or grooves, use a soft-bristled brush to dislodge any trapped dirt or dust. Ensure that the brush is gentle to prevent any damage to the diffuser’s surface.
- Rinse and Dry: After cleaning, rinse the cloth and wipe down the exterior with clean water to remove any soapy residue. Thoroughly dry the diffuser with a towel or allow it to air dry completely.
- Restore the Shine: For diffusers with a glossy or metallic finish, you can use a microfiber cloth to restore its shine and luster after cleaning.
By maintaining a clean exterior, you not only uphold the visual appeal of your oil diffuser but also demonstrate a commitment to its overall care and maintenance. A well-kept exterior reflects the pride you take in your diffuser and contributes to the overall ambiance of your living space.
Read more: How To Dilute Diffuser Oil
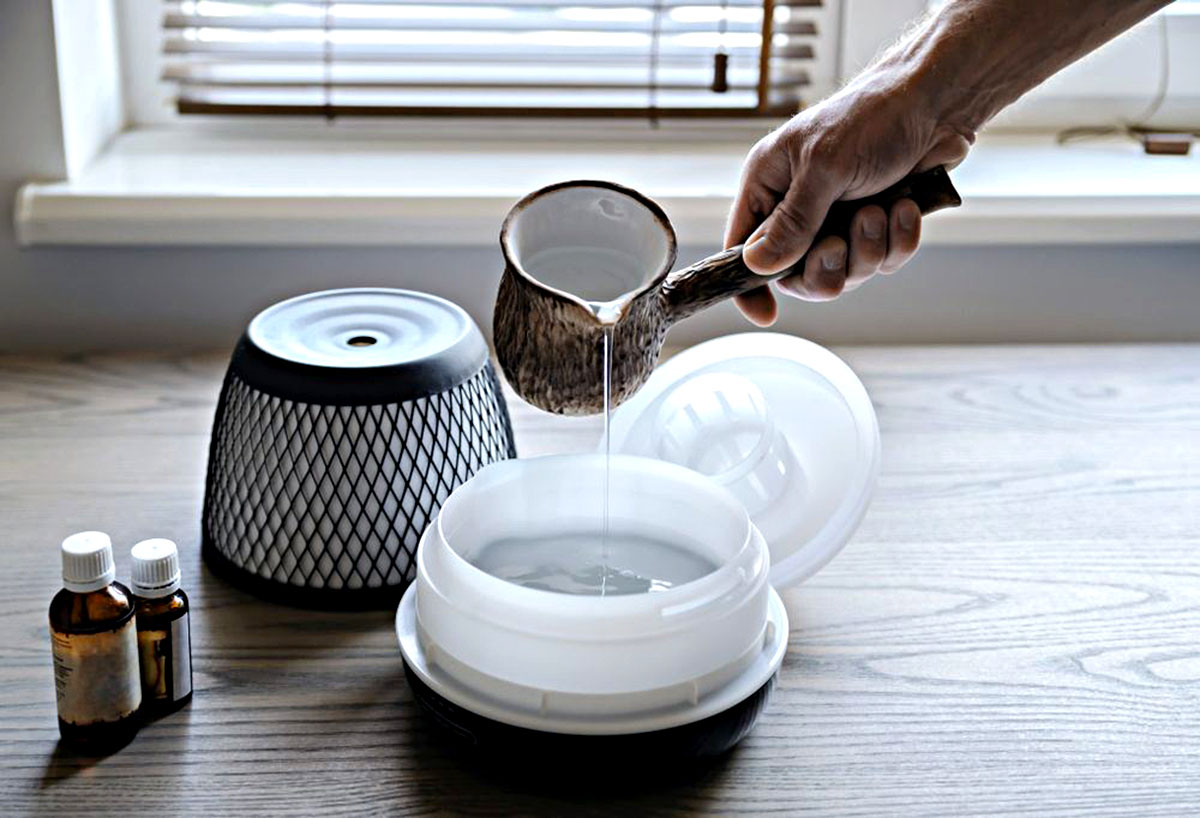
Step 5: Reassemble and Test
After completing the meticulous cleaning process, it’s time to reassemble your oil diffuser and ensure that it operates smoothly. This final step is crucial to verify that the diffuser functions optimally and continues to disperse your favorite essential oils with purity and efficiency. Here’s a comprehensive guide on reassembling and testing your freshly cleaned oil diffuser:
- Reassemble the Components: Carefully reassemble all the components of the oil diffuser, ensuring that each part is securely fitted in place. Take care to follow the manufacturer’s instructions for reassembly, especially if your diffuser has specific reassembly guidelines.
- Refill with Water: Fill the reservoir of the diffuser with clean, distilled water, ensuring that it doesn’t exceed the maximum fill line indicated by the manufacturer.
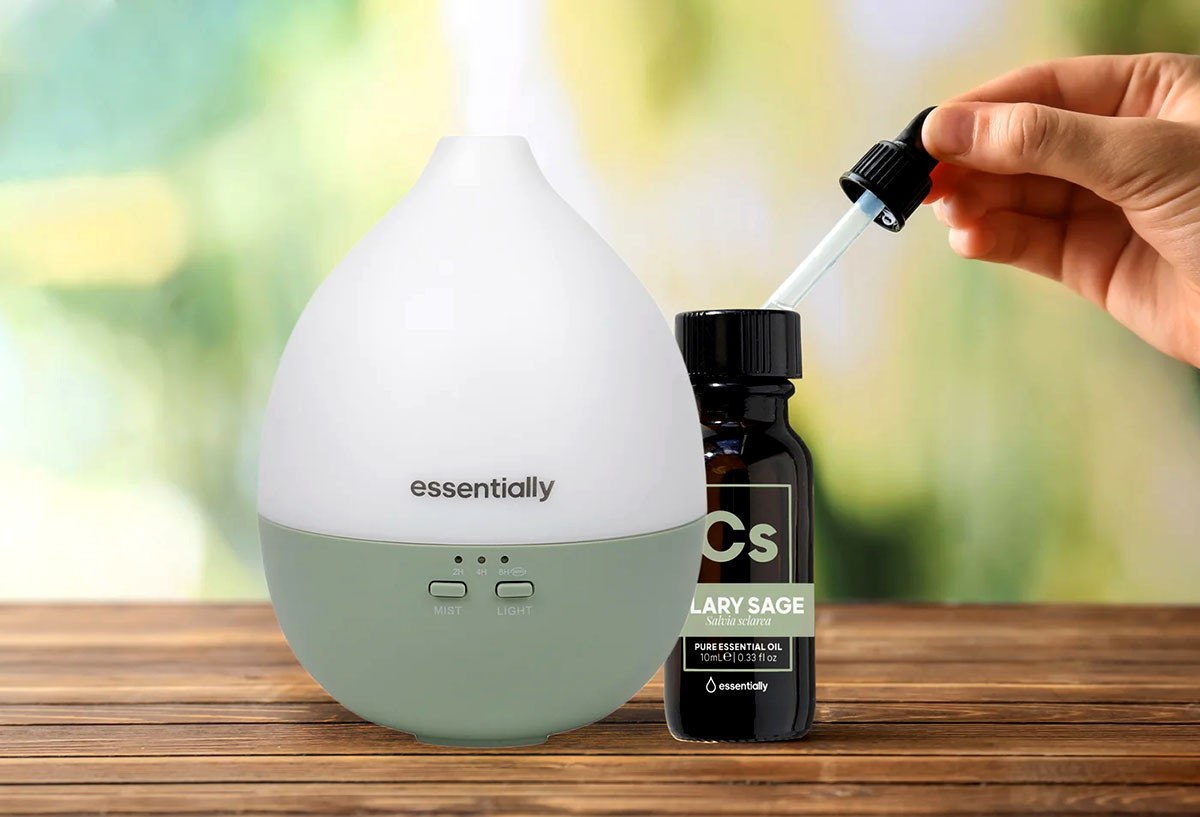
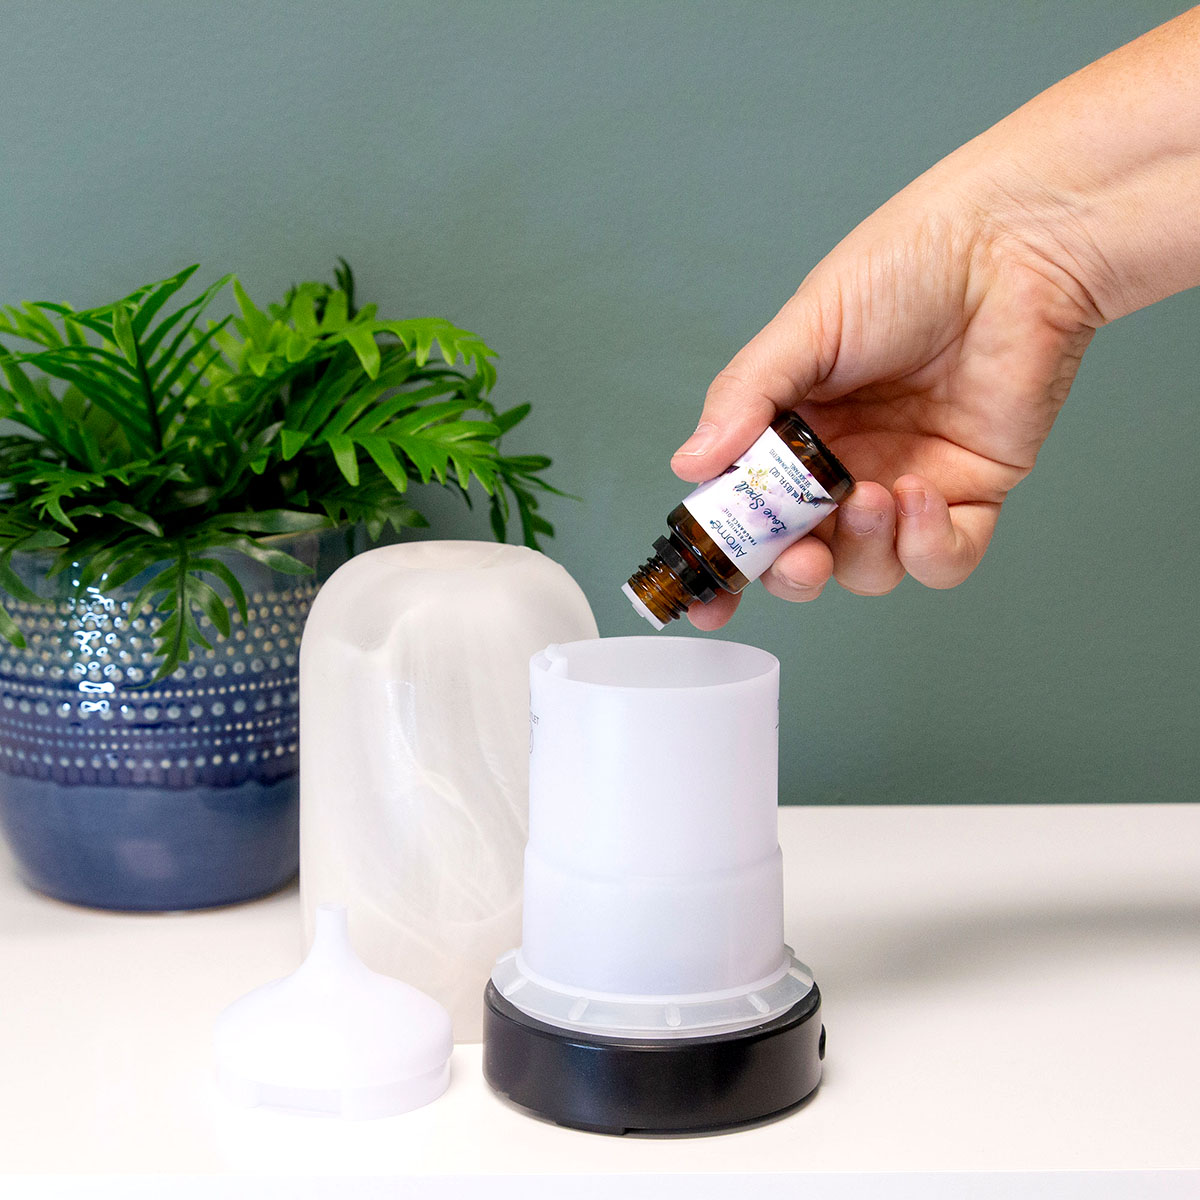
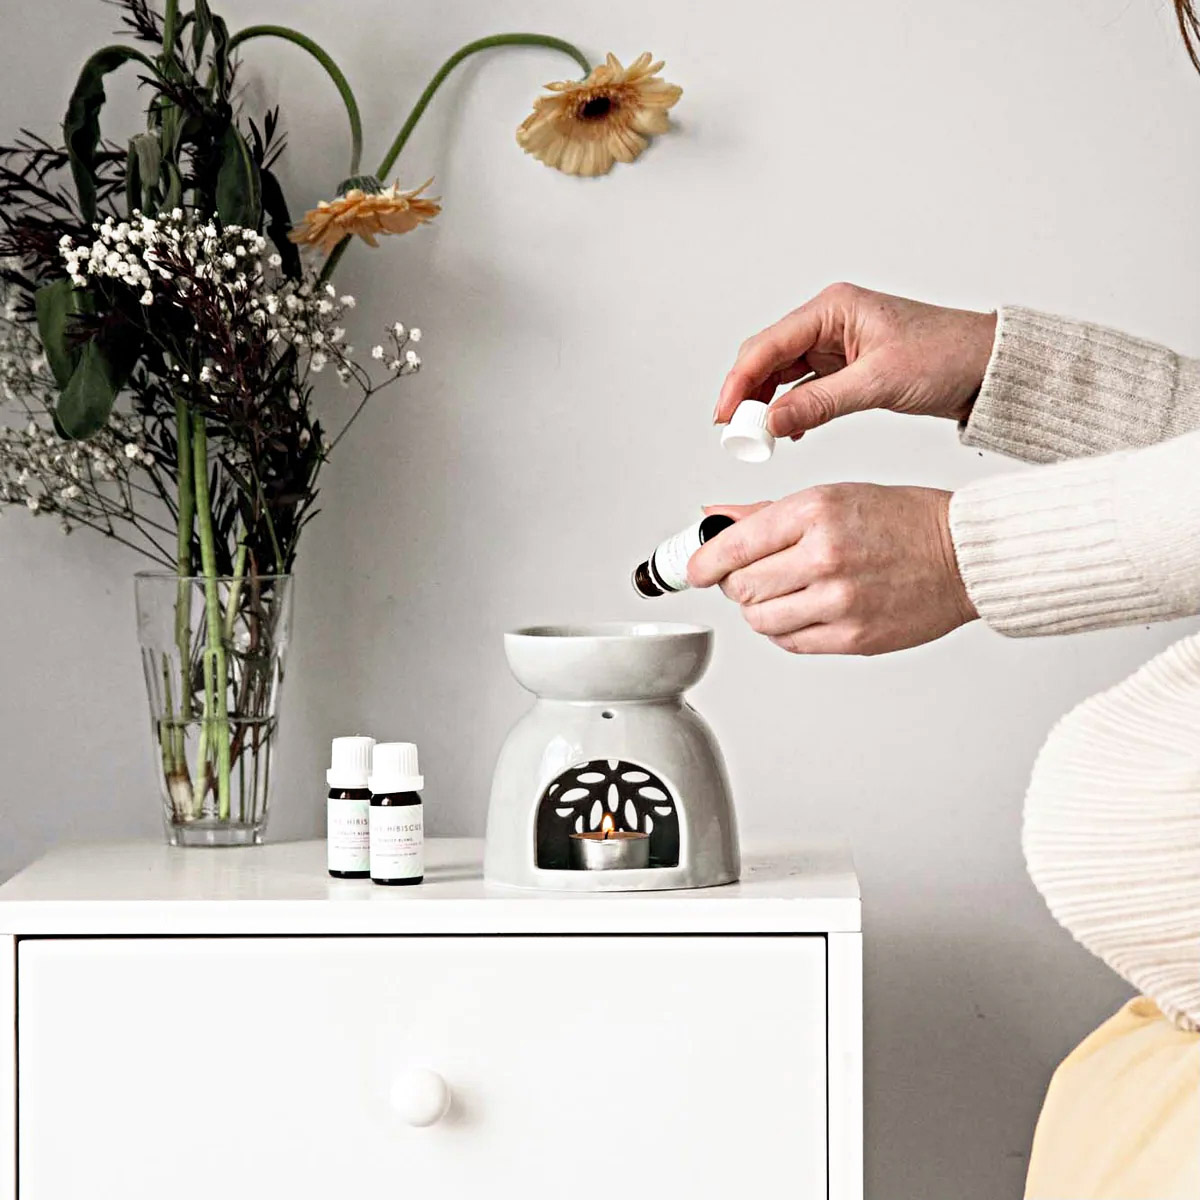
- Add Essential Oils: If desired, add a few drops of your preferred essential oil to the water in the reservoir. Choose an essential oil known for its calming or invigorating properties to enhance the ambiance of your space.
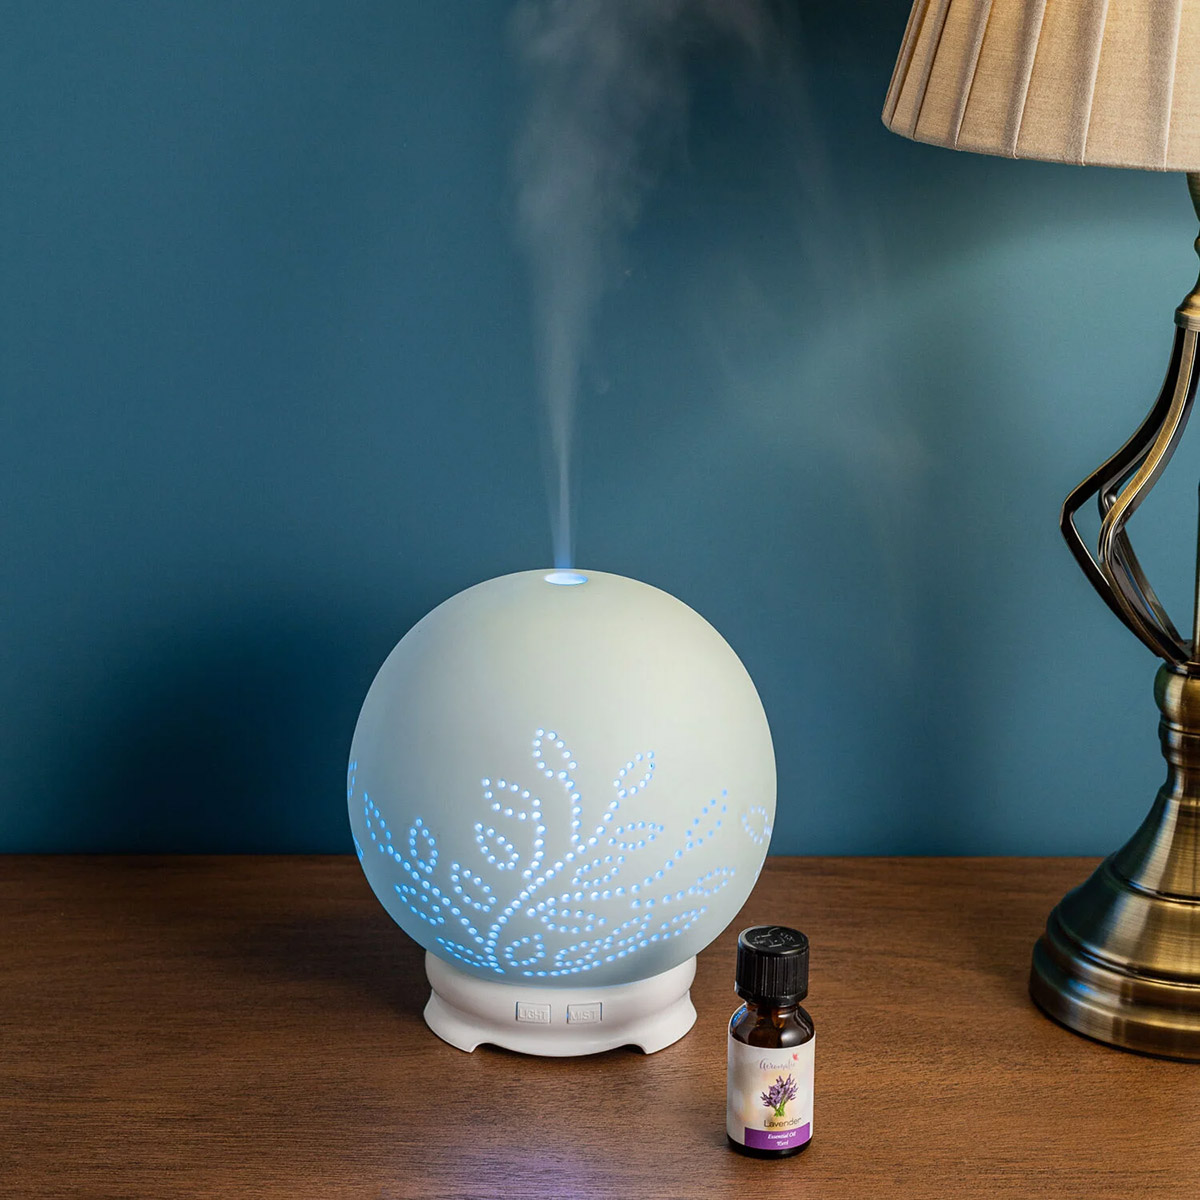
- Plug In and Power On: Once the diffuser is reassembled and filled with water and essential oils, plug it back into the power source and turn it on. Observe the mist production to ensure that the diffuser is functioning as expected.
- Observe and Enjoy: Take a moment to bask in the rejuvenating aroma as the diffuser disperses the scented mist. Ensure that the diffuser operates quietly and efficiently, creating a serene atmosphere in your home.
By reassembling and testing your oil diffuser, you confirm that the cleaning process has restored its functionality and effectiveness. This final step allows you to relish the revitalized performance of your diffuser and revel in the delightful scents that enrich your living space.
Conclusion
Congratulations on successfully completing the comprehensive cleaning process for your oil diffuser! By diligently following the step-by-step guide outlined in this article, you’ve not only preserved the functionality of your diffuser but also ensured a consistent and delightful aromatic experience in your living space.
Regular maintenance and cleaning of your oil diffuser are essential to uphold its performance and prolong its lifespan. By incorporating these cleaning practices into your routine, you’ll continue to enjoy the benefits of aromatherapy and create a serene atmosphere in your home.
Remember, a clean oil diffuser not only disperses essential oils more effectively but also contributes to the overall ambiance of your living space. The rejuvenating scents that permeate the air uplift your mood and promote relaxation and mindfulness, enriching your daily experiences.
As you revel in the tranquil oasis created by your freshly cleaned oil diffuser, take a moment to appreciate the rejuvenating power of aromatherapy and the simple act of self-care. Embrace the serenity and mindfulness that your clean oil diffuser fosters, and allow it to become an integral part of your wellness routine.
Thank you for prioritizing the care and maintenance of your oil diffuser. May its soothing scents continue to enhance your home and elevate your well-being, creating a sanctuary of relaxation and mindfulness in your everyday life.
Frequently Asked Questions about How To Clean An Oil Diffuser
Was this page helpful?
At Storables.com, we guarantee accurate and reliable information. Our content, validated by Expert Board Contributors, is crafted following stringent Editorial Policies. We're committed to providing you with well-researched, expert-backed insights for all your informational needs.

0 thoughts on “How To Clean An Oil Diffuser”