Home>Health & Lifestyle>Mindfulness & Relaxation Spaces>How To Clean An Oil Diffuser Without Vinegar

Mindfulness & Relaxation Spaces
How To Clean An Oil Diffuser Without Vinegar
Modified: January 4, 2024
Discover effective ways to clean your oil diffuser without using vinegar for a more mindful and relaxing space. Keep your diffuser in pristine condition with these simple tips.
(Many of the links in this article redirect to a specific reviewed product. Your purchase of these products through affiliate links helps to generate commission for Storables.com, at no extra cost. Learn more)
Introduction
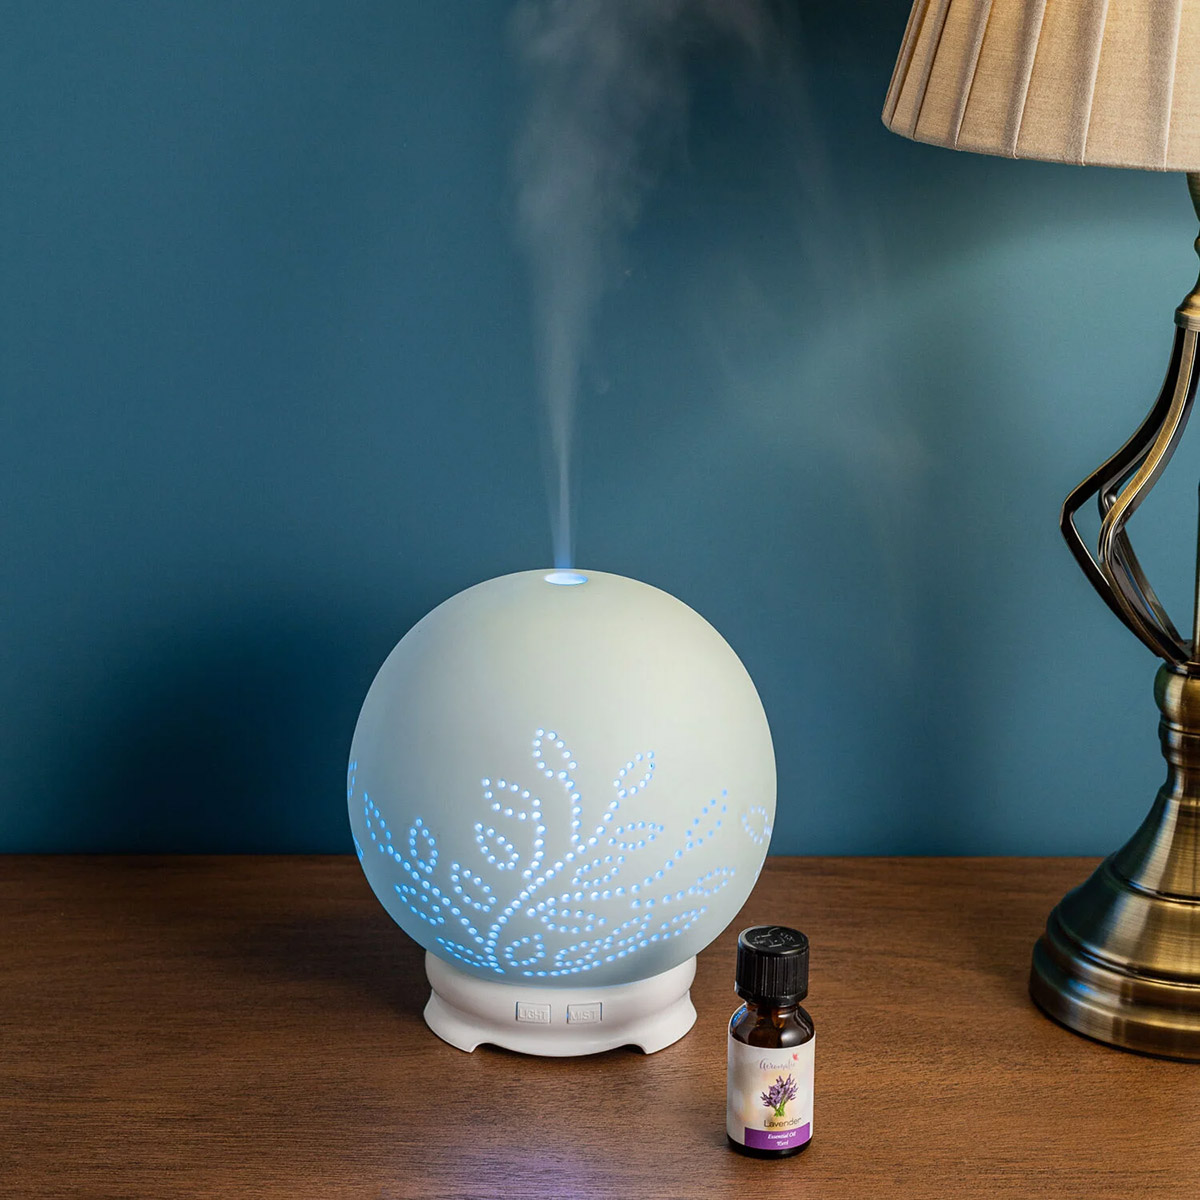
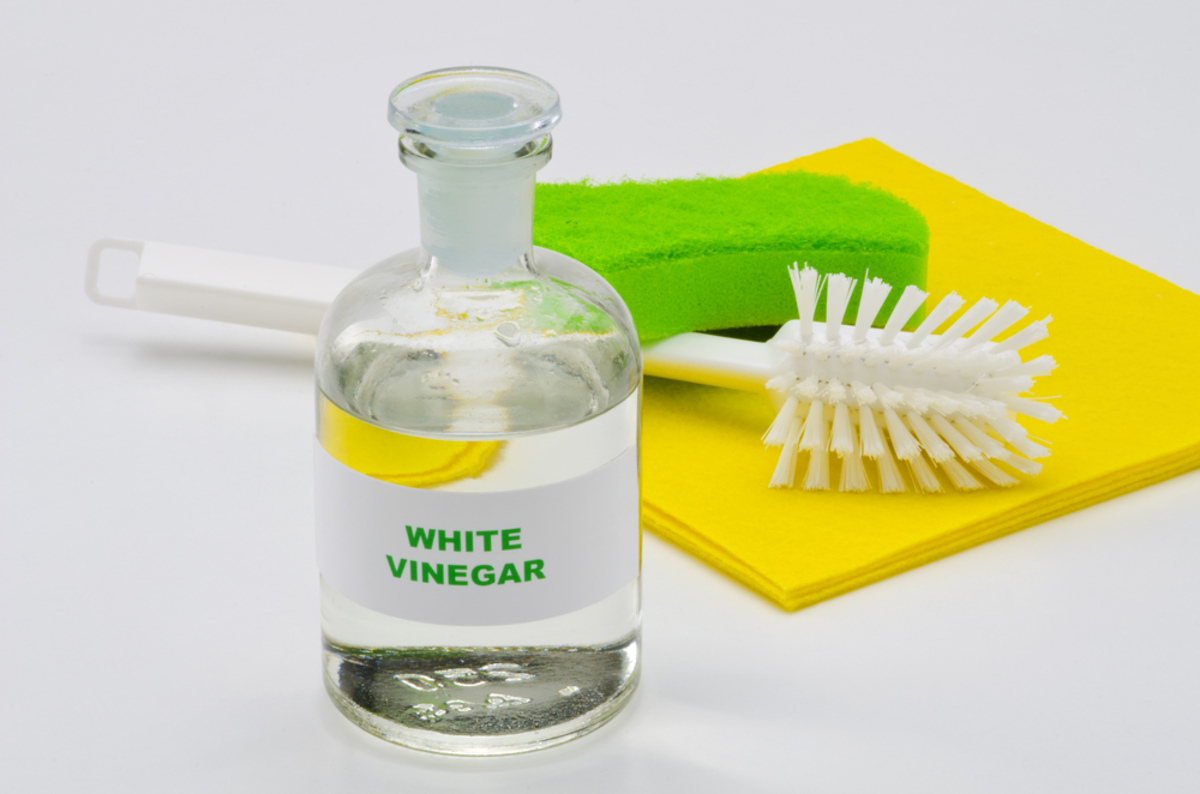
Welcome to the soothing world of essential oil diffusers! These delightful devices fill our homes with fragrant aromas, creating a tranquil ambiance that promotes relaxation and mindfulness. However, to ensure that your diffuser continues to function optimally, it’s crucial to keep it clean. While many cleaning tutorials recommend using vinegar, some individuals prefer to avoid its strong scent or simply don’t have it on hand. If you fall into this category, fear not! In this guide, we’ll explore how to clean an oil diffuser without vinegar, allowing you to maintain a pristine and fragrant environment without the need for this particular ingredient.
By following these simple steps, you can effectively remove any residue or impurities that may hinder your diffuser’s performance, all while using alternative cleaning materials that are readily available in most households. Let’s embark on this cleansing journey and ensure that your essential oil diffuser remains a beacon of tranquility and relaxation in your living space.
Key Takeaways:
- Keep your oil diffuser clean without vinegar using simple household items like mild soap and water. Enjoy the benefits of essential oils without the strong scent of vinegar.
- Regular cleaning and maintenance ensure your oil diffuser continues to create a tranquil and serene environment, promoting mindfulness and relaxation in your living space.
Read more: How To Use Diffuser Oil Without A Diffuser
Materials Needed
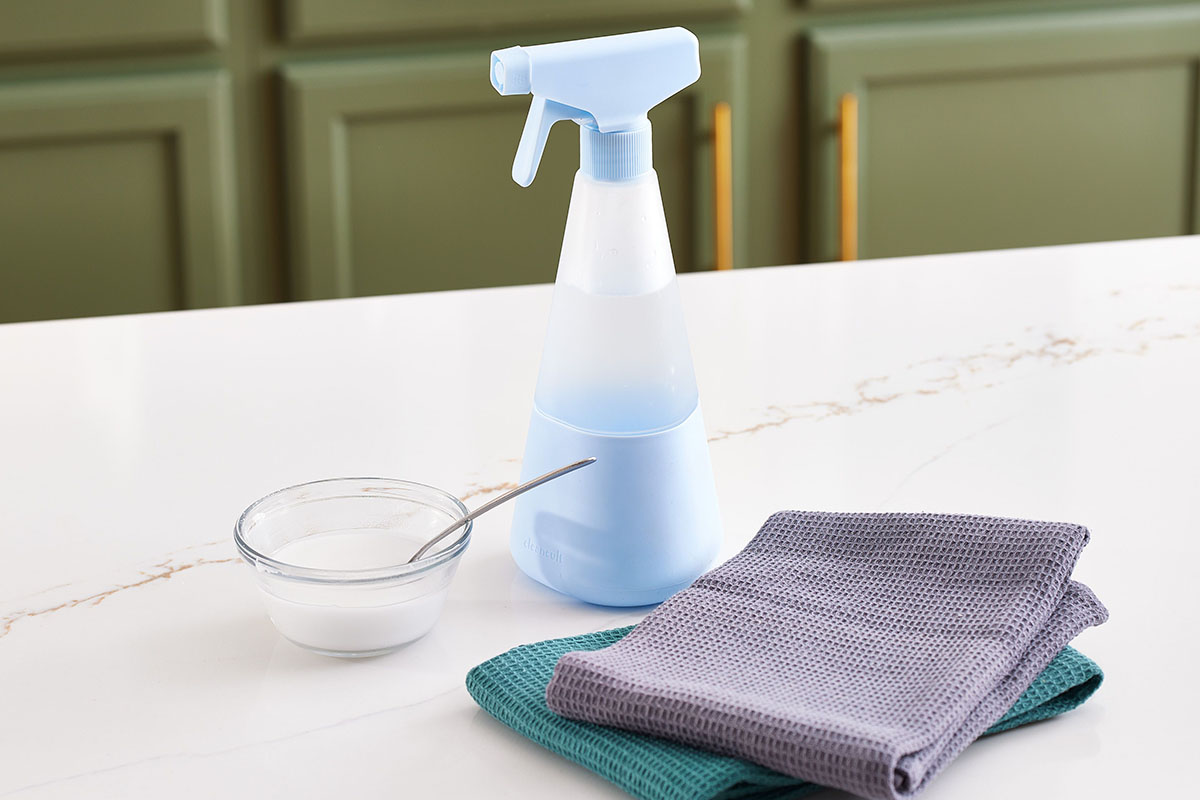
Before diving into the cleaning process, it’s essential to gather the necessary materials to ensure a thorough and effective cleaning session. Here’s what you’ll need:
- A small bowl or container
- Warm water
- Mild dish soap or castile soap
- Cotton swabs or soft-bristled brush
- Clean, lint-free cloth or sponge
- Vinegar alternative (optional, such as citric acid or hydrogen peroxide)
These simple yet effective materials will allow you to delicately cleanse your oil diffuser without the need for vinegar, ensuring that it continues to disperse your favorite essential oils with purity and potency.
Step 1: Disassemble the Diffuser
Before beginning the cleaning process, it’s crucial to disassemble your oil diffuser to access its various components. Here’s a general guide to disassembling most common types of oil diffusers:
- Unplug the diffuser: Ensure that the diffuser is unplugged from the power source to prevent any electrical mishaps during the cleaning process.
- Remove the top cover: For diffusers with a separate top cover, gently lift or twist it to detach it from the base.
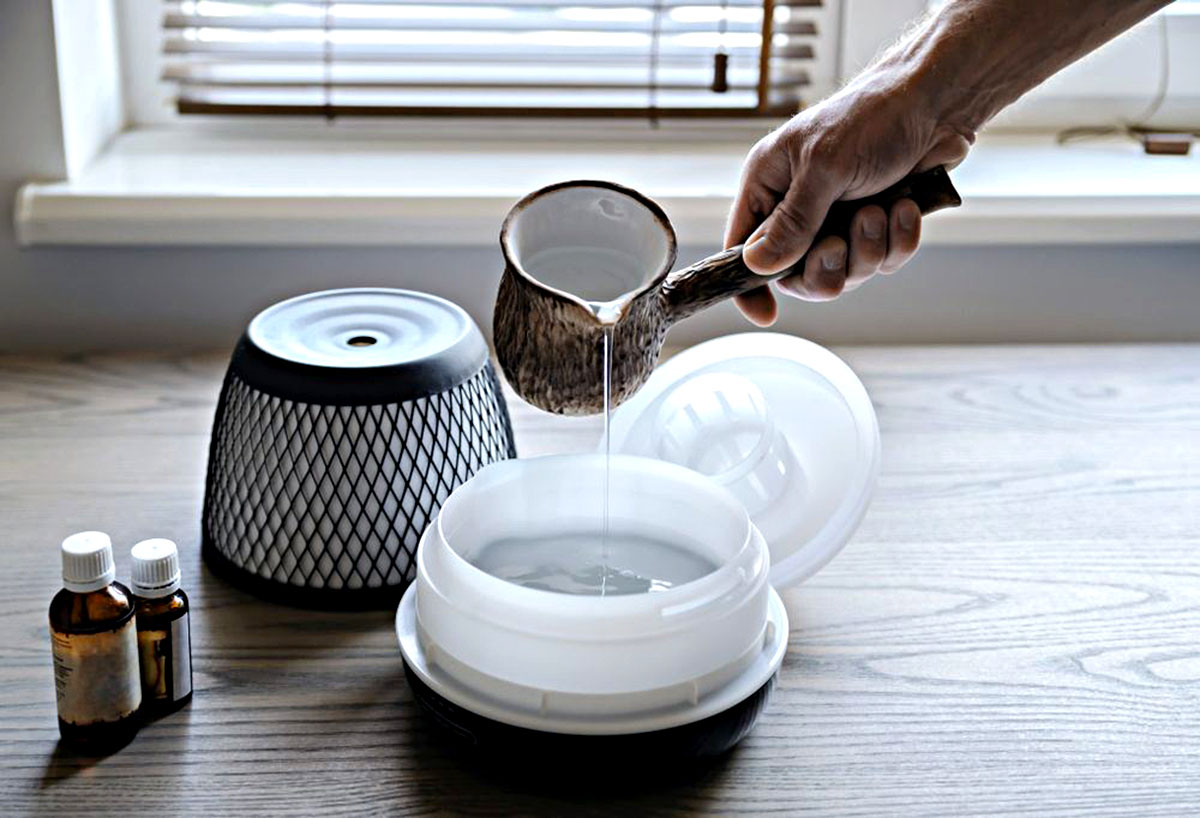
- Separate the water tank: Carefully remove the water tank from the base of the diffuser. This may involve twisting or sliding the tank to release it from its position.
- Access the ultrasonic plate: If applicable, locate the ultrasonic plate within the base of the diffuser. This component is crucial for creating the fine mist of essential oils and requires gentle cleaning to maintain optimal performance.
By disassembling the diffuser, you’ll gain access to its individual parts, allowing for a thorough and targeted cleaning process. Remember to refer to your diffuser’s specific manual for detailed disassembly instructions, as designs may vary across different models.
Step 2: Clean the Water Tank
Once the diffuser is disassembled, it’s time to focus on cleaning the water tank, a crucial component that directly impacts the purity and efficacy of the essential oil diffusion. Follow these steps to ensure a thorough cleaning of the water tank:
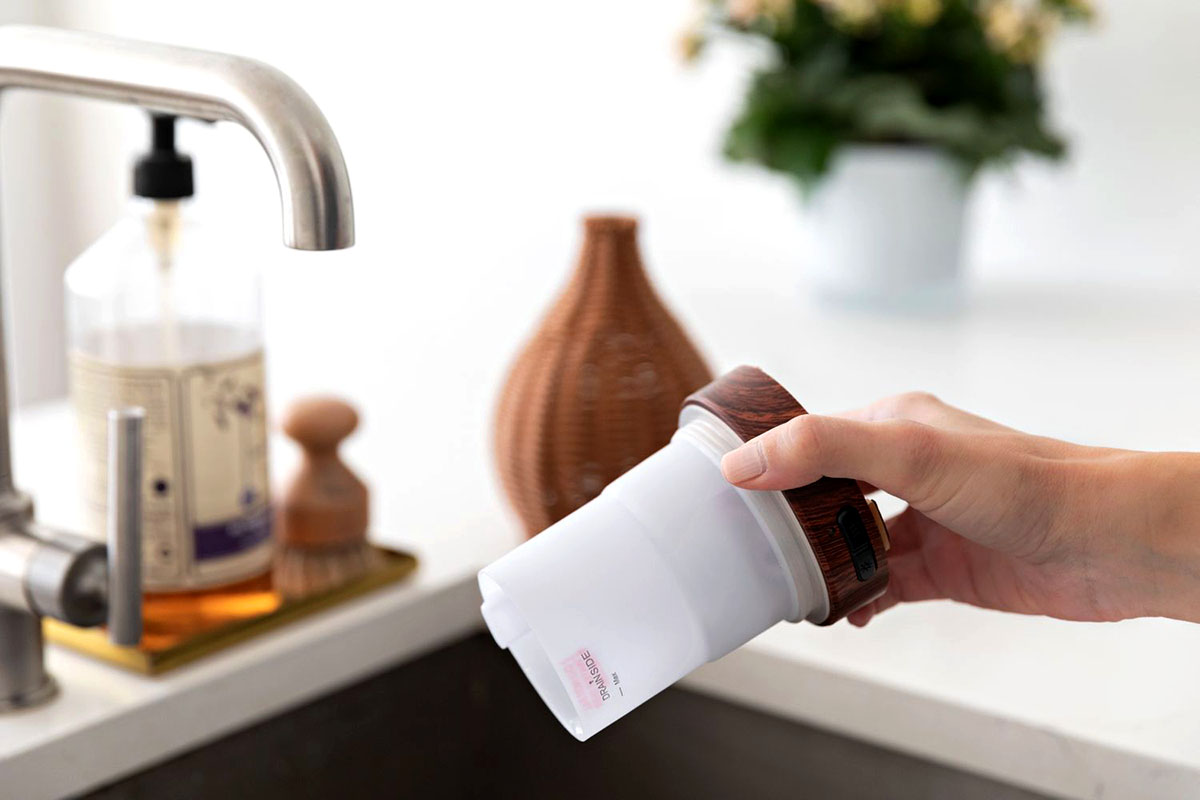
- Empty the tank: Carefully pour out any remaining water and discard it. Take care to avoid spilling water into the base of the diffuser.
- Prepare the cleaning solution: In a small bowl or container, combine warm water with a small amount of mild dish soap or castile soap. This gentle solution will effectively remove any oil residue or impurities from the tank.
- Soak and agitate: Submerge the water tank in the cleaning solution and agitate it gently to dislodge any stubborn residue. Allow it to soak for a few minutes to loosen buildup.
- Rinse thoroughly: After soaking, thoroughly rinse the water tank with clean water to remove any soap residue. Ensure that no cleaning solution remains, as it may affect the aroma and integrity of the essential oils during future use.
- Dry completely: Use a clean, lint-free cloth to dry the water tank thoroughly. Ensure that no moisture lingers, as this could lead to mold or bacterial growth if the diffuser is reassembled while damp.
By following these steps, you’ll effectively cleanse the water tank, ensuring that it remains a pristine vessel for dispersing your favorite essential oils without the need for vinegar or harsh cleaning agents.
To clean an oil diffuser without vinegar, mix equal parts water and rubbing alcohol, then use a cotton swab to clean the inside. Wipe the outside with a damp cloth.
Step 3: Clean the Ultrasonic Plate
The ultrasonic plate is a vital component of your oil diffuser, responsible for creating the fine mist that carries the aromatic essential oils into the air. Cleaning this part is essential for maintaining the diffuser’s optimal performance. Here’s how to effectively clean the ultrasonic plate:
- Locate the ultrasonic plate: Depending on your diffuser model, the ultrasonic plate is typically found at the base of the water tank compartment. It may appear as a small, circular or rectangular metal piece.
- Inspect for residue: Carefully examine the ultrasonic plate for any buildup or residue. Over time, mineral deposits or oil residue may accumulate on the plate, hindering its ability to produce a fine mist.
- Use a gentle cleaning tool: To delicately clean the ultrasonic plate, consider using a soft-bristled brush or cotton swab. Avoid abrasive materials that could damage the plate’s delicate surface.
- Apply the cleaning solution: If necessary, dampen the cleaning tool with the mild soap and water solution used for cleaning the water tank. Gently scrub the ultrasonic plate to remove any buildup, taking care not to apply excessive force.
- Rinse and dry: After cleaning, rinse the ultrasonic plate with clean water to remove any soapy residue. Ensure that it is completely dry before reassembling the diffuser to prevent any potential damage.
By following these steps, you’ll effectively clean the ultrasonic plate, ensuring that it continues to function optimally and disperse essential oils without the need for vinegar or harsh cleaning agents.
Read more: How To Clean An Oil Diffuser
Step 4: Wipe Down the Exterior
While the internal components of your oil diffuser are crucial for its functionality, maintaining the exterior cleanliness is equally important to preserve its aesthetic appeal and overall hygiene. Follow these steps to effectively wipe down the exterior of your diffuser:
- Unplug the diffuser: Before proceeding, ensure that the diffuser is unplugged from the power source to prevent any electrical mishaps during the cleaning process.
- Use a clean, damp cloth: Dampen a clean, lint-free cloth with water. Ensure that the cloth is not excessively wet, as moisture can damage the diffuser’s exterior, especially if it is made of wood or other sensitive materials.
- Gently wipe the exterior: Carefully wipe down the exterior surfaces of the diffuser, removing any dust, fingerprints, or residue. Pay close attention to any intricate designs or crevices that may collect dirt or grime.
- Dry thoroughly: After wiping down the exterior, use a dry cloth to remove any remaining moisture and ensure that the diffuser is completely dry before reassembly.
- Consider using a mild disinfectant (optional): If desired, you can use a gentle disinfectant specifically designed for electronic devices to further sanitize the exterior surfaces of the diffuser.
By incorporating these steps into your cleaning routine, you’ll maintain the exterior cleanliness of your oil diffuser, enhancing its visual appeal and ensuring a hygienic environment without the need for vinegar or harsh cleaning agents.
Step 5: Reassemble the Diffuser
Now that you’ve thoroughly cleaned the individual components of your oil diffuser, it’s time to reassemble them to restore the device to its fully functional and aromatic state. Follow these steps to reassemble your diffuser with care:
- Ensure components are dry: Before reassembly, confirm that all cleaned components, including the water tank and ultrasonic plate, are completely dry. Any residual moisture could affect the diffuser’s performance or lead to mold growth.
- Place the water tank back in position: Carefully position the water tank back into its designated space within the diffuser’s base. Ensure that it fits securely and aligns properly with any connecting points or grooves.
- Reattach the top cover (if applicable): If your diffuser features a separate top cover, gently secure it back in place, ensuring a snug fit without applying excessive force.
- Twist or lock components into place: If your diffuser’s design involves twisting or locking mechanisms, follow the manufacturer’s instructions to secure the components in their proper positions.
- Plug in the diffuser: Once reassembled, plug the diffuser back into the power source, preparing it for the next delightful diffusion of essential oils.
By carefully reassembling your oil diffuser, you ensure that it operates optimally, dispersing your favorite essential oils with purity and potency, all without the need for vinegar or harsh cleaning agents.
Conclusion
Congratulations on successfully cleaning your oil diffuser without the use of vinegar! By following the steps outlined in this guide, you’ve not only maintained the cleanliness of your diffuser but also preserved its functionality and aesthetic appeal. With the power of gentle cleaning materials and a little bit of effort, you’ve ensured that your essential oil diffuser continues to be a source of tranquility and mindfulness in your living space.
Remember, regular maintenance and cleaning are essential to prolonging the life of your oil diffuser and preserving the integrity of the essential oils it disperses. By incorporating these cleaning practices into your routine, you can enjoy the benefits of a fragrant and serene environment without the need for harsh or overpowering cleaning agents.
As you revel in the soothing aromas emanating from your freshly cleaned diffuser, take a moment to appreciate the mindfulness and relaxation it brings to your daily life. Whether it’s a calming lavender scent or an invigorating citrus blend, your oil diffuser serves as a steadfast companion on your journey to inner peace and well-being.
Thank you for joining us on this cleansing journey, and may your oil diffuser continue to fill your home with delightful fragrances and moments of bliss.
Frequently Asked Questions about How To Clean An Oil Diffuser Without Vinegar
Was this page helpful?
At Storables.com, we guarantee accurate and reliable information. Our content, validated by Expert Board Contributors, is crafted following stringent Editorial Policies. We're committed to providing you with well-researched, expert-backed insights for all your informational needs.


0 thoughts on “How To Clean An Oil Diffuser Without Vinegar”