Home>Home Appliances>Bathroom Appliances>How To Do A Blowout With A Hair Dryer
Bathroom Appliances
How To Do A Blowout With A Hair Dryer
Modified: August 20, 2024
Learn how to achieve a professional blowout at home with a hair dryer. Get salon-worthy results with these expert tips and techniques. Perfect for bathroom appliances enthusiasts!
(Many of the links in this article redirect to a specific reviewed product. Your purchase of these products through affiliate links helps to generate commission for Storables.com, at no extra cost. Learn more)
Introduction
Welcome to the world of blowouts! A fabulous blowout can instantly elevate your look, adding volume, shine, and a touch of glamour to your locks. Whether you’re preparing for a special occasion or simply want to treat yourself to a salon-worthy style at home, mastering the art of a blowout with a hair dryer can be a game-changer in your beauty routine.
With the right techniques and a bit of practice, you can achieve a professional-looking blowout without stepping foot in a salon. In this comprehensive guide, we’ll walk you through the step-by-step process of achieving a flawless blowout using a hair dryer, sharing expert tips and tricks along the way.
Get ready to unleash the full potential of your hair and embrace the confidence-boosting power of a stunning blowout. Whether you have straight, wavy, or curly hair, this guide is designed to help you achieve a gorgeous, bouncy blowout that turns heads and makes you feel fabulous. So, grab your favorite hair dryer, and let’s dive into the wonderful world of blowouts!
Key Takeaways:
- Master the art of a salon-worthy blowout at home using a hair dryer, with the right tools and techniques for a flawless, confidence-boosting style.
- Prepare your hair, section it properly, and use the right tools to achieve a stunning blowout, adding volume, shine, and glamour to your locks.
Read more: How To Make Hair Fluffy With Hair Dryer
Getting Started
Before embarking on your blowout journey, it’s essential to gather the right tools and products to set the stage for a successful styling session. Here’s what you’ll need to get started:
- A Quality Hair Dryer: Invest in a high-quality hair dryer with adjustable heat and speed settings to ensure optimal control during the blowout process. Look for a model with a concentrator nozzle attachment for more precise airflow.
- Heat Protectant Spray: Shield your hair from heat damage by applying a heat protectant spray or serum before blow-drying. This crucial step helps maintain the health and integrity of your hair while ensuring a smooth, polished finish.
- Round Brush: Choose a round brush with natural or synthetic bristles, depending on your hair type. The size of the brush will depend on the length and thickness of your hair, so select one that suits your specific needs.
- Clips or Hair Ties: Sectioning your hair is key to achieving a professional-looking blowout. Have clips or hair ties on hand to divide your hair into manageable sections for more effective styling.
- Styling Products: Depending on your hair type and desired outcome, consider using volumizing mousse, smoothing cream, or texturizing spray to enhance the results of your blowout. Choose products that cater to your hair’s unique needs and styling goals.
Once you’ve gathered these essentials, find a well-lit and spacious area where you can comfortably style your hair. It’s also beneficial to start with clean, freshly washed hair, as this provides a clean canvas for your blowout and ensures that your hair is free from excess oils or product buildup.
With your tools and products at the ready, you’re all set to embark on your blowout journey and unleash the transformative power of a beautifully styled mane.
Preparing Your Hair
Before diving into the blowout process, it’s crucial to prepare your hair to ensure optimal results. Follow these steps to lay the groundwork for a successful blowout:
- Start with Clean Hair: Begin with freshly washed and conditioned hair to provide a clean, manageable base for styling. Opt for a lightweight, volumizing shampoo and conditioner to add body and lift to your locks.
- Towel Dry Gently: After washing your hair, gently towel dry to remove excess moisture. Avoid rough towel-drying, as this can cause friction and potential damage to the hair cuticle.
- Apply Heat Protectant: Prior to using any heat styling tools, generously apply a heat protectant spray or serum throughout your hair. This essential step helps safeguard your strands from the potentially damaging effects of heat styling.
- Detangle with Care: Use a wide-tooth comb or a detangling brush to gently remove any knots or tangles from your hair. Starting from the ends and working your way up can help minimize breakage and damage.
- Consider Using a Volumizing Product: If you desire added volume and fullness, apply a volumizing mousse or root-lifting spray to the roots of your hair. These products can help create long-lasting body and lift during the blowout process.
By taking the time to properly prepare your hair, you’re setting the stage for a successful blowout that enhances your hair’s natural beauty and texture. With these simple yet essential steps, you’ll be well on your way to achieving a stunning blowout that exudes volume, shine, and overall hair perfection.
Sectioning Your Hair
Properly sectioning your hair is a crucial step in achieving a flawless blowout. This technique allows for more precise styling and ensures that each section of your hair receives the attention it deserves. Follow these steps to effectively section your hair before beginning the blowout process:
- Divide Your Hair Horizontally: Using a tail comb or your fingers, create a horizontal parting about an inch above the nape of your neck. Secure the upper section of hair with a clip or hair tie to keep it out of the way while you work on the lower section.
- Section Off the Sides: Create another horizontal parting, this time from behind one ear to the other, dividing the hair into two sections. Secure the upper portion of hair with clips or ties to keep it separate from the lower section.
- Focus on the Top Section: The remaining hair at the top of your head should be divided into smaller sections, allowing you to concentrate on one area at a time. Begin by parting the hair down the center and securing each side with clips or ties.
By dividing your hair into manageable sections, you can approach the blowout process with precision and control, ensuring that each part of your hair receives the necessary attention and styling. This method also helps prevent tangling and allows you to focus on creating volume and smoothness throughout your entire head of hair.
Once your hair is effectively sectioned, you’re ready to move on to the next step of the blowout process, where you’ll harness the power of your hair dryer and round brush to create a stunning, salon-worthy style.
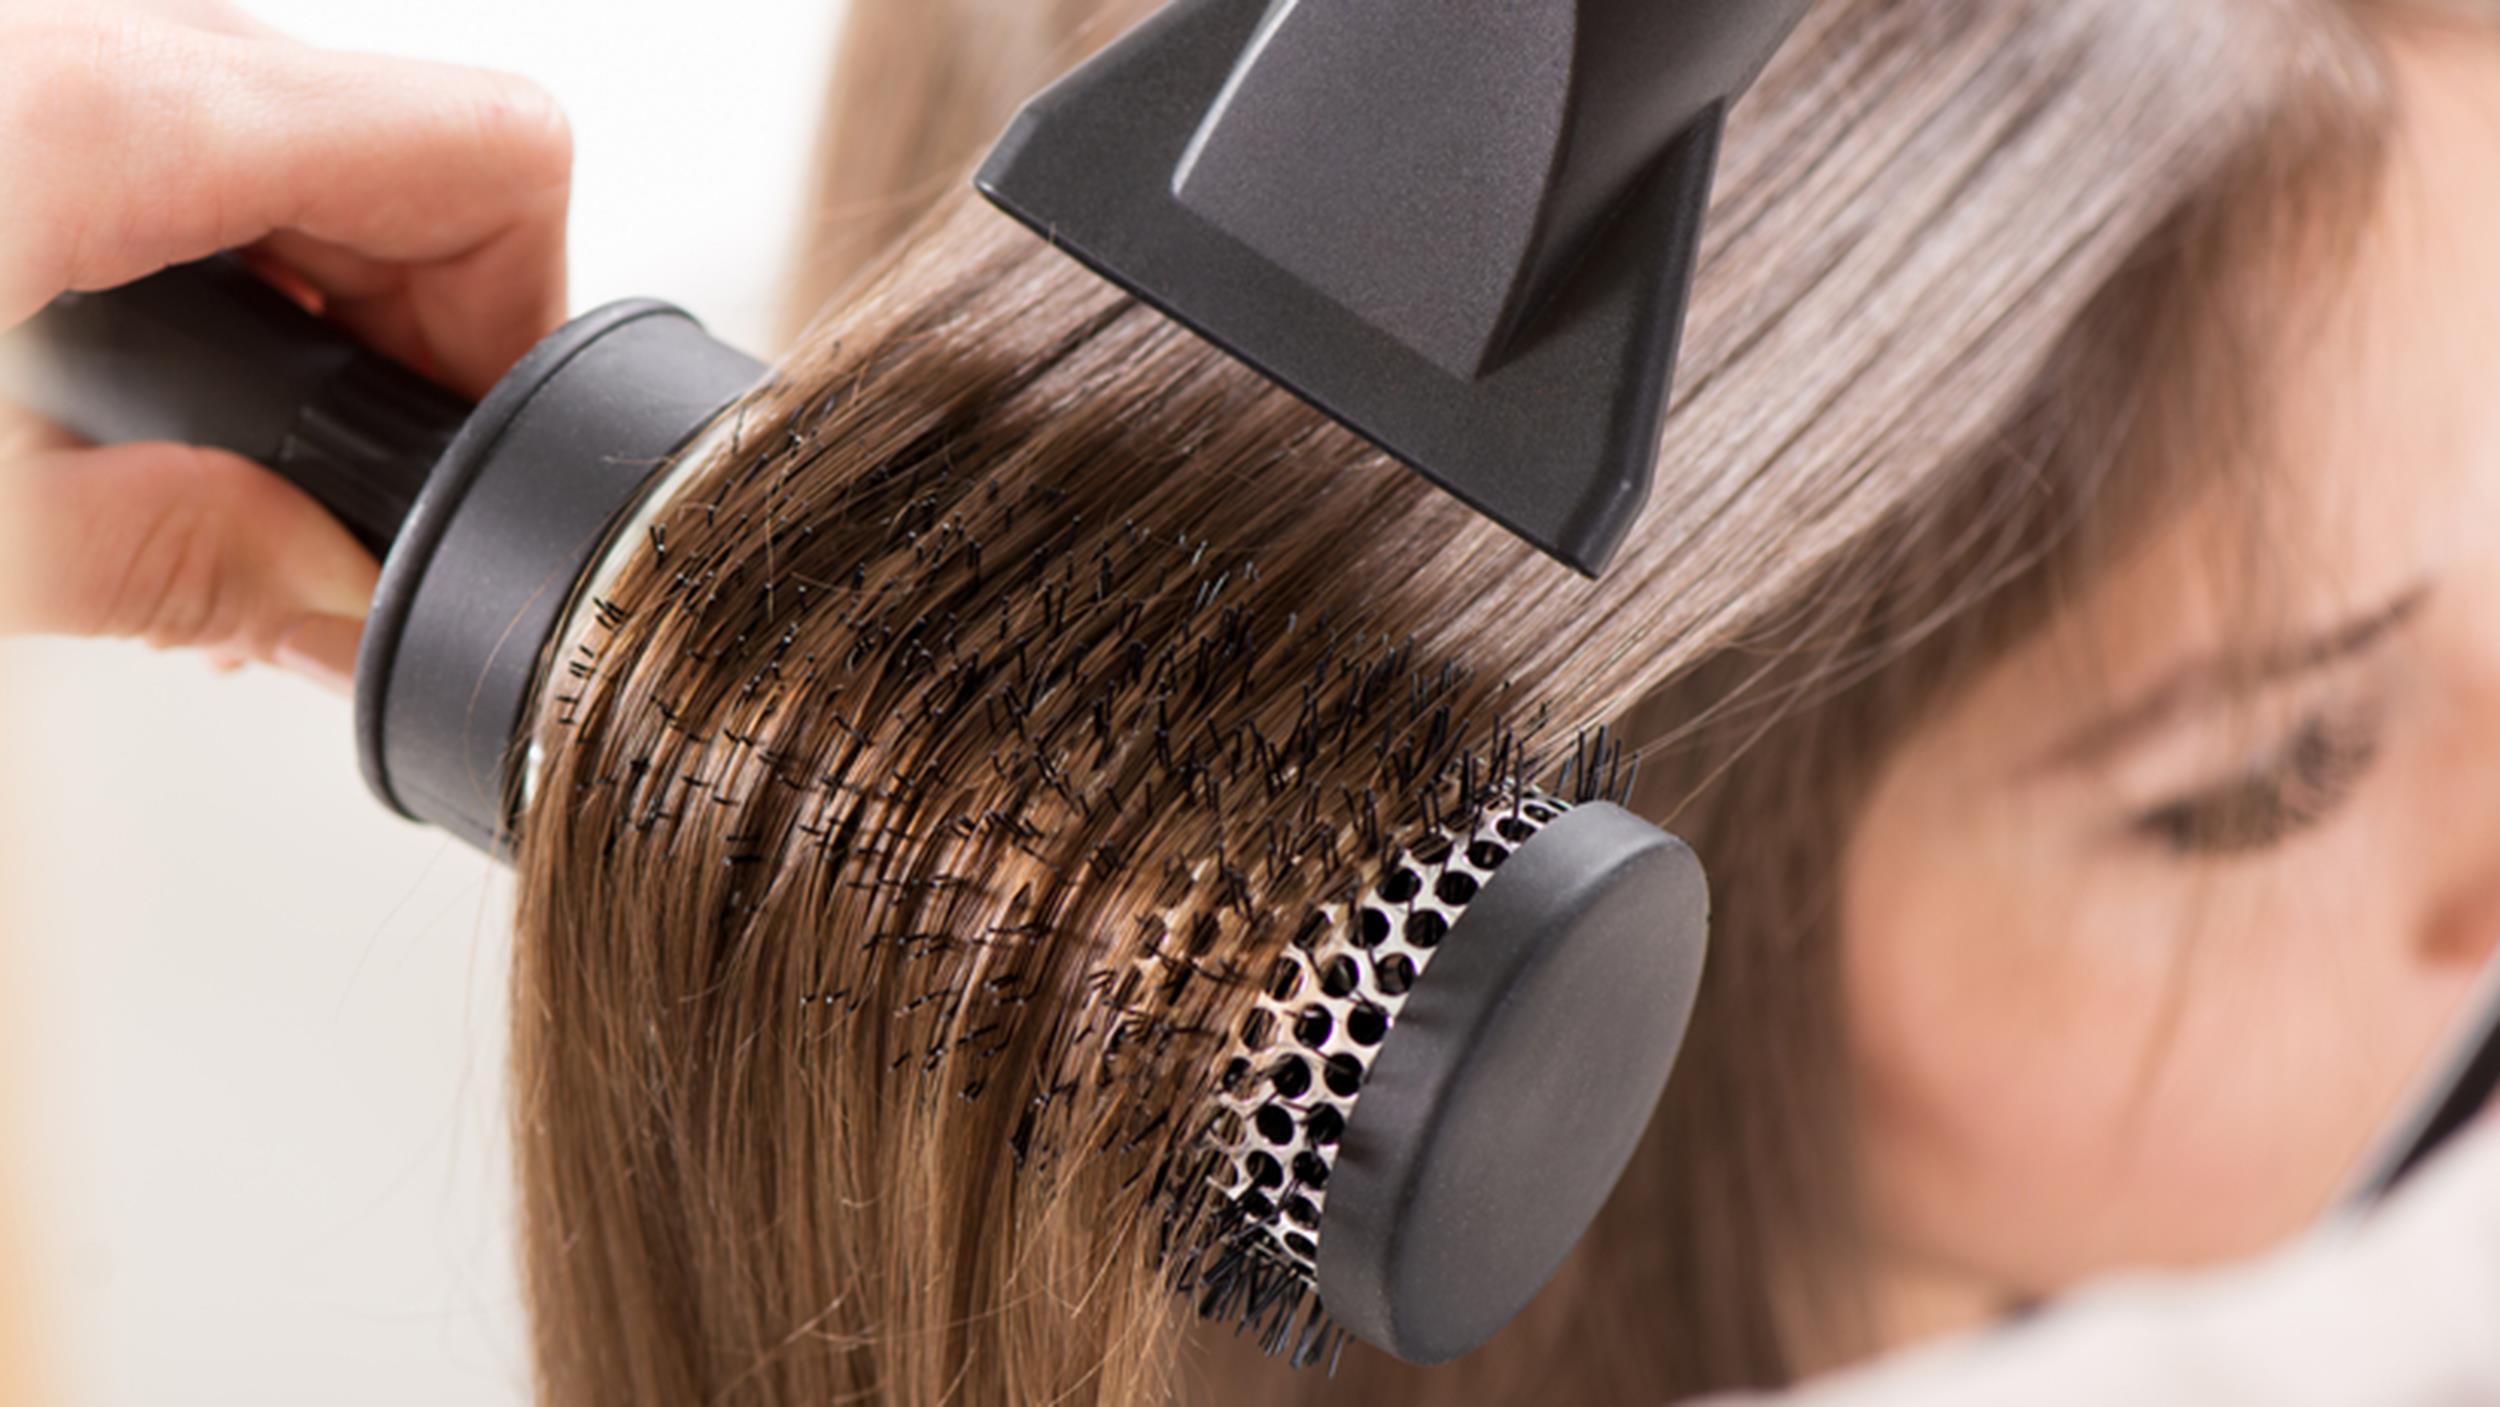
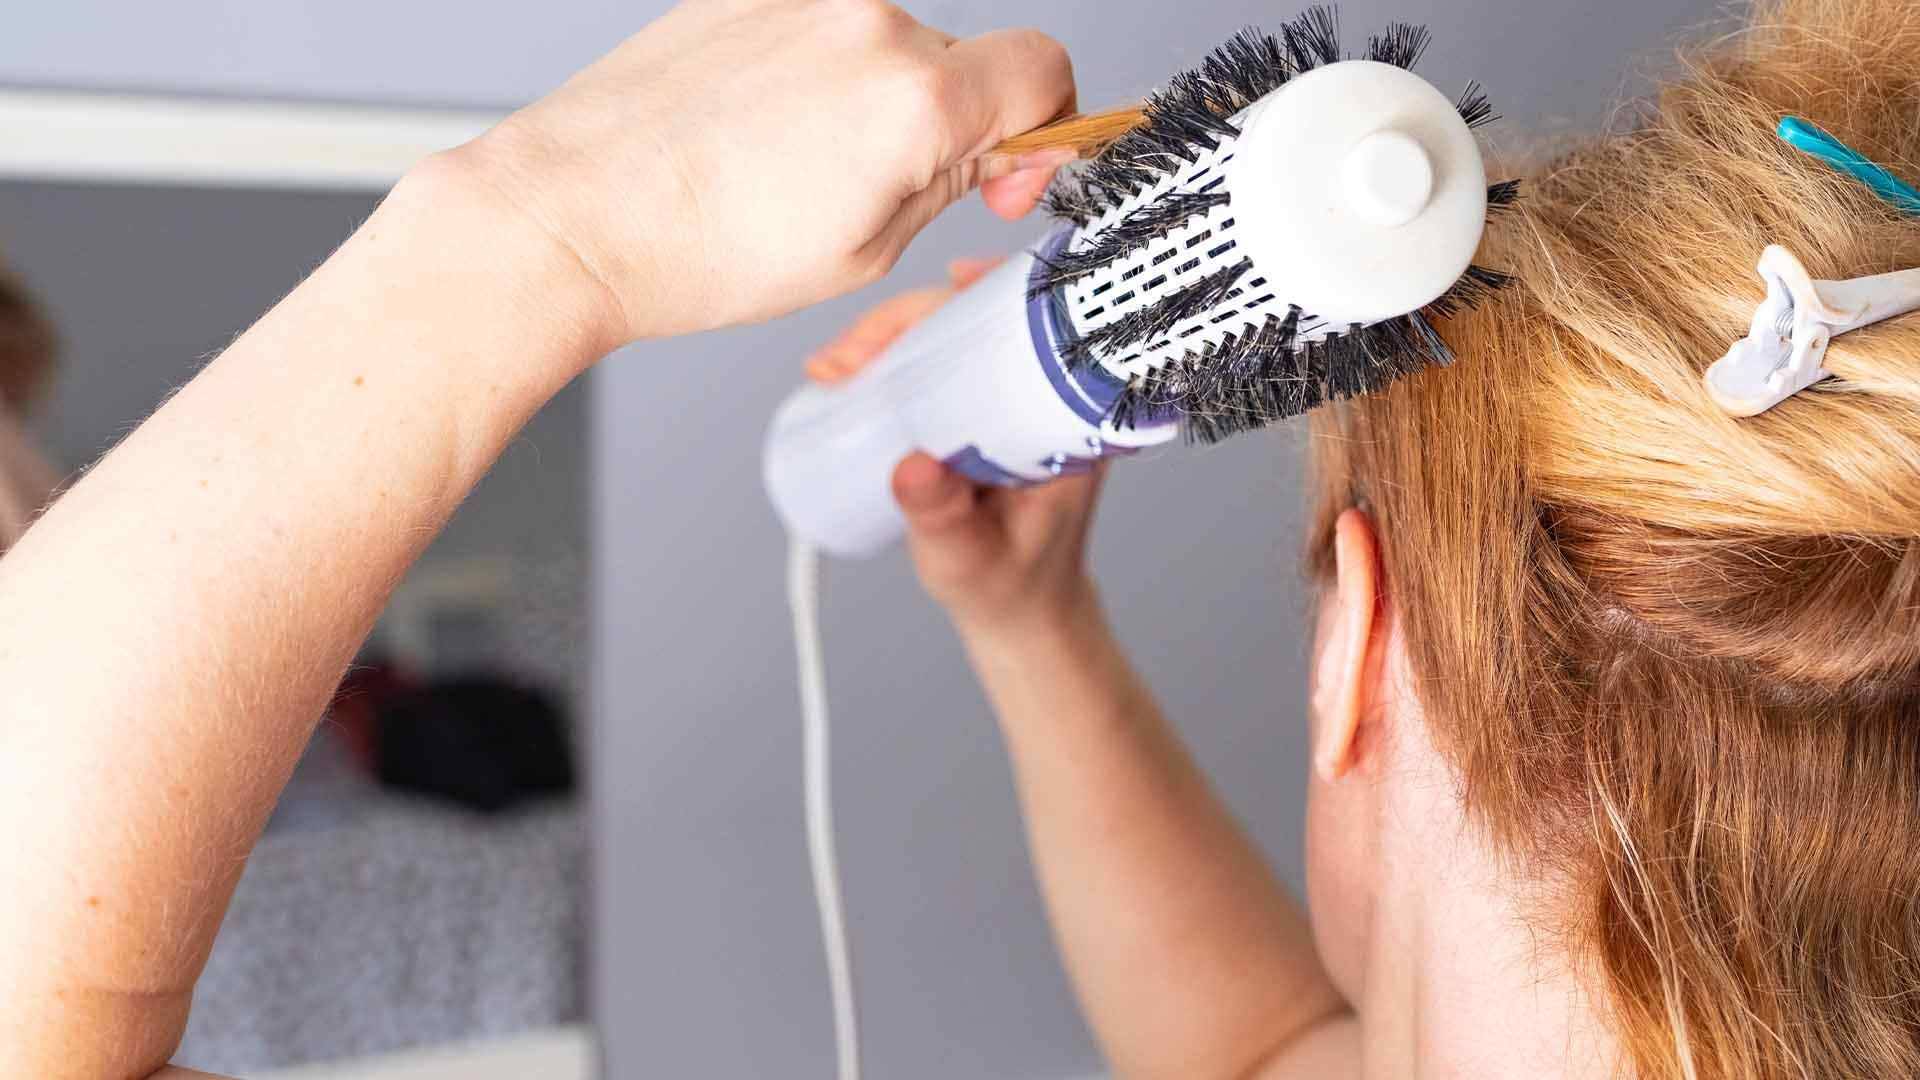
Use a round brush to lift and smooth sections of hair while blow-drying. Start at the roots and work your way down to the ends for a sleek and voluminous blowout.
Blow Drying Your Hair
Now that your hair is prepped and sectioned, it’s time to dive into the blowout process. Follow these steps to achieve a professional-looking blowout using your hair dryer and round brush:
- Start with the Lower Sections: Begin with the lower sections of your hair. Using a round brush, take a small section of hair and place the brush underneath it. Position the hair dryer with a concentrator nozzle attachment above the brush, directing the airflow down the hair shaft to smooth and straighten the strands. Gently pull the brush through the hair while following it with the dryer, focusing on the roots and mid-lengths to create lift and volume.
- Work Your Way Up: Gradually release the clipped or tied sections as you move upward, repeating the process with each section. Use the round brush to lift the roots and guide the hair in the desired direction, while the hair dryer provides the necessary heat and airflow to set the style.
- Focus on the Top Sections: As you approach the top sections of your hair, pay special attention to the crown area for added volume and lift. Use the round brush to guide the hair upward and away from the scalp, creating a beautiful, voluminous effect.
- Cool Shot for Setting: Once each section is dried and styled, use the cool shot feature on your hair dryer to set the hair in place. This helps seal the cuticle and enhances the longevity of your blowout.
Throughout the blow drying process, maintain a smooth and steady motion with the round brush and hair dryer, ensuring that the airflow is directed down the hair shaft to create a sleek, polished finish. By taking your time and focusing on each section, you can achieve a stunning blowout that rivals the results from a professional salon.
With your hair beautifully blow-dried and styled, it’s time to add the finishing touches and perfect your look with a few additional styling steps.
Read more: What Is Hair Dryer
Styling Your Hair
With your hair beautifully blow-dried, it’s time to enhance and refine your look with a few additional styling techniques. Whether you prefer sleek and straight or voluminous and bouncy, these tips will help you perfect your blowout:
- Add Definition with the Round Brush: If you desire added volume or movement, use the round brush to shape and define the ends of your hair. Wrap small sections of hair around the brush and apply heat from the dryer to set the shape, creating soft curves or flips at the ends.
- Create Face-Framing Waves: For a touch of elegance, use the round brush to curl the hair around your face, framing your features with gentle waves. This technique adds a touch of glamour and softness to your blowout, enhancing your overall look.
- Smooth and Polish: Run a smoothing serum or lightweight hair oil through your blowout to tame any flyaways and add a glossy finish. Focus on the mid-lengths and ends, distributing the product evenly for a sleek and polished appearance.
- Enhance Volume at the Roots: For added lift and fullness, gently backcomb the roots at the crown of your head using a fine-tooth comb. This simple technique helps create lasting volume and height, elevating your blowout to new heights.
By incorporating these styling tips, you can customize your blowout to suit your personal preferences and elevate your overall look. Whether you opt for a smooth and sophisticated finish or a voluminous, playful style, these techniques allow you to express your individuality and showcase your hair at its best.
With your blowout beautifully styled and perfected, a few final touches will ensure that your stunning look lasts throughout the day and leaves a lasting impression.
Final Touches
As you complete the blowout process, a few final touches can elevate your style and ensure that your stunning look lasts throughout the day. Consider these essential finishing steps to perfect your blowout:
- Lock in Your Style: Once your blowout is complete, mist your hair with a light-hold hairspray to set the style and provide lasting hold without stiffness. Choose a formula that offers flexible hold and humidity resistance to keep your blowout looking fresh and polished.
- Check for Balance: Take a moment to assess your blowout from all angles, ensuring that the volume, smoothness, and overall shape are balanced and harmonious. Make any necessary adjustments using your round brush or fingers to perfect the final look.
- Express Your Personality: Embrace your individual style by incorporating accessories such as hair clips, headbands, or hair jewelry to accentuate your blowout. These personal touches add flair and personality to your look, making it uniquely yours.
- Confidence is Key: Stand tall, exude confidence, and embrace the beauty of your blowout. Your radiant smile and self-assured demeanor are the ultimate final touches that complete your stunning style.
By incorporating these final touches, you can ensure that your blowout remains flawless and captivating, allowing you to showcase your hair’s natural beauty and the artistry of your styling efforts. With a touch of hairspray, a keen eye for balance, and a sprinkle of personal expression, your blowout is ready to take center stage and turn heads wherever you go.
Now, armed with the knowledge and techniques to achieve a salon-worthy blowout at home, you’re prepared to embrace the transformative power of a beautifully styled mane. With practice and patience, you can master the art of the blowout, elevating your everyday style and infusing your look with confidence and glamour.
Conclusion
Congratulations on embarking on your blowout journey and mastering the art of achieving a flawless blowout with a hair dryer. By following the step-by-step techniques outlined in this guide, you’ve unlocked the potential to create salon-worthy styles in the comfort of your own home. Whether you’re aiming for voluminous waves, sleek and straight locks, or bouncy curls, the power to transform your hair is now at your fingertips.
Remember, practice makes perfect, so don’t be discouraged if your first attempts don’t yield the exact results you desire. With time and patience, you’ll refine your blowout skills and develop a personalized approach that suits your unique hair type and styling preferences.
As you continue to hone your blowout expertise, consider experimenting with different styling products, brushes, and techniques to further enhance your results. Embrace the versatility of a blowout, allowing it to adapt to various occasions and moods, whether it’s a casual day out or a special event that calls for a touch of glamour.
Most importantly, enjoy the process and the confidence that comes with showcasing a stunning blowout. Your hair is a canvas for self-expression, and the artistry of a beautifully styled mane can uplift your spirits and leave a lasting impression. Whether you’re treating yourself to a well-deserved pampering session or preparing for a memorable occasion, your blowout is a reflection of your unique style and personality.
With the knowledge and techniques you’ve acquired, you’re equipped to unleash the full potential of your hair and revel in the beauty of a flawlessly executed blowout. So, grab your hair dryer, embrace your creativity, and let your hair take center stage as you showcase the art of the perfect blowout.
Frequently Asked Questions about How To Do A Blowout With A Hair Dryer
Was this page helpful?
At Storables.com, we guarantee accurate and reliable information. Our content, validated by Expert Board Contributors, is crafted following stringent Editorial Policies. We're committed to providing you with well-researched, expert-backed insights for all your informational needs.


0 thoughts on “How To Do A Blowout With A Hair Dryer”