Home>Home Appliances>Bathroom Appliances>How To Make A Diffuser For A Hair Dryer

Bathroom Appliances
How To Make A Diffuser For A Hair Dryer
Modified: August 17, 2024
Learn how to create a custom diffuser for your hair dryer using common bathroom appliances. Achieve salon-worthy results at home!
(Many of the links in this article redirect to a specific reviewed product. Your purchase of these products through affiliate links helps to generate commission for Storables.com, at no extra cost. Learn more)
Introduction
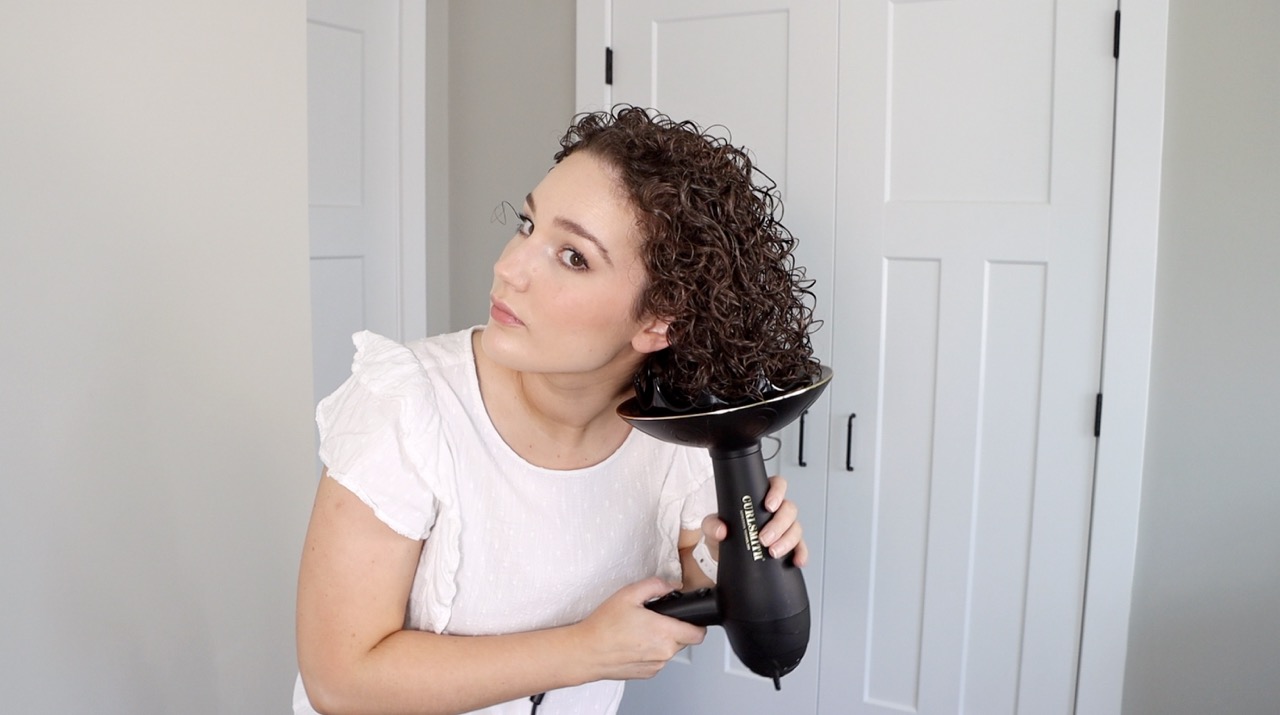
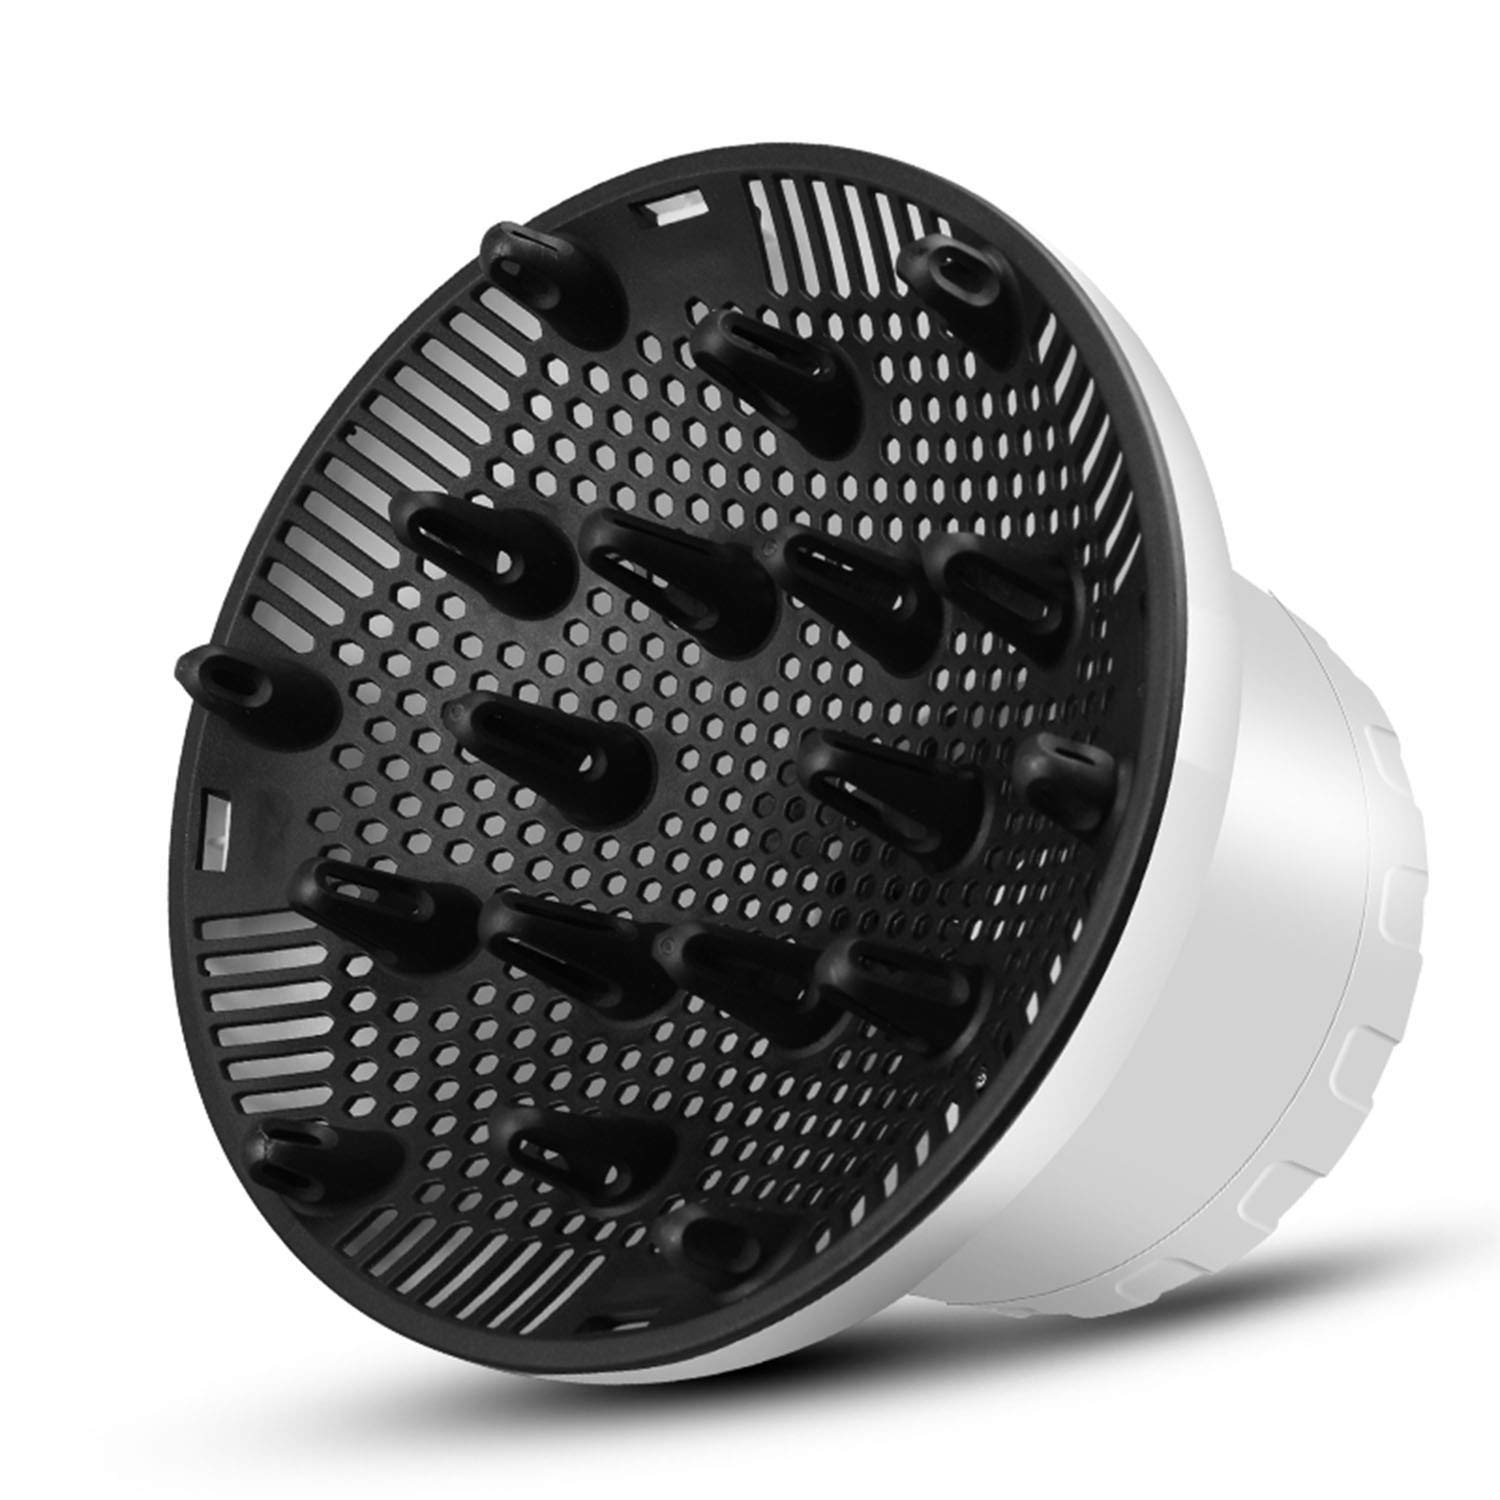
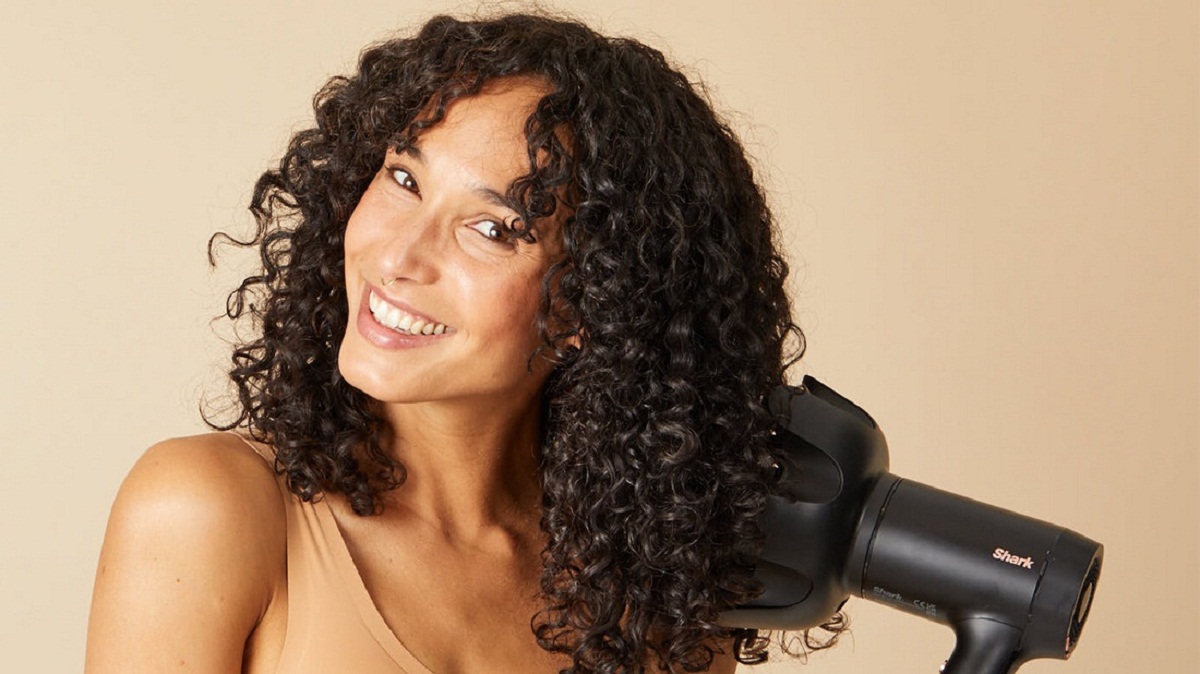
Creating a homemade diffuser for your hair dryer is a fantastic way to achieve salon-quality results without breaking the bank. A diffuser is an attachment that disperses airflow, allowing for gentle drying and styling of curly or wavy hair while minimizing frizz and damage. By crafting your own diffuser, you can customize it to fit your specific hair type and style preferences.
Not only is making a diffuser a fun and creative DIY project, but it also offers a sustainable alternative to purchasing expensive hair tools. With just a few simple materials and a dash of creativity, you can fashion a personalized diffuser that perfectly complements your hair routine.
In this guide, we will walk you through the process of crafting a homemade diffuser for your hair dryer. From gathering the necessary materials to assembling the diffuser and providing tips for optimal usage, we've got you covered. So, let's dive in and discover how you can easily and affordably enhance your hair styling experience!
Key Takeaways:
- Create your own diffuser for a hair dryer using simple materials like a plastic container, scissors, and mesh fabric. Personalize it to fit your hair type and style preferences for salon-quality results at home.
- Use your homemade diffuser on damp hair with low heat and speed settings. Focus on the roots, move the diffuser around, and experiment with angles for stunning curls or waves. Embrace creativity and patience while caring for your hair with your personalized diffuser.
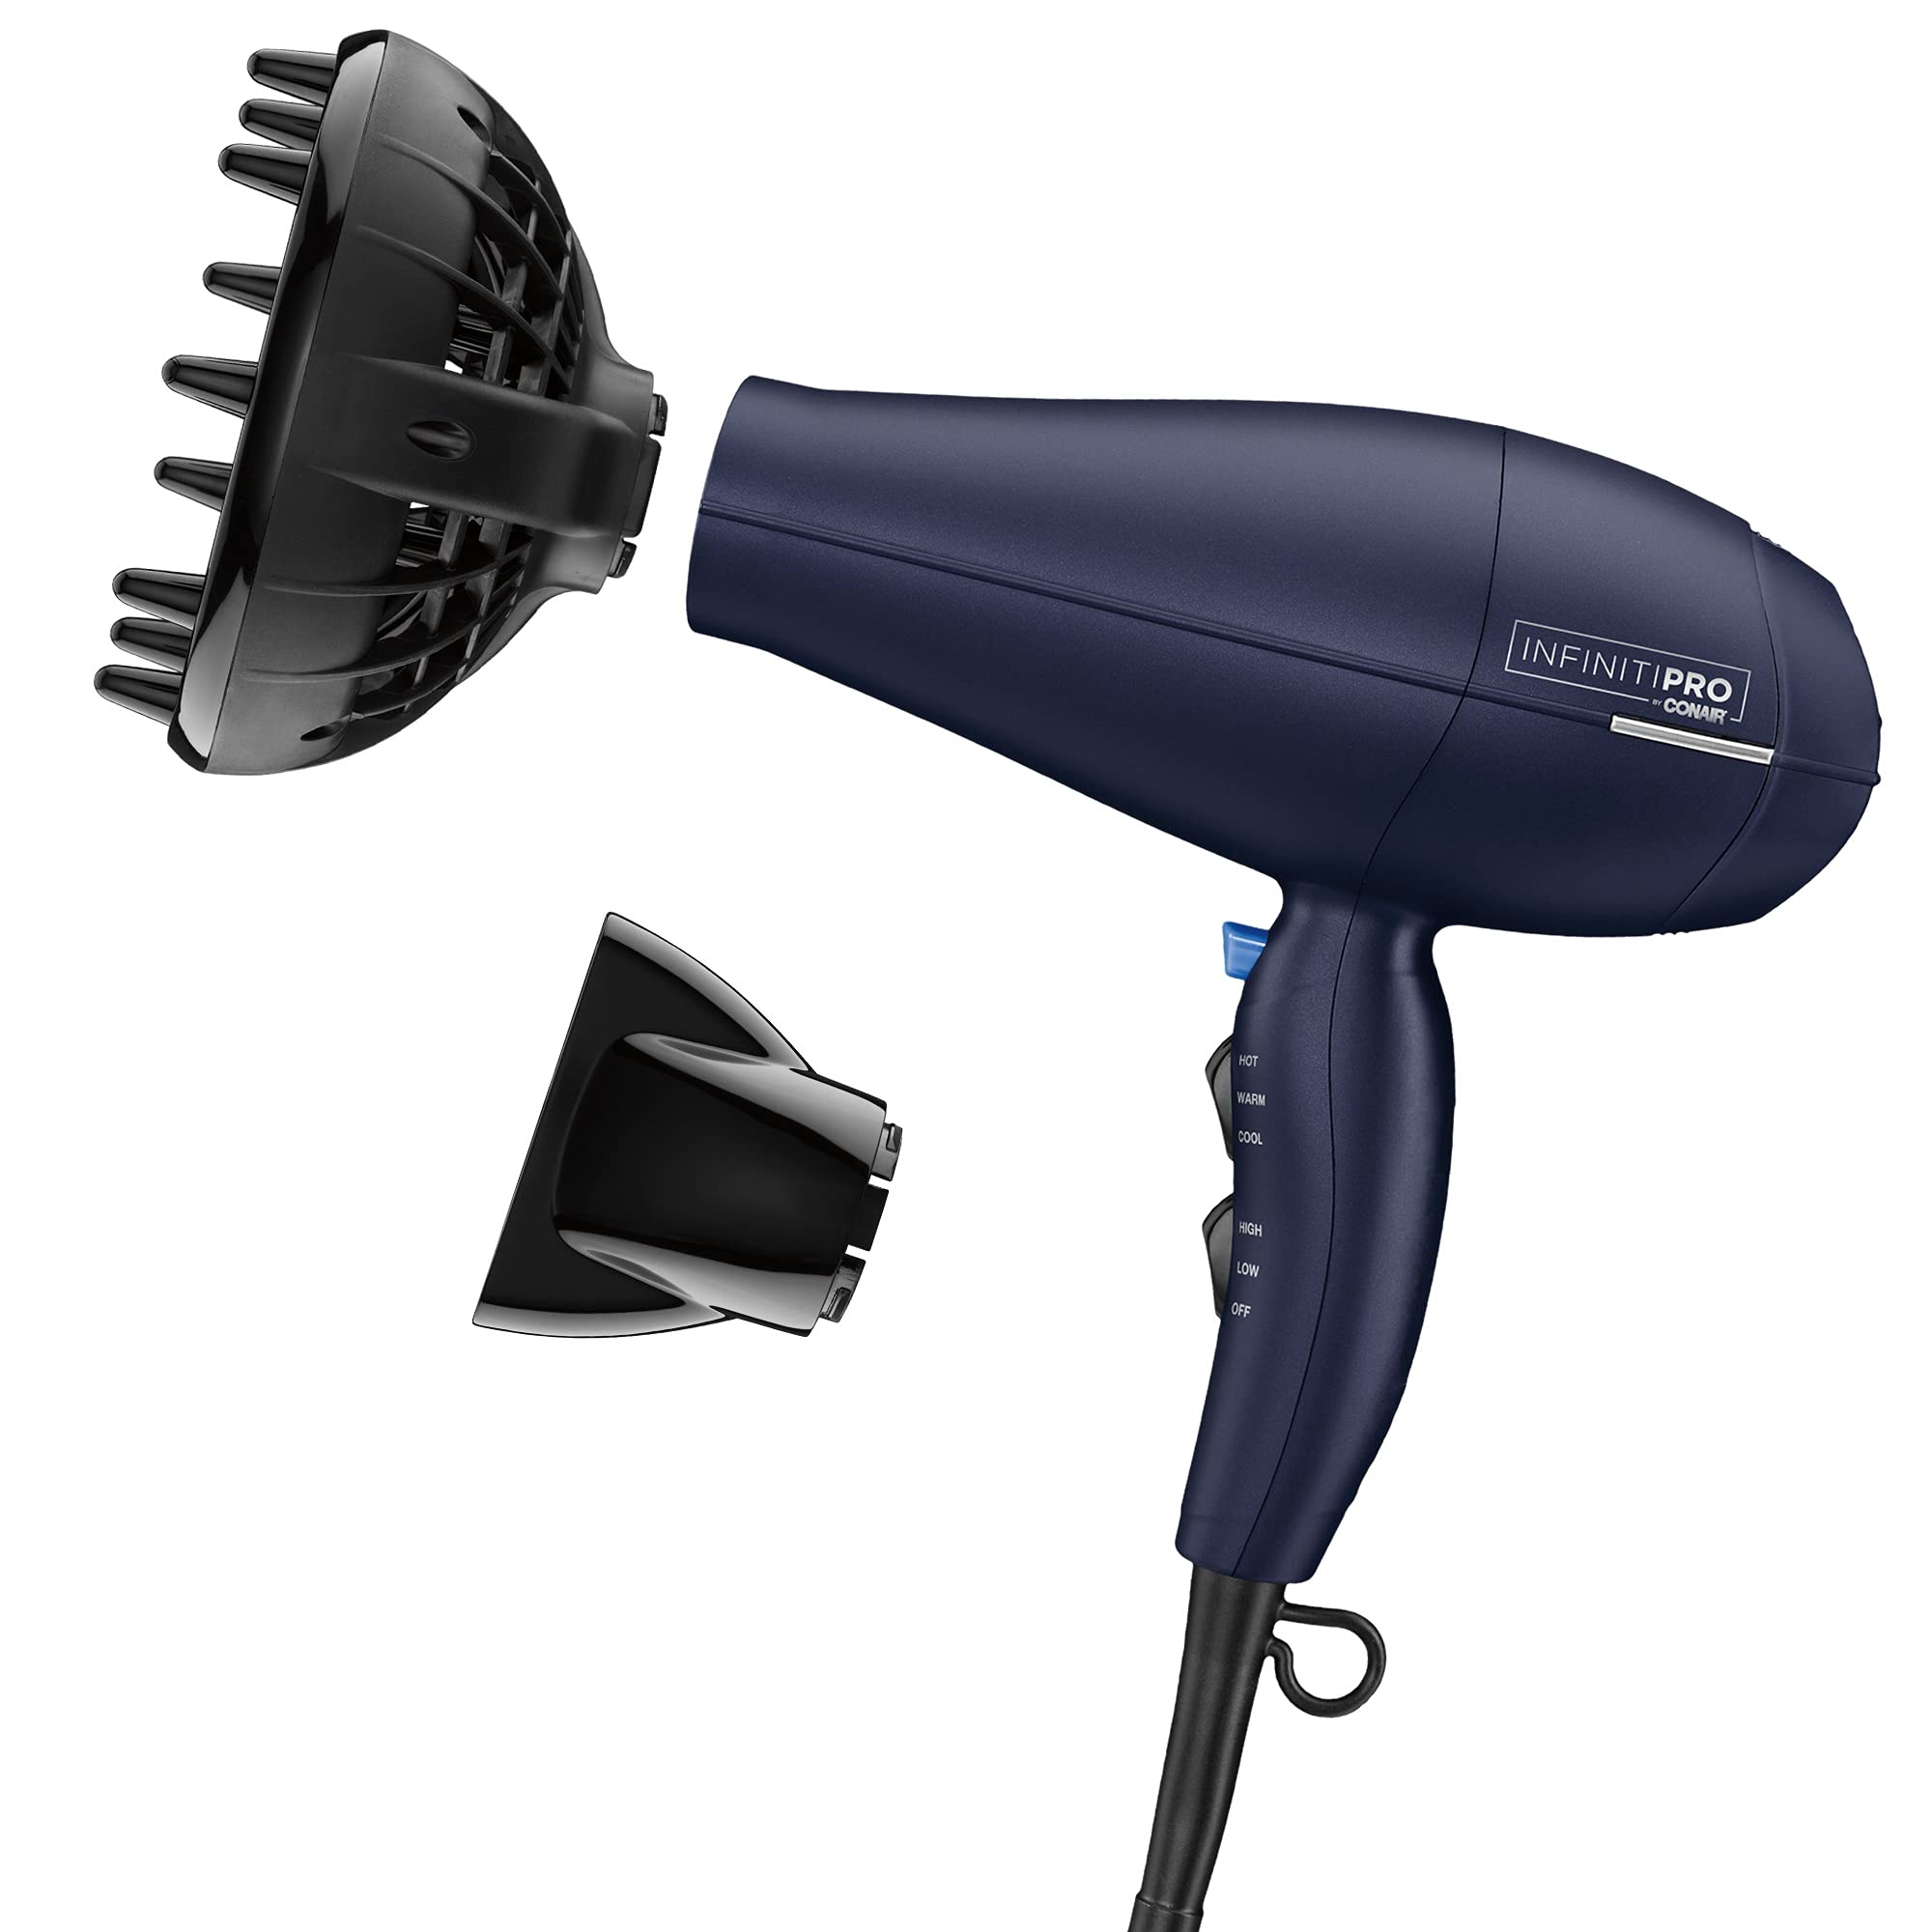
Read more: What Is A Diffuser On A Hair Dryer
Materials Needed
Before embarking on this DIY project, it’s essential to gather the following materials to ensure a successful and personalized homemade diffuser:
- A plastic container or bowl: Look for a container with a wide opening and a flat bottom. This will serve as the base of your diffuser.
- Scissors: You’ll need a pair of sharp scissors to cut and shape the plastic container.
- Marker or pen: Use a marker or pen to outline the areas where you’ll need to cut or modify the plastic container.
- A needle or sharp object: This will be used to poke holes in the plastic to allow airflow.
- Adhesive putty or heat-resistant glue: To attach the homemade diffuser to your hair dryer, you’ll need a secure adhesive that can withstand the heat.
- Heat-resistant mesh fabric: Look for a piece of mesh fabric that can withstand the heat from the hair dryer. This will help disperse the airflow evenly and gently.
- Rubber bands or hair ties: These will be used to secure the mesh fabric to the plastic container.
- Optional: Decorative elements such as paint, stickers, or ribbons to personalize your homemade diffuser.
Once you’ve gathered these materials, you’re well on your way to creating a customized diffuser that caters to your unique hair styling needs. With these simple items in hand, you can proceed to the next steps and begin crafting your very own homemade hair dryer diffuser.
Steps to Make a Diffuser for a Hair Dryer
Now that you have all the necessary materials, it’s time to dive into the creative process of crafting your homemade hair dryer diffuser. Follow these simple steps to create a personalized diffuser that will enhance your hair styling routine:
- Prepare the Plastic Container: Begin by marking the areas on the plastic container where you will need to make cuts. Use a marker or pen to outline the sections that will allow airflow and accommodate the attachment to your hair dryer.
- Cut Openings in the Container: With a pair of scissors, carefully cut out the marked sections on the plastic container. These openings will facilitate the dispersal of air and ensure a secure fit onto your hair dryer.
- Create Airflow Holes: Use a needle or a sharp object to poke small holes in the bottom of the plastic container. These holes will allow air to flow through the diffuser, providing gentle and even heat distribution.
- Attach the Mesh Fabric: Cut a piece of heat-resistant mesh fabric to fit the opening of the plastic container. Secure it in place using rubber bands or hair ties, ensuring that it forms a flat surface to disperse the airflow evenly.
- Personalize Your Diffuser (Optional): If desired, unleash your creativity by decorating the exterior of the diffuser with paint, stickers, or ribbons. This step allows you to add a personal touch to your homemade diffuser.
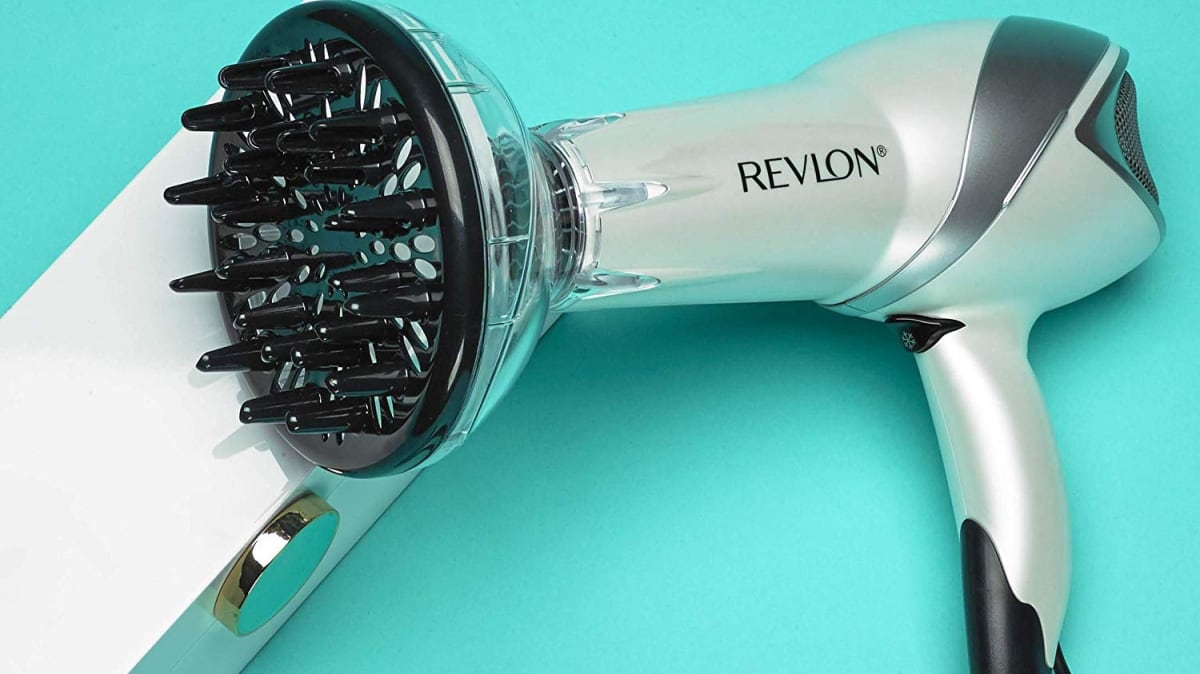
- Attach the Diffuser to Your Hair Dryer: Use adhesive putty or heat-resistant glue to affix the base of the diffuser to the nozzle of your hair dryer. Ensure a secure attachment that can withstand the heat generated during use.
By following these straightforward steps, you can fashion a customized diffuser tailored to your hair type and styling preferences. With a touch of creativity and a few simple tools, you’ll soon be ready to enjoy the benefits of your homemade hair dryer diffuser.
To make a diffuser for a hair dryer, you can use a plastic cup with holes poked in the bottom. Simply attach the cup to the end of the hair dryer and it will help distribute the air more evenly, reducing frizz and enhancing natural curls.
Tips for Using the Homemade Diffuser
Now that you’ve crafted your homemade hair dryer diffuser, it’s time to make the most of this personalized hair styling tool. Here are some valuable tips to ensure optimal usage and maximize the benefits of your homemade diffuser:
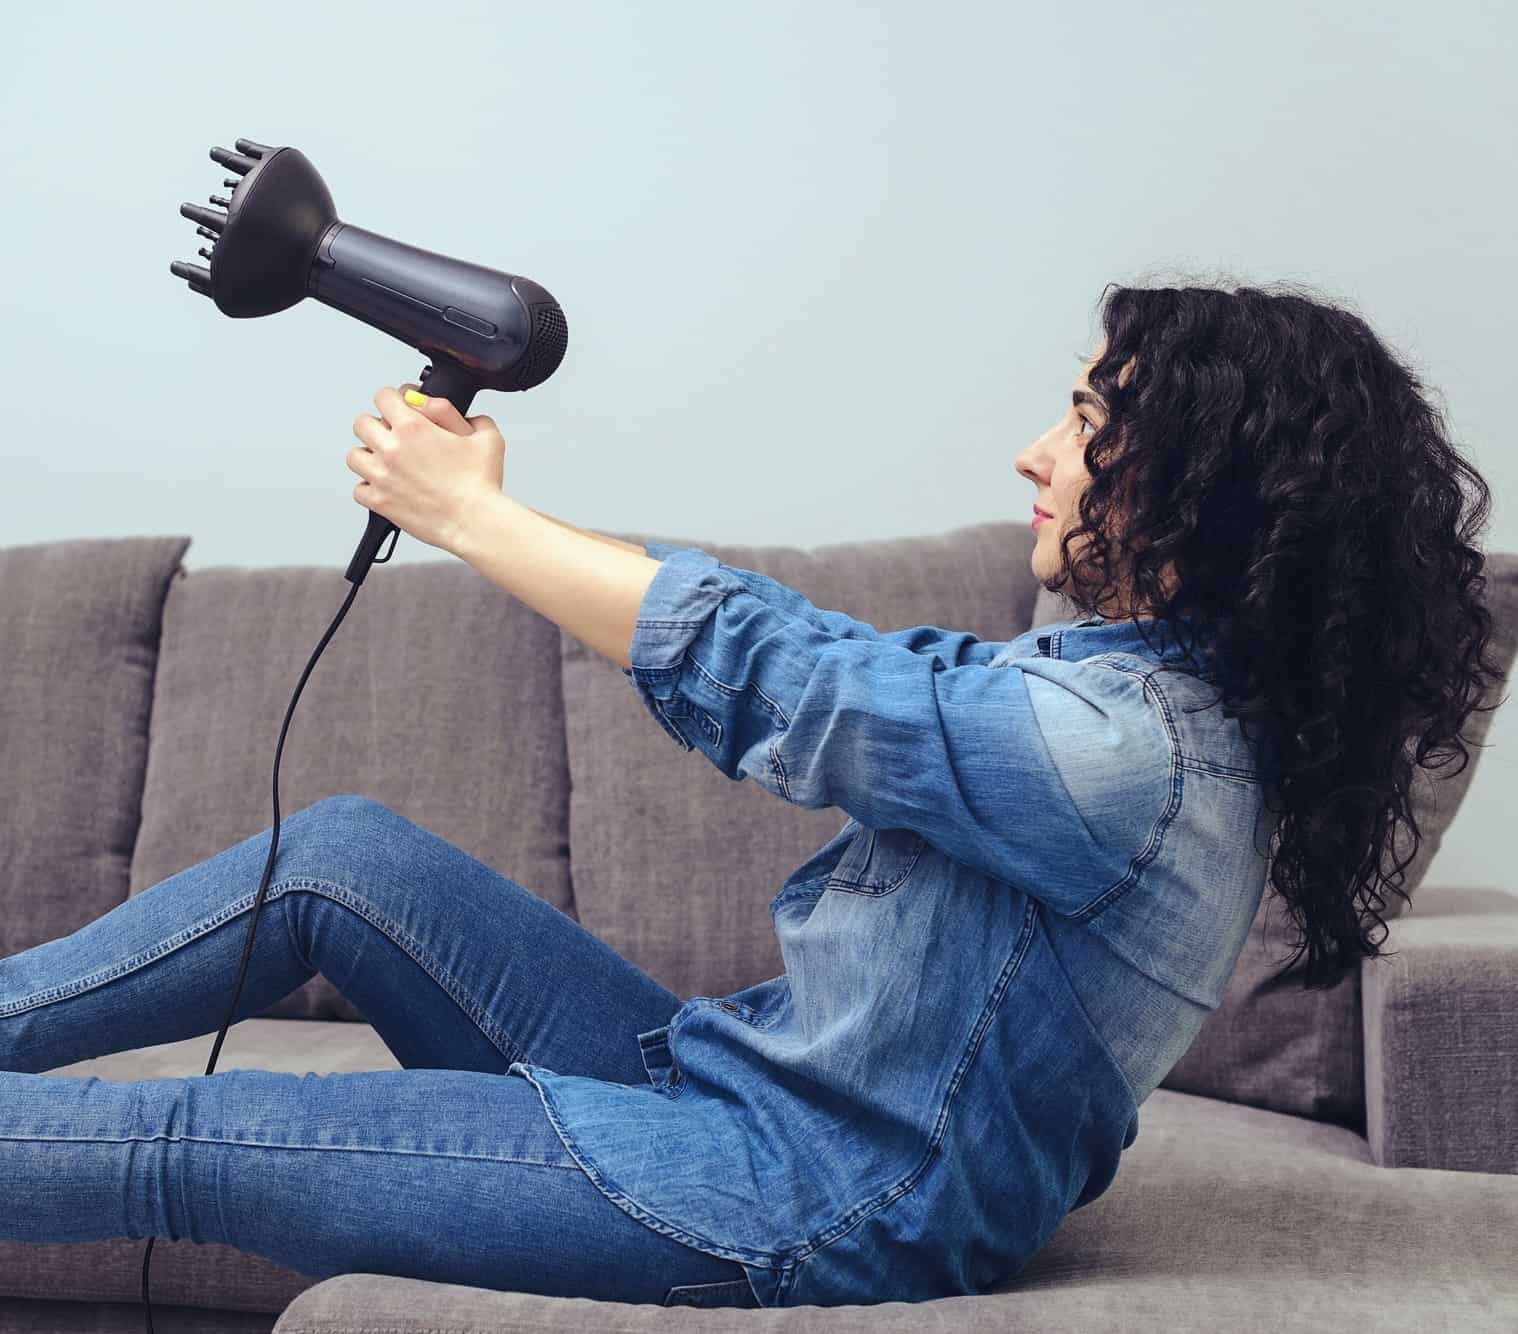
- Start with Damp Hair: For best results, use the diffuser on damp, not soaking wet, hair. Gently towel-dry your hair before attaching the diffuser to your hair dryer.
- Use Low Heat and Speed Settings: To minimize frizz and prevent heat damage, opt for low heat and speed settings on your hair dryer. The diffuser will disperse the airflow evenly, allowing for gentle and controlled drying.
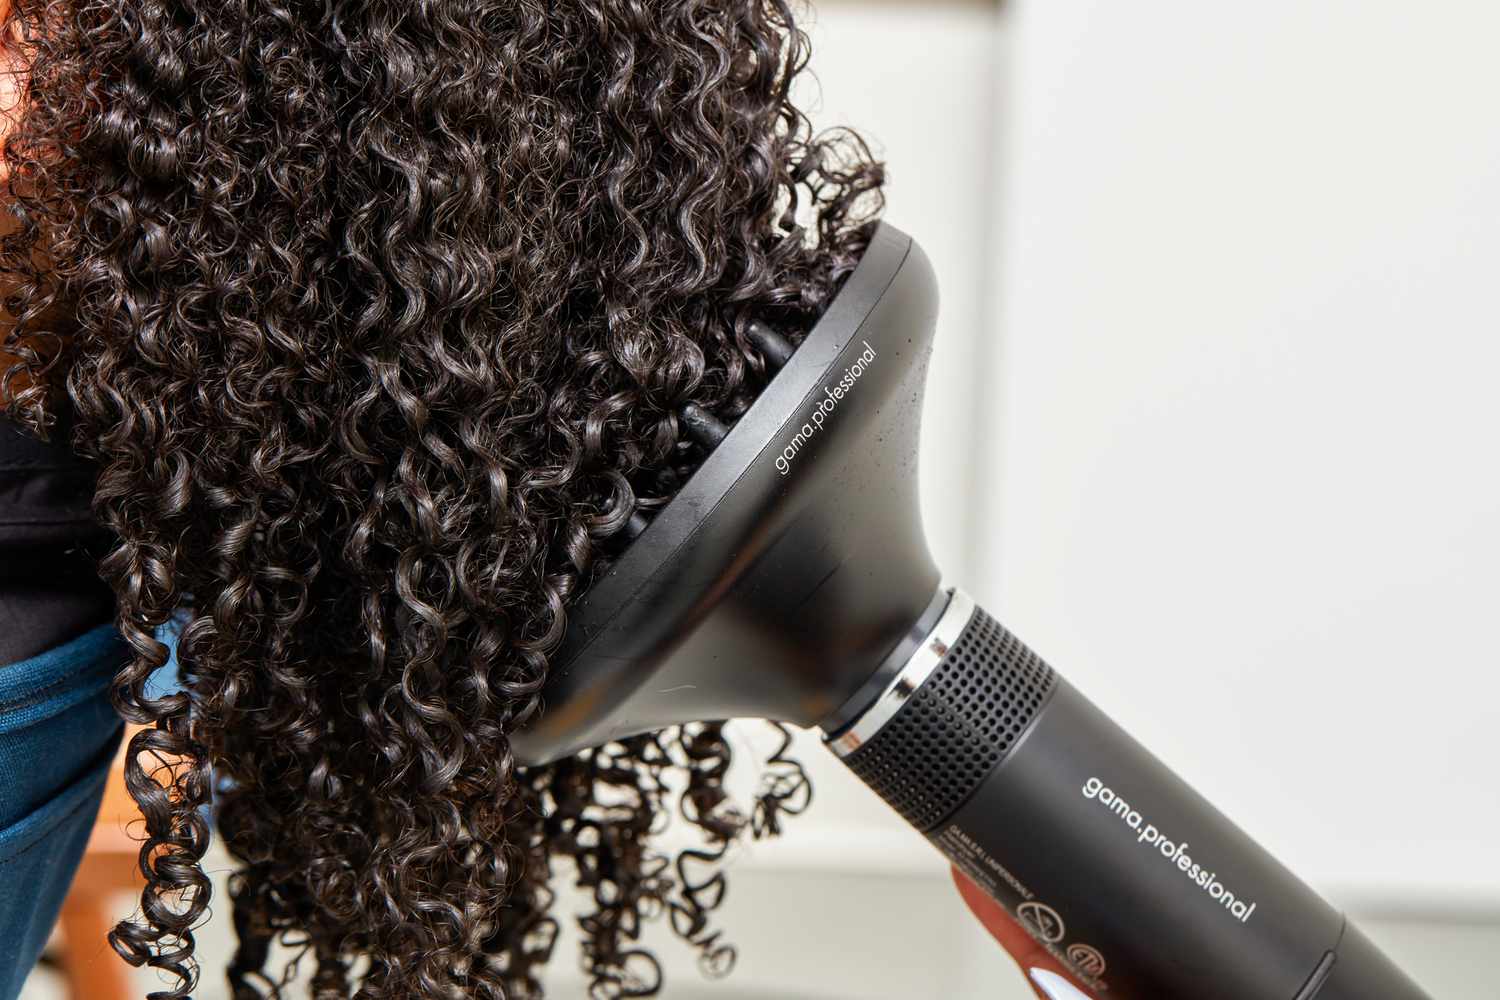
- Focus on the Roots: When using the diffuser, focus on the roots of your hair to create volume and lift. Use a scrunching motion to enhance the natural texture of your curls or waves.
- Allow for Movement: Avoid keeping the diffuser in one place for too long. Move the diffuser around your head to ensure even drying and styling without causing excessive heat exposure to specific areas.
- Experiment with Angles: Try different angles and positions to see what works best for your hair type and desired style. Tilt your head to the side or upside down to enhance volume and definition.
- Be Patient: Embrace the process and allow ample time for your hair to dry naturally with the diffuser. Patience is key to achieving beautifully defined curls or waves without causing frizz.
- Clean Your Diffuser Regularly: To maintain optimal performance, clean your homemade diffuser regularly. Remove any hair or debris that may accumulate in the airflow holes to ensure efficient operation.
By incorporating these tips into your hair styling routine, you can make the most of your homemade diffuser and achieve stunning results while caring for your hair. Embrace the versatility and customization offered by your personalized diffuser, and enjoy the journey of enhancing your natural hair texture with ease and creativity.
Conclusion
Congratulations on successfully creating your own homemade diffuser for your hair dryer! By embarking on this DIY project, you’ve not only crafted a personalized hair styling tool but also gained a deeper understanding of how to cater to your unique hair care needs. The process of making a diffuser has allowed you to infuse creativity and customization into your hair styling routine, empowering you to achieve salon-quality results from the comfort of your home.
With just a few simple materials and a touch of ingenuity, you’ve unlocked the potential to enhance the natural texture of your curls or waves while minimizing frizz and heat damage. Your homemade diffuser serves as a testament to your resourcefulness and commitment to sustainable and personalized hair care solutions.
As you embark on your hair styling journey with your newly crafted diffuser, remember to embrace experimentation and creativity. Use the tips provided to optimize your diffuser’s performance and discover the unique styling techniques that work best for your hair type and desired look.
By incorporating your homemade diffuser into your hair care routine, you’re not only elevating your styling capabilities but also contributing to a more sustainable and cost-effective approach to hair care. Embrace the versatility and empowerment that comes with crafting your own hair tools, and revel in the joy of showcasing your natural hair texture with confidence and flair.
So, go ahead and enjoy the delightful experience of using your homemade diffuser to create beautifully defined curls, waves, and voluminous styles. You’ve embarked on a journey of self-expression and enhanced hair care, and your homemade diffuser is a testament to your ability to transform everyday items into personalized solutions that elevate your beauty routine.
Frequently Asked Questions about How To Make A Diffuser For A Hair Dryer
Was this page helpful?
At Storables.com, we guarantee accurate and reliable information. Our content, validated by Expert Board Contributors, is crafted following stringent Editorial Policies. We're committed to providing you with well-researched, expert-backed insights for all your informational needs.


0 thoughts on “How To Make A Diffuser For A Hair Dryer”