Home>Home Appliances>Bathroom Appliances>How To Remove A Diffuser From A Hair Dryer
Bathroom Appliances
How To Remove A Diffuser From A Hair Dryer
Modified: August 17, 2024
Learn how to easily remove a diffuser from your hair dryer with our step-by-step guide. Keep your bathroom appliances in top condition with our helpful tips.
(Many of the links in this article redirect to a specific reviewed product. Your purchase of these products through affiliate links helps to generate commission for Storables.com, at no extra cost. Learn more)
Introduction
Welcome to our guide on how to remove a diffuser from a hair dryer! Whether you're looking to clean your hair dryer, switch attachments, or simply want to understand the process, we've got you covered. A diffuser is a valuable tool for achieving the perfect hairstyle, but knowing how to safely remove it is essential for maintenance and versatility.
In this comprehensive guide, we will walk you through the step-by-step process of removing a diffuser from your hair dryer. We'll also provide valuable tips on cleaning and maintaining your hair dryer for optimal performance. By the end of this article, you'll feel confident in navigating your hair dryer's attachments and keeping them in top condition.
So, grab your hair dryer and let's dive into the process of removing a diffuser with ease and precision.
Key Takeaways:
- Safely remove a diffuser from your hair dryer by unplugging the appliance, locating the attachment, and using the twist-and-pull method. Regular cleaning ensures optimal performance and hygienic styling experiences.
- With patience and care, you can confidently maintain and clean your hair dryer and its attachments. Unplug the appliance, locate the diffuser, and use basic tools for safe and effective maintenance.
Read more: What Is A Diffuser On A Hair Dryer
Tools Needed
Before you begin the process of removing the diffuser from your hair dryer, it’s essential to gather a few basic tools to ensure a smooth and safe experience. Here’s what you’ll need:
- Clean Cloth: Having a clean, soft cloth on hand will allow you to wipe down the hair dryer and remove any accumulated dust or debris.
- Mild Soap and Water: A gentle soap and water solution will be useful for cleaning the diffuser and the hair dryer once the diffuser is removed.
- Small Brush or Cotton Swabs: These tools can help you access and clean hard-to-reach areas, ensuring that your hair dryer remains in top condition.
- Patience and Care: While not a physical tool, approaching the process with patience and care is crucial for avoiding damage to the hair dryer or its attachments.
With these basic tools at your disposal, you’ll be well-prepared to remove the diffuser from your hair dryer and maintain its cleanliness and functionality.
Step 1: Unplug the Hair Dryer
Before you begin the process of removing the diffuser from your hair dryer, it’s crucial to prioritize safety. Start by unplugging the hair dryer from the electrical outlet to eliminate any risk of electrical shock or injury. This simple yet essential step ensures that you can work on the hair dryer without any potential hazards.
Unplugging the hair dryer also prevents the risk of accidentally turning it on during the removal process, which could lead to injury or damage to the appliance. Once the hair dryer is unplugged, you can proceed with confidence, knowing that you’ve taken the necessary precautions to ensure a safe and smooth experience.
Remember, safety should always come first when working with electrical appliances. By unplugging the hair dryer before beginning the removal process, you’re setting the stage for a successful and risk-free maintenance task.
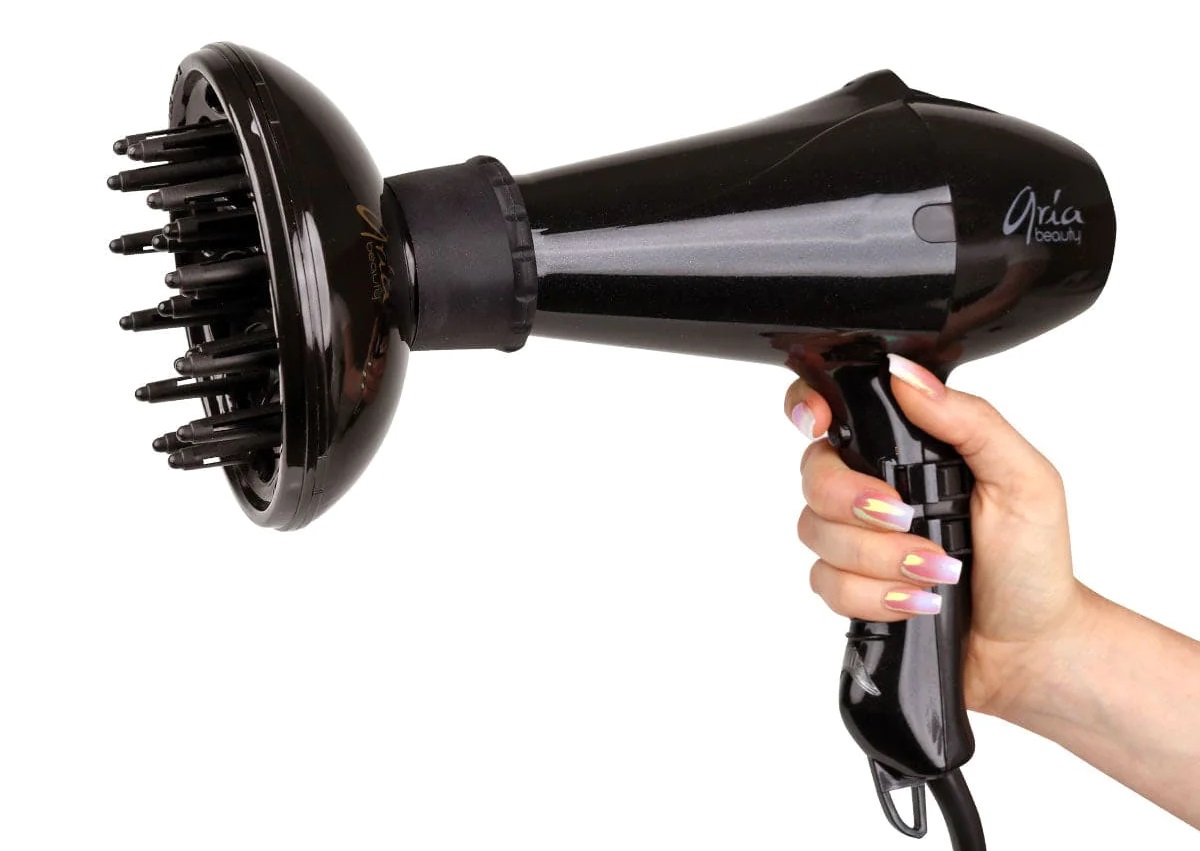
Step 2: Locate the Diffuser Attachment
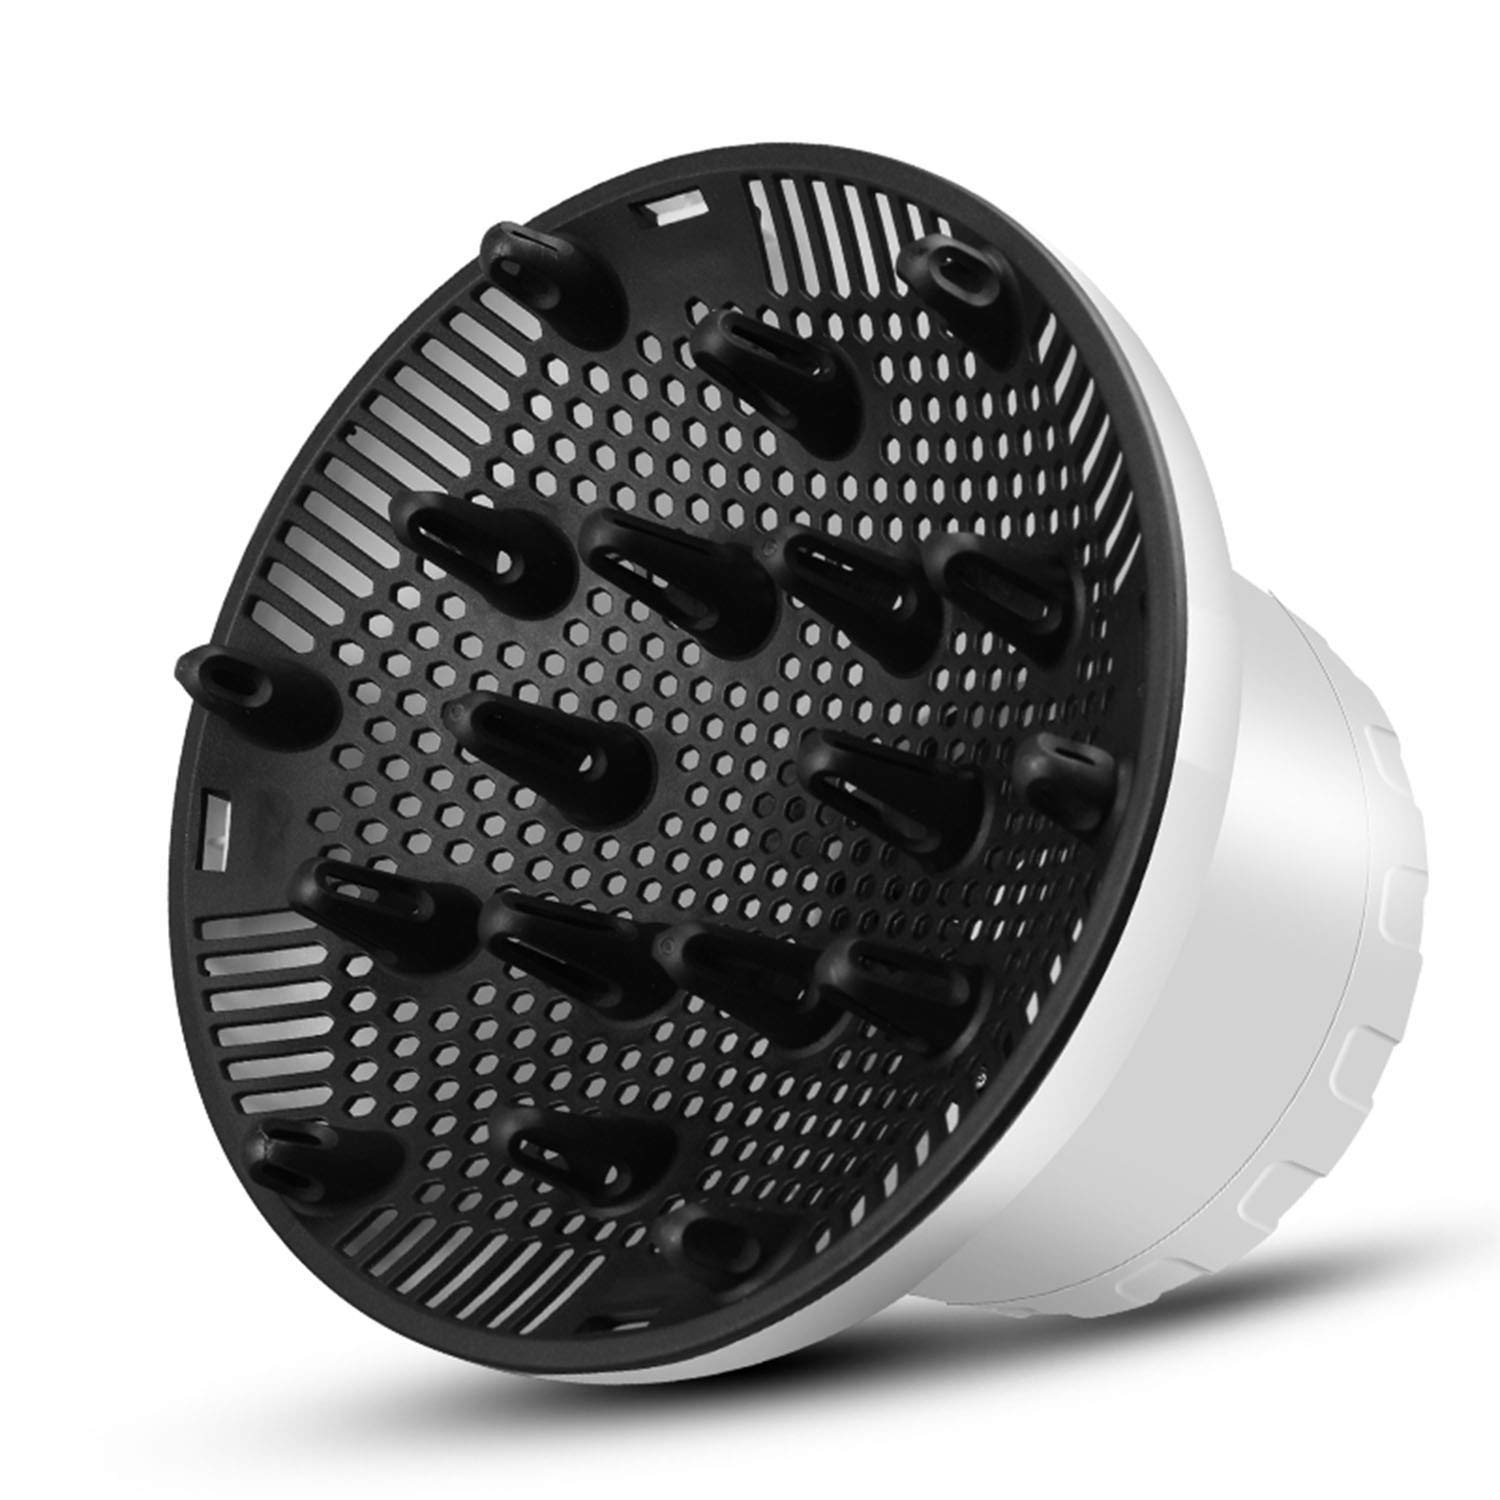
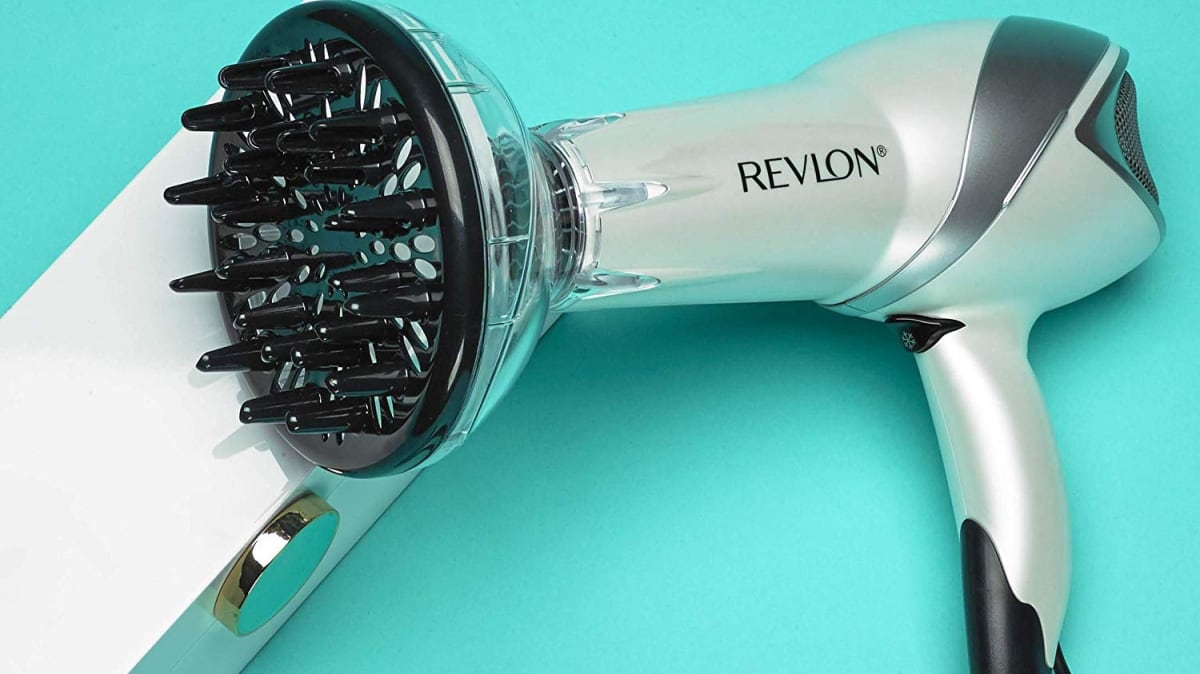
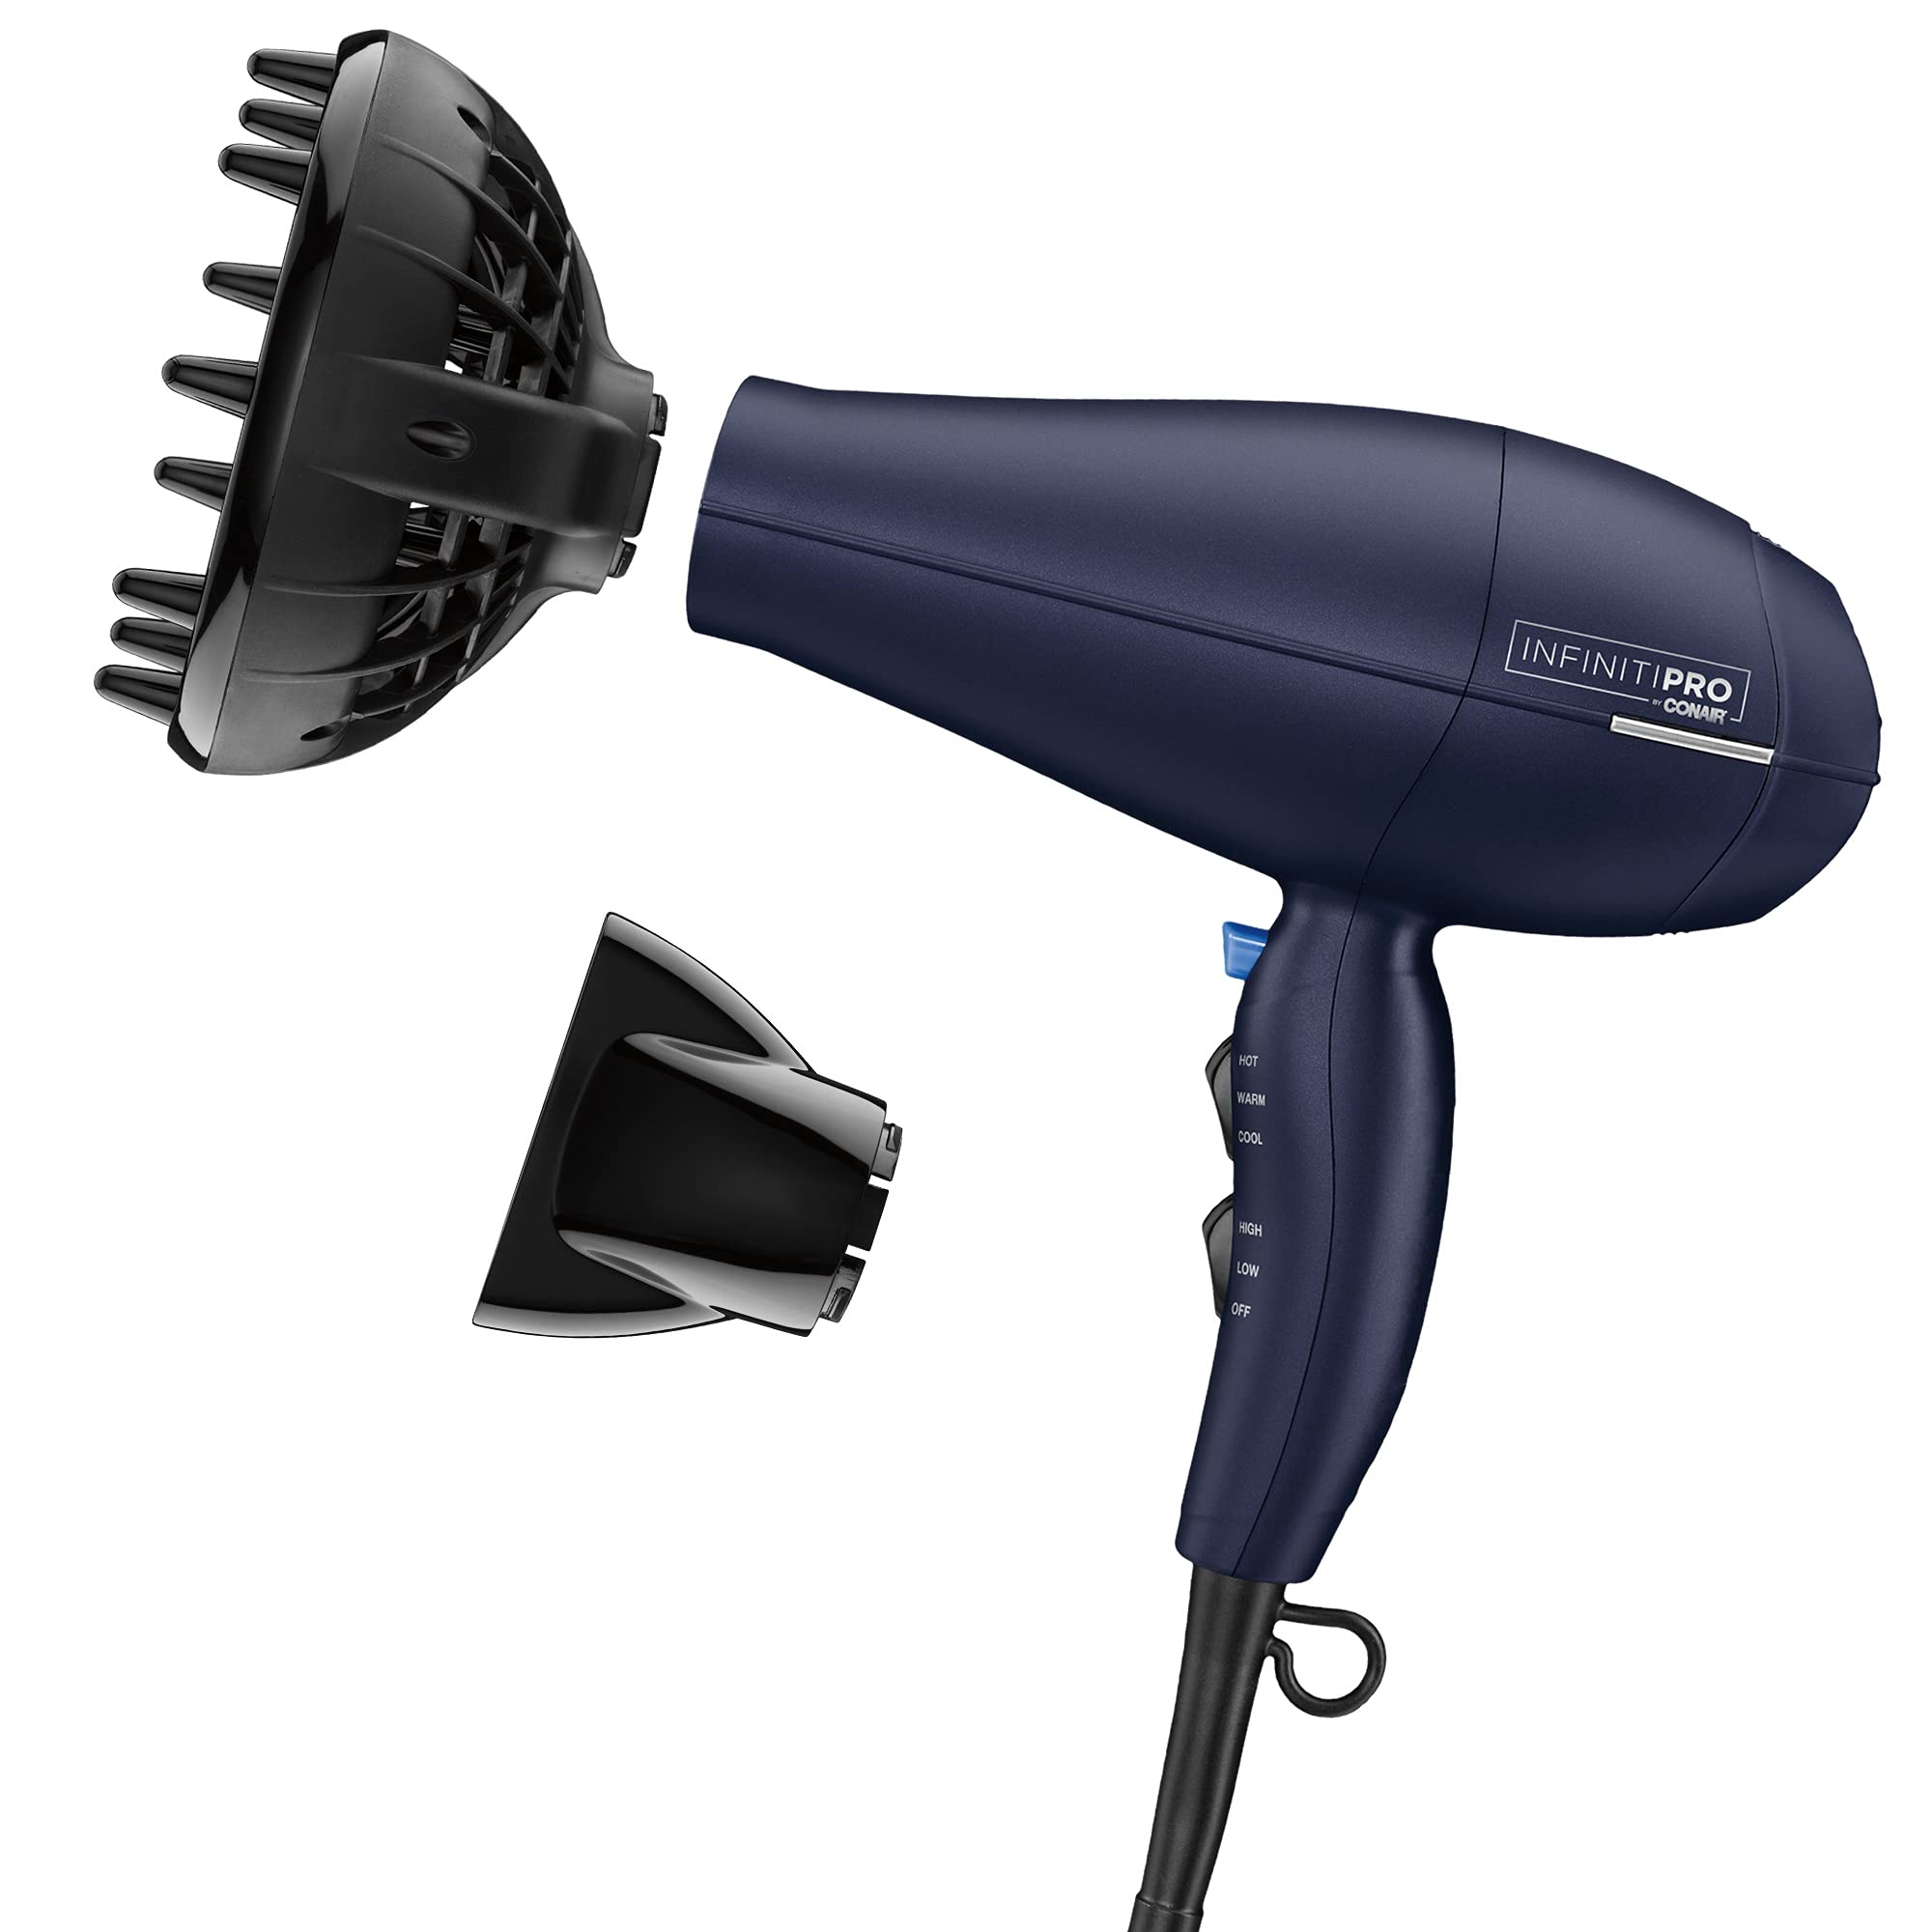
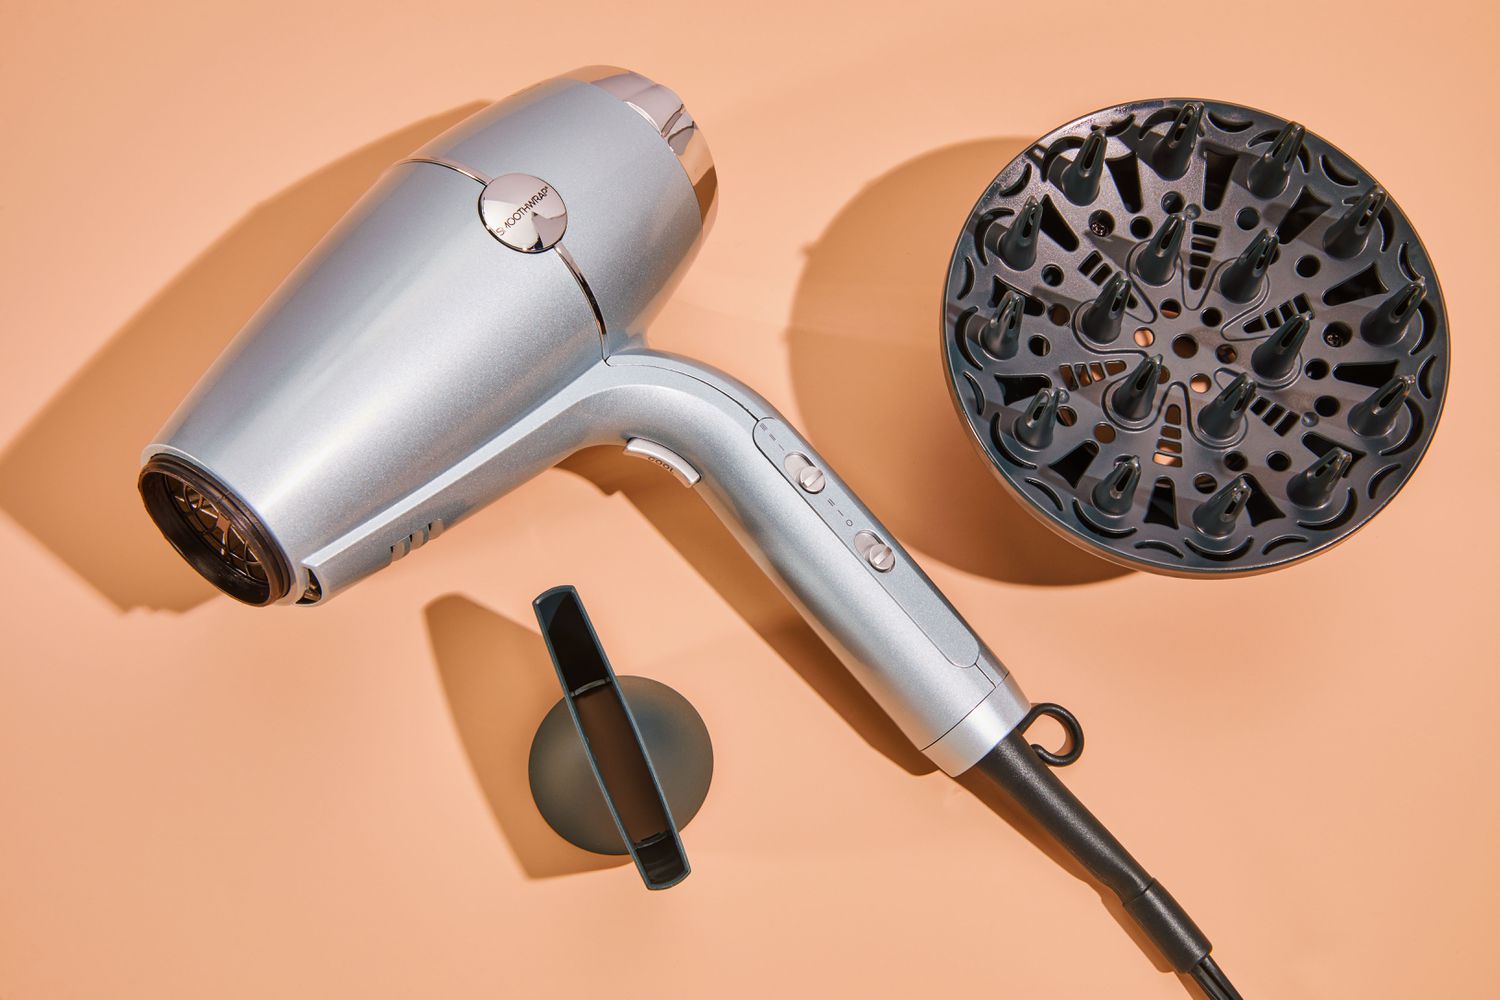
Once the hair dryer is safely unplugged, it’s time to locate the diffuser attachment. The diffuser is typically a separate piece that attaches to the end of the hair dryer’s nozzle. It’s designed to disperse the airflow, making it ideal for drying curly or wavy hair without causing frizz or disrupting natural curls.
To find the diffuser attachment, examine the end of the hair dryer’s nozzle. The diffuser will either be a separate piece that can be twisted off or a collapsible attachment that can be folded down for storage. Depending on the hair dryer model, the attachment may have a locking mechanism or simply twist and pull off easily.
If you’re unsure about the location or design of the diffuser attachment, refer to the user manual that came with your hair dryer. The manual often contains detailed instructions and illustrations to help you identify and handle the attachments correctly.
By locating the diffuser attachment, you’re one step closer to successfully removing it from your hair dryer. Understanding its placement and how it connects to the hair dryer will make the removal process more straightforward and efficient.
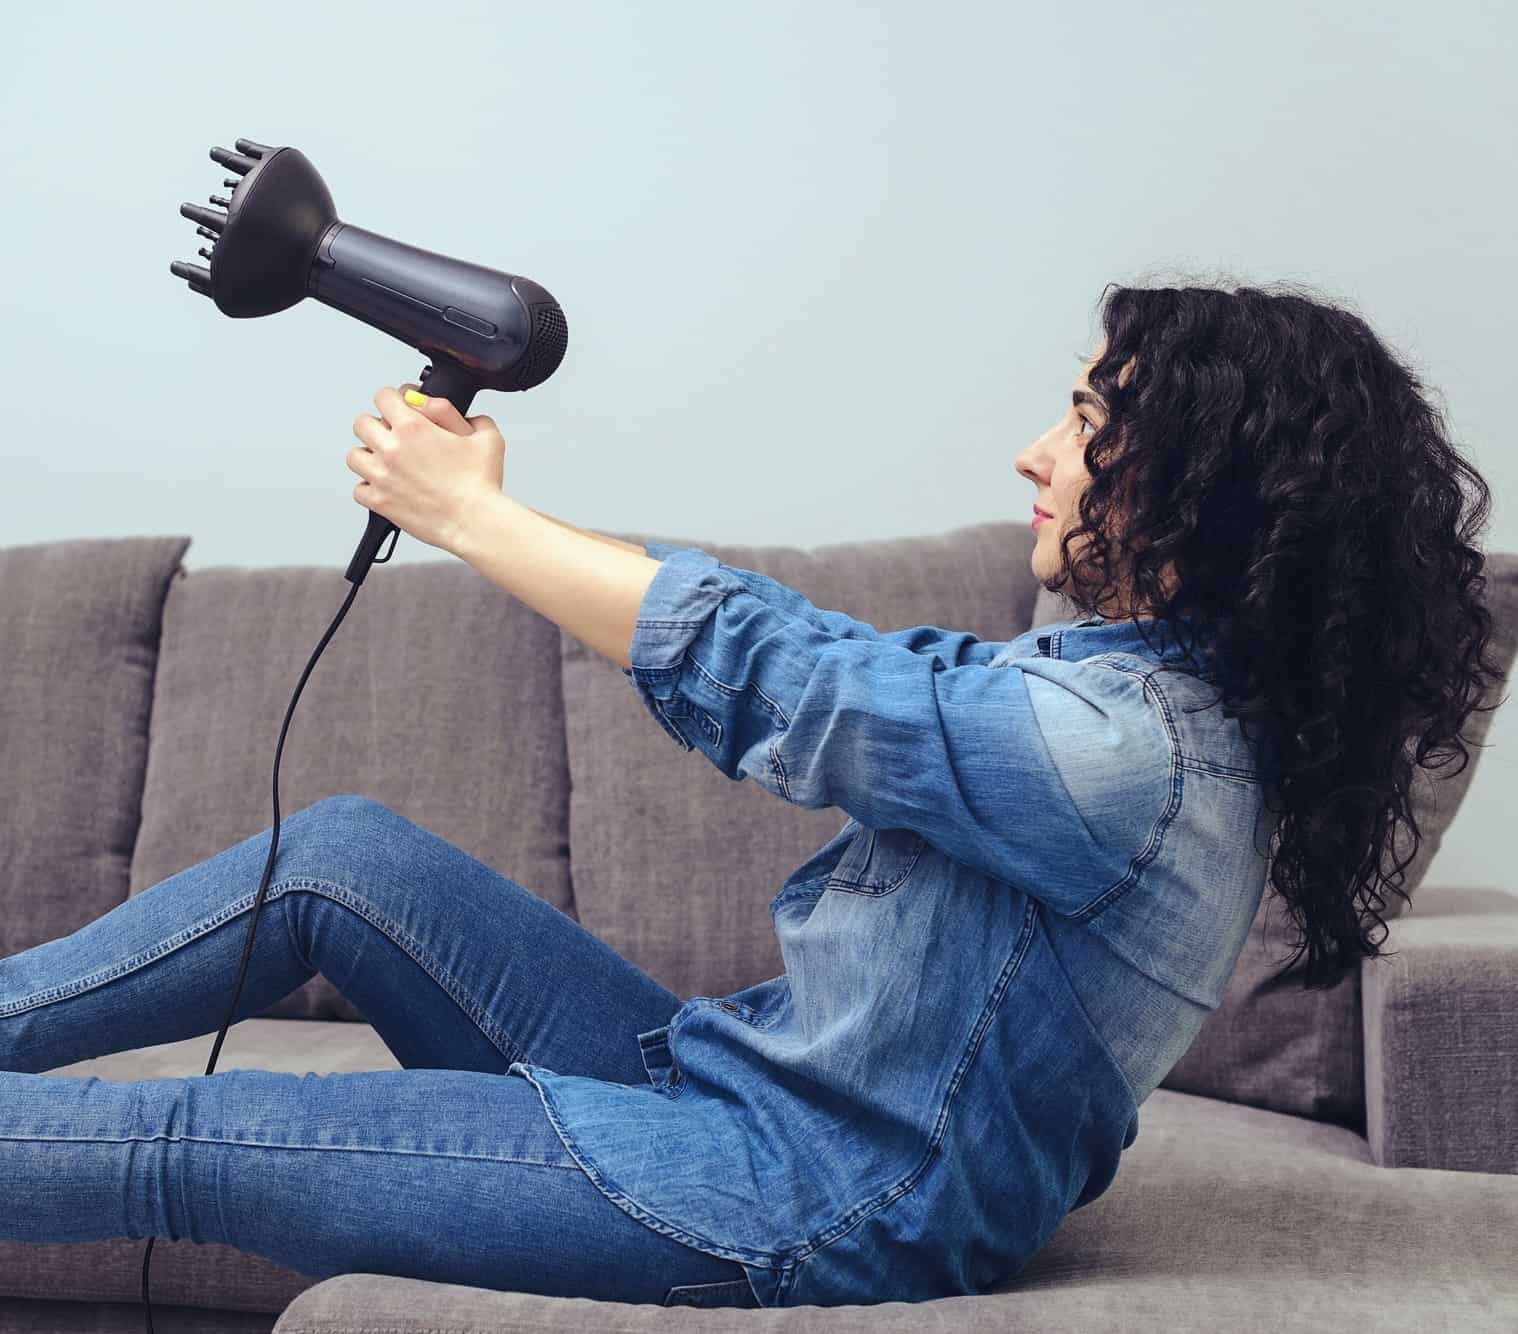
Before removing the diffuser from your hair dryer, make sure the dryer is unplugged and cool. Then, gently twist and pull the diffuser attachment to detach it from the dryer.
Step 3: Twist and Pull
With the diffuser attachment located, it’s time to proceed with the removal process. Depending on the design of your hair dryer and its attachments, the method for removing the diffuser may vary. However, the most common approach involves a simple twist-and-pull technique.
Start by gripping the diffuser attachment firmly but gently. Many diffusers are designed to be twisted counterclockwise to unlock them from the hair dryer’s nozzle. Apply steady and even pressure as you twist the diffuser in the designated direction. As you do so, you should feel the attachment loosening from the nozzle.
Once the diffuser is sufficiently loosened, continue to twist it until it comes free from the hair dryer. Be mindful of any resistance or unusual sensations, as this can indicate that the attachment is stuck or there may be a specific release mechanism to engage.
If the diffuser attachment does not have a twisting mechanism, it may simply pull off the nozzle with a gentle but firm tug. In some cases, there may be a release button or lever that needs to be activated before the diffuser can be removed. Refer to the user manual for your specific hair dryer model to determine the correct approach.
By employing the twist-and-pull method and paying attention to any unique features of the attachment, you can safely and effectively remove the diffuser from your hair dryer, allowing for maintenance, cleaning, or the attachment of a different accessory.
Read more: How To Diffuse Hair With A Blow Dryer
Step 4: Clean the Hair Dryer
After successfully removing the diffuser from your hair dryer, it’s an opportune time to clean both the appliance and the detached attachment. Regular cleaning not only maintains the performance of the hair dryer but also ensures a hygienic and efficient styling experience.
Begin by using a clean, damp cloth to wipe down the exterior of the hair dryer, removing any dust, product residue, or buildup. Pay particular attention to the nozzle area, as this is where the diffuser attaches and where airflow is concentrated during use. A gentle soap and water solution can be used for stubborn residue, ensuring that the hair dryer remains pristine.
Next, focus on cleaning the diffuser attachment. Depending on the material and design, the diffuser can be wiped down with a damp cloth or gently washed with mild soap and water. Ensure that the attachment is completely dry before reattaching it to the hair dryer to prevent any potential damage or malfunctions.
For hard-to-reach areas of the hair dryer and the diffuser, a small brush or cotton swabs can be used to remove debris and maintain cleanliness. Take care to avoid introducing moisture into the interior of the hair dryer, as this can compromise its functionality and pose a safety risk.
By incorporating regular cleaning into your hair care routine, you can prolong the lifespan of your hair dryer and maintain optimal performance. Additionally, keeping the diffuser attachment clean ensures that it continues to deliver the desired results without any buildup affecting its functionality.
With the hair dryer and diffuser attachment thoroughly cleaned, you’re ready to enjoy a refreshed and efficient styling experience, knowing that your tools are in top condition.
Conclusion
Congratulations! You’ve successfully learned how to remove a diffuser from a hair dryer, taking the first step toward maintaining and optimizing your styling tools. By following the step-by-step process outlined in this guide, you’ve gained the knowledge and confidence to safely and effectively remove the diffuser attachment from your hair dryer.
Understanding the importance of safety, you began by unplugging the hair dryer to eliminate any electrical hazards and ensure a secure working environment. You then located the diffuser attachment, familiarizing yourself with its placement and design. Using the twist-and-pull technique, you carefully removed the diffuser, taking note of any unique features or mechanisms specific to your hair dryer model.
After successfully removing the diffuser, you took the opportunity to clean both the hair dryer and the attachment, ensuring that they remain in optimal condition for future use. Regular maintenance and cleaning will prolong the lifespan of your hair dryer and accessories, allowing you to enjoy consistent performance and hygienic styling experiences.
With the knowledge and skills acquired from this guide, you’re now equipped to maintain, clean, and interchange attachments on your hair dryer with ease. Whether you’re switching to a different styling accessory or simply maintaining the cleanliness of your tools, you can approach the process with confidence and precision.
We hope this guide has empowered you to navigate the world of hair dryer maintenance and care, providing you with valuable insights into the process of removing a diffuser and keeping your styling tools in top condition. By incorporating these practices into your hair care routine, you can ensure that your hair dryer continues to deliver exceptional results for your styling needs.
Thank you for joining us on this journey of understanding and mastering the maintenance of hair dryer attachments. Here’s to effortless styling and beautifully maintained tools!
Frequently Asked Questions about How To Remove A Diffuser From A Hair Dryer
Was this page helpful?
At Storables.com, we guarantee accurate and reliable information. Our content, validated by Expert Board Contributors, is crafted following stringent Editorial Policies. We're committed to providing you with well-researched, expert-backed insights for all your informational needs.


0 thoughts on “How To Remove A Diffuser From A Hair Dryer”