Home>Home Appliances>Cleaning Appliances>How Long After Grouting Can You Mop
Cleaning Appliances
How Long After Grouting Can You Mop
Modified: February 25, 2024
Learn the best practices for cleaning appliances after grouting to ensure a clean and shiny surface. Find out how long to wait before mopping to maintain the grout's integrity.
(Many of the links in this article redirect to a specific reviewed product. Your purchase of these products through affiliate links helps to generate commission for Storables.com, at no extra cost. Learn more)
Introduction
So, you've just finished grouting your tiles and now you're eager to give your floors a good clean. But hold on a second! Before you break out the mop and bucket, it's essential to understand the crucial process of grout drying. Grouting is a meticulous task that requires patience and precision, and knowing when it's safe to mop over newly grouted tiles is vital to ensure the longevity and beauty of your flooring. In this comprehensive guide, we'll delve into the intricacies of grout drying, explore the factors that influence drying time, and provide valuable tips for safely mopping your floors after grouting. Whether you're a seasoned DIY enthusiast or a first-time homeowner, this article will equip you with the knowledge to navigate the post-grouting phase with confidence and care. Let's embark on this enlightening journey to uncover the answer to the burning question: "How long after grouting can you mop?"
Key Takeaways:
- Wait at least 72 hours after grouting before mopping to ensure the grout has fully cured and can withstand the cleaning process. Rushing can lead to potential damage and costly repairs.
- Use a gentle cleaning solution, avoid excess water, and maintain regular cleaning to preserve the beauty and longevity of newly grouted tiles. Patience and care yield enduring results.
Read more: How Long After Pest Control Can I Mop
Understanding Grout and Its Drying Time
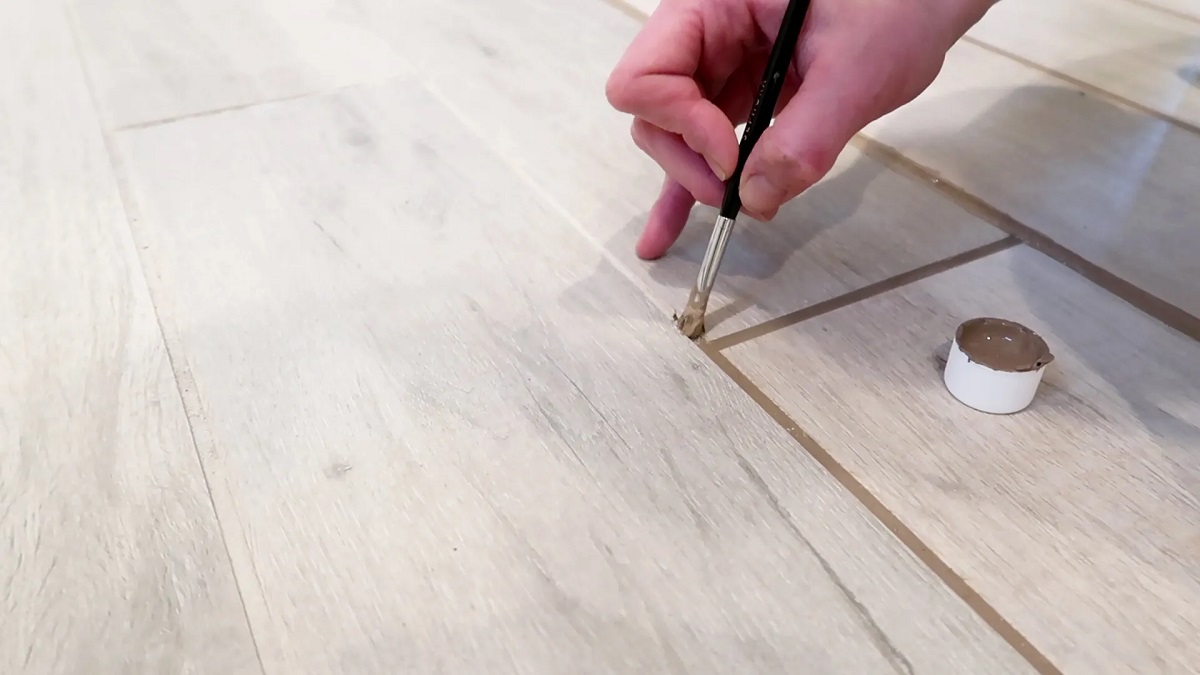
Grout, a dense fluid consisting of water, cement, sand, and sometimes color tint, is a fundamental component in tile installation. Once applied, grout fills the gaps between tiles, providing stability and preventing moisture penetration. However, the process of grout drying is not instantaneous. In fact, it involves a complex chemical reaction that transforms the wet mixture into a durable, solid material.
Grout drying time varies depending on several factors, including the type of grout used, environmental conditions, and the size of the grout joints. Cement-based grout, the most common type, typically requires a curing period of 24 to 72 hours before it can withstand moisture. On the other hand, epoxy grout, known for its exceptional durability and resistance, may necessitate a longer drying time, often up to a week or more.
Understanding the composition of grout and its drying process is crucial for making informed decisions about when to proceed with post-grouting activities, such as mopping. Rushing this stage can compromise the integrity of the grout and lead to unsightly blemishes or even structural issues in the long run. Patience is indeed a virtue when it comes to grout drying, and the next section will explore the key factors that influence this essential phase of tile installation.
Factors Affecting Drying Time
The drying time of grout is not set in stone, as it is influenced by a myriad of variables that can either expedite or prolong the process. Understanding these factors is pivotal in gauging when it is safe to proceed with mopping after grouting. Let’s delve into the key determinants of grout drying time:
- Grout Type: Different types of grout, such as cement-based, epoxy, and urethane, have distinct chemical compositions and drying characteristics. Cement-based grout typically cures within 24 to 72 hours, while epoxy grout may require a longer drying period, sometimes up to a week.
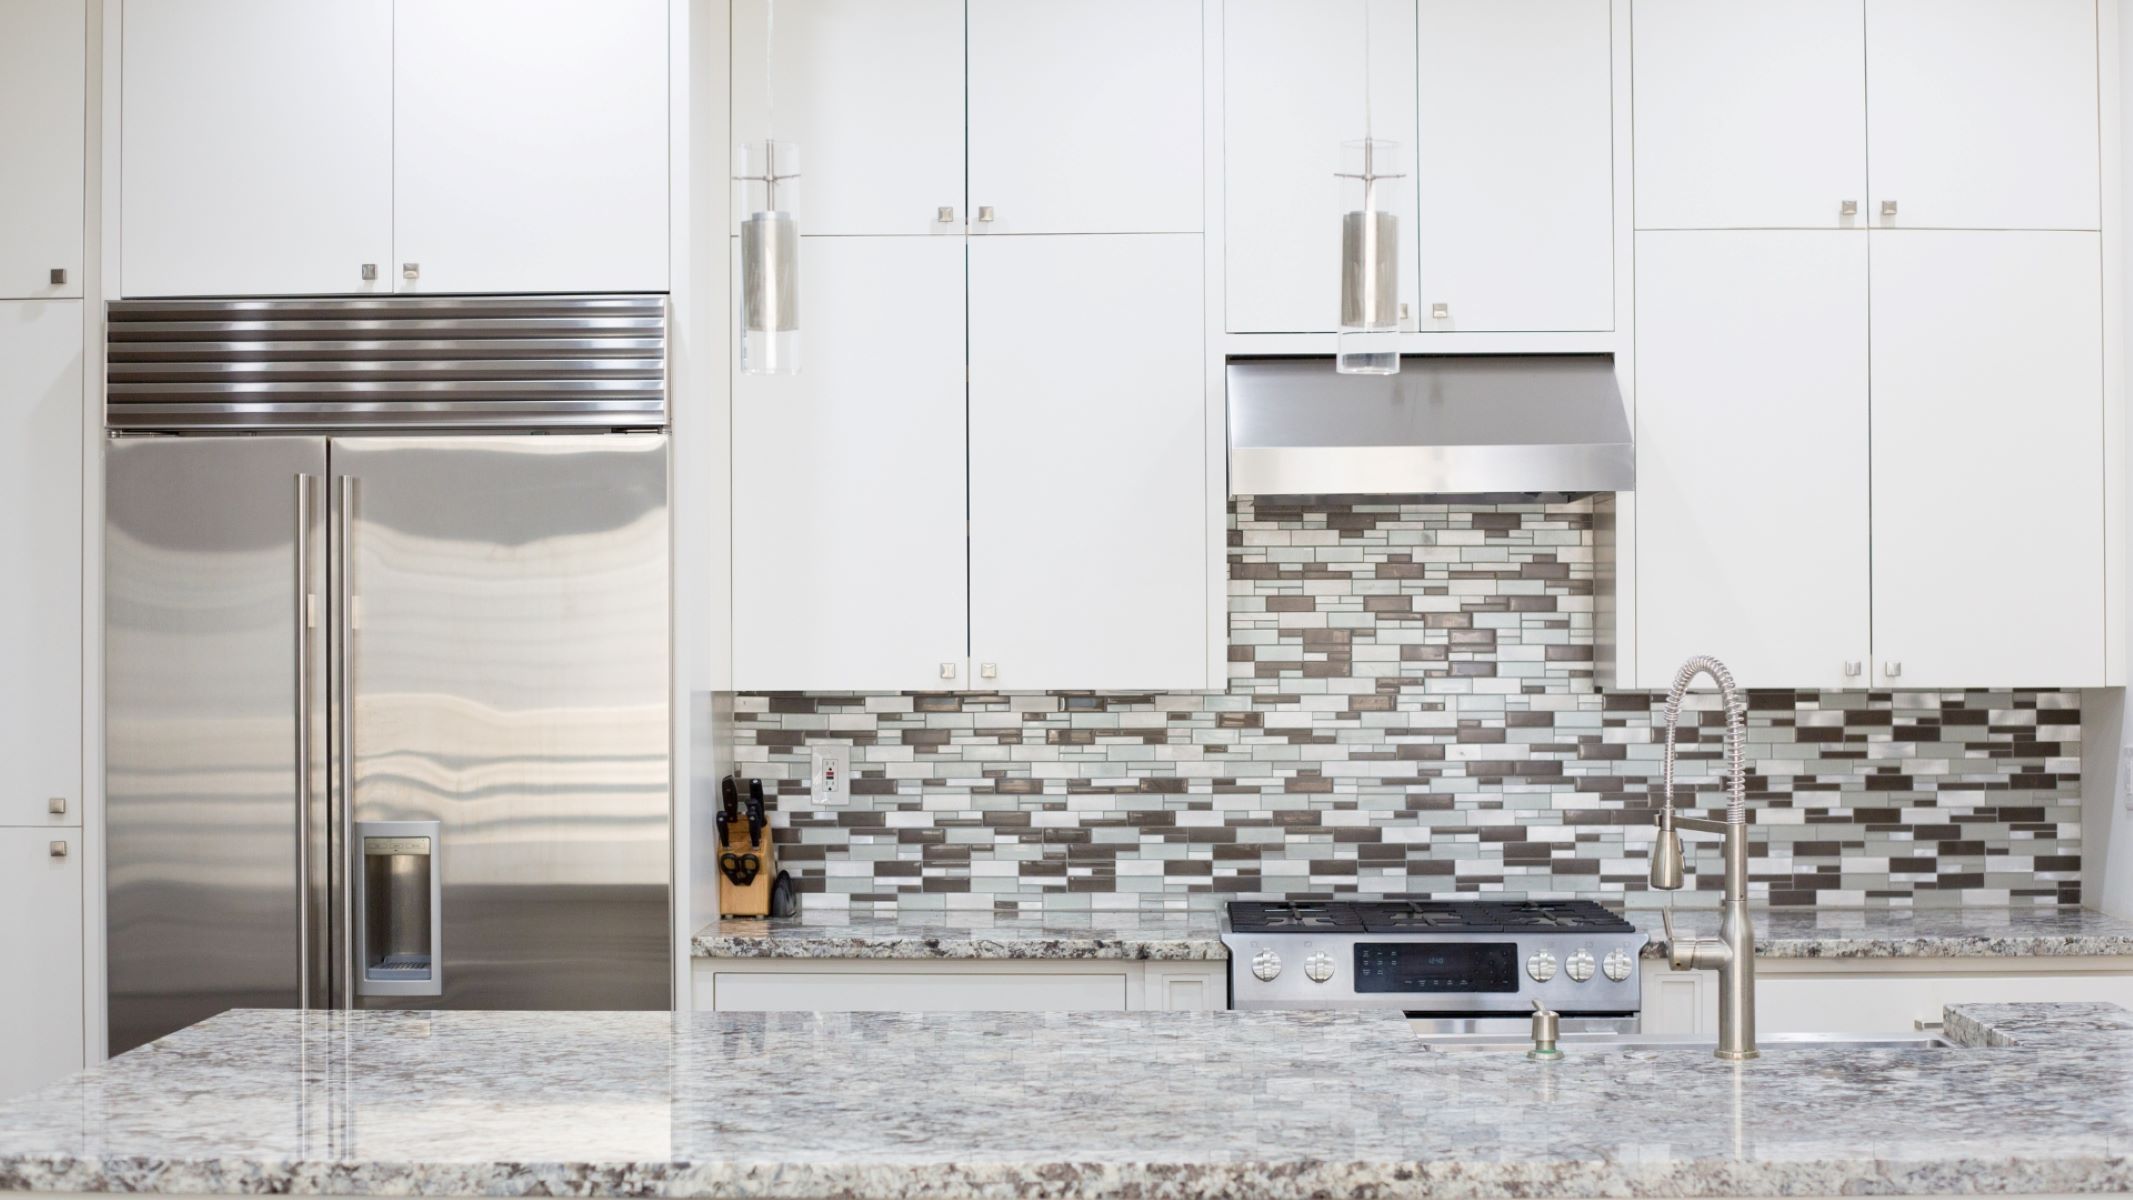
- Tile Material: The material of the tiles being grouted can impact drying time. Porous tiles, such as natural stone, may absorb moisture from the grout, prolonging the drying process. Non-porous tiles, like ceramic or porcelain, generally facilitate quicker drying.
- Grout Color: Believe it or not, the color of the grout can affect its drying time. Darker grout colors often contain more pigment, which can slow down the drying process compared to lighter shades.
- Humidity and Temperature: Environmental conditions play a significant role in grout drying. High humidity levels can impede evaporation, while low humidity can expedite the process. Similarly, warmer temperatures generally accelerate drying, while cooler conditions may prolong it.
- Grout Thickness: The thickness of the grout lines also influences drying time. Wider grout joints take longer to dry compared to narrow ones, as they contain more moisture and require additional time for curing.
- Ventilation: Adequate airflow and ventilation in the grouted area can facilitate moisture evaporation, expediting the drying process. Conversely, poorly ventilated or confined spaces may impede drying.
By considering these factors, you can gain valuable insights into the intricacies of grout drying and make informed decisions about when it is appropriate to proceed with mopping. Now that we’ve explored the variables that impact drying time, let’s address the burning question: how long should you wait before mopping newly grouted tiles?
Wait at least 72 hours after grouting before mopping to allow the grout to fully cure. Use a pH-neutral cleaner and avoid harsh chemicals to protect the grout.
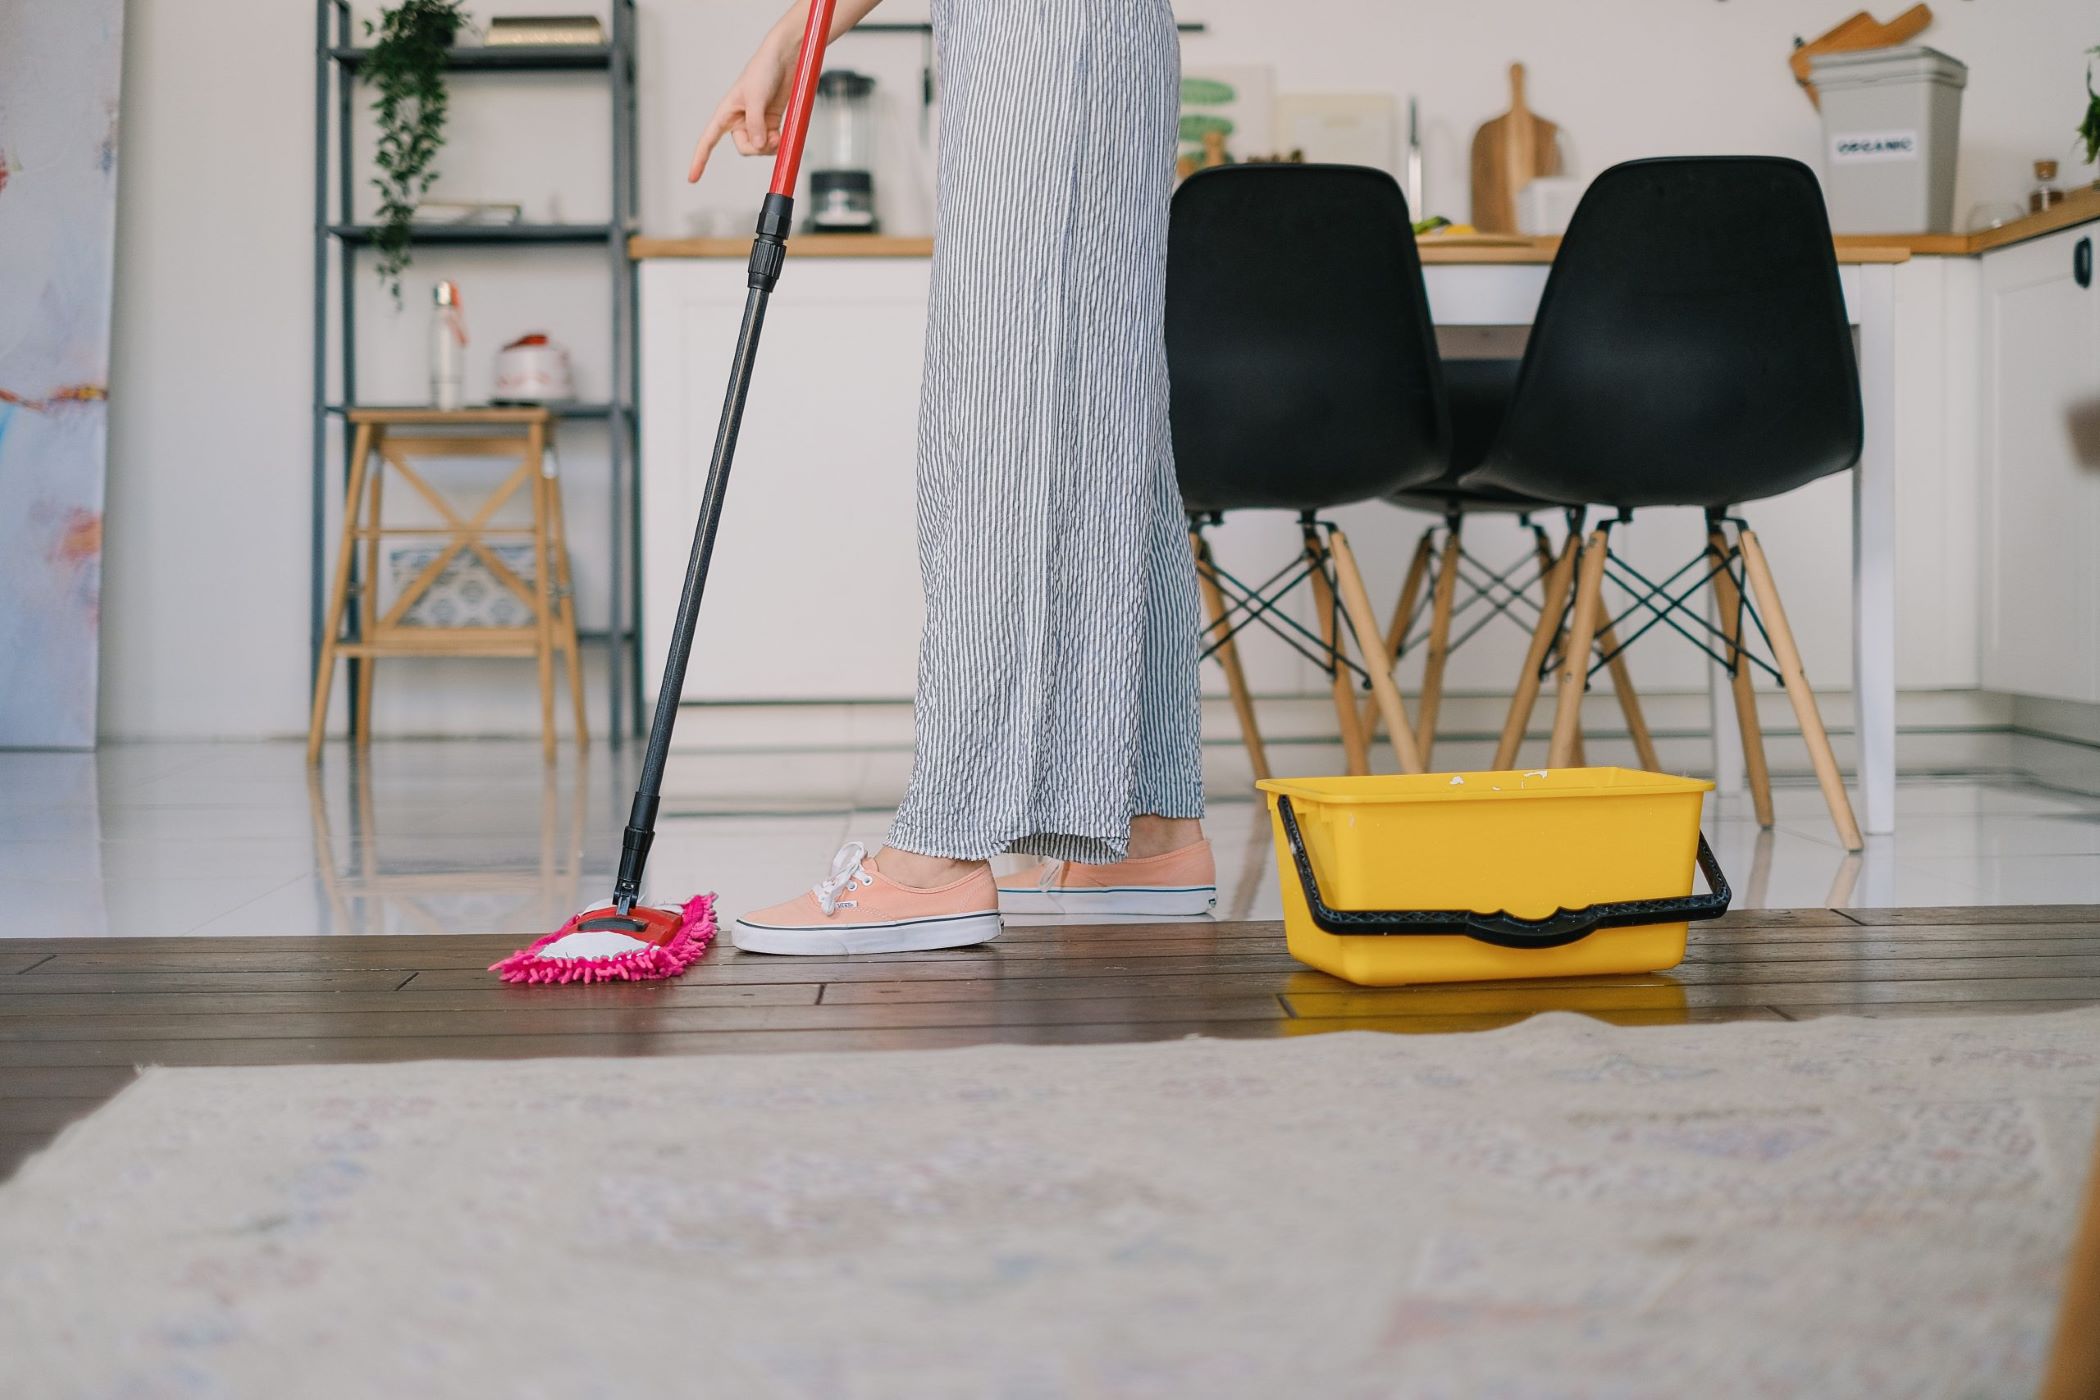
How Long to Wait Before Mopping
After meticulously grouting your tiles and allowing ample time for the grout to dry, you’re likely eager to restore the pristine appearance of your flooring through a thorough cleaning. The big question remains: how long should you wait before mopping newly grouted tiles?
As a general rule of thumb, it is advisable to wait at least 72 hours after grouting before attempting to mop the tiled surface. This timeframe allows the grout to undergo the initial curing phase and attain sufficient strength to withstand the moisture and pressure exerted during the mopping process. However, it is important to note that the specific drying time may vary based on the type of grout, environmental conditions, and other influencing factors mentioned earlier.
Prior to mopping, it is prudent to conduct a simple test to assess the readiness of the grout. Lightly press your finger against the edge of the grout line. If the grout feels firm and does not leave an indentation, it is likely ready for mopping. Conversely, if the grout appears soft or leaves an impression, it is best to allow more time for drying before proceeding with any cleaning activities.
While the temptation to expedite the mopping process may be strong, exercising patience and allowing the grout to fully cure will yield long-lasting and visually appealing results. Rushing this crucial phase can compromise the integrity of the grout and lead to potential discoloration or damage, necessitating costly repairs in the future.
By adhering to the recommended waiting period and conducting a simple readiness test, you can confidently proceed with mopping, knowing that your newly grouted tiles are primed for a thorough and safe cleaning.
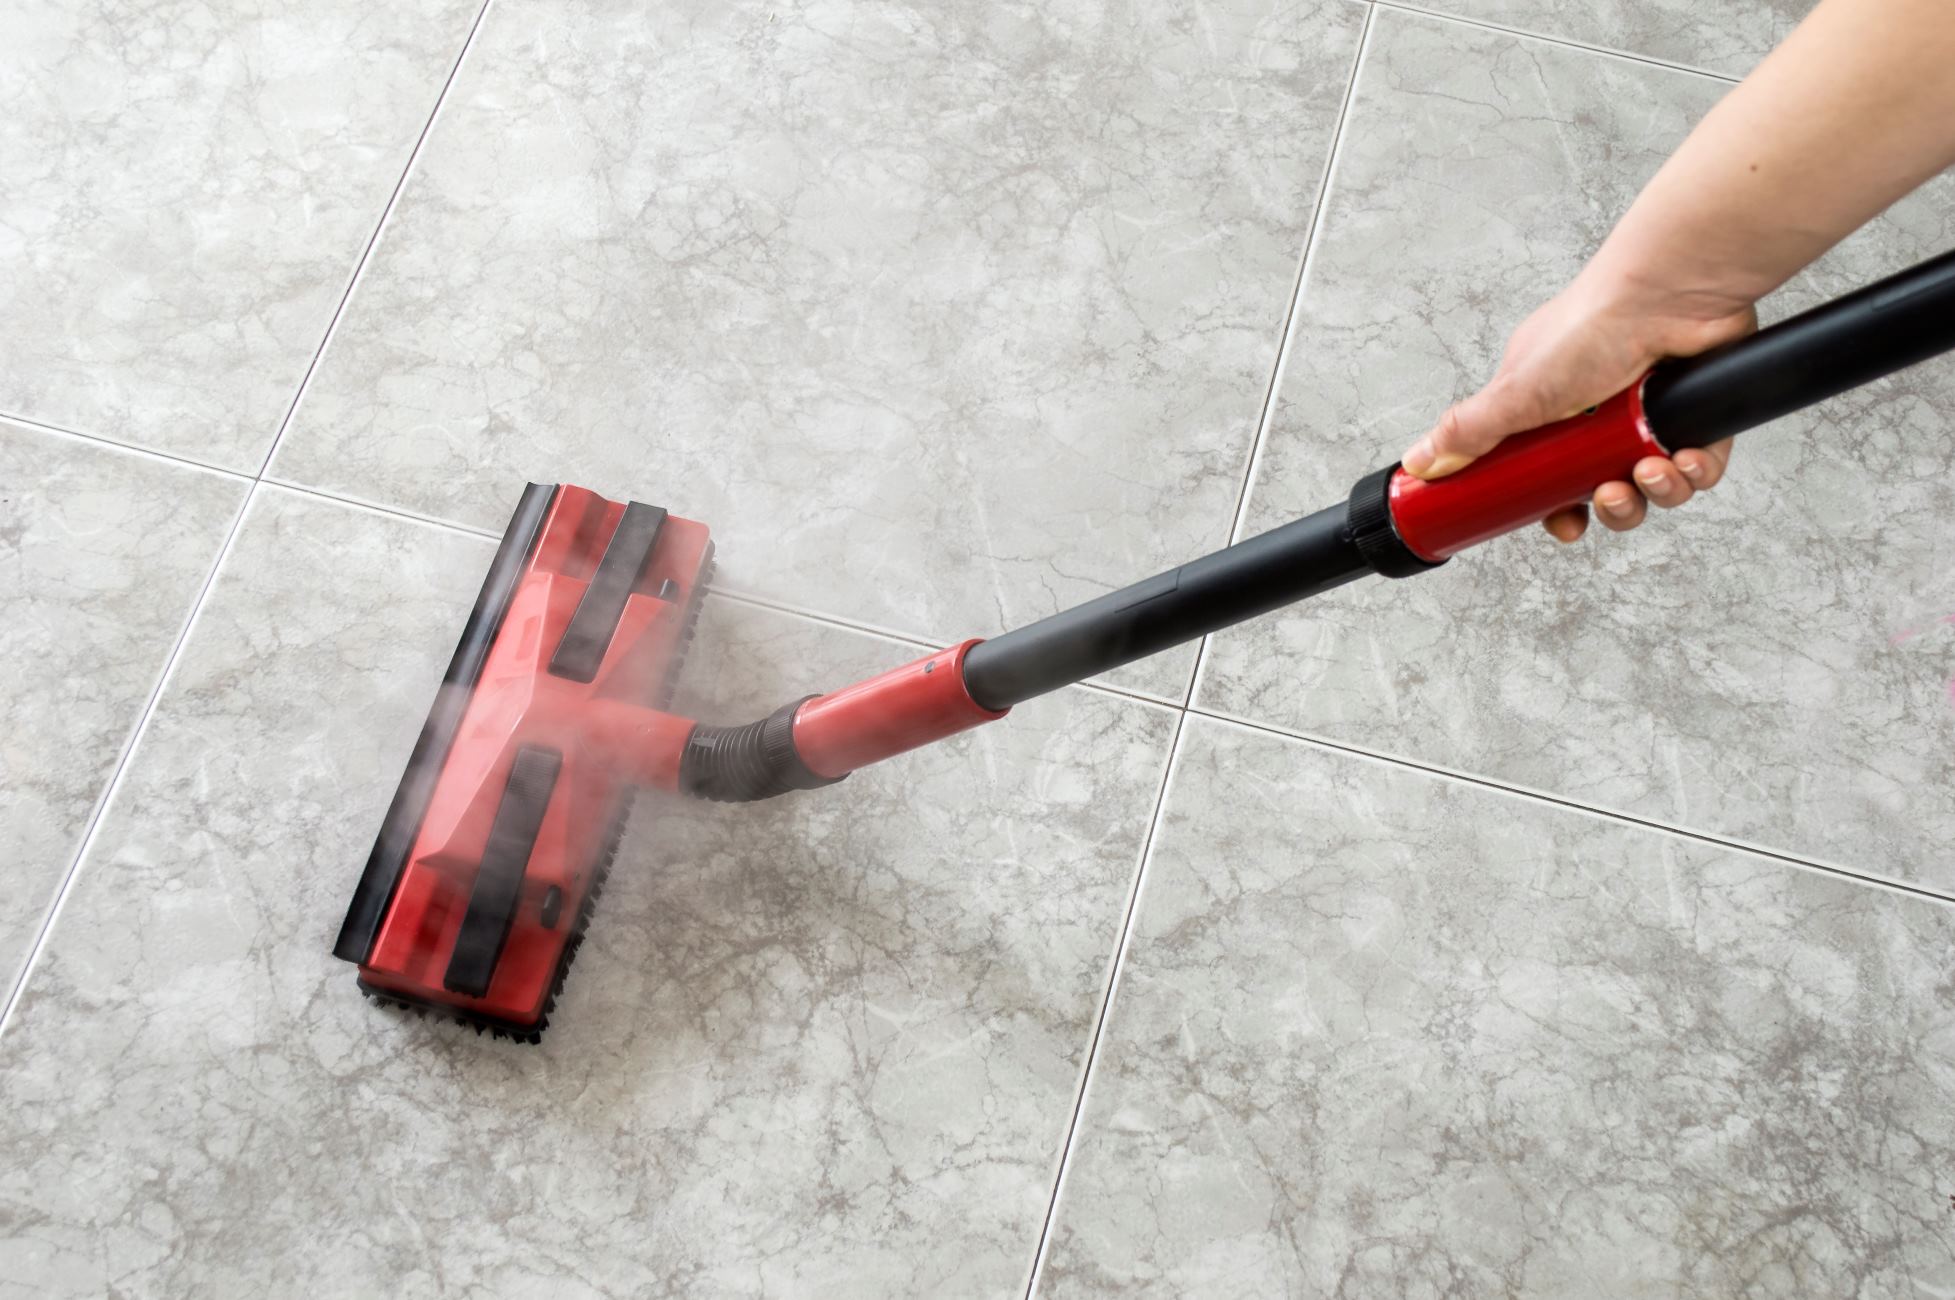
Tips for Mopping After Grouting
Now that the waiting game is over and your grout has sufficiently dried, it’s time to embark on the mopping process to unveil the full splendor of your newly grouted tiles. To ensure a successful and safe mopping experience, consider the following tips:
- Use a Gentle Cleaning Solution: Opt for a pH-neutral or mild cleaning solution specifically formulated for tile and grout. Harsh chemicals can compromise the integrity of the grout and may cause discoloration or damage.
- Test in an Inconspicuous Area: Before mopping the entire surface, conduct a patch test in a discreet area to ensure that the cleaning solution does not adversely affect the grout or tiles.
- Prevent Excess Water: Avoid saturating the grout with excessive water during the mopping process. Excess moisture can seep into the grout lines and compromise its integrity. Wring out the mop thoroughly to minimize water usage.
- Gentle Scrubbing: If stubborn grime or residue is present, use a soft-bristled brush or scrubbing pad to gently agitate the surface. Avoid abrasive tools that can scratch or damage the grout.
- Rinse Thoroughly: After mopping, rinse the tiled surface with clean water to remove any residual cleaning solution. Lingering chemicals can leave a film on the tiles and grout, detracting from their appearance.
- Dry the Surface: Use a clean, dry microfiber cloth or towel to thoroughly dry the mopped area. Ensuring the grout and tiles are completely dry prevents water spots and maintains the luster of the surface.
- Maintain Regular Cleaning: Establish a routine cleaning schedule to preserve the beauty of your grouted tiles. Regular maintenance prevents the accumulation of dirt and grime, prolonging the lifespan of the grout and enhancing the overall aesthetic appeal.
By adhering to these mopping tips, you can effectively cleanse your newly grouted tiles without compromising the integrity of the grout. The careful application of these techniques will contribute to the longevity and visual allure of your tiled surfaces, allowing you to relish in their beauty for years to come.
Read more: How Long After Tanning Bed Can You Shower
Conclusion
Embarking on the journey of grouting and maintaining pristine tiled surfaces requires a delicate balance of patience, knowledge, and care. Understanding the intricacies of grout drying time and the appropriate measures to take before and after mopping is instrumental in preserving the beauty and longevity of your flooring. By comprehending the factors that influence grout drying, you can navigate this critical phase with confidence and precision.
Remember, the key to a successful mopping experience after grouting lies in allowing the grout to fully cure before initiating any cleaning activities. Rushing this process can lead to potential damage and compromise the structural integrity of the grout, necessitating costly repairs in the future. By exercising patience and adhering to the recommended waiting period, you can ensure that your grouted tiles remain in optimal condition for years to come.
Armed with the knowledge of appropriate mopping techniques and cleaning solutions, you can maintain the allure of your newly grouted tiles while safeguarding the integrity of the grout. Regular maintenance and gentle cleaning practices will contribute to the longevity and visual appeal of your tiled surfaces, allowing you to revel in their beauty and functionality for years to come.
So, the next time you find yourself pondering the question, “How long after grouting can you mop?” remember the valuable insights and tips provided in this guide. By following these recommendations, you can confidently navigate the post-grouting phase, ensuring that your tiled surfaces remain a testament to meticulous care and enduring beauty.
Frequently Asked Questions about How Long After Grouting Can You Mop
Was this page helpful?
At Storables.com, we guarantee accurate and reliable information. Our content, validated by Expert Board Contributors, is crafted following stringent Editorial Policies. We're committed to providing you with well-researched, expert-backed insights for all your informational needs.


0 thoughts on “How Long After Grouting Can You Mop”