Home>Home Appliances>Cleaning Appliances>How To Clean Walls With O-Cedar Mop
Cleaning Appliances
How To Clean Walls With O-Cedar Mop
Modified: October 21, 2024
Learn how to efficiently clean your walls using the O-Cedar mop and other cleaning appliances. Discover effective tips and techniques for a spotless finish. Ideal for all your wall cleaning needs.
(Many of the links in this article redirect to a specific reviewed product. Your purchase of these products through affiliate links helps to generate commission for Storables.com, at no extra cost. Learn more)
Introduction
Welcome to the ultimate guide on how to effectively clean your walls using the O-Cedar mop. Whether you’re preparing for a special occasion, tackling regular maintenance, or simply want to refresh your living space, keeping your walls clean is essential for maintaining a healthy and inviting home environment. With the right tools and techniques, you can achieve spotless walls without the need for harsh chemicals or excessive elbow grease.
In this comprehensive tutorial, we will walk you through the step-by-step process of using the O-Cedar mop to efficiently clean your walls. This versatile cleaning tool, known for its superior absorbency and effortless maneuverability, is a game-changer when it comes to wall cleaning. By following these simple yet effective methods, you’ll be able to remove dust, dirt, and grime from your walls, leaving them looking fresh and revitalized.
So, grab your O-Cedar mop and let’s dive into the art of wall cleaning, ensuring that your living space remains a source of pride and comfort for you and your loved ones.
Key Takeaways:
- Transform your living space with the O-Cedar mop by following simple steps to achieve spotless walls without harsh chemicals or excessive effort. Enjoy a fresh, inviting ambiance with ease.
- Master the art of wall cleaning with the O-Cedar mop’s superior absorbency and maneuverability. Elevate your home environment with revitalized walls and a visually pleasing, healthy living space.
Read more: What To Use In O-Cedar Mop
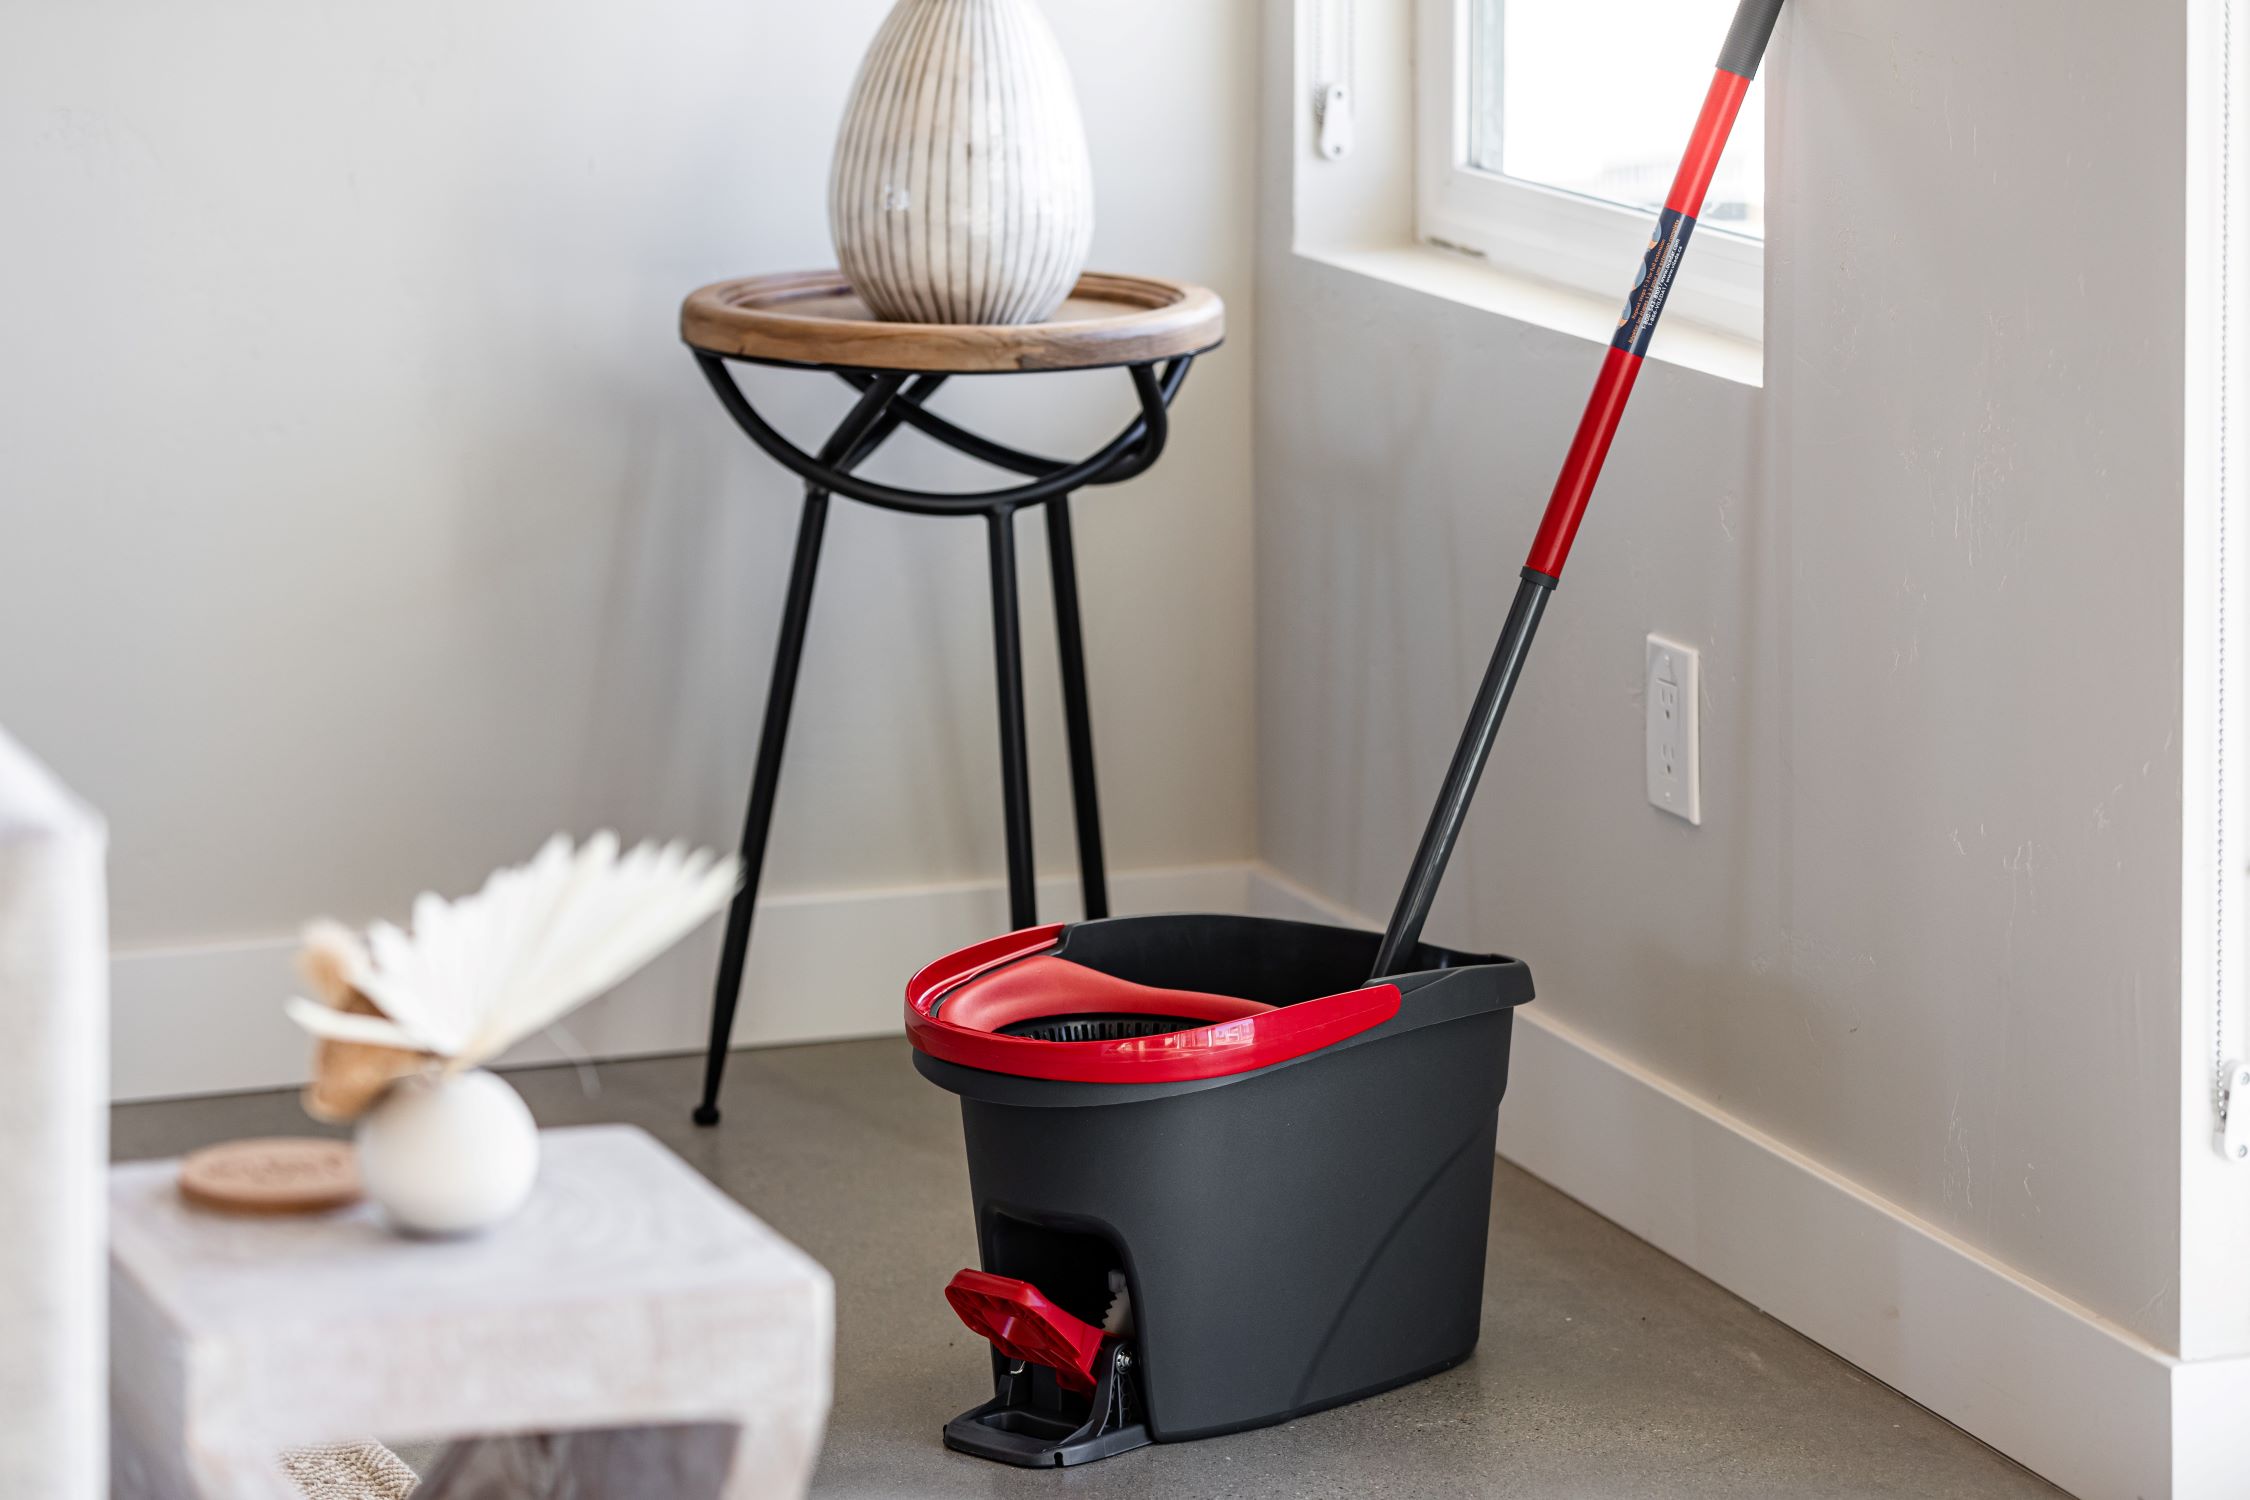
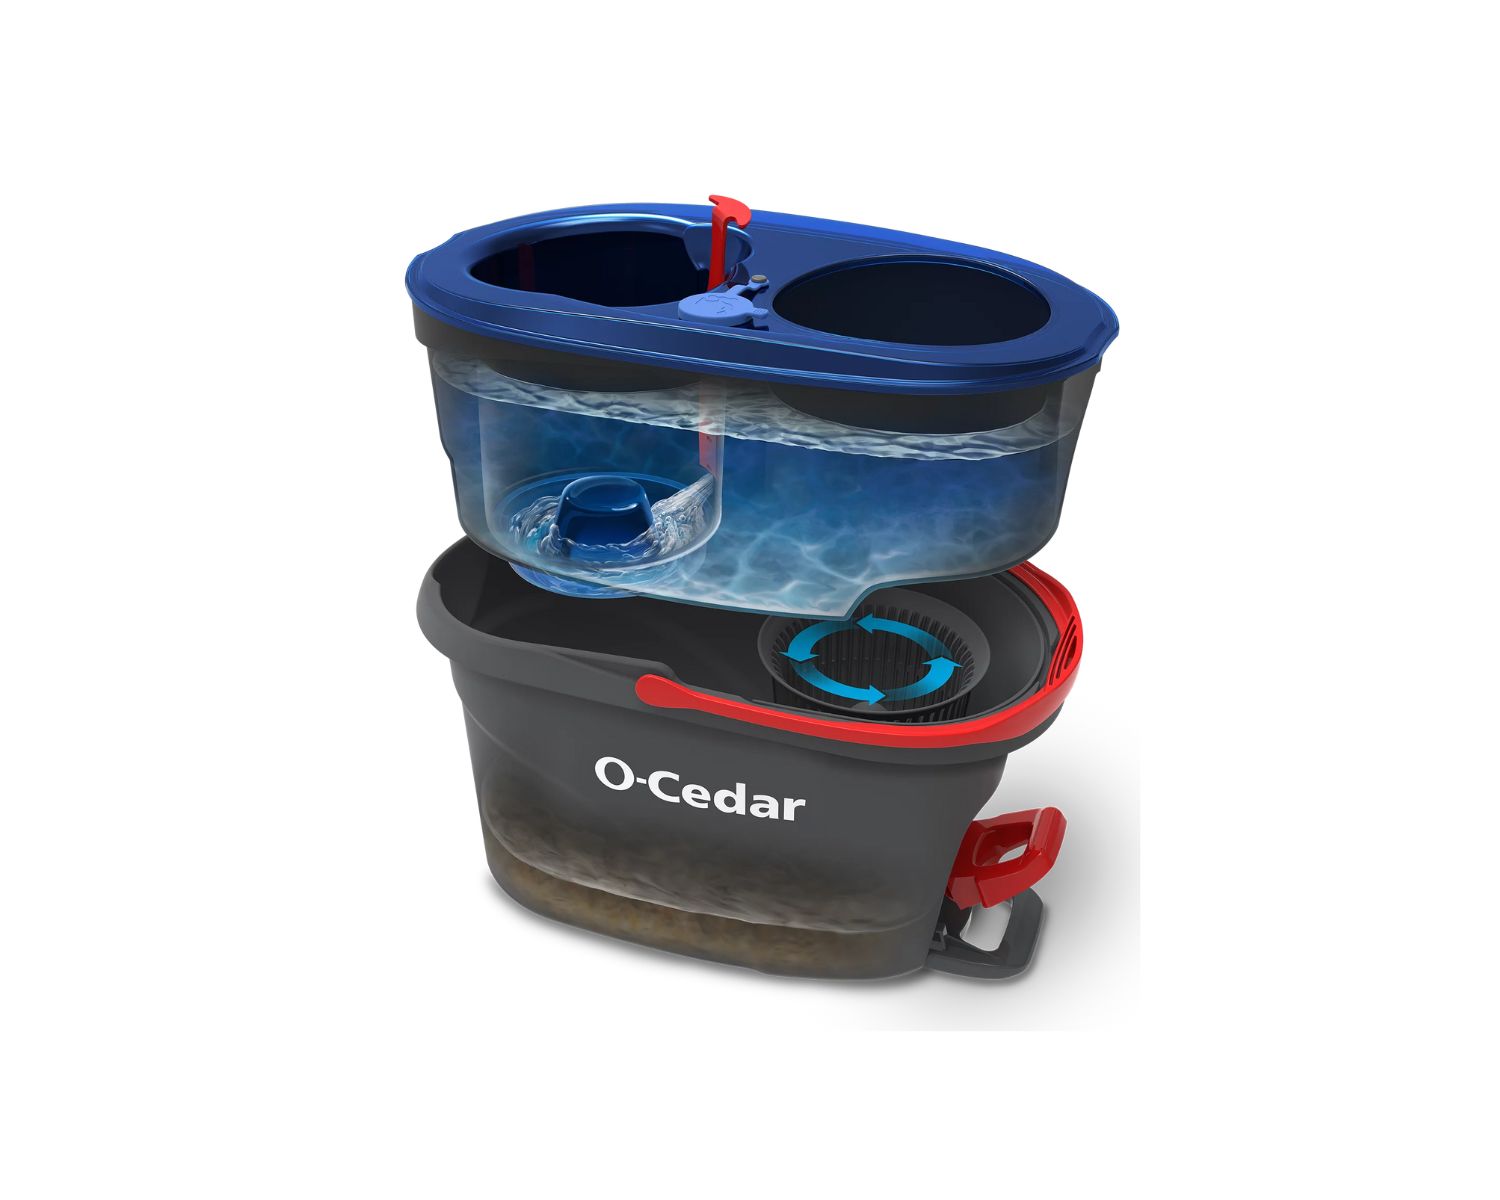
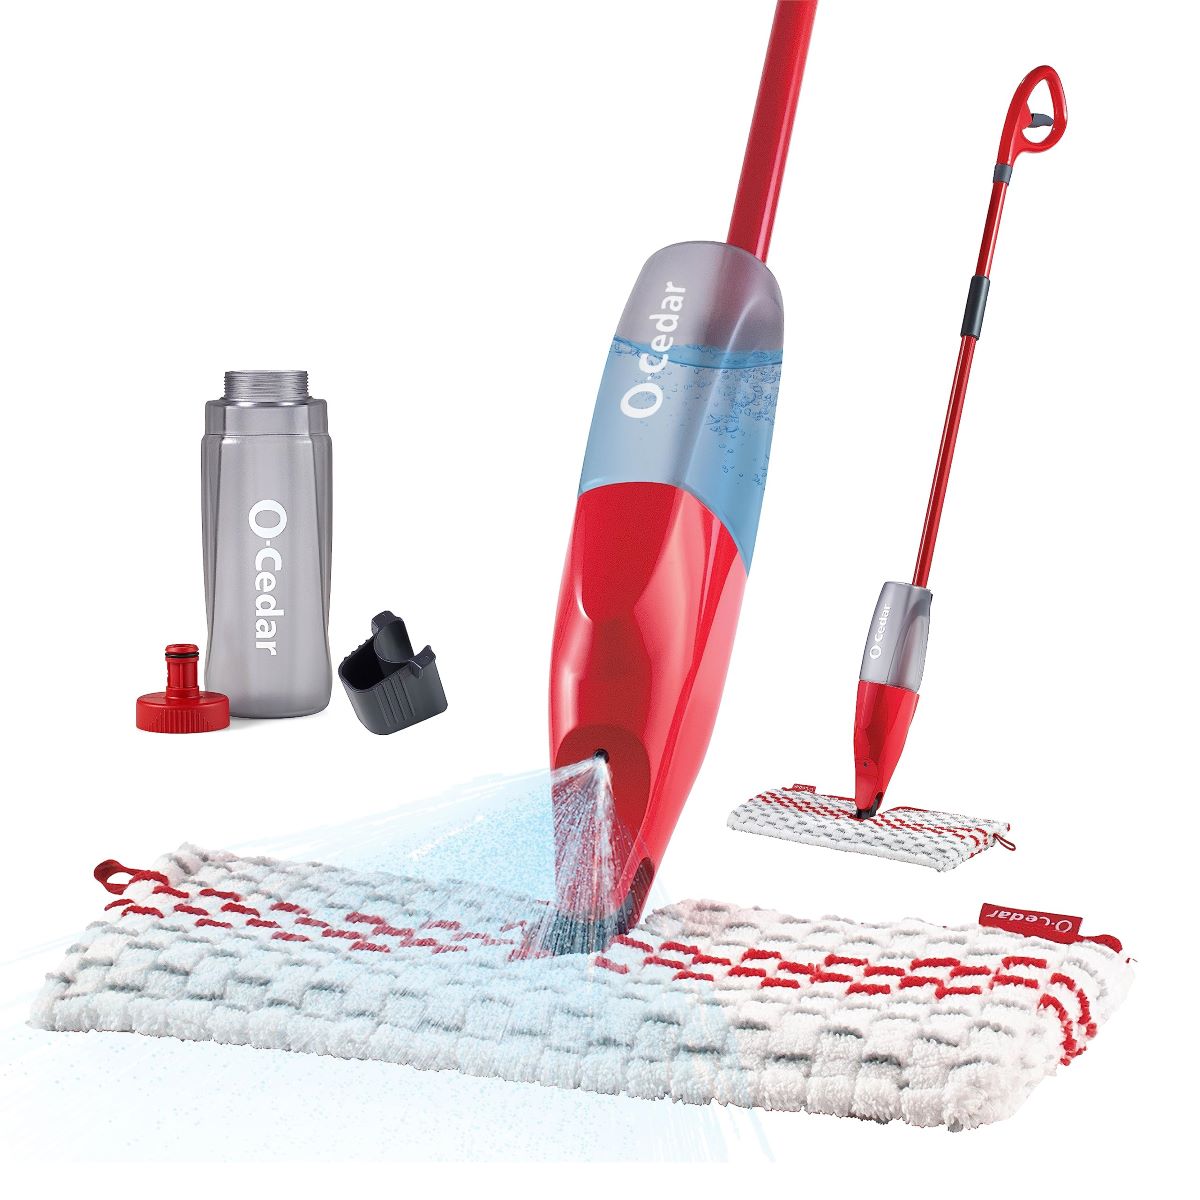
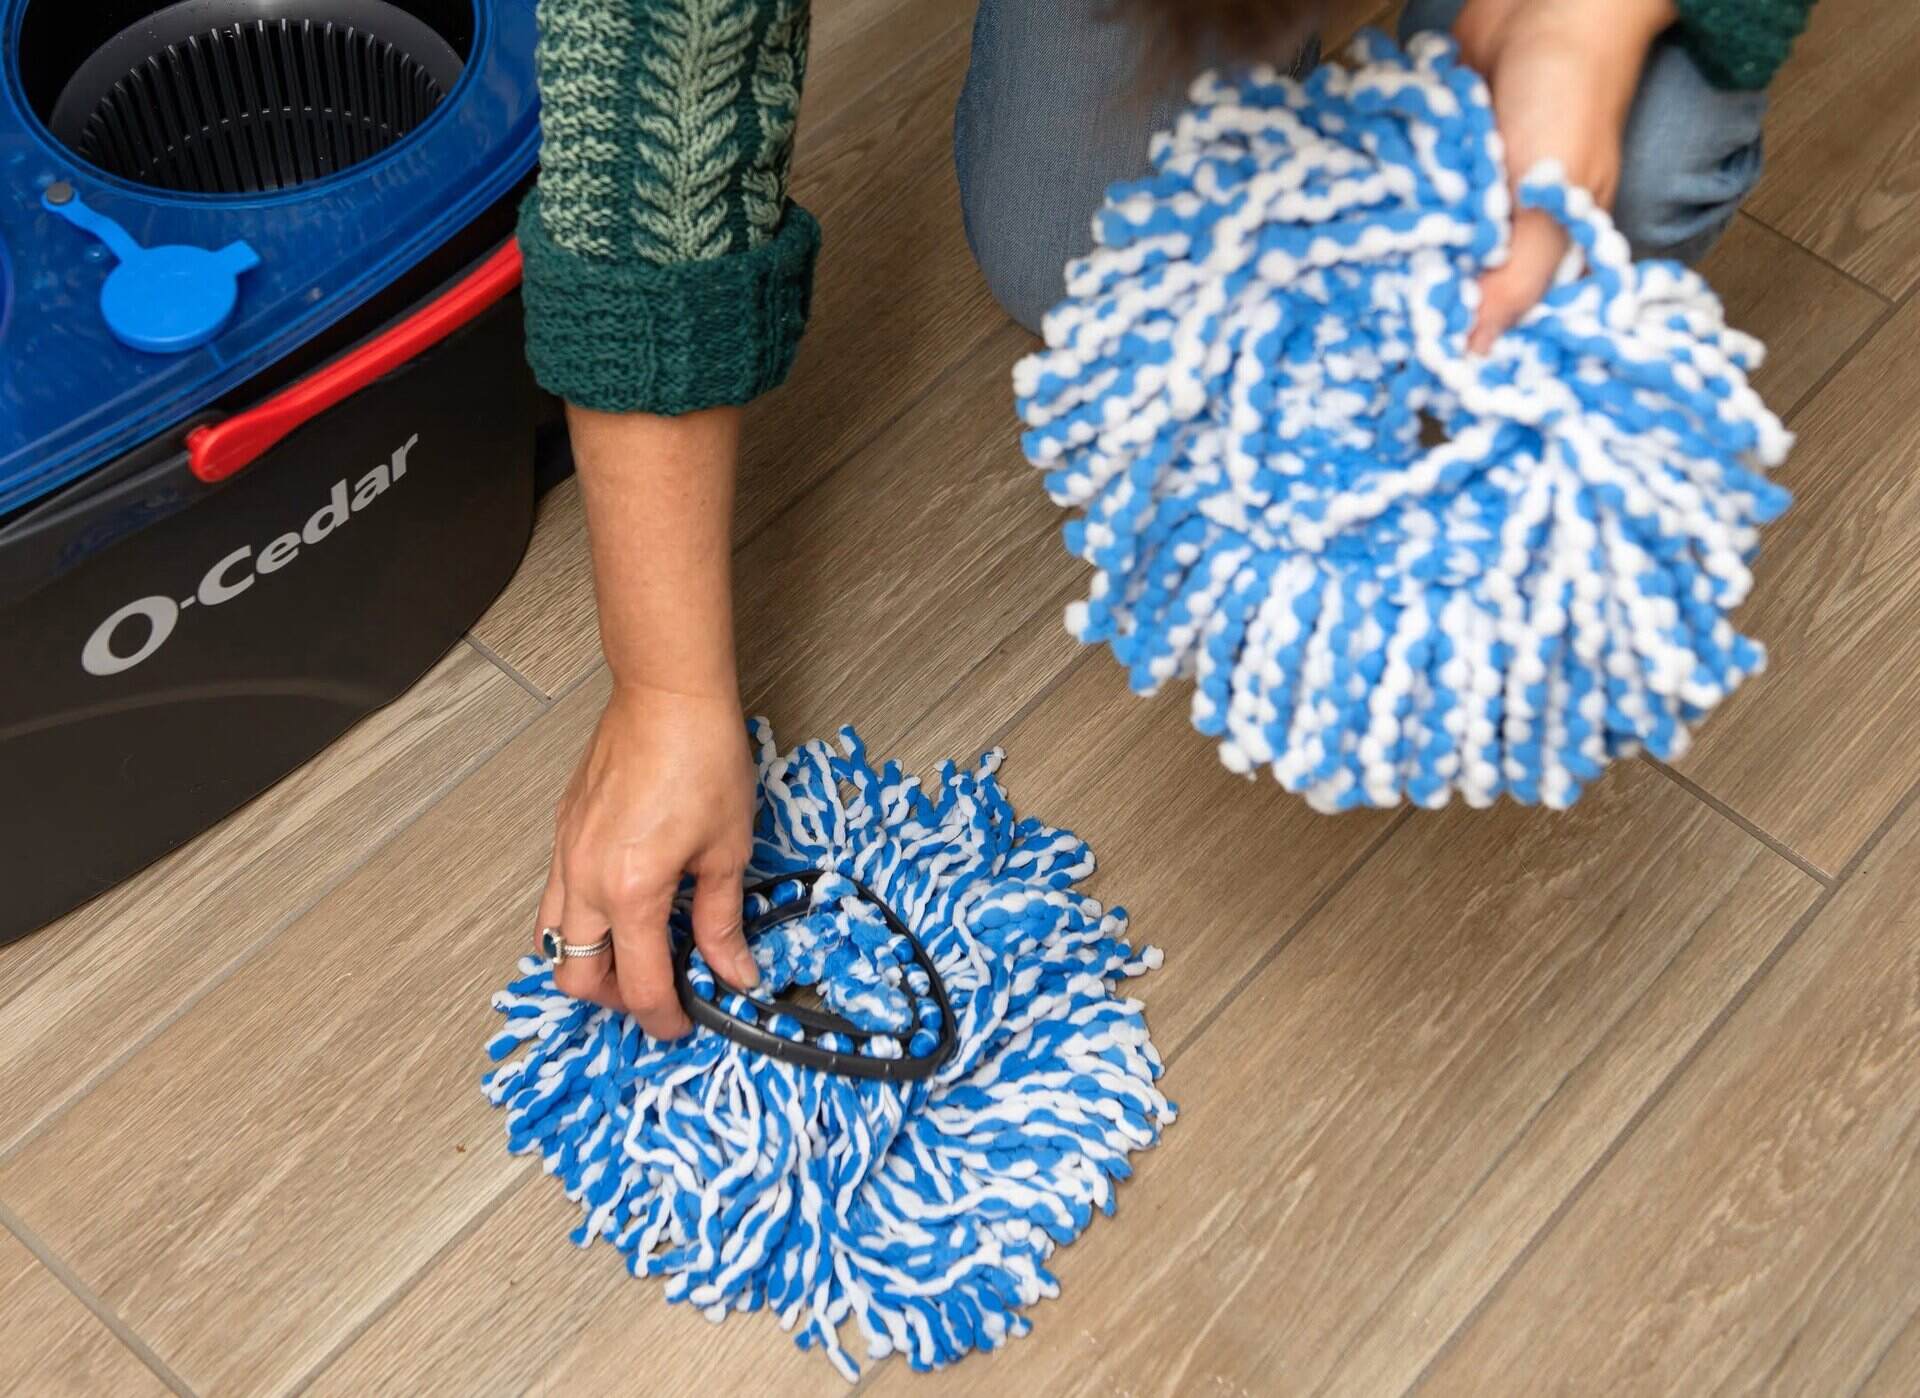
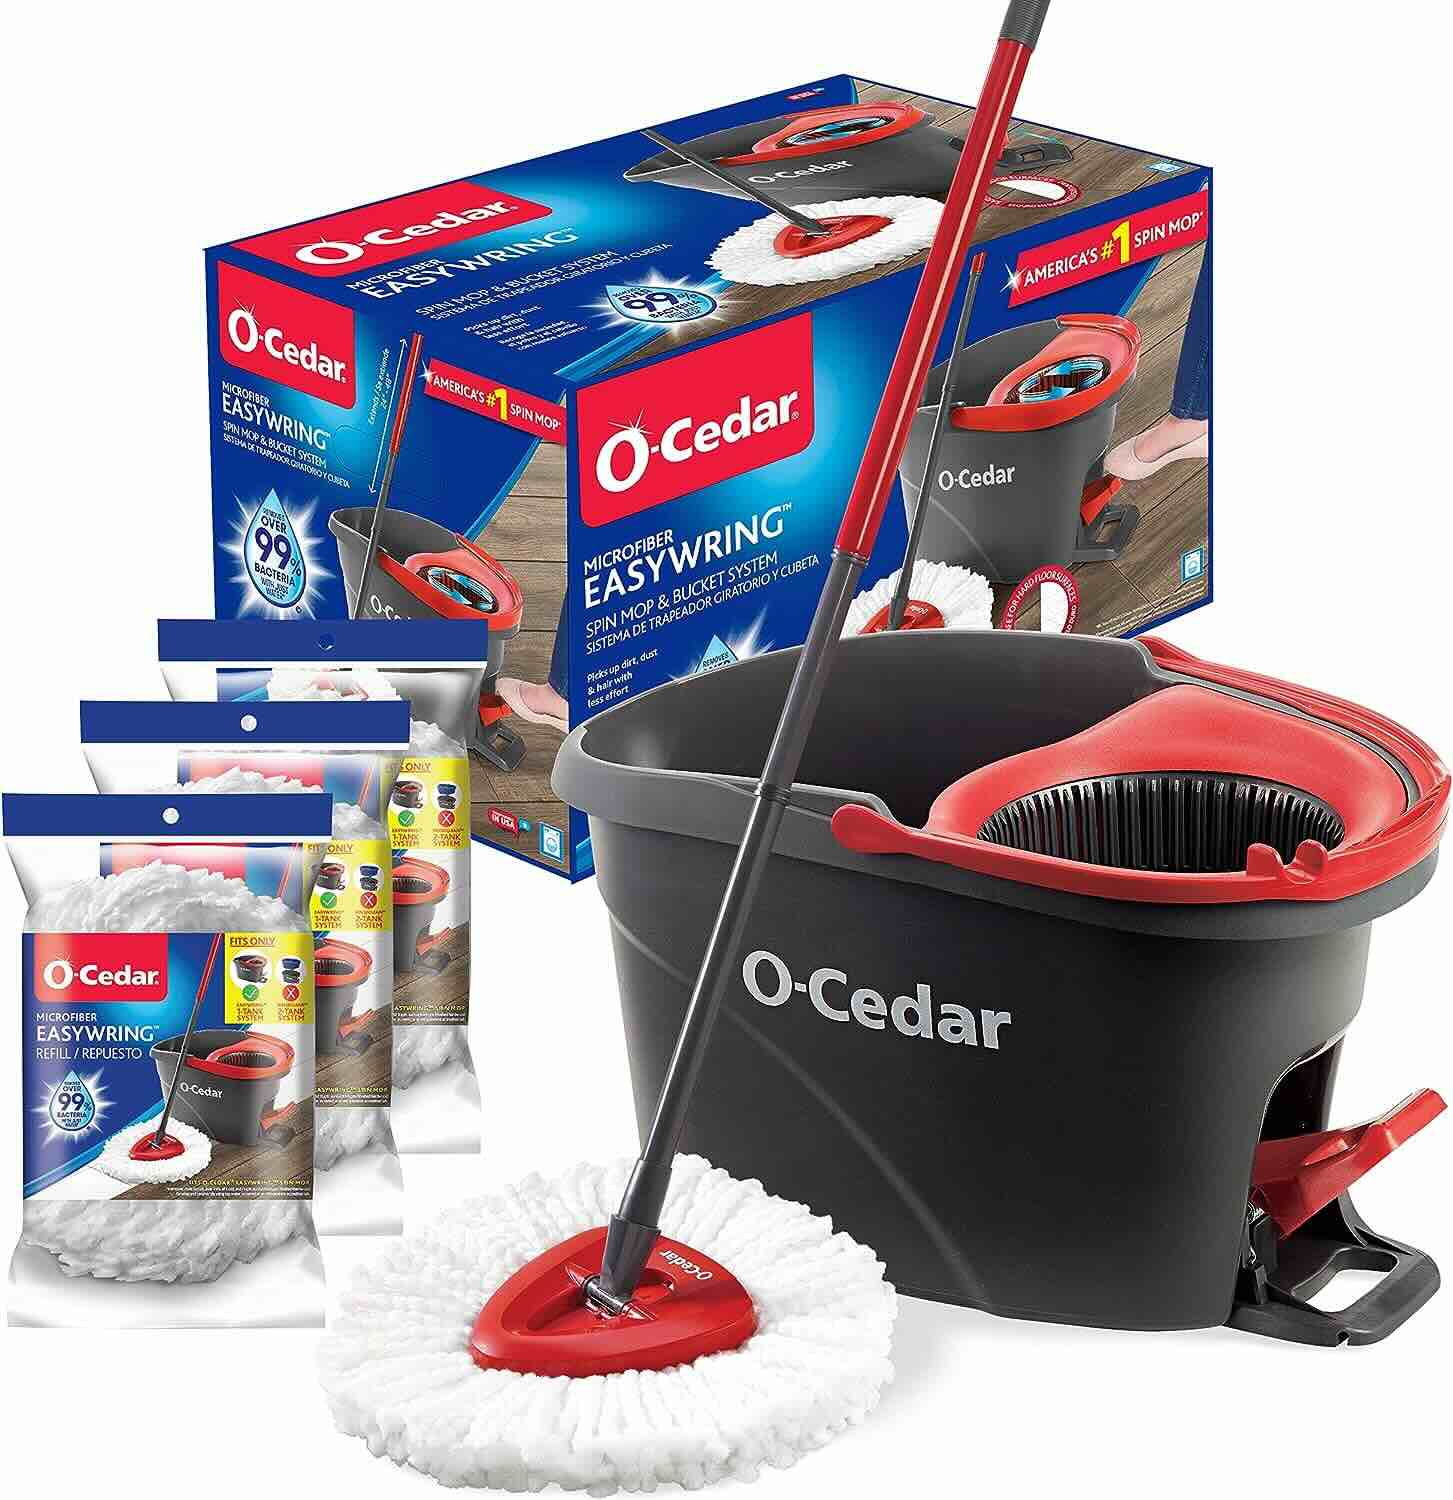
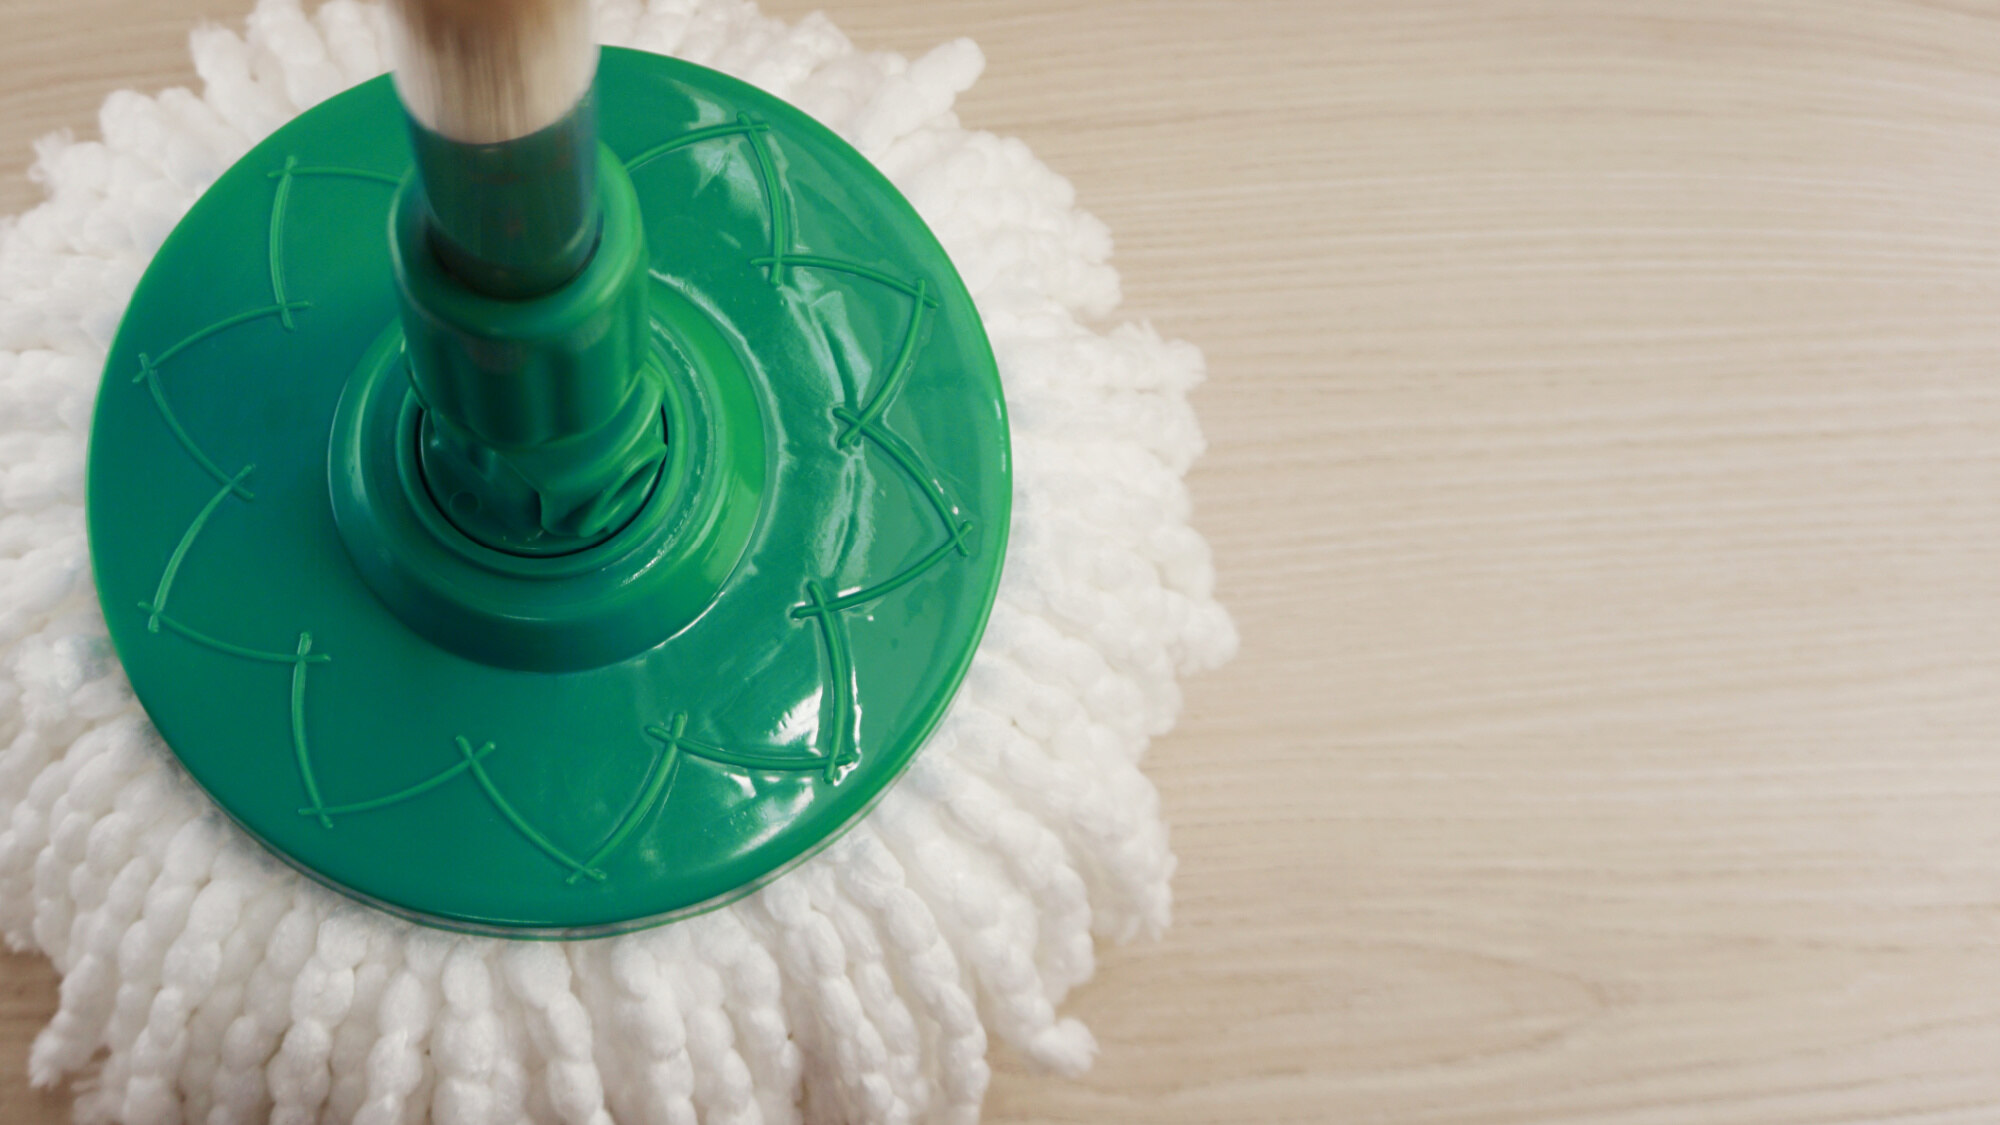
Step 1: Prepare the O-Cedar Mop
Before embarking on the wall-cleaning journey, it’s crucial to ensure that your O-Cedar mop is in prime condition for optimal performance. Start by inspecting the mop head to make sure it’s clean and free of any debris or residue from previous use. If necessary, give the mop head a quick rinse under running water to remove any lingering particles.
Next, check the handle of the O-Cedar mop to ensure that it’s securely attached and free of any damage. If the mop handle is adjustable, set it to a length that allows you to comfortably reach the entirety of your walls without straining or stretching. This simple preparatory step will contribute to a more efficient and comfortable cleaning experience.
Additionally, if you’re using a reusable mop head, ensure that it’s clean and free of any lingering odors. If the mop head is machine washable, consider giving it a quick cycle in the washing machine to guarantee a fresh and effective cleaning performance.
By taking these preparatory measures, you’ll set the stage for a seamless and effective wall-cleaning process, allowing the O-Cedar mop to work its magic in revitalizing your living space.
Step 2: Dust and Vacuum the Walls
Before diving into the actual cleaning process with the O-Cedar mop, it’s essential to prepare the walls by removing any loose dust, cobwebs, or debris. Start by dusting the walls using a soft, dry microfiber cloth or a duster with an extendable handle. Gently run the cloth or duster along the surface of the walls, paying particular attention to corners, baseboards, and areas near light fixtures where dust tends to accumulate.
For hard-to-reach areas or high ceilings, consider using a vacuum cleaner with a soft brush attachment to effectively remove dust and cobwebs. The gentle suction of the vacuum will capture loose particles without causing any damage to the wall surface. Ensure that the vacuum attachment is clean and free of any debris to prevent transferring dirt from one area to another.
By thoroughly dusting and vacuuming the walls, you’ll eliminate surface-level dirt and grime, allowing the O-Cedar mop to focus on deeper cleaning without the hindrance of loose particles. This preparatory step sets the stage for a more thorough and effective wall-cleaning process, ensuring that your walls receive the attention they deserve.
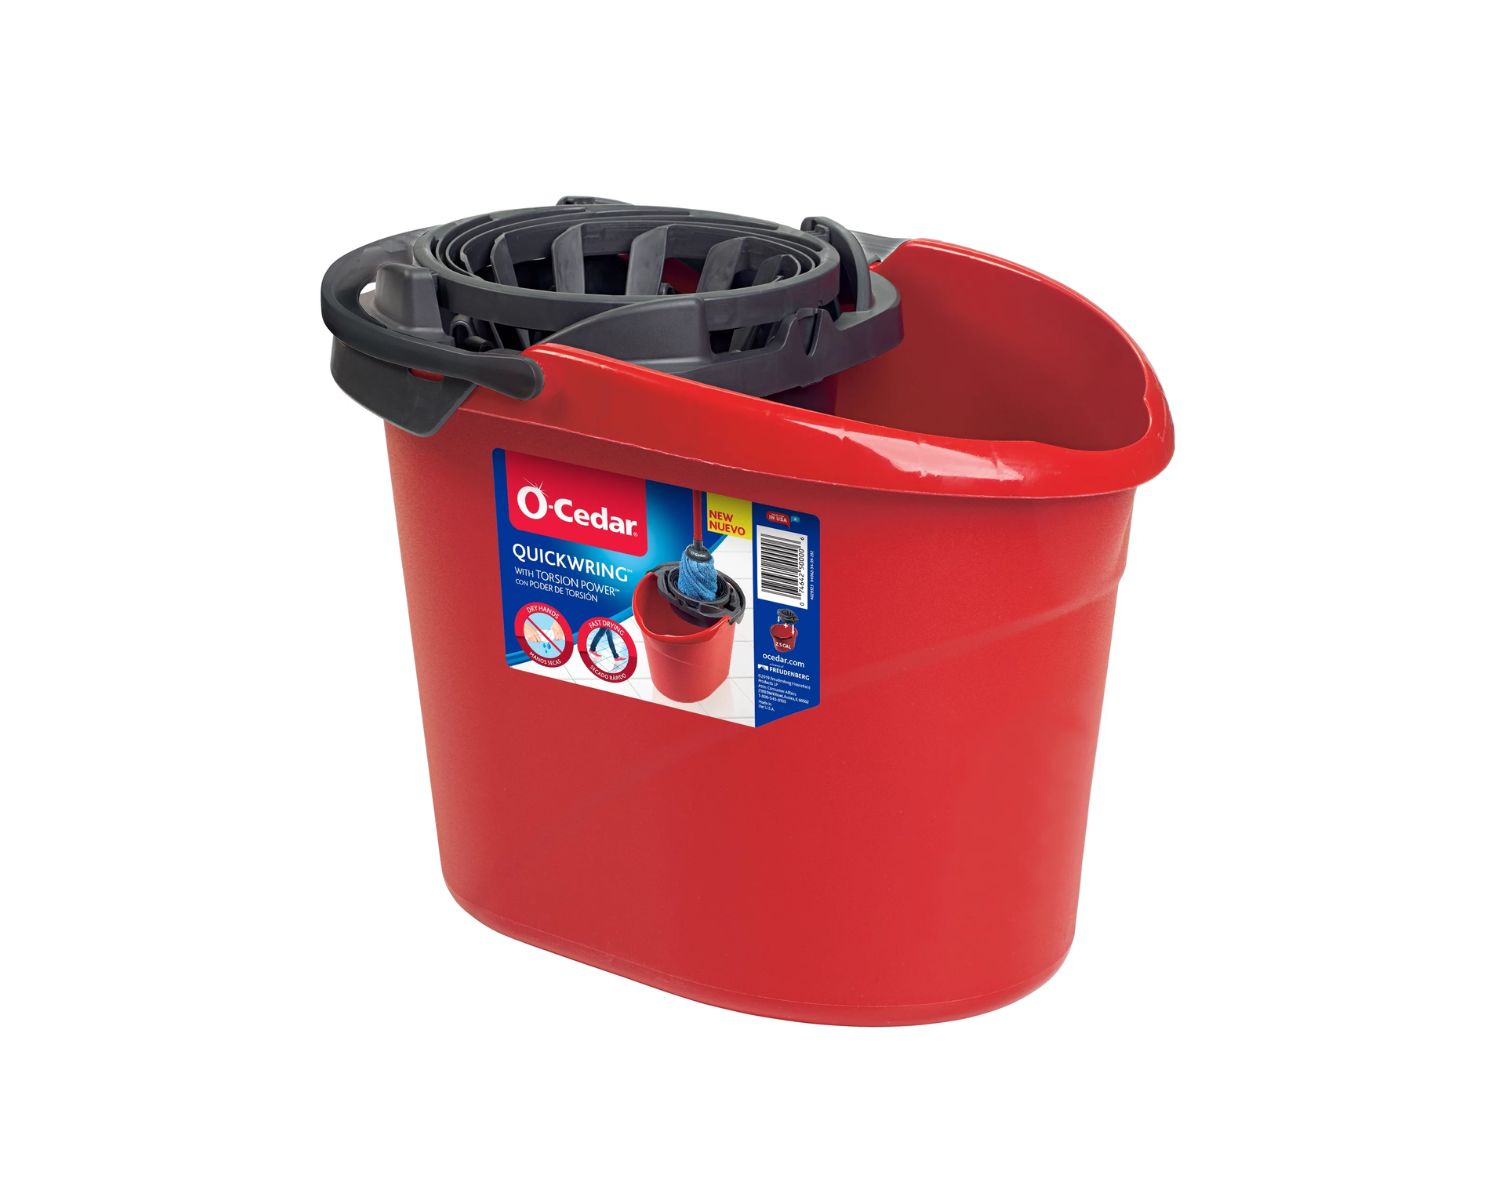
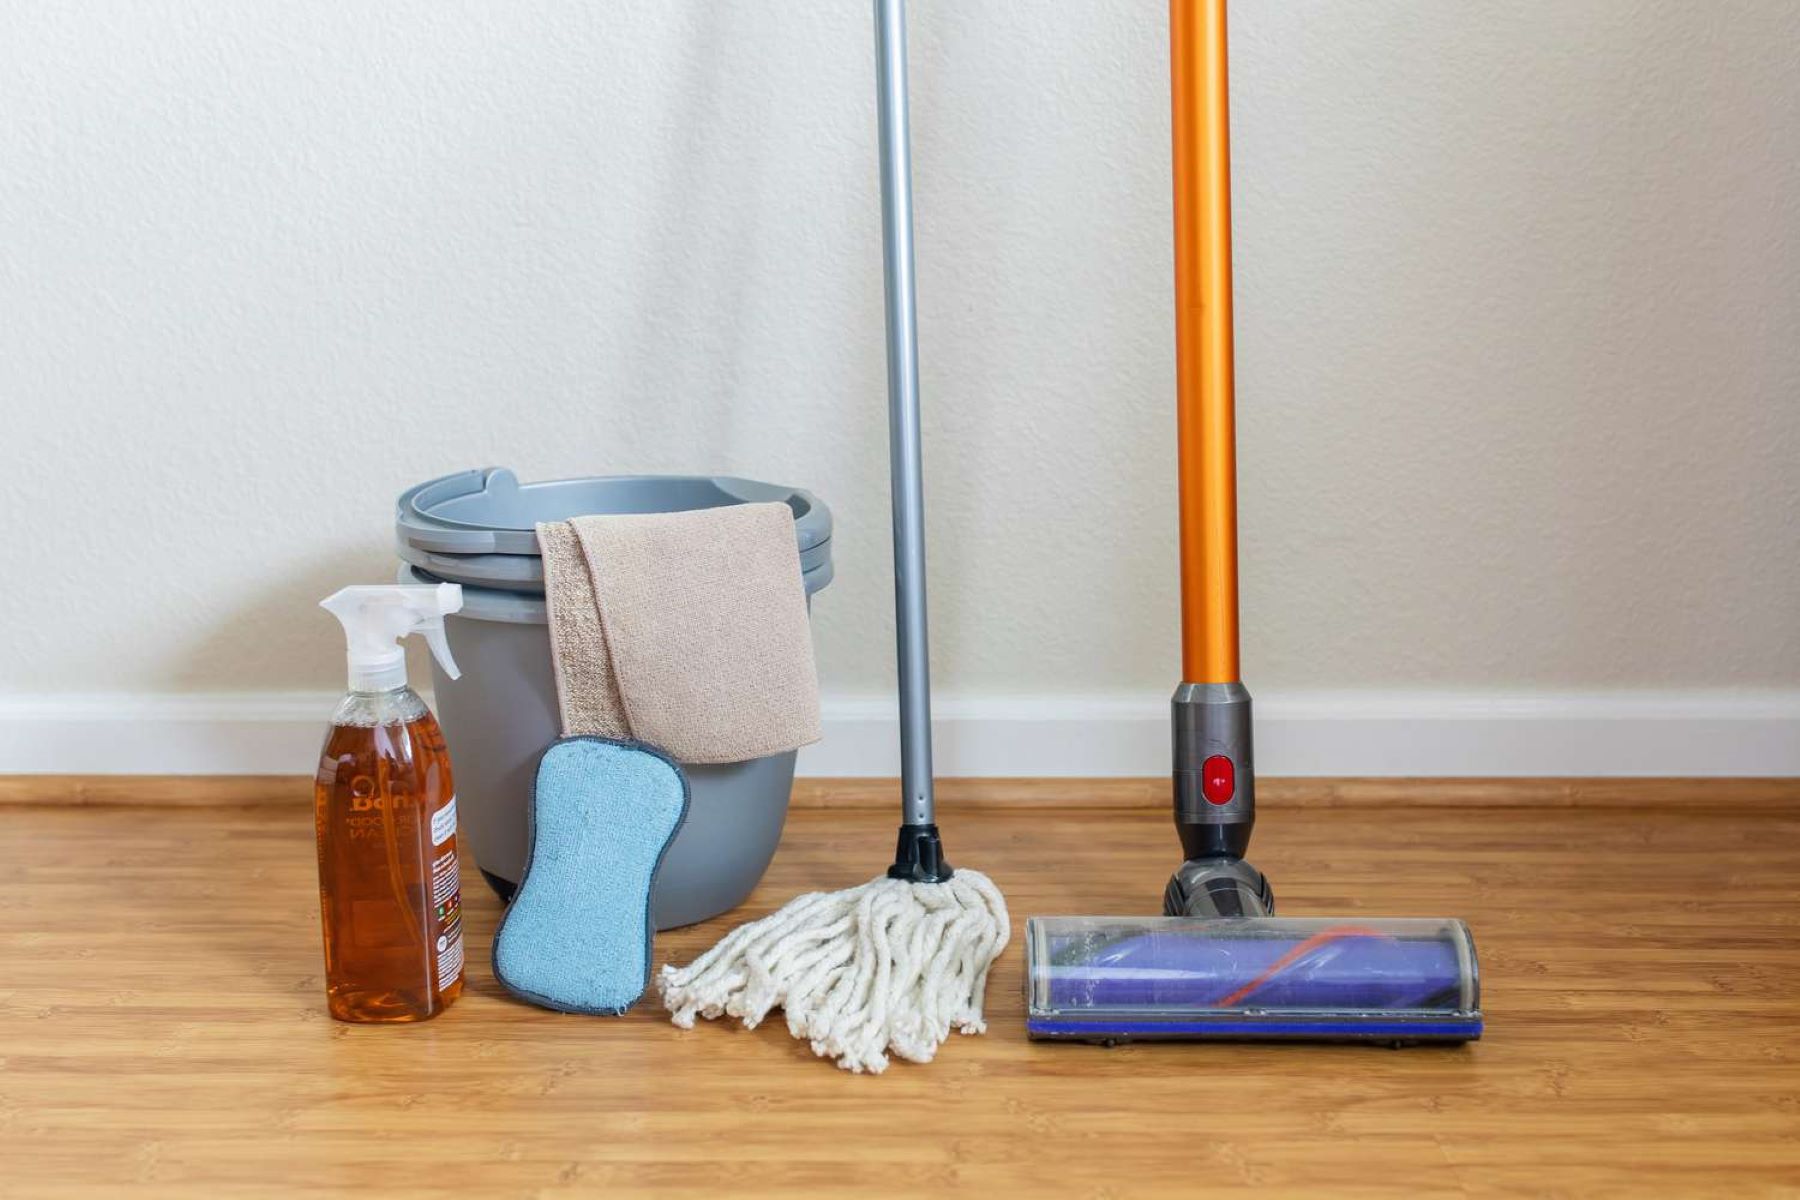
Step 3: Mix the Cleaning Solution
Once the walls are prepped and free of loose dust and debris, it’s time to prepare a gentle yet effective cleaning solution to use with your O-Cedar mop. For most wall surfaces, a simple mixture of warm water and mild dish soap or a gentle all-purpose cleaner will suffice. In a bucket or a large container, combine warm water with a small amount of the cleaning solution, ensuring that it’s well-diluted to prevent any residue or streaking on the walls.
If you’re dealing with stubborn stains or grease buildup on the walls, consider adding a small amount of white vinegar to the cleaning solution. Vinegar is known for its natural degreasing and stain-fighting properties, making it a valuable addition to the cleaning mixture. Be sure to test the cleaning solution on a small, inconspicuous area of the wall to ensure compatibility with the surface material and to avoid any potential damage.
For painted walls or delicate surfaces, it’s important to use a cleaning solution that is gentle and non-abrasive to preserve the integrity of the finish. Always refer to the manufacturer’s recommendations for cleaning painted walls to avoid inadvertently causing damage or discoloration.
By preparing a suitable cleaning solution, you’ll be equipped to effectively lift dirt and grime from the walls while maintaining the integrity of the surface. This thoughtful approach to cleaning solution preparation ensures that your walls receive the care they need for a thorough and gentle cleaning process.
Mix a solution of warm water and mild dish soap. Dip the O-Cedar mop in the solution and wring out excess water. Gently wipe the walls in a circular motion, working from top to bottom. Dry the walls with a clean, dry cloth.
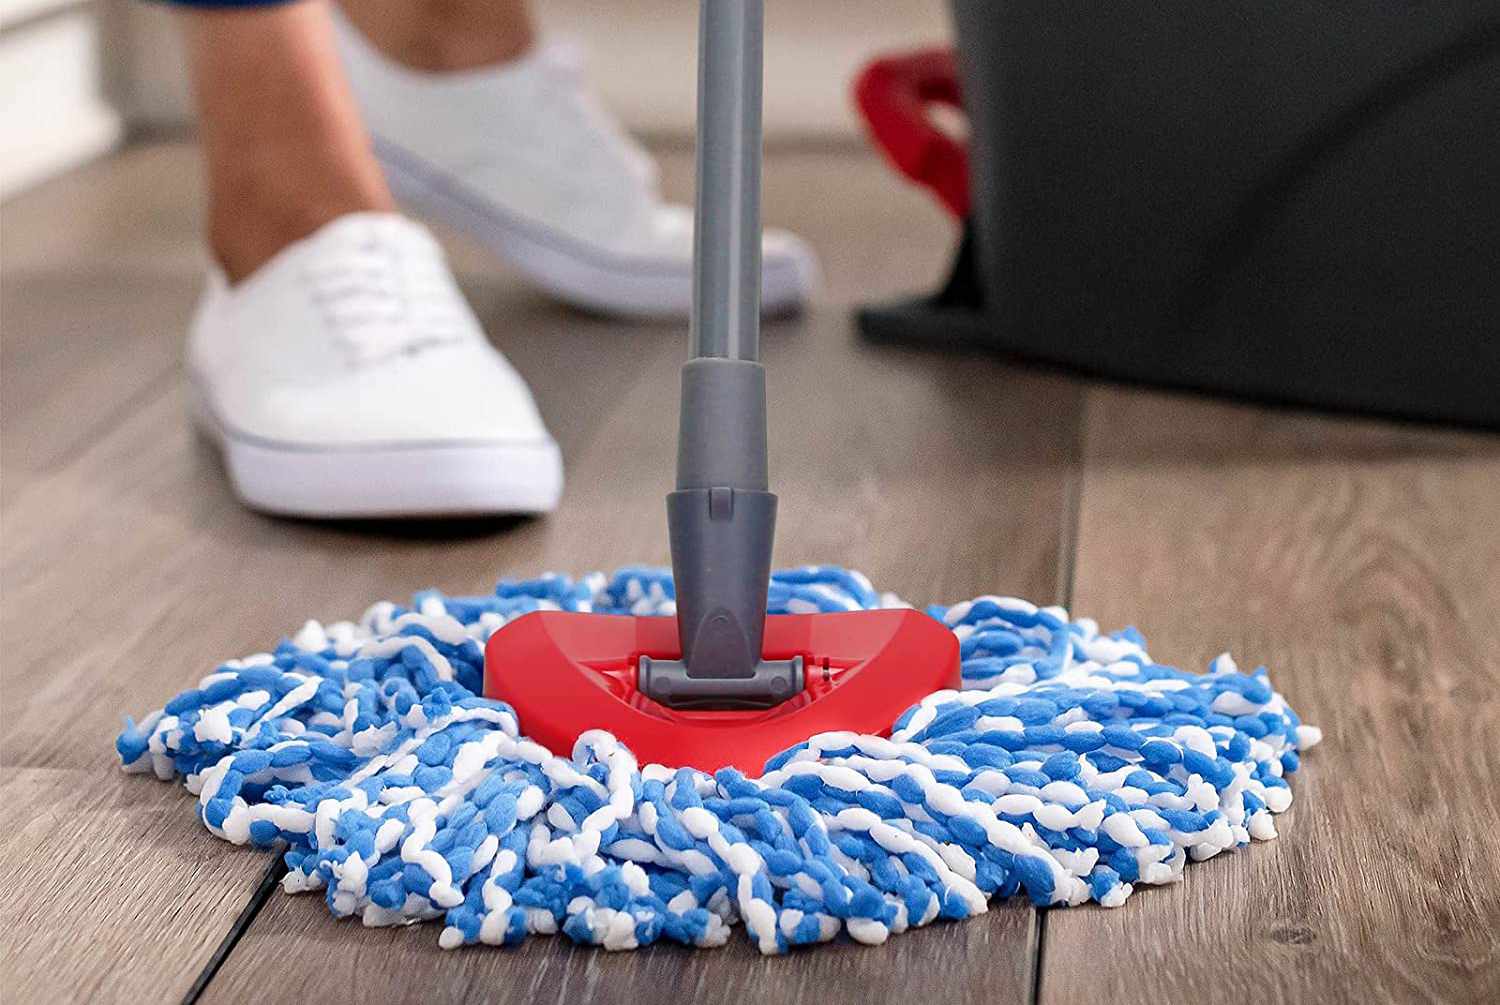
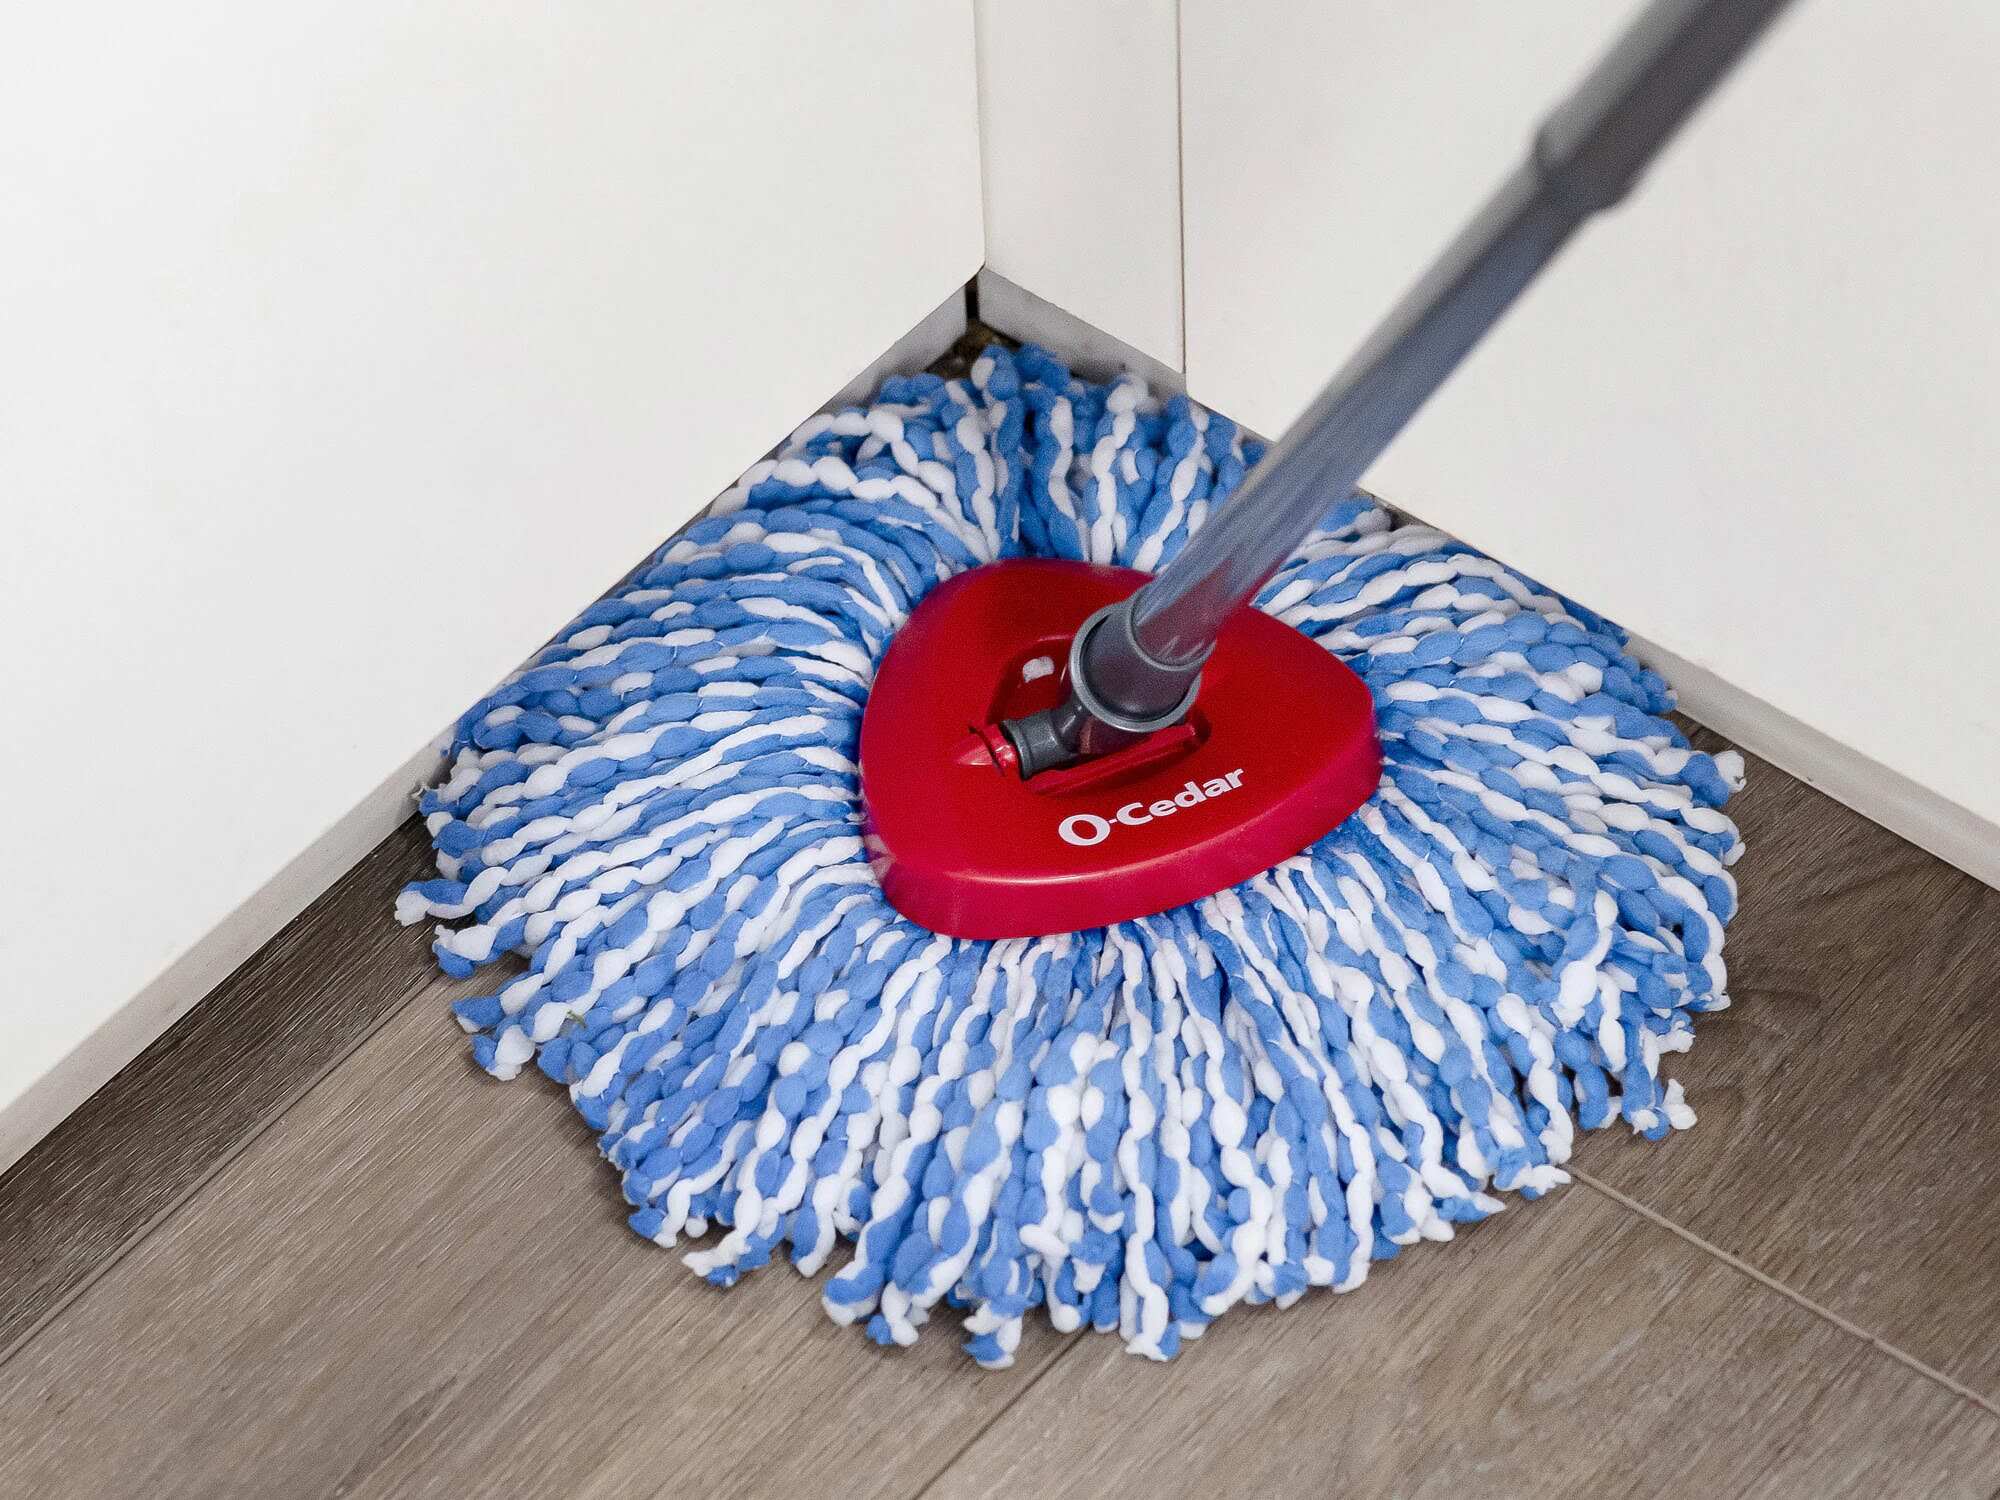
Step 4: Dampen the O-Cedar Mop
With the cleaning solution prepared, it’s time to ensure that the O-Cedar mop is appropriately dampened to facilitate effective wall cleaning. Depending on the material of your walls and the nature of the stains or dirt buildup, the mop should be damp, not dripping wet, to avoid excess moisture seeping into the wall surface.
Begin by dipping the mop head into the prepared cleaning solution, allowing it to absorb the liquid without becoming oversaturated. If excess cleaning solution drips from the mop, gently squeeze the mop head to remove any surplus liquid, ensuring that it’s damp but not dripping. This controlled dampness will enable the mop to effectively lift dirt and grime from the walls without leaving behind excessive moisture.
It’s important to note that different wall surfaces may require varying degrees of dampness to achieve optimal cleaning results. For example, non-porous surfaces such as tile or laminate may tolerate slightly more moisture, while porous surfaces like unpainted drywall or wallpaper may necessitate a more conservative dampness level to prevent damage or discoloration.
By carefully dampening the O-Cedar mop according to the specific needs of your wall surfaces, you’ll set the stage for a thorough and controlled cleaning process, allowing the mop to work its magic in revitalizing your walls without compromising their integrity.
Read more: Which O-Cedar Mop Is Best
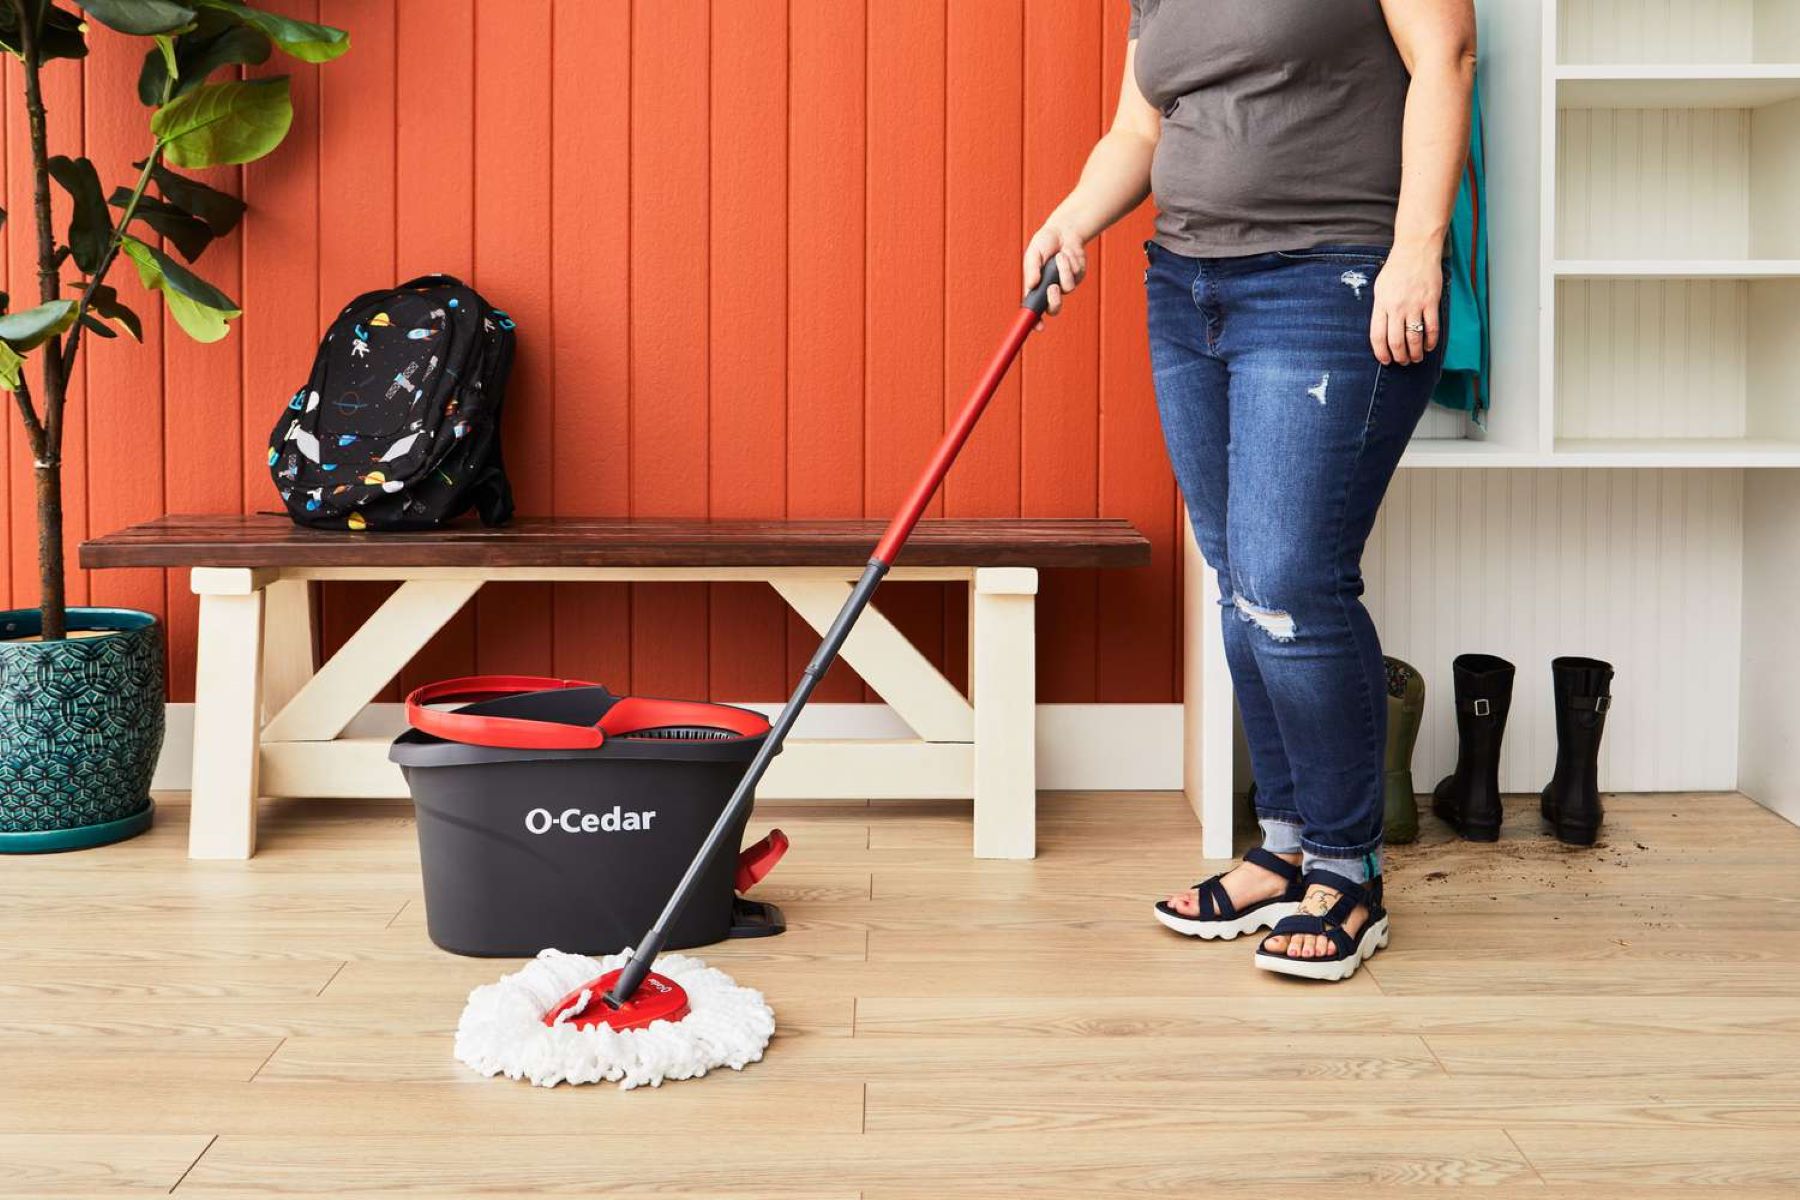
Step 5: Clean the Walls
With the O-Cedar mop appropriately dampened and the cleaning solution at the ready, it’s time to embark on the transformative process of cleaning your walls. Begin by starting at one corner of the room and systematically work your way across the walls, using gentle, overlapping strokes with the mop. Whether you’re dealing with smudges, fingerprints, or general dirt and grime, the O-Cedar mop’s absorbent and textured surface is designed to effectively lift and trap impurities without smearing or streaking.
When cleaning, pay particular attention to areas prone to buildup, such as around light switches, door frames, and baseboards. For stubborn spots or stains, apply slightly more pressure with the mop while avoiding excessive force that could potentially damage the wall surface. The ergonomic design of the O-Cedar mop allows for effortless maneuverability, enabling you to reach high and low areas with ease.
As you progress through the cleaning process, periodically rinse the mop head in the cleaning solution and wring out any accumulated dirt and excess moisture. This ensures that the mop remains effective and prevents the reintroduction of dirt onto the walls. Additionally, take breaks to inspect the walls and address any remaining spots or areas that may require additional attention.
By methodically working your way across the walls and employing the O-Cedar mop’s superior cleaning capabilities, you’ll witness a visible transformation as dirt and grime are lifted away, revealing the true beauty of your walls. This meticulous approach to wall cleaning ensures that your living space maintains a fresh and inviting ambiance.
Step 6: Rinse and Dry the Walls
As the wall-cleaning process nears completion, it’s essential to ensure that any residual cleaning solution is thoroughly removed, and the walls are left to dry naturally. To begin the rinsing phase, fill a clean bucket or container with fresh, lukewarm water. Using a separate, clean mop or a soft, lint-free cloth, lightly dampened in the water, gently go over the walls to remove any remaining traces of the cleaning solution.
When rinsing the walls, it’s crucial to avoid oversaturating the surface, especially if dealing with porous materials such as unpainted drywall or wallpaper. The goal is to remove the cleaning solution without introducing excessive moisture that could potentially lead to water damage or discoloration.
After rinsing, allow the walls to air-dry naturally. Open windows or use fans to promote air circulation, expediting the drying process. Avoid using heat sources such as hairdryers or heaters, as rapid drying with heat can cause streaking or damage to certain wall surfaces.
Once the walls are completely dry, take a moment to assess the results of your cleaning efforts. You’ll likely be greeted with walls that appear refreshed, free of dirt and grime, and ready to showcase their true beauty. The O-Cedar mop, in conjunction with a carefully prepared cleaning solution, has effectively revitalized your walls, leaving them looking immaculate and inviting.
By meticulously rinsing and allowing the walls to dry naturally, you’ll complete the wall-cleaning process with the care and attention necessary to maintain the integrity and appearance of your living space. With your walls now clean and rejuvenated, you can take pride in a home environment that exudes cleanliness and comfort.
Conclusion
Congratulations on successfully mastering the art of wall cleaning using the O-Cedar mop. By following the comprehensive steps outlined in this guide, you’ve transformed your living space by revitalizing the walls and creating a fresh, inviting ambiance. The O-Cedar mop, with its superior absorbency and maneuverability, has proven to be an invaluable tool in achieving spotless walls without the need for harsh chemicals or excessive effort.
Throughout this process, you’ve demonstrated a thoughtful approach to wall cleaning, from the meticulous preparation of the O-Cedar mop to the careful selection and application of a gentle cleaning solution. By dusting, vacuuming, and methodically cleaning the walls, you’ve ensured that every surface receives the attention it deserves, resulting in a thorough and effective cleaning outcome.
As you stand back and admire your revitalized walls, take pride in knowing that your home environment now exudes cleanliness and comfort. The O-Cedar mop, combined with your dedicated efforts, has elevated the aesthetic appeal of your living space, creating an environment that is both visually pleasing and conducive to a healthy lifestyle.
With this newfound knowledge and expertise, you’re equipped to maintain the beauty of your walls and uphold a standard of cleanliness that reflects your care and attention to detail. Whether preparing for special occasions, regular maintenance, or simply refreshing your living space, the O-Cedar mop is your trusted ally in achieving pristine walls and a welcoming home environment.
Thank you for embarking on this wall-cleaning journey with us. May your freshly cleaned walls continue to serve as a source of pride and comfort, enriching your daily life and creating a space where cleanliness and beauty harmoniously coexist.
Frequently Asked Questions about How To Clean Walls With O-Cedar Mop
Was this page helpful?
At Storables.com, we guarantee accurate and reliable information. Our content, validated by Expert Board Contributors, is crafted following stringent Editorial Policies. We're committed to providing you with well-researched, expert-backed insights for all your informational needs.


0 thoughts on “How To Clean Walls With O-Cedar Mop”