Home>Home Appliances>Kitchen Appliances>How To Clean Limescale From An Electric Kettle

Kitchen Appliances
How To Clean Limescale From An Electric Kettle
Modified: January 6, 2024
Learn how to effectively remove limescale buildup from your electric kettle with these kitchen-appliance cleaning tips. Keep your kettle in top condition!
(Many of the links in this article redirect to a specific reviewed product. Your purchase of these products through affiliate links helps to generate commission for Storables.com, at no extra cost. Learn more)
Introduction
Welcome to the comprehensive guide on how to effectively clean limescale from an electric kettle. Over time, the interior of an electric kettle can develop a stubborn, chalky white residue known as limescale. This buildup not only affects the aesthetic appeal of the kettle but also has the potential to alter the taste of the water boiled in it. Additionally, limescale can hinder the kettle's heating efficiency, leading to increased energy consumption.
Understanding the importance of maintaining a clean electric kettle, we have curated a step-by-step process to help you rid your appliance of limescale using simple and easily accessible materials. By following the instructions outlined in this guide, you can restore your electric kettle to its optimal condition, ensuring that your beverages are free from any unwanted residues and tastes.
So, let's delve into the world of limescale removal and equip ourselves with the knowledge and tools needed to keep our electric kettles sparkling clean and functioning at their best.
Key Takeaways:
- Say goodbye to limescale! Clean your electric kettle with vinegar and water to remove stubborn deposits, ensuring pure-tasting beverages and efficient heating. It’s easy, effective, and eco-friendly!
- Keep it clean, keep it efficient! Regularly remove limescale from your electric kettle using simple materials like vinegar and water. Enjoy clean, pure-tasting water for your favorite beverages.
Read more: How To Prevent Limescale In A Kettle
Understanding Limescale
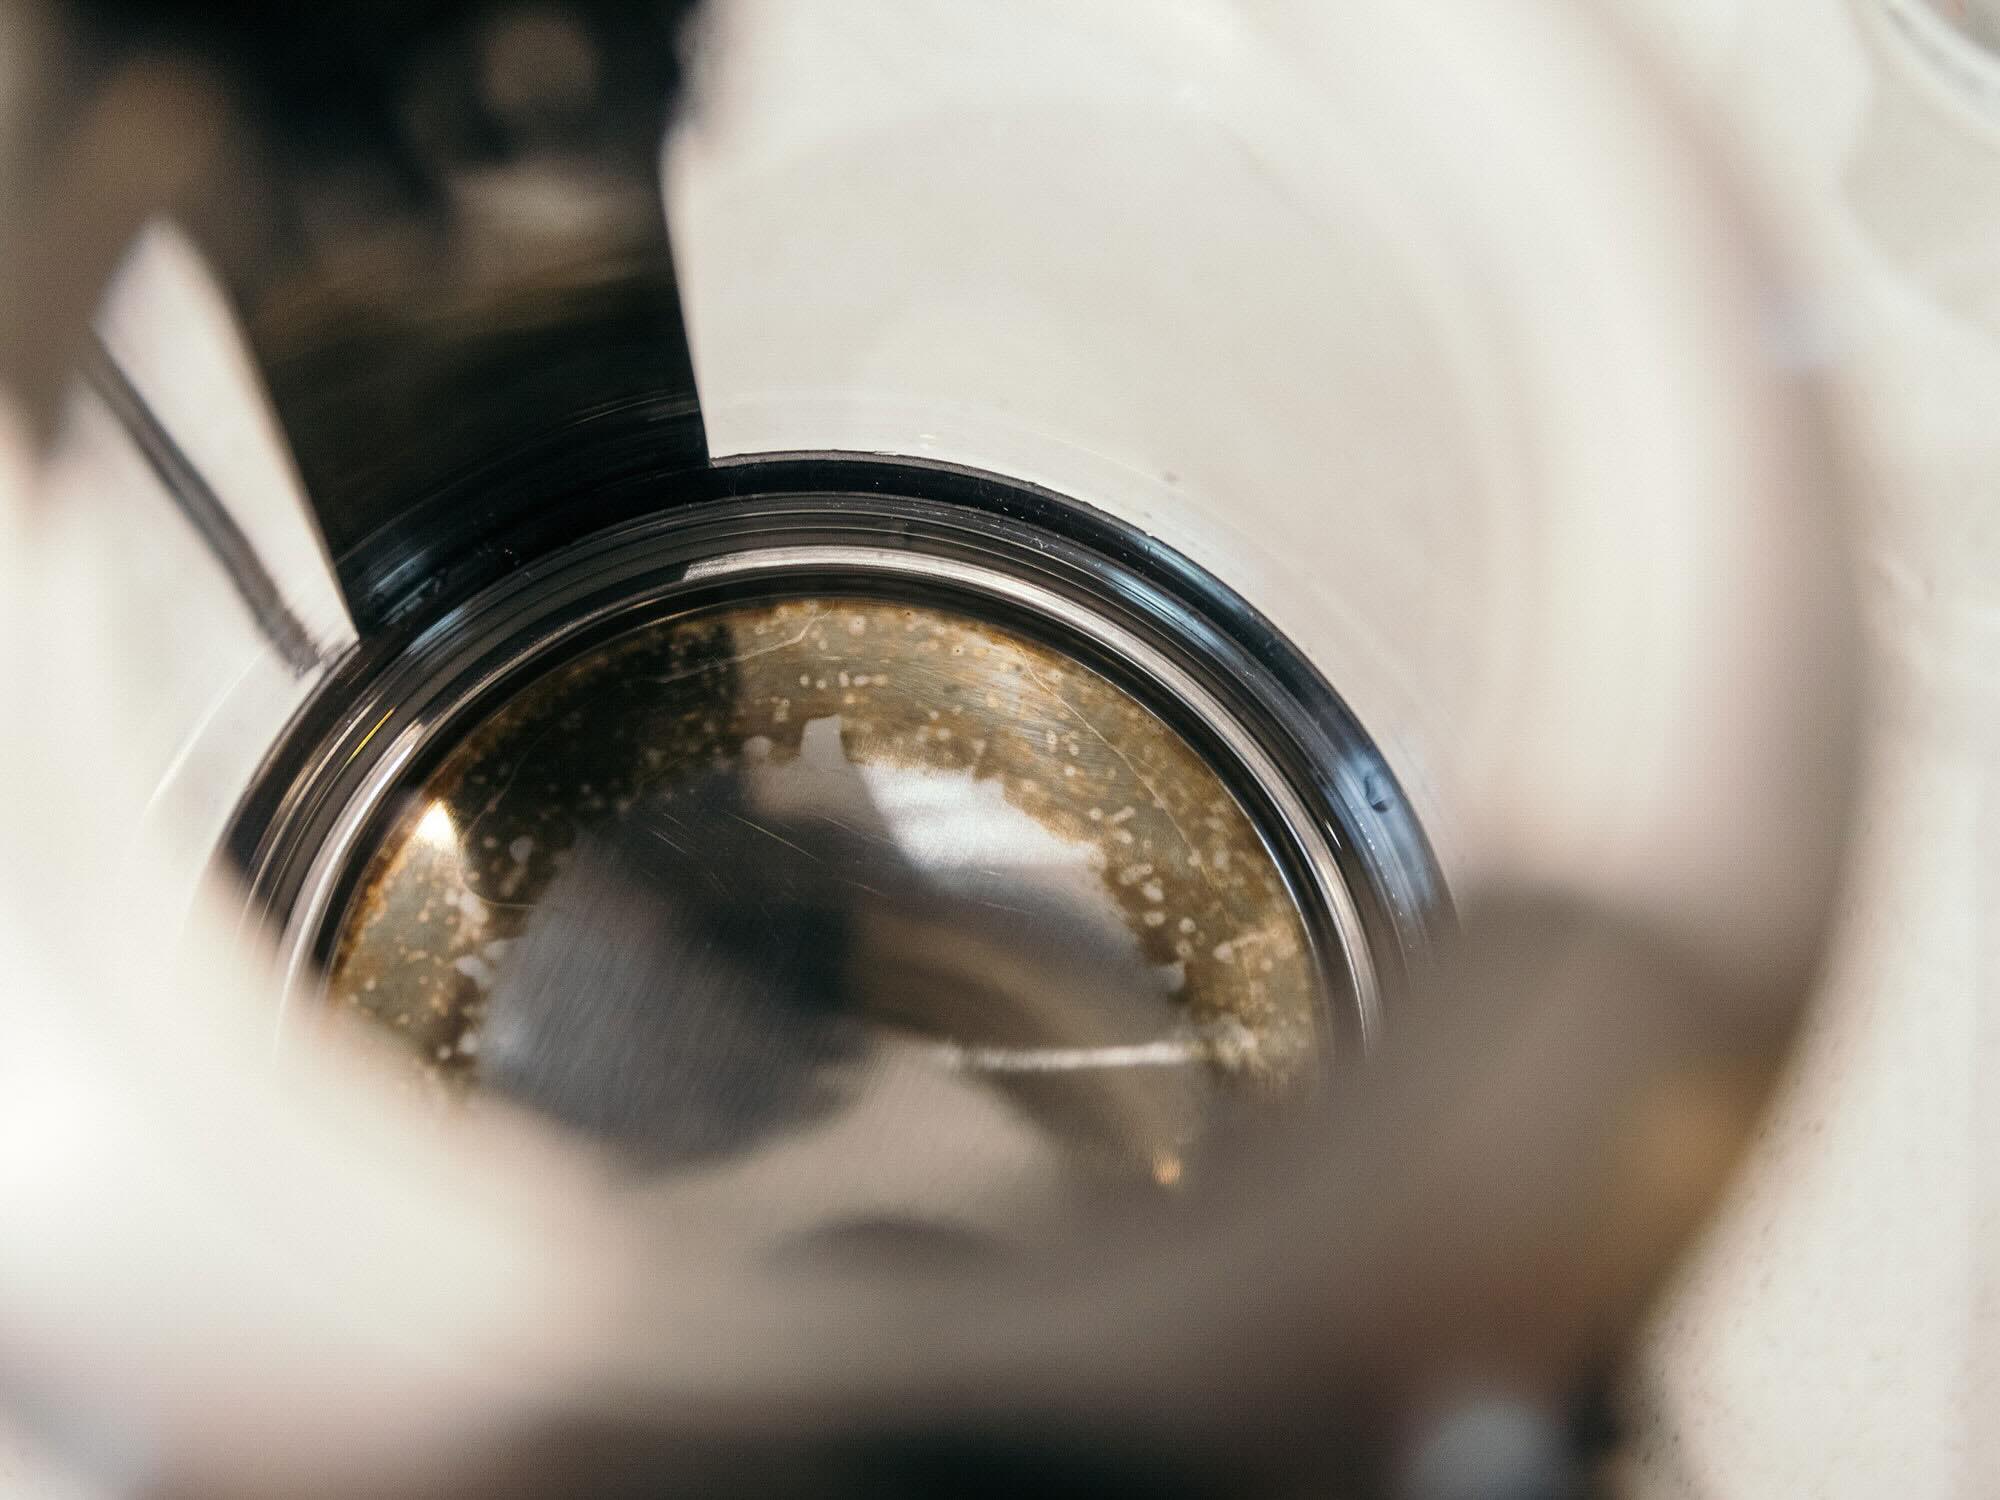
Before delving into the cleaning process, it’s essential to understand what limescale is and how it forms. Limescale, also known as calcium carbonate, is a hard, off-white chalky deposit that can accumulate inside kettles and other appliances that heat water. It is primarily caused by the presence of dissolved minerals, such as calcium and magnesium, in the water. When the water is heated, these minerals form solid deposits that adhere to the interior surfaces of the kettle.
Limescale buildup not only affects the appearance of the kettle but can also impact its functionality. As the limescale thickens, it can impede the transfer of heat, leading to increased energy consumption and longer boiling times. Furthermore, the presence of limescale can alter the taste and quality of the water, affecting the flavor of beverages prepared using the kettle.
Understanding the composition and impact of limescale underscores the importance of regular maintenance and cleaning of electric kettles. By addressing limescale buildup promptly, you can ensure that your kettle remains efficient, aesthetically pleasing, and capable of delivering pure, untainted water for your daily needs.
Materials Needed
Before embarking on the limescale cleaning process, it’s important to gather the necessary materials to ensure a thorough and effective cleaning experience. The following items are essential for removing limescale from an electric kettle:
- Vinegar: White vinegar is a versatile and effective cleaning agent due to its acidic nature, which helps dissolve limescale and mineral deposits.
- Water: Clean, fresh water is required for rinsing the kettle and ensuring that no residual vinegar remains after the cleaning process.
- Soft Brush or Sponge: A non-abrasive brush or sponge will be used for scrubbing the interior of the kettle to dislodge and remove the softened limescale.
- Cloth or Towel: A soft cloth or towel will be used for wiping and drying the kettle after the cleaning process is complete.
These simple yet effective materials are readily available in most households, making the limescale cleaning process convenient and accessible. With these items at your disposal, you can proceed with confidence, knowing that you have everything needed to restore your electric kettle to its pristine condition.
Step 1: Vinegar Solution
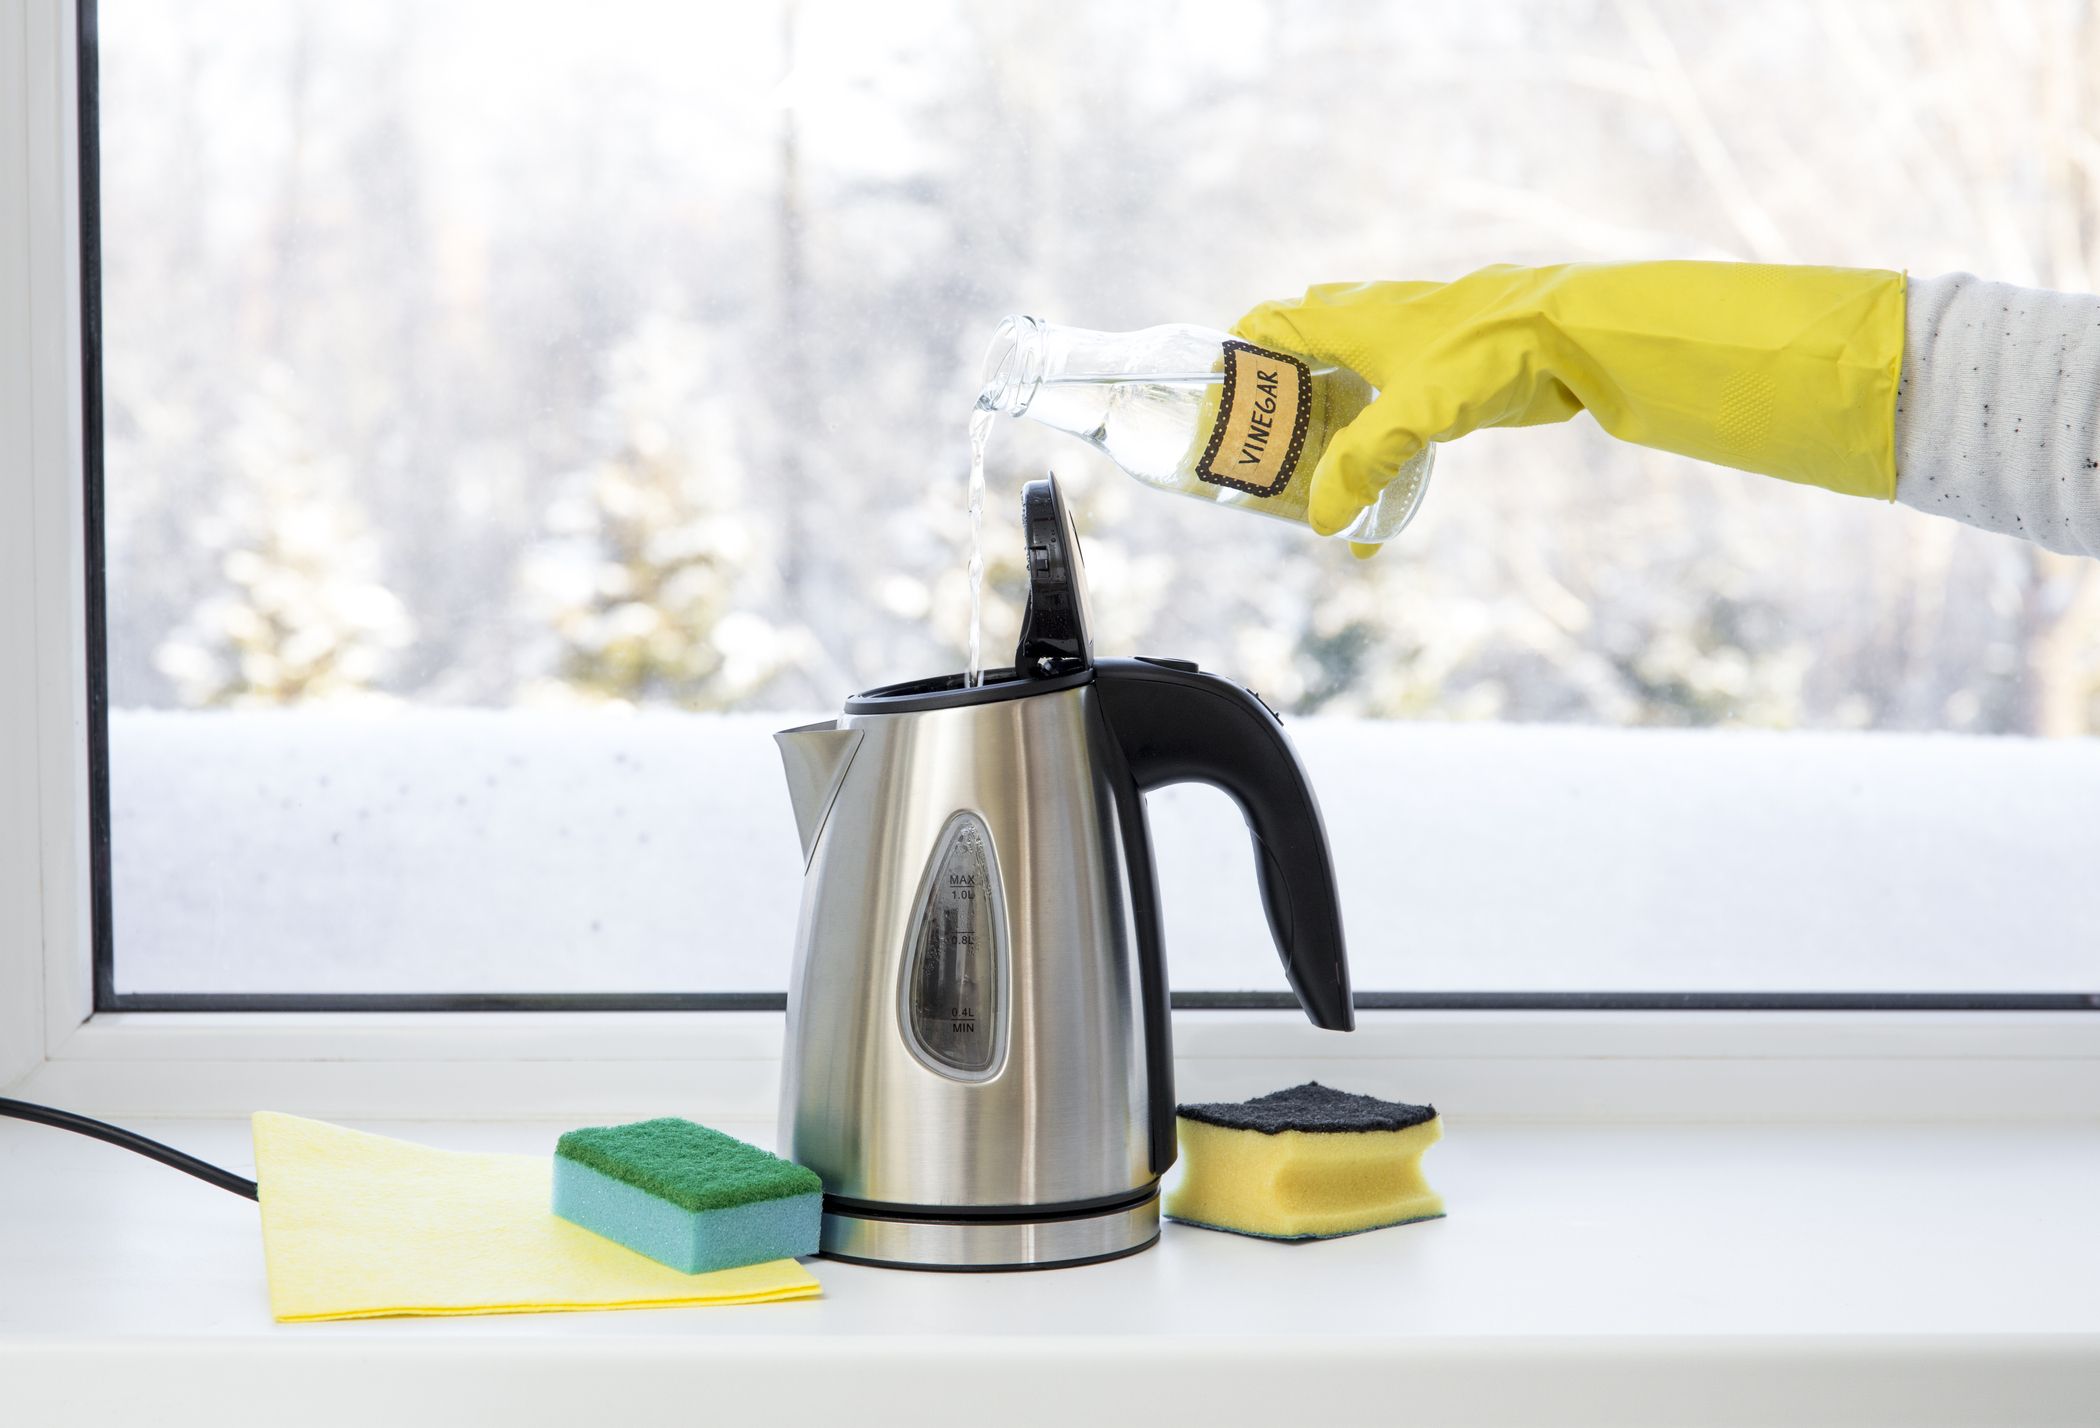
The first step in the limescale cleaning process involves preparing a vinegar solution to effectively break down and remove the stubborn deposits inside the electric kettle. Follow these simple instructions to create the vinegar solution:
- Measure the Vinegar: Start by measuring an appropriate amount of white vinegar based on the size of your kettle. For most standard-sized kettles, a mixture of equal parts vinegar and water is recommended. For example, if your kettle holds 1 liter of water, you would use 500ml of vinegar and 500ml of water.
- Pour the Vinegar and Water: Carefully pour the measured vinegar and water into the kettle, ensuring that the solution adequately covers the limescale deposits on the interior surfaces.
- Allow the Solution to Sit: Place the kettle on a flat surface and allow the vinegar solution to sit inside for a period of time to effectively penetrate and soften the limescale. Depending on the severity of the buildup, a soaking time of 30 minutes to one hour is typically sufficient.
The acidic nature of the vinegar works to dissolve and loosen the limescale, making it easier to remove during the subsequent steps of the cleaning process. This natural and non-toxic solution provides a safe and effective means of restoring your electric kettle to its optimal condition, free from unsightly limescale deposits.
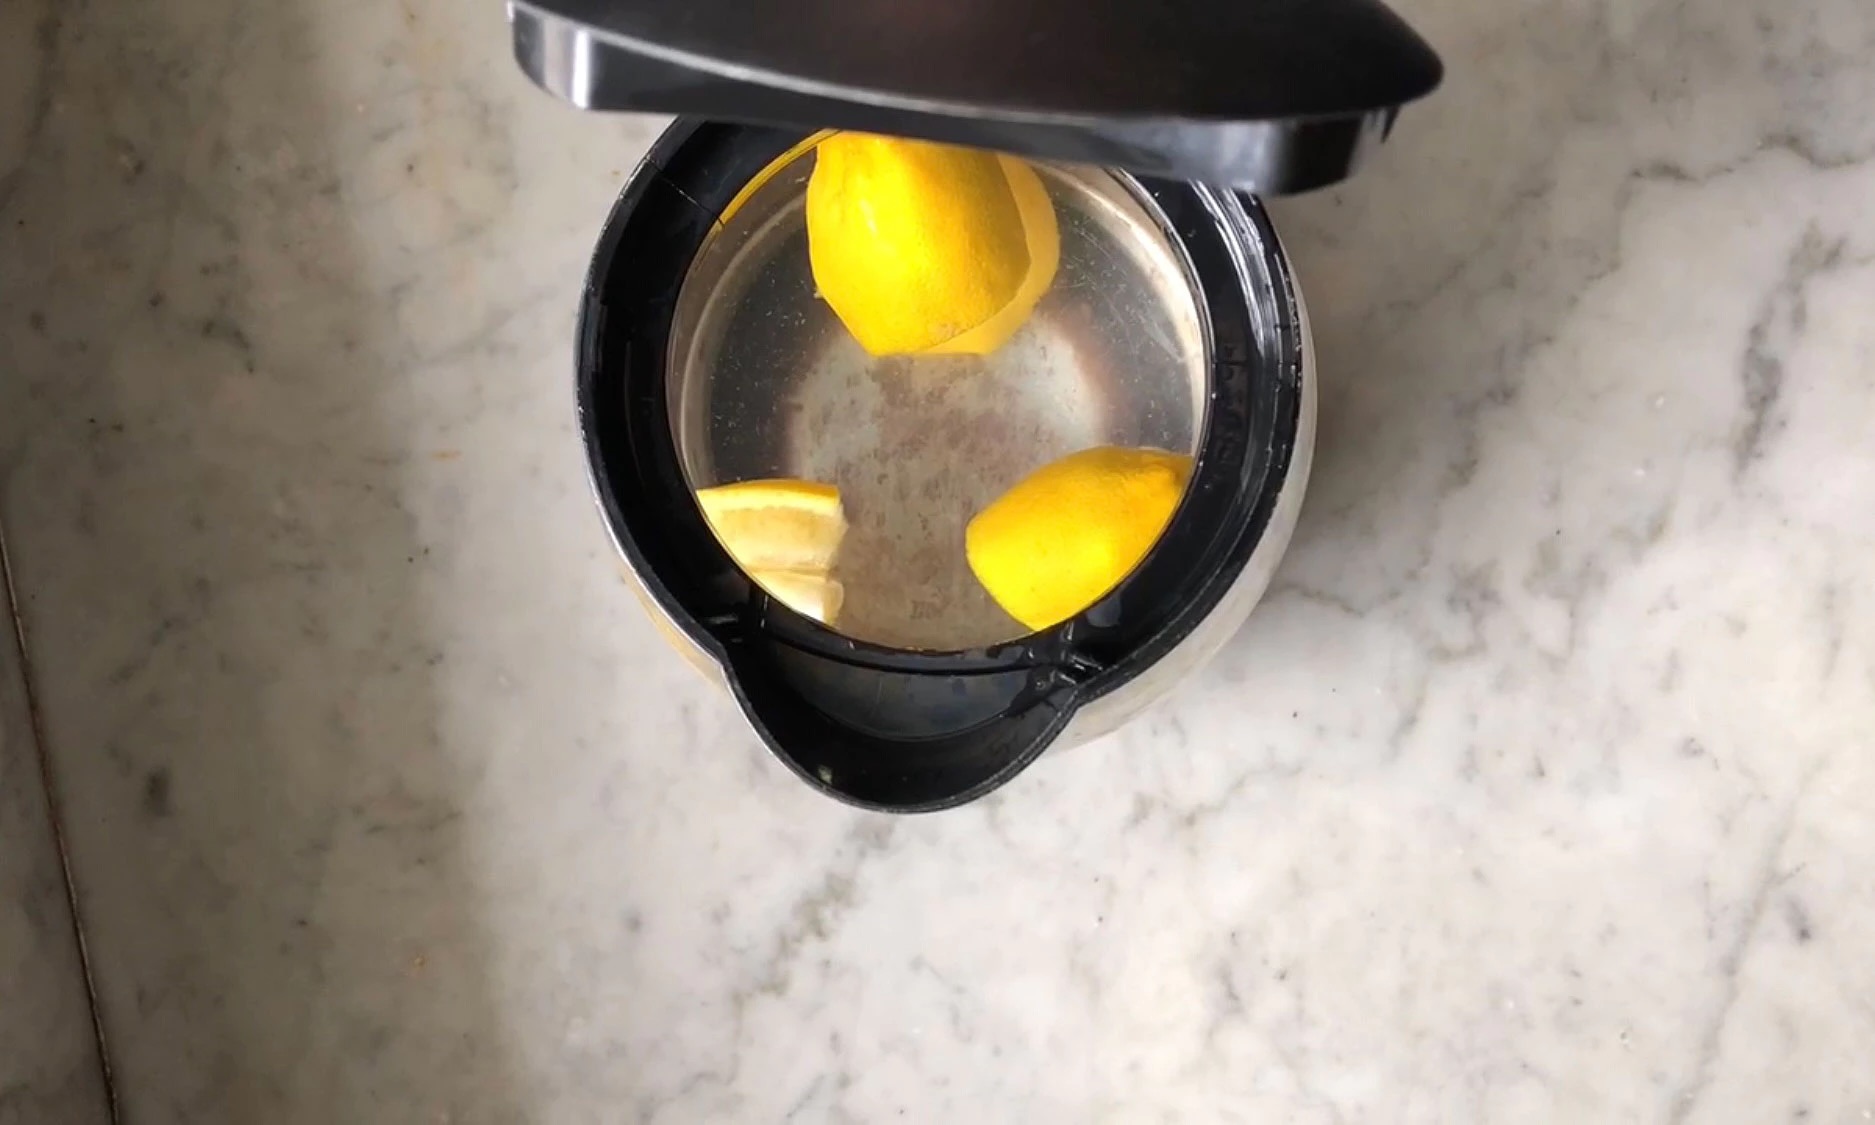
Fill the kettle with equal parts water and vinegar, let it sit for an hour, then boil the solution. Let it cool, then rinse thoroughly.
Step 2: Boiling and Soaking
After preparing the vinegar solution and allowing it to sit inside the kettle, the next step involves boiling the solution and allowing it to soak to further loosen the limescale deposits. Follow these steps to complete this phase of the cleaning process:
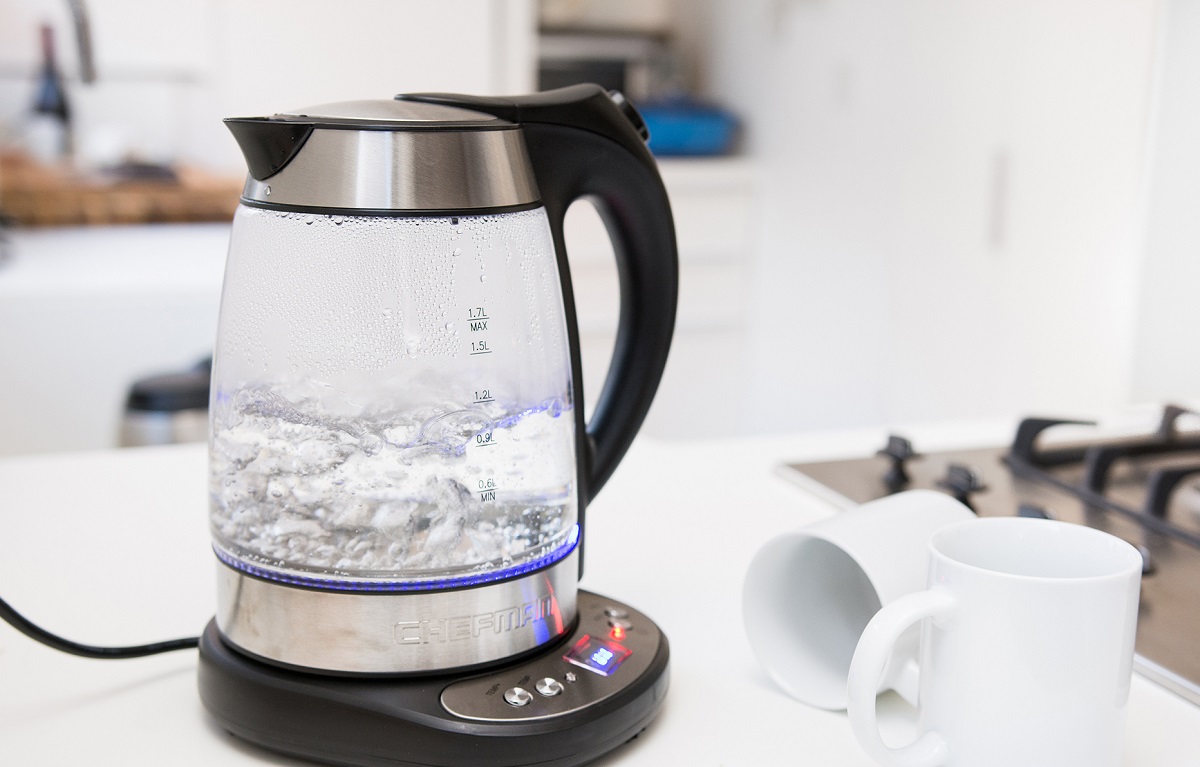
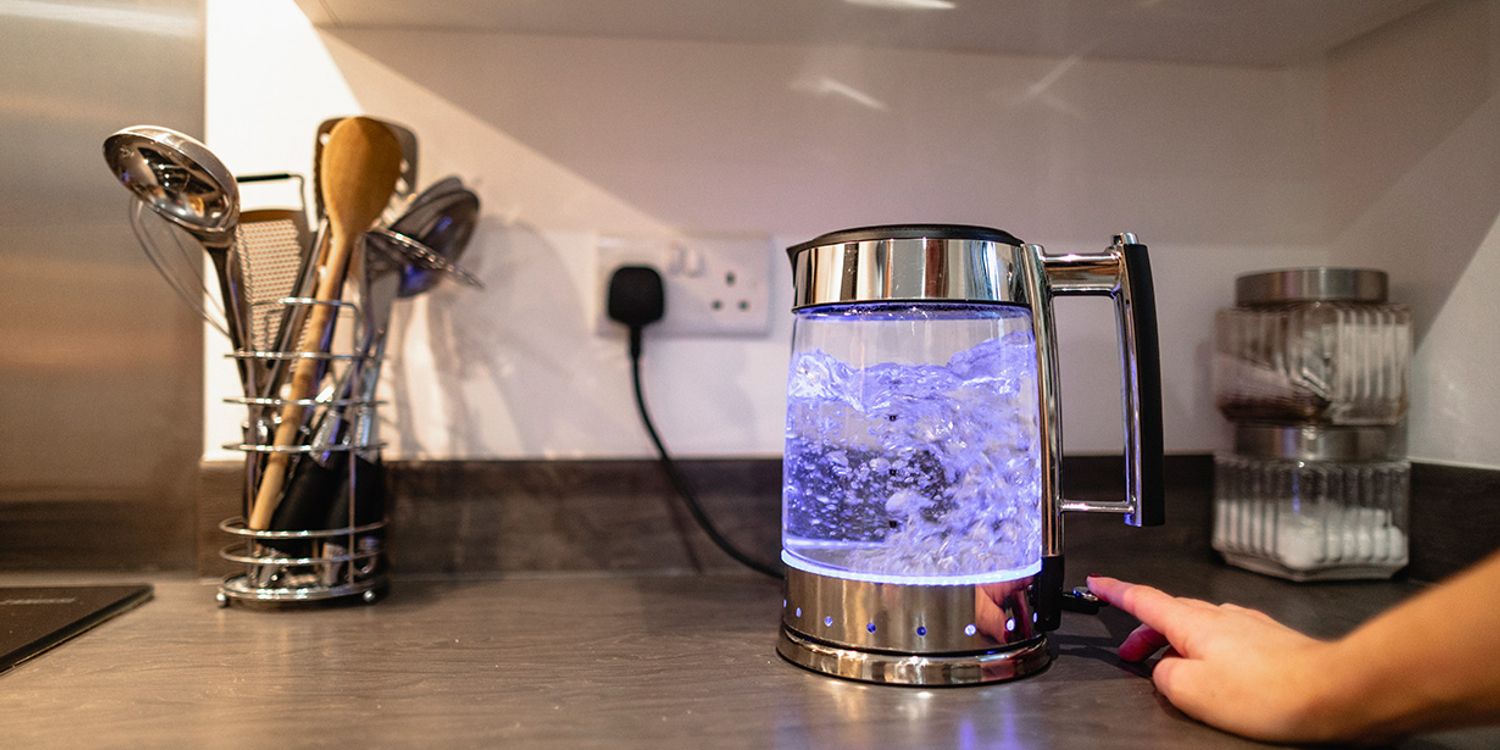
- Boil the Vinegar Solution: Switch on the kettle and bring the vinegar solution to a boil. As the solution heats up, you may notice bubbles forming, indicating that the vinegar is actively dissolving the limescale within the kettle.
- Allow the Solution to Soak: Once the vinegar solution reaches a rolling boil, turn off the kettle and allow the solution to soak and work its magic for an additional 1-2 hours. This extended soaking period allows the acidic properties of the vinegar to effectively penetrate and further break down the limescale deposits.
Boiling the vinegar solution not only aids in the removal of limescale but also helps disinfect and deodorize the interior of the kettle, ensuring that it is thoroughly clean and free from any lingering impurities. The combination of heat and vinegar creates a powerful cleaning process that targets limescale while simultaneously refreshing the kettle’s interior.
Step 3: Scrubbing
Once the vinegar solution has been allowed to soak and work its magic, the next crucial step involves gently scrubbing the interior of the kettle to dislodge and remove the softened limescale deposits. Follow these guidelines to effectively complete this phase of the cleaning process:
- Use a Soft Brush or Sponge: Select a non-abrasive brush or sponge to avoid damaging the interior surfaces of the kettle. The soft bristles or sponge will aid in dislodging the softened limescale without causing scratches or abrasions.
- Gently Scrub the Interior: Dip the brush or sponge into the vinegar solution remaining in the kettle and gently scrub the interior surfaces. Focus on areas where limescale buildup is prominent, ensuring thorough coverage of all affected areas.
- Repeat as Needed: For stubborn or thicker limescale deposits, continue to scrub gently, adding more vinegar solution if necessary to maintain the effectiveness of the cleaning process.
By employing a gentle yet thorough scrubbing technique, you can effectively remove the softened limescale from the interior of the kettle, revealing the clean, smooth surfaces underneath. This step is crucial in ensuring that all traces of limescale are dislodged and ready to be rinsed away, leaving your electric kettle looking and functioning as good as new.
Step 4: Rinsing and Drying
Following the completion of the scrubbing process, the final step involves thoroughly rinsing and drying the electric kettle to remove any remaining traces of vinegar and limescale. It is essential to ensure that the kettle is completely clean and free from any residual cleaning agents. Follow these steps to accomplish this final phase of the cleaning process:
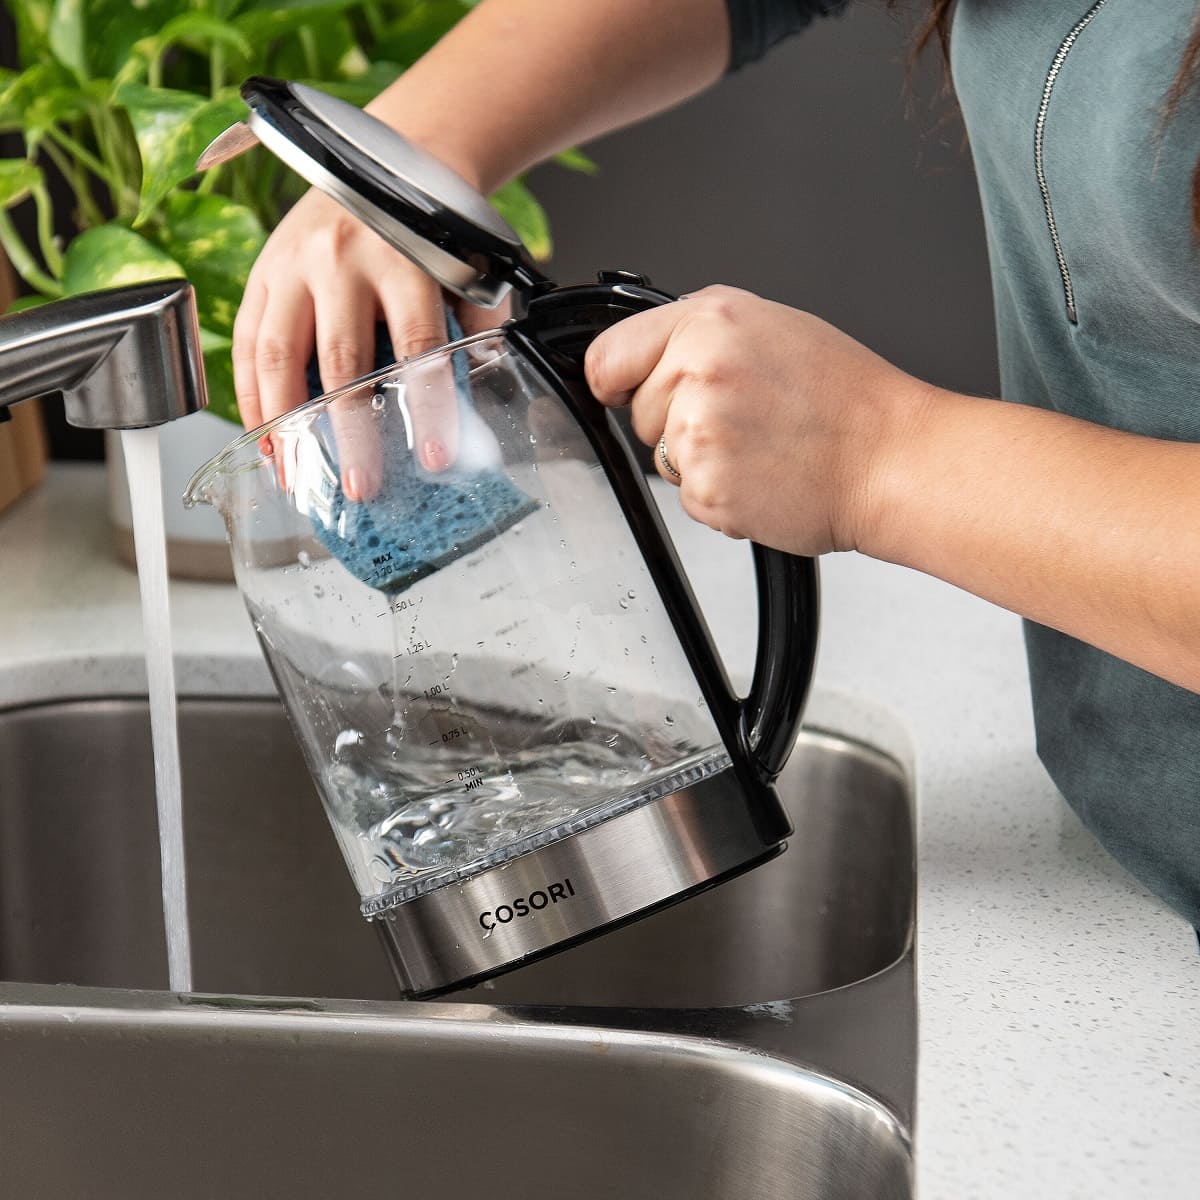
- Rinse with Fresh Water: Fill the kettle with clean, fresh water, ensuring that the vinegar solution and dislodged limescale deposits are completely flushed out. Swirl the water around to reach all interior surfaces of the kettle.
- Boil the Water: Switch on the kettle and bring the water to a boil. Boiling the water will help to further rinse and sanitize the interior, eliminating any remaining traces of vinegar and limescale.
- Discard the Water: Once the water has boiled, carefully discard it down the sink, ensuring that all residual impurities are removed from the kettle.
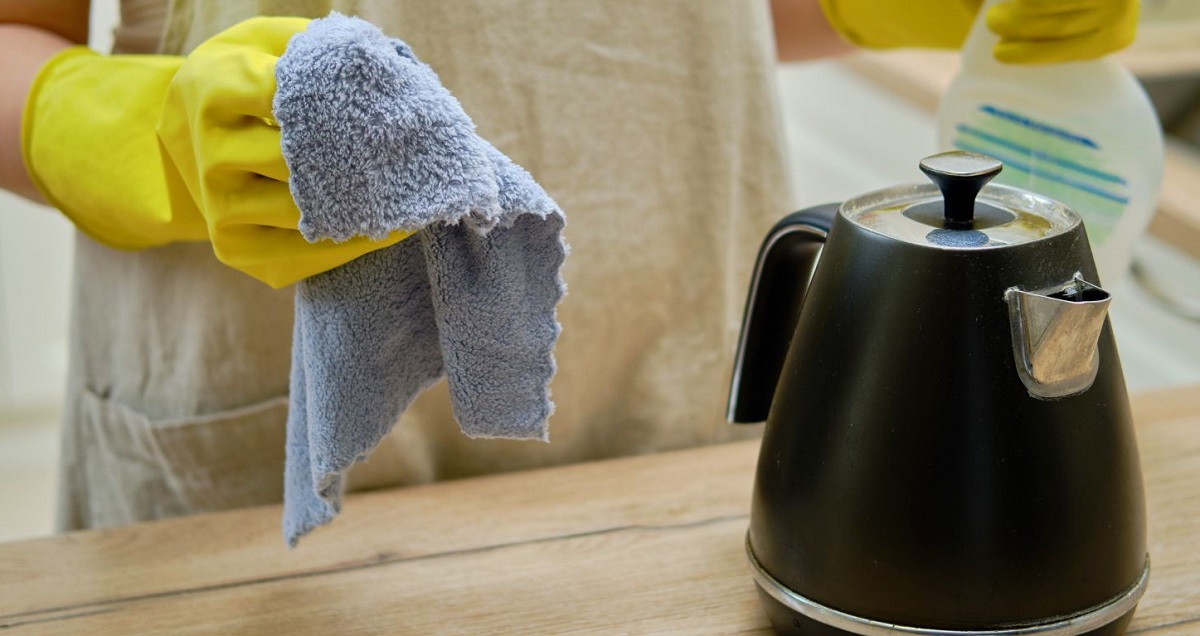
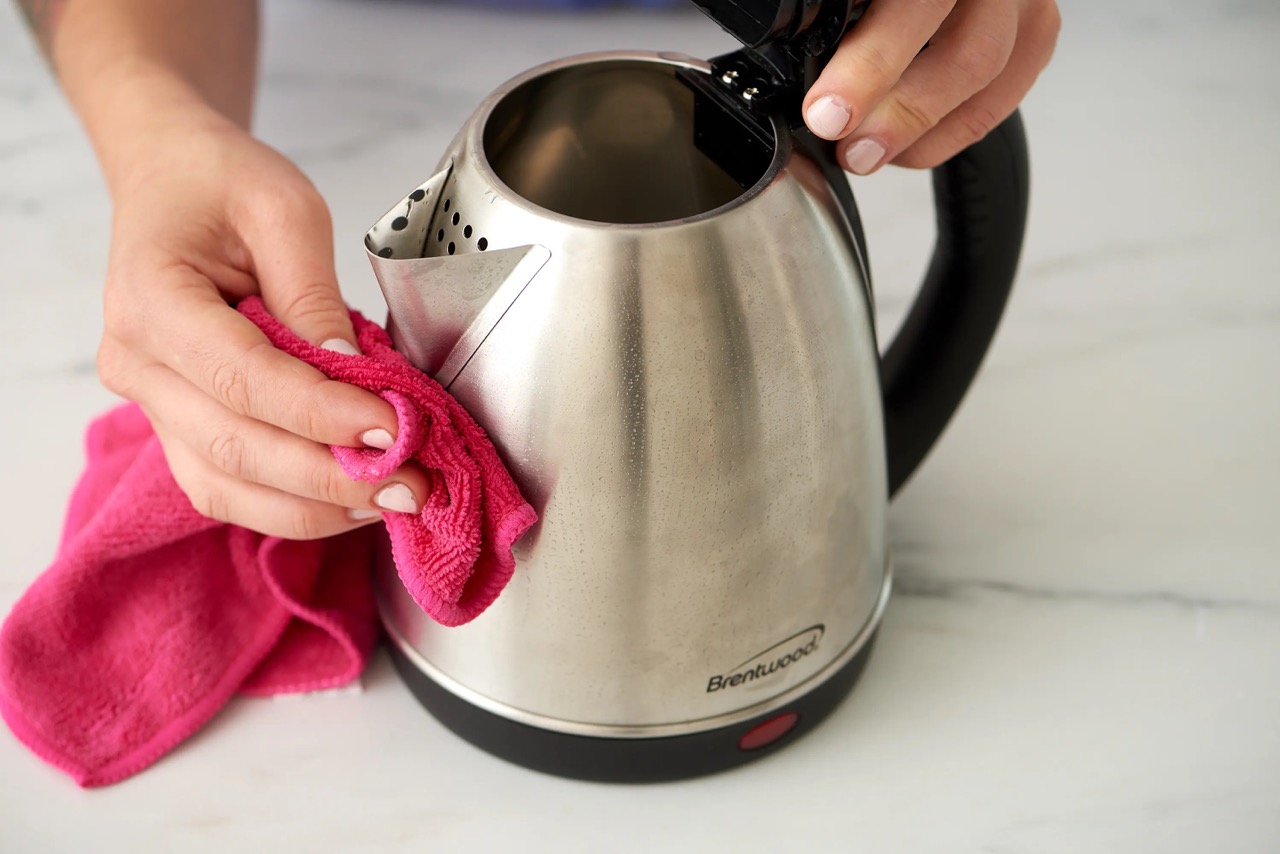
- Dry the Kettle: Using a soft cloth or towel, thoroughly dry the interior and exterior of the kettle, ensuring that no moisture remains. Pay close attention to the spout and lid areas, as well as the base of the kettle, to prevent any water spots or streaks from forming.
By diligently rinsing and drying the electric kettle, you can ensure that it is free from any lingering traces of limescale and vinegar, leaving it sparkling clean and ready for use. This final step is crucial in maintaining the pristine condition of the kettle and ensuring that it continues to provide clean, pure-tasting water for your daily needs.
Conclusion
Congratulations on successfully completing the limescale cleaning process for your electric kettle! By following the step-by-step instructions outlined in this guide, you have effectively restored your kettle to its optimal condition, free from unsightly limescale deposits and any associated impacts on water quality and heating efficiency.
Regular maintenance and cleaning of your electric kettle are essential to ensure that it continues to function at its best, providing clean, pure-tasting water for your beverages and culinary endeavors. By addressing limescale buildup promptly, you can prolong the lifespan of your kettle and maintain its aesthetic appeal.
Remember to incorporate this cleaning process into your regular home maintenance routine to prevent limescale from accumulating and to enjoy the full benefits of a clean and efficient electric kettle. Additionally, consider using filtered or distilled water to minimize the formation of limescale and prolong the time between cleaning sessions.
With your newly cleaned electric kettle, you can brew your favorite hot beverages with confidence, knowing that the limescale is no longer a hindrance. Embrace the convenience and reliability of a well-maintained electric kettle, and savor the pure flavors of your favorite drinks without any unwanted residues or tastes.
Thank you for taking the time to learn about limescale removal and for prioritizing the maintenance of your kitchen appliances. With this newfound knowledge and the simple materials at your disposal, you are well-equipped to tackle limescale buildup and keep your electric kettle in pristine condition for years to come.
Frequently Asked Questions about How To Clean Limescale From An Electric Kettle
Was this page helpful?
At Storables.com, we guarantee accurate and reliable information. Our content, validated by Expert Board Contributors, is crafted following stringent Editorial Policies. We're committed to providing you with well-researched, expert-backed insights for all your informational needs.


0 thoughts on “How To Clean Limescale From An Electric Kettle”