Home>Kitchen & Cooking>Kitchen Gadgets & Utensils>How To Clean Gooseneck Kettle


Kitchen Gadgets & Utensils
How To Clean Gooseneck Kettle
Modified: February 18, 2024
Learn the best way to clean your gooseneck kettle and keep it in top condition. Discover essential tips for maintaining your kitchen gadgets and utensils.
(Many of the links in this article redirect to a specific reviewed product. Your purchase of these products through affiliate links helps to generate commission for Storables.com, at no extra cost. Learn more)
Introduction
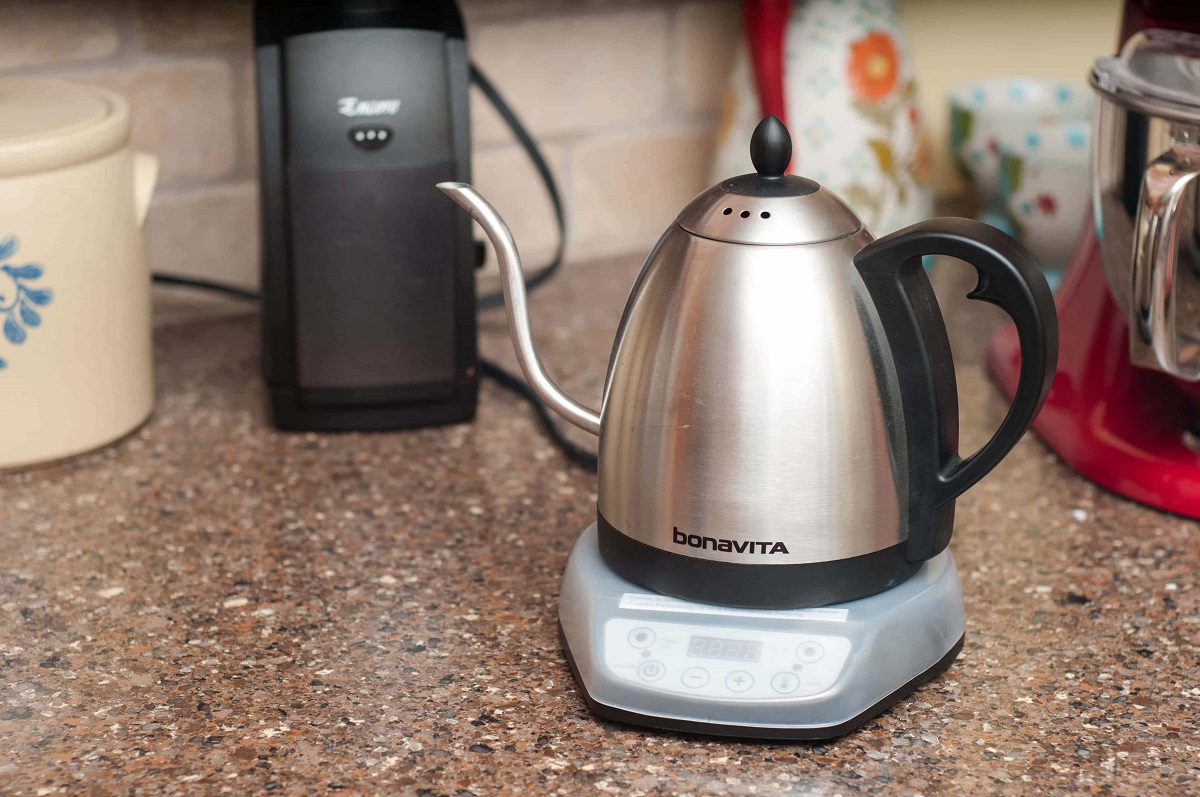
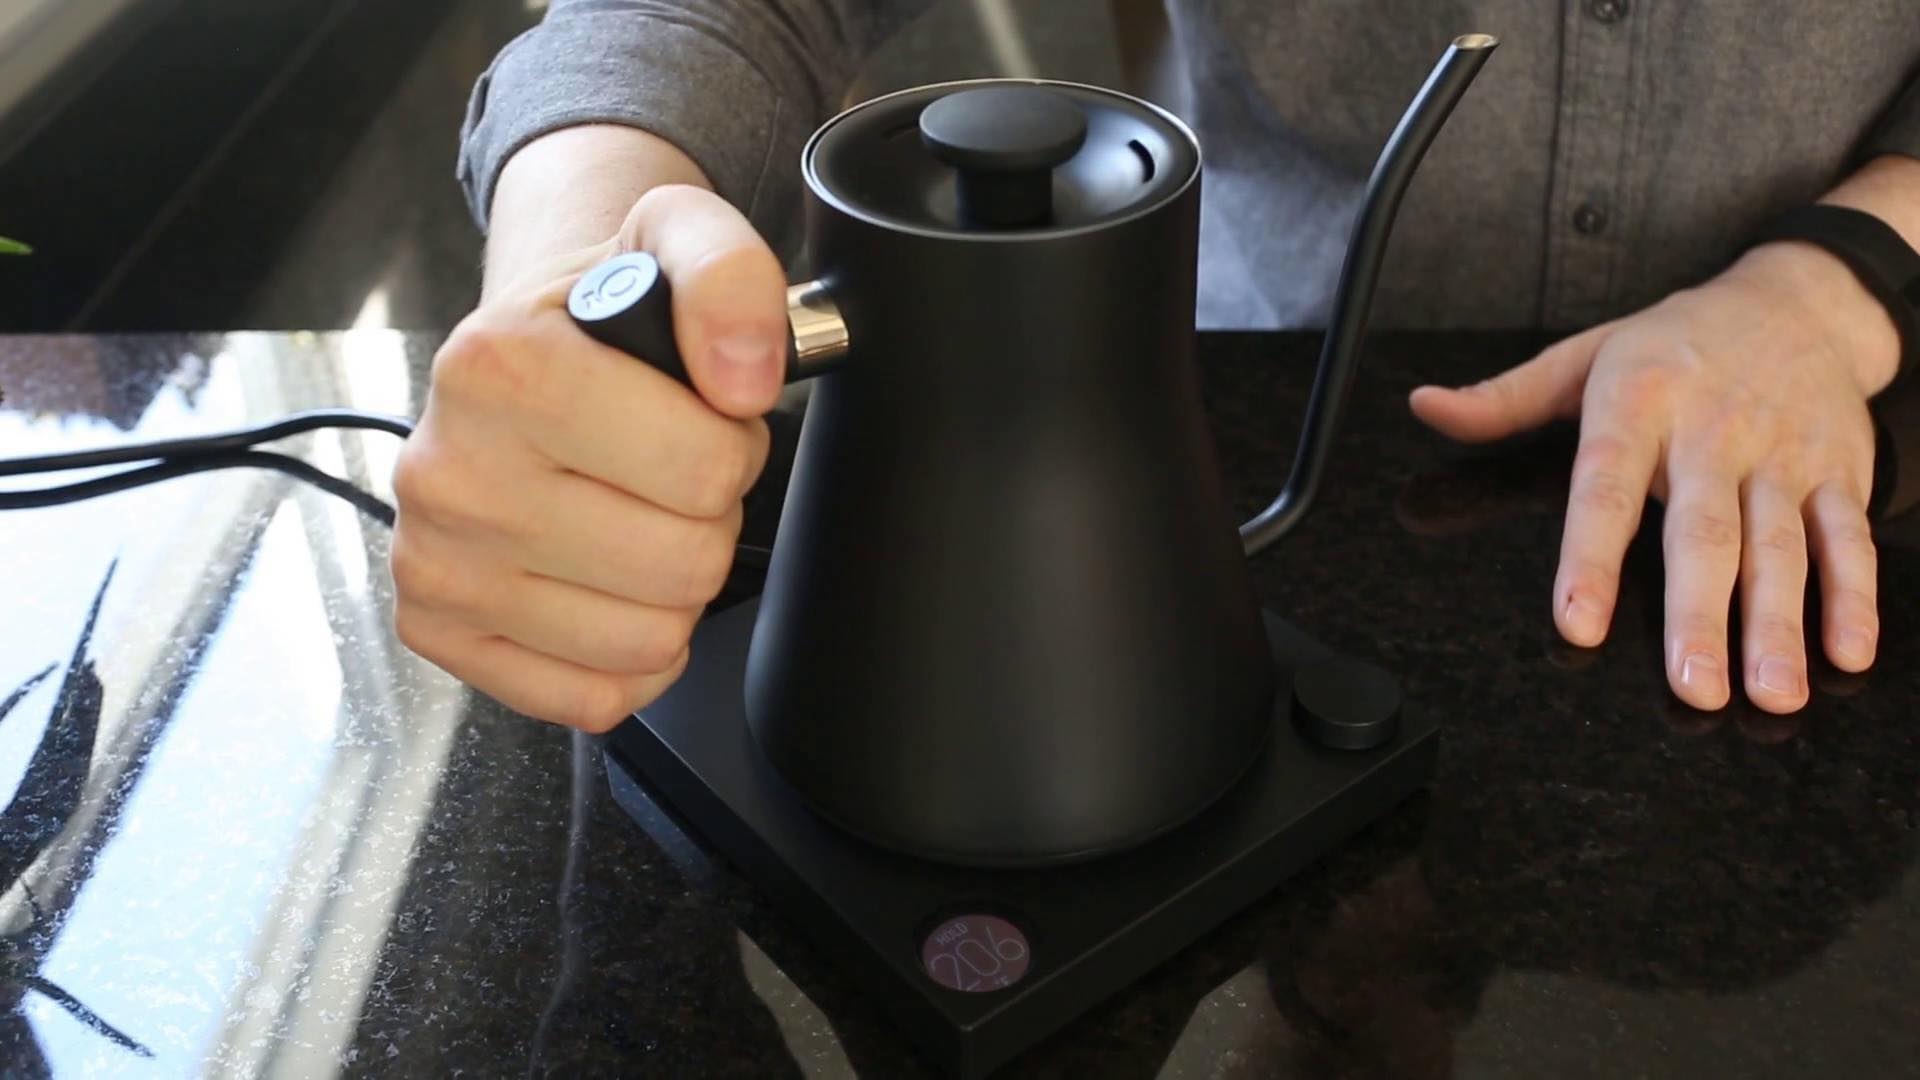
Ah, the gooseneck kettle – a beloved staple in the arsenal of any passionate coffee or tea enthusiast. With its elegant design and precise pouring spout, it's no wonder why this kitchen essential has become a favorite among connoisseurs. However, like any cherished tool, the gooseneck kettle requires proper care and maintenance to ensure it continues to deliver that perfect pour for years to come.
In this guide, we'll delve into the art of cleaning a gooseneck kettle, offering step-by-step instructions and valuable tips to keep your kettle in pristine condition. Whether you're a seasoned barista or a budding home brewer, mastering the art of cleaning your gooseneck kettle will not only preserve its functionality but also enhance the flavors of your favorite brews.
So, grab your trusty gooseneck kettle and let's embark on a journey to discover the secrets of keeping it sparkling clean and ready to brew the perfect cup of coffee or tea.
Key Takeaways:
- Keep your gooseneck kettle sparkling clean by using white vinegar, water, and gentle scrubbing. This ensures a pristine interior and exterior, ready for the perfect pour every time.
- Regular cleaning and maintenance of your gooseneck kettle not only preserves its functionality but also enhances the flavors of your favorite brews, ensuring a delightful brewing experience.
Read more: Why Use A Gooseneck Kettle
Supplies Needed
Before diving into the cleaning process, it’s essential to gather the necessary supplies to ensure a thorough and effective cleaning session for your gooseneck kettle. Here’s what you’ll need:
- White Vinegar: This pantry staple serves as a powerful natural cleaner, effectively tackling mineral deposits and stains inside the kettle.
- Water: Good old H2O will be used in conjunction with vinegar to create a cleaning solution.
- Baking Soda (Optional): For stubborn stains, baking soda can be used as a gentle abrasive to help lift and remove residue.
- Cleaning Brush or Cloth: A soft-bristled brush or cloth will aid in scrubbing the interior of the kettle, ensuring a thorough clean without causing damage.
- Soft Sponge: Opt for a non-abrasive sponge to gently clean the exterior of the kettle without scratching the surface.
- Water Filter (Optional): If your tap water is particularly hard, using filtered water in your kettle can help reduce mineral buildup over time.
With these supplies in hand, you’re well-equipped to tackle the task of restoring your gooseneck kettle to its former glory. Now, let’s move on to the step-by-step cleaning process.
Step 1: Boiling Water
The first step in cleaning your gooseneck kettle involves a simple yet essential process: boiling water. This initial step serves to prepare the kettle for the deep cleaning that follows, effectively loosening any residual coffee or tea particles and prepping the interior for a thorough cleanse.
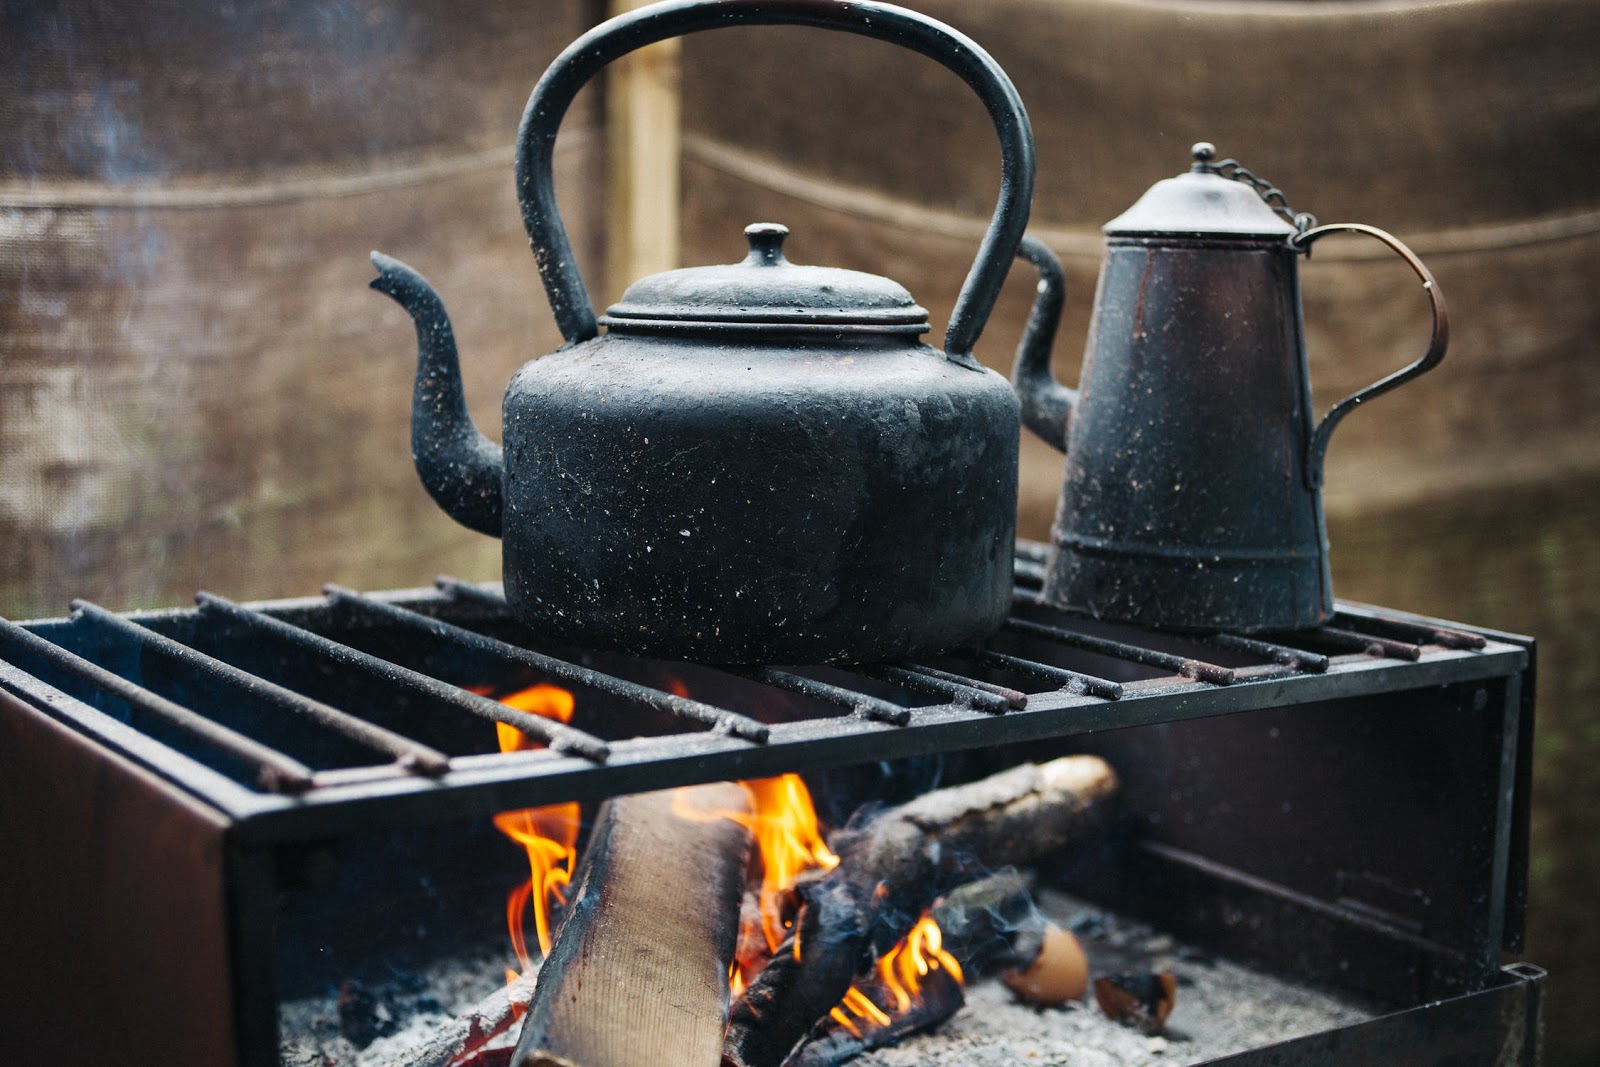
Begin by filling the kettle with fresh water, ensuring that you do not exceed the maximum fill line. Place the kettle on the stovetop or your preferred heating source and bring the water to a rolling boil. Allow the water to boil for several minutes, permitting the steam to circulate within the kettle and soften any stubborn residues clinging to the interior walls and spout.
Once the water has reached a vigorous boil, carefully pour it out of the kettle, taking care to avoid any steam or hot surfaces. Discard the hot water and proceed to the next step in the cleaning process.
Boiling water serves as an effective preliminary step, priming the kettle for the subsequent cleaning solutions and ensuring that any loose debris or buildup is loosened and ready for removal. With the kettle now prepped, we can move on to the next crucial stage: employing a vinegar solution to eradicate mineral deposits and stubborn stains.
Step 2: Vinegar Solution
Now that the gooseneck kettle has undergone the preliminary boiling water treatment, it’s time to introduce the powerhouse of natural cleaning agents: white vinegar. This humble kitchen staple possesses remarkable descaling properties, making it an ideal solution for tackling mineral deposits and stains that may have accumulated inside the kettle.
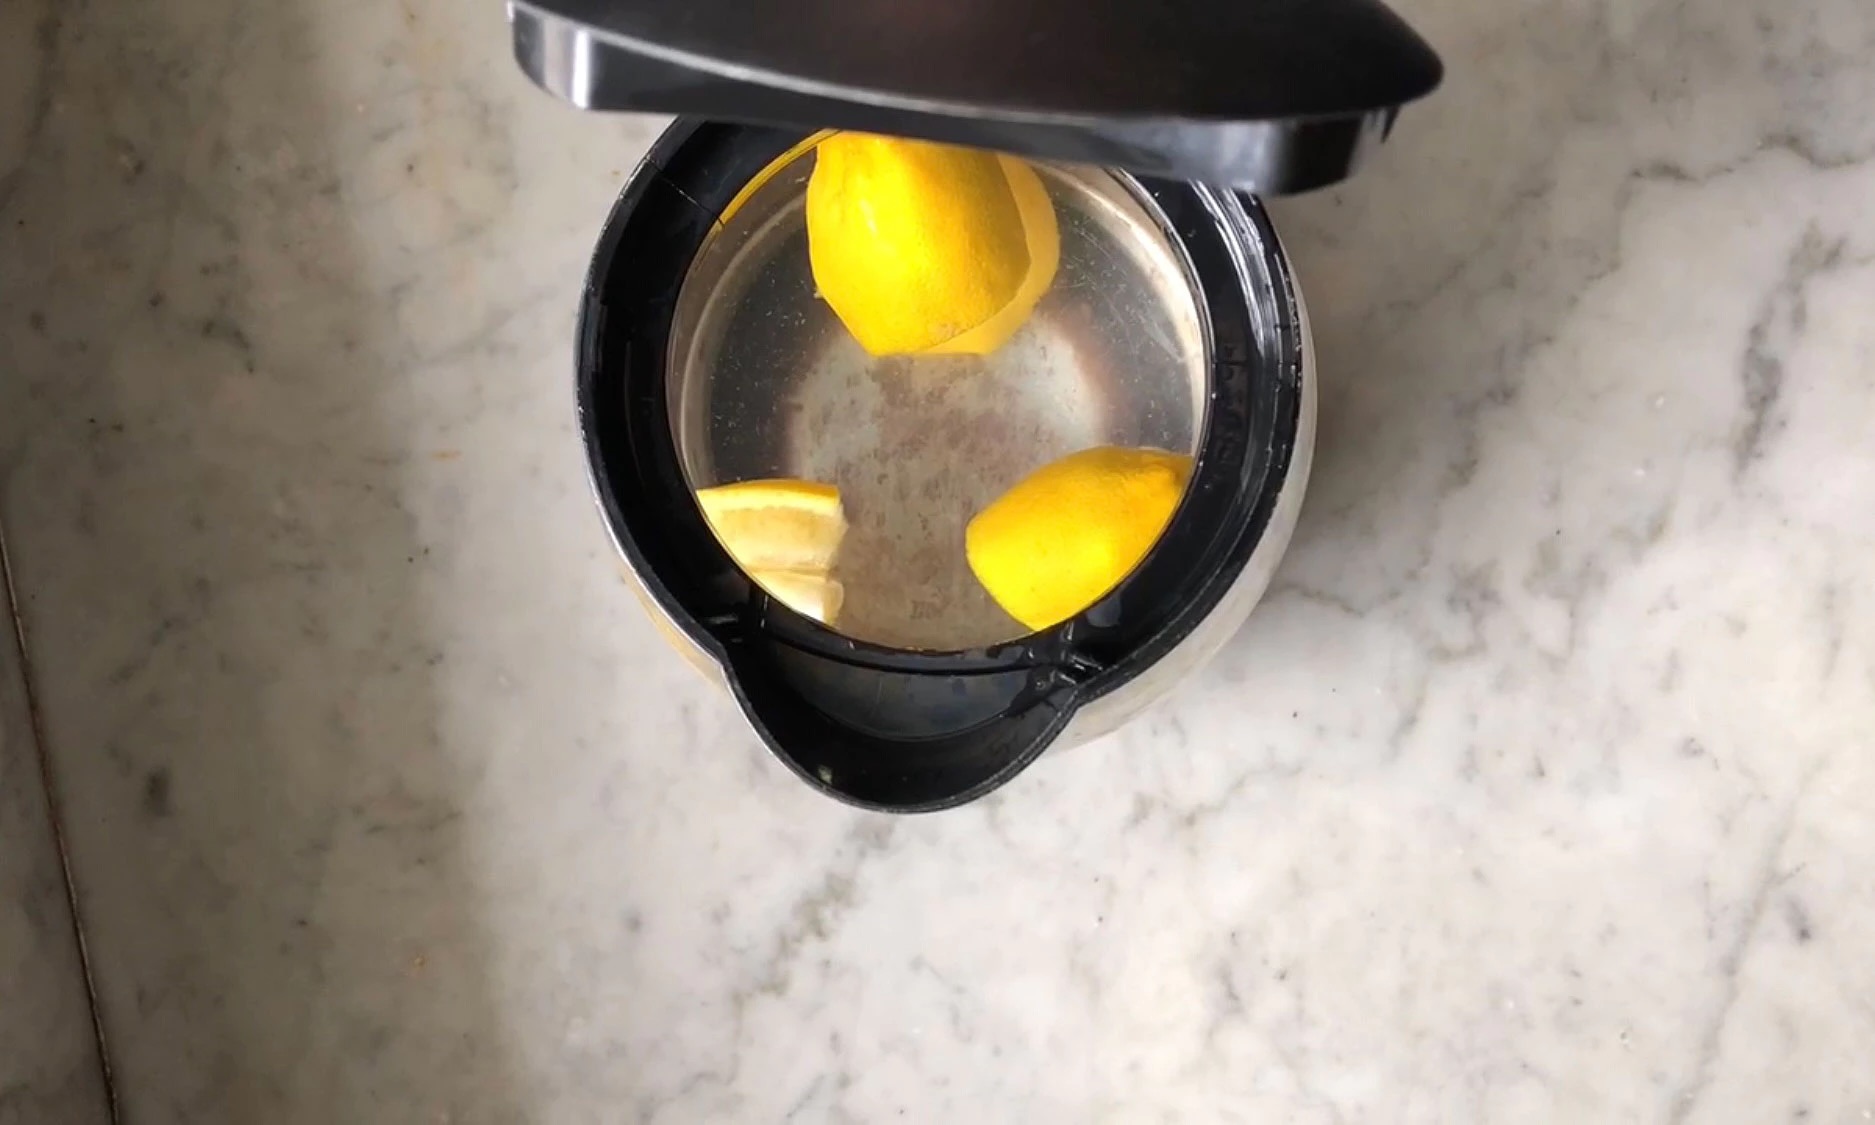
To create the vinegar solution, begin by combining equal parts of water and white vinegar in the kettle. For example, if your kettle holds 1 liter of liquid, you would use 500ml of water and 500ml of white vinegar. This proportion can be adjusted based on the size of your kettle, ensuring that the solution adequately covers the interior surfaces.
Once the vinegar solution is prepared, place the kettle on the stovetop and bring it to a gentle boil. Allow the solution to simmer for approximately 10-15 minutes, allowing the acidic properties of the vinegar to work their magic on the stubborn deposits within the kettle. As the solution heats up, you may notice mineral residues loosening and floating within the liquid, a sign that the vinegar is effectively dissolving the buildup.
After the simmering process, carefully pour out the vinegar solution and inspect the interior of the kettle. You may find that the once-encrusted surfaces now appear noticeably cleaner, with mineral deposits and stains significantly reduced. However, for more stubborn stains or lingering odors, you can repeat the vinegar solution process as needed until the desired level of cleanliness is achieved.
With the vinegar solution stage complete, the gooseneck kettle is now well on its way to being restored to a pristine condition. The next step involves gentle scrubbing to remove any remaining residues and ensure a thorough cleanse.
To clean a gooseneck kettle, mix equal parts water and white vinegar, then boil the solution in the kettle. Let it sit for 1 hour, then rinse thoroughly. Wipe the outside with a damp cloth.
Step 3: Scrubbing
With the vinegar solution stage complete, it’s time to give your gooseneck kettle a little extra TLC through gentle scrubbing. This step is crucial for removing any remaining mineral deposits, stains, or residual odors, ensuring that your kettle emerges from the cleaning process sparkling and odor-free.
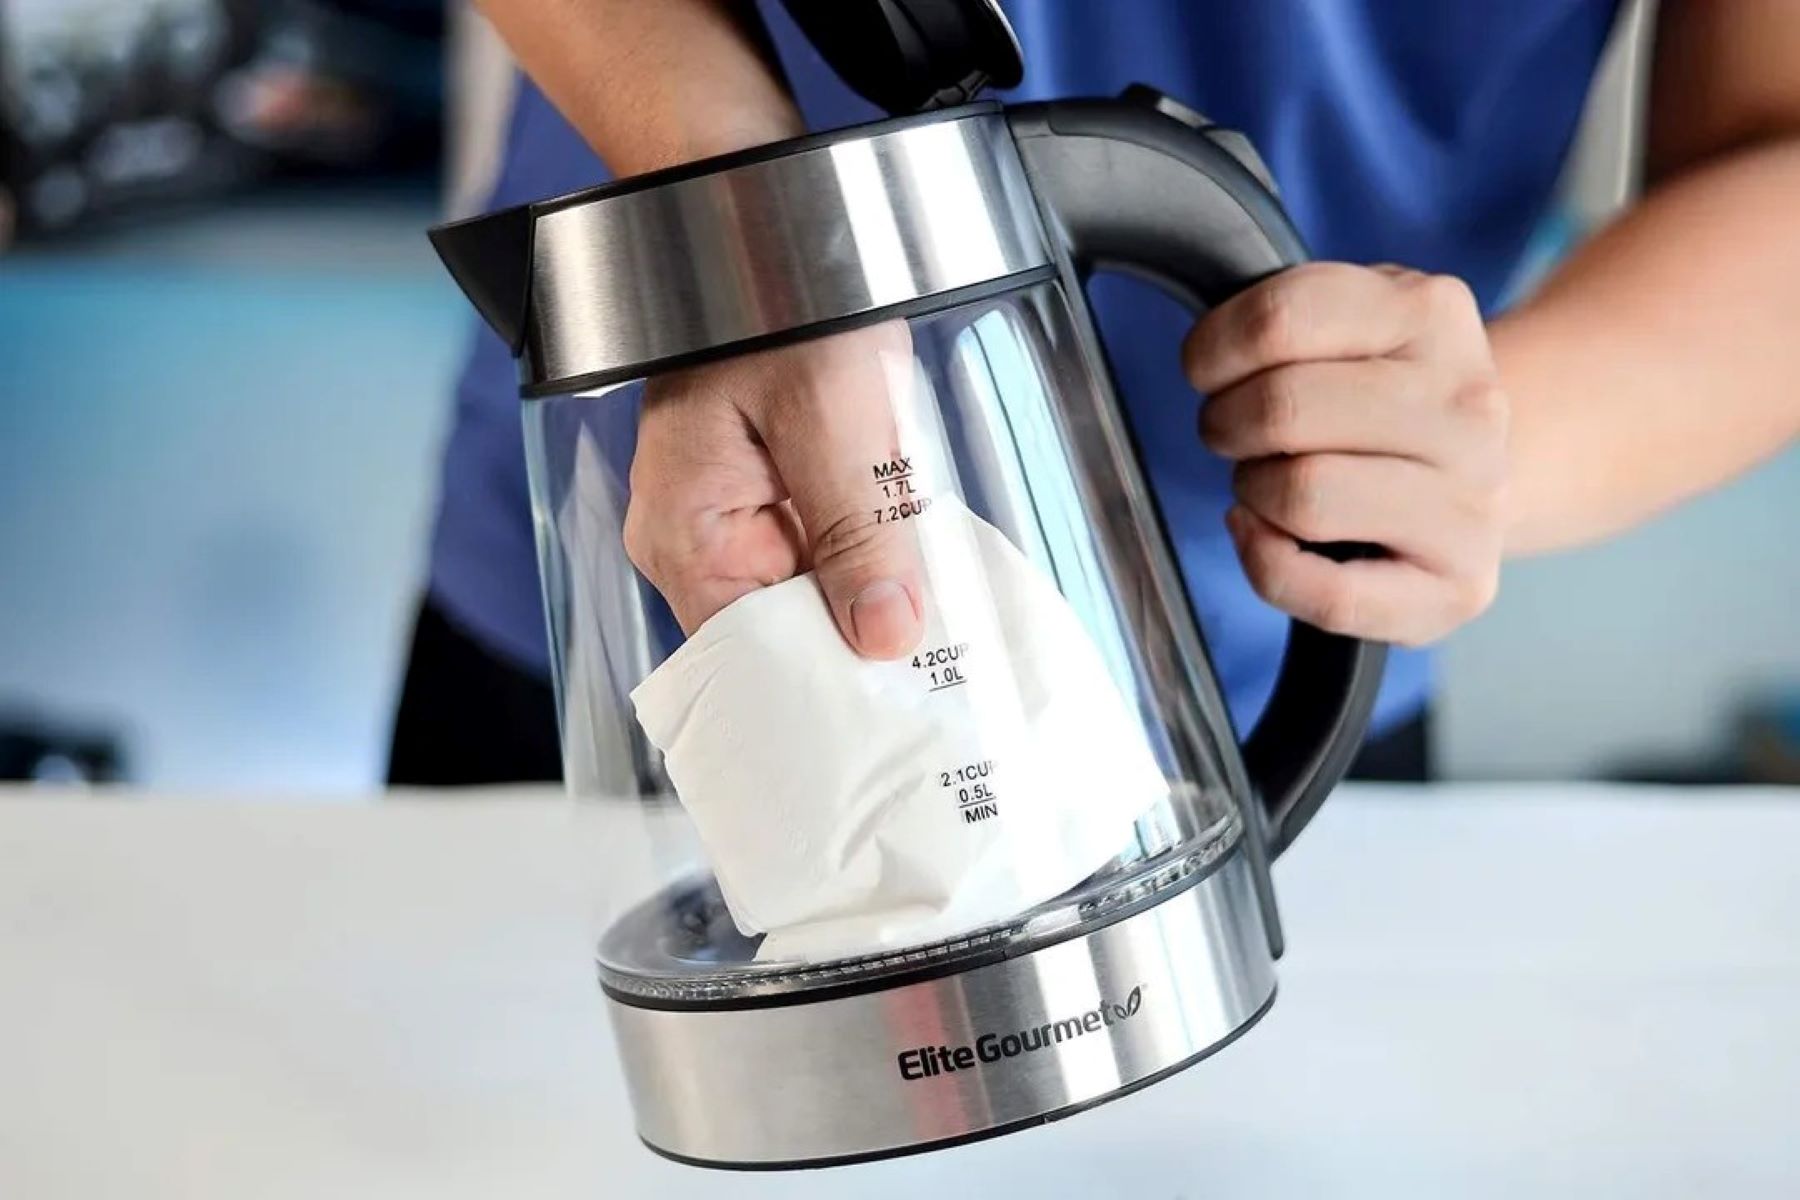
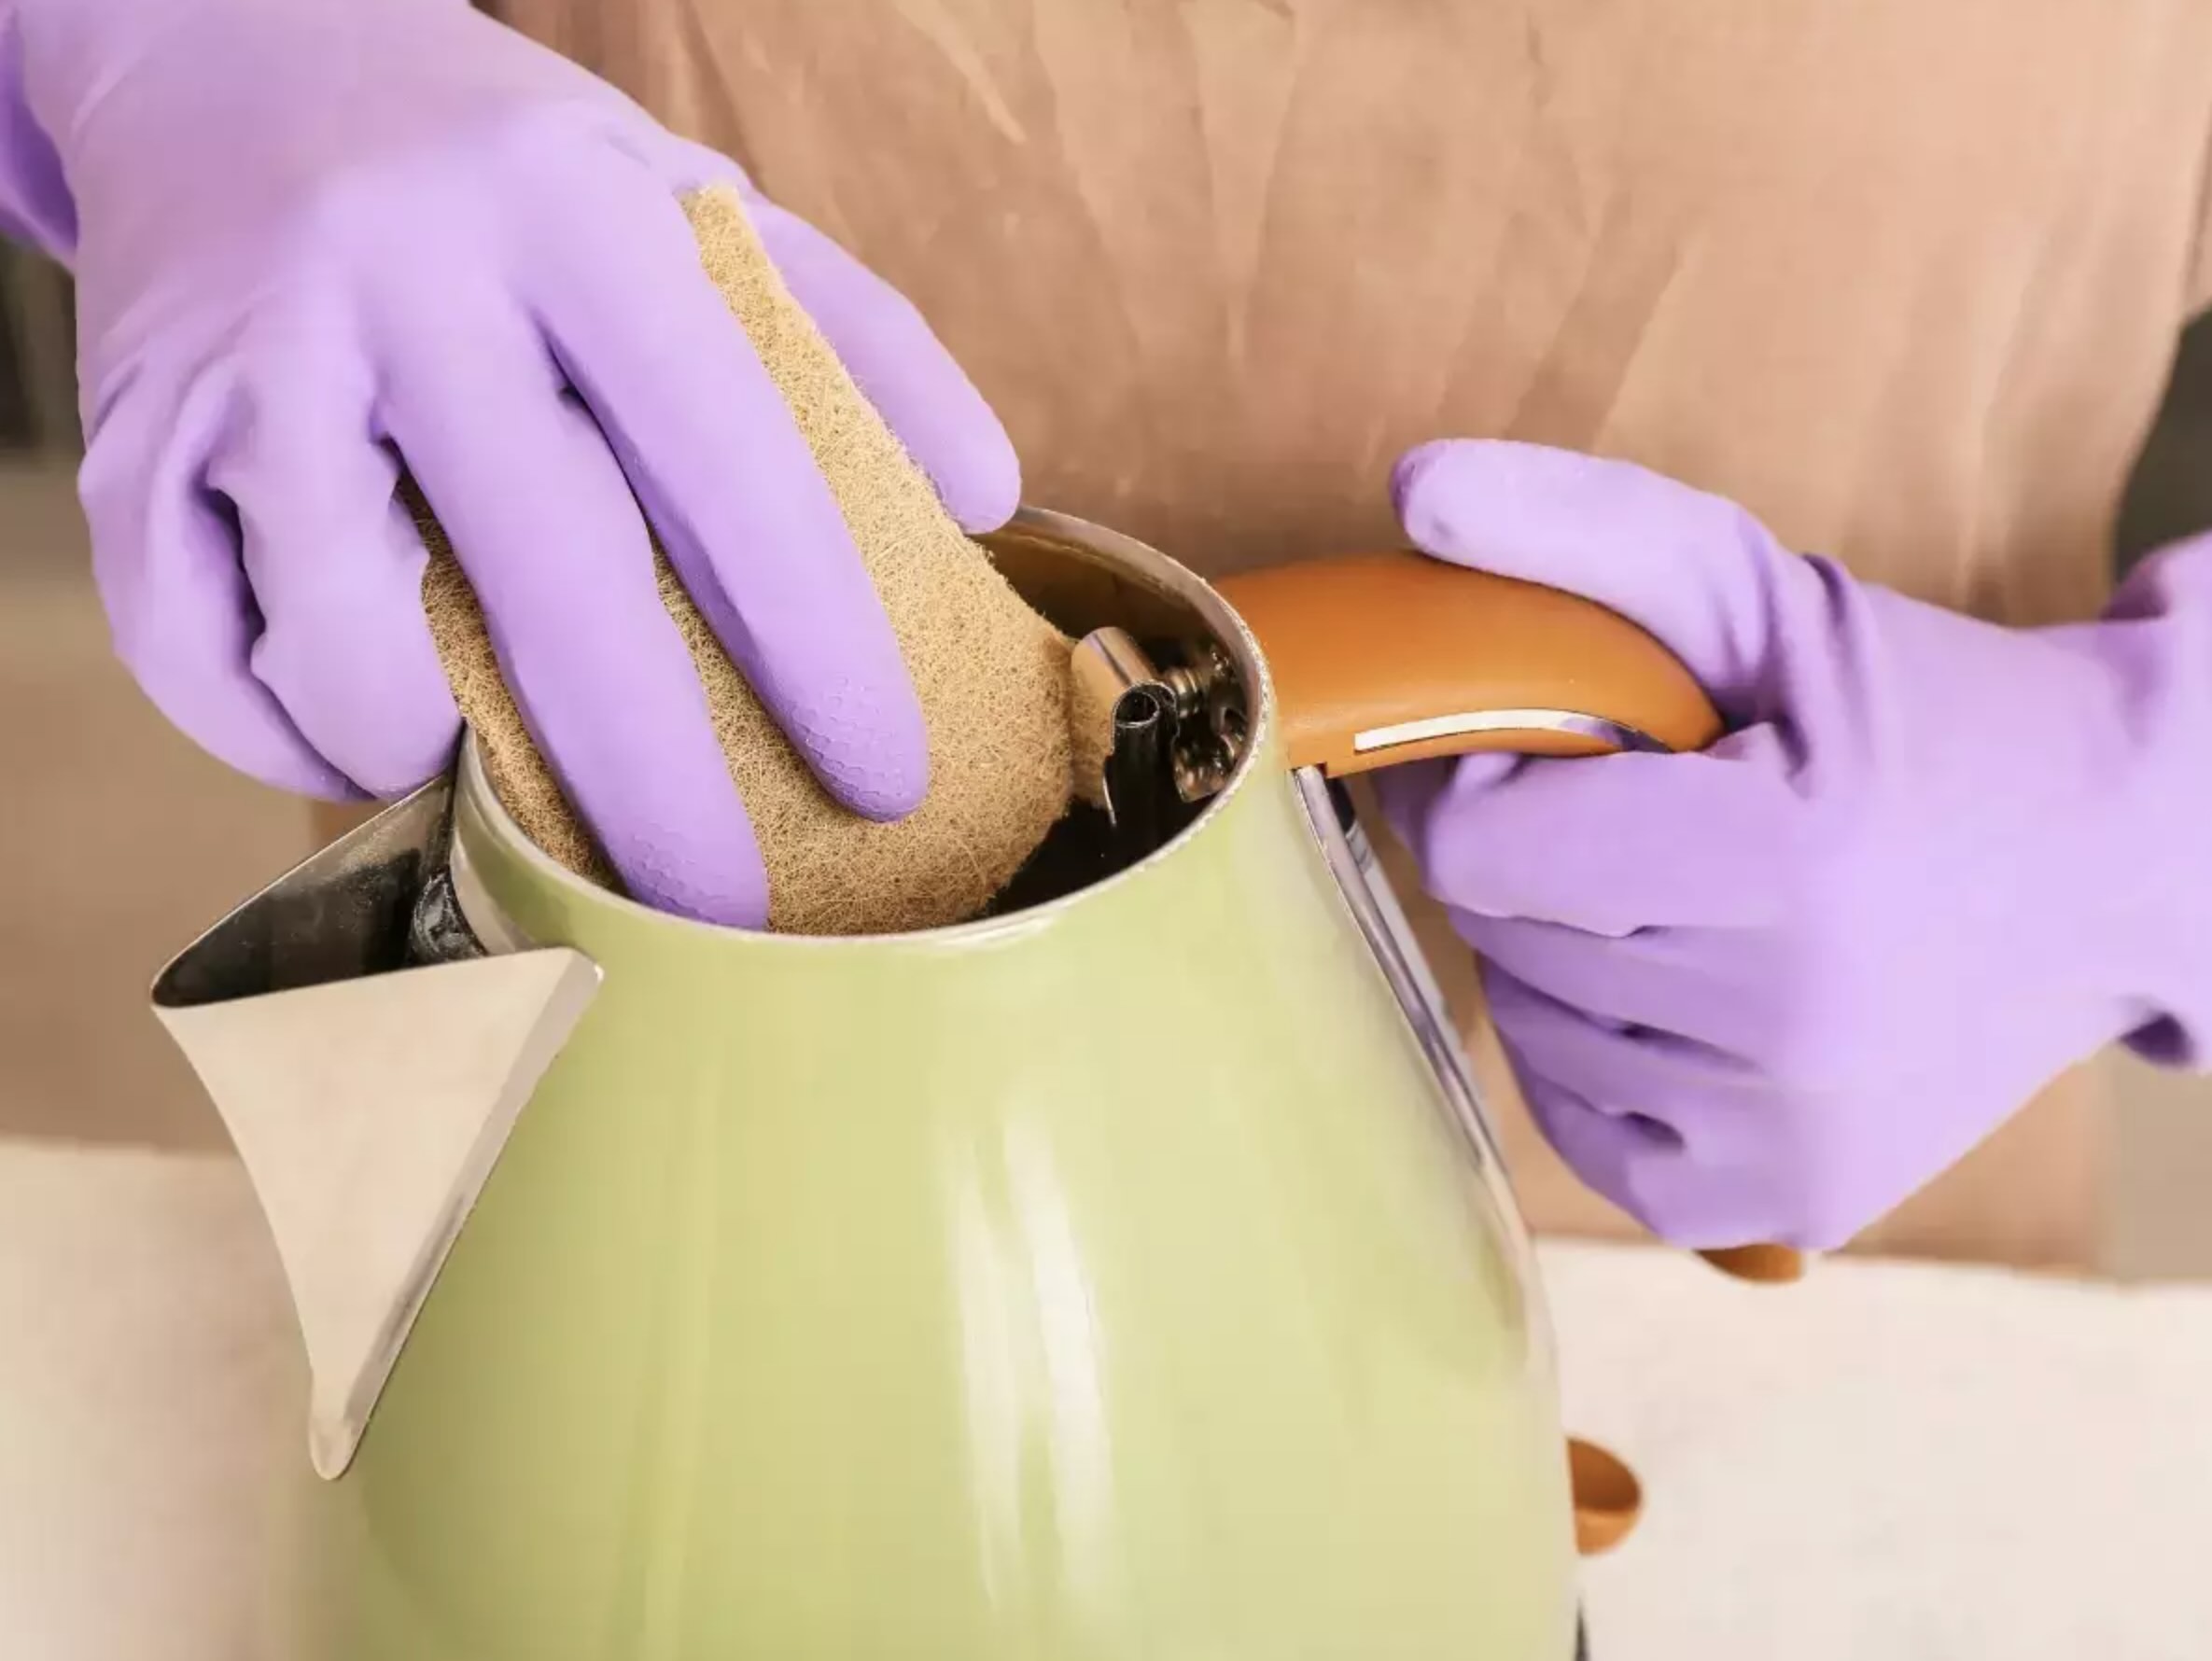
To begin, dip a soft-bristled cleaning brush or cloth into a mixture of warm water and a small amount of dish soap. Gently scrub the interior surfaces of the kettle, paying particular attention to areas where stubborn residues may be present. The aim is to dislodge any remaining buildup and ensure that the interior is thoroughly clean and free from any lingering impurities.
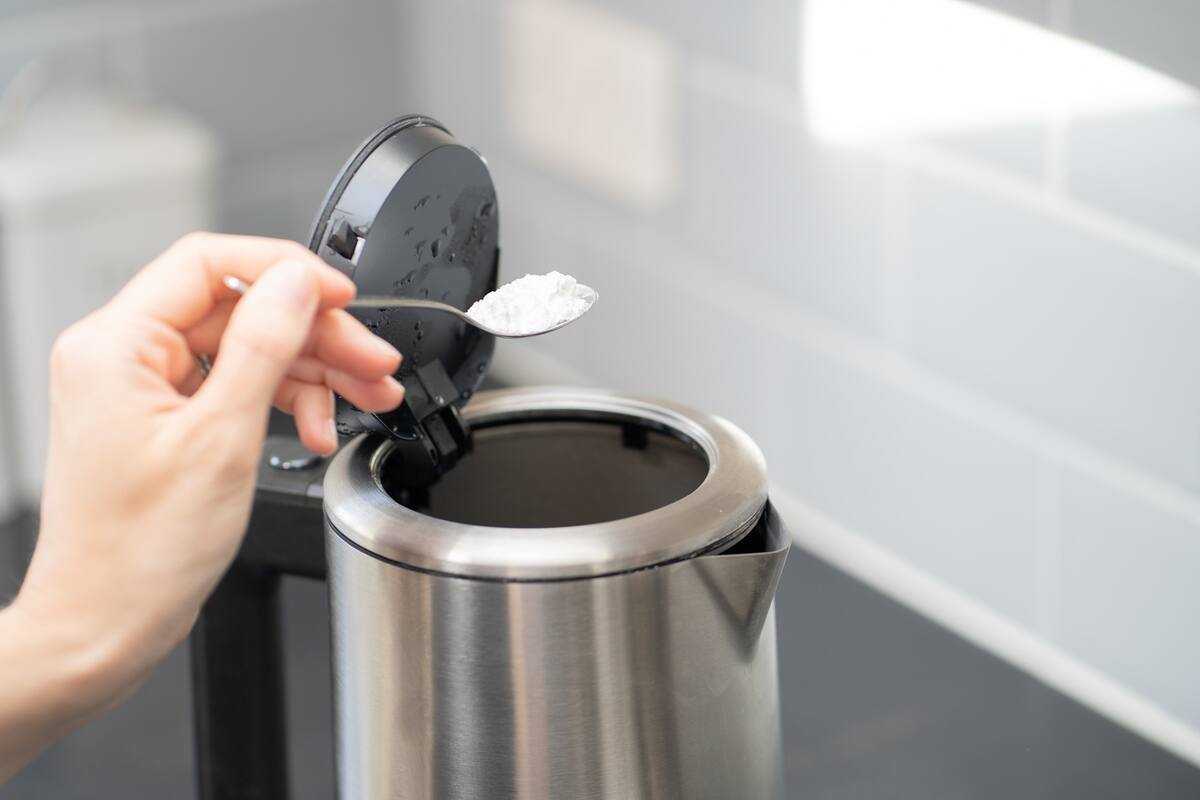
If you encounter particularly stubborn stains or mineral deposits, a sprinkle of baking soda on the brush or cloth can serve as a gentle abrasive to aid in lifting and removing the residue. However, exercise caution when using baking soda, as excessive scrubbing or harsh abrasives may damage the kettle’s surface finish.
As you scrub the interior, don’t forget to pay attention to the spout, where mineral deposits and residues can accumulate over time. Utilize a cleaning brush with a slender, elongated tip to reach inside the spout and ensure that it is free from any obstructions or buildup that may impede the pouring function.
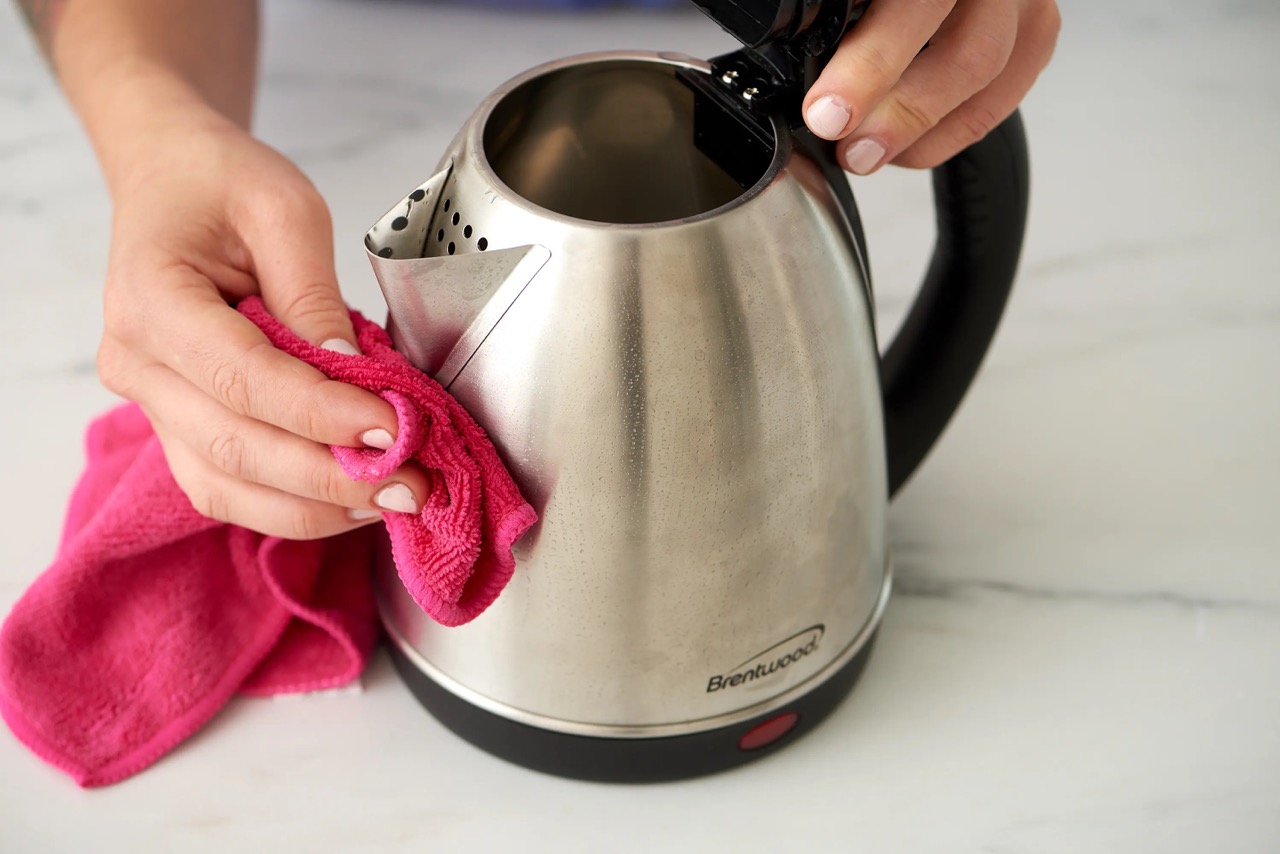
Once the interior has been thoroughly scrubbed, turn your attention to the exterior of the kettle. Using a non-abrasive sponge or cloth, gently wipe down the exterior surfaces, removing any fingerprints, water spots, or stains that may have accumulated. Be mindful of the kettle’s material and finish, avoiding harsh cleaning agents or abrasive tools that could mar its appearance.
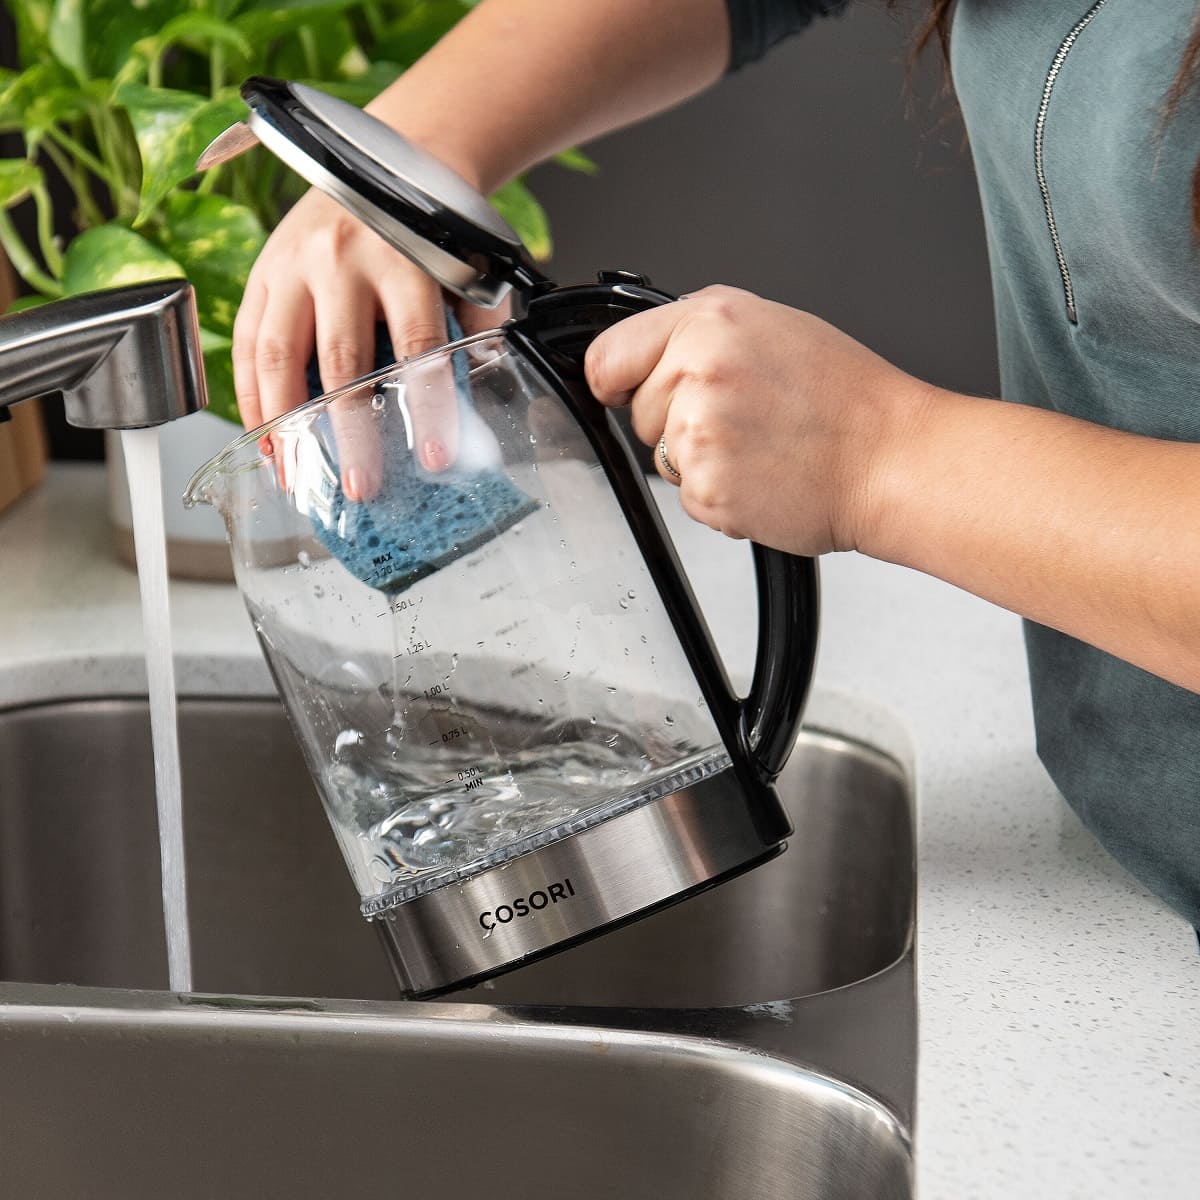
After the scrubbing process is complete, rinse the kettle thoroughly with fresh water to remove any soapy residue, ensuring that the interior and exterior surfaces are clean and free from cleaning agents. With the scrubbing stage concluded, the final step involves rinsing and drying the kettle to complete the cleaning process.
Step 4: Rinse and Dry
As the scrubbing stage draws to a close, the penultimate step in cleaning your gooseneck kettle involves thorough rinsing and drying to ensure that it is free from any cleaning agents and ready to resume its role as your trusted brewing companion.
Begin by rinsing the kettle with copious amounts of fresh water, both inside and out, to remove any traces of soap, vinegar, or baking soda that may remain. Ensure that the water runs clear, indicating that the kettle is free from any residual cleaning solutions or particles.
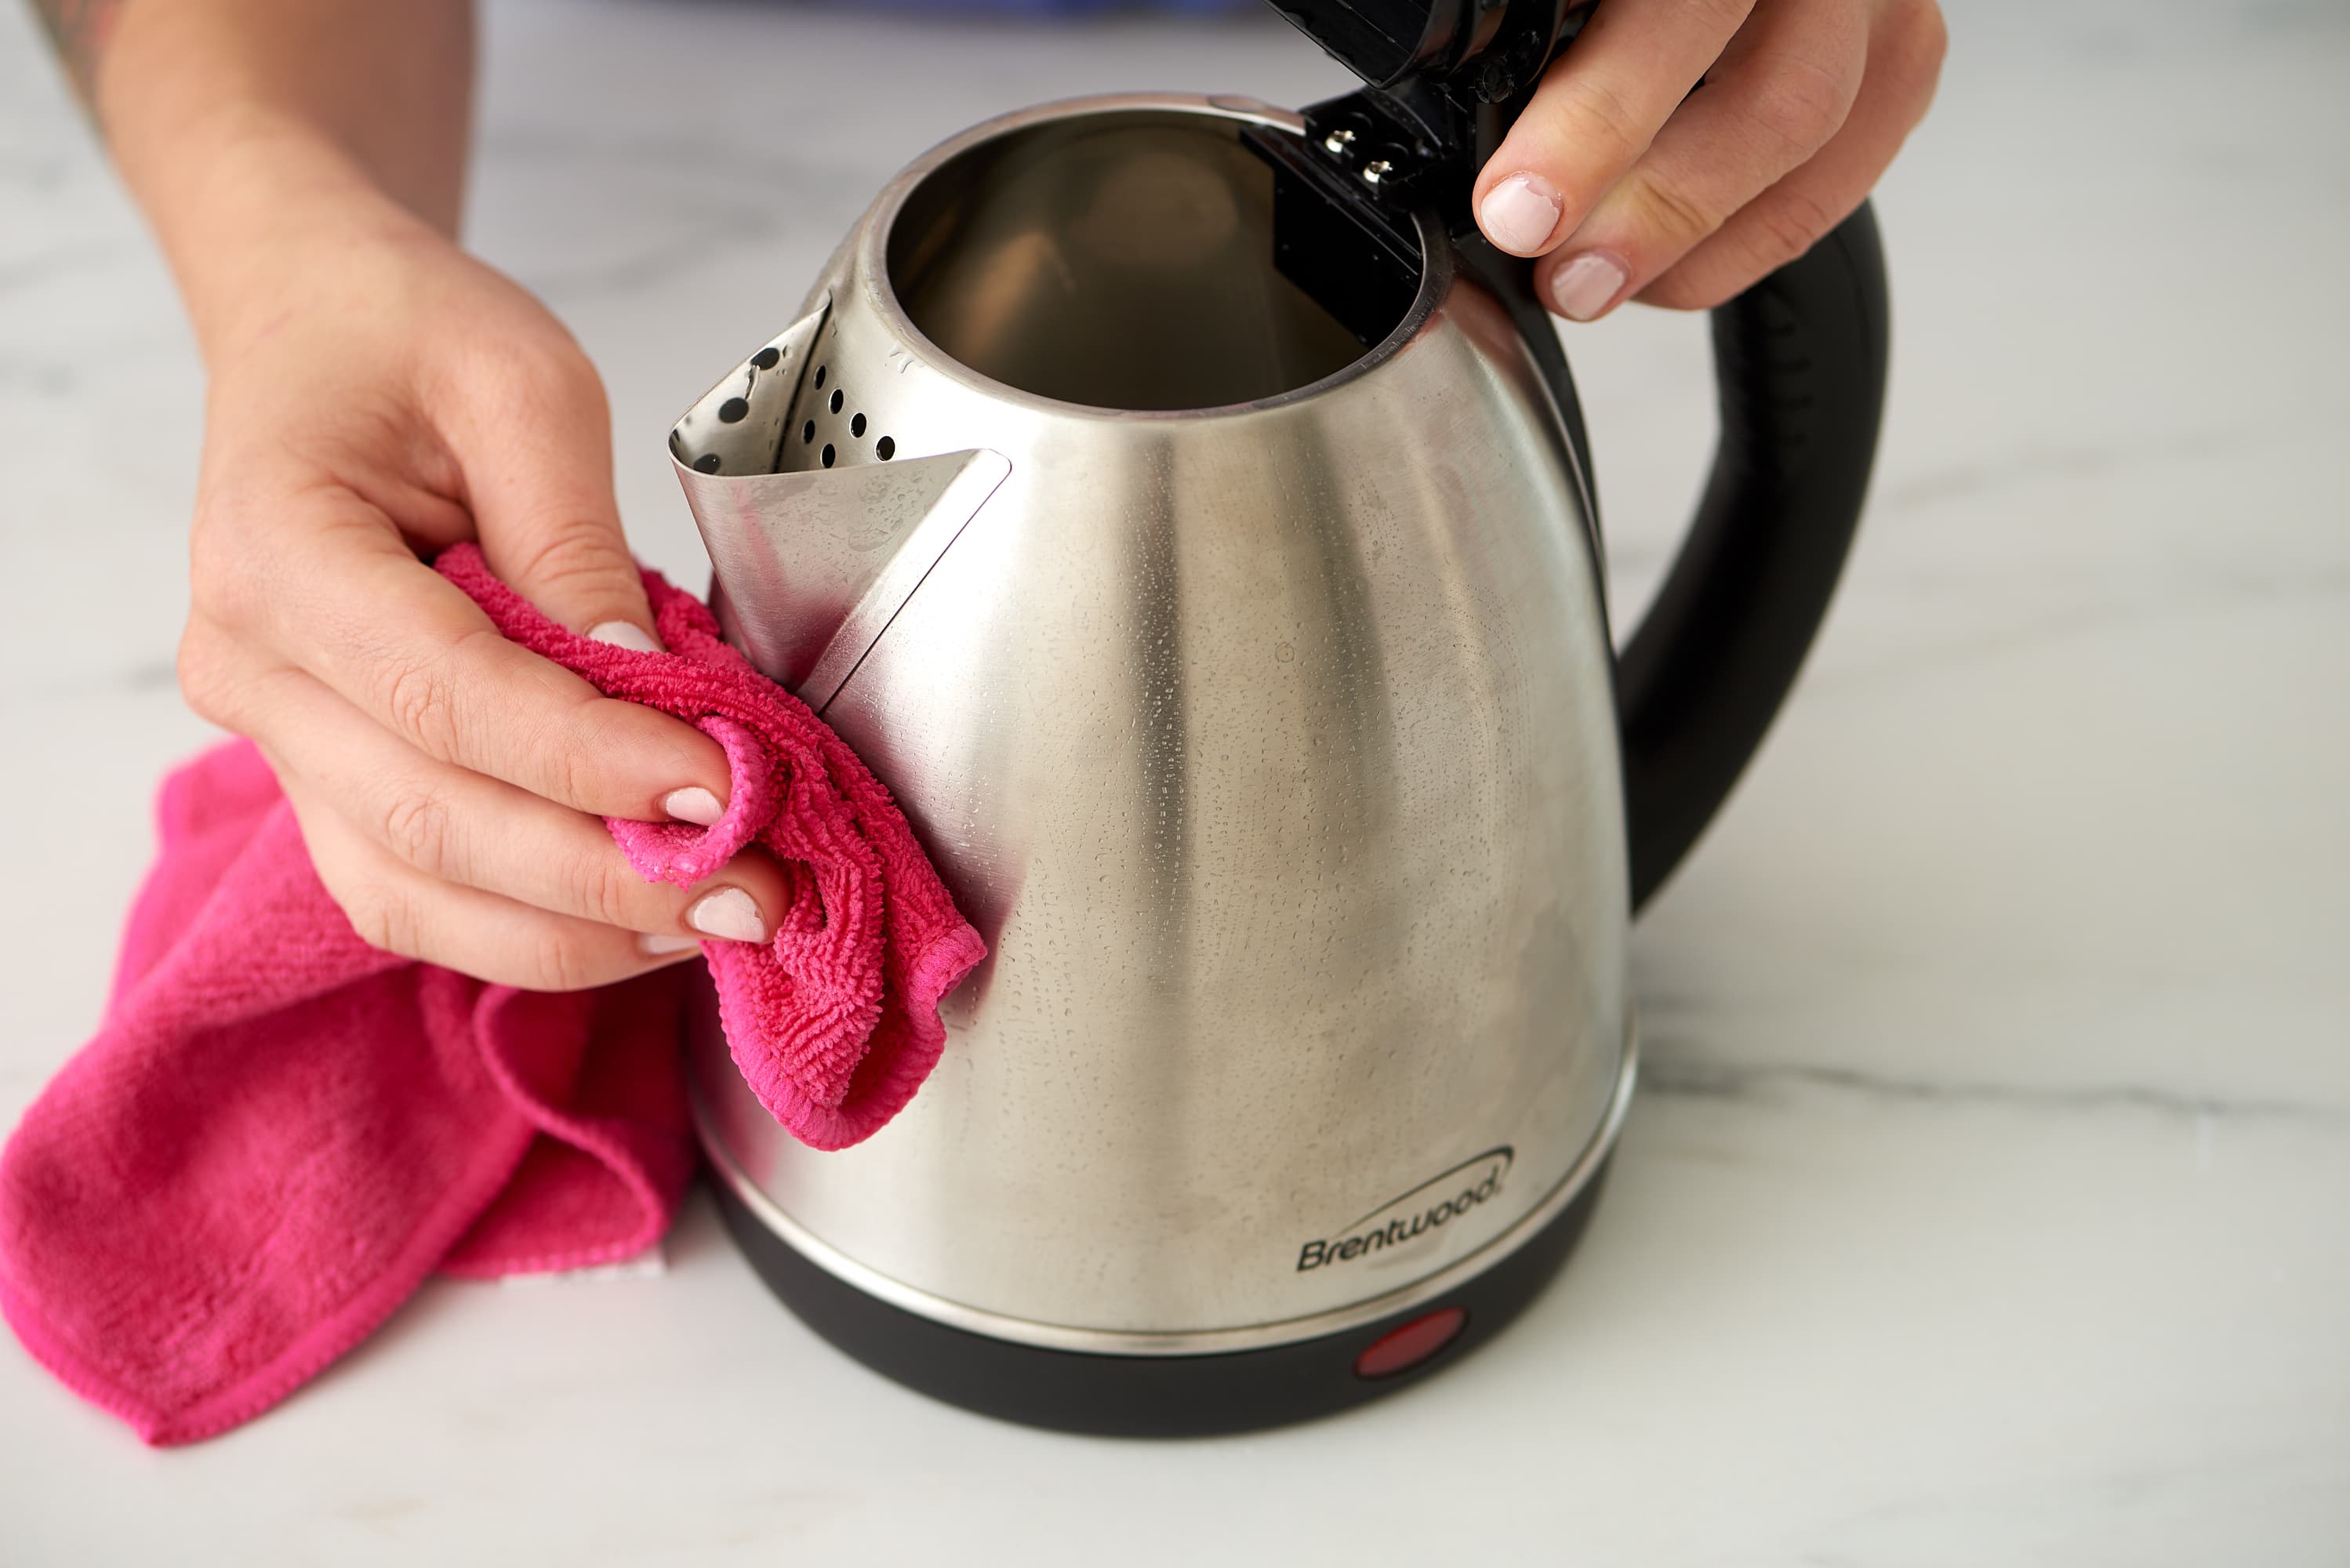
Once rinsed, use a clean, dry cloth to carefully wipe the exterior and interior surfaces of the kettle, removing any excess moisture and ensuring that it is completely dry. Pay particular attention to the spout and any crevices where water may collect, as thorough drying is essential to prevent the formation of water spots or mineral deposits on the kettle’s surface.
If time permits, you may also opt to air-dry the kettle by leaving it open and inverted on a drying rack or towel, allowing any remaining moisture to evaporate naturally. This step can help ensure that no moisture is trapped within the kettle, safeguarding it against the development of water-related blemishes or odors.
With the gooseneck kettle now thoroughly rinsed and dried, it is poised to resume its rightful place in your kitchen, ready to deliver that perfect pour for your favorite coffee or tea brews. By following these steps, you’ve not only restored your kettle to a sparkling clean state but also extended its longevity and preserved its performance for countless brewing sessions to come.
Now that you’ve mastered the art of cleaning your gooseneck kettle, it’s time to put the kettle back into action and savor the delightful flavors and aromas of your preferred brews, knowing that your trusty kettle is in pristine condition and ready to elevate your coffee or tea experience.
Conclusion
Cleaning a gooseneck kettle is not just a chore; it’s a ritual that honors the craftsmanship of this beloved brewing tool and ensures that it continues to serve you faithfully, cup after cup. By following the steps outlined in this guide, you’ve embarked on a journey to preserve the functionality, beauty, and performance of your gooseneck kettle, safeguarding it against the perils of mineral buildup, stains, and odors.
From the initial step of boiling water to the transformative power of a vinegar solution, and the gentle scrubbing that restores the kettle to its former glory, you’ve embraced the art of caring for this essential kitchen gadget. Through patience, attention to detail, and a touch of elbow grease, you’ve transformed a potentially daunting task into a gratifying endeavor that reaps rewards with every aromatic brew.
As your gooseneck kettle stands gleaming and ready for its next brewing session, take pride in knowing that you’ve not only cleaned a kitchen tool but nurtured a cherished companion on your culinary journey. With each pour, you’ll be reminded of the care and dedication invested in maintaining your kettle, and the flavors of your favorite brews will shine all the brighter for it.
So, raise your freshly brewed cup, savor the rich aromas, and take a moment to appreciate the art of cleaning your gooseneck kettle. It’s a testament to your commitment to quality, your reverence for the brewing process, and your desire to extract the fullest potential from every sip. Cheers to you, your impeccably clean gooseneck kettle, and the delightful brews that await!
Frequently Asked Questions about How To Clean Gooseneck Kettle
Was this page helpful?
At Storables.com, we guarantee accurate and reliable information. Our content, validated by Expert Board Contributors, is crafted following stringent Editorial Policies. We're committed to providing you with well-researched, expert-backed insights for all your informational needs.





0 thoughts on “How To Clean Gooseneck Kettle”